Whip up a weaving with wool selvedges! The possibilities are endless with a little imagination and inspiration! Let us be your guide in this colorful, eco-friendly making adventure. We'll take you under, over, and through the steps to start your woven wool masterpiece!
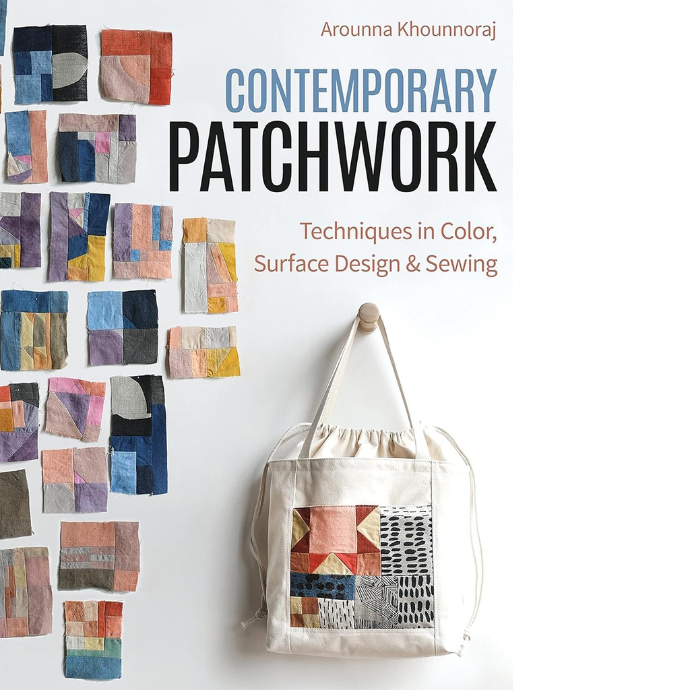
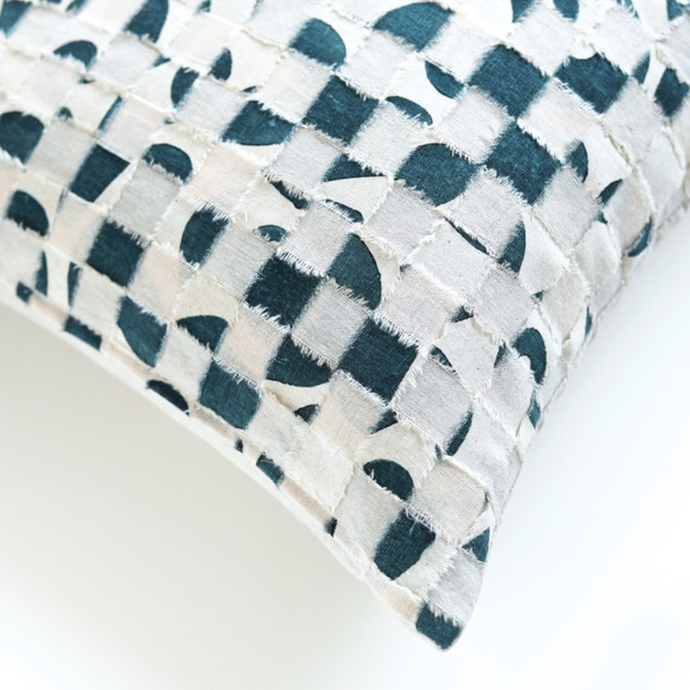
Our inspiration came from Arounna Khounnoraj's new book, Contemporary Patchwork. This book features fantastic projects that celebrate resourcefulness, such as a woven pillow made from torn strips of fabric. We thought Arounna's woven pillow design would look stunning made with wool selvedges! But why stop with a pillow? Once you understand the simple construction of the pillow front, you can run with this knowledge and make just about anything from a weaving: a table runner, a placemat, a wall hanging, a pouch, a bag, and so much more. Make sure to pick up Contemporary Patchwork by Arounna Khounnoraj and keep reading to learn how to weave with our wool selvedges!

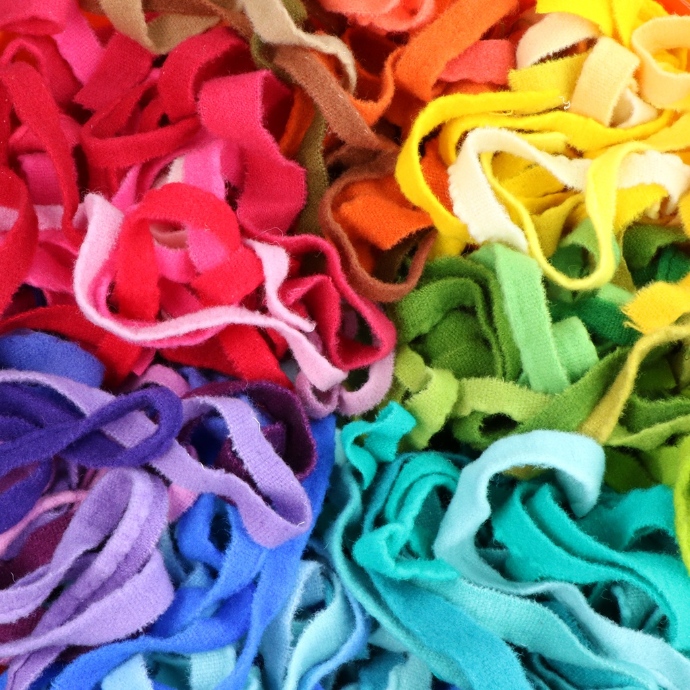
The first step is to choose your colors. We offer a wide range of colorways of Studio Selvedge Bags. Color combinations can be powerful, evoking both mood and memory. What vibe will you create: bold or subtle, bright or soft, reserved or wild?
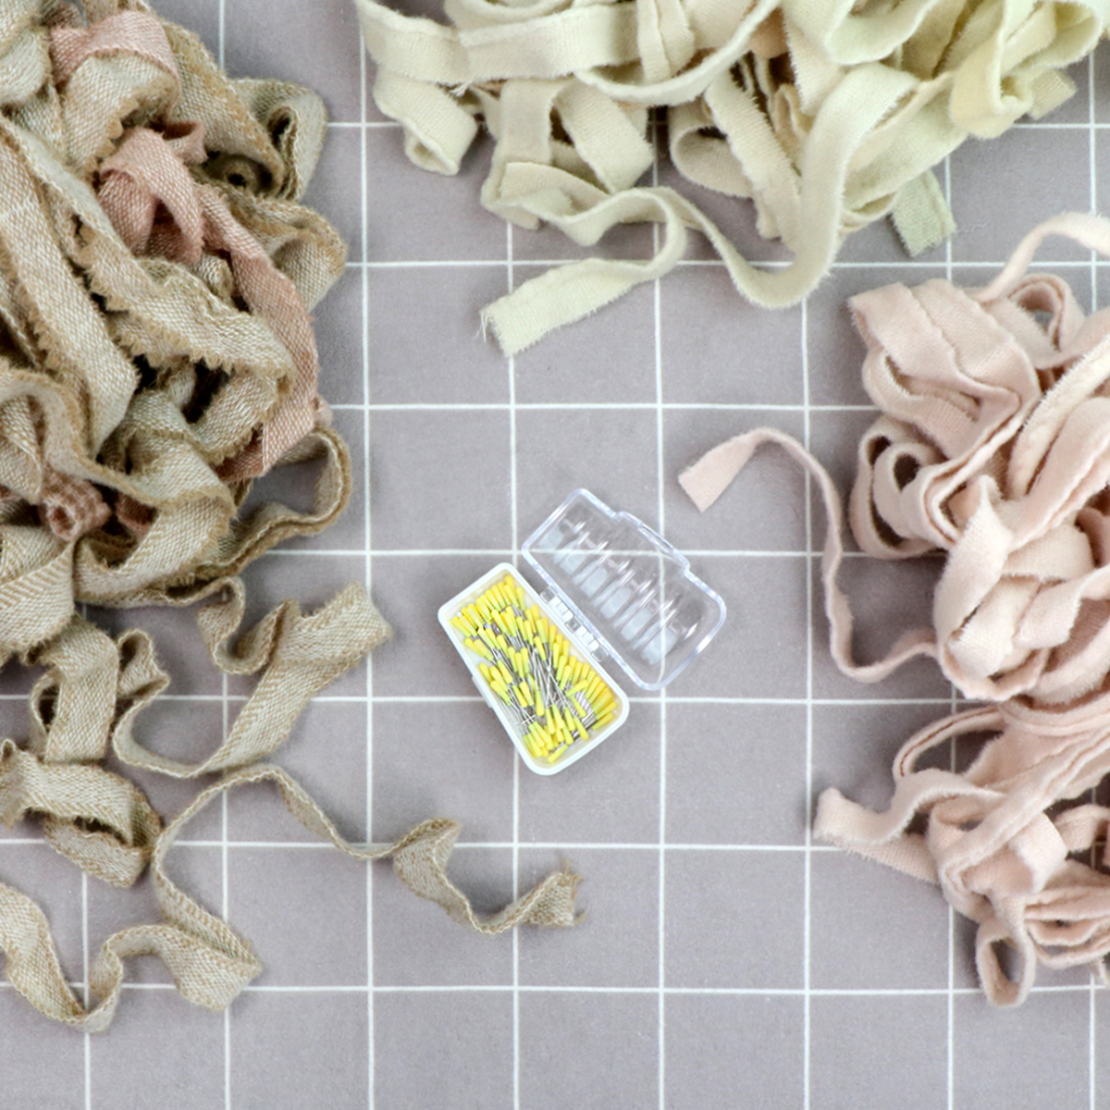
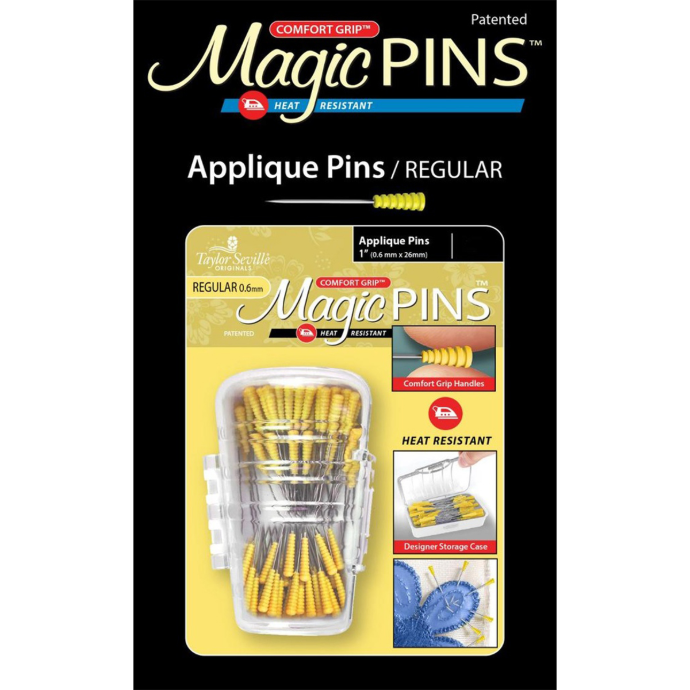
- In this example, we chose to combine Textured Neutrals, Creams, and the Blush Blend to create a weaving. We are also using Magic Applique Pins and a foam board wrapped with Kaffe Fassett's Flannel Design Wall Grid. That's all you need to get started!

Warp
Create your foundation, which is called the warp, by pinning down vertical selvedges. Line up the strips so that they touch, and use the grid lines to keep everything straight. Each strip should be pinned down at the top and bottom. Do not stretch the wool selvedge strips when pinning them, as this can result in distortion later. Make your weaving as small or as large as you would like.

Weft
The weft is created by weaving strips horizontally through the warp. Begin by weaving the first weft strip from left to right. Start by going under the first warp strip, then over the second, and continue working an under-over pattern to the end.
With the second weft strip, you will weave the opposite pattern; from left to right, you will weave an over-under pattern, beginning with going over the first warp strip. Continue to alternate the under-over and over-under patterns as you add more weft strips.
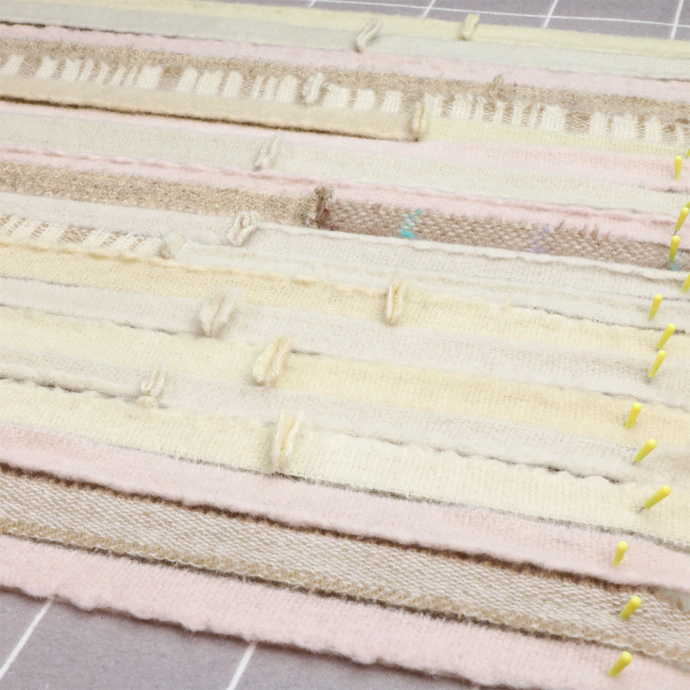
Use the grid to keep your weft strips straight and horizontal. Use your fingers to manipulate each strip in place, leaving no gaps between strips. Pin down the end of each strip without stretching it.
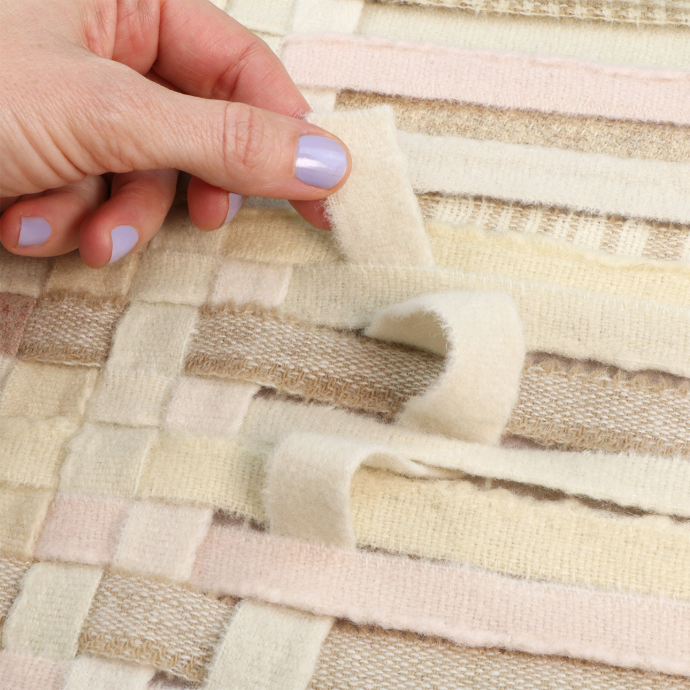
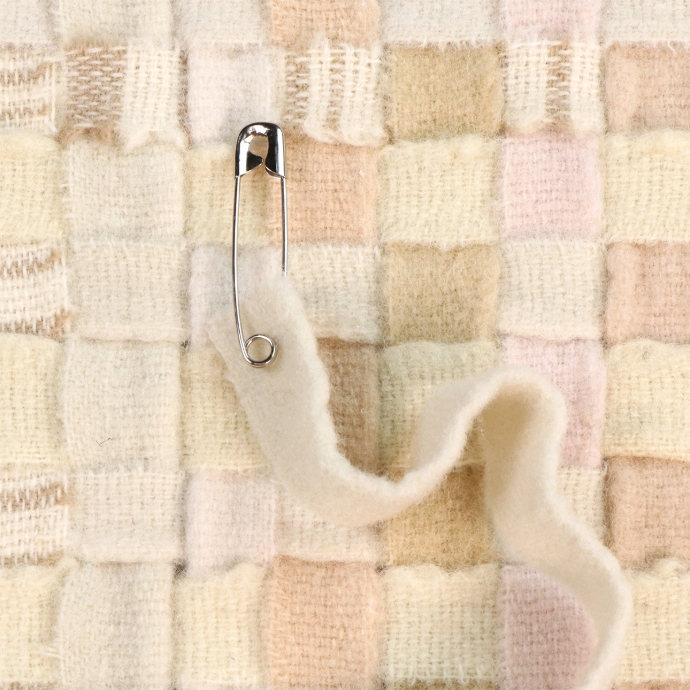
You can use your fingers or an attached safety pin to weave the weft strips through the warp.

If you would like to extend your weaving, you can always sew strips together. Just be sure the seams are on the backside of your weaving. In this example, the front of the weaving is facing the grid.
As a final step, press Presto Sheer onto the back of your weaving to secure and stabilize it.
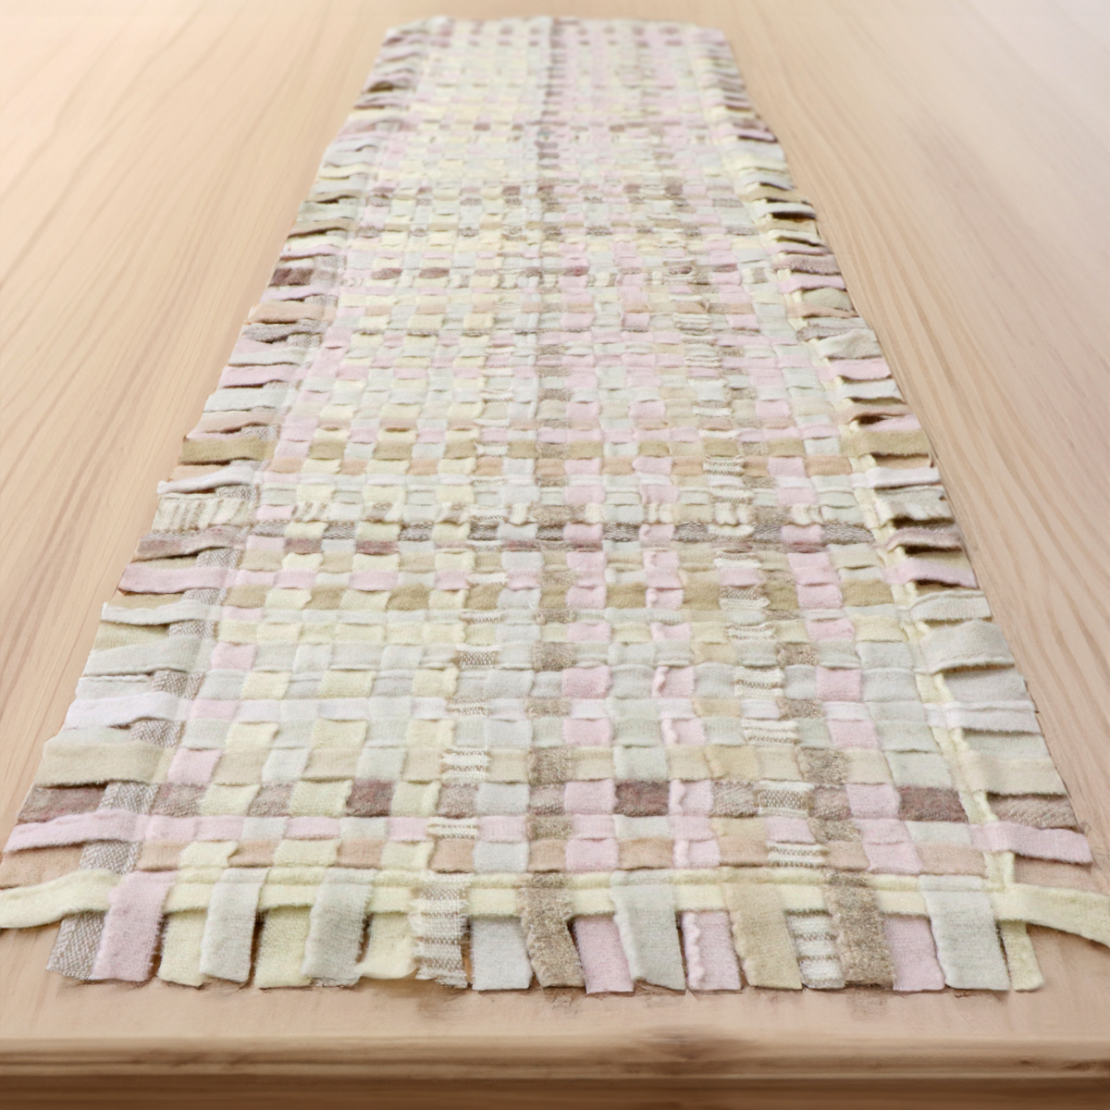
We turned this weaving into a gorgeous table runner! We followed the beginning construction steps for the woven pillow in Contemporary Patchwork but adapted the pillow front to turn it into a gorgeous table runner! We left the edges unbound for a natural, organic look.
Inspiration
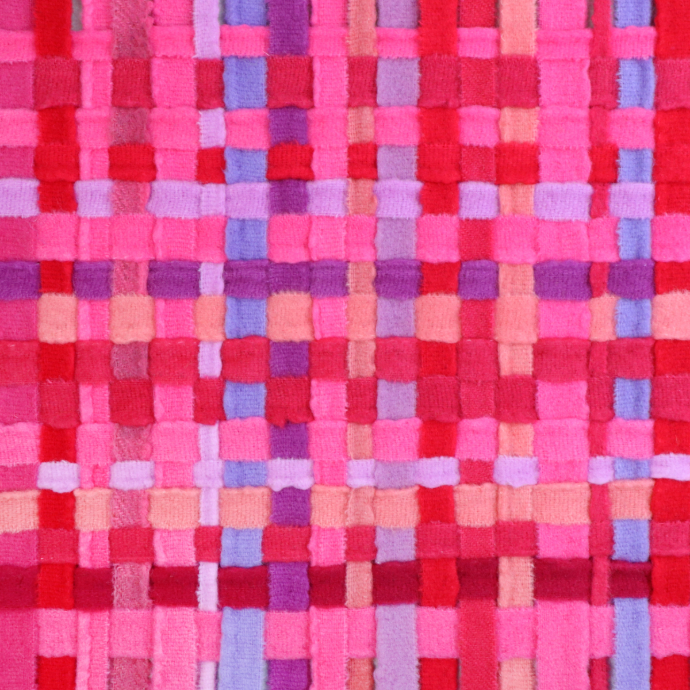
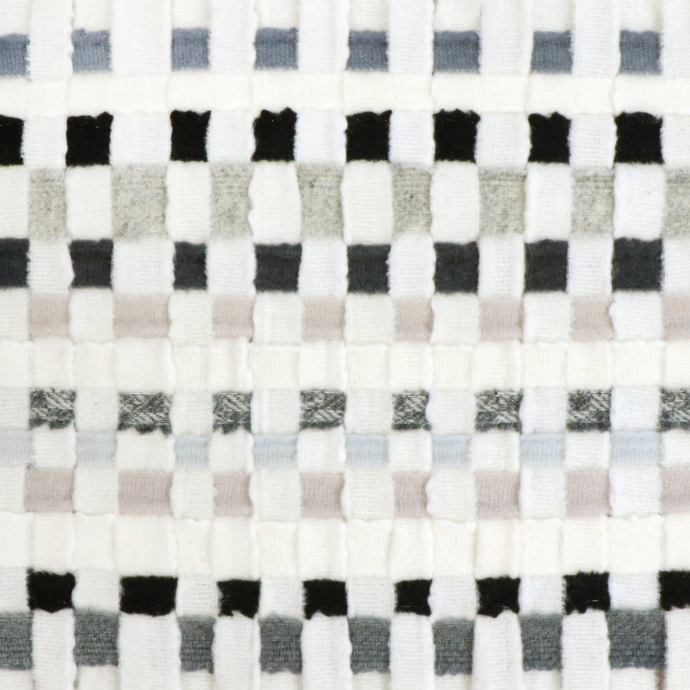
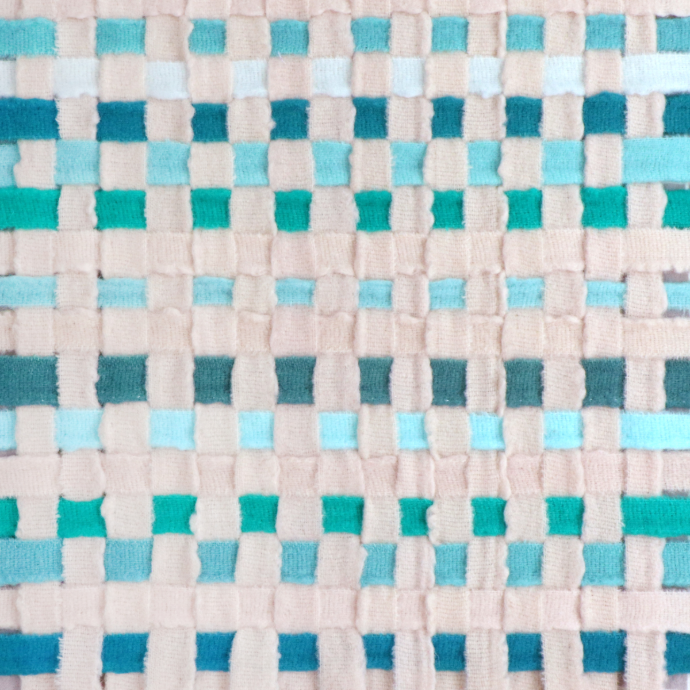
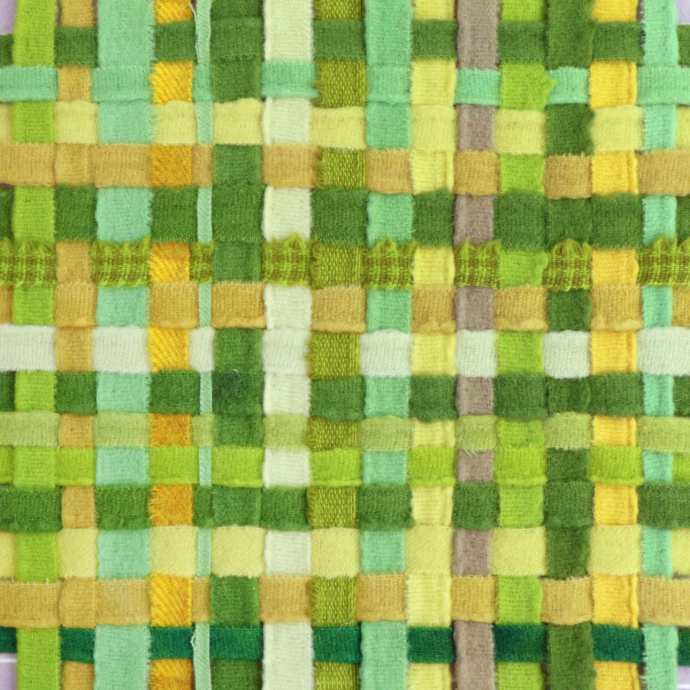
Check out these lovely color combinations created with our wool selvedges.
Create