For our final week of our Mending Series, we will be covering two methods of mending: Needle Felting and Crochet/Knitting.
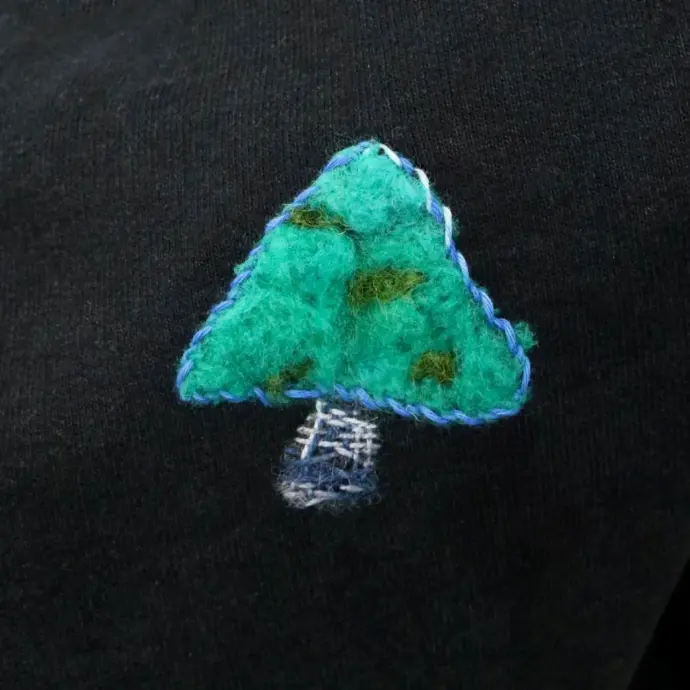
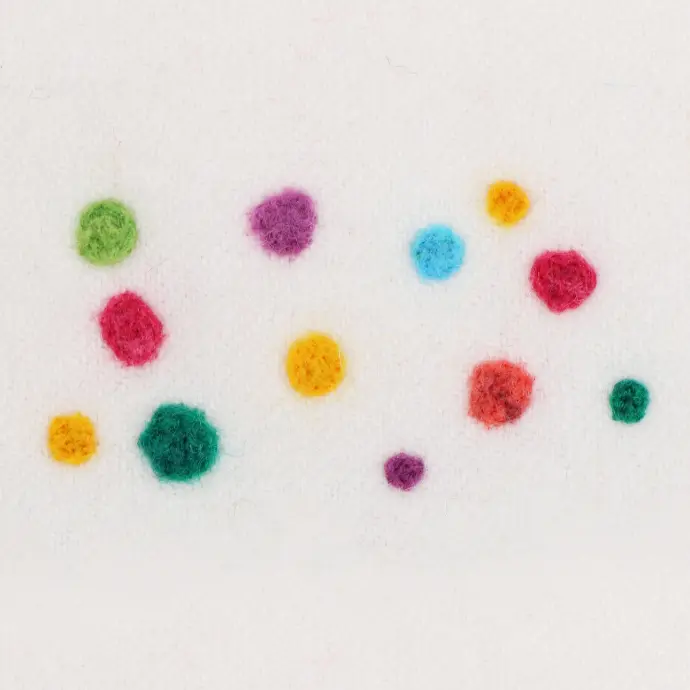
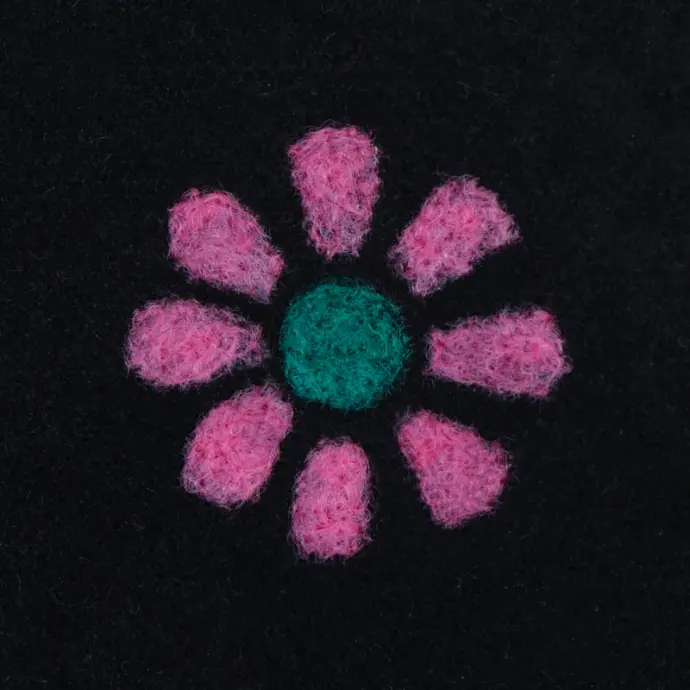
Needle Felting is a form of art commonly used to create small figures and shapes with wool roving, but it is also useful in mending. Especially in wool, needle felting can patch up small holes in a garment. Because of its ease of use in wool backgrounds, we think it's also a great way to add shapes and texture to the backgrounds of embroidery projects, too!
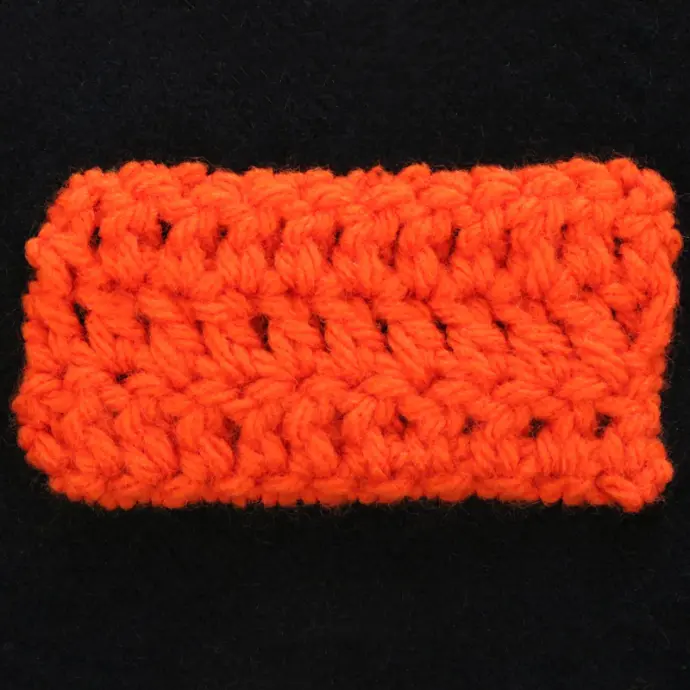
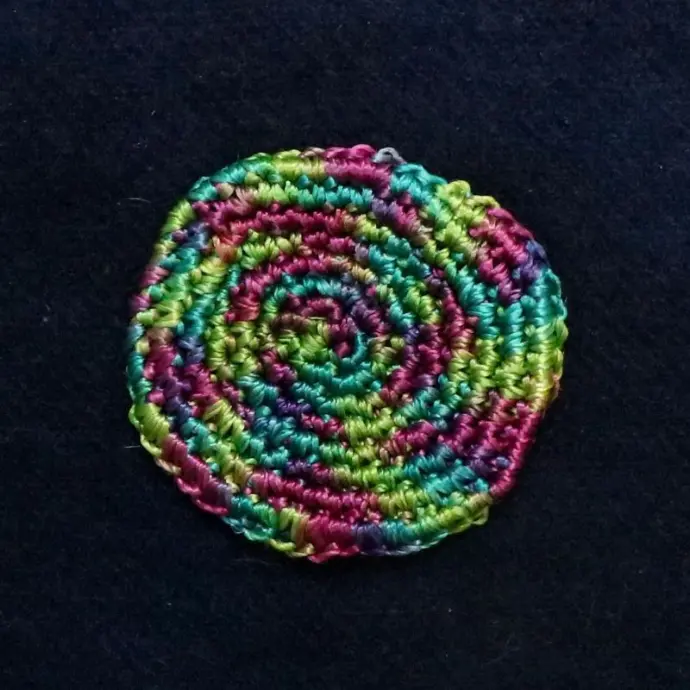
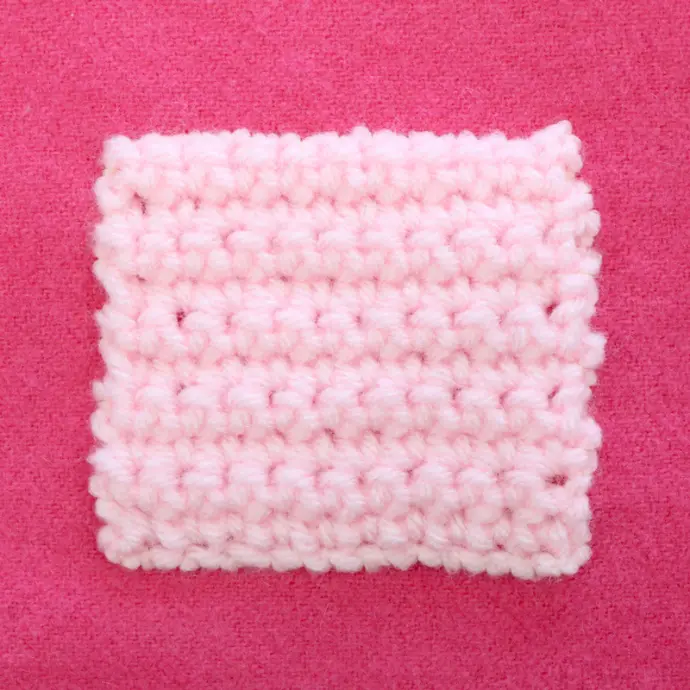
Crocheting and Knitting can allow you to match the texture when patching knit clothing, but it can also stand out when used to patch other textiles such as denim or cotton! The characteristic texture of crochet and knit shapes also makes them great options for adding onto embroidery and appliqué projects. Think of all the ways you can incorporate crochet and knit shapes into your personal pieces--whether it be squares for huts and houses, circles for the inside of flowers, or more advanced motifs, the possibilities are endless! We will be using crocheting for our samples, but feel free to knit if you prefer!
Needle Felting
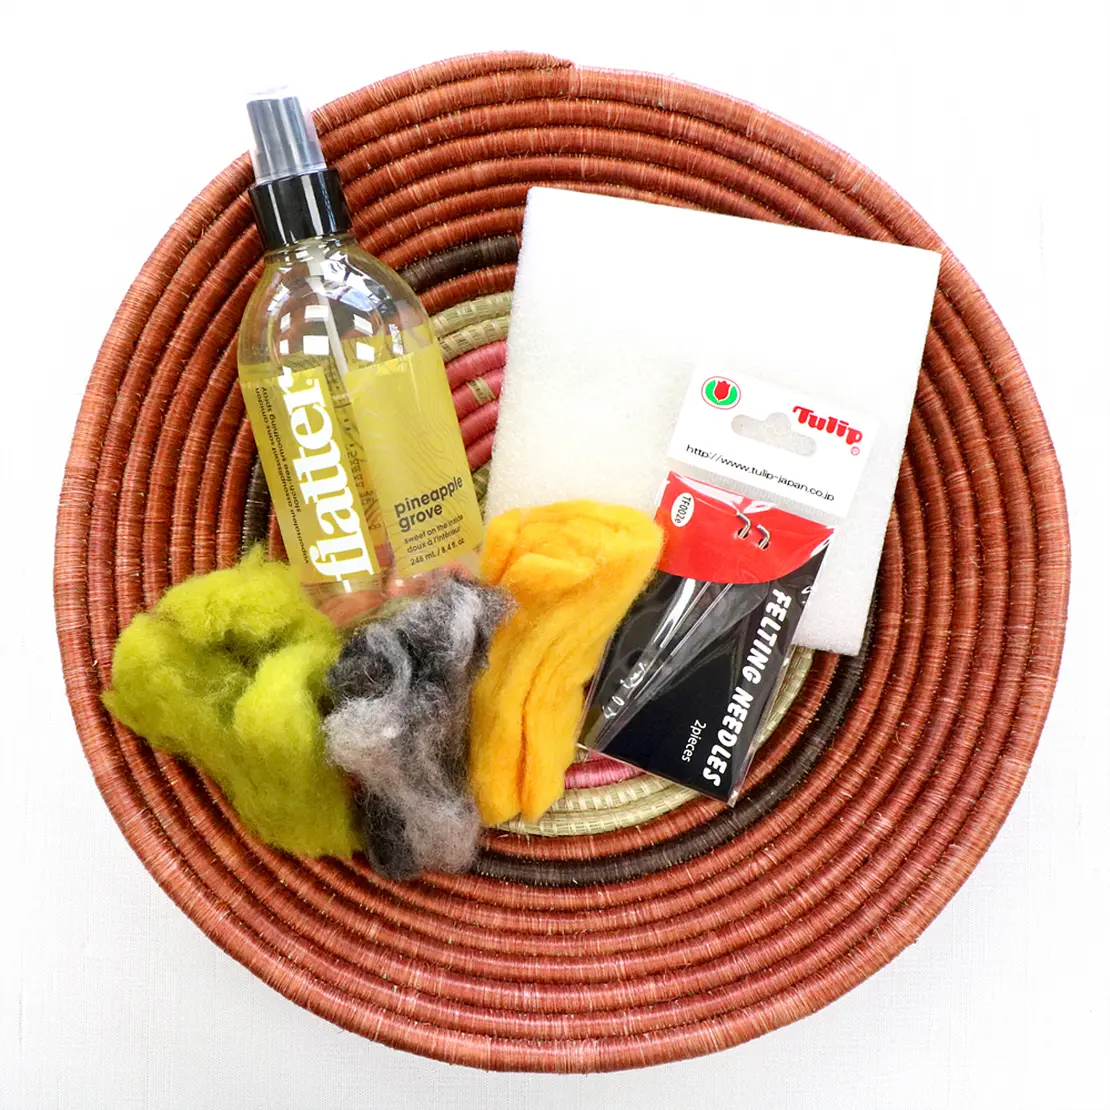
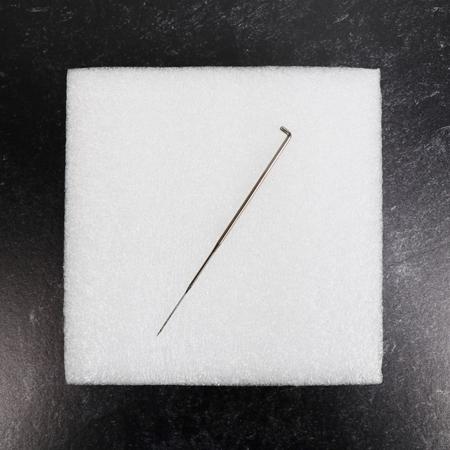
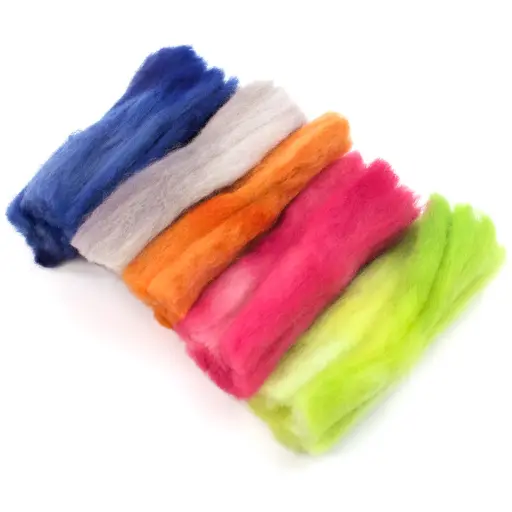
Supplies
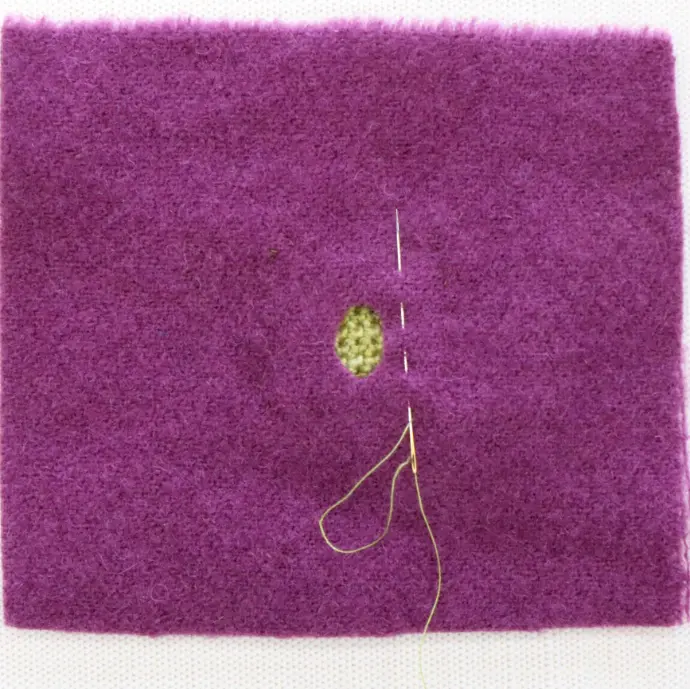
Needle felting works best when mending wool garments. Grab your wool sweater, gloves, blanket, or whatever well-loved wool piece you have and let's get started!

Lay your wool over the needle felting foam block, so that the hole is centered on the block.
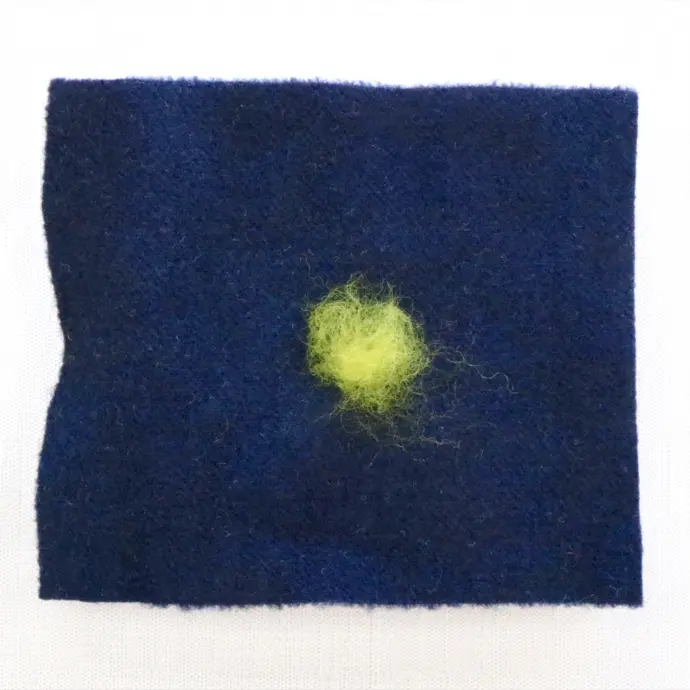
Tear off a small tuft of wool roving. You can match the color of your wool or choose a contrasting color for extra flair! Consider mixing different colors of roving, too. Place the tuft of roving over the hole.
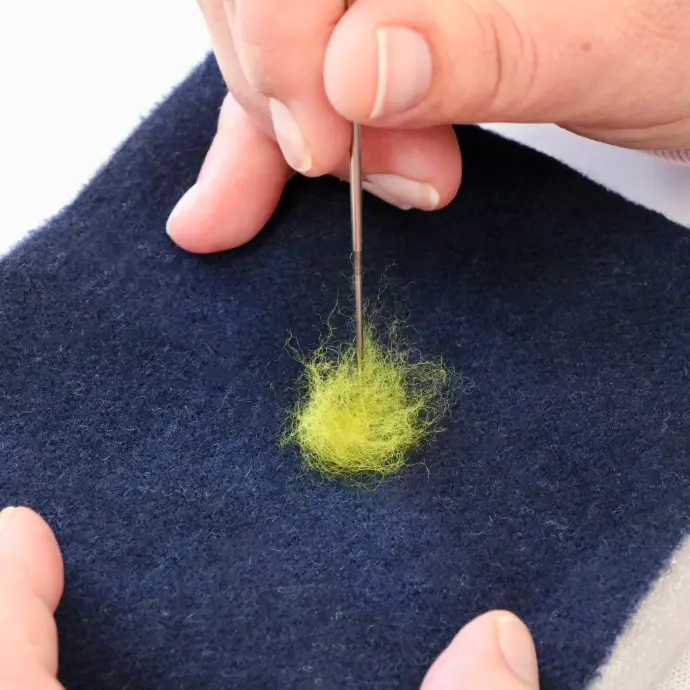
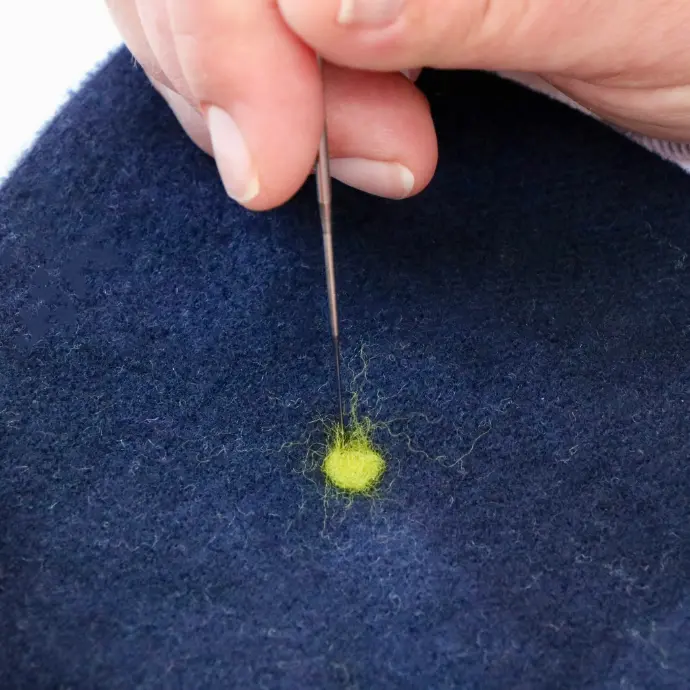
With your felting needle, begin to pierce the roving through and around the hole. Make sure some of the roving overlaps with your wool so it has something to hang onto, rather than going right through the hole. Repeat this step over and over again, stabbing through all of the layers until your roving appears to be felted and is smooth against your background.
TIP: You may want to periodically lift your wool off of the foam block to separate any roving fibers that may be stuck in the block.
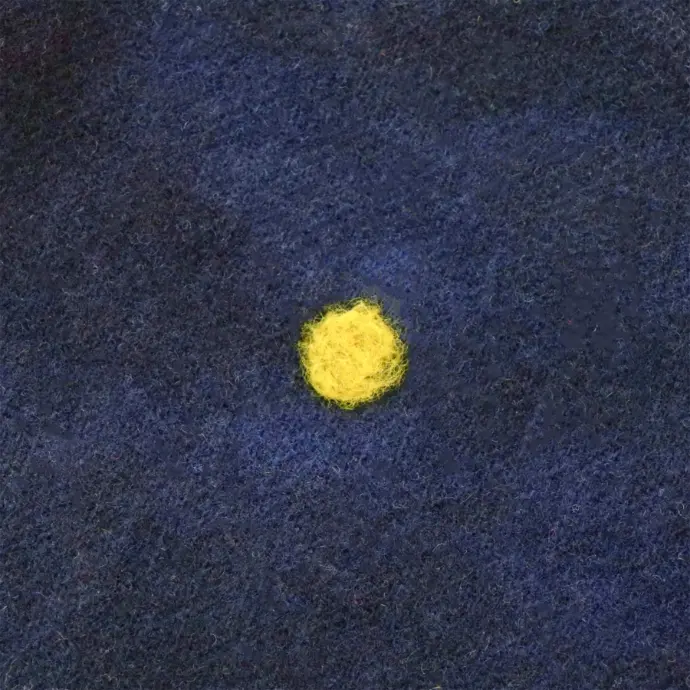
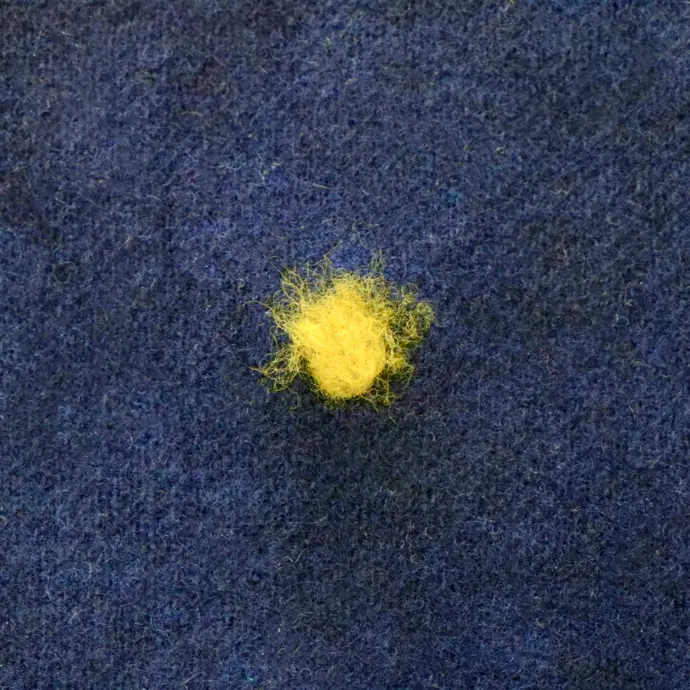
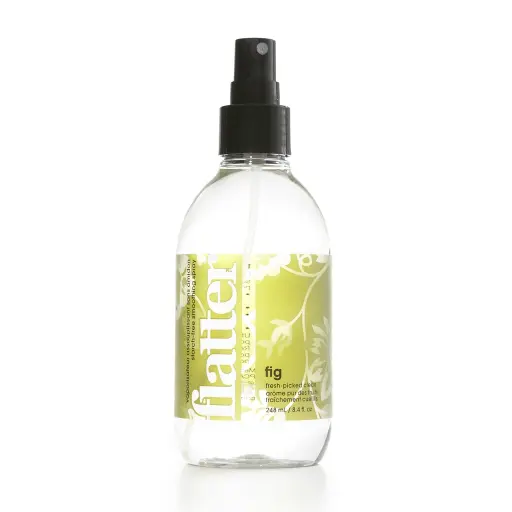
We sprayed some Flatter Smoothing Spray on our piece and ironed it all out to finish. When you are done, the back side may look a bit fuzzy, but that is nothing to worry about. You are ready to enjoy your newly needle felted piece!
Crochet
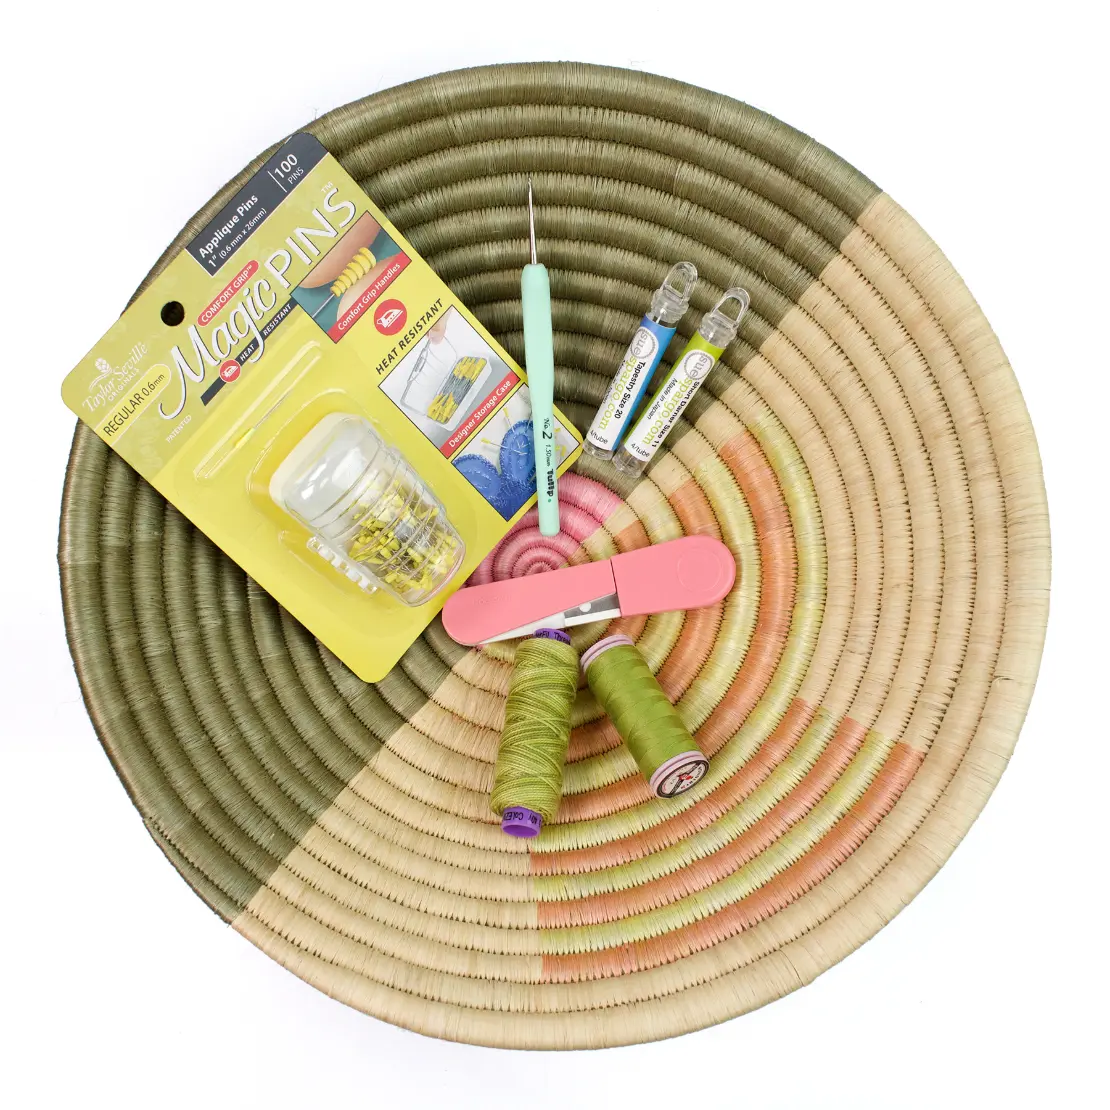
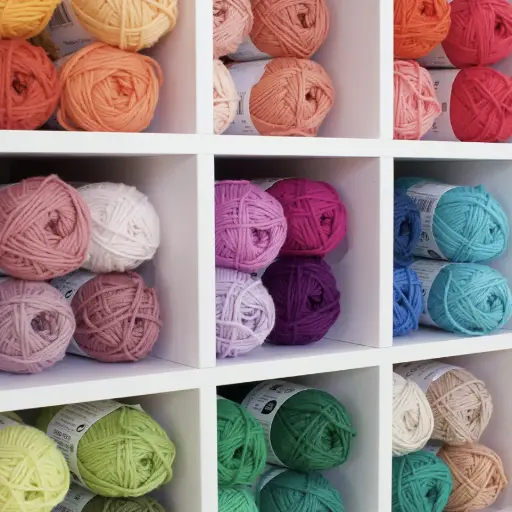
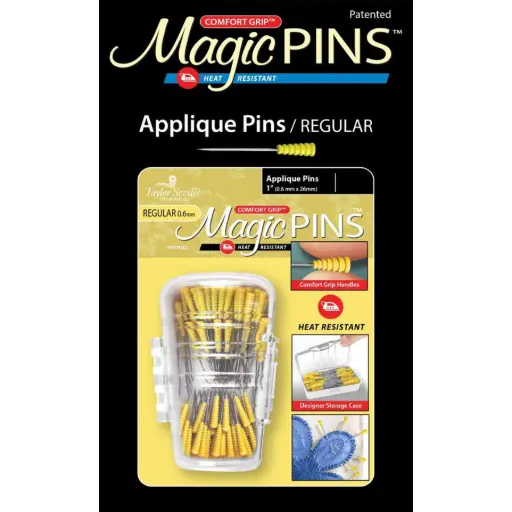
Supplies
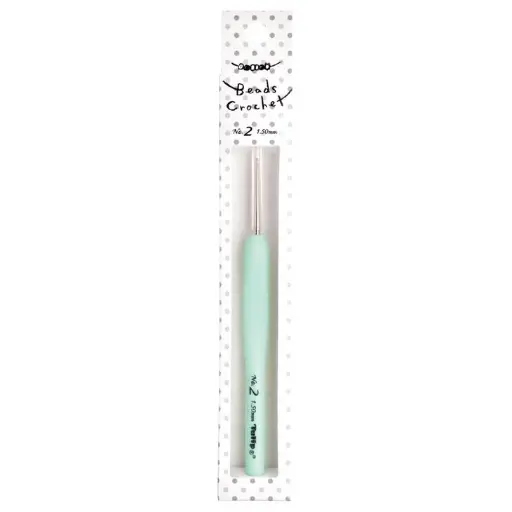
- 1.50mm Tulip Bead Crochet Hook No. 2
- Eleganza Thread (we used #5) or other Embroidery Thread
- Efina Cotton Appliqué Thread
- #11 Short Darner Needle
- #20 Tapestry Needle
- Thread Snips
- Magic Appliqué Pins
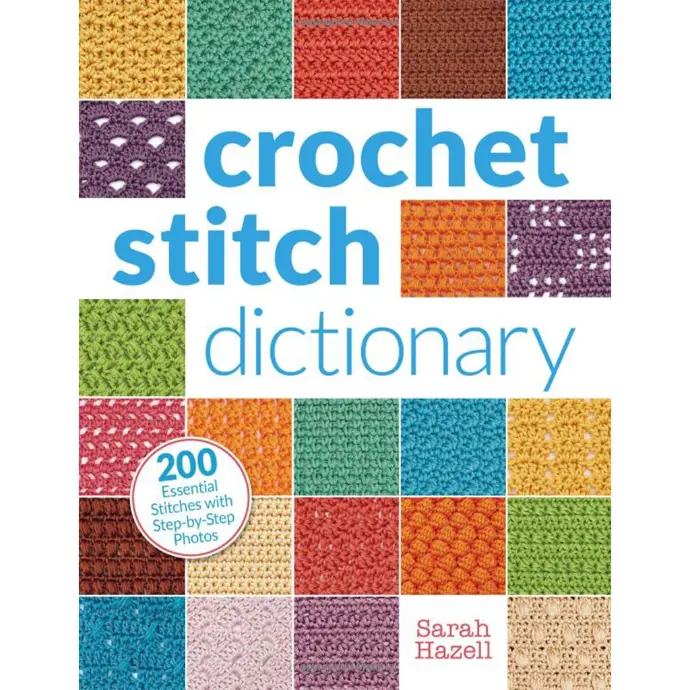
If you are new to crocheting or are just looking to learn new techniques, we highly recommend the Crochet Stitch Dictionary, which will cover basic to advanced methods with step-by-step photo instructions.
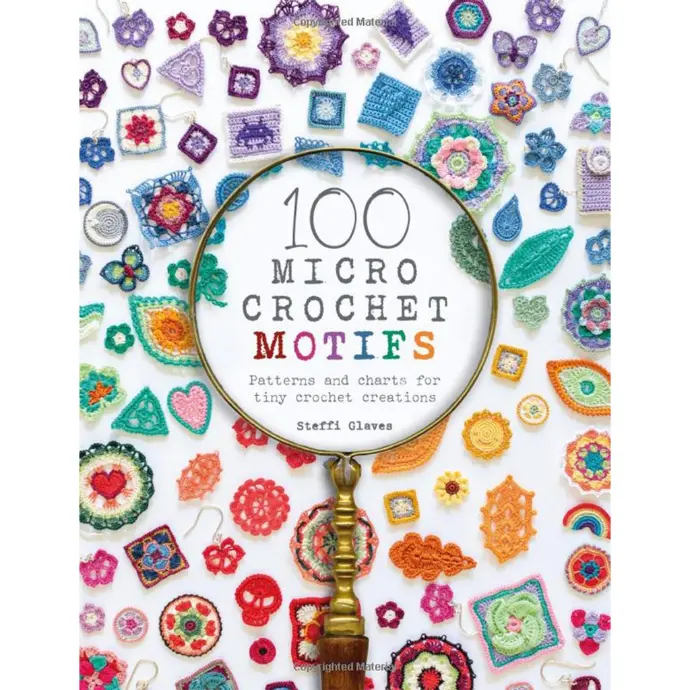
For more experienced crocheters, the 100 Micro Crochet Motifs book is filled with tons of small patterns and ideas, perfect for patching small holes in garments or adding adorable micro crochets to embroidery projects! From tiny elephants to blanket squares and more, you won't run out of unique little projects to make.
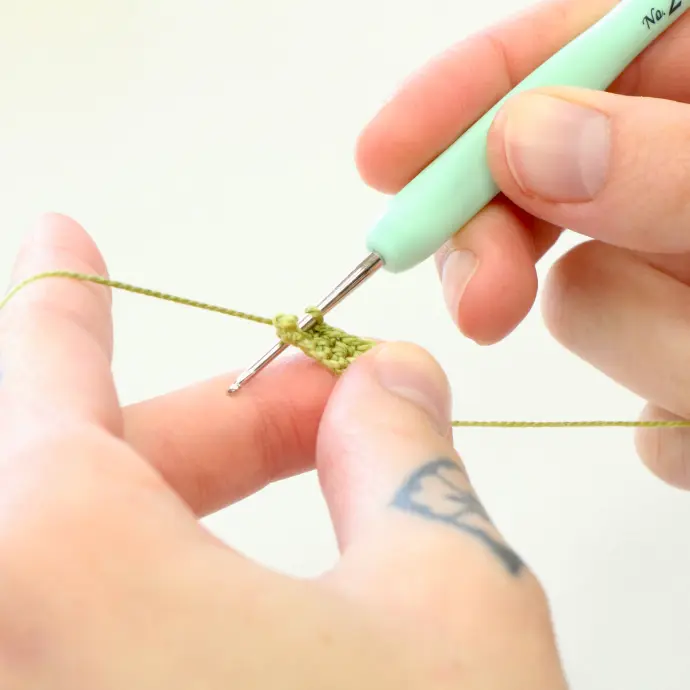
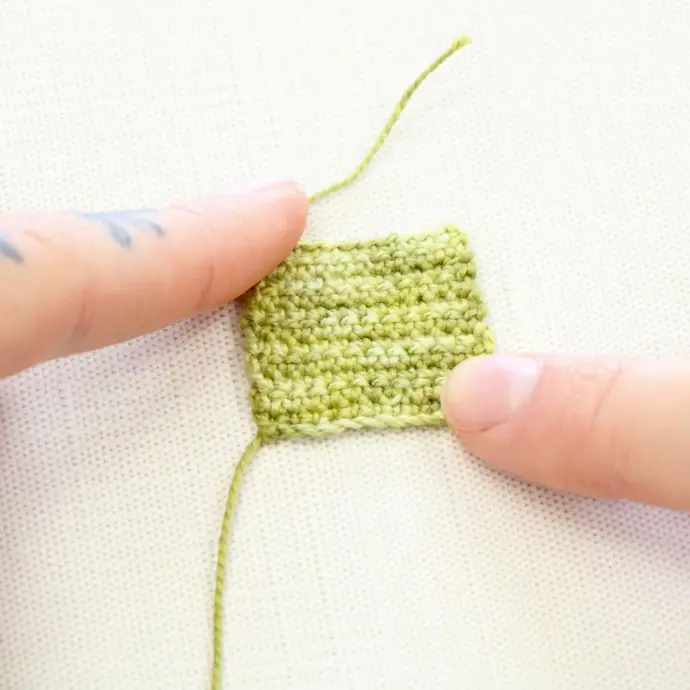
First, crochet your desired shape with your choice of thread or yarn. For our sample, we kept it simple with a basic Single Crochet square. We used our #5 Eleganza thread with the Tulip Bead Crochet Hook, suitable for small threads, but you can also use yarn and a corresponding crochet hook. Refer to the Crochet Stitch Dictionary book for more stitch and shape instructions!
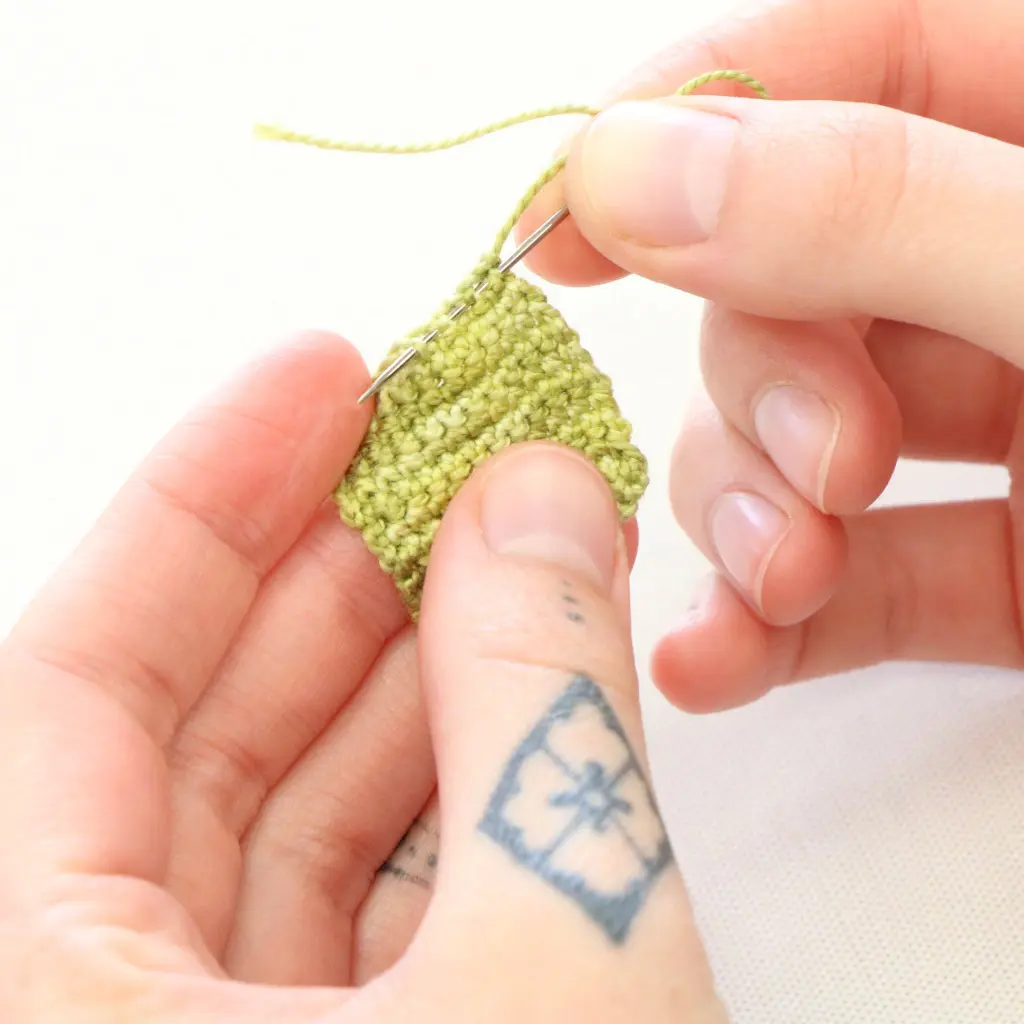
Weave in the tails of thread at the start and end of your crocheted shape with a tapestry needle.
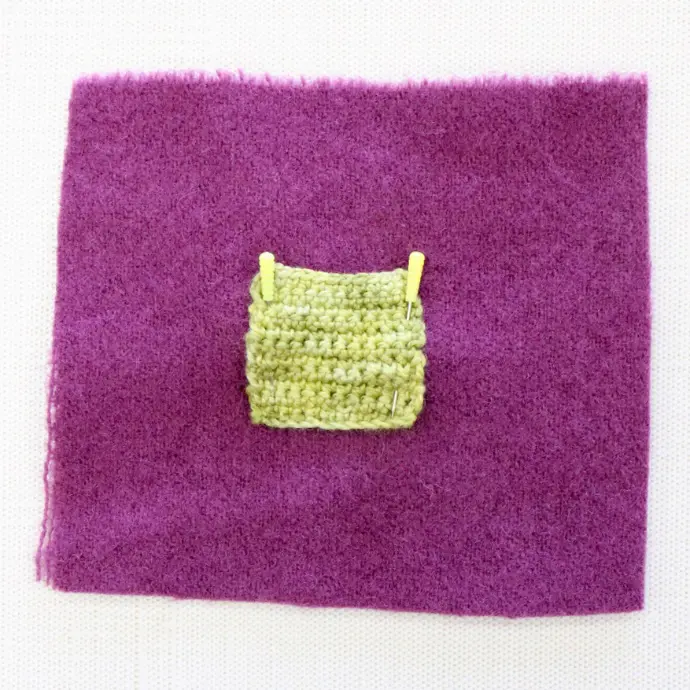
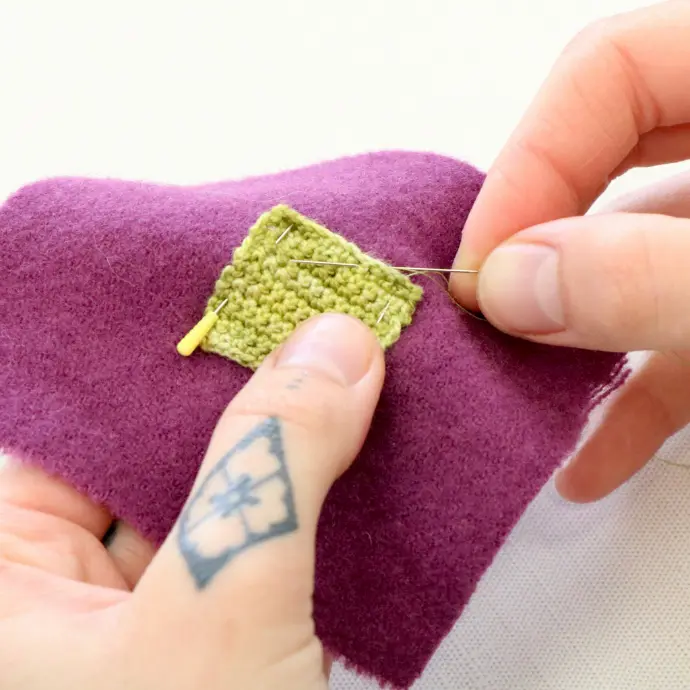
Now, we will appliqué our crocheted square over the hole in our fabric. Pin your shape so that it covers the worn area. Then, use a whip stitch all around your shape to appliqué onto your fabric.

Flip your piece over, and weave in your appliqué thread, making sure to only go through the layer of fabric and not through the crochet sample.
All done! Now, sport your good-as-new garment with the adorable crocheted patch!
Samples

Create