Discover the mesmerizing world of triaxial fabric weaving! Using the Mx Domestic Weaver Tool, we’ll show you how to transform six gorgeous fabrics into an intricate woven panel where stars and dimensional 3D cubes emerge through the interplay of color and pattern.
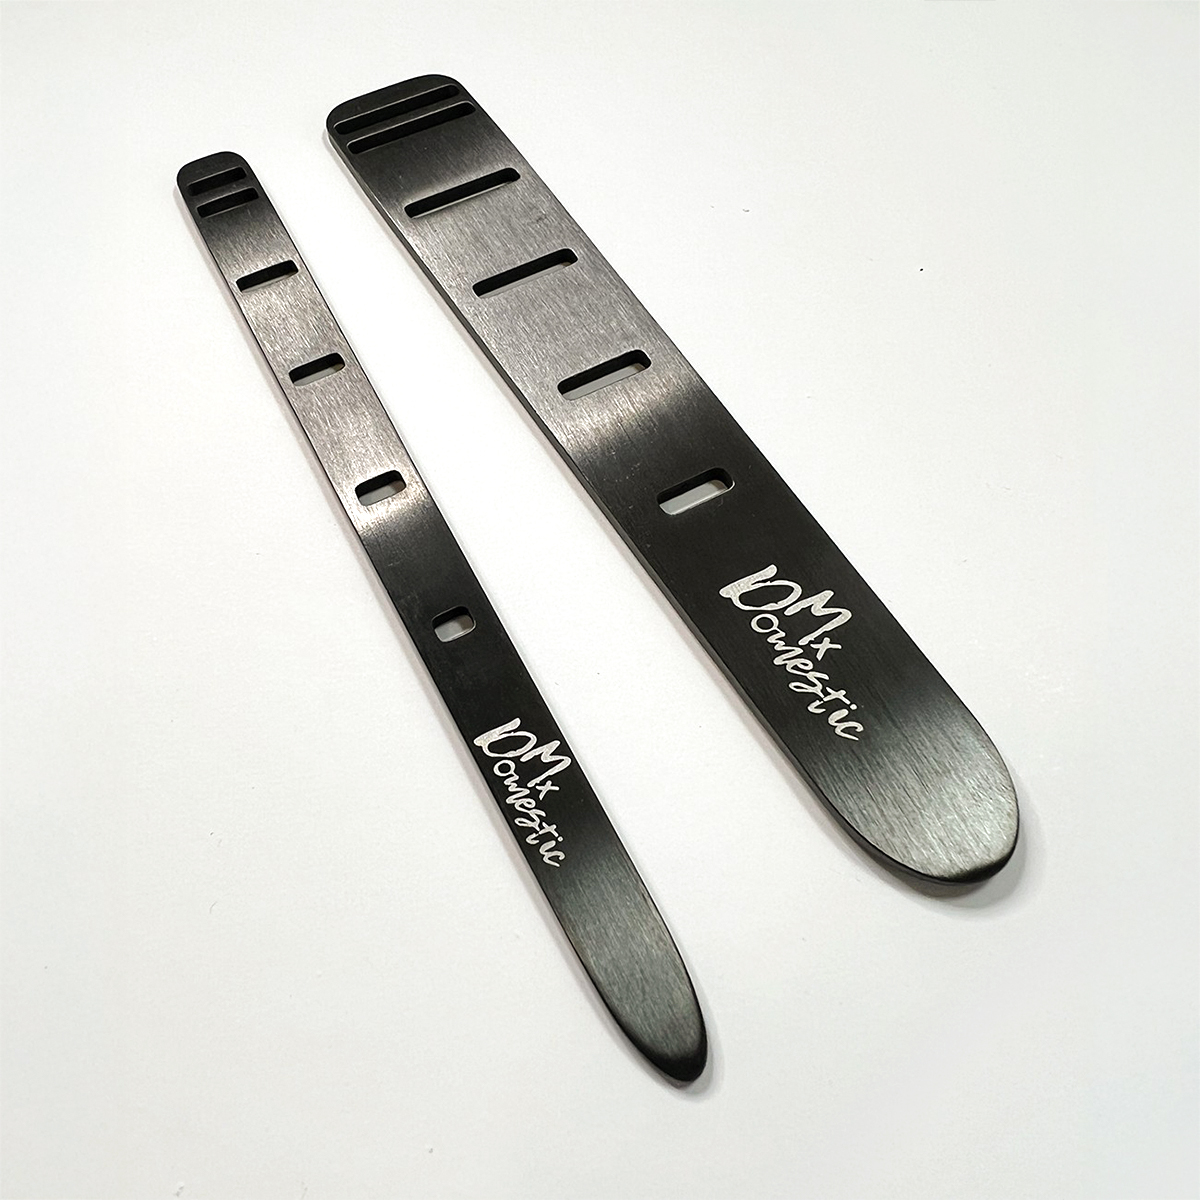
See How It's Done
Our Version
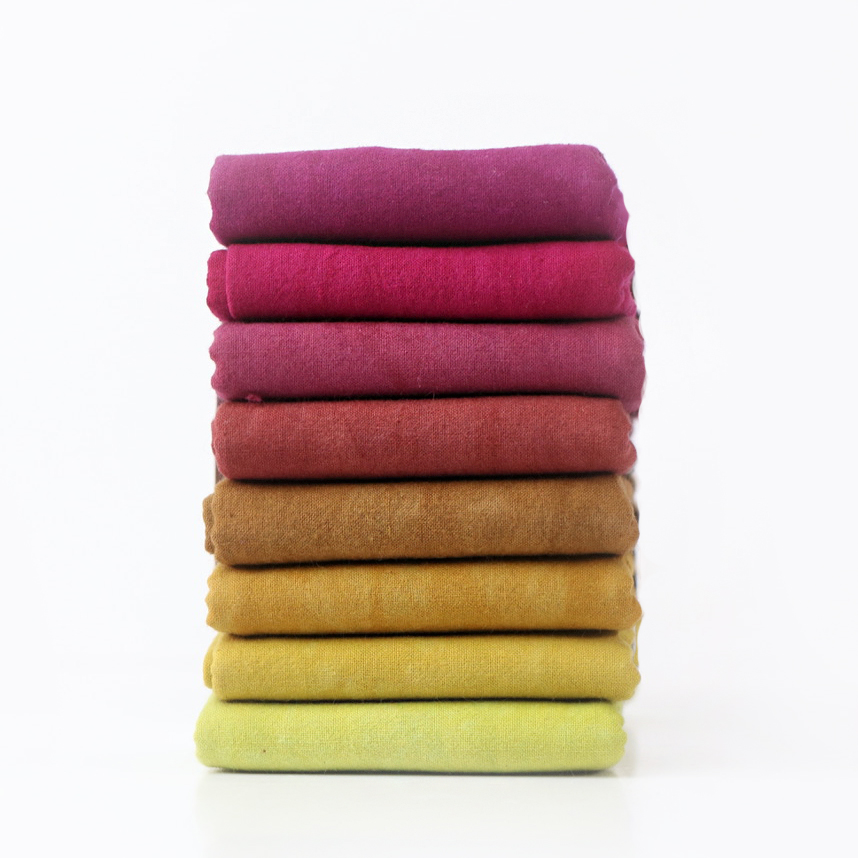
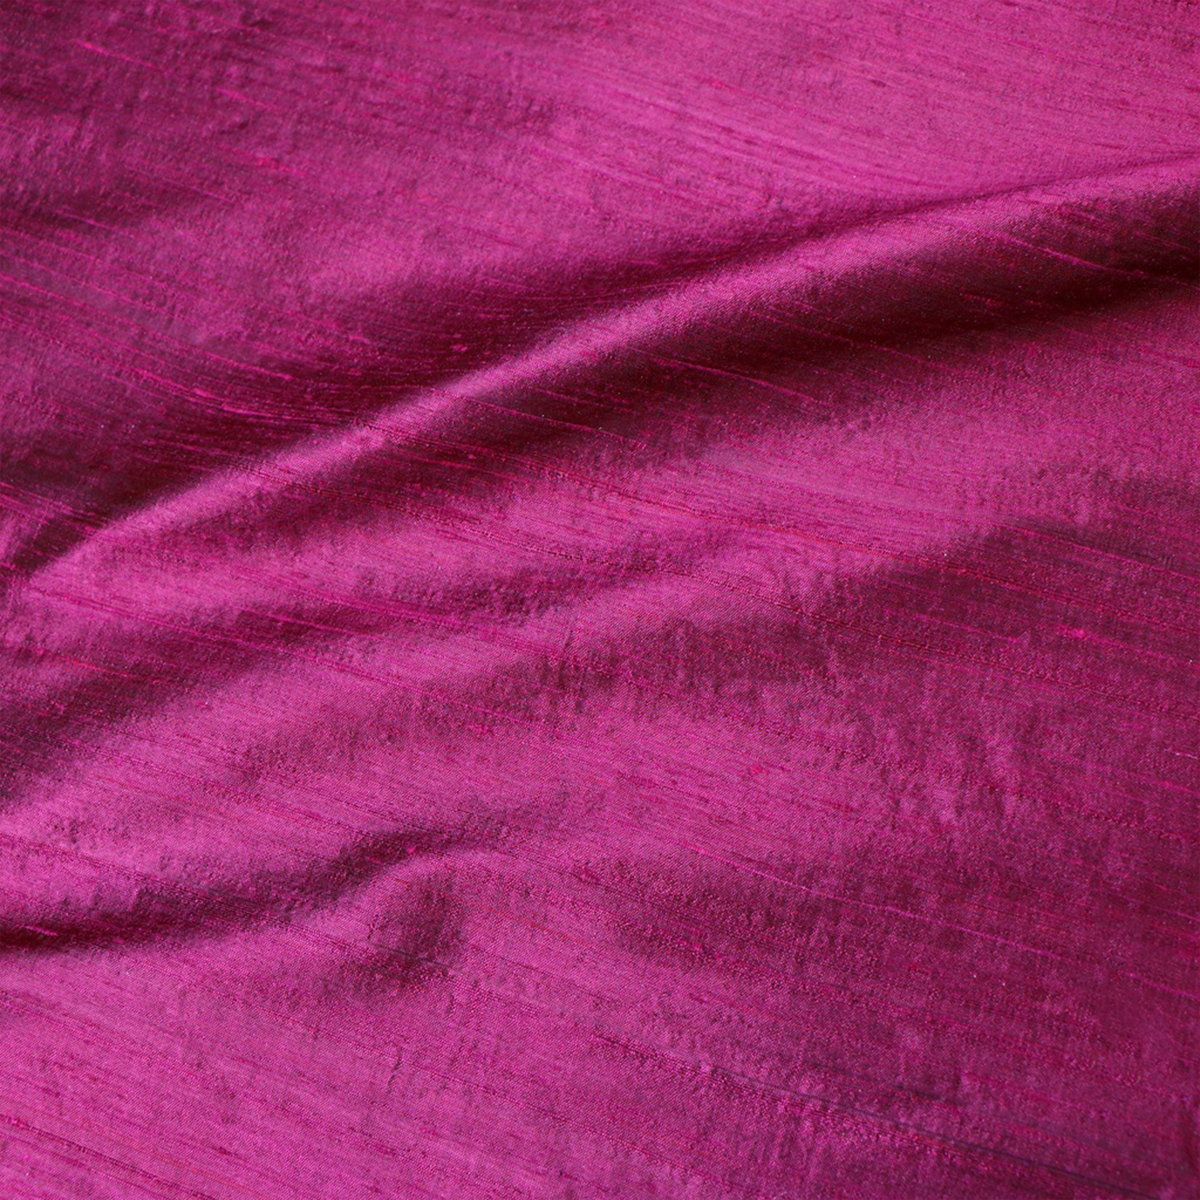
For our version of the Woven Stars Panel, we paired velvety Cherrywood Hand Dyed Fabrics with luminous Dupioni Silks, creating a beautiful interplay of color, sheen, and texture. Follow along as we guide you through the weaving process, then dream up all the ways to use your finished panel, from pillows and totes to quilts, wall hangings, and more.
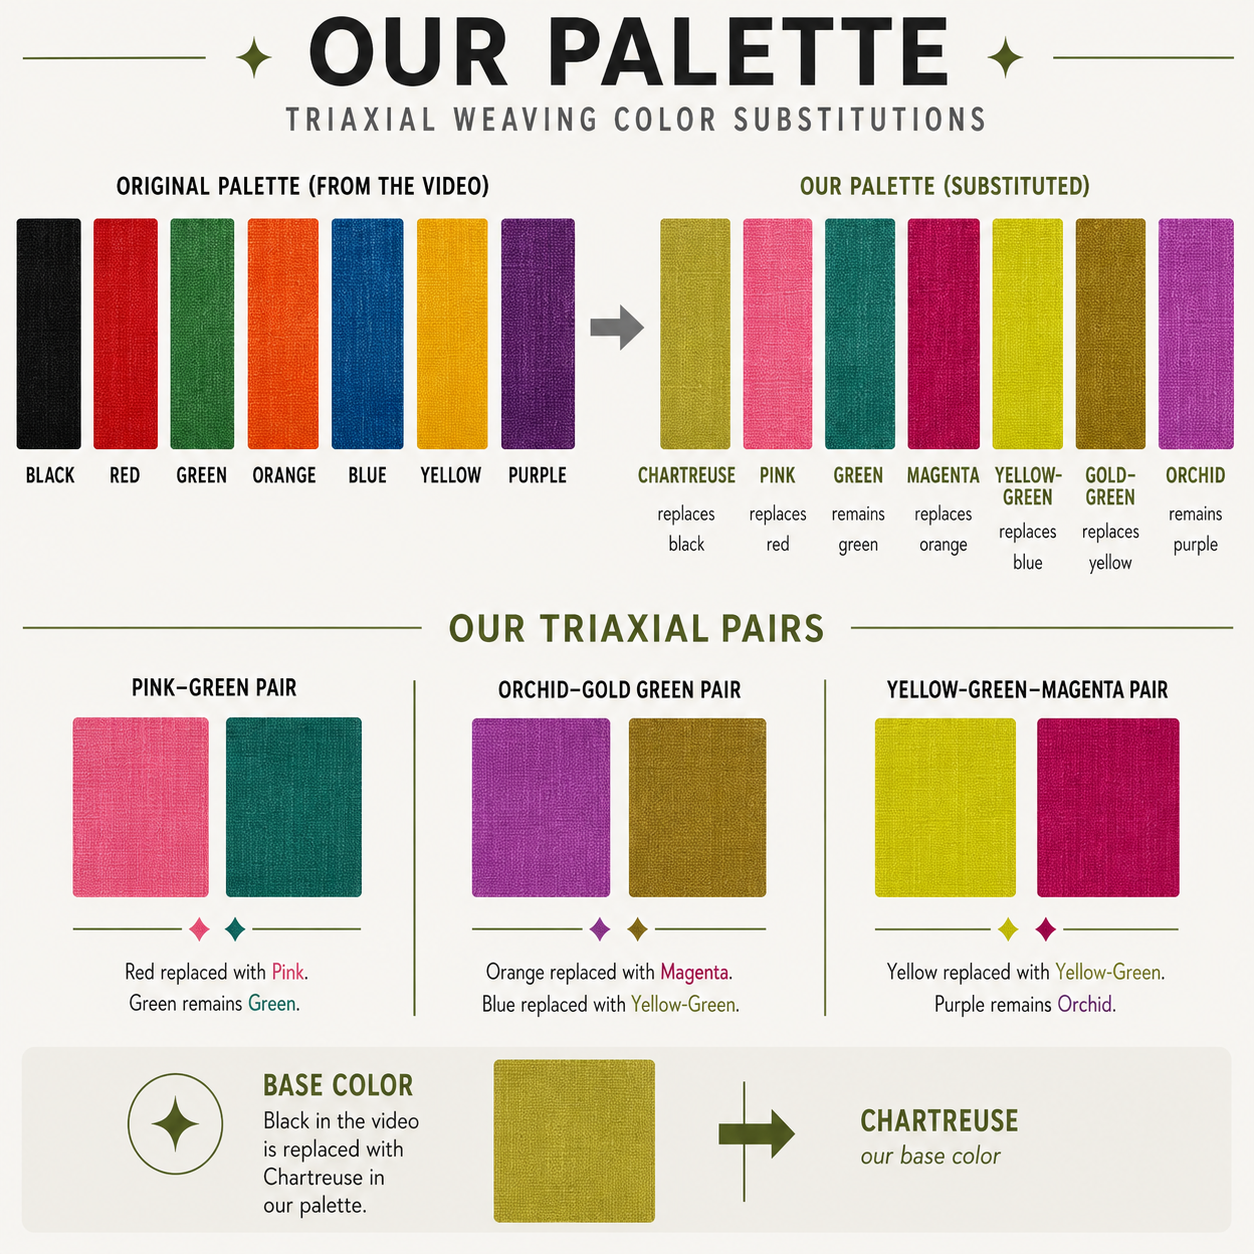
We experimented with a more limited color palette than the one Mx. Domestic used in the tutorial video above. To create a similar look, start by choosing two color families to weave together. We chose greens and pinky purples.
Next, select one fabric to serve as your base color, taking the place of the black fabric used in the video. From there, create three fabric pairs, with each pair combining one fabric from your first color family with one from your second.
The Process
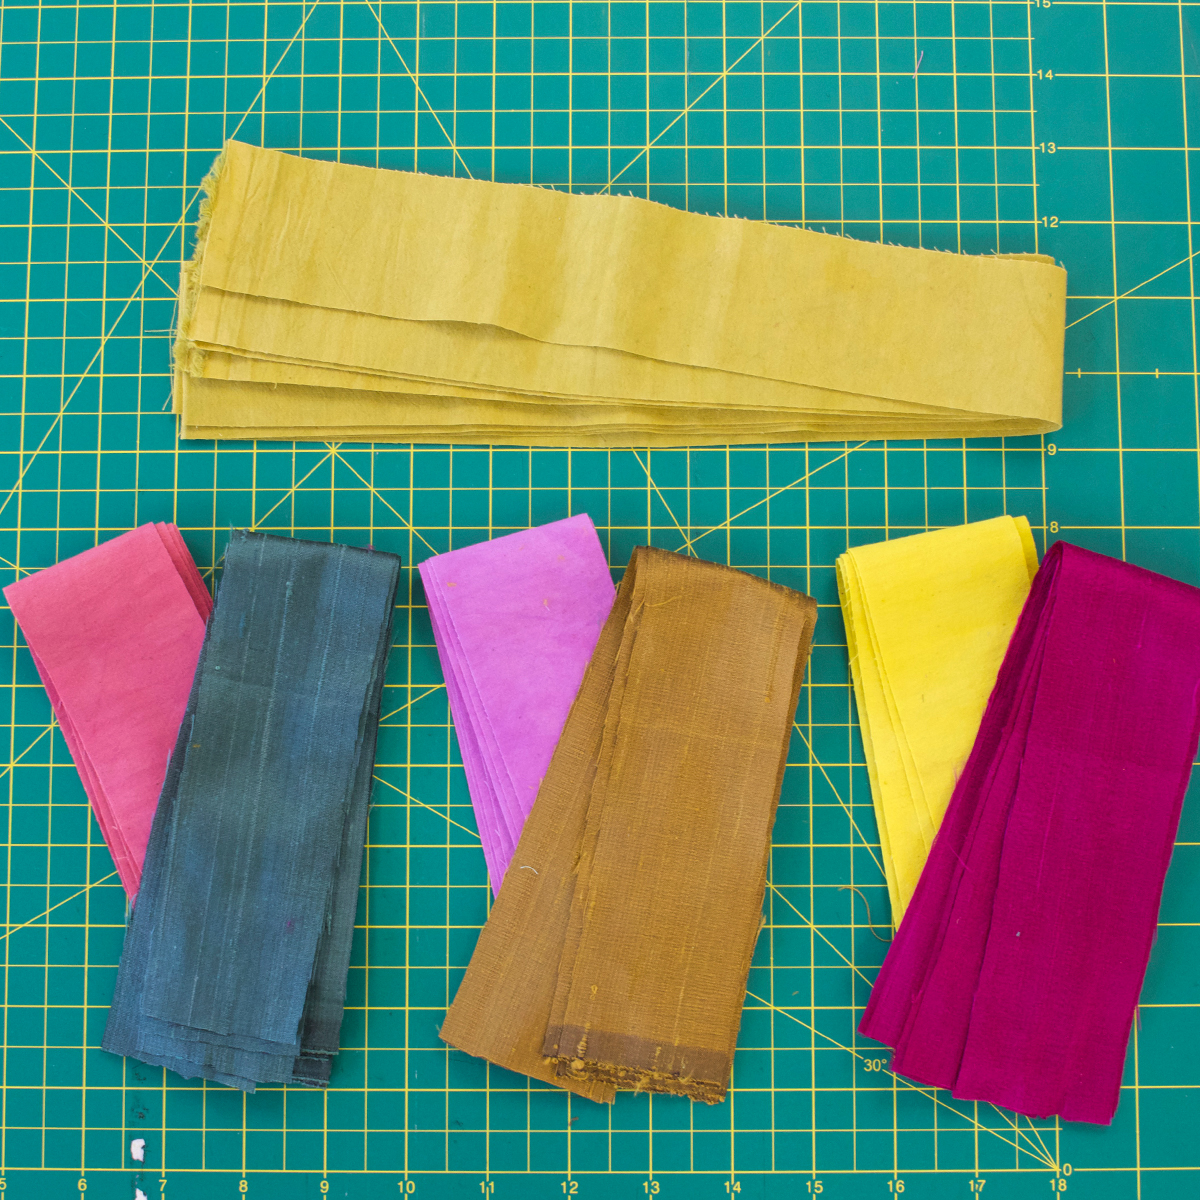
To get started, cut your fabrics into 2" wide strips. The length of your strips will depend on the size of the woven panel you’d like to create. We cut our strips approximately 15" long, which gave us enough length to create a finished panel measuring about 10" x 10".
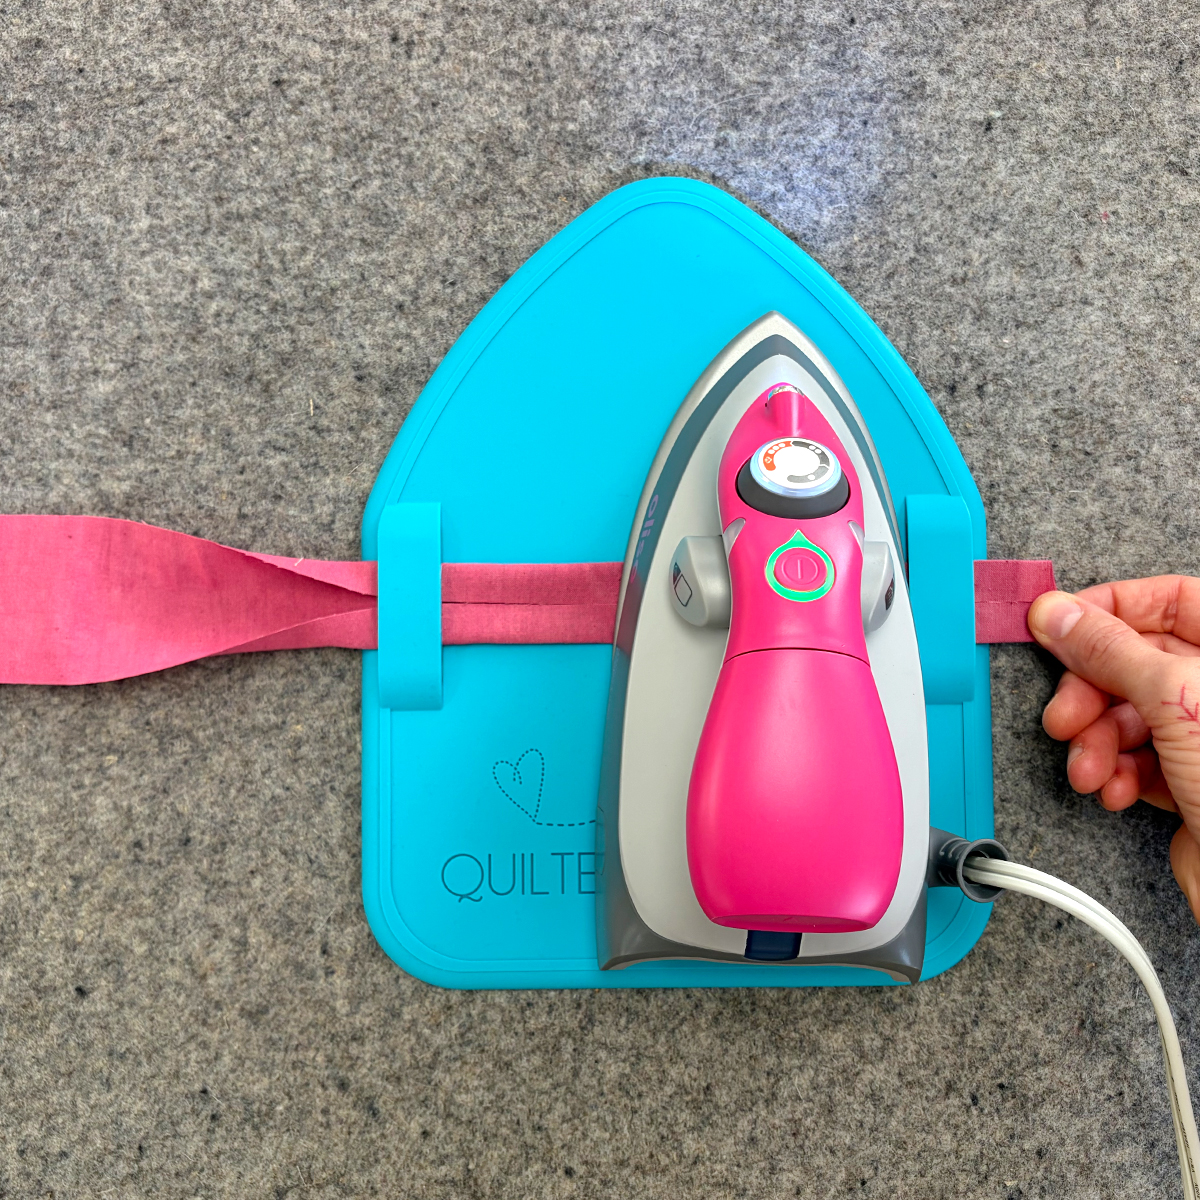
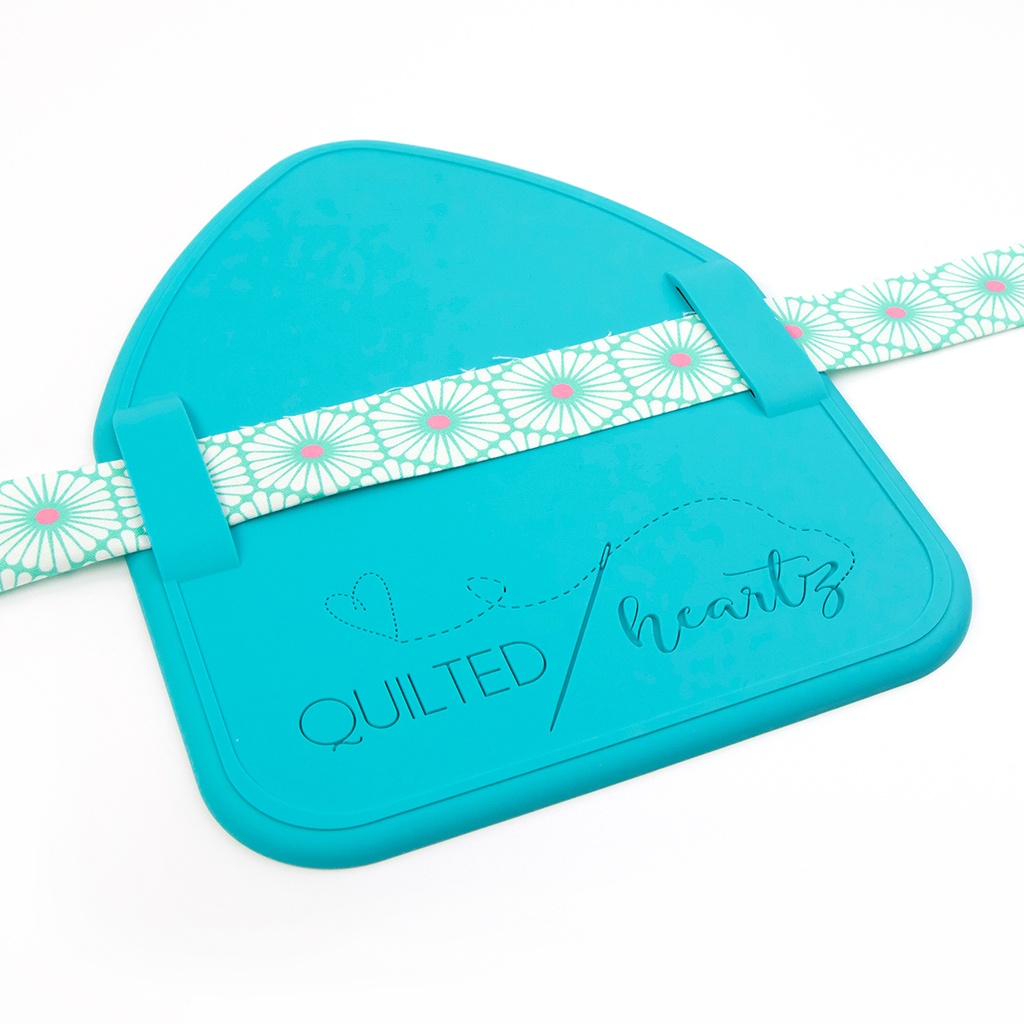
The Binding Eaze is a great tool for making quick work of folding and pressing your fabric strips, helping you create crisp, even edges with ease.
Download & Print Our FREE Triaxial Weaving Template!
We’ve created a FREE downloadable Triaxial Weaving Template to make the process even easier! Simply print, trim, and tape the pages together, then place the template beneath your work to help guide the placement of your strips and build those stunning six-color stars and dimensional cubes.
*Be sure to print the template at 100% size for accurate spacing.
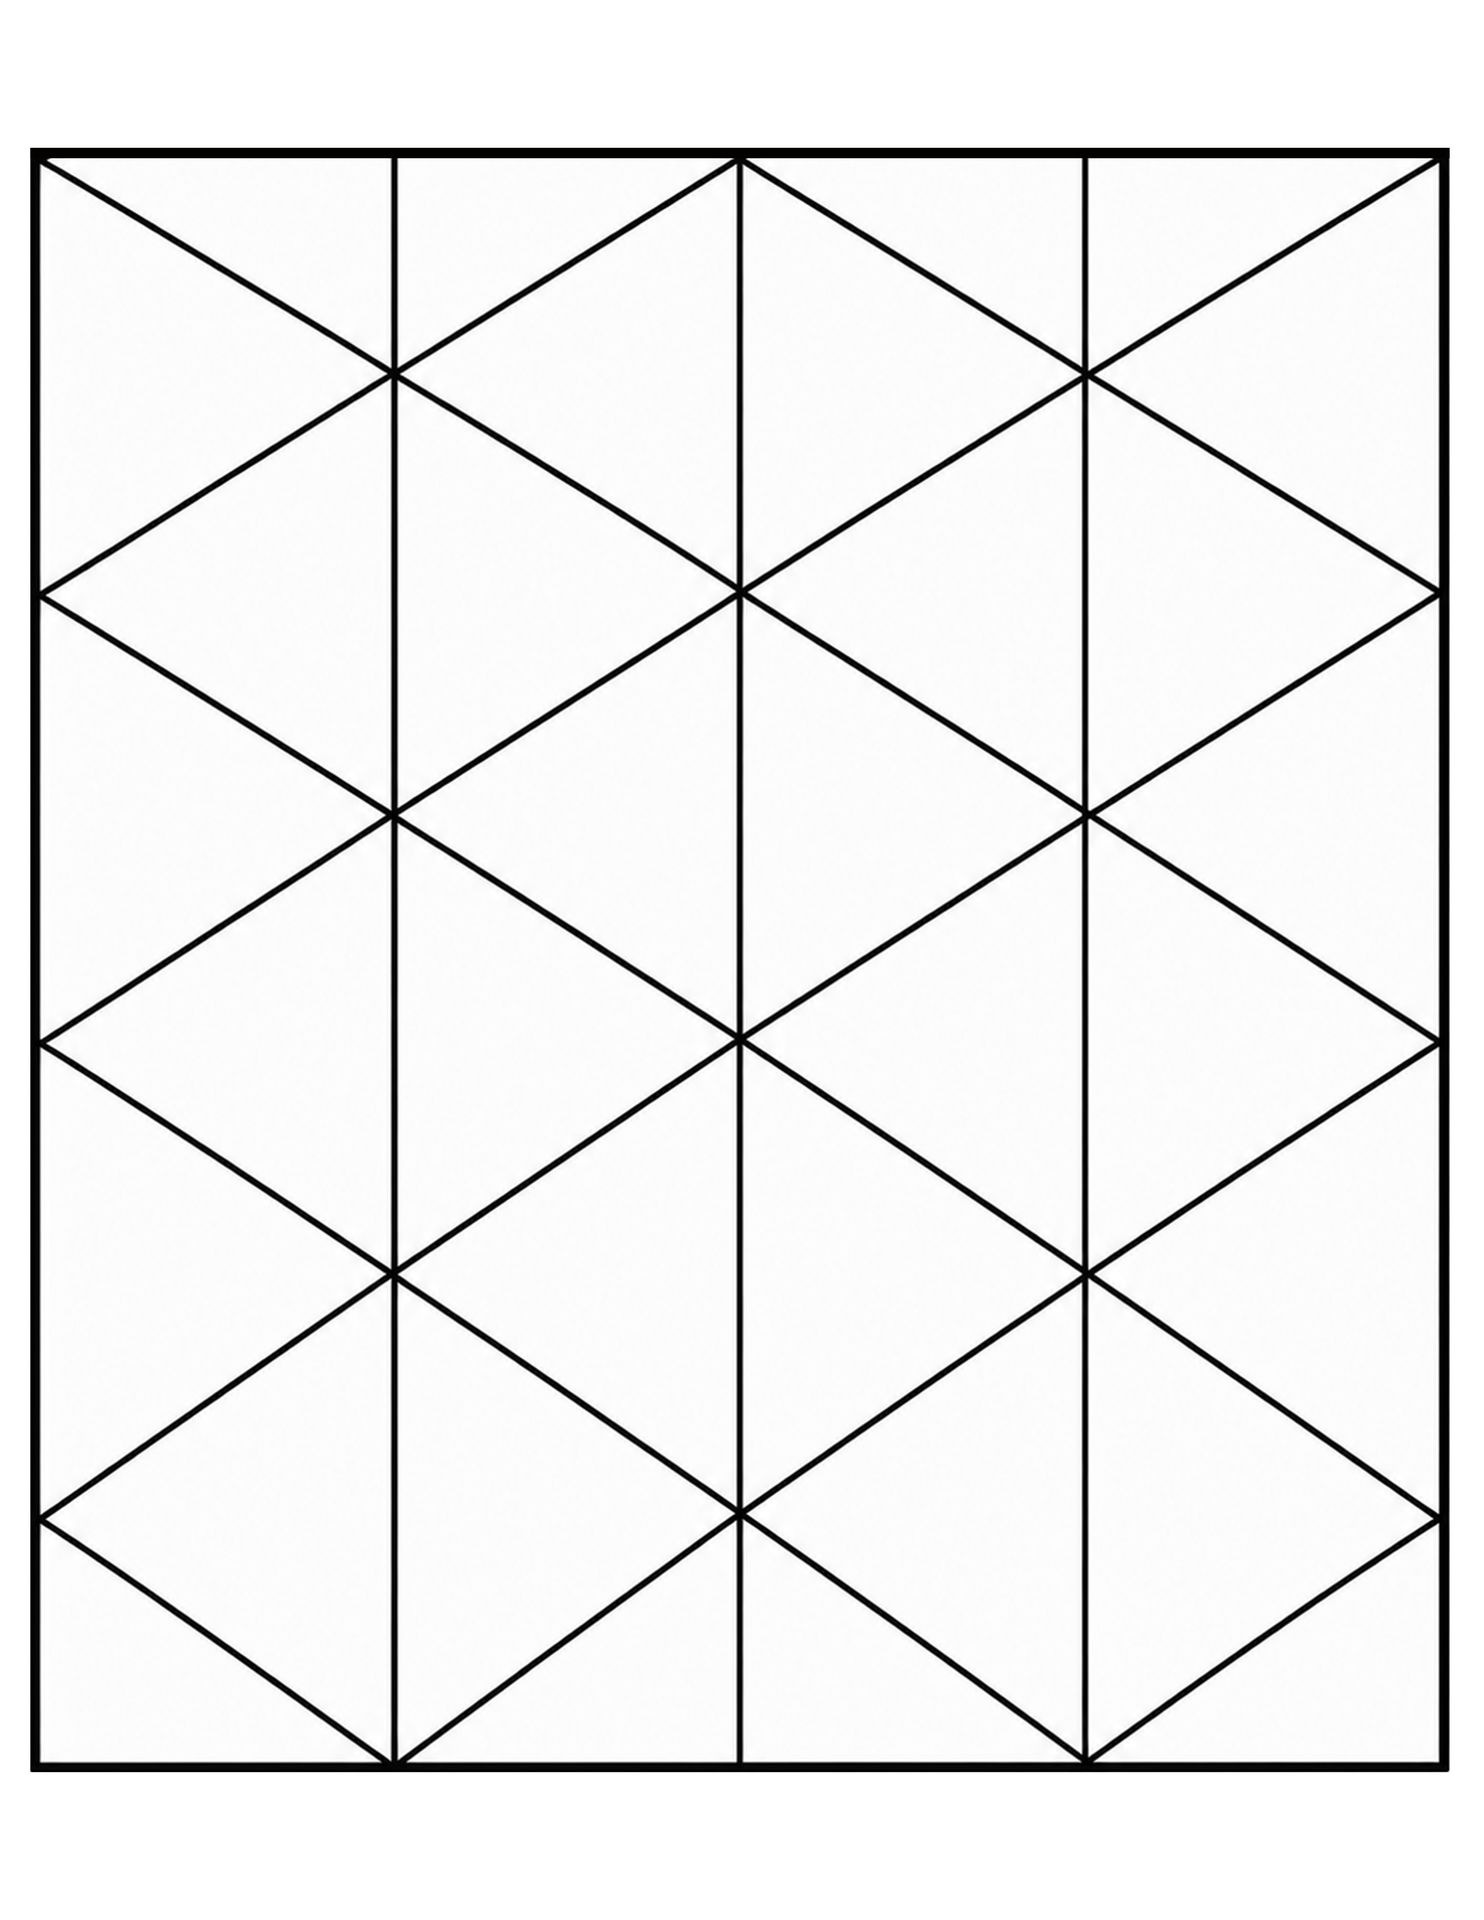
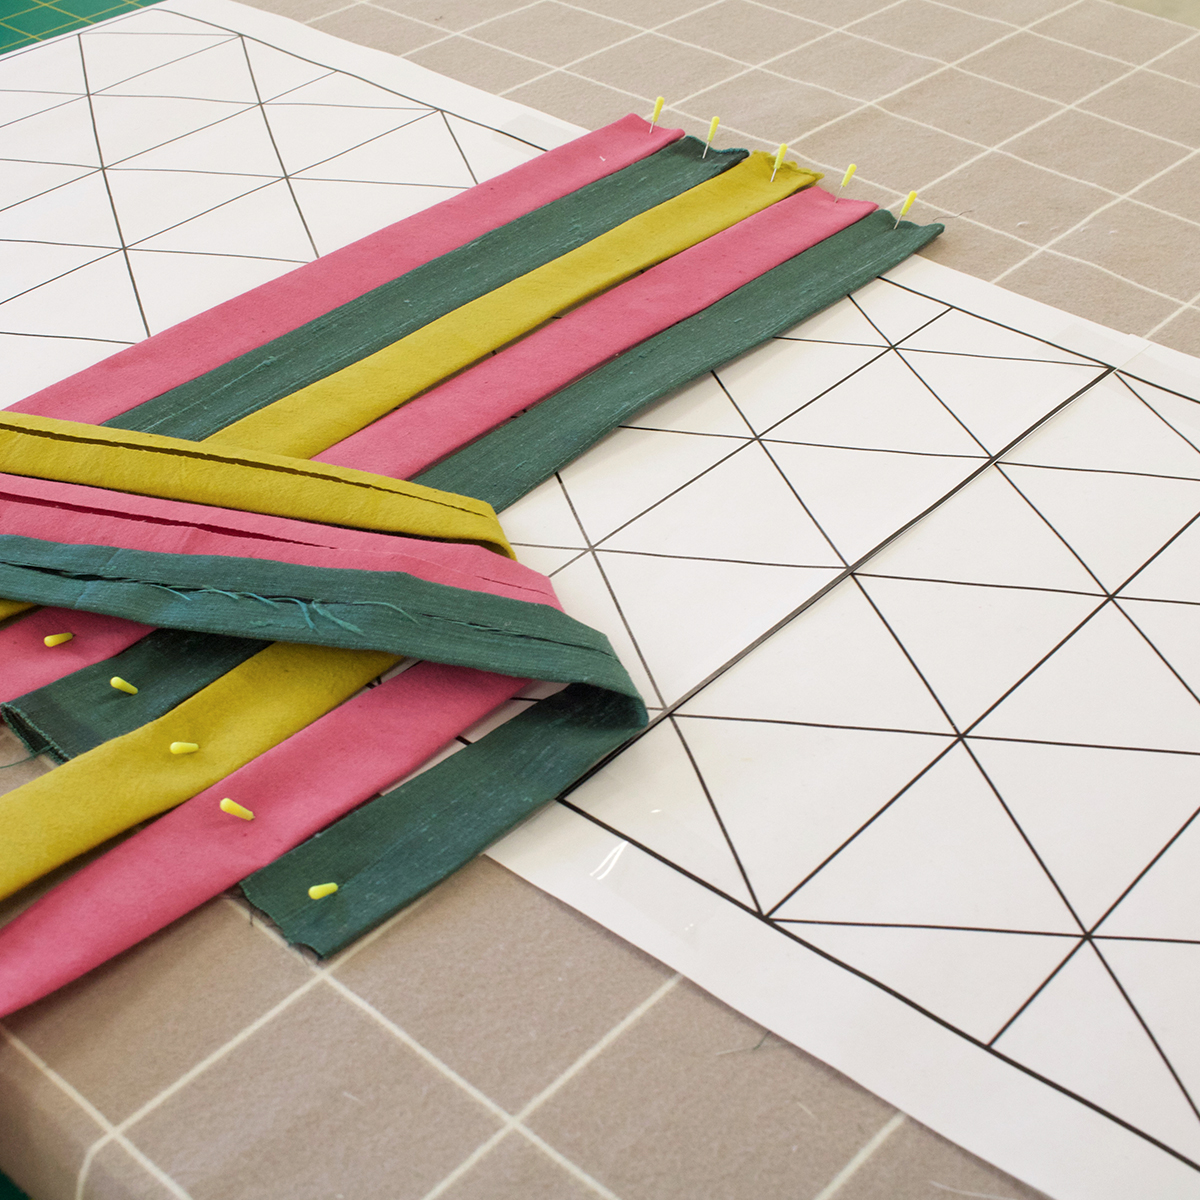
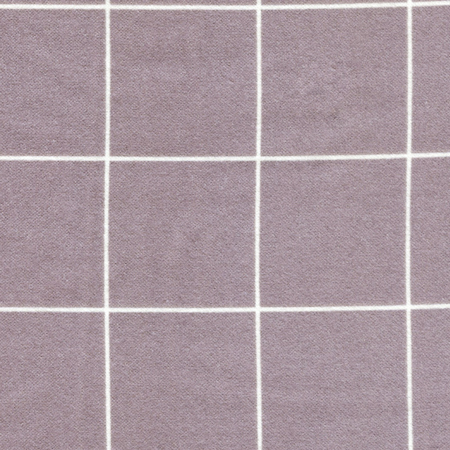
You can see here how we’re using the printed template as a guide, arranging our fabric strips directly on top to keep the angles and placement consistent as the design takes shape. Our template is placed over a piece of foam board wrapped in Kaffe Fassett Flannel Design Wall Grid fabric, which provides a helpful surface for arranging and securing the strips as you weave. Foam board can easily be found at your local hardware store.
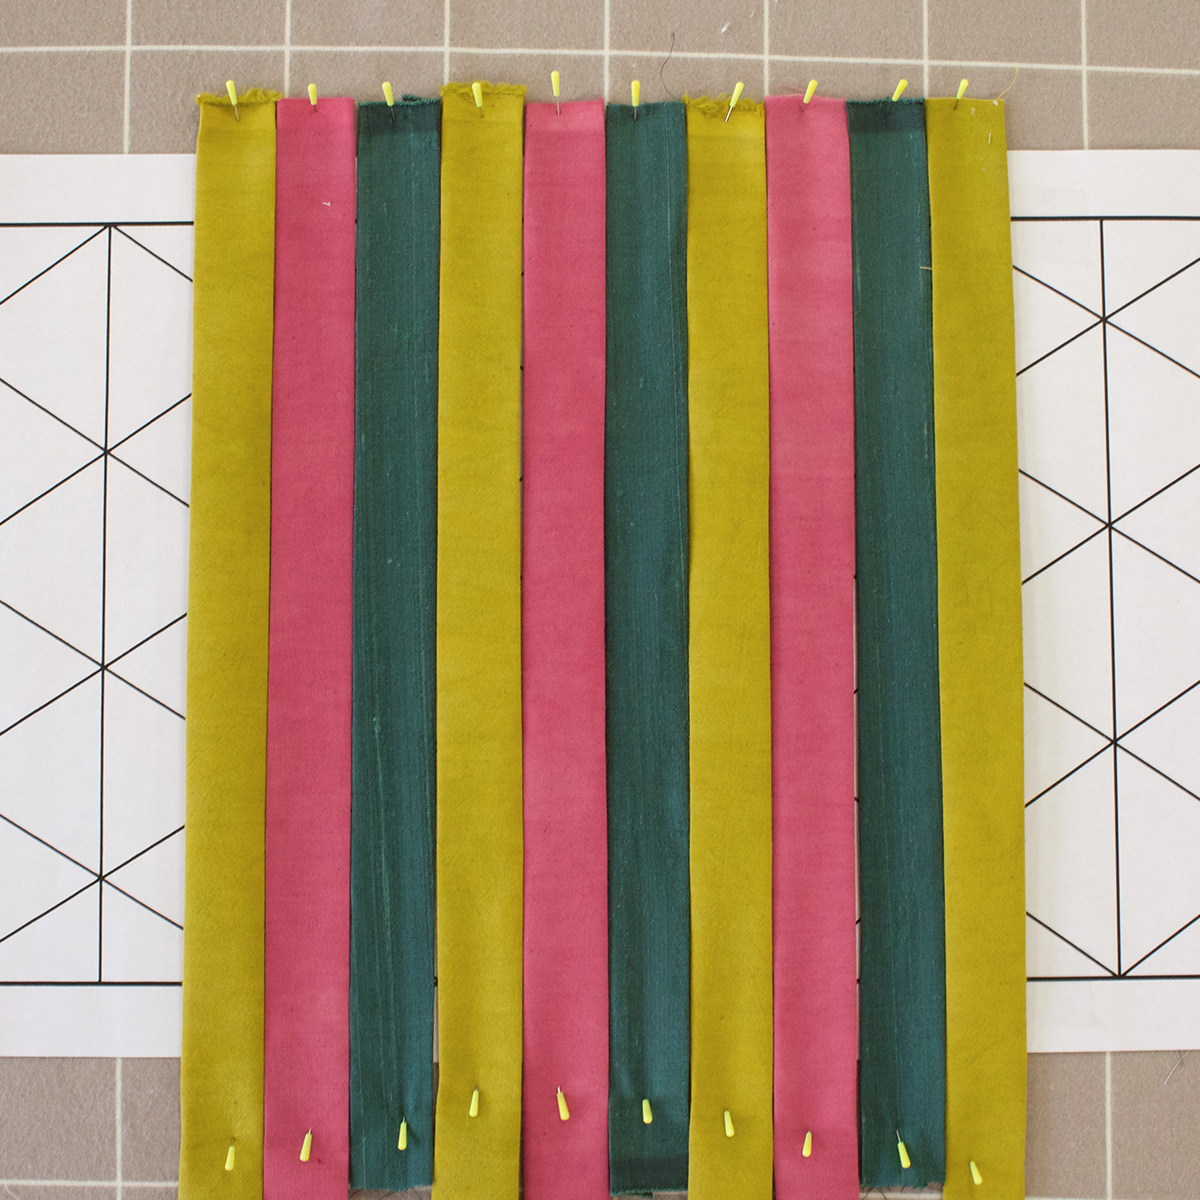
Layer 1 Completed
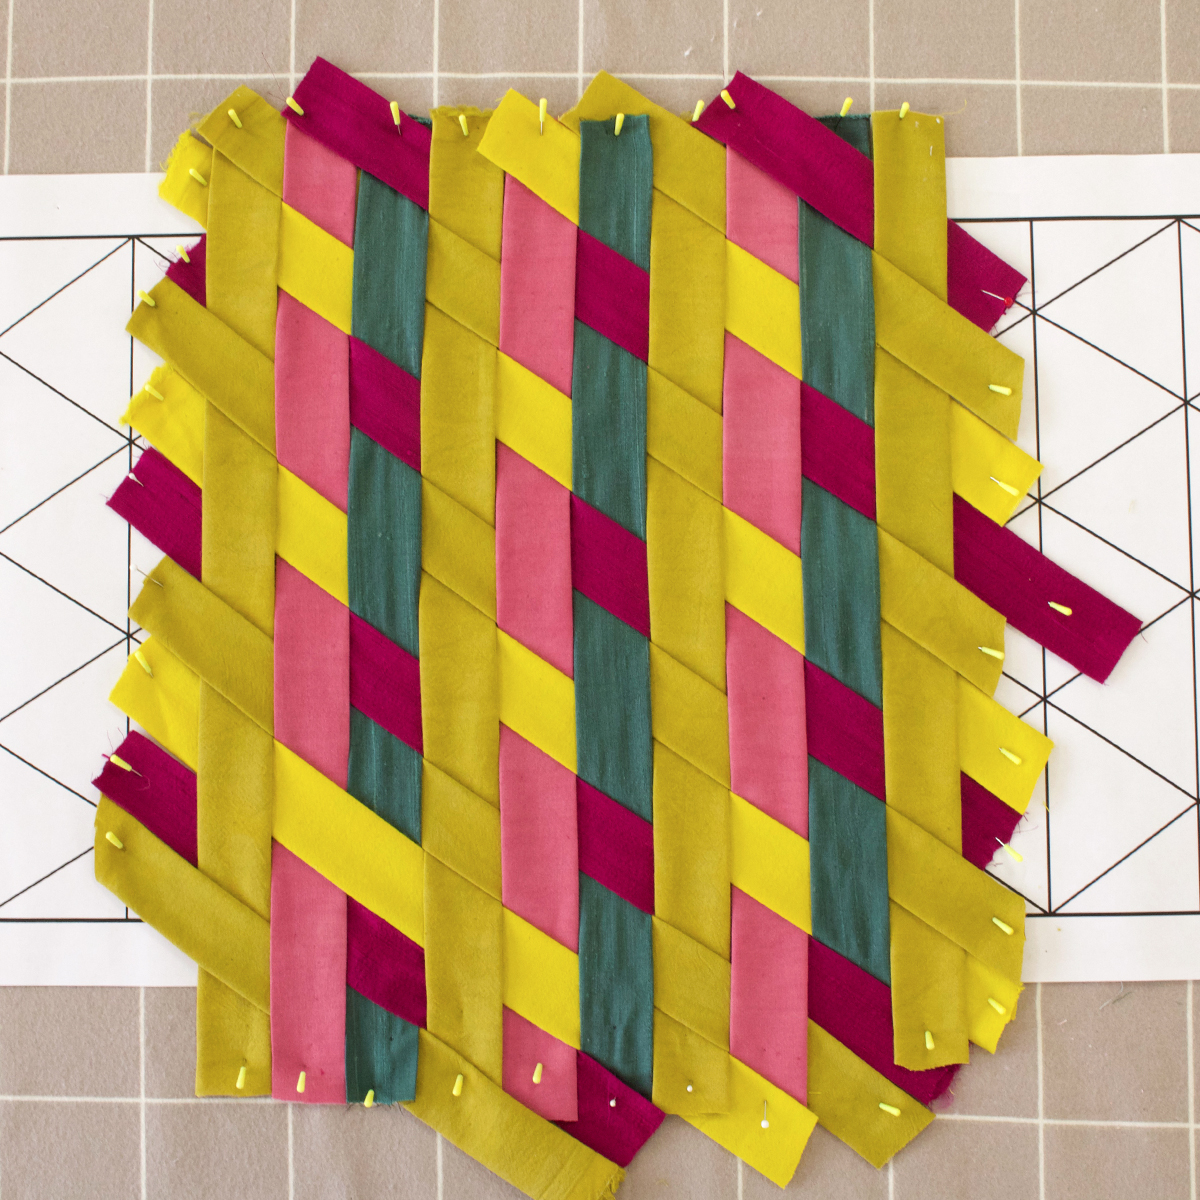
Layer 2 Completed
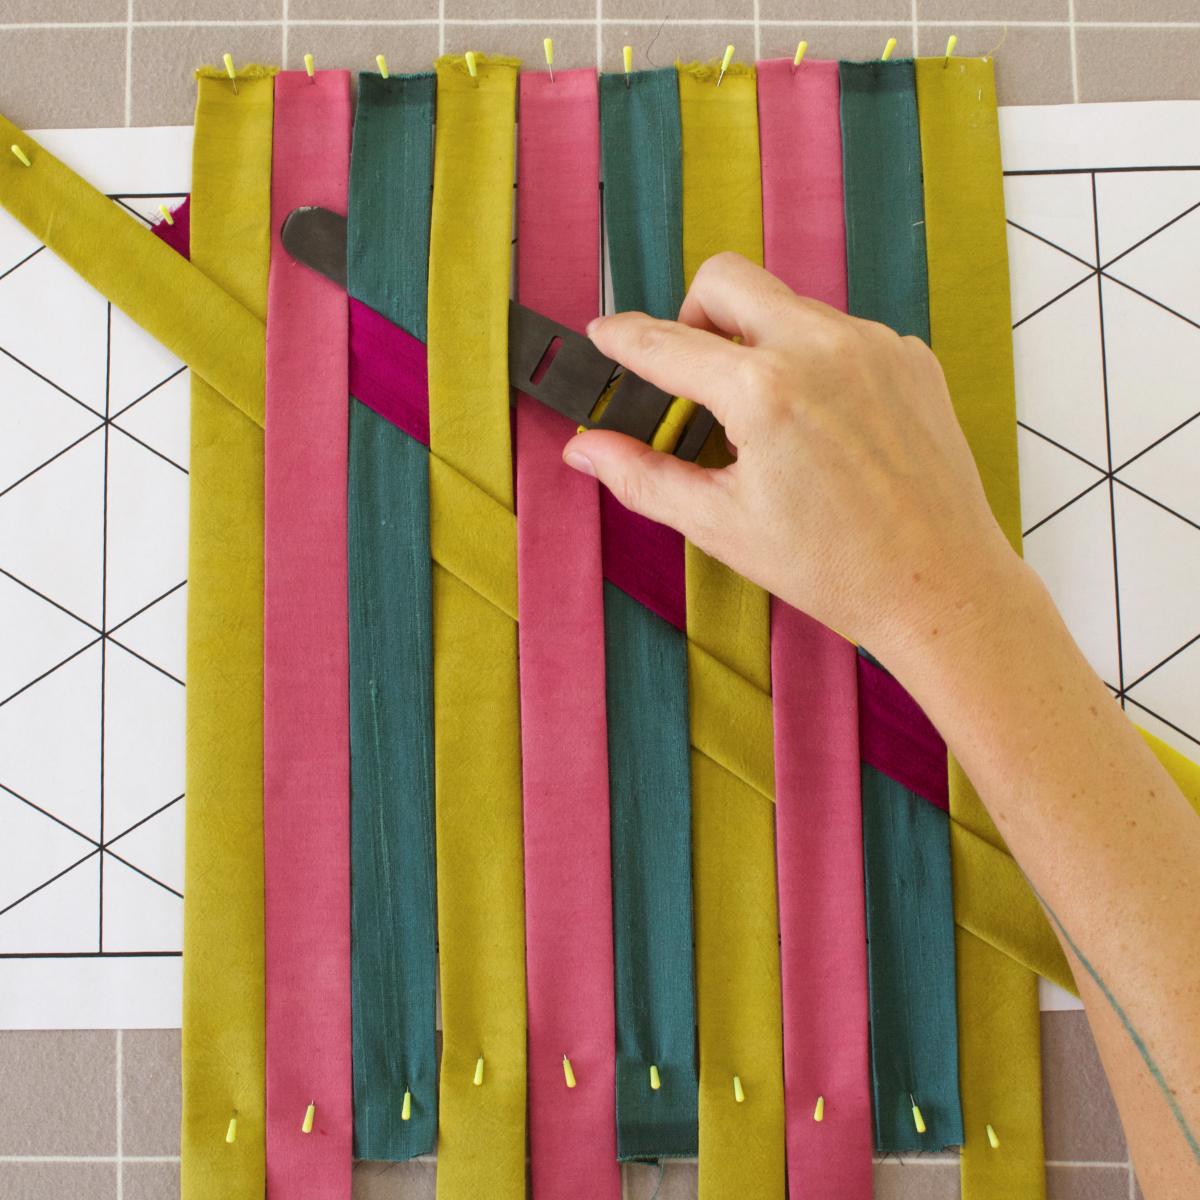
Starting Layer 2
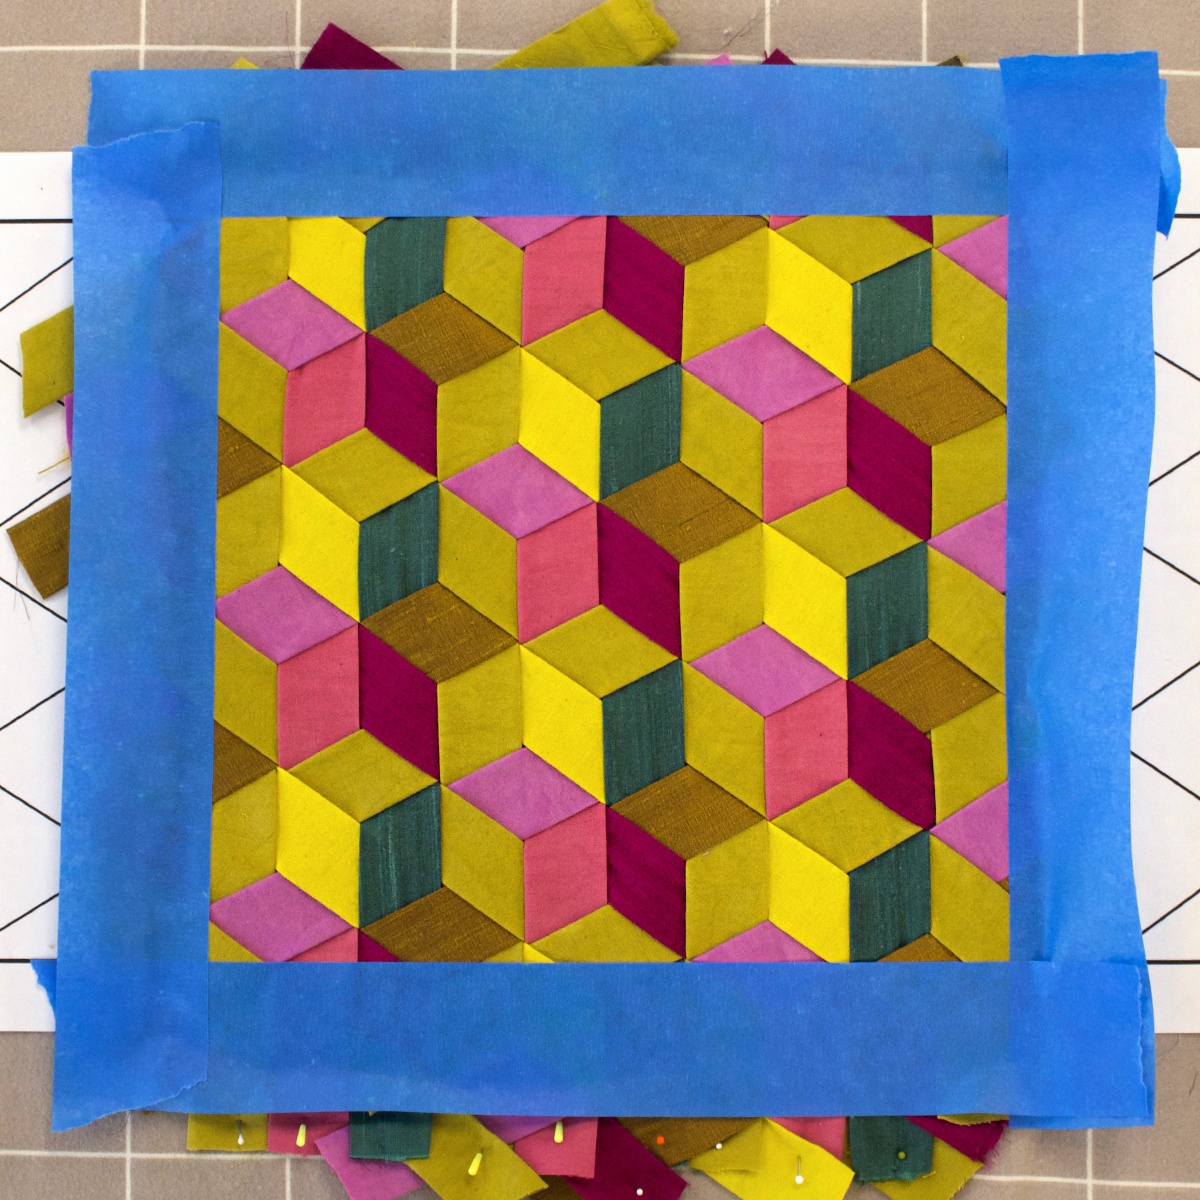
Layer 3 Completed with Edges Taped
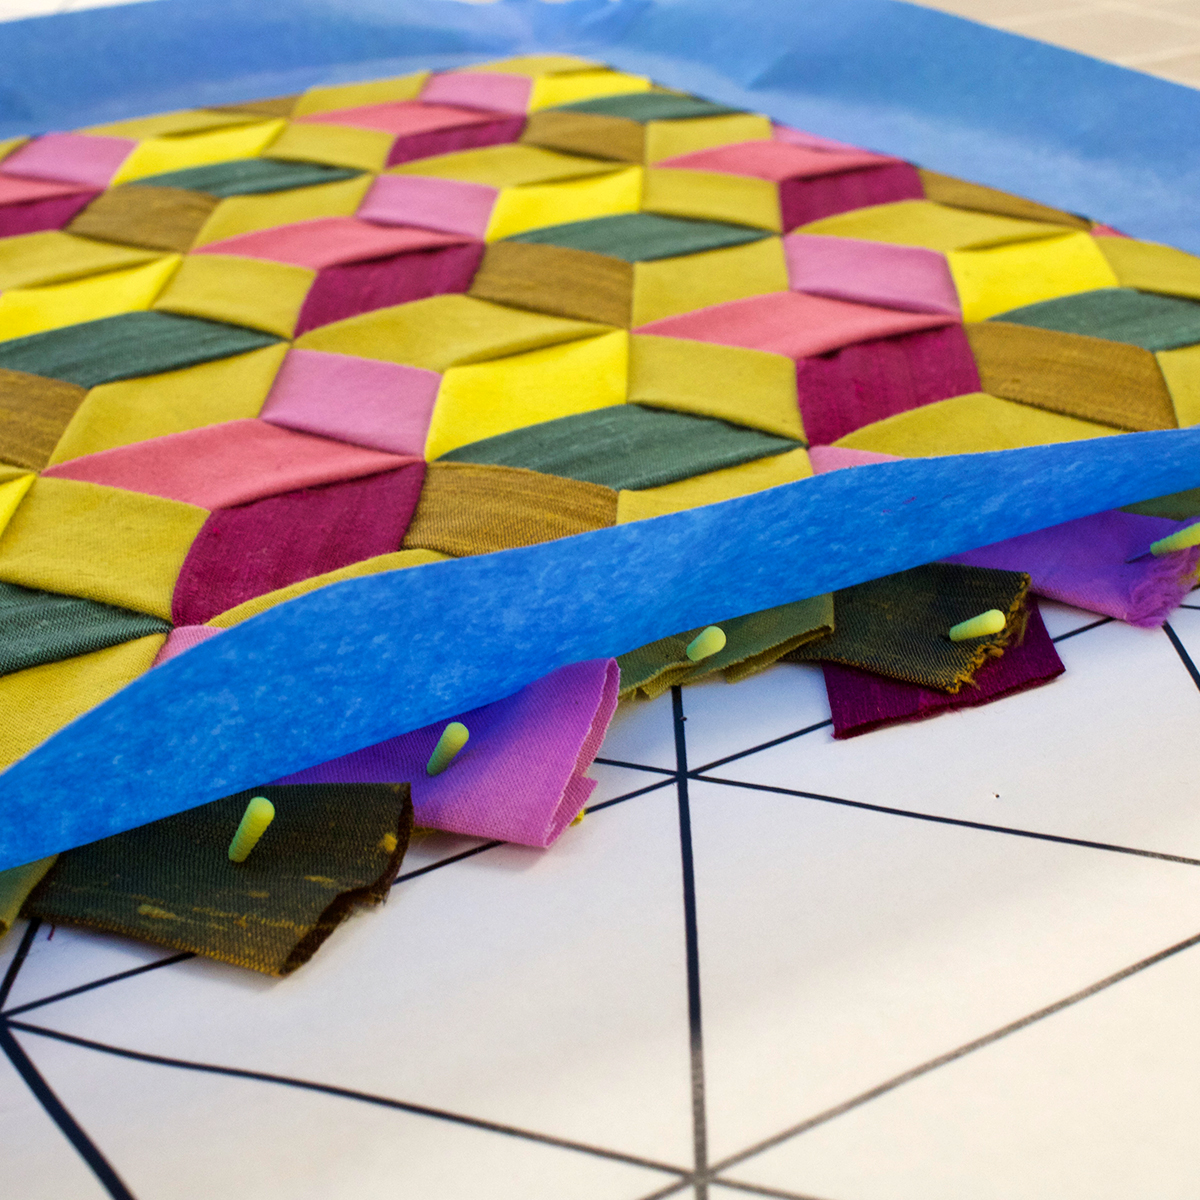
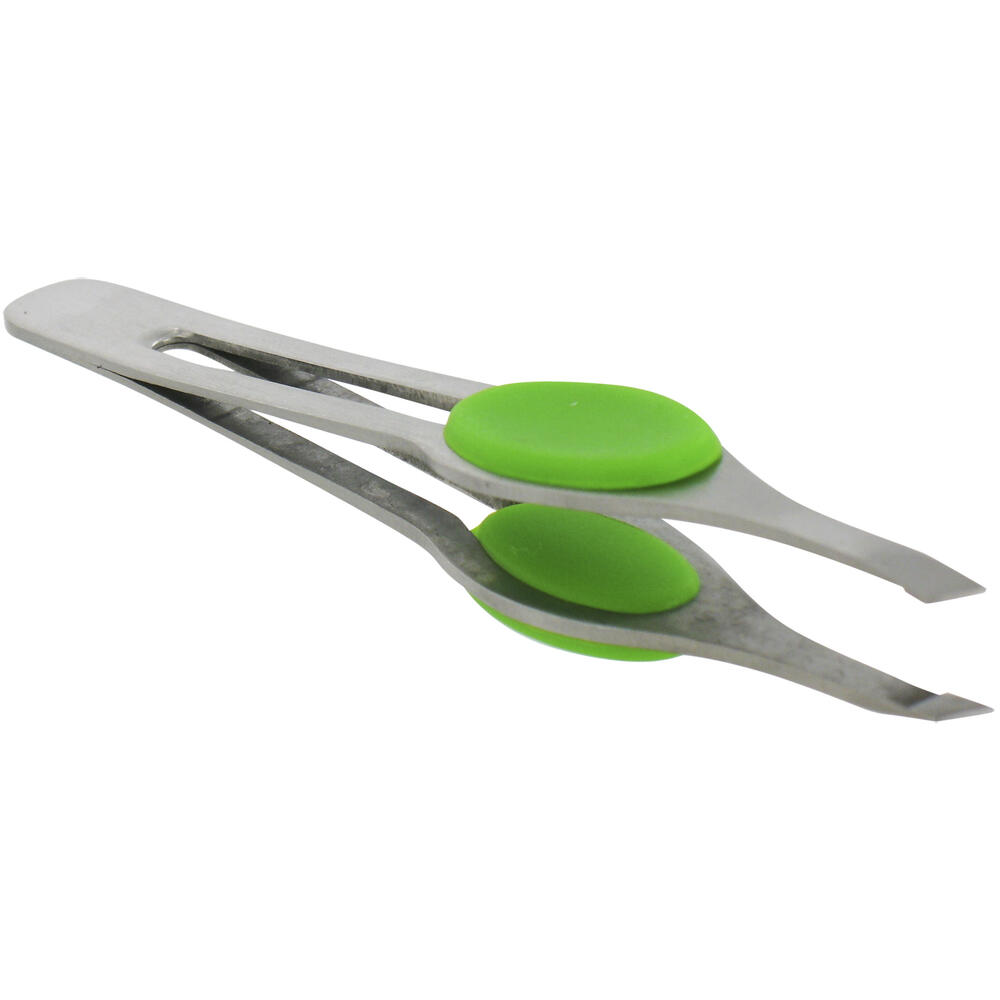
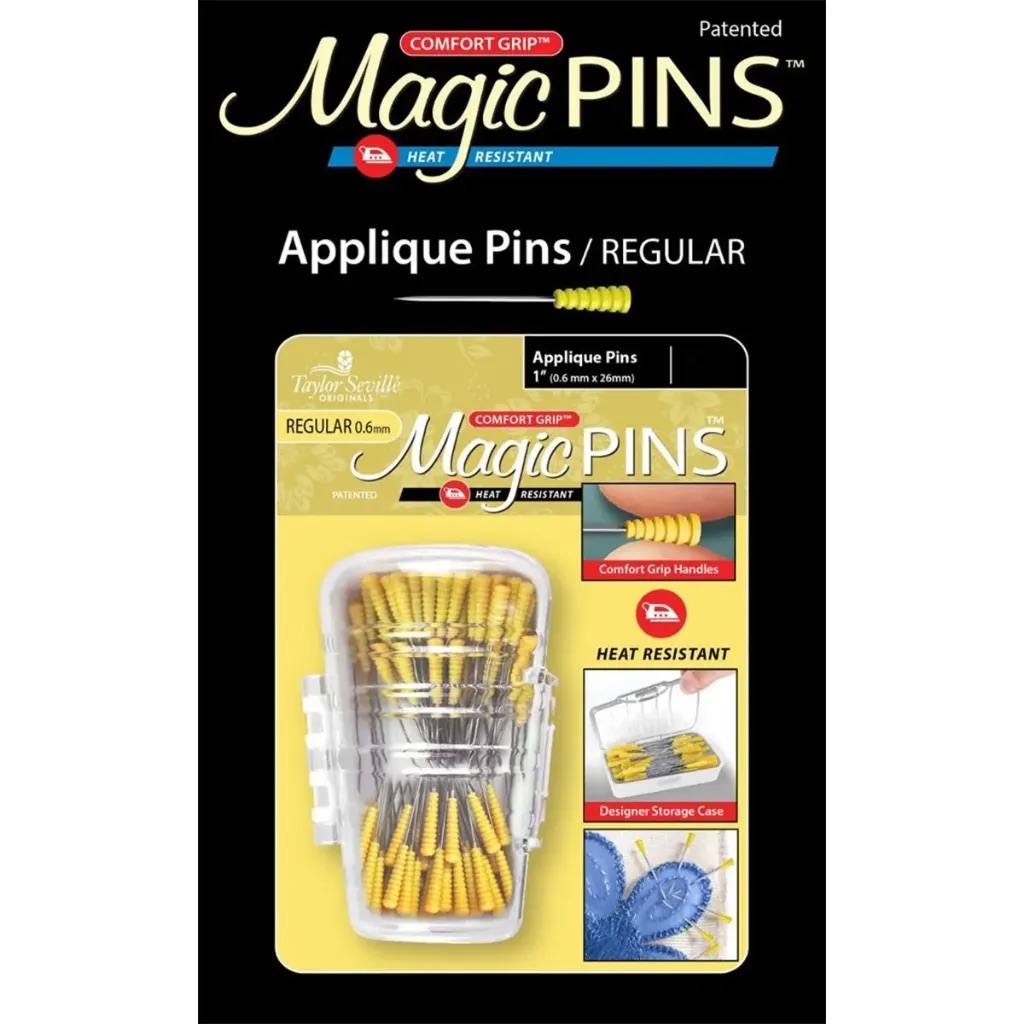
Leave the strips pinned securely in place while you tape around the edges of your woven panel. Once the tape is secure, gently lift the edge of the tape and remove the pins from underneath.
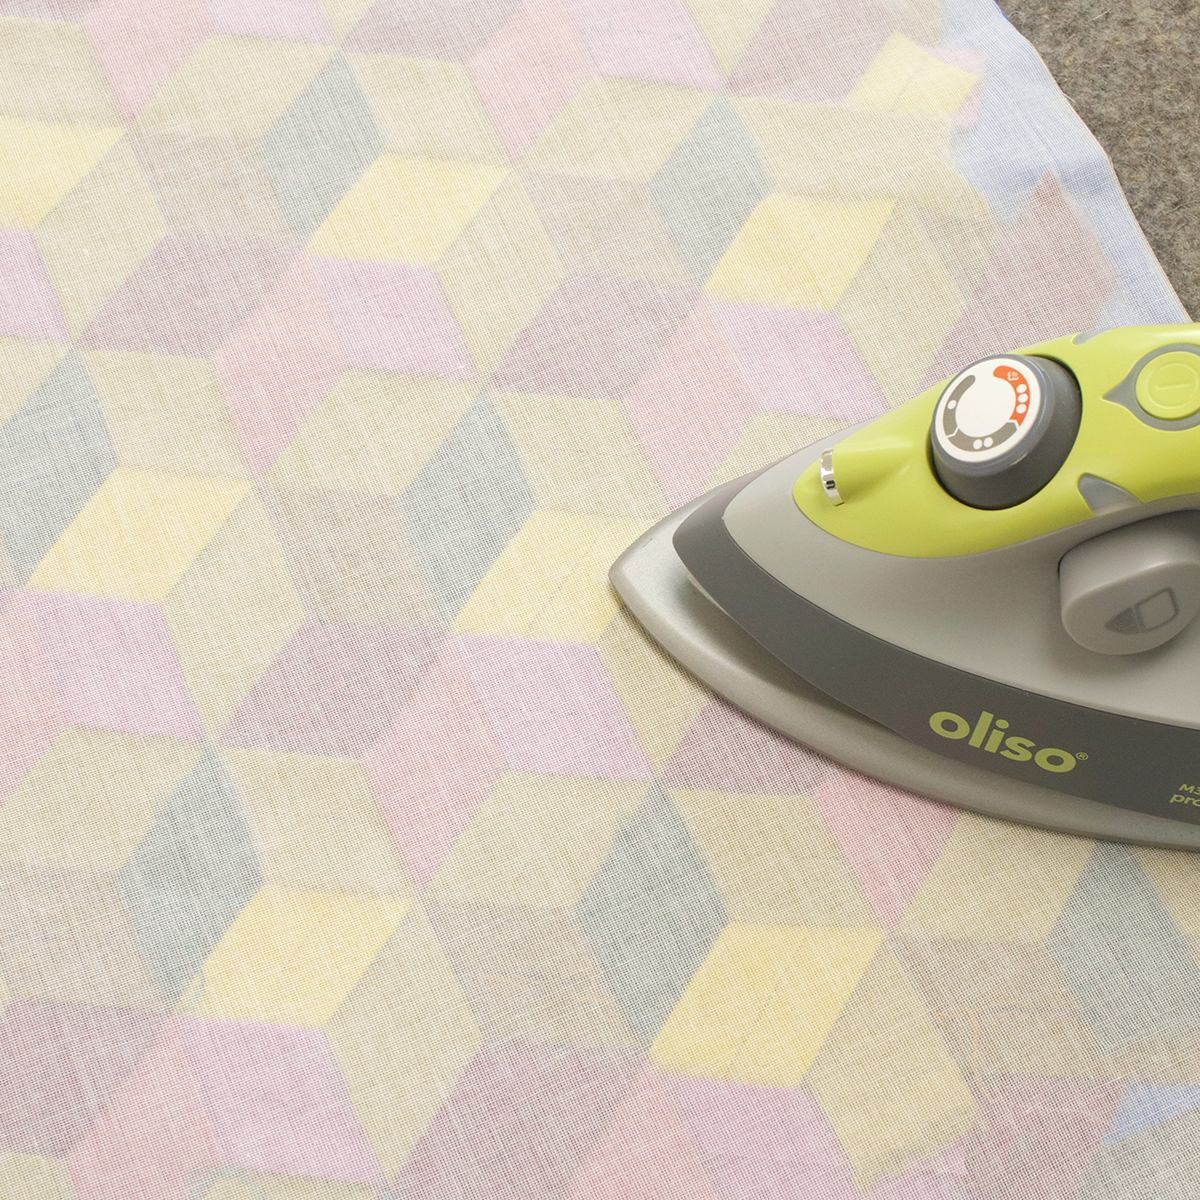
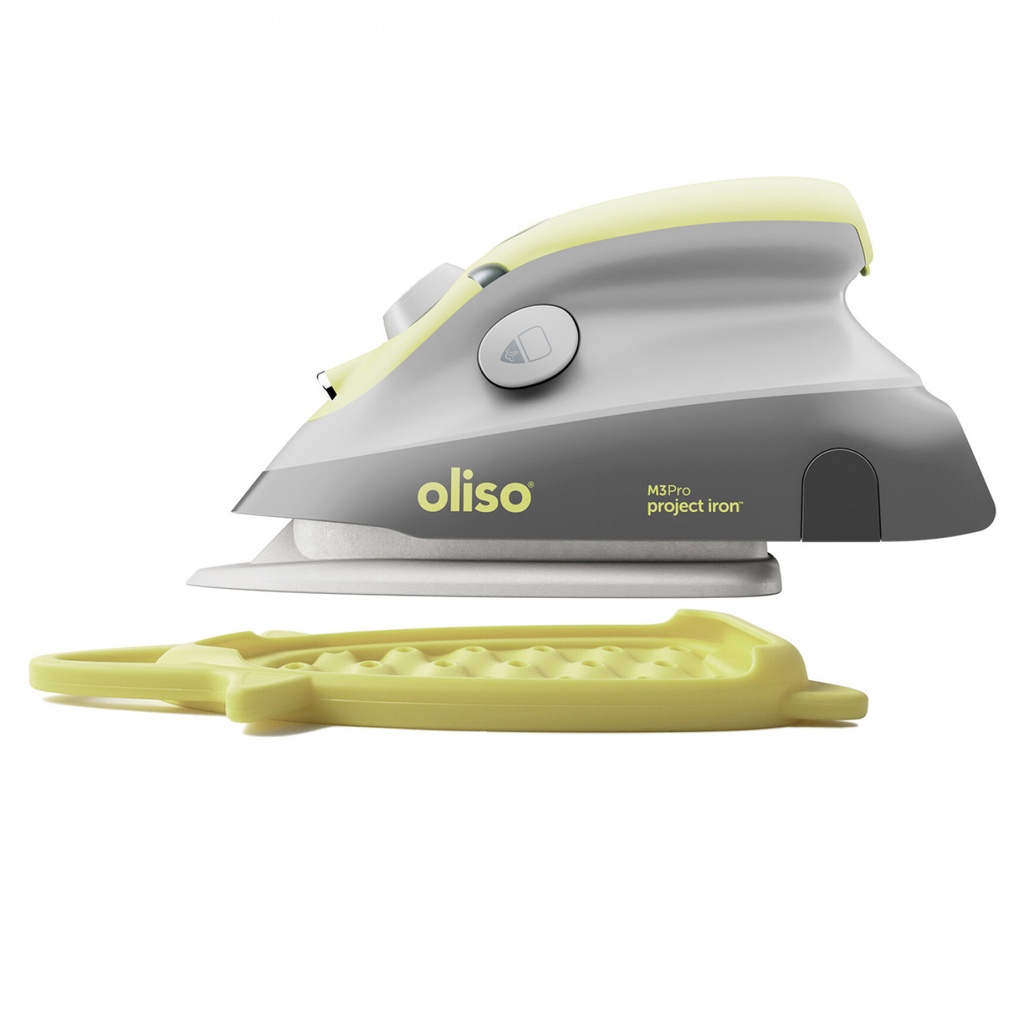
With the edges securely taped, carefully move your woven panel to a Wool Pressing Mat or ironing board. Fuse Presto Sheer to the back of the weaving using medium heat, pressing just long enough for it to adhere to the fabric. Take extra care around the taped edges and avoid lingering with the iron, as too much heat can affect the tape.
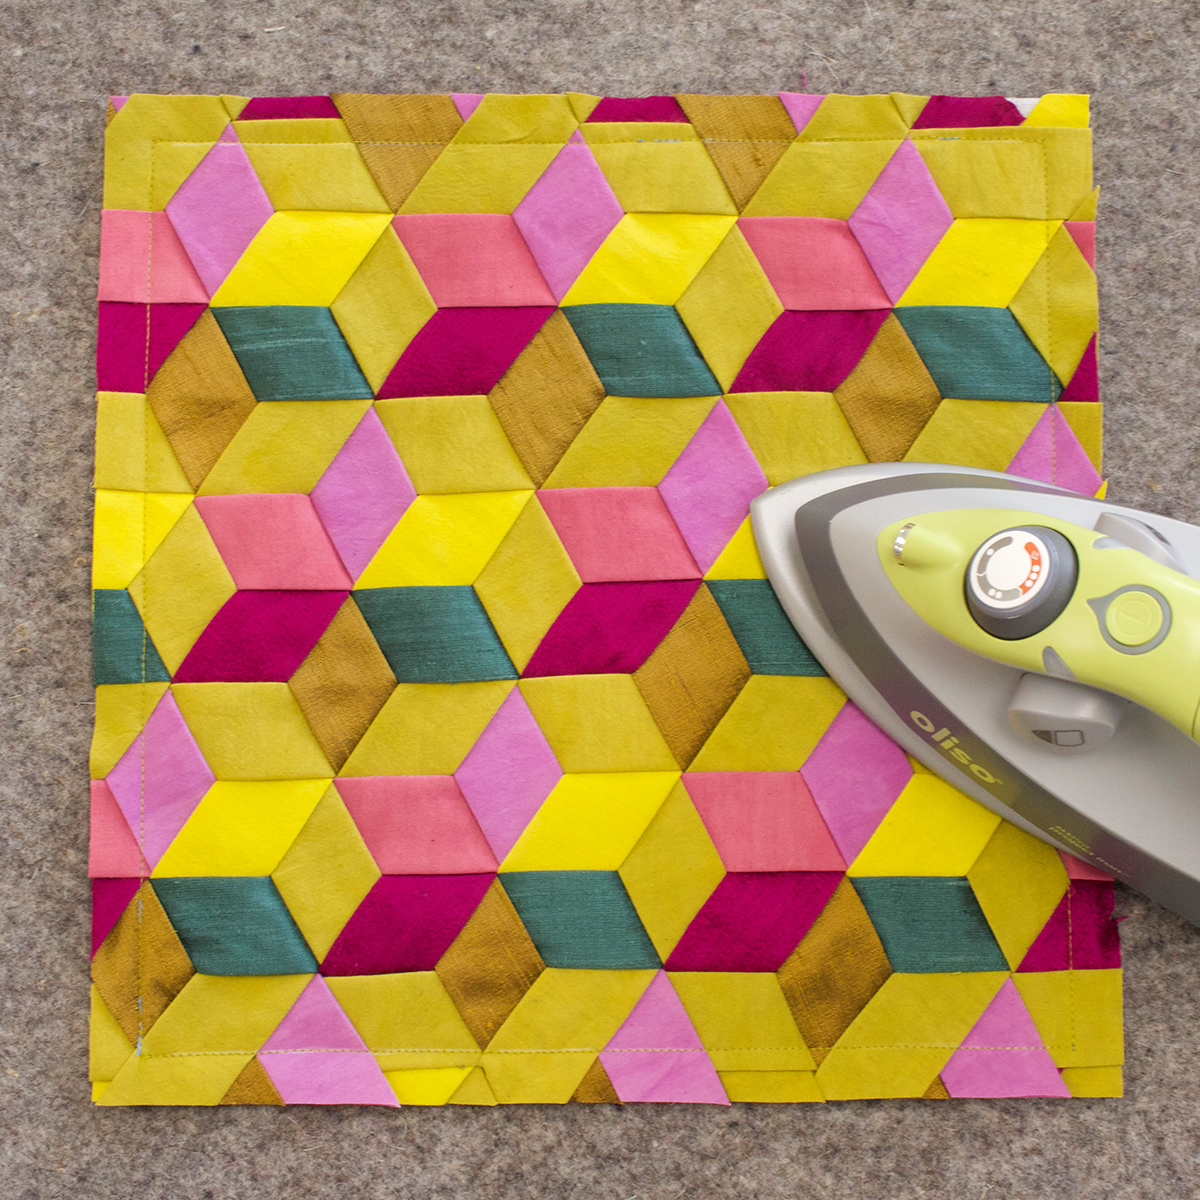
Using your sewing machine, baste around the panel just inside the edges of the tape to secure the weaving in place before removing the tape.
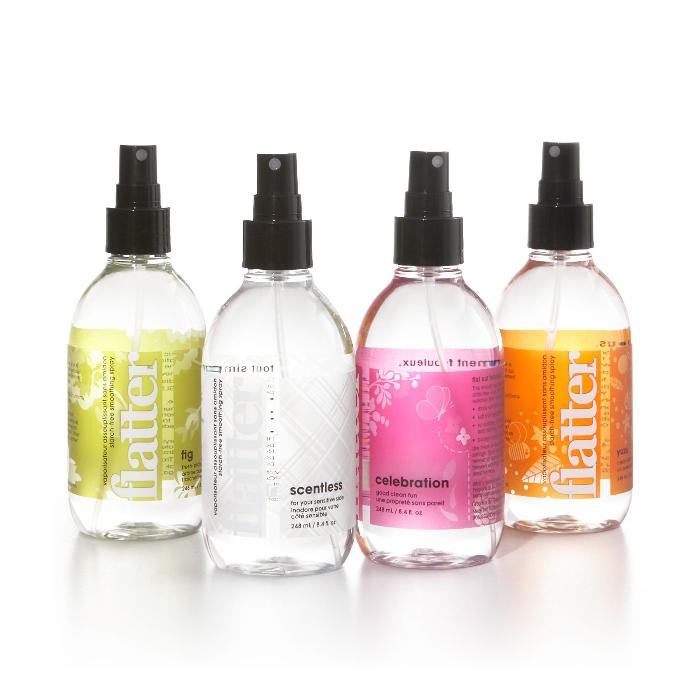
Next, lightly mist the woven panel with Flatter Smoothing Spray, then give both the front and back a good press for a smooth, crisp finish.
Once your woven panel is complete, the possibilities are endless! Build it into a quilt, feature it on a tote or pillow, turn it into a wall hanging, or dream up a project all your own!
It's too beautiful not to try!
Wool Would Be Wonderful
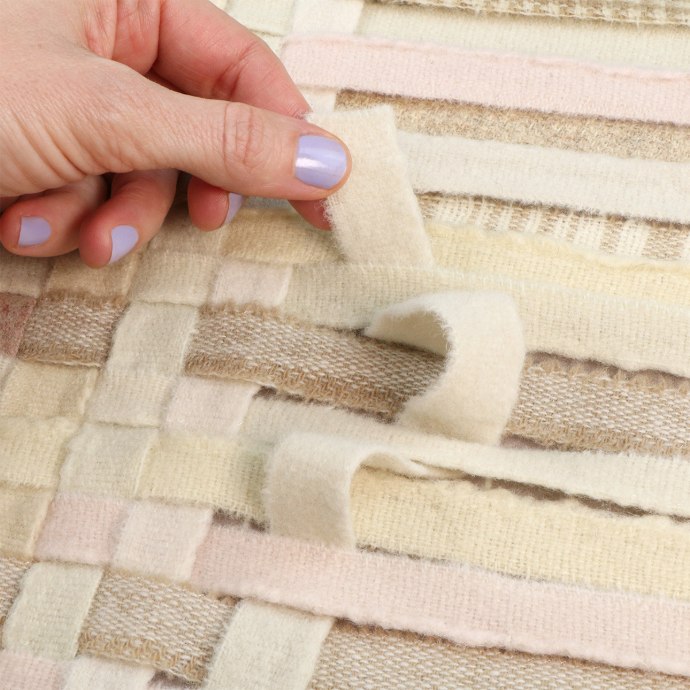

How amazing would triaxial weaving with hand-dyed wool selvedges be?! The gorgeous variations in color and texture could create an absolutely stunning woven piece. Learn more about weaving with wool selvedges HERE, and consider grabbing a few Selvedge Bags along with your Mx. Weaver to experiment with. We can’t wait to see what you create!