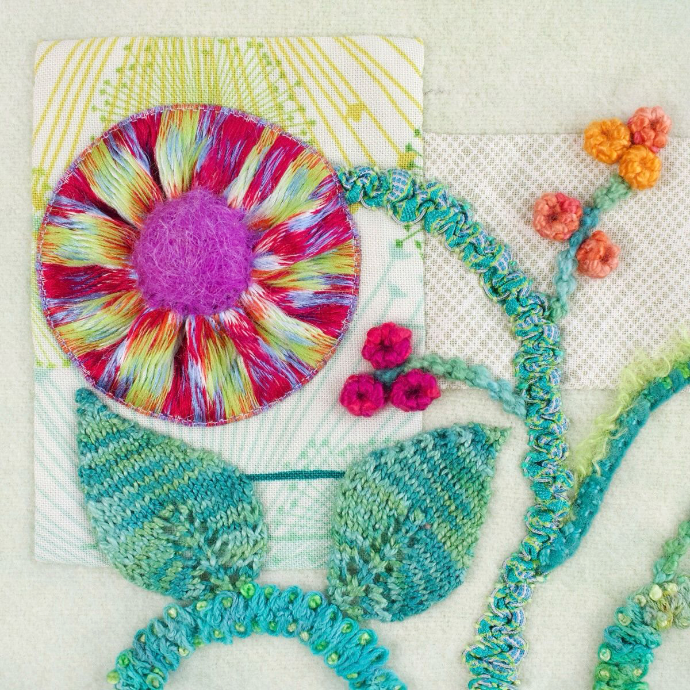
Ribbons offer endless possibilities — from stems and embroidery accents and trims.
But the real surprise? The back.
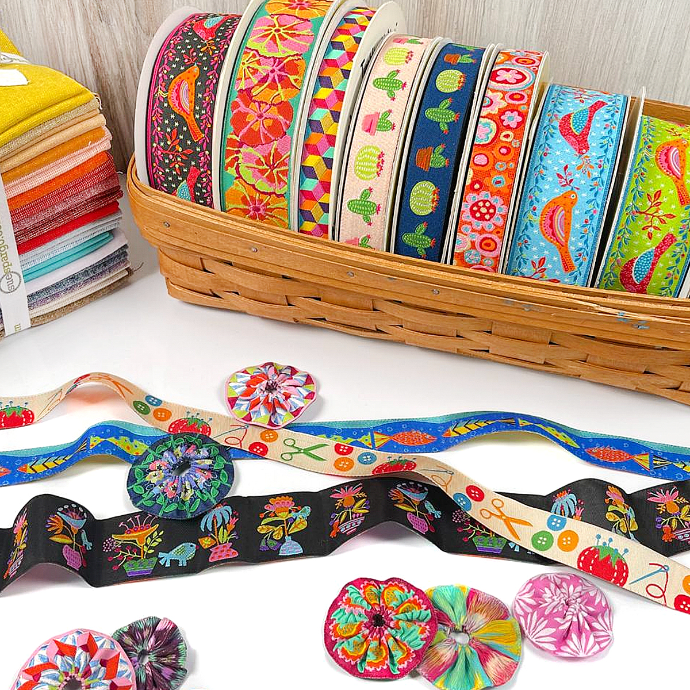
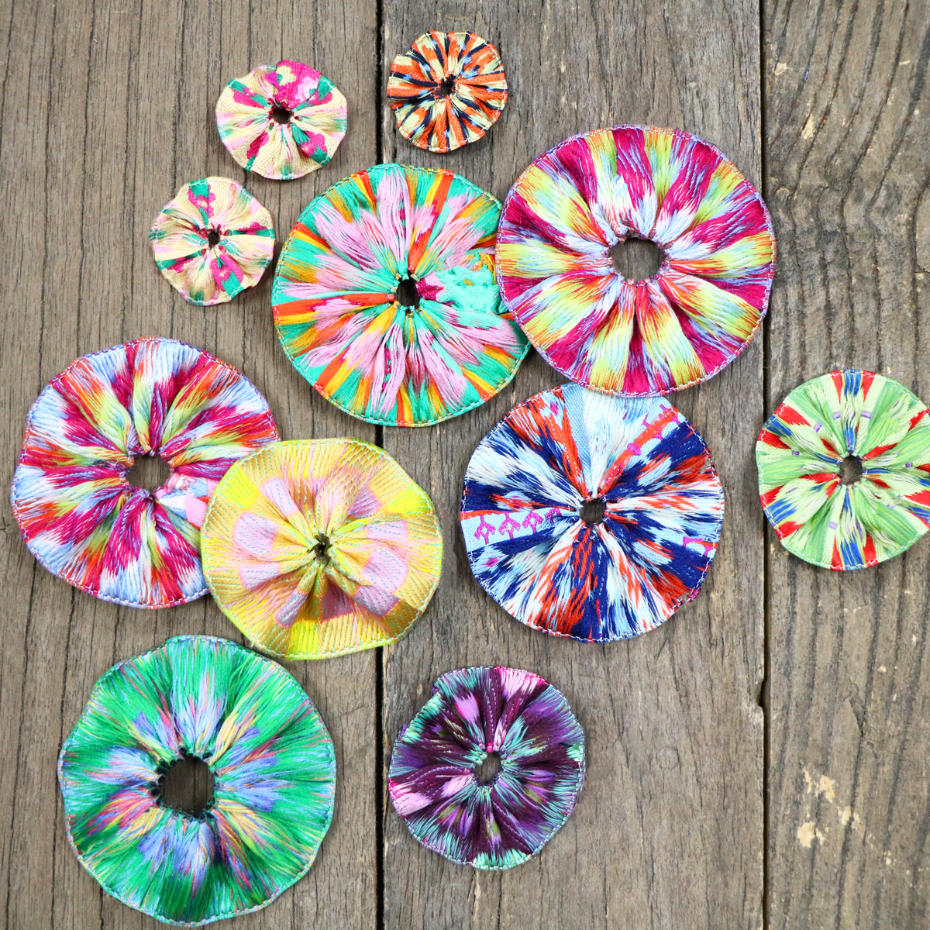
Sue’s Reverse Ribbon Flower technique reveals the hidden beauty on the reverse side, especially with jacquard ribbons. It’s a simple, unexpected trick that adds bold texture and wow-factor to any piece.
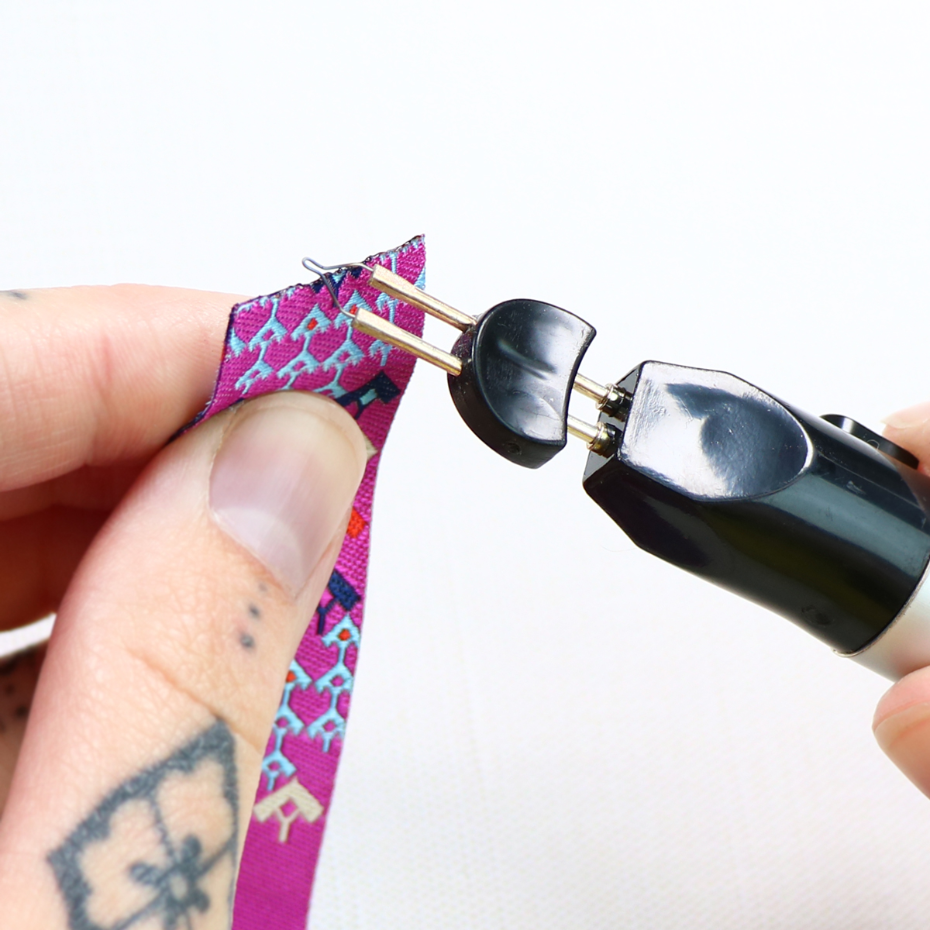
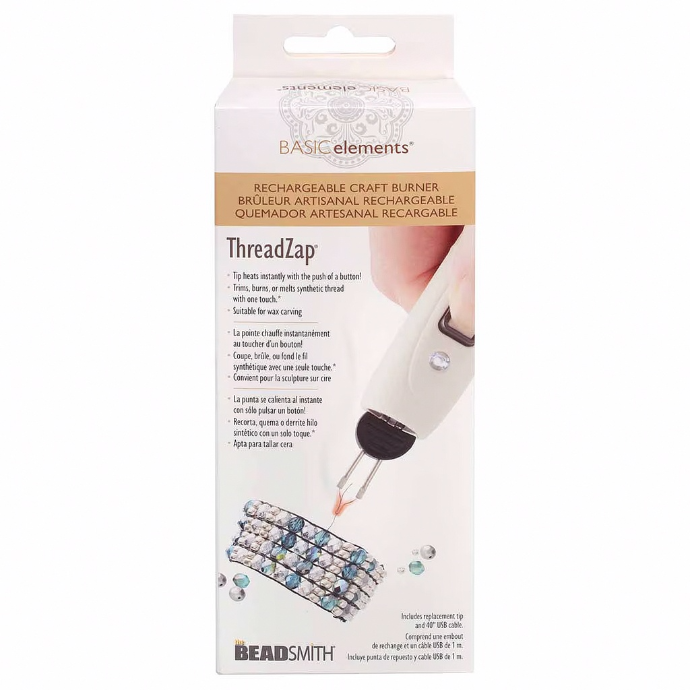
First, cut your jacquard ribbon to length and burn the two raw edges with the Thread Zap to keep them from fraying.
Pro Tip from Sue:
- 3/8" wide ribbon → cut 3¾" long
- 5/8" wide ribbon → cut 6" long
- 7/8" wide ribbon → cut 7" long
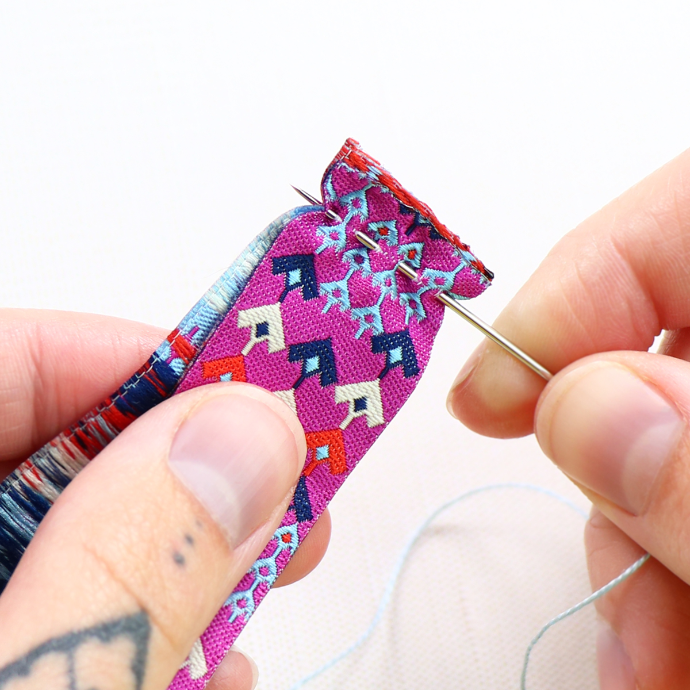
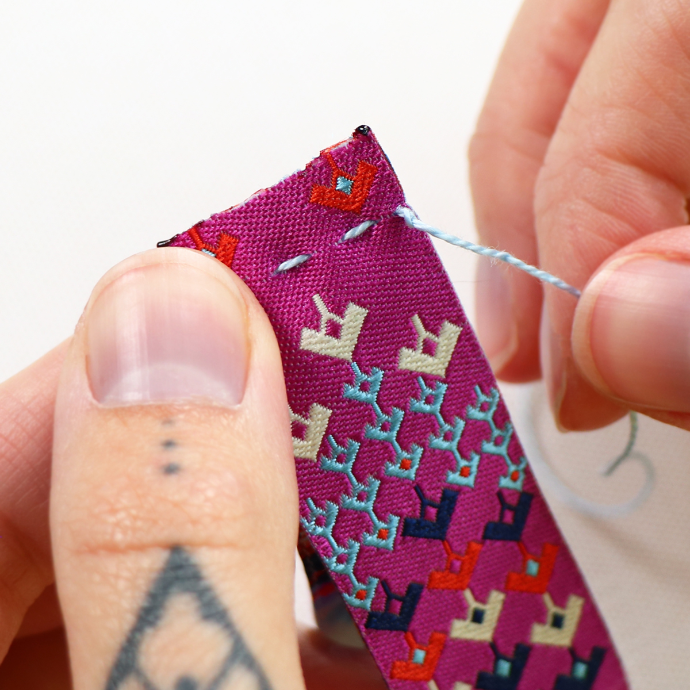
With a #3 Milliners Needle and #8 Eleganza Perle Cotton, make a running stitch along your two cut edges, WRONG sides together. You will want your 1/4" seam to be on the woven side of the ribbon. Tie a knot once you reach the opposite end.

Continue your running stitch all the way around one side of your ribbon. The larger your running stitch, the smaller your hole will be, and vice versa.
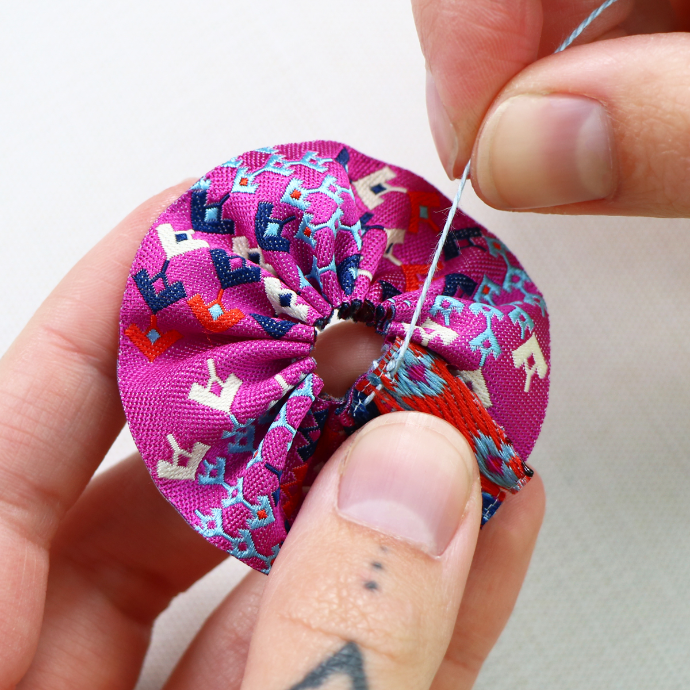
Once you reach the starting point, pull firmly on your thread, drawing your ribbon into a circular shape. Tie a knot once you are happy with the size and shape of your circle.
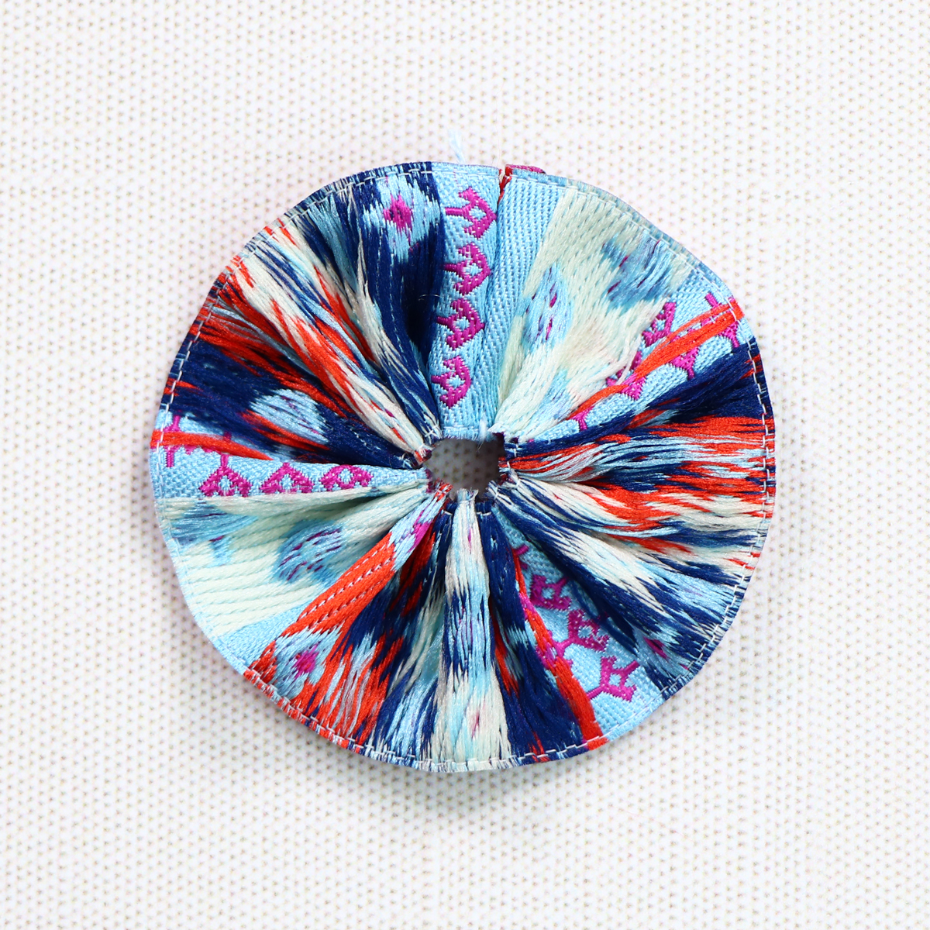
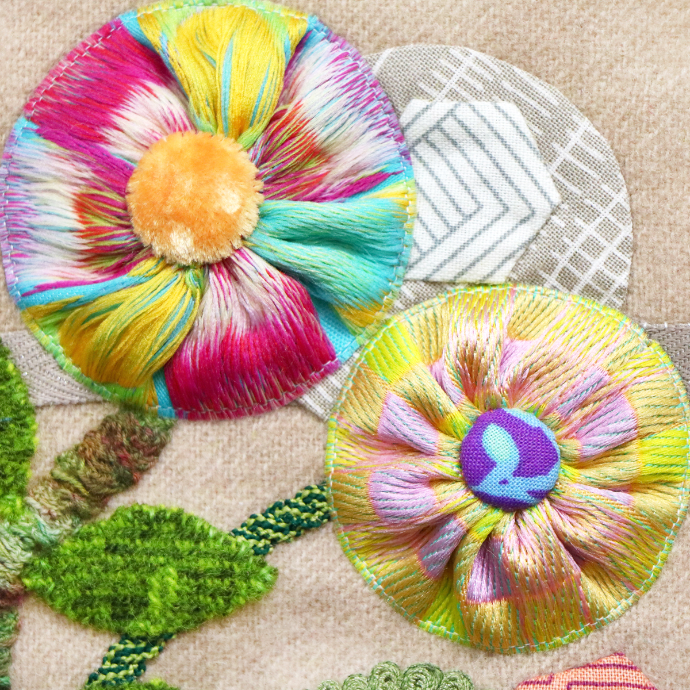
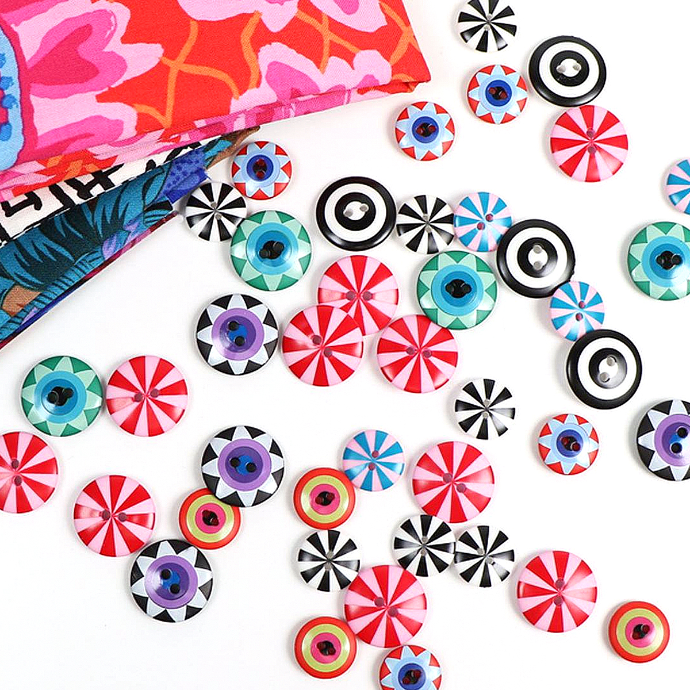
Now, flip your ribbon over. The unwoven backside is going to be the star of the show! This side of the ribbon adds visual interest and creates gorgeous blooms! Now, you can appliqué your ribbon to your piece with a matching Efina thread. You can choose to leave the center open or add a button or embroidery stitches. Get creative and think of all the ways you can utilize these one-of-a-kind reverse ribbon circles!