We’re feeling the love—and sharing it! 💘 Grab your gal pals, snag our free Heart Ornament template below, and stitch up something sweet together in no time. These little hearts are fast, fun, and totally customizable: pile on the embellishments, swap wool for cotton or velvet, or resize the template to make a whole gaggle of hearts. Gift them, trade them, hang them, scatter them everywhere… go ahead, wear your heart on your sleeve!
Cut + Appliqué + Embellish + Assemble
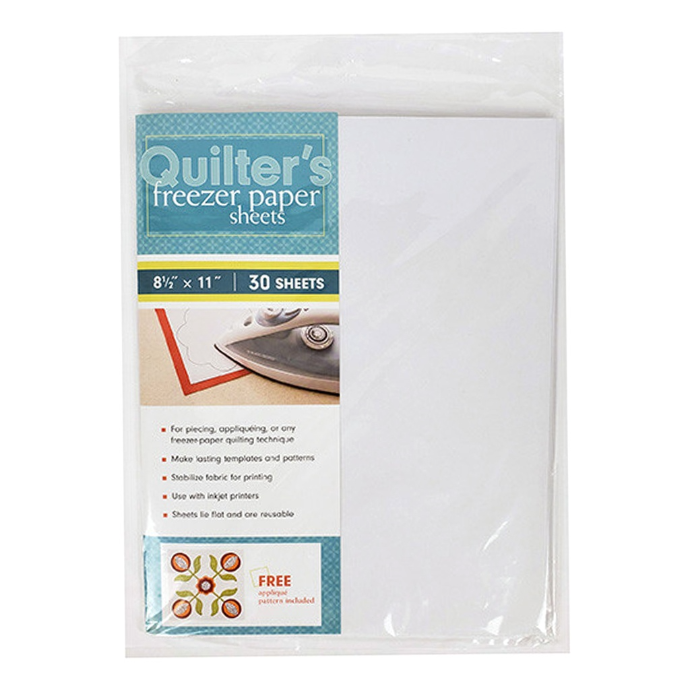
Cut
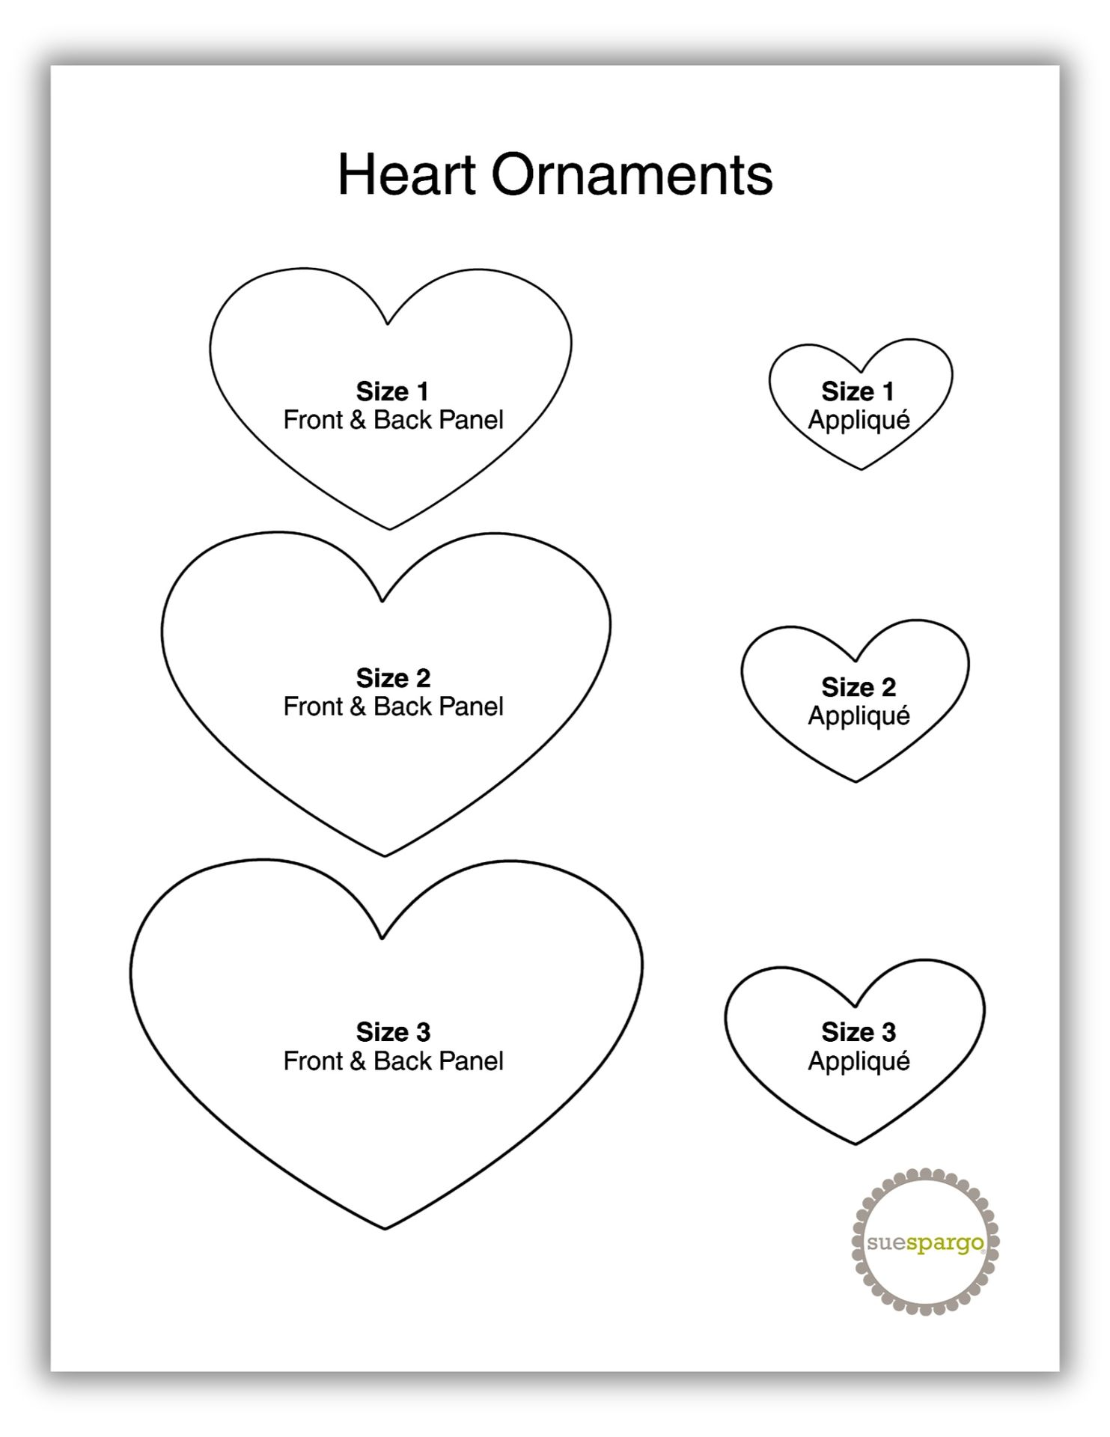
Download the heart template, which includes three ornament sizes with appliqués. Print or trace your selected heart size onto freezer paper and cut it out. For the ornament’s front panel, iron the freezer paper heart onto your chosen wool, add a ¼" seam allowance, and cut it out. Peel off and reuse the freezer paper to create the back panel the same way. For the smaller heart applique, follow the same steps using your desired wool color.
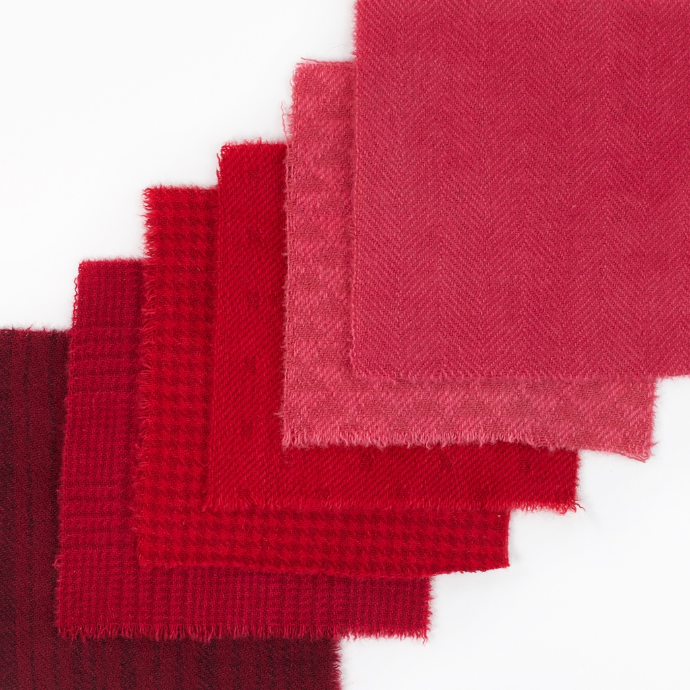
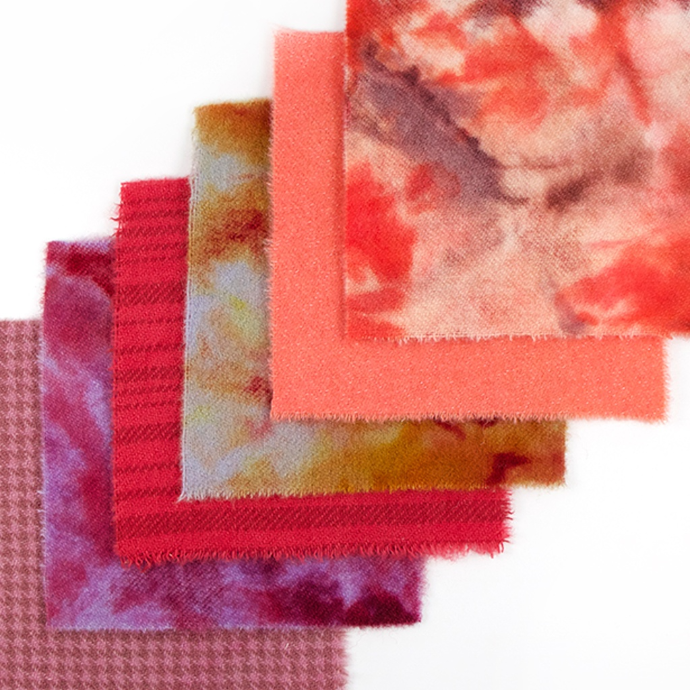
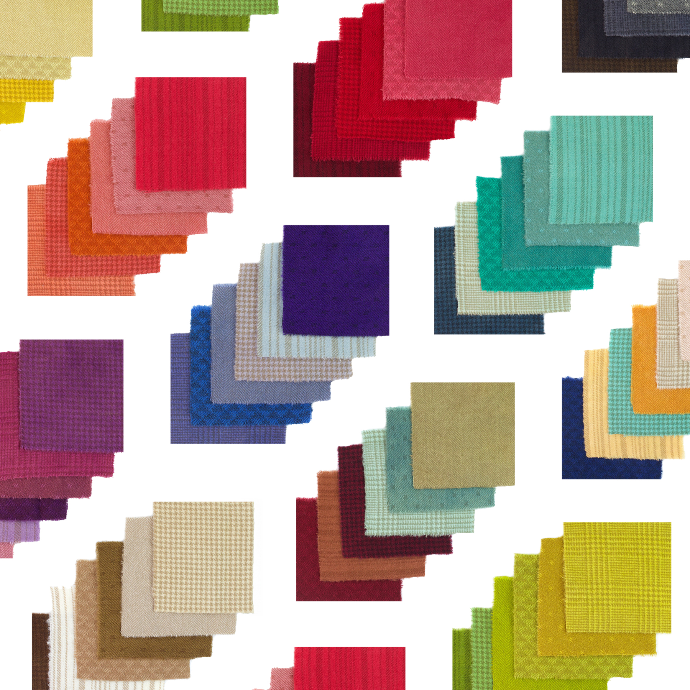
Pick a Pack of Paint Chips
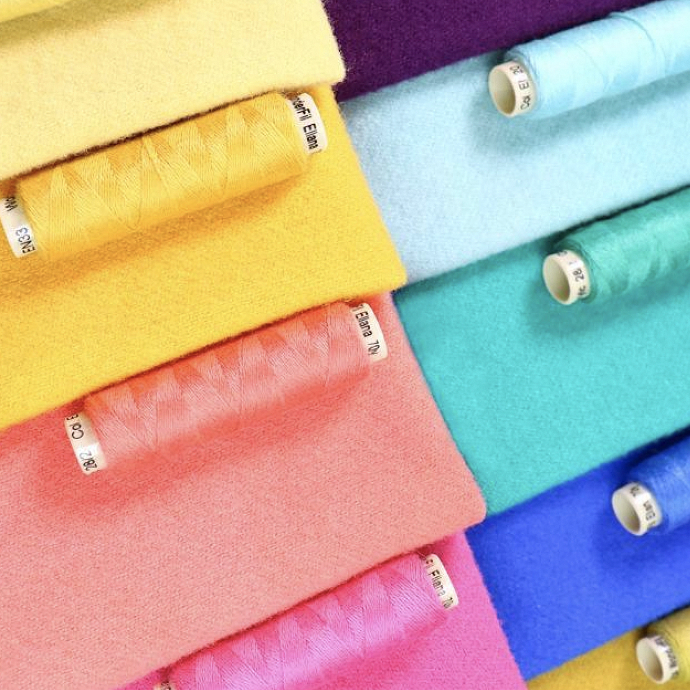
Hand-Dyed Wool Paint Chips are the perfect size for this project!
Appliqué

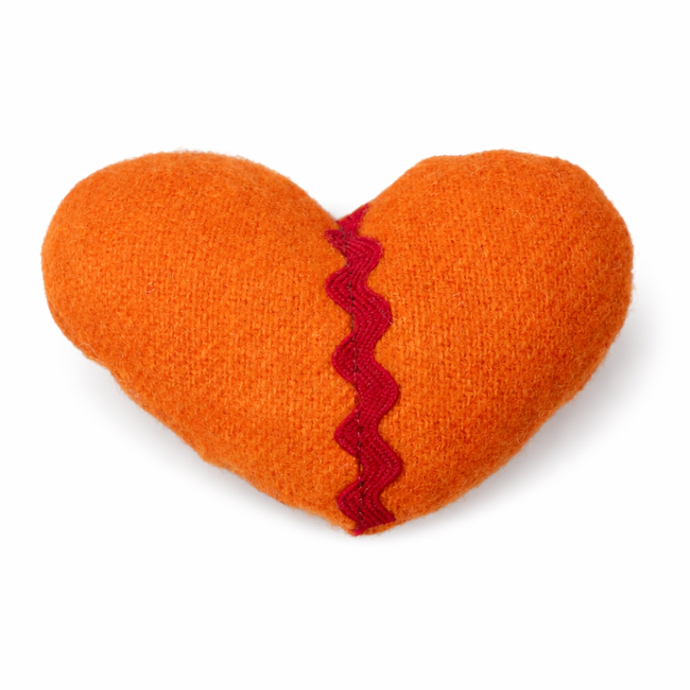
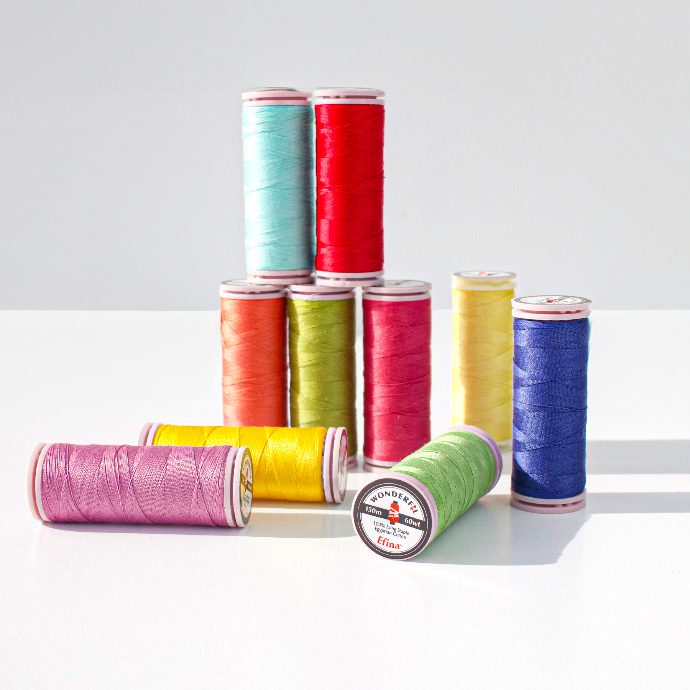
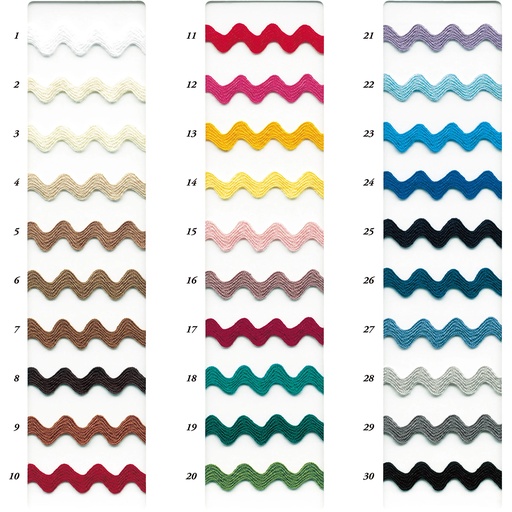
To appliqué, center and pin the small heart onto the front panel and whip stitch it with a #24 Chenille needle using matching Ellana wool thread. On the back panel, center and pin a strip of rick rack, then appliqué it in place with a #11 Short Darner needle and matching Efina cotton thread.
Embellish

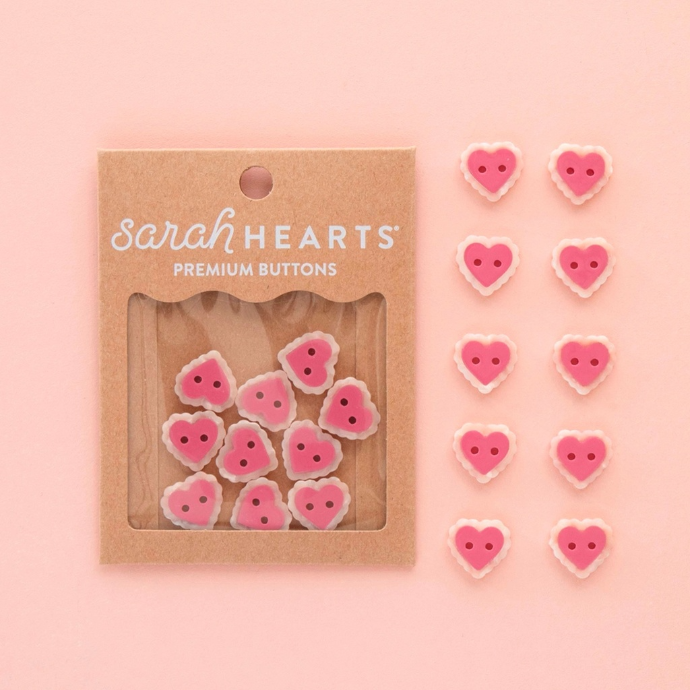
The best part of these heart ornaments is that you can embellish them however you like! Try Bullion Knots (pg. 92 of Creative Stitching) around the small heart, French Knots (pg. 104) on the rick rack, or add little buttons. Experiment with your favorite decorative stitches!
For more Stitch Shorts check out the full playlist!
Assemble

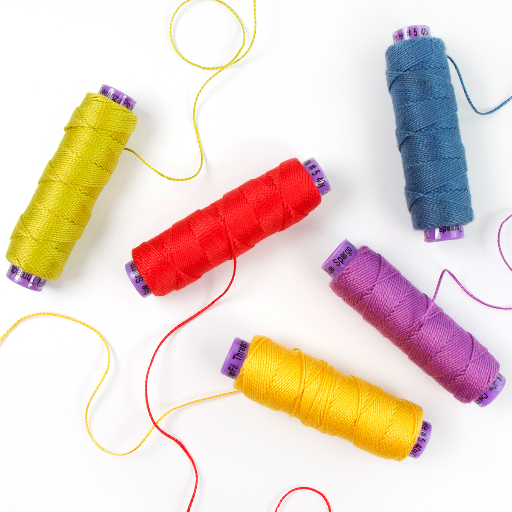
Place the front and back heart panels right sides together. Fold a 5" piece of Eleganza or 1/8" rick rack in half and insert it between the layers, with the loop inside and raw ends extending about ¼" into the valley. Machine stitch using a ¼" seam allowance, leaving a 1¼" opening on one side. Clip the valley and point, turn right side out, stuff firmly using hemostats and fibers of your choice, then stitch the opening closed. Enjoy your lovely new ornament!
Gather Your Supplies & Your Gal Pals!
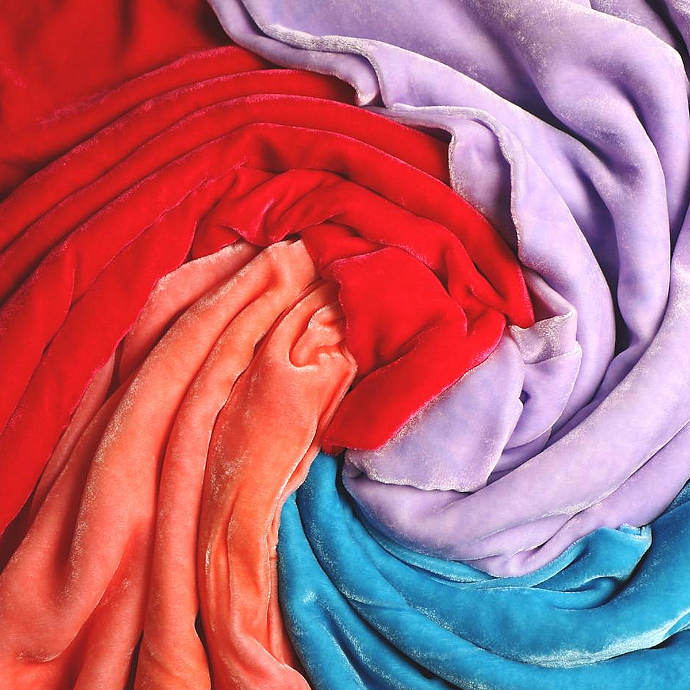
Presto Sheer
Ironing Presto Sheer onto the backside of velvet makes it easier to work with.