Next up after Darning Part 1 & Part 2, we are going to be discussing patchwork as a method of mending. Patchwork can be used to cover holes and worn areas in a wide variety of textiles. One of the fun things about patchwork is the ability to personalize your mending by choosing any fabric you'd like! Your patch can be bold and stand out from the rest of your garment, or it can match it and blend in. The different methods of patching can also allow you to play around with stitches and color, making your piece even more unique!
For our purposes, we are going to be dividing patchwork into two separate categories: Japanese boro and appliqué. Boro is the ancient Japanese art of mending worn out textiles and garments by patching them with other textiles. The method of embroidery used in Japanese boro is called sashiko. It typically involves repetitive, geometric stitches made with a running stitch. Our other method, appliqué, refers to the process of layering pieces of fabric onto a foundation fabric and stitching them in place. While both of these methods are similar in many ways, they will yield results that look quite different!
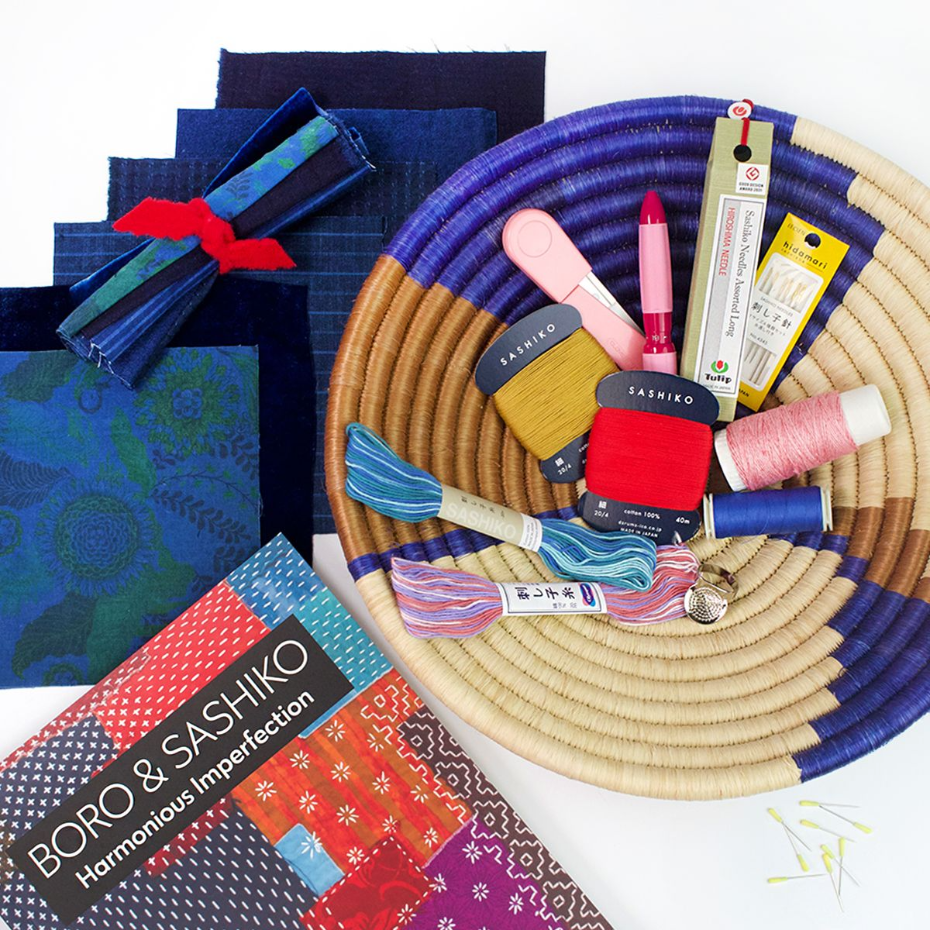
Supply List
- Fabric of your choice (See the new Hand Dyed Indigo Patchwork Bundle below!)
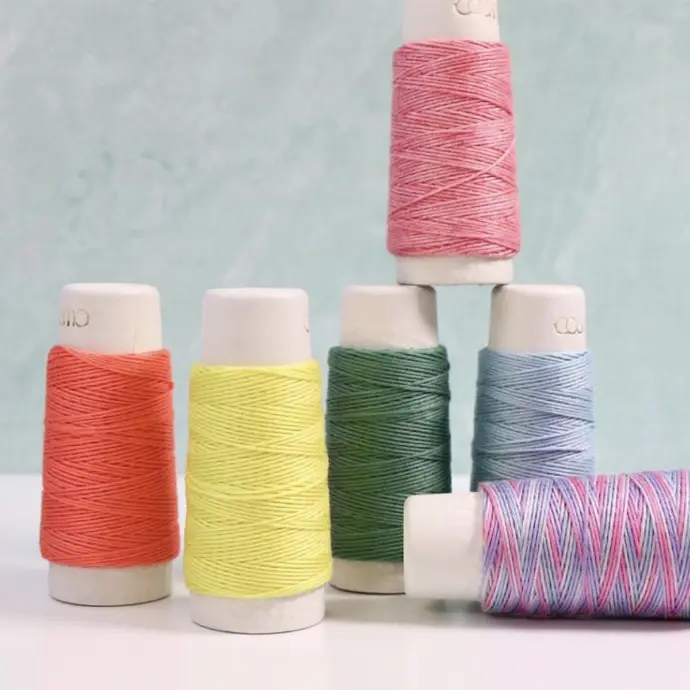
- Sashiko Thread (Daruma, Hidamari, Olympus, and Plant Dyed)
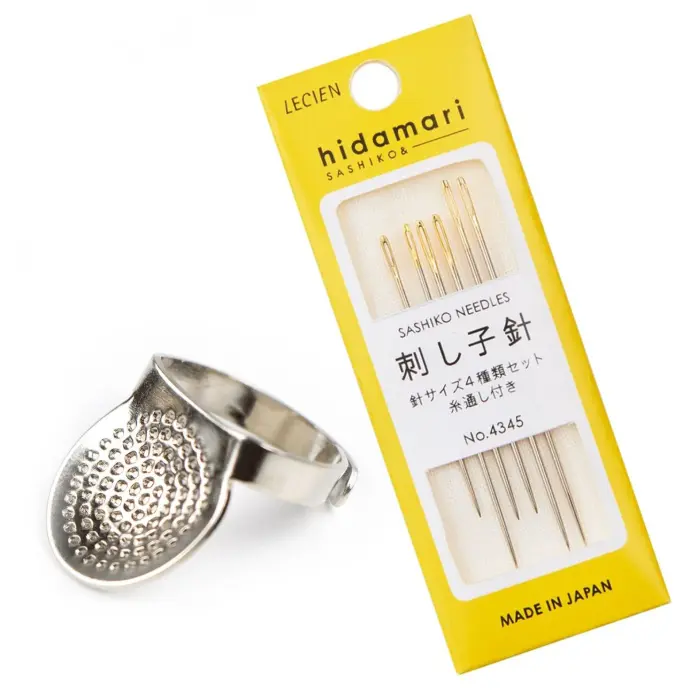
- Sashiko Needles & Thimbles
- Efina Cotton Thread for appliqué
- Thread Snips
- Sewline Trio Chalk Pencil or Chacopen Blue with Eraser
- Magic Appliqué Pins
- Creative Stitching Book for additional embellishments
- Books on Mending
NEW! Hand Dyed Indigo Patchwork Bundle
Our new Hand Dyed Indigo Patchwork Bundle includes six 6" x 6" pieces of assorted indigo-dyed fabrics. Every piece is unique and designed to naturally fade over time, revealing a beautiful range of evolving blue hues. This bundle is great for patching holes and worn out spots in clothing--especially denim!

Boro Technique
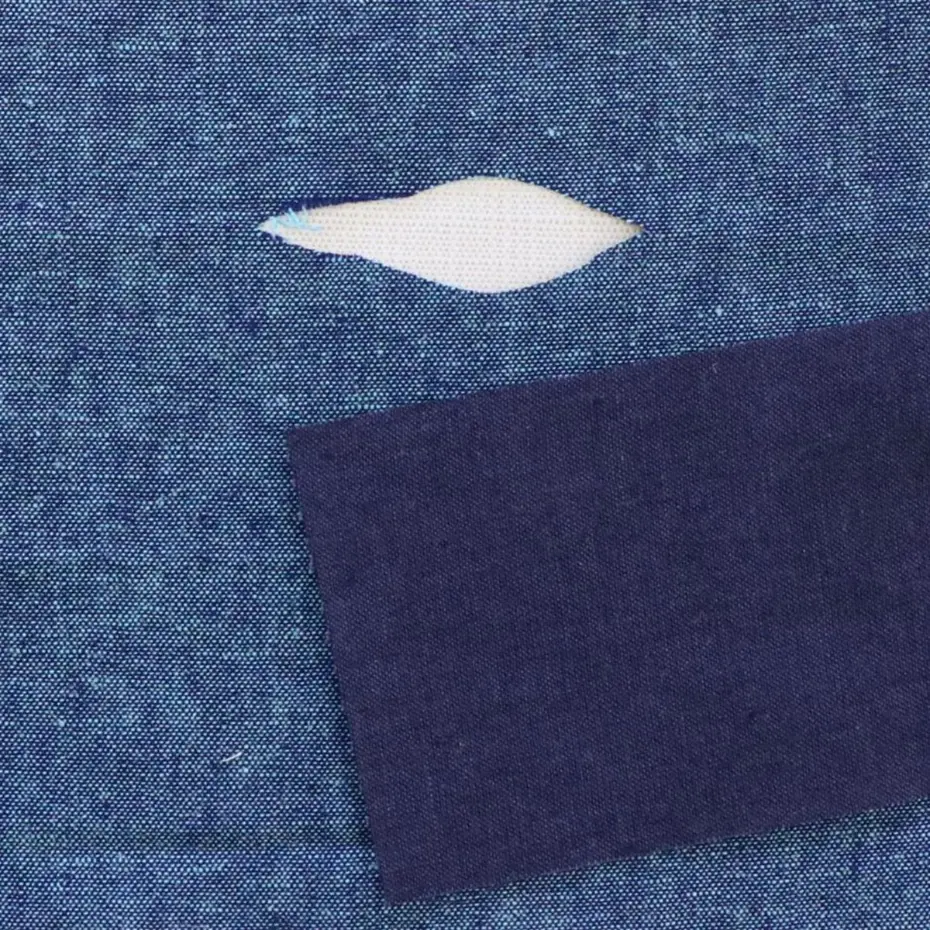
Choose a piece of fabric that is large enough to cover your desired area, with some extra room.

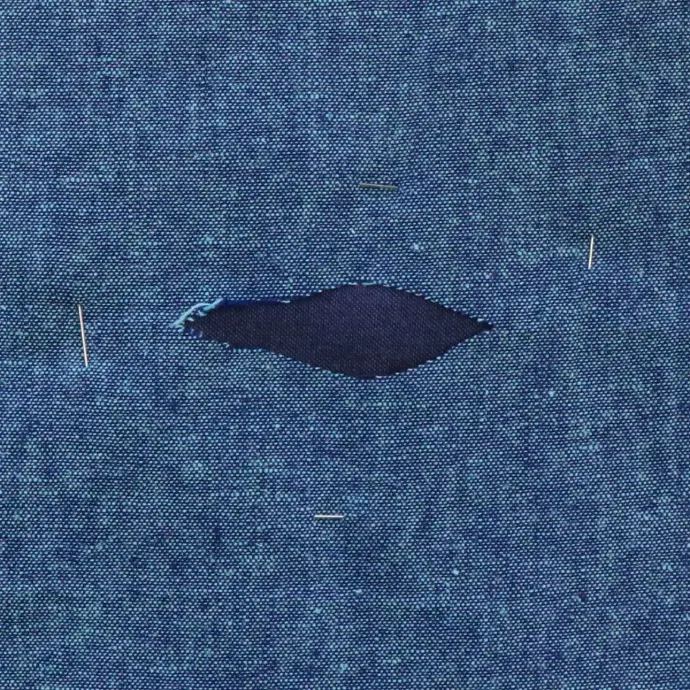
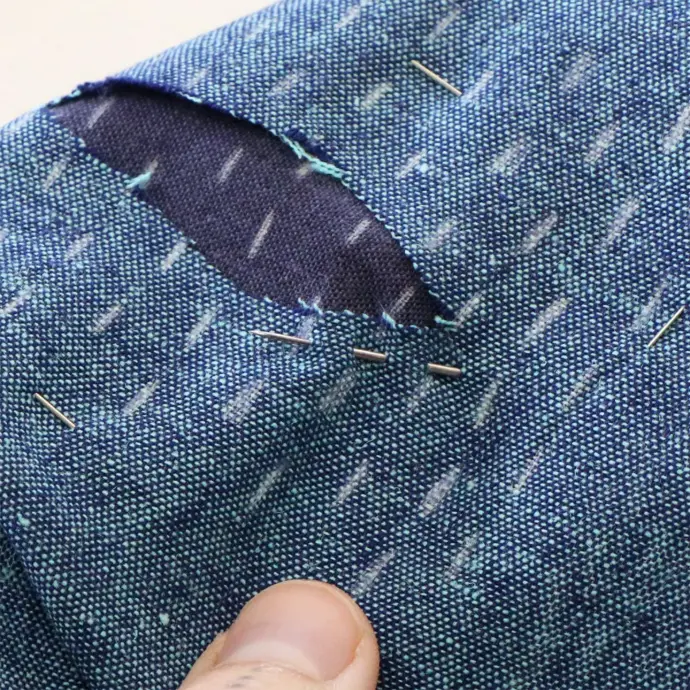
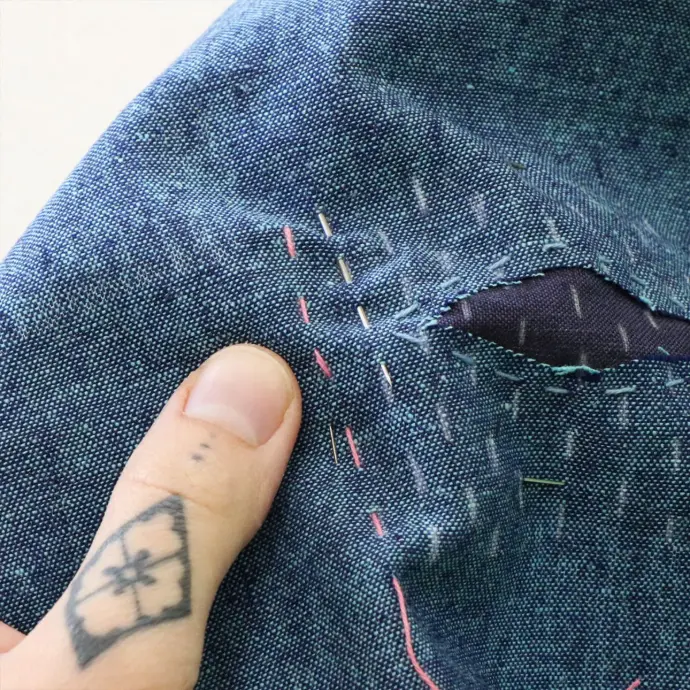
From the underside, pin your patch so the right side shows through the hole of your garment. It may be easier to turn your garment inside out to pin it, and then turn it right side out after.
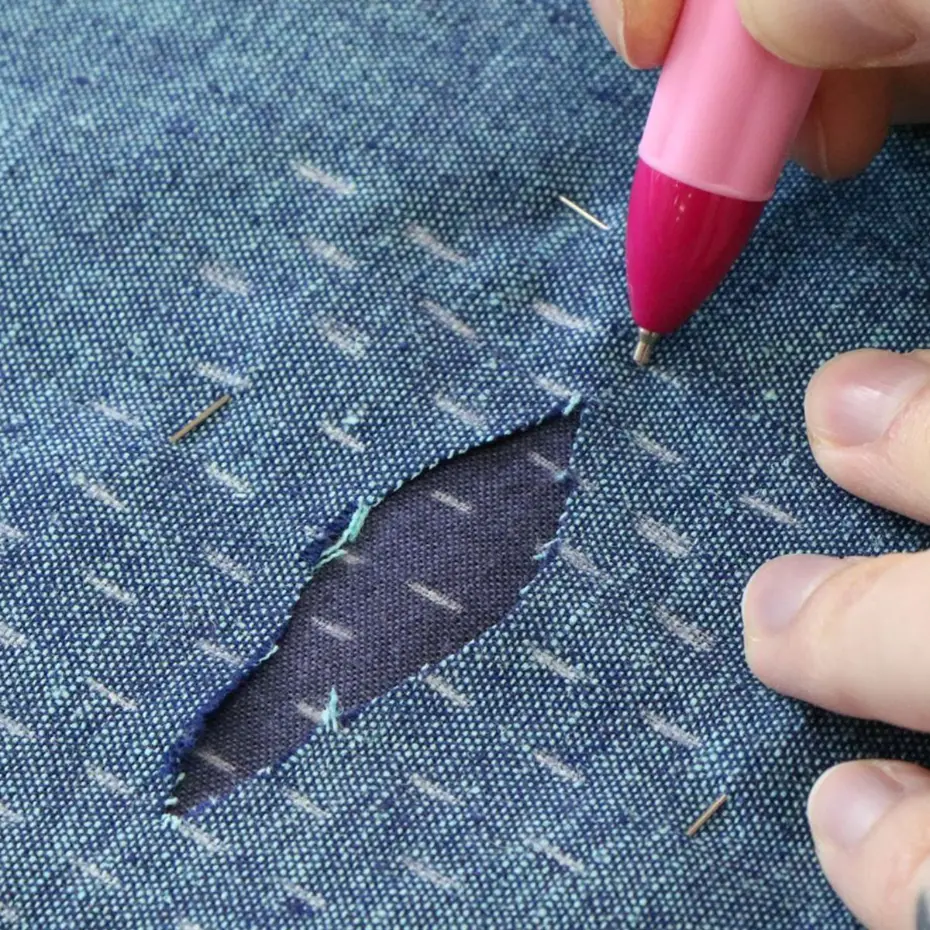
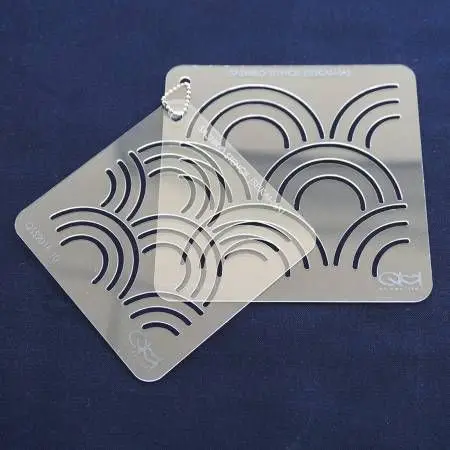
Mark your stitches, making sure to cover your hole and some excess beyond the hole. The stitches can go far beyond the hole, or they can remain close. You can eyeball this part or use a Stitch Spacing Ruler for more precise spacing.
TIP: Before you start stitching, make sure you are only working through one layer of your garment! It may sound silly, but it is an easy mistake to make and you don't want your sleeves or pant legs stitched shut!
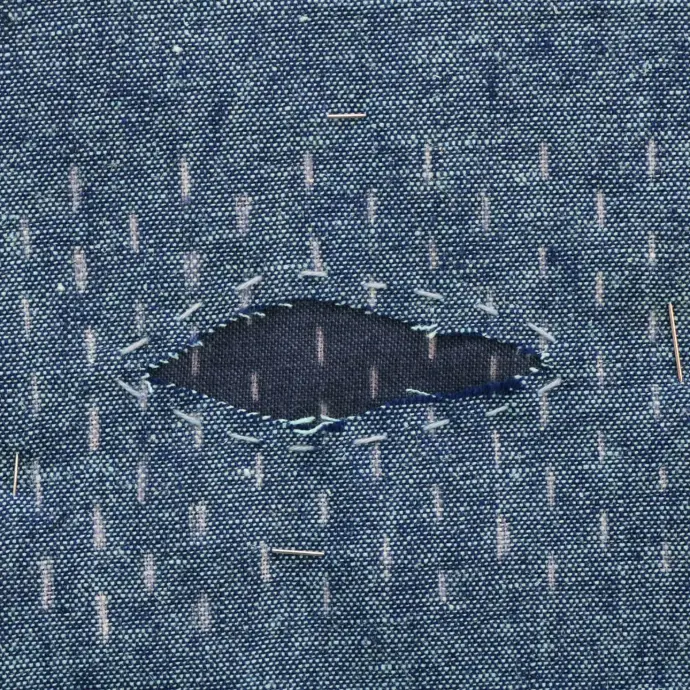
This step is optional, but you can choose to make a running stitch around the outside of your hole for some extra stability.
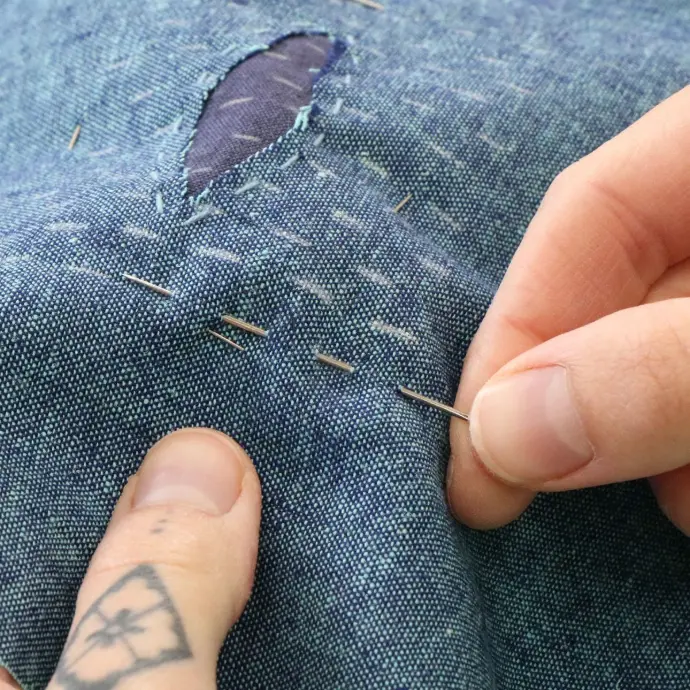
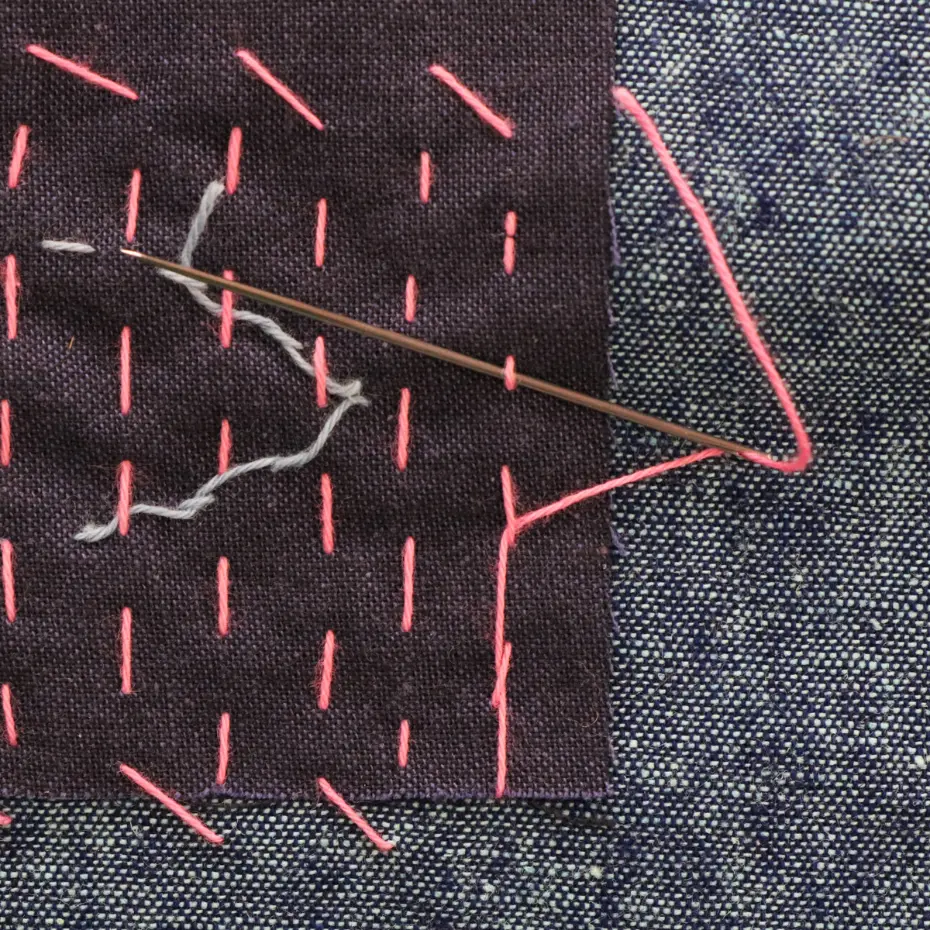
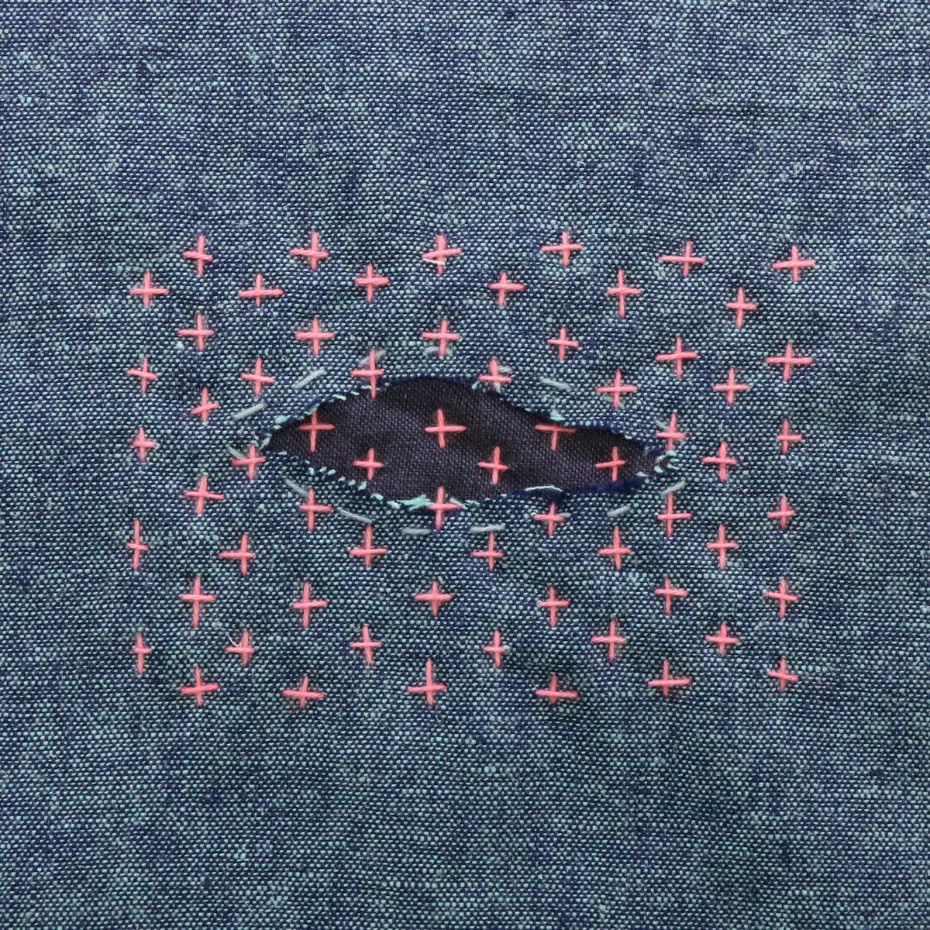
Now, we will begin our Sashiko stitches. Leaving approximately a 4 inch tail at the beginning, start your running stitches on one side of your marked area.

Continue adding running stitches with the same thread, going up and down each row. Repeat until you have reached the end of your last row, leaving approximately a 4 inch tail.
TIP: Don't worry if you run out of thread in the middle of stitching! Simply start a new thread and continue your running stitches the same way as your first one, leaving approximately a 4 inch tail at the beginning and end.
Now, bring all of your thread tails to the back side of your piece if they are not already. Interweave each tail into the stitches on the back side, and trim any excess. You can choose to tie knots if you wish, but keep in mind it may add extra bulkiness and cause some discomfort for tighter fitting clothing.
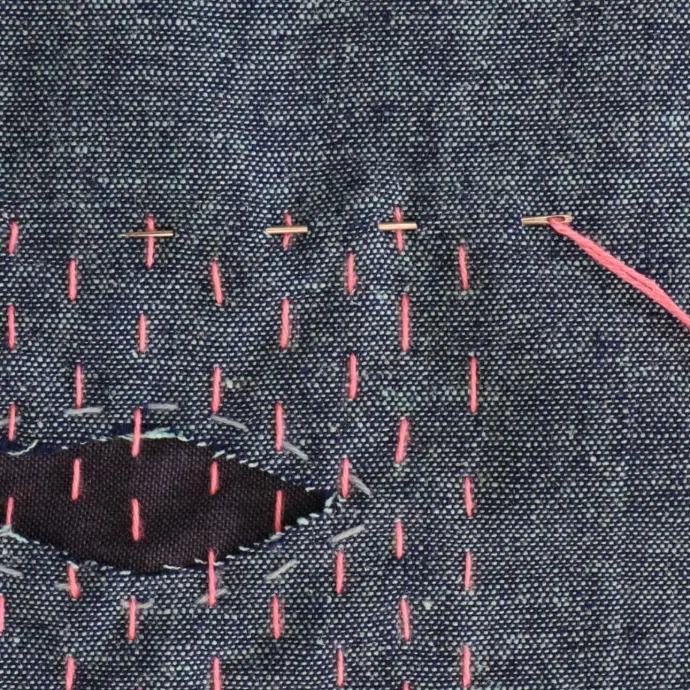
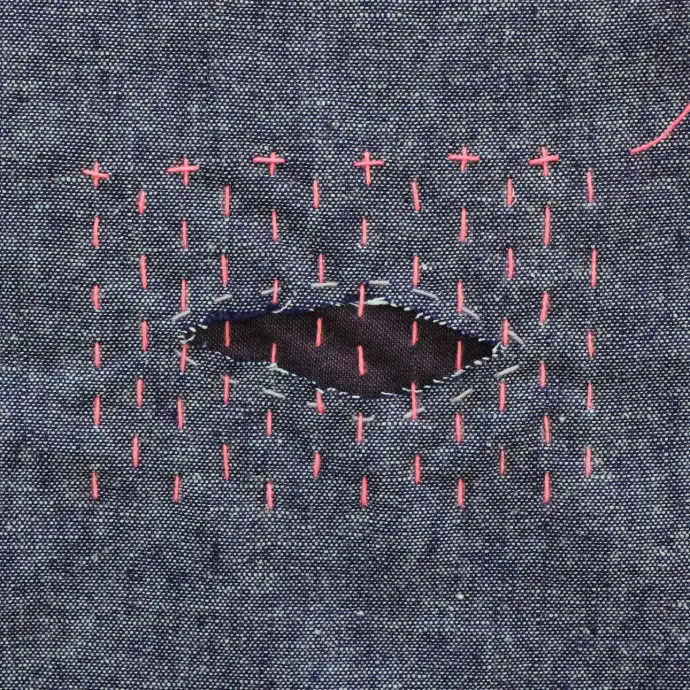
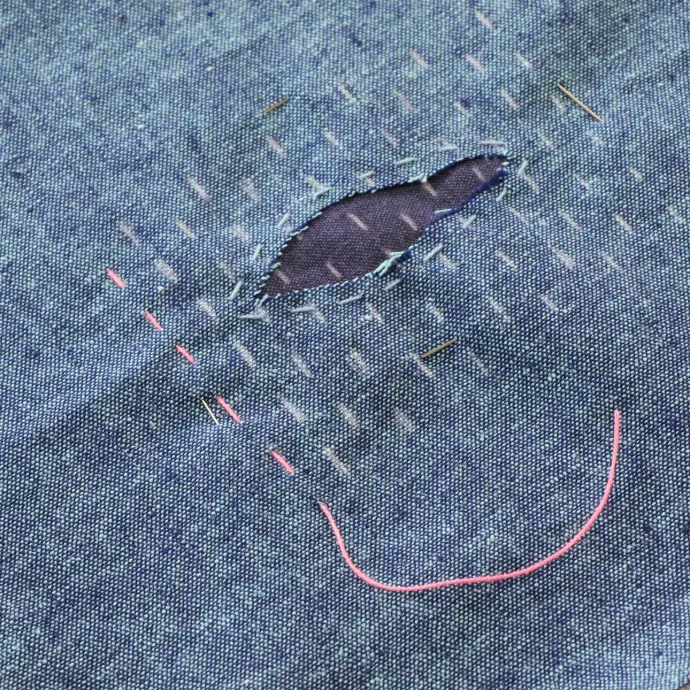
You can leave your stitches all in one direction, or you can repeat the previous steps in the opposite direction to create a criss-cross pattern. To do this, make sure each horizontal stitch goes over one of your vertical stitches. Finish your tail threads in the same manner as before.
Applique Technique
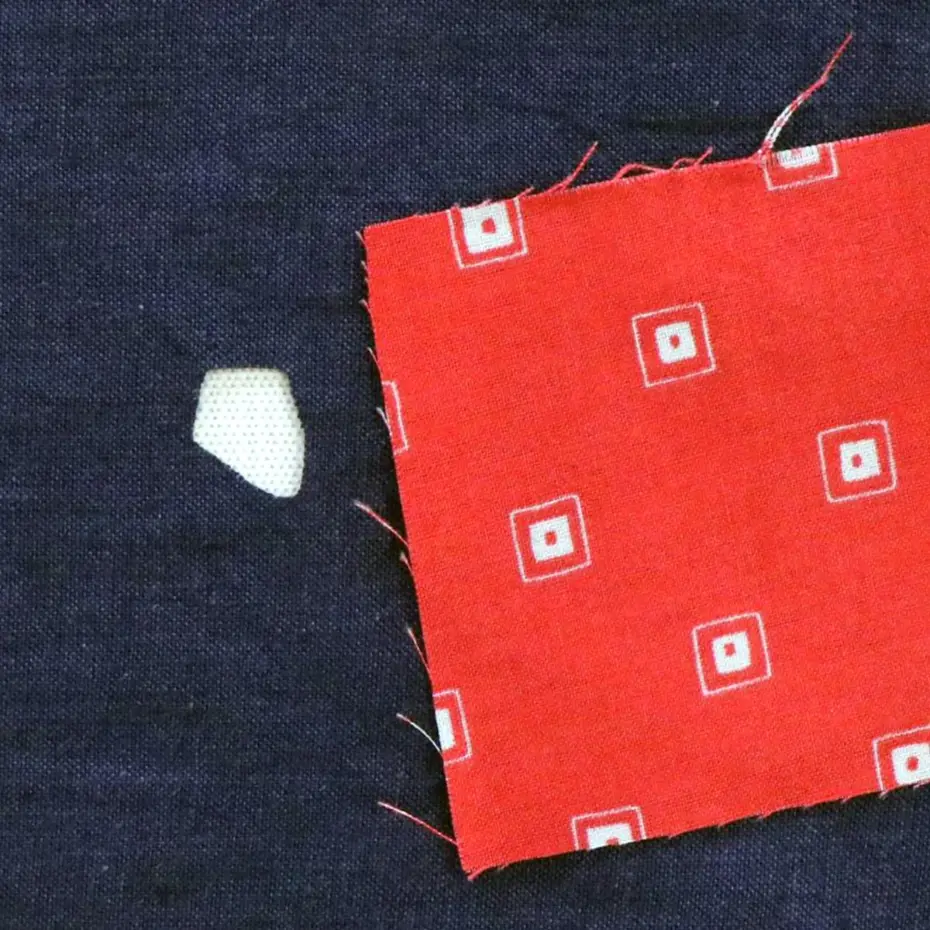
Choose a piece of fabric that is large enough to cover your desired area plus some additional room. Your piece of fabric can be any shape you'd like as long as it can cover the area completely with some excess for turning the raw edges under.

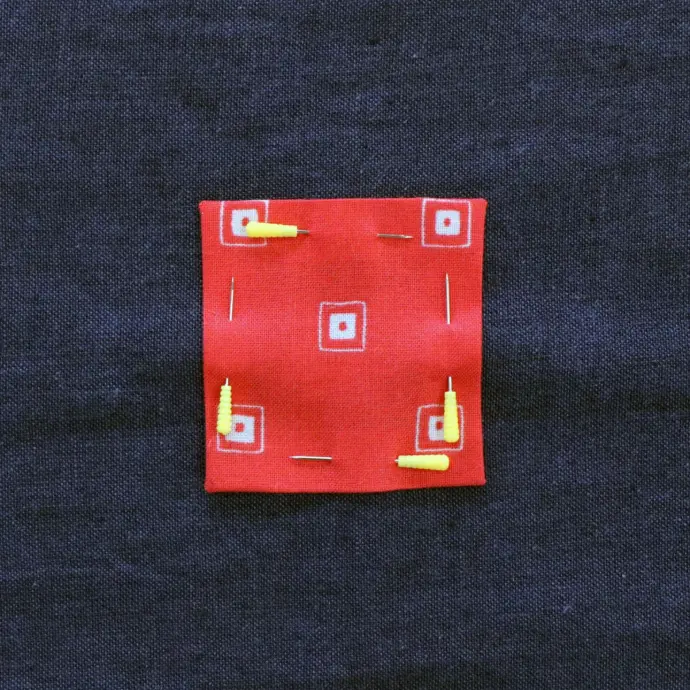
Turn your raw edges of your patch under with a Hot Ironing Ruler (see the tutorial) to prevent them from fraying. You can also choose to keep the edges raw or serge them for a different look. Now, pin your patch over the hole.
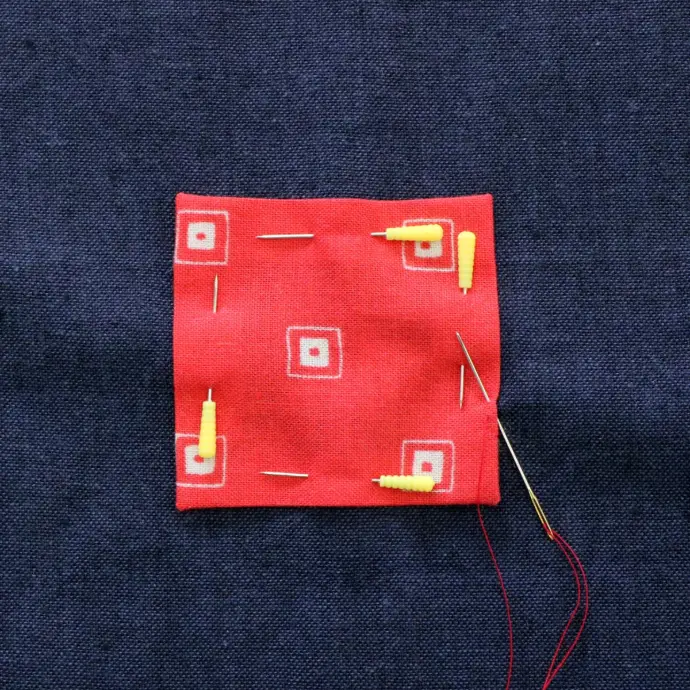
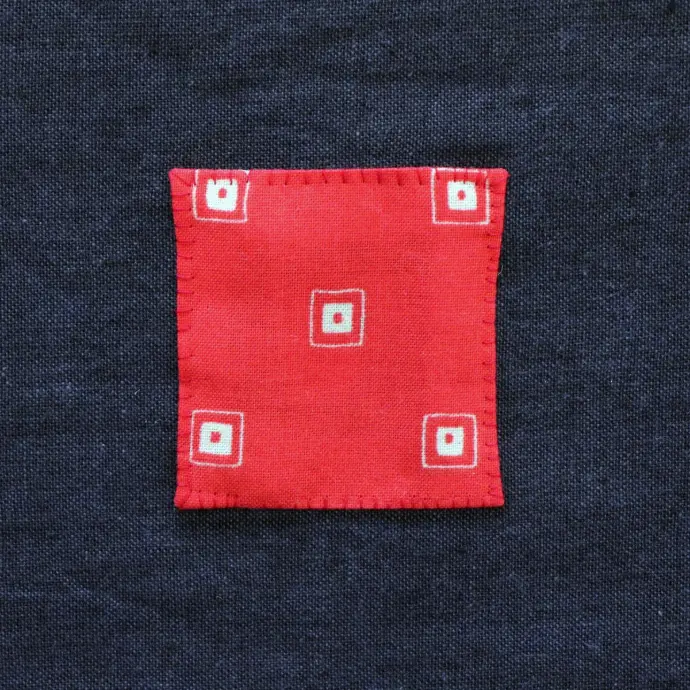
Next, you can stitch your patch to your garment. We recommend starting out with a Whip Stitch using Efina Cotton Thread and a #11 Short Darner needle, and adding any additional embellishments from there. Refer to your Creative Stitching Book for all kinds of embellishment ideas!
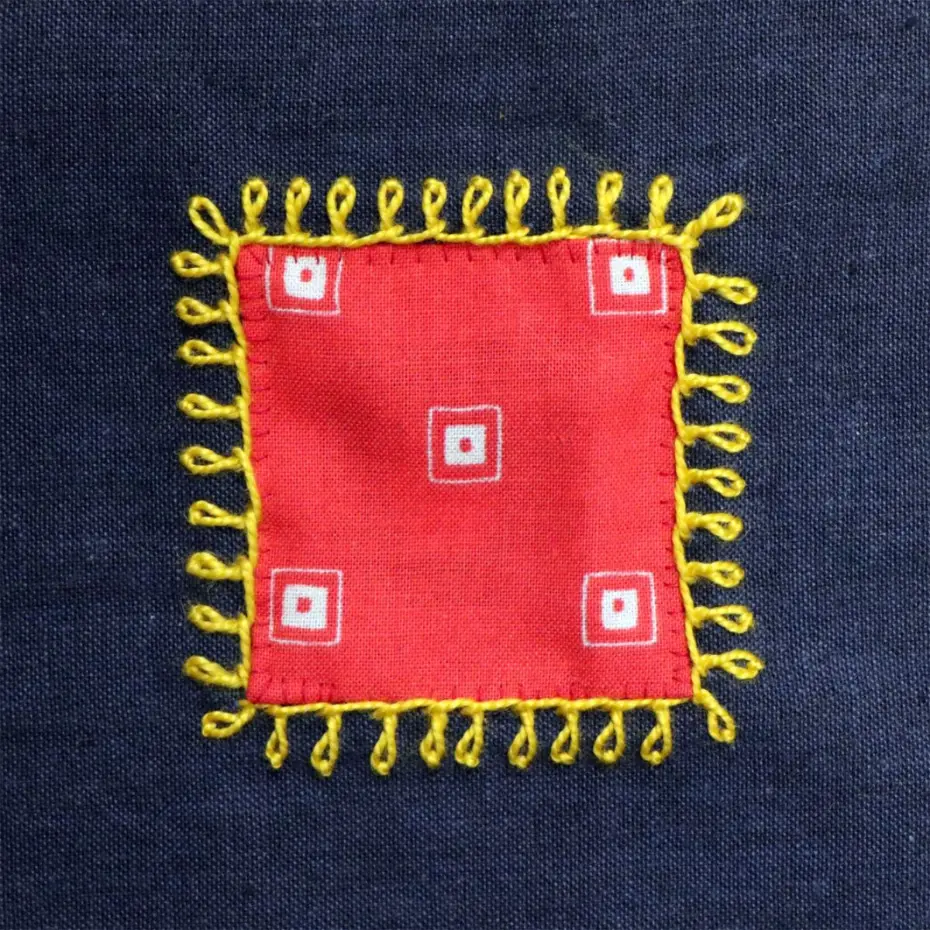
We finished our sample by adding a Basque Stitch (pg. 192) around the edge of our appliqué.
Samples
Take a look at some of our staff's before and after photos of their own patchwork projects! Using traditional Sashiko and other patchwork methods, we mended our own garments to give them new life!
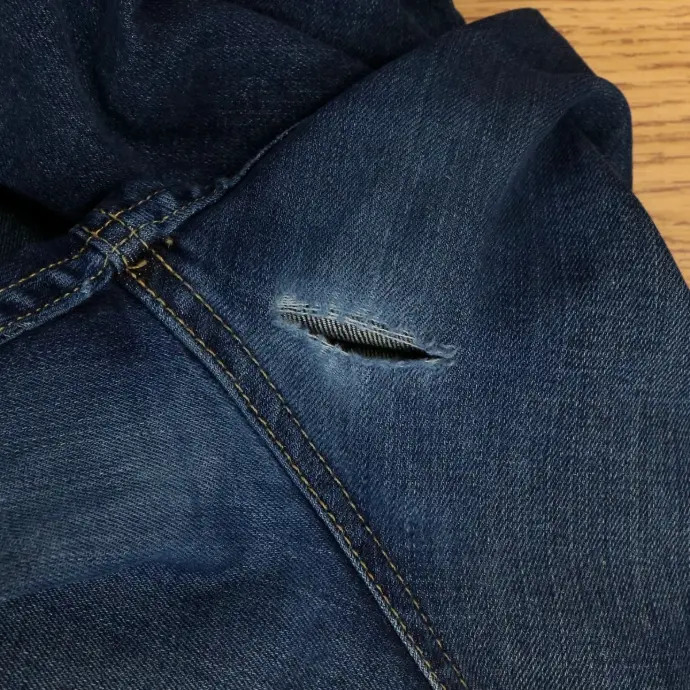
Before
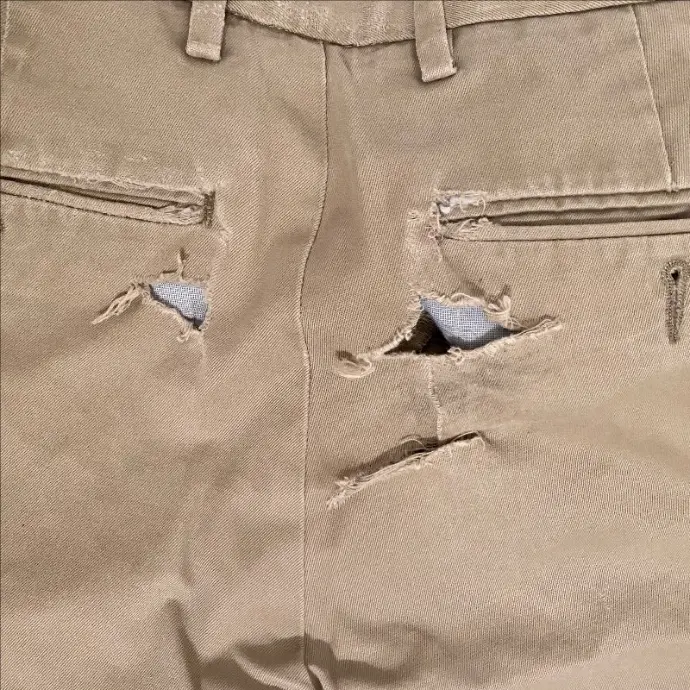
Before
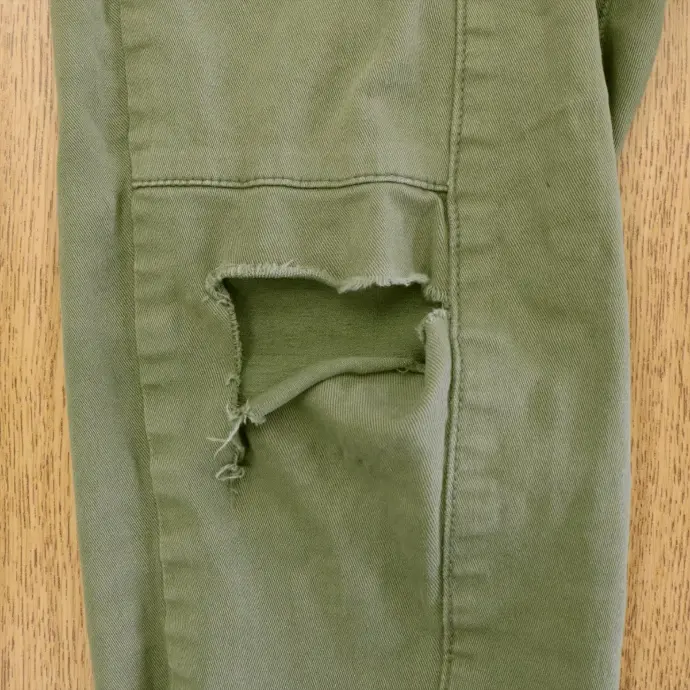
Before
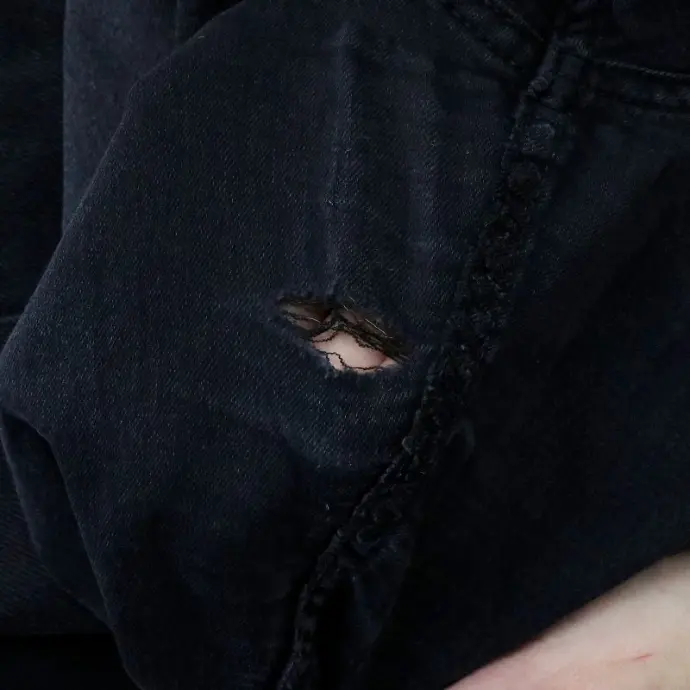
Before
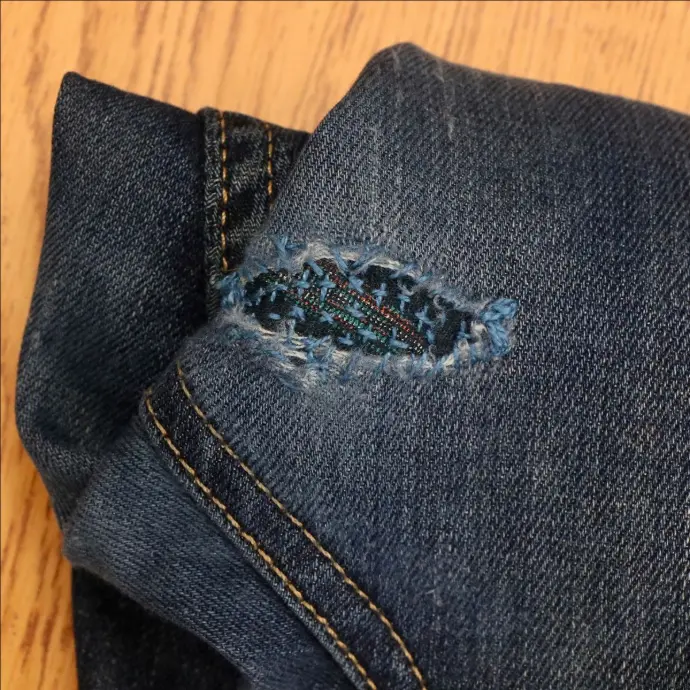
After - Using the Boro Technique
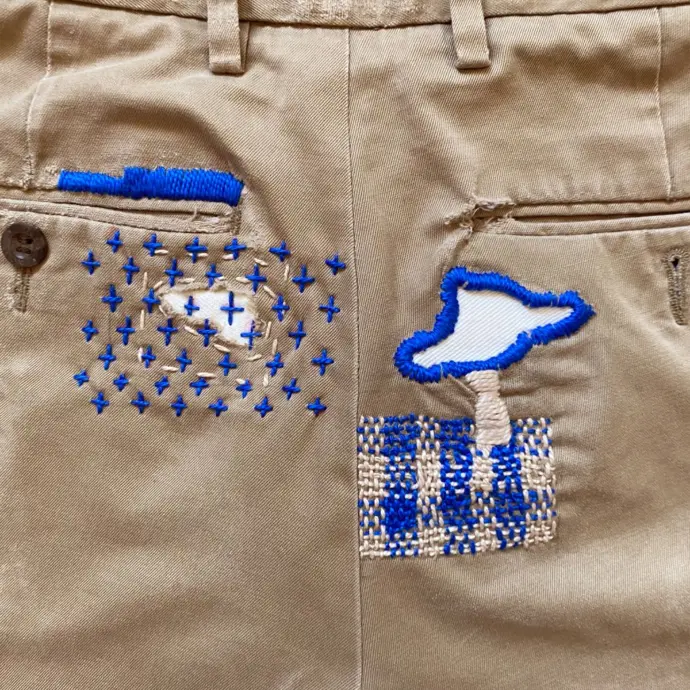
After - Using a combination of Boro, Appliqué, and Darning Techniques
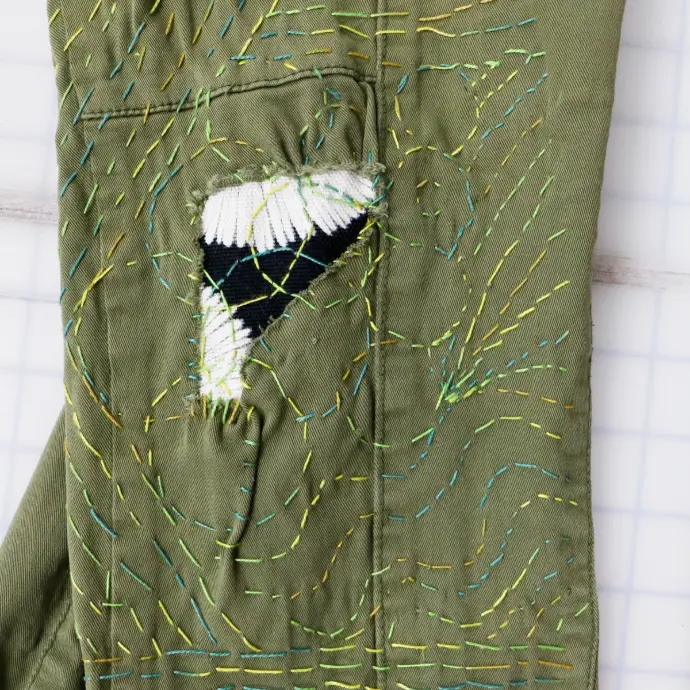
After - Using the Boro Technique
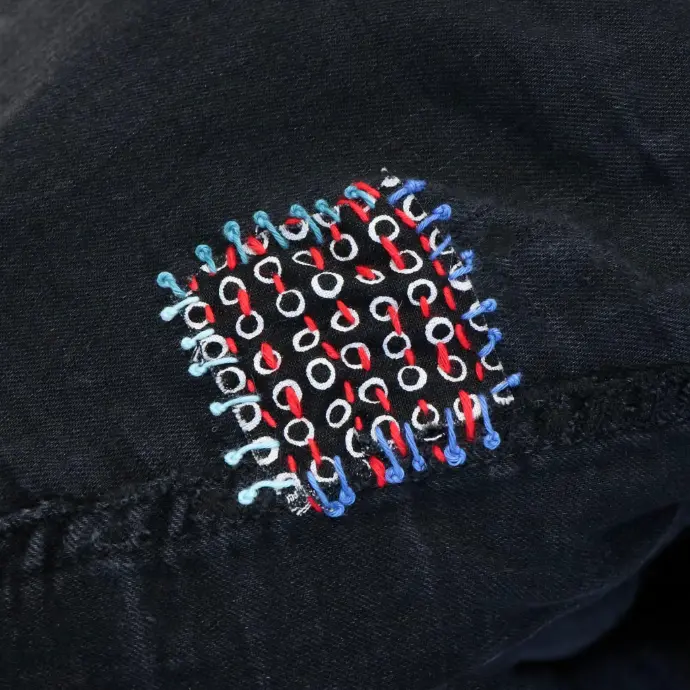
After - Using a combination of Appliqué and Boro Techniques
Create
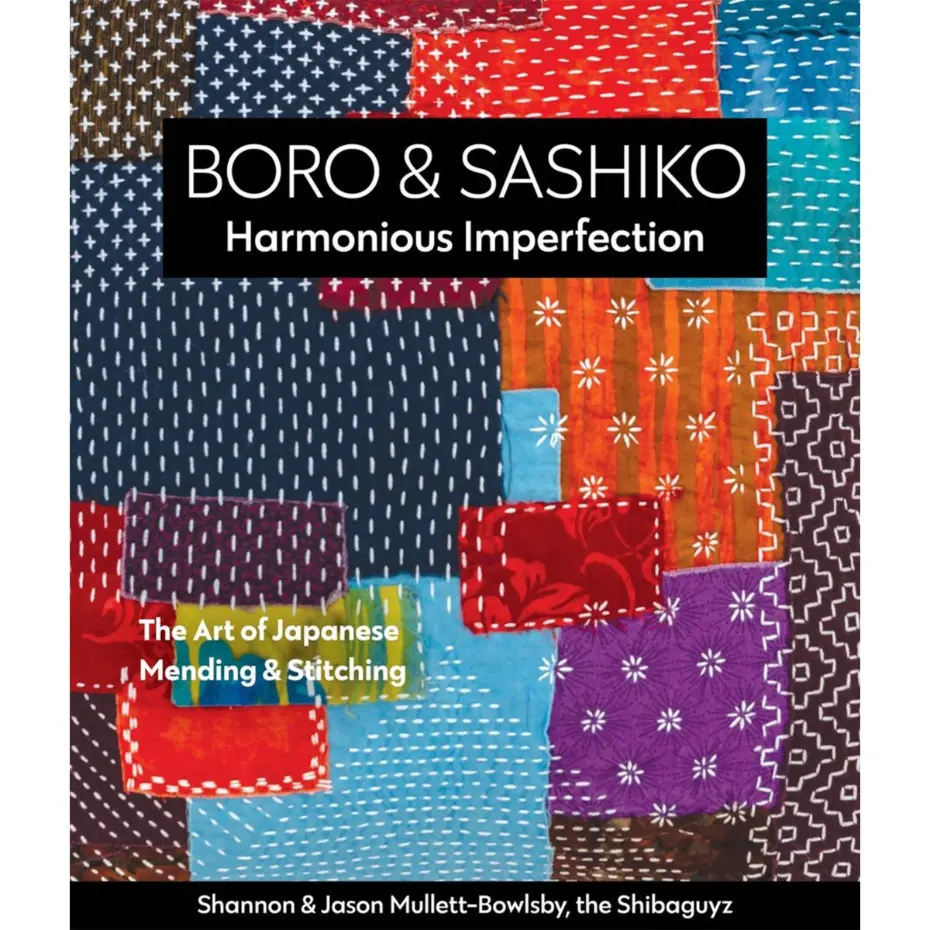
Boro & Sashiko book by the Shibaguyz
This book is fantastic for gaining a comprehensive understanding of the history and tradition of boro and sashiko. The book includes 30 authentic sashiko designs, project patterns, stitch how-tos, and needle-threading and knotting tips.