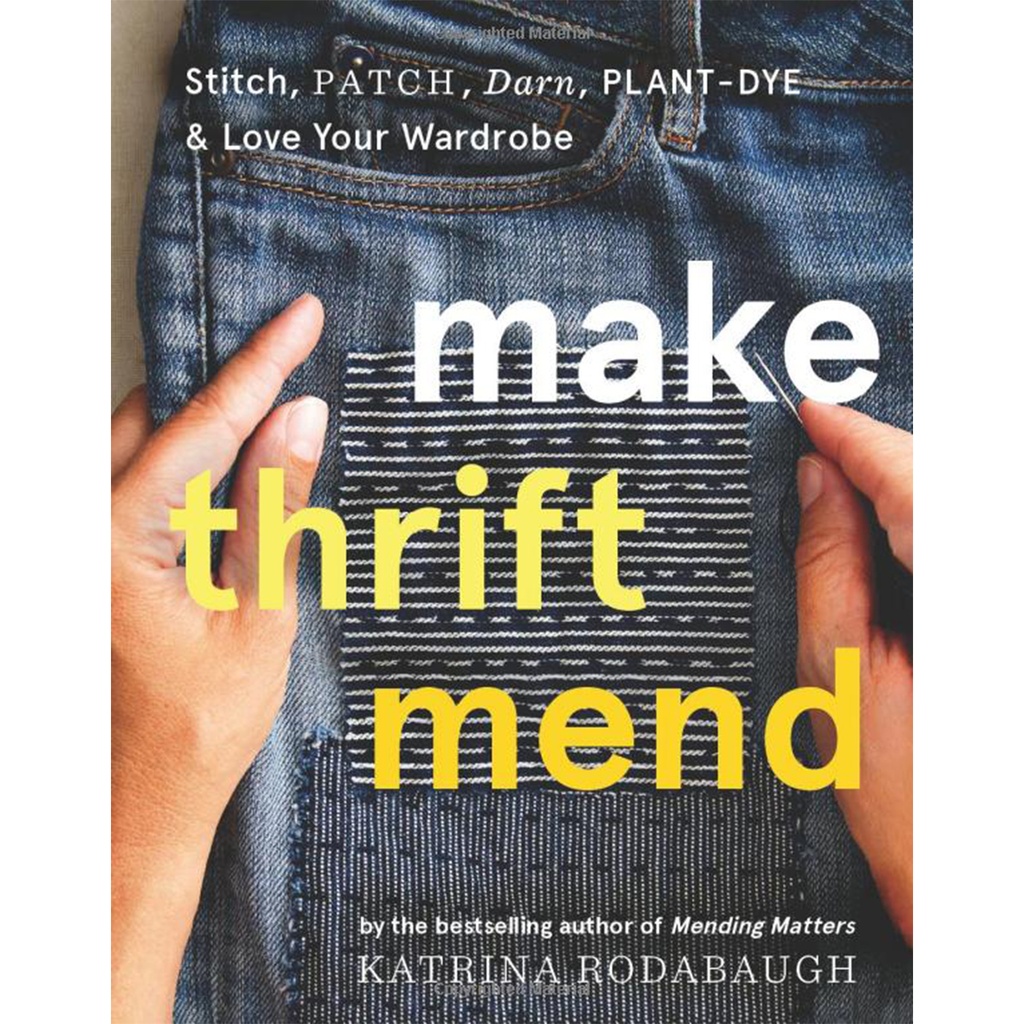
Last week, we introduced the basics of darning as a way of mending wear and tear to textiles and adding some visual appeal. If you haven't already, make sure you read Part 1, as we will be building off of those basic darning skills. While basic darning is great and useful in its own ways, we wanted to explore different variations and ways to use darning in our own projects. That's right--darning doesn't have to be reserved for worn out clothing! The texture created by darning can be incorporated into embroidery projects as well. Grab your darning mushroom, and follow along as we discuss part two of darning: different shapes, materials, and applications for darning!
Supply List
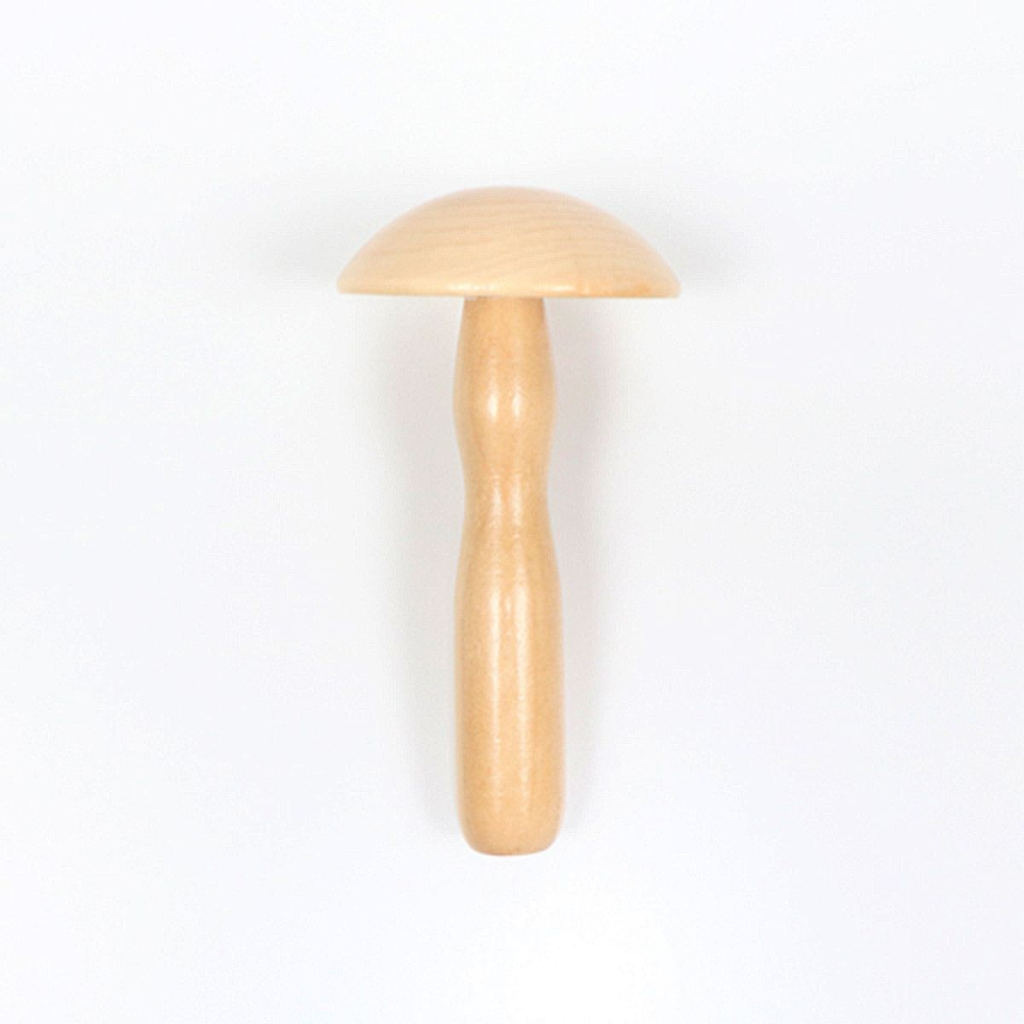
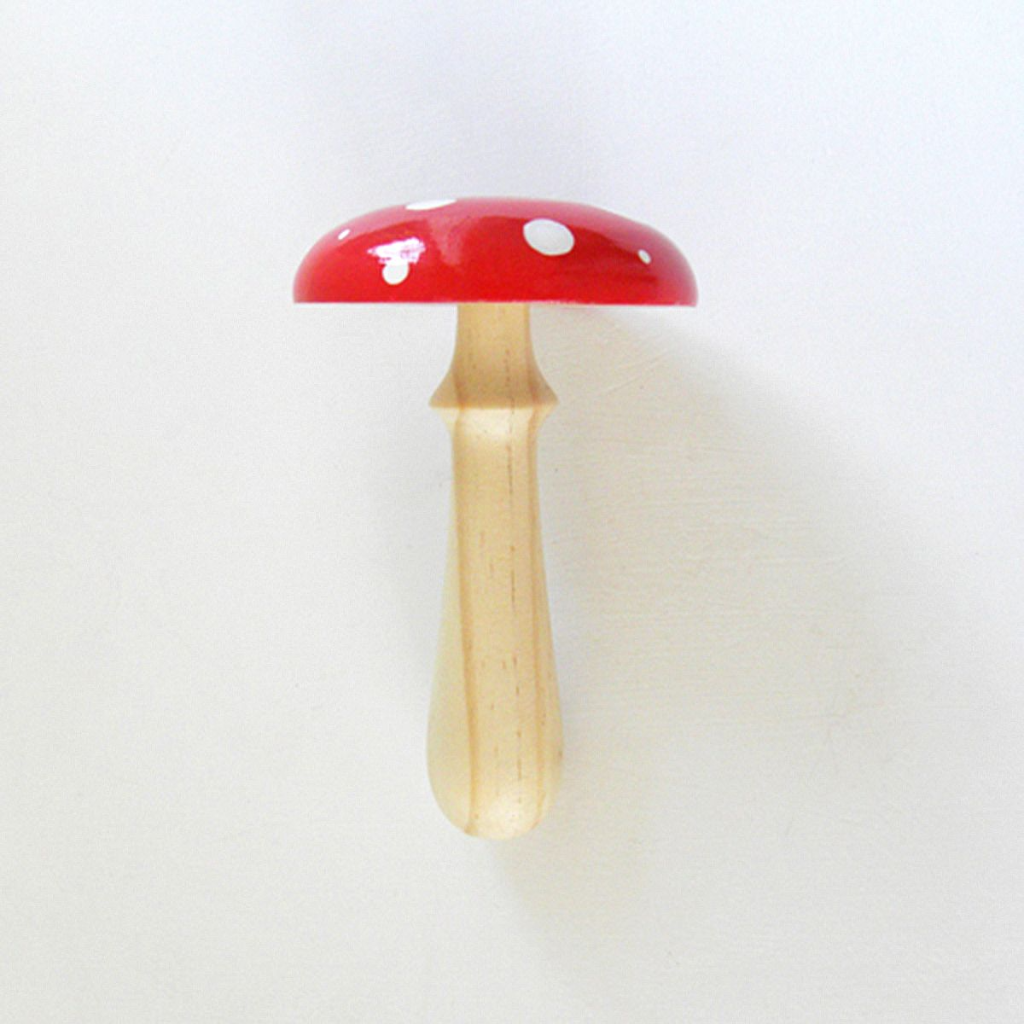
- Darning Mushroom
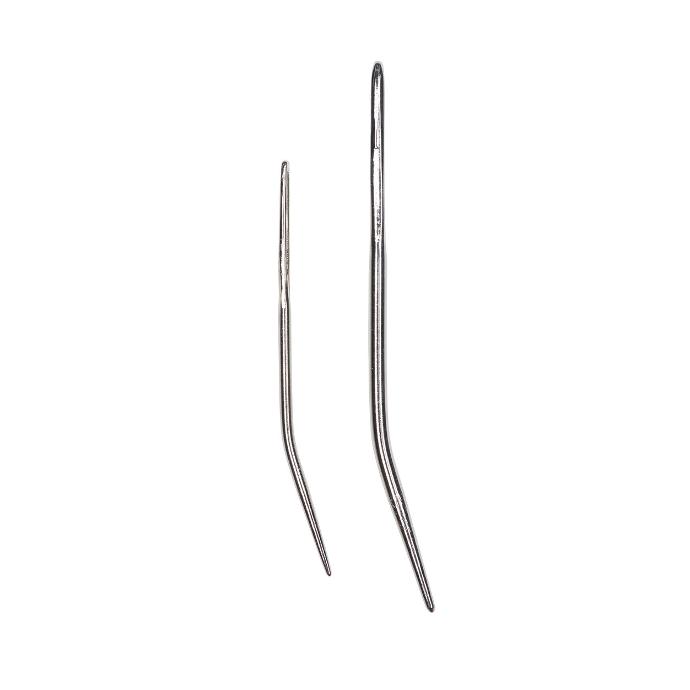
- Clover Huck Embroidery Needles or Tapestry Needles
- Bent Tip Yarn Needles (for larger threads and yarn)
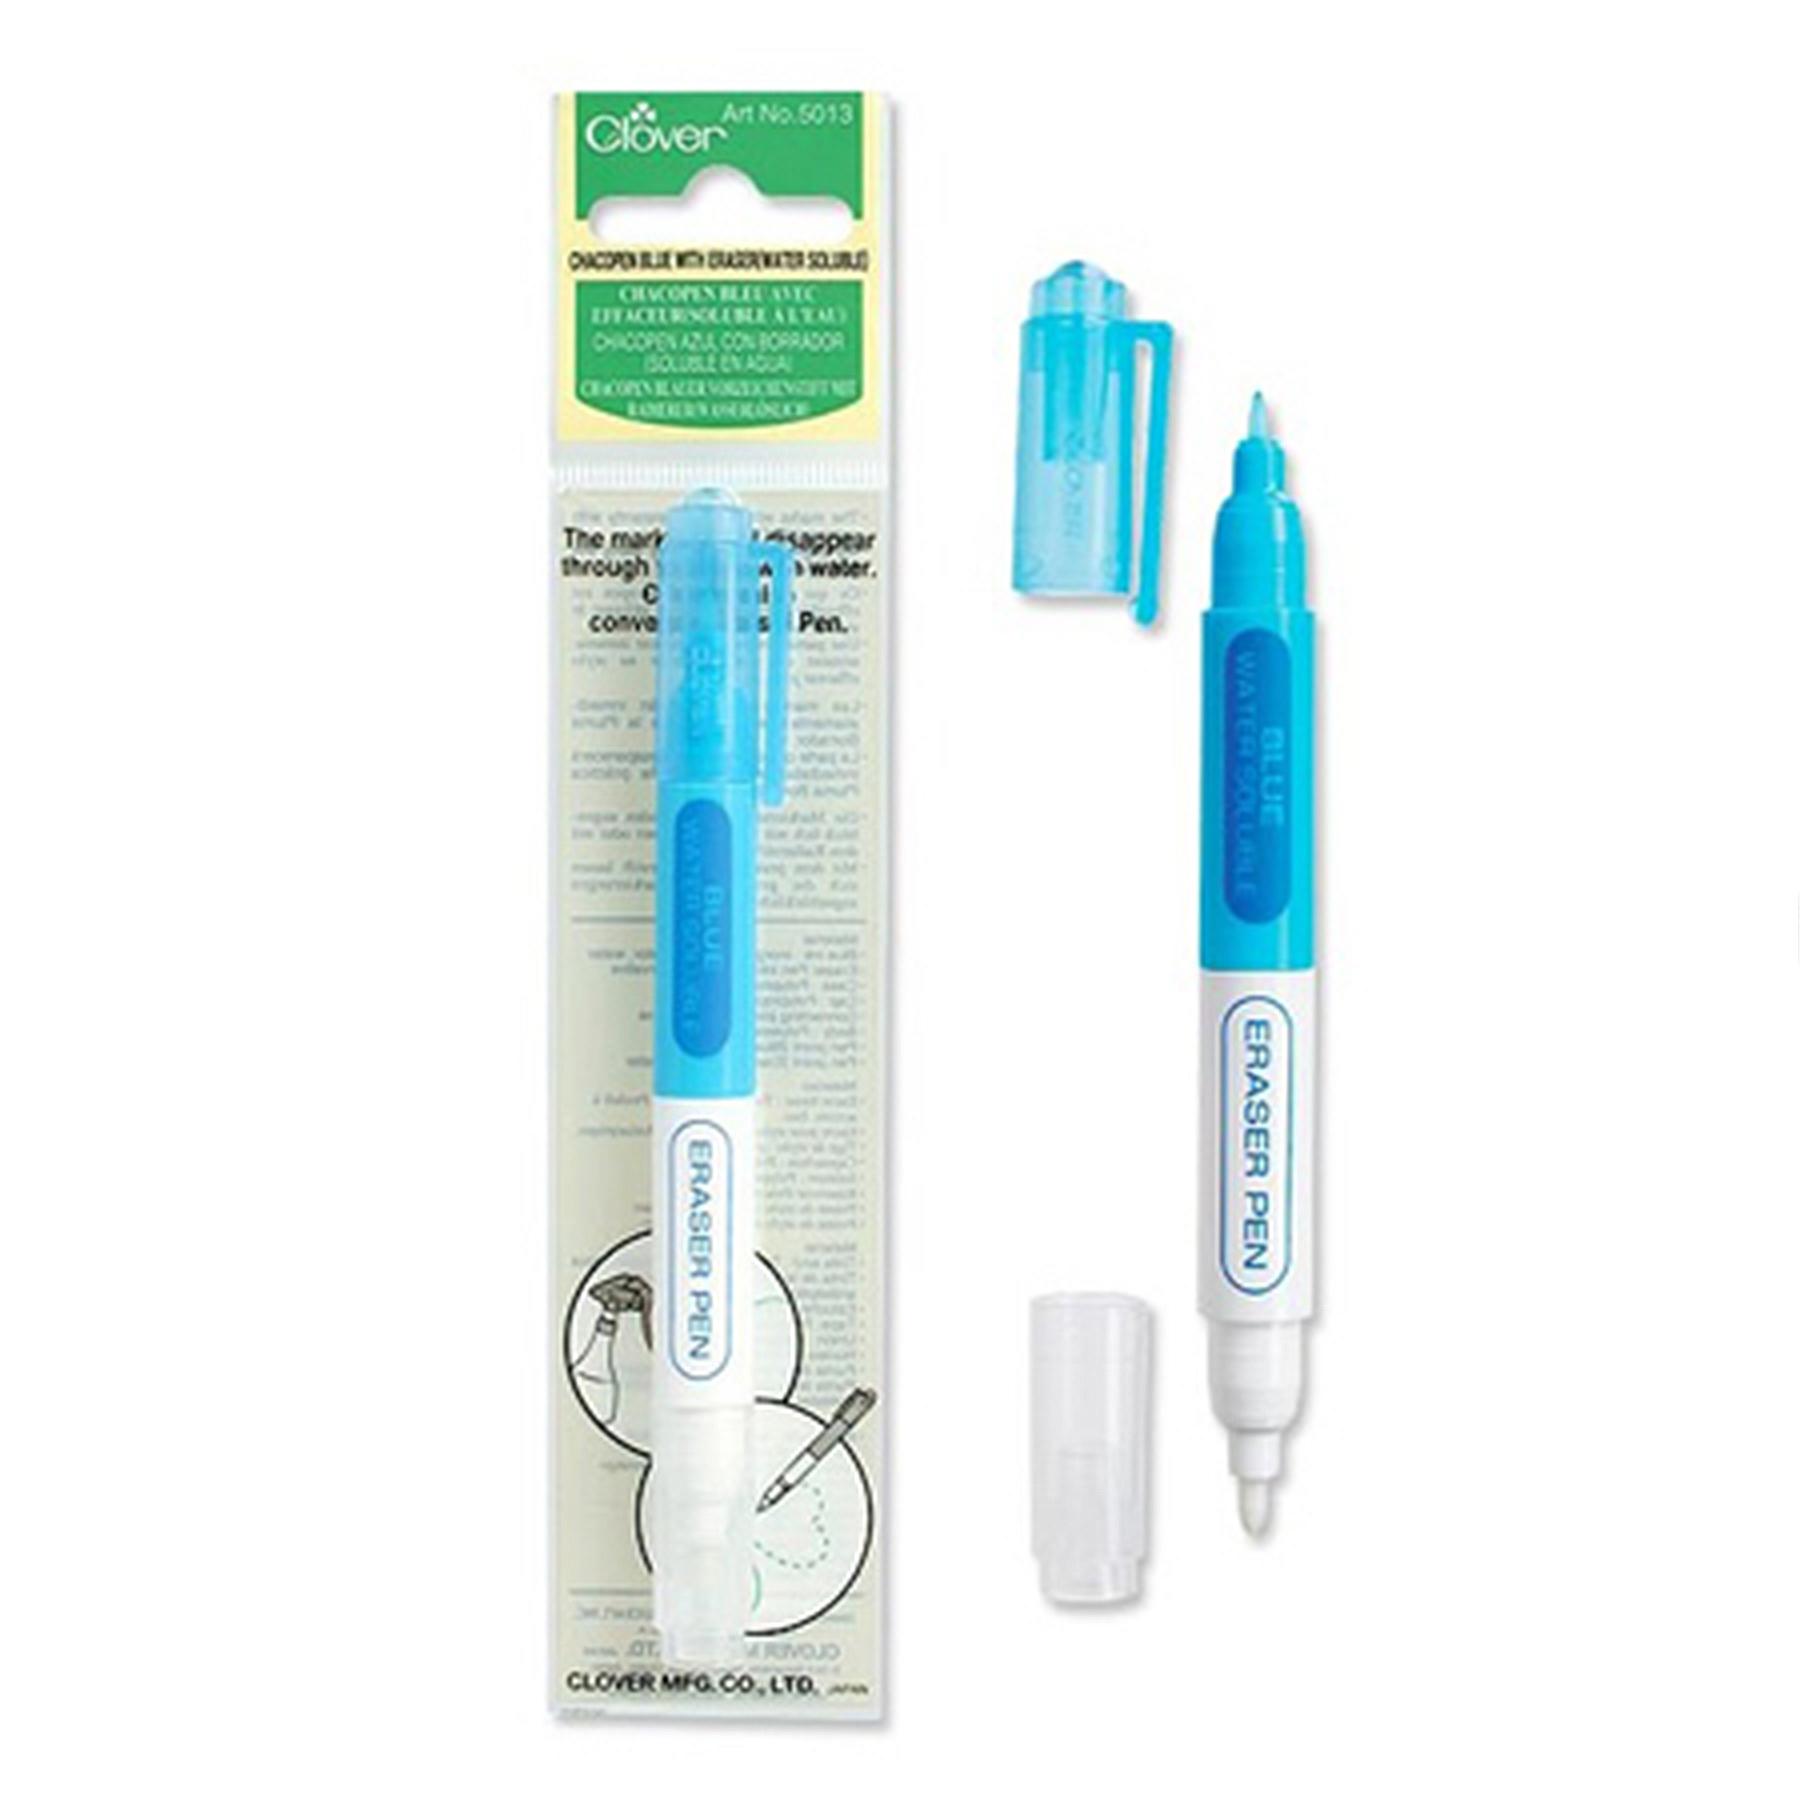
- Clover Chacopen Blue with Eraser
- Thread Snips
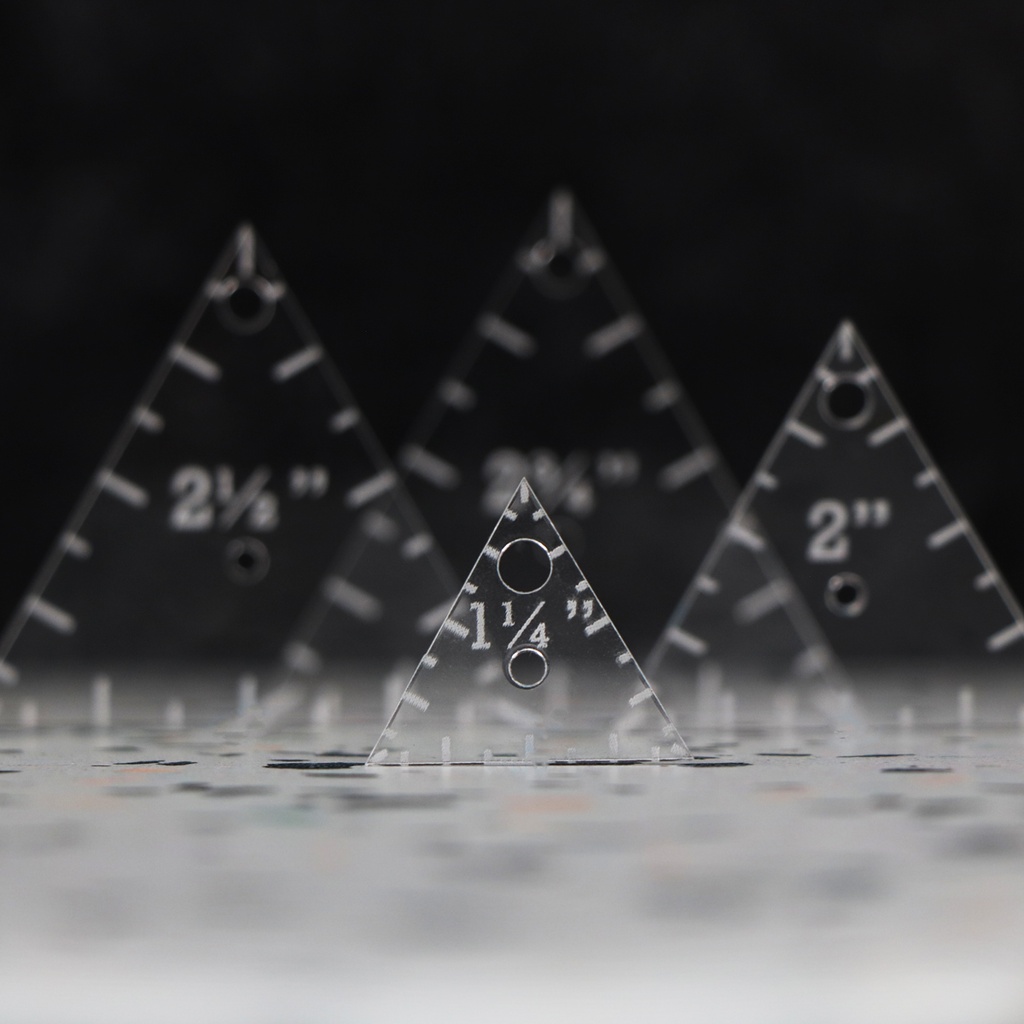
- Shape Easy Templates (Circles, Ovals, Hexagons, Triangles, Squares)
- Flatter Smoothing Spray
- Creative Stitching Book for additional embellishment
- A basket to keep everything together, of course!
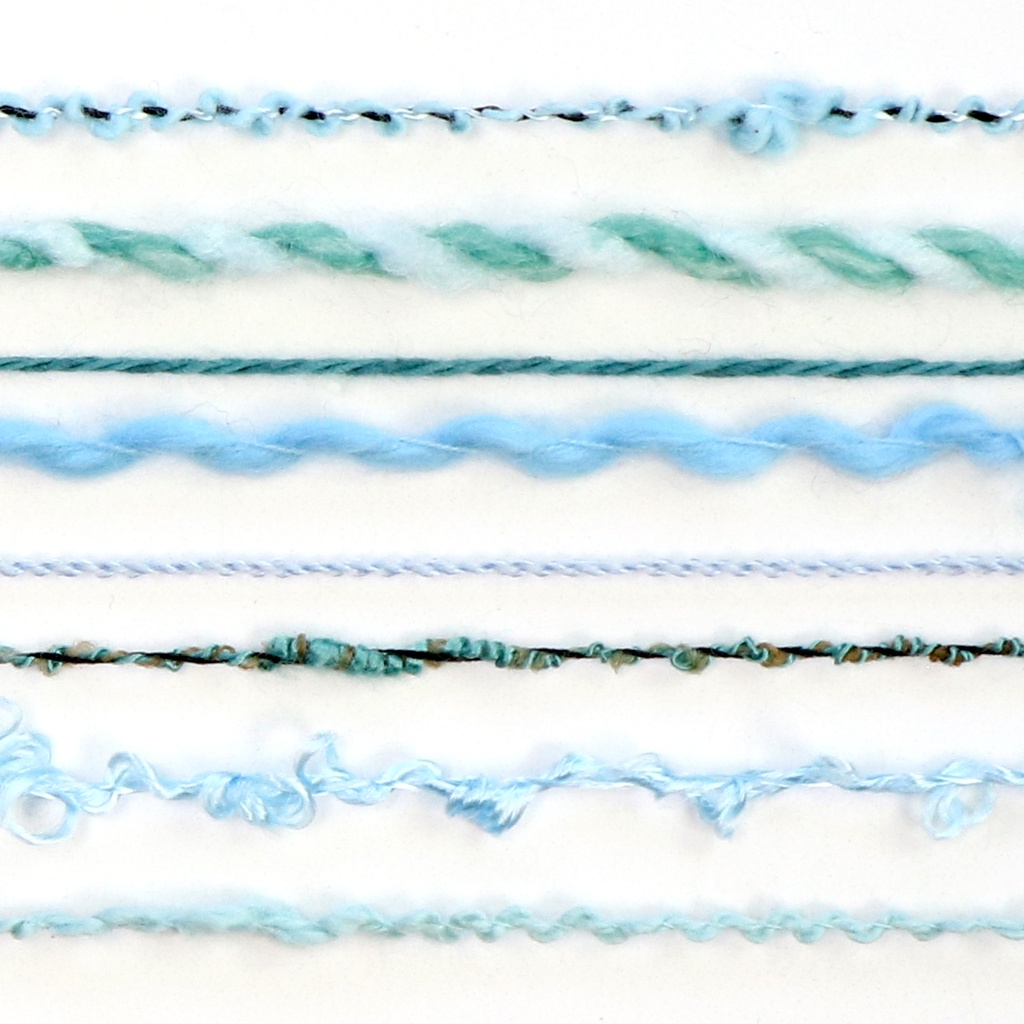
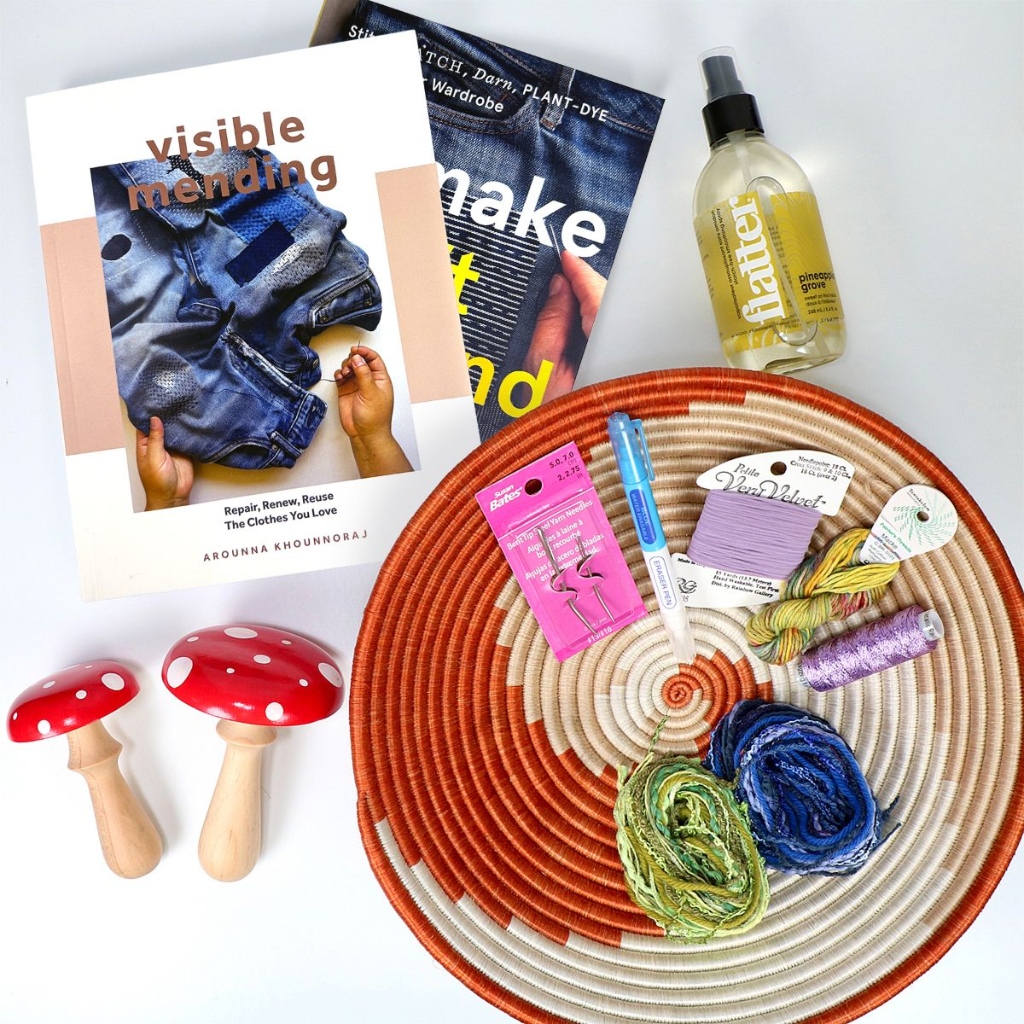
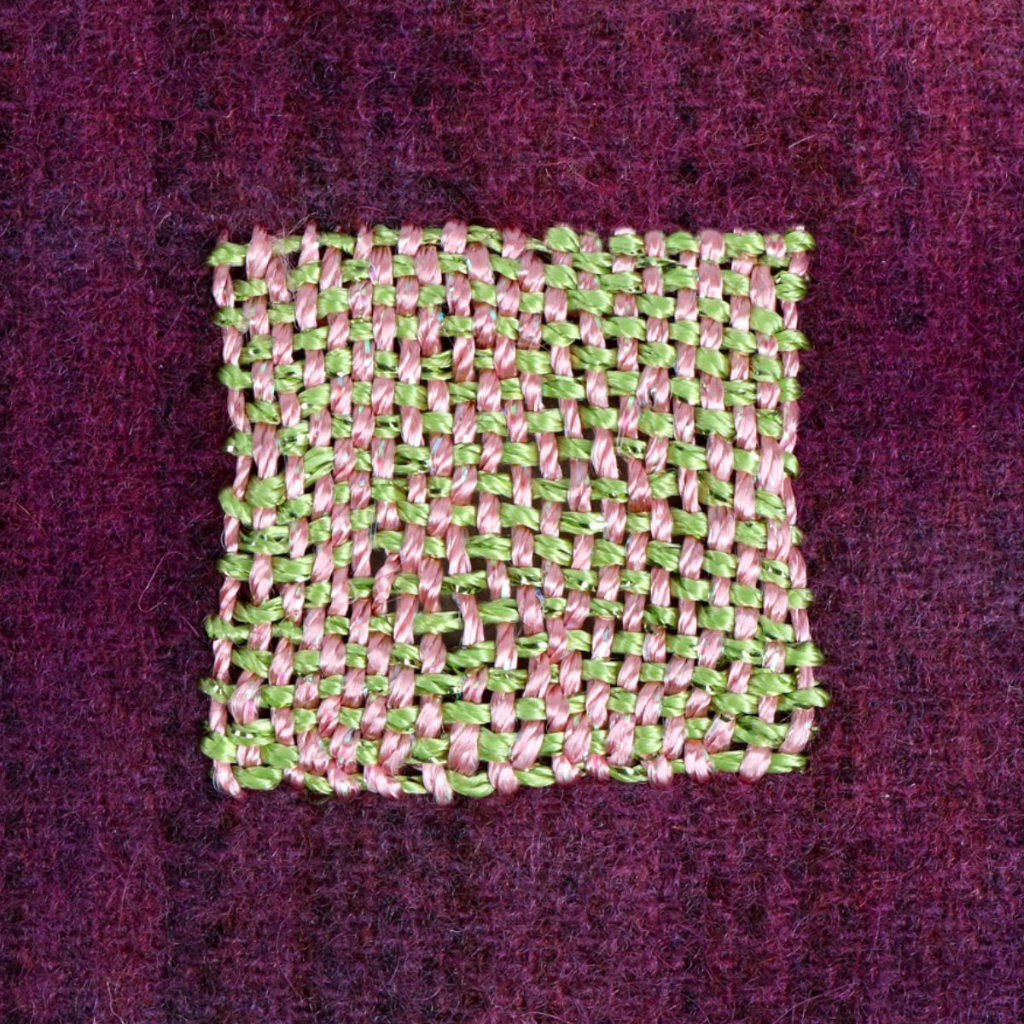
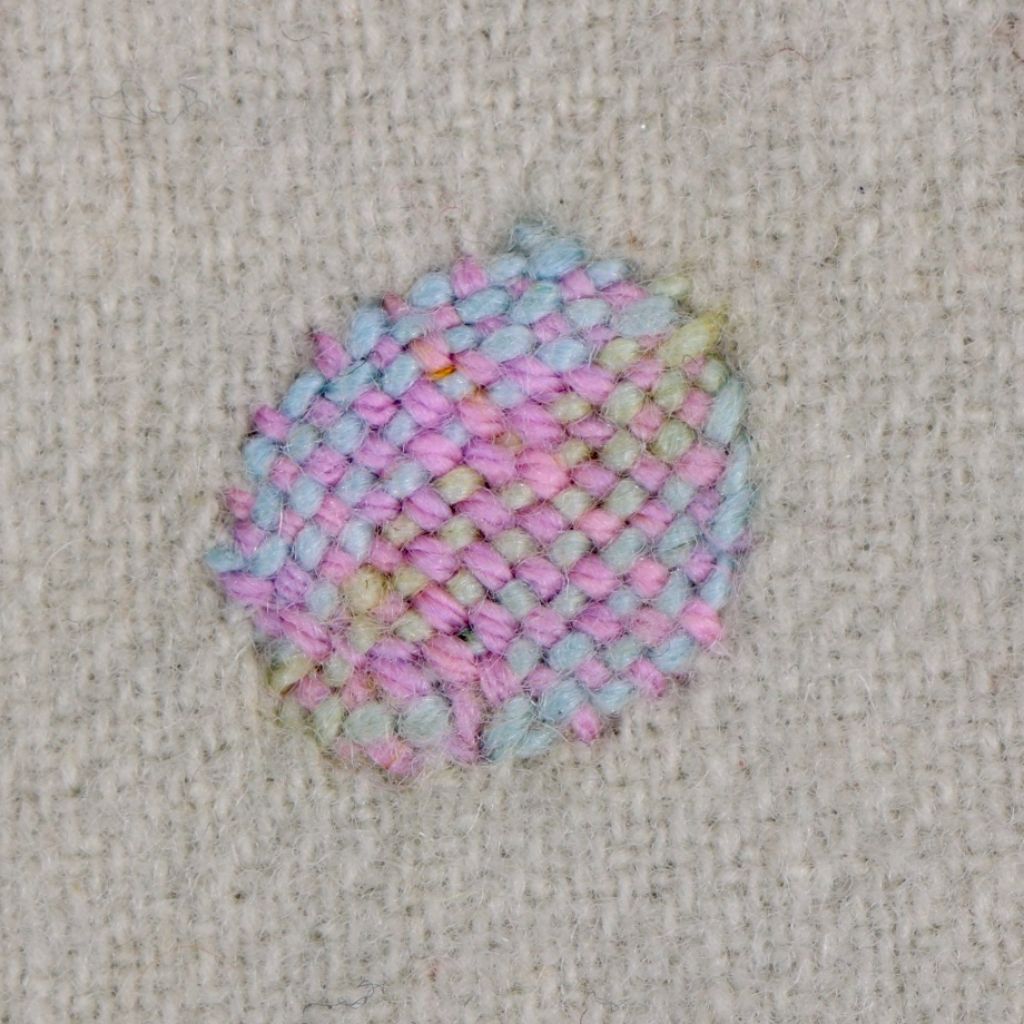
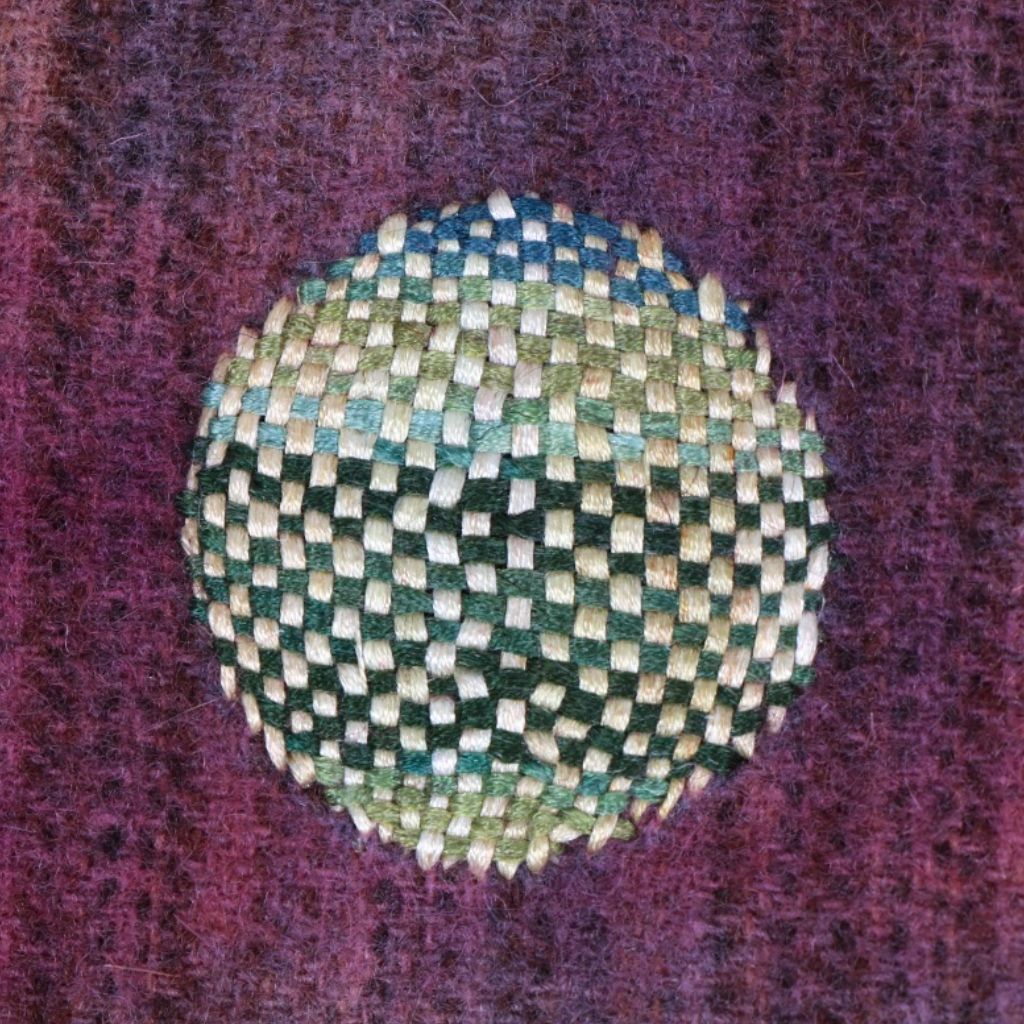
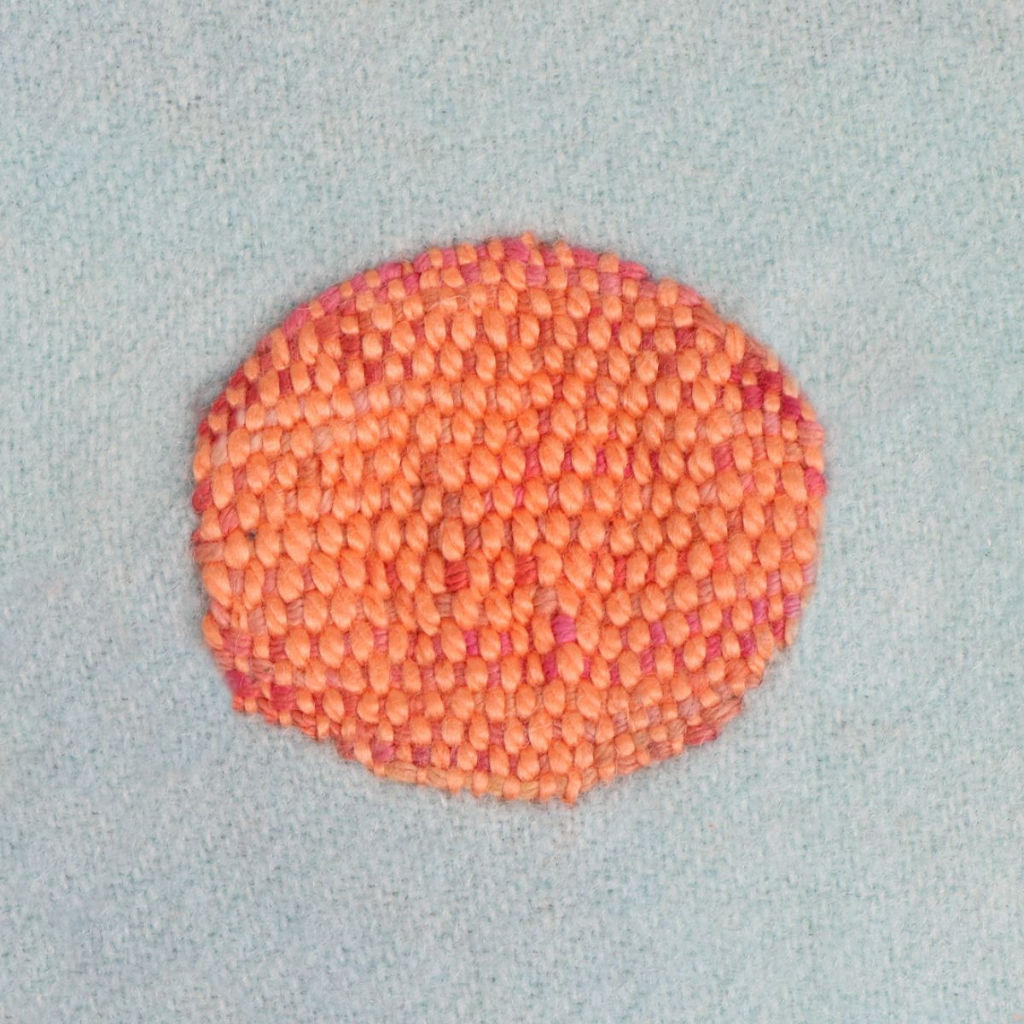
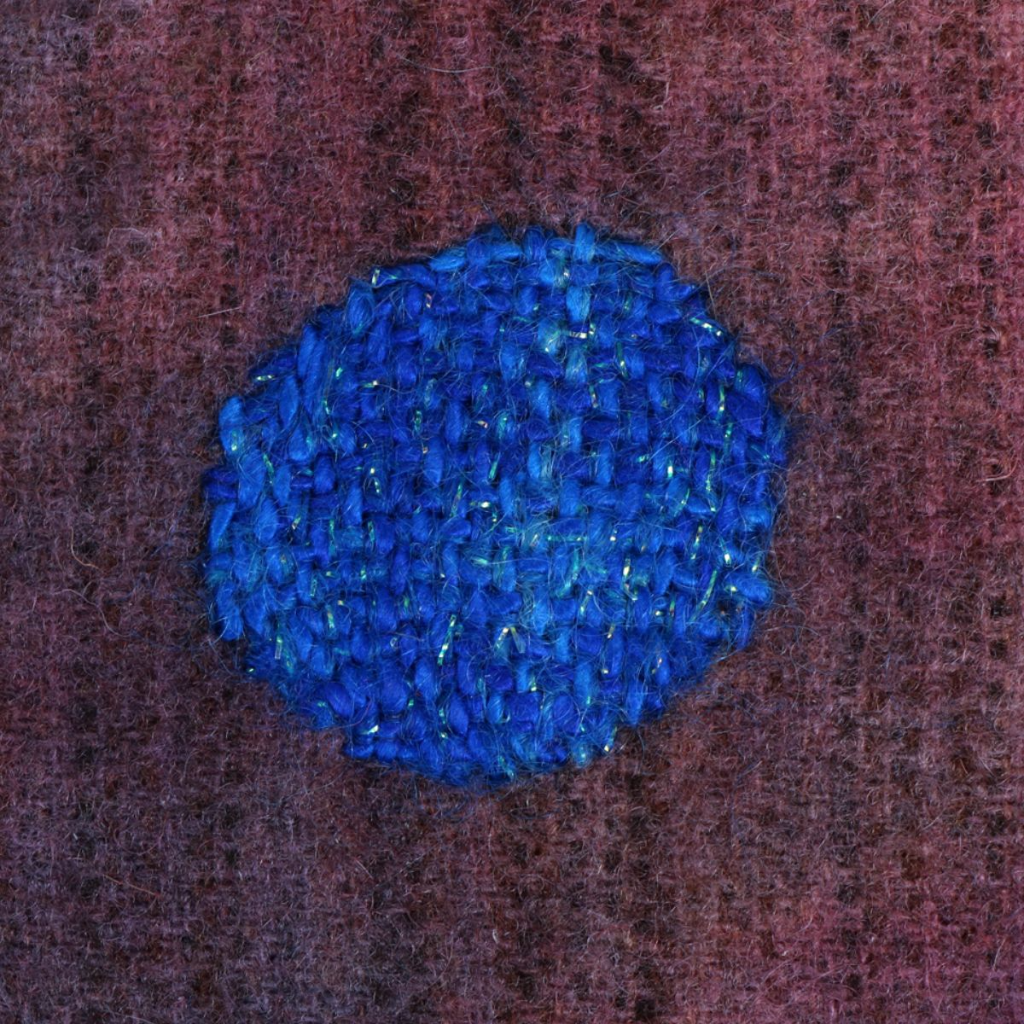
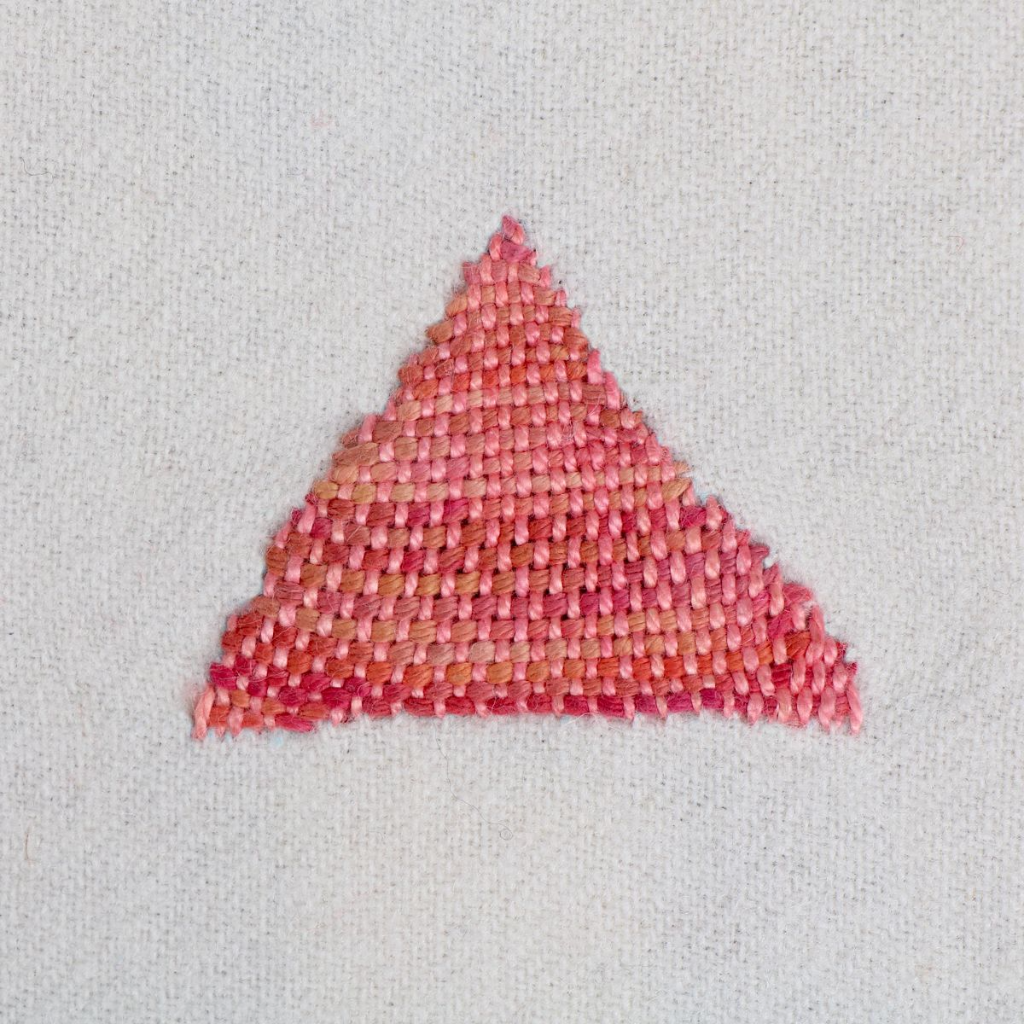
As we did last week, we will still be using the same core tools to darn; a darning mushroom, thread or yarn, and needles. This time, however, we'll be experimenting with different types of threads, yarns, and fibers in addition to the sashiko threads from our first tutorial. The different threads provide different effects and textures. We will also be using more of the Shape Easy Templates to create shapes other than circles.
We experimented with:
Different Material Examples
Shapes
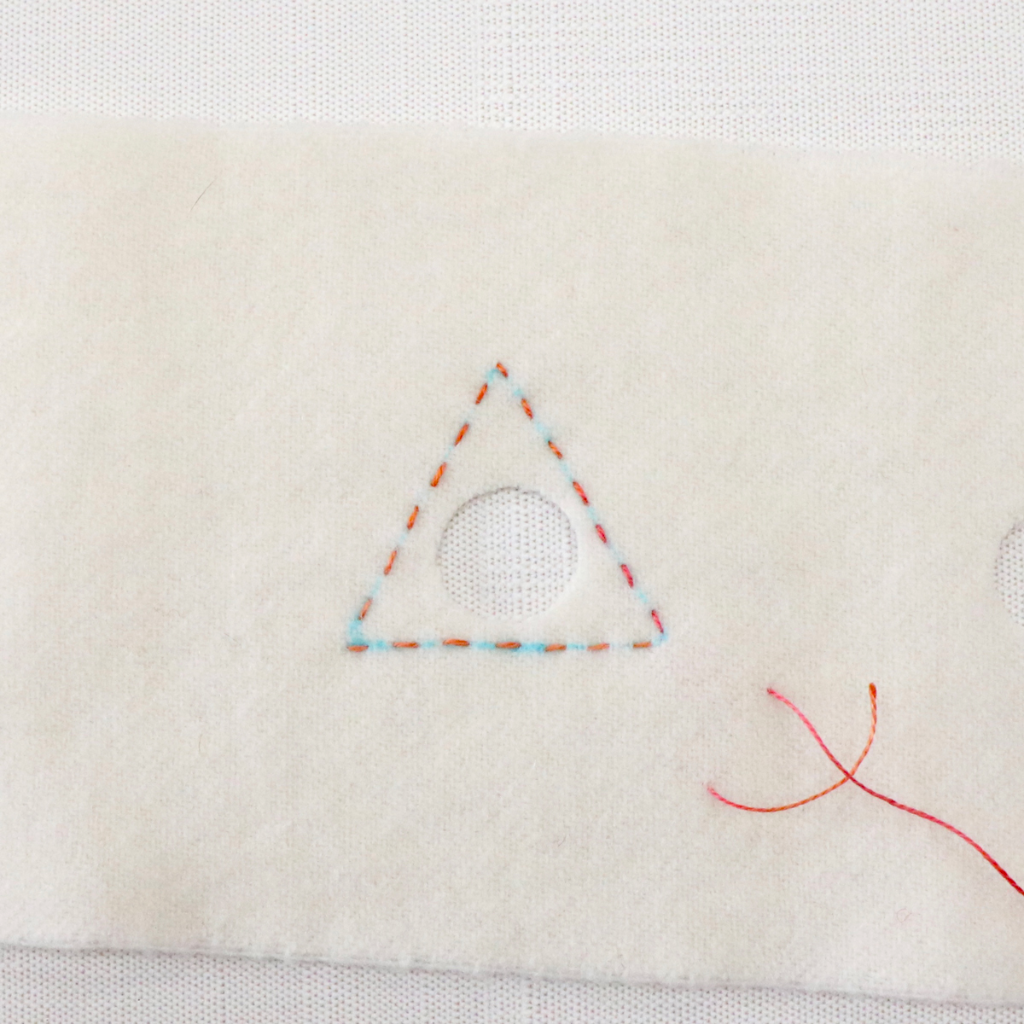
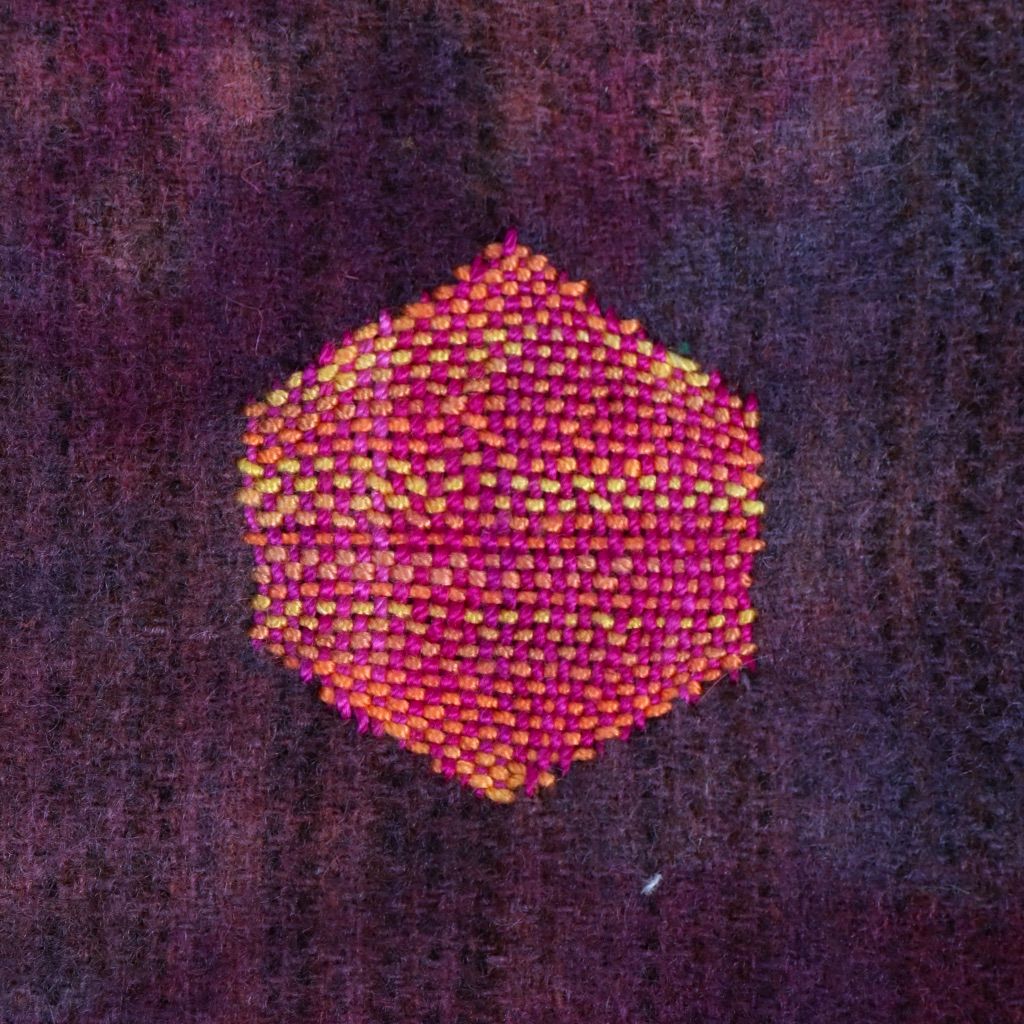
One way to change up your darning is to stitch a different shape. Using our Shape Easy Templates, you can darn circles, ovals, hexagons, triangles, or squares. Simply follow the same steps as basic darning, but following the marking of your chosen shape! For our example, we darned a triangle.
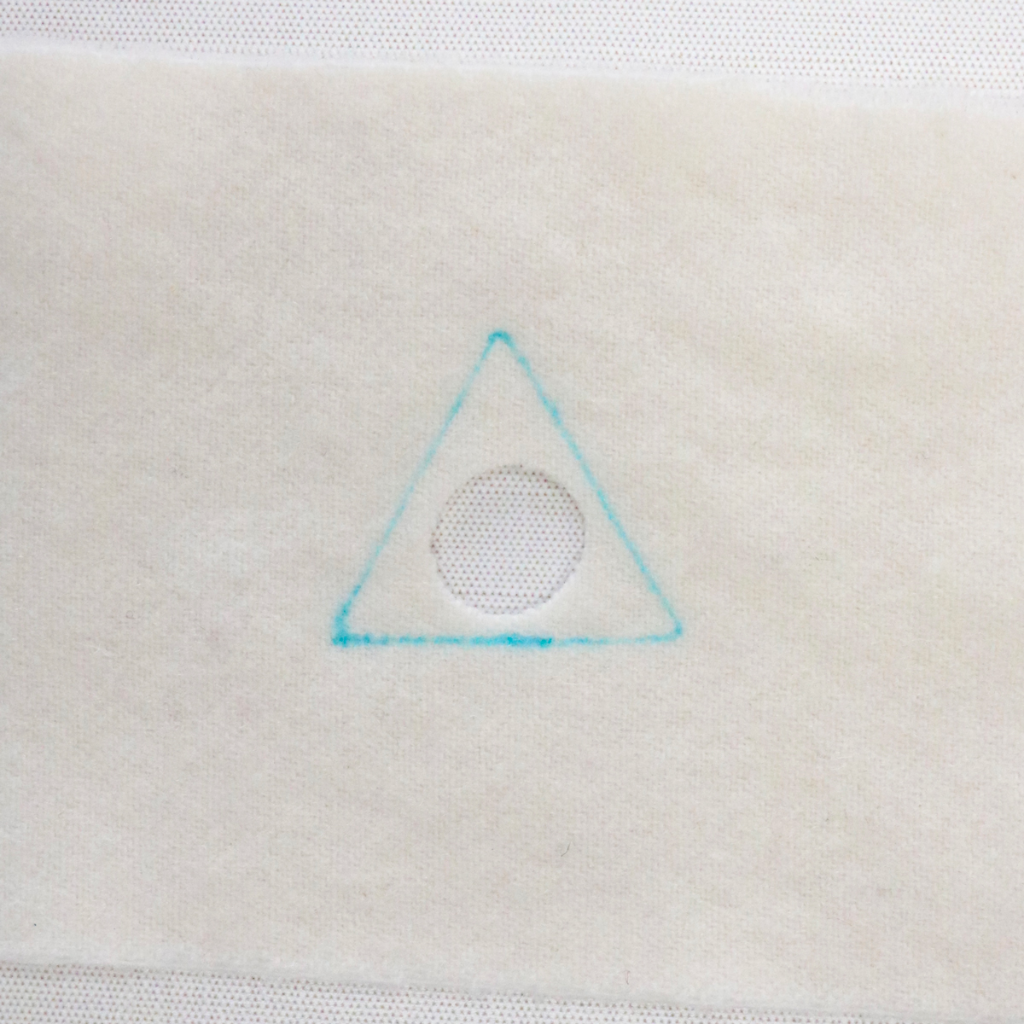
Mark your shape outline with a template.
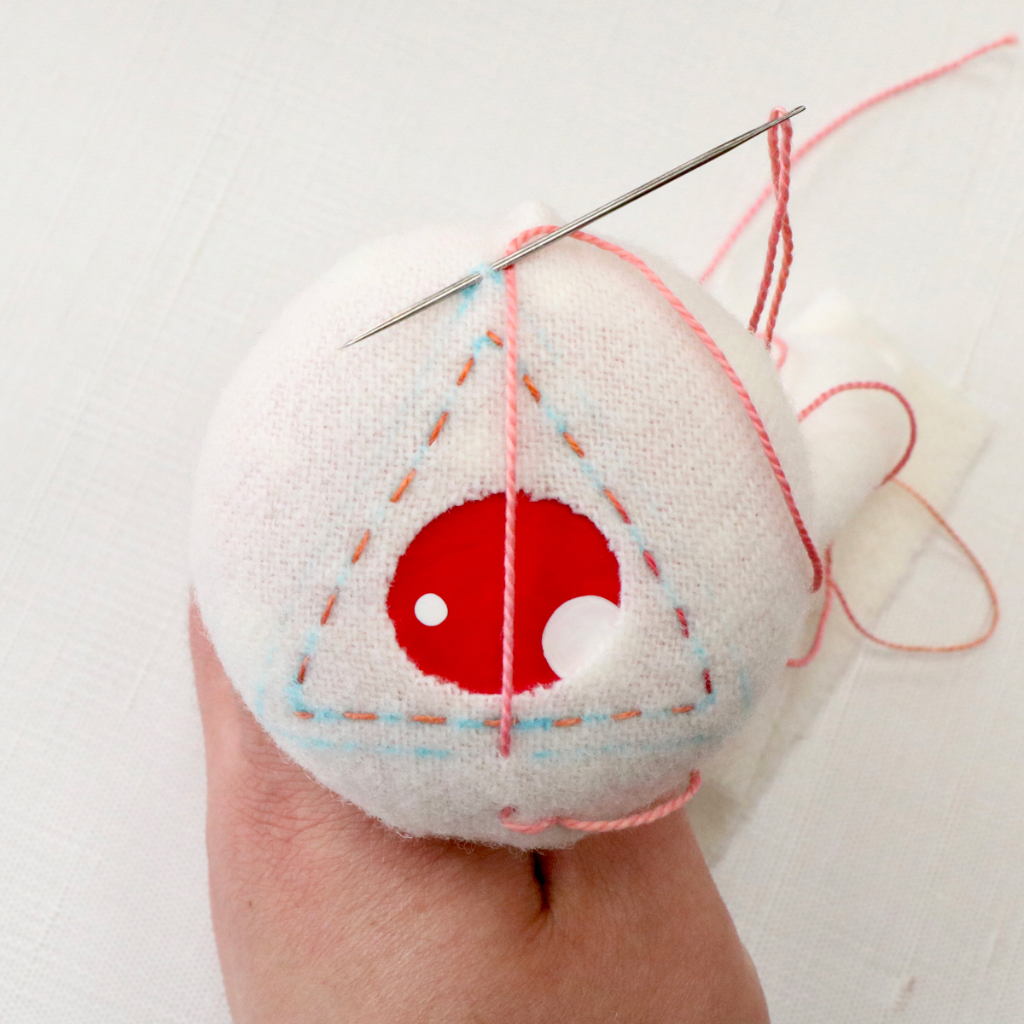
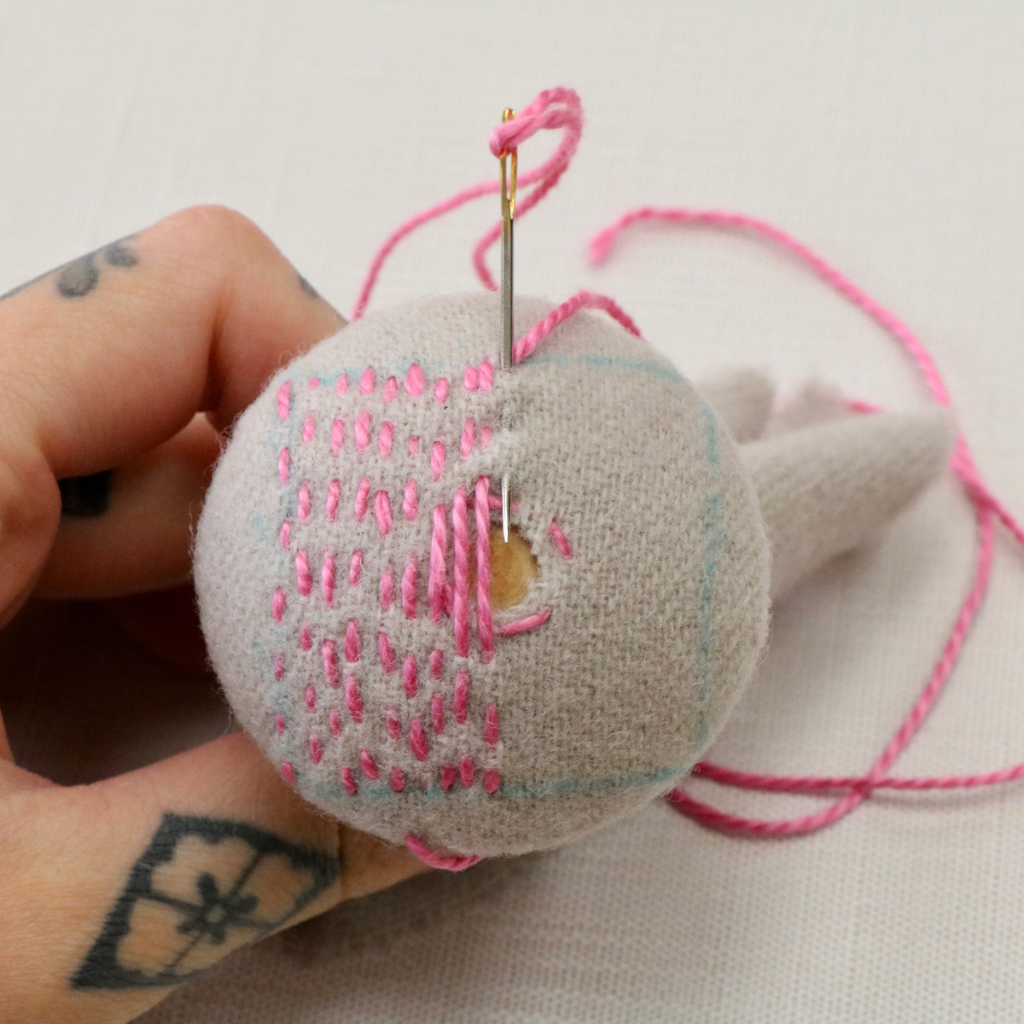
Begin making your warp threads in the middle of your shape the same way as basic darning, but following your chosen shape.
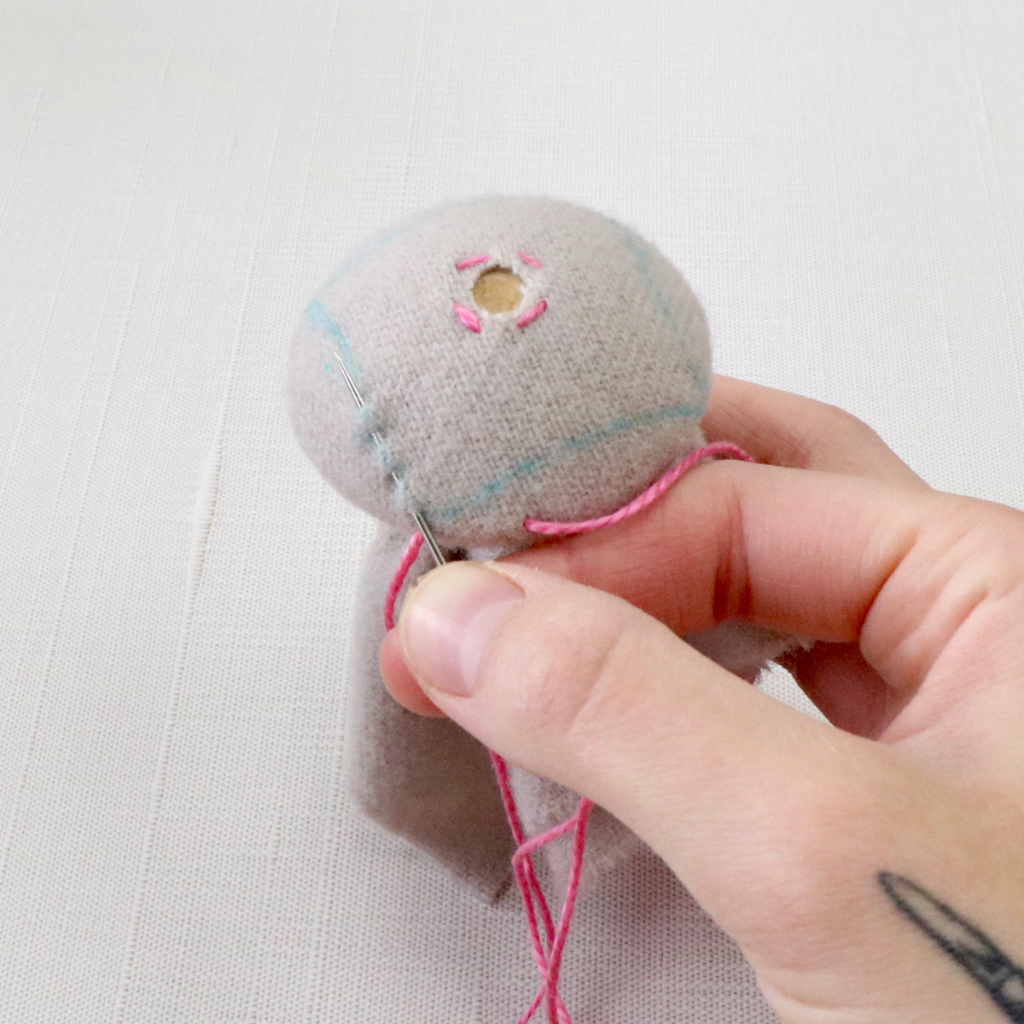
Stitch a running stitch on your marking, leaving a tail.
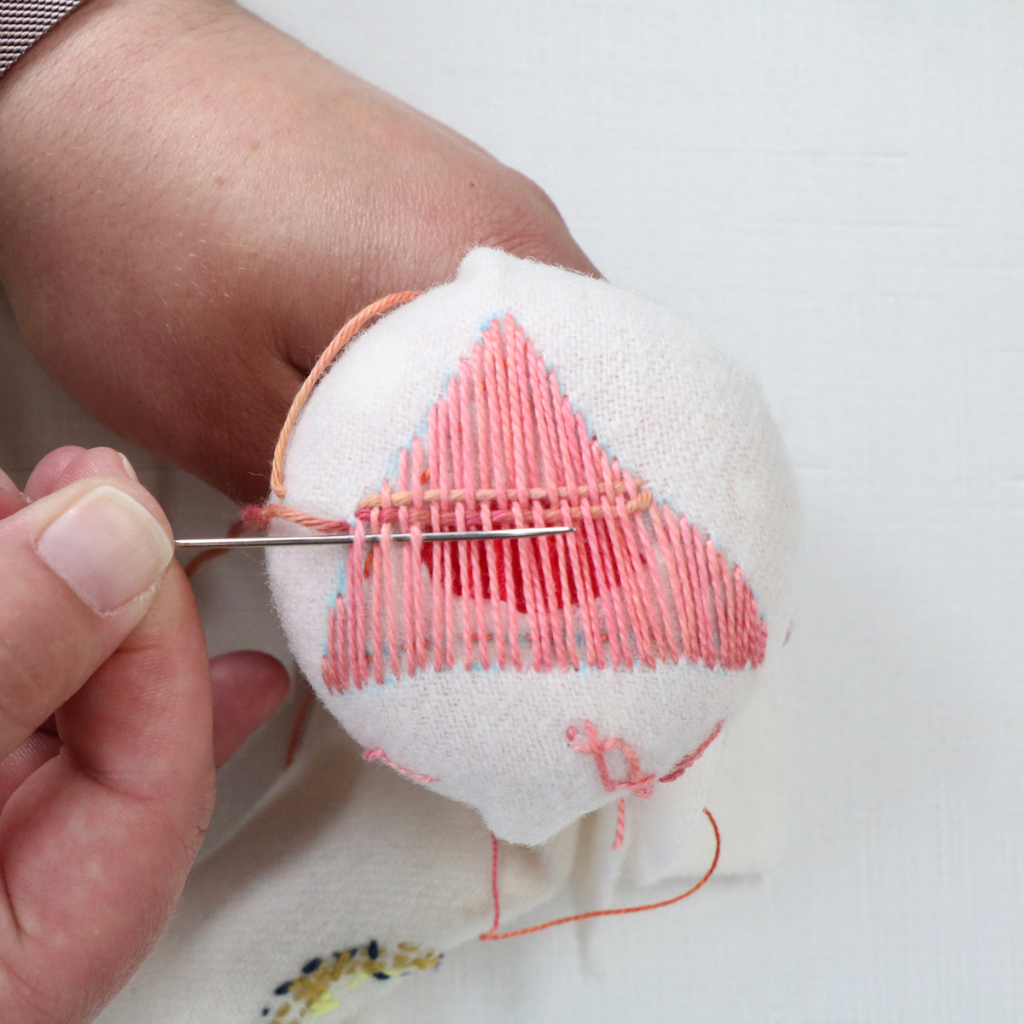
Starting in the middle of your shape, make the weft threads until you reach one side. Then repeat on the other half of your shape.
Finish your darned shape as you would basic darning, by weaving each tail into the back layer.
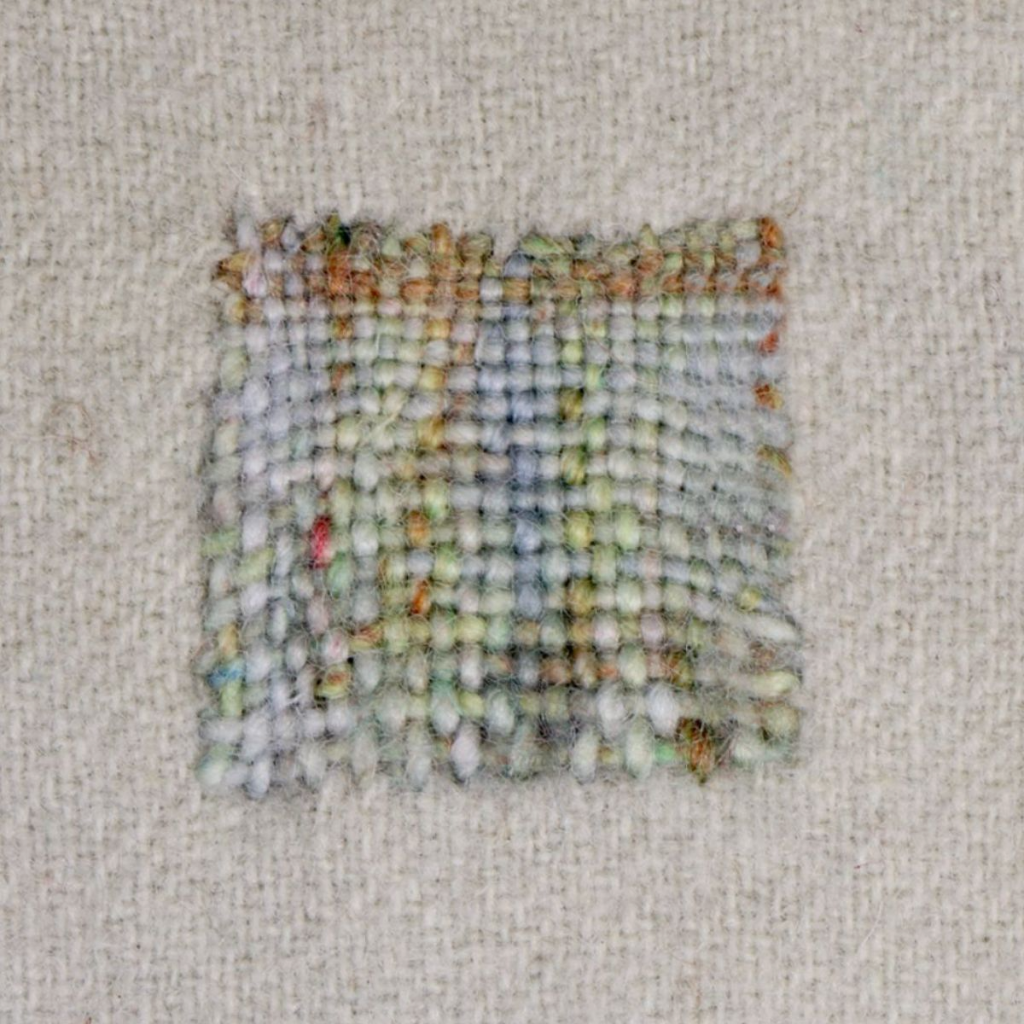
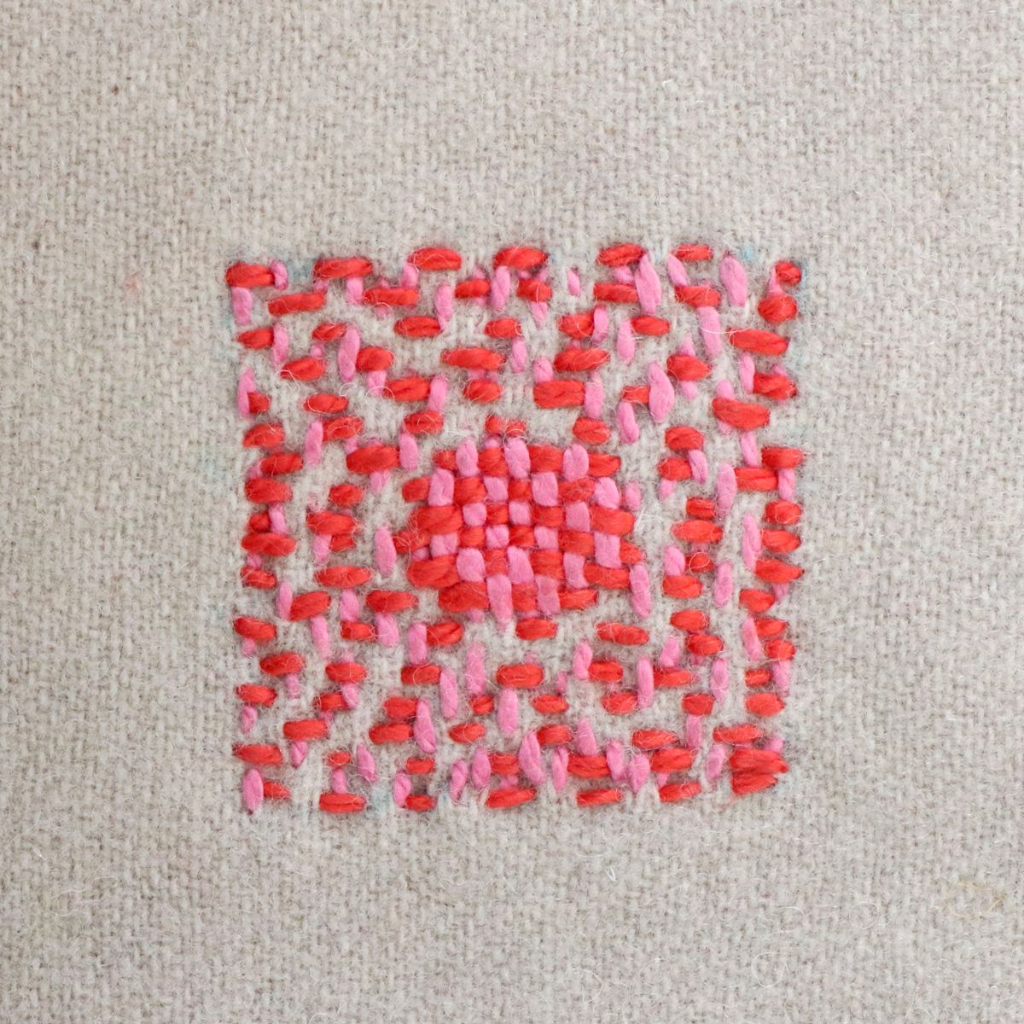
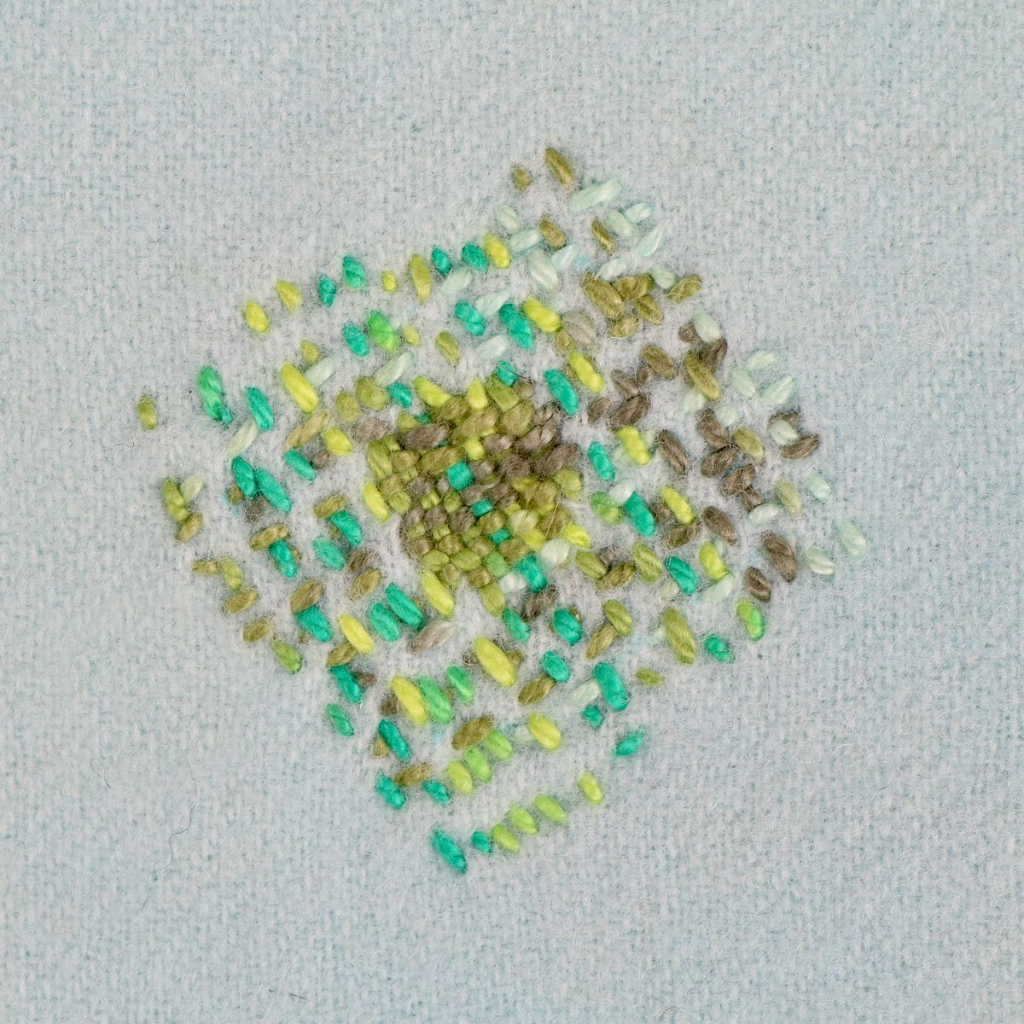
Blend Your Patch
Another way to alter the shape of your darning is by adding seed/running stitches. The seed stitches provide extra texture and give your darning a more organic and blended look.
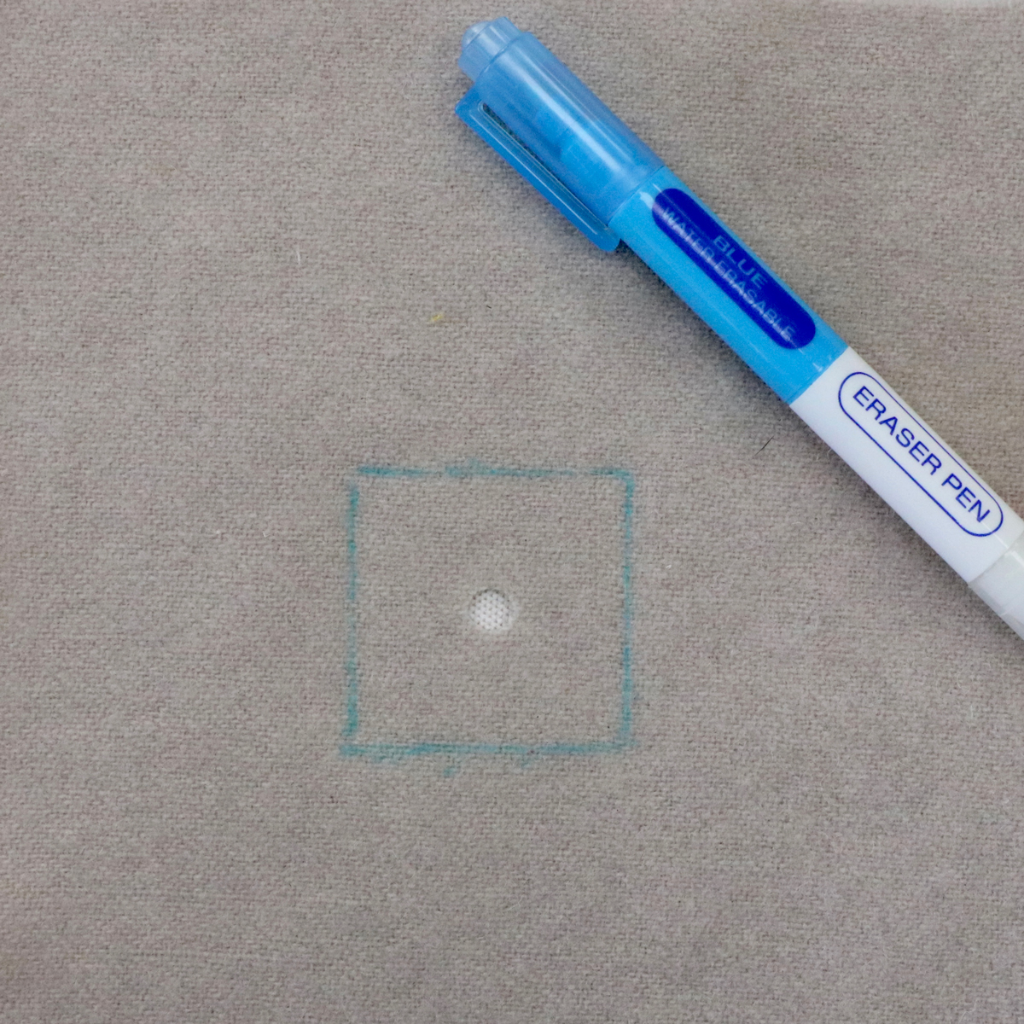
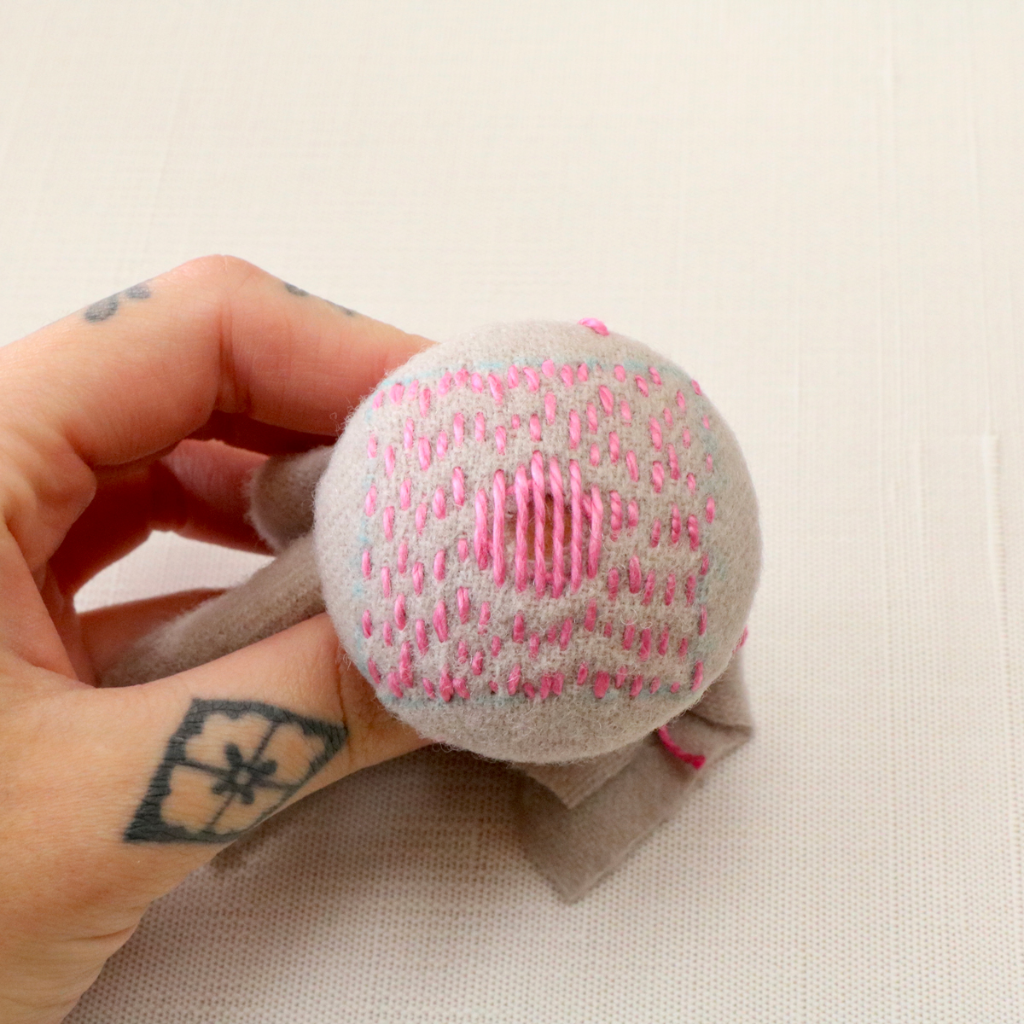
Mark the area you would like to darn. If you would like evenly spaced seed stitches, use a Stitch Spacing Ruler to map out all of the stitches. Begin making the running stitches, starting on one side of your shape. When stitching your warp threads over your hole, rather than scooping a stitch at the top and bottom of your shape, you will create a running stitch at the start and end of each warp thread. Then, you can scoop your stitch and start the next warp thread, stitching a running stitch before and after. Continue until the warp threads are completed.
Applications
Darning can be incorporated into embroidery projects in a number of different ways. Darned sections can be stitched into the background of projects to add texture. Darned shapes can make up different forms of an embroidery project. For example, a darned triangle could become the roof of a little house, or a darned circle could be the inner part of a flower. Use your imagination, and see where you can use darning in your personal projects!
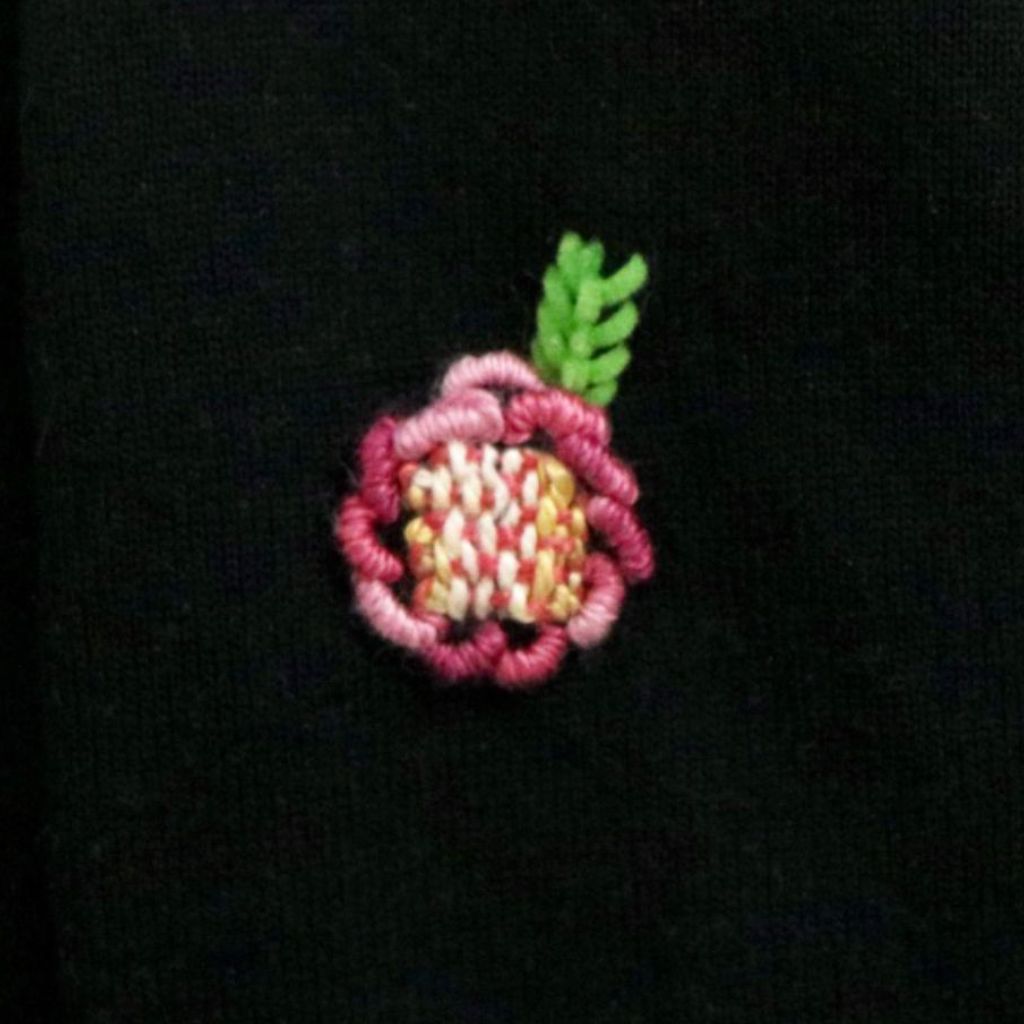
Bullion Loops (pg. 94) have been stitched around the darned section to create a flower. A closed fly stitch (pg. 58) was added to make the leaf.
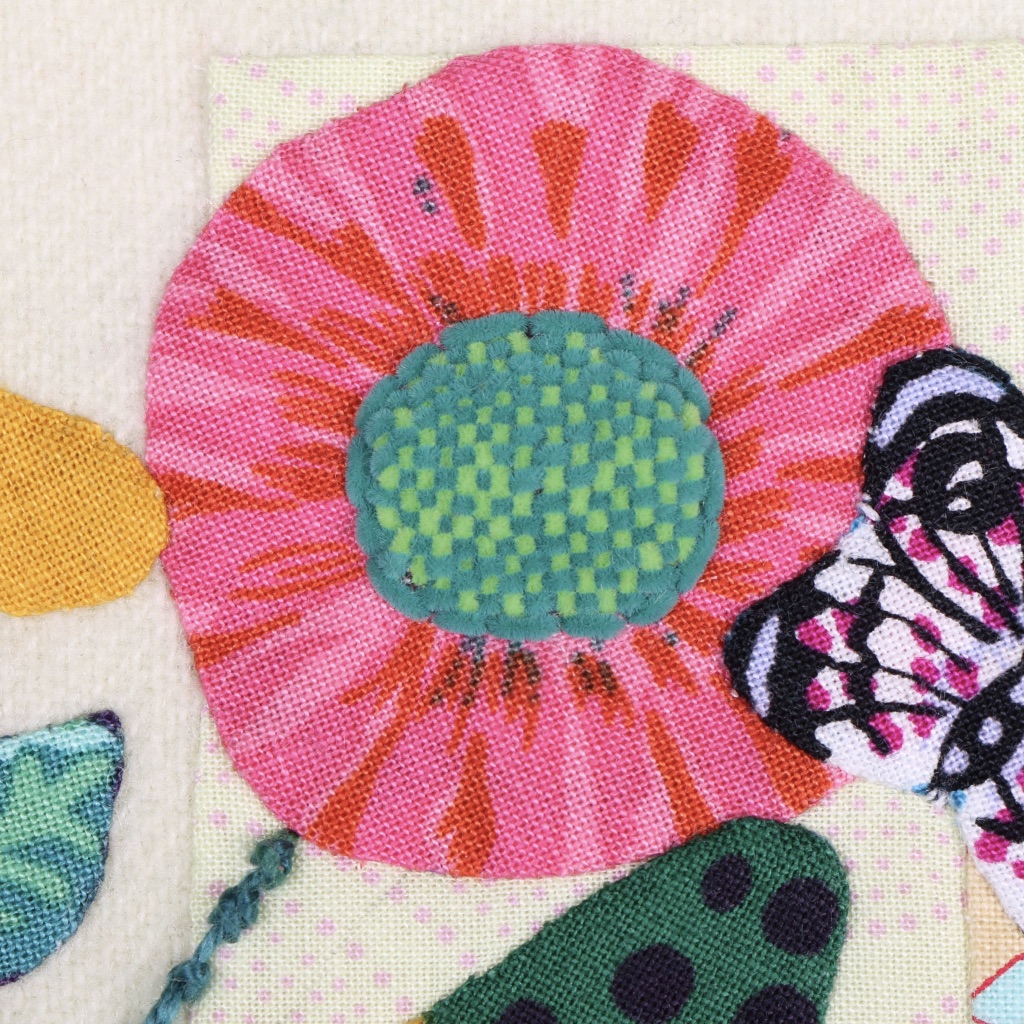
Petite Very Velvet was used to stitch the inner portion of this appliquéd flower.
Create