No need to fear the zipper! We’ve got a fun, step-by-step tutorial that will have you zipping along with confidence in no time. And while you’re picking up our tips and tricks, why not stitch up a super-cute pencil pouch? It’s quick, easy, and the perfect way to show off your new zipper skills!
Getting Started

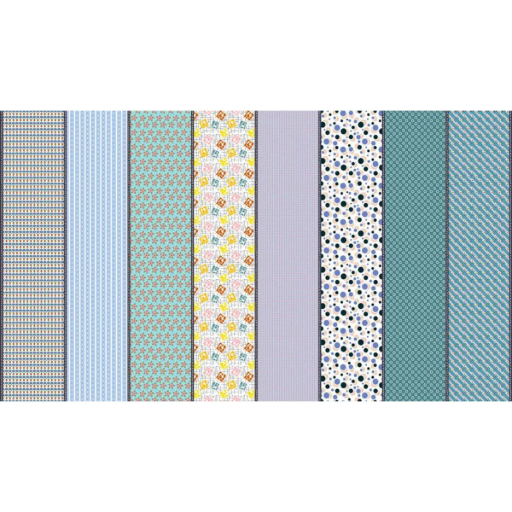
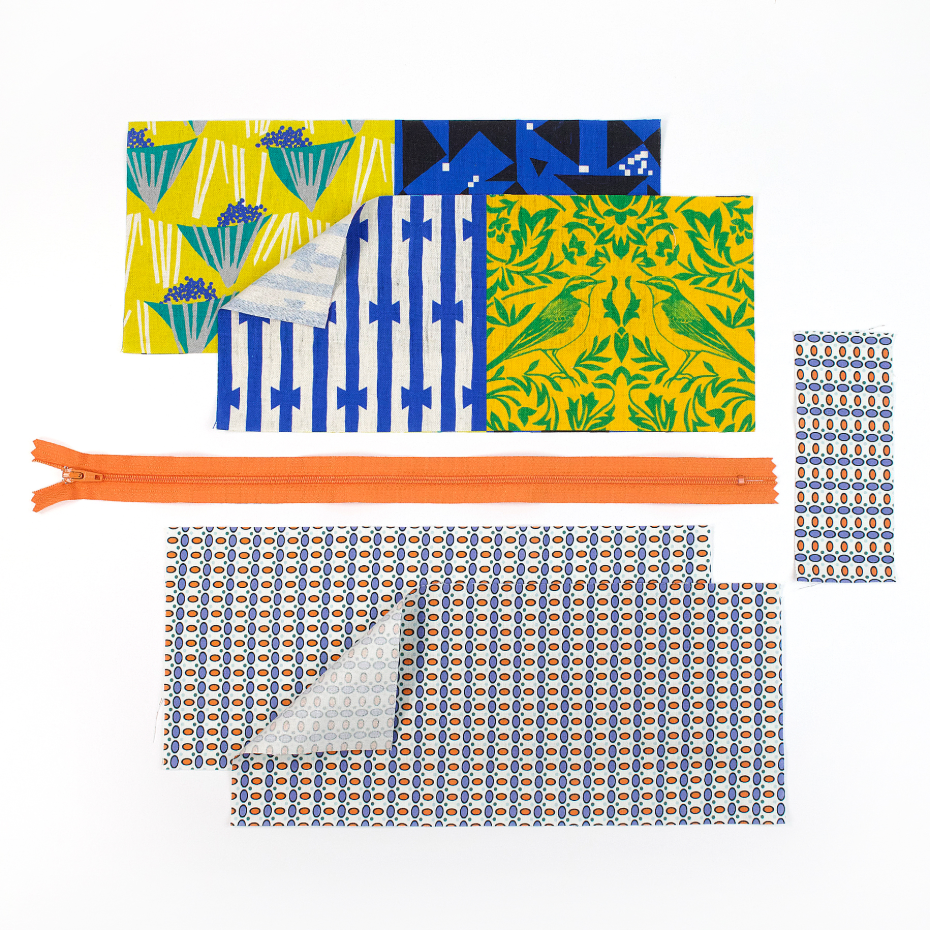
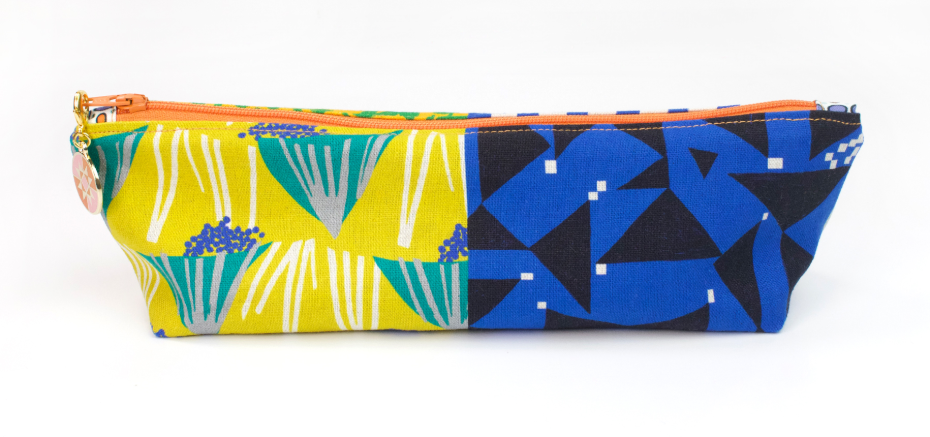
How fabulous is this Japanese canvas by Kokka! For our pencil pouch we cut two blocks for the front exterior and two blocks for the back. Each block measures approximately 5-1/2" W x 4-3/4"H, making two blocks perfect for a pencil pouch, and one block would make the cutest little zippered coin purse!
Supplies:
- Two pieces of exterior canvas (11" x 4-3/4")
- Two pieces of lining fabric (11" x 4-3/4"). We used Jen Kingwell's Winkipop fabric from the Mixed Bag of Lollies collection.
- One 2" x 5" piece of fabric to bind the zipper ends
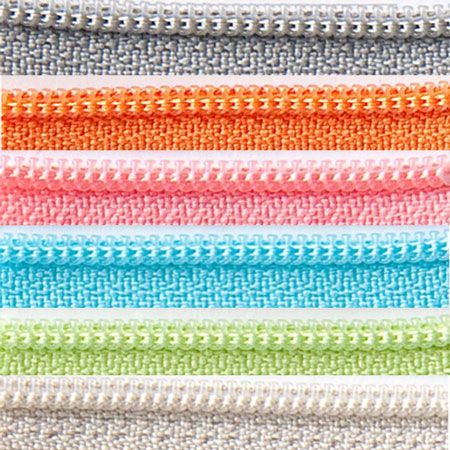
- A zipper of your choice to fit the pouch
Binding the Zipper Ends
Not all zipper project patterns require binding the ends of your zipper, but it's our favorite method for bags and pouches.
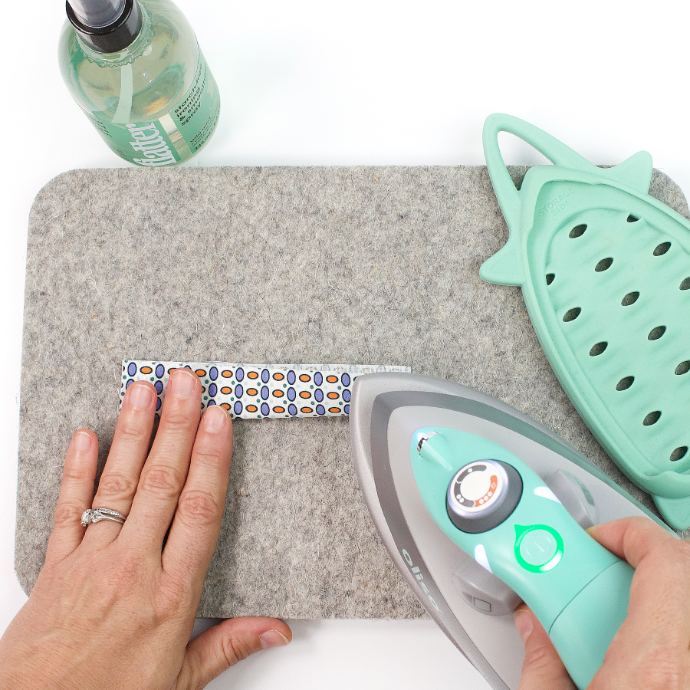
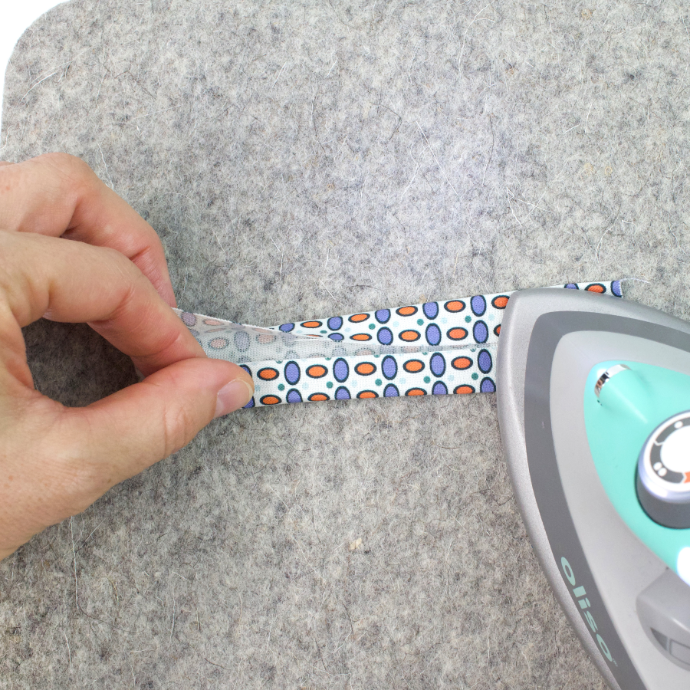
Press the 2" x 5" fabric piece in half lengthwise with the right side out. Open it up and fold both sides to the center crease and press.
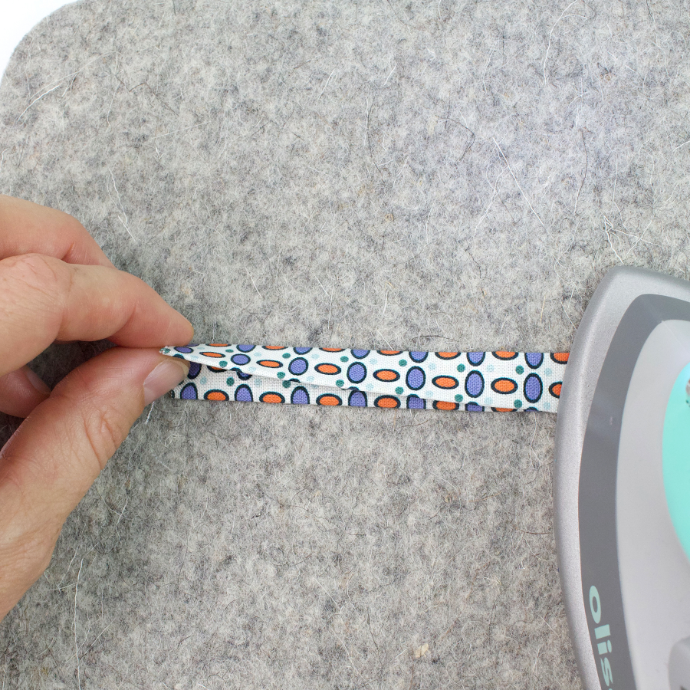
Fold it in half lengthwise again and press. Cut the binding in half so you will have a piece for both ends of the zipper.
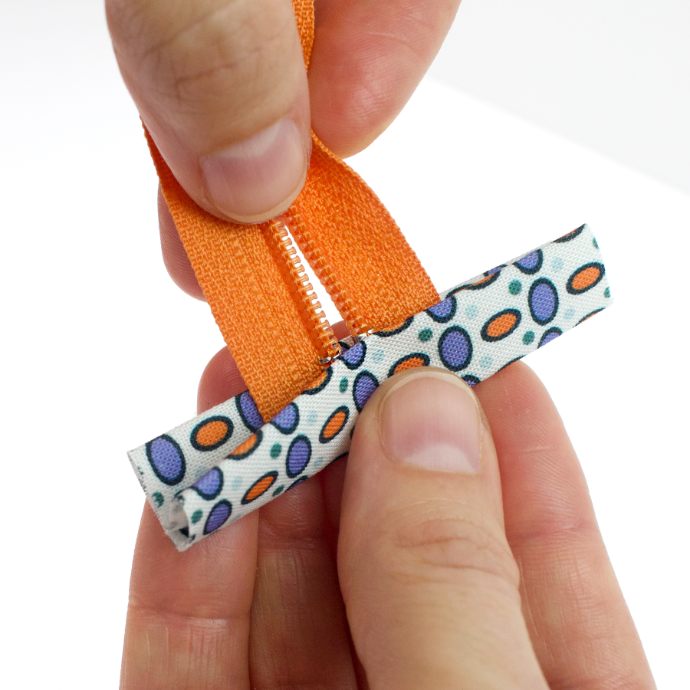
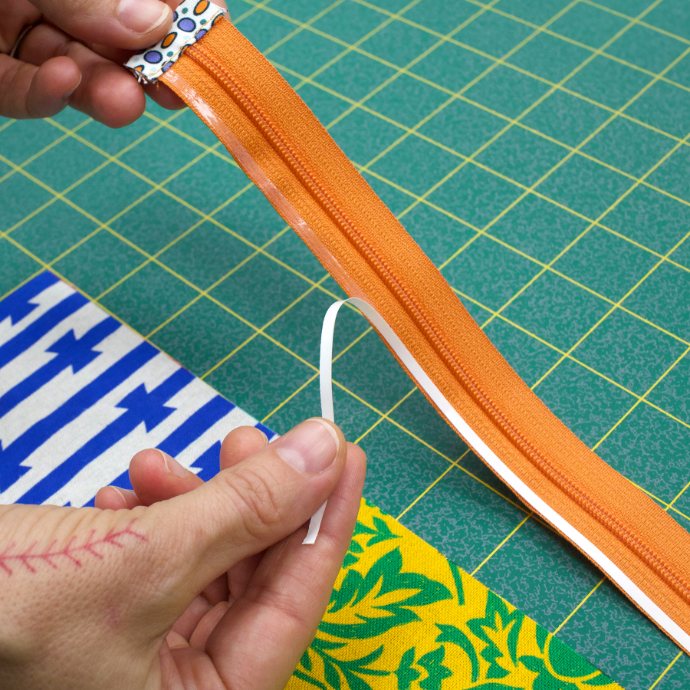
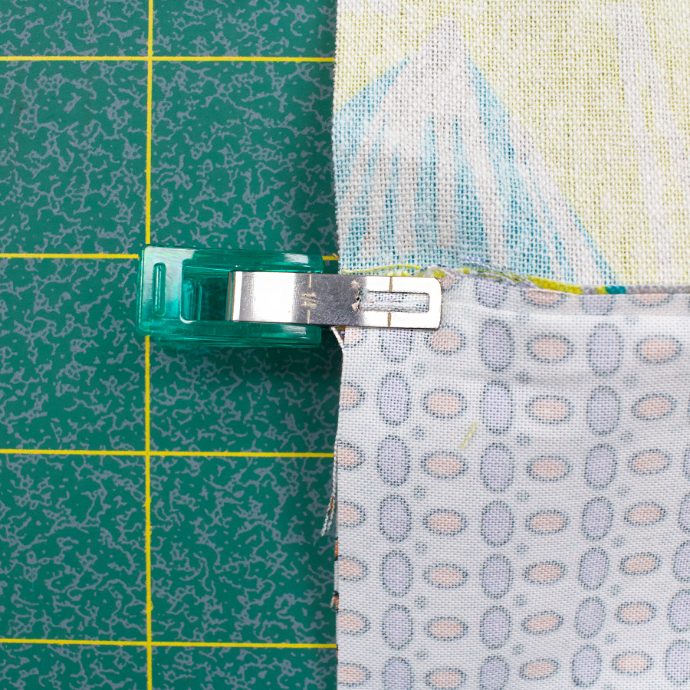
Trim the zipper pull end so the binding just covers the zipper stop. Slightly open the zipper to help the two sides align at the end. For extra security, stitch the ends together as shown above.
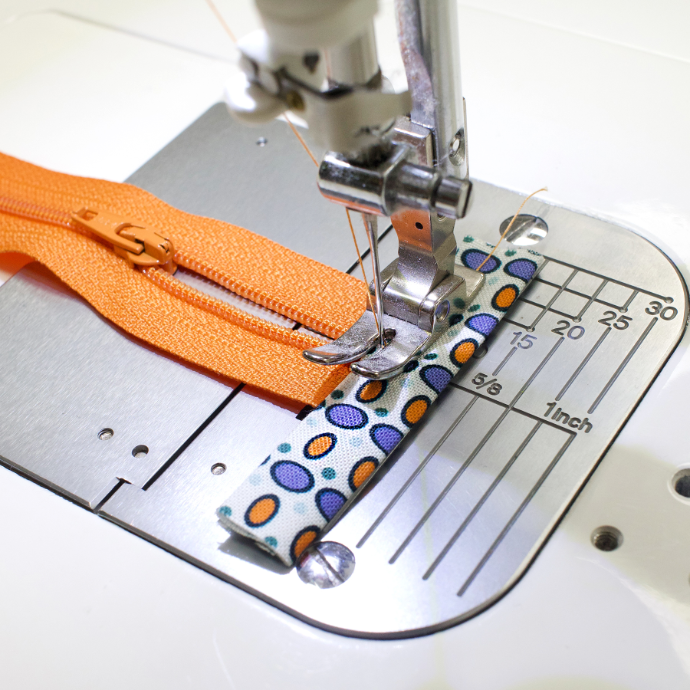
Topstitch the binding on to the zipper pull end.
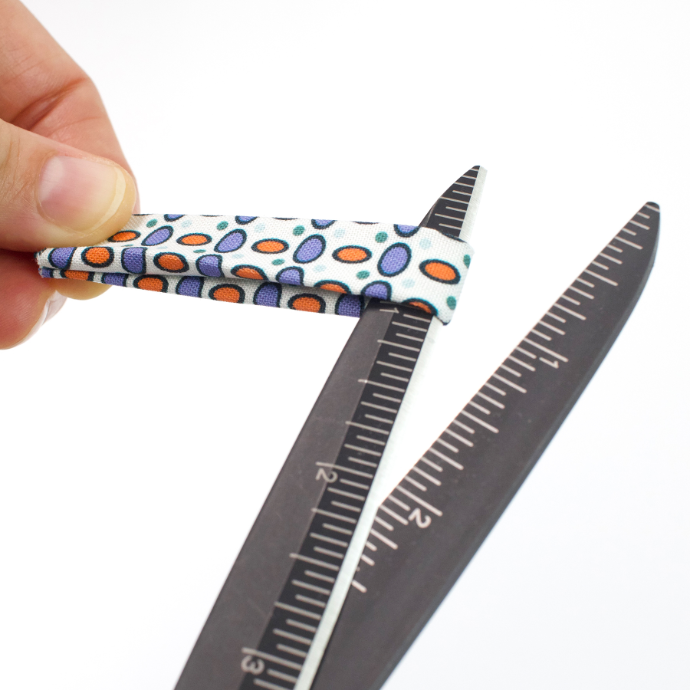
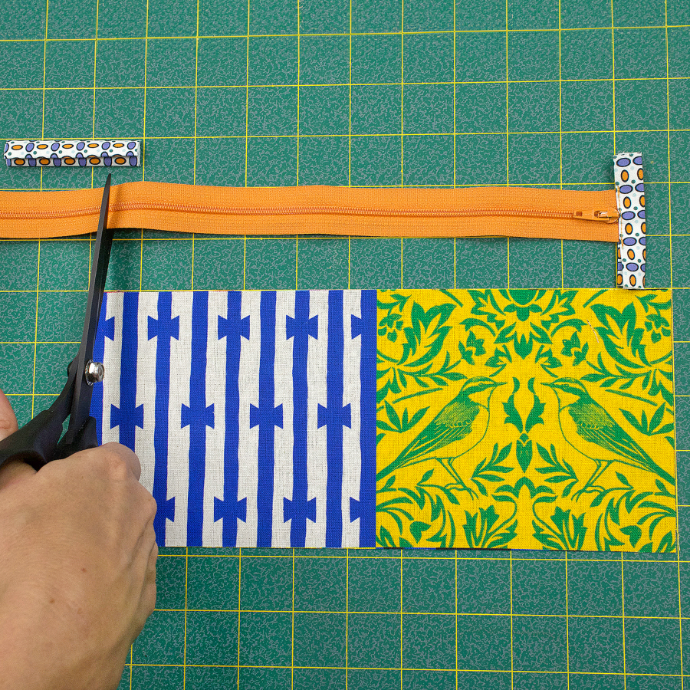
Trim the other end of the zipper so its length is one inch shorter than the pouch’s exterior pieces. For example, if your exterior fabric measures 11" across, cut the zipper to 10".

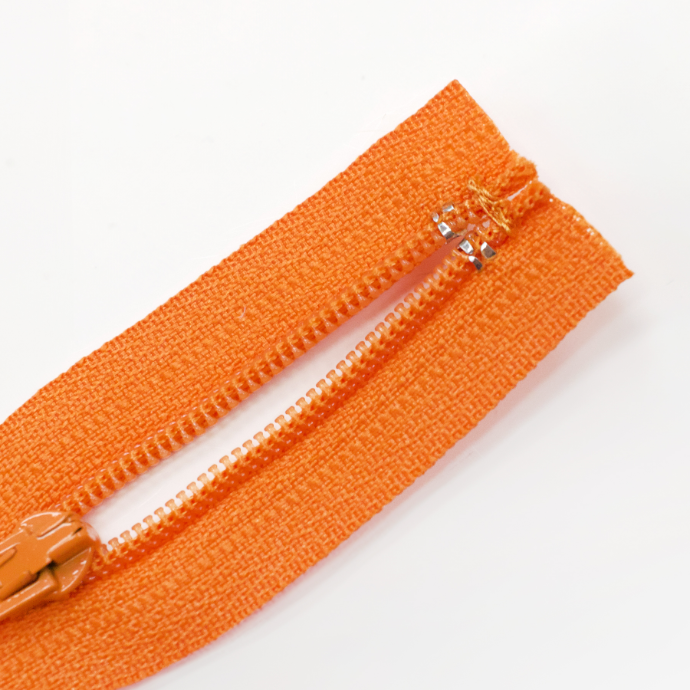
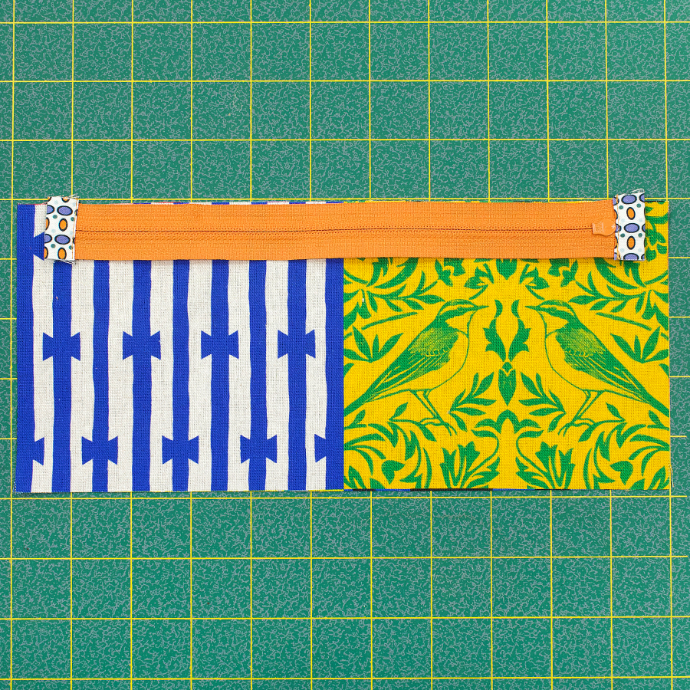
Sew the binding onto the the other end. Trim both binding pieces so that they align with the edges of the zipper.
Assembling the Pencil Pouch
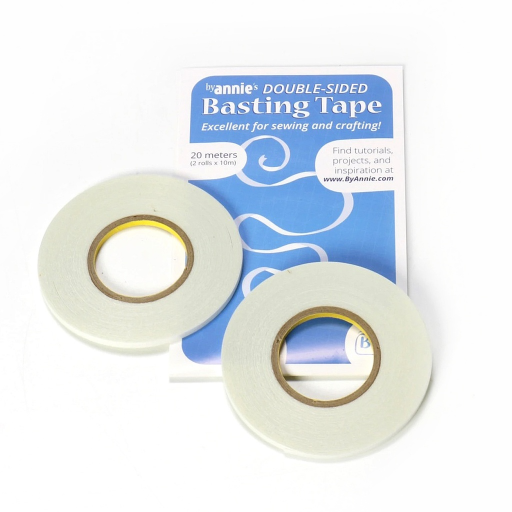
One of our favorite tricks for inserting a zipper is using 1/8" Double Sided Basting Tape. It holds all the layers in place, so nothing shifts - and you don't have to fuss with pins or clips getting in the way! It's easy to sew through by machine, and we've never had any issues with it gumming up the needle.
Apply a strip of basting tape along the bottom edge of the zipper’s right side. Peel off the paper backing, then flip the zipper right-side down so the tape adheres to the top edge of the exterior fabric (right side up). Center the zipper along the edge, leaving about 1/2" of fabric on either side.
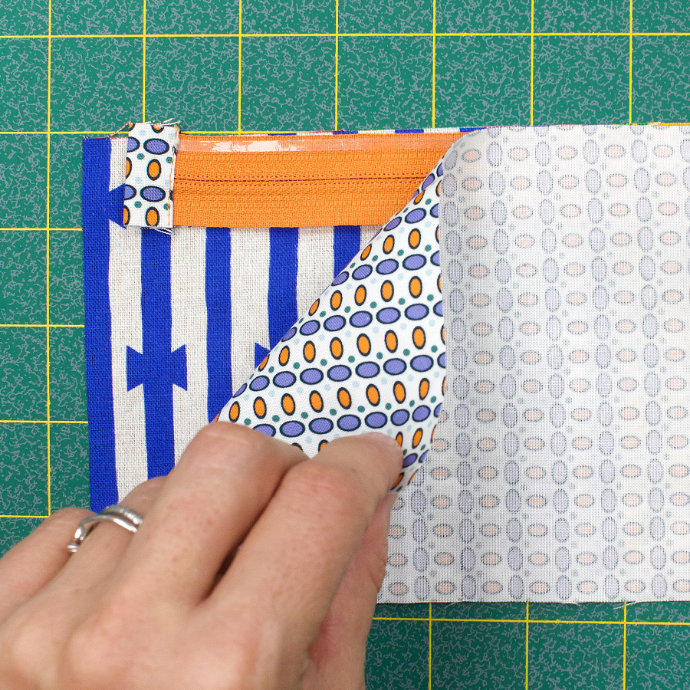
Next, apply a strip of basting tape along the top edge on the zipper's wrong side. Position the lining fabric on top, right side facing down.
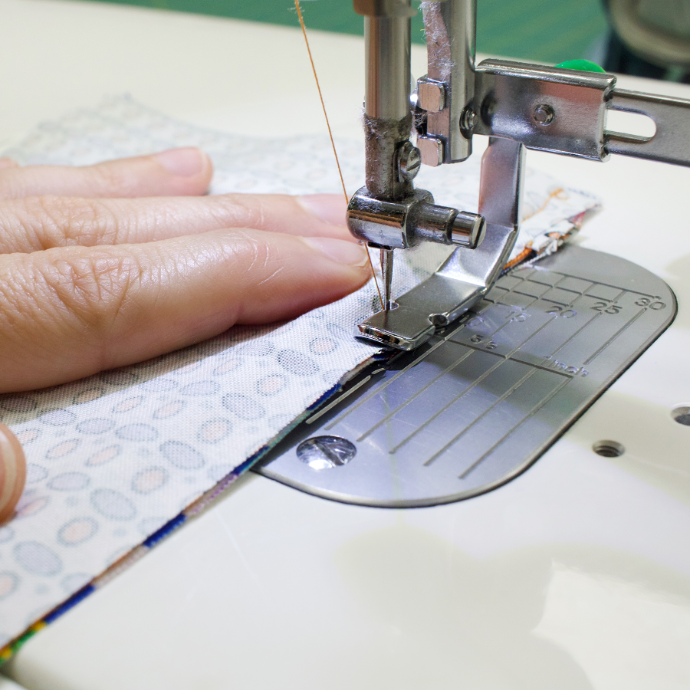
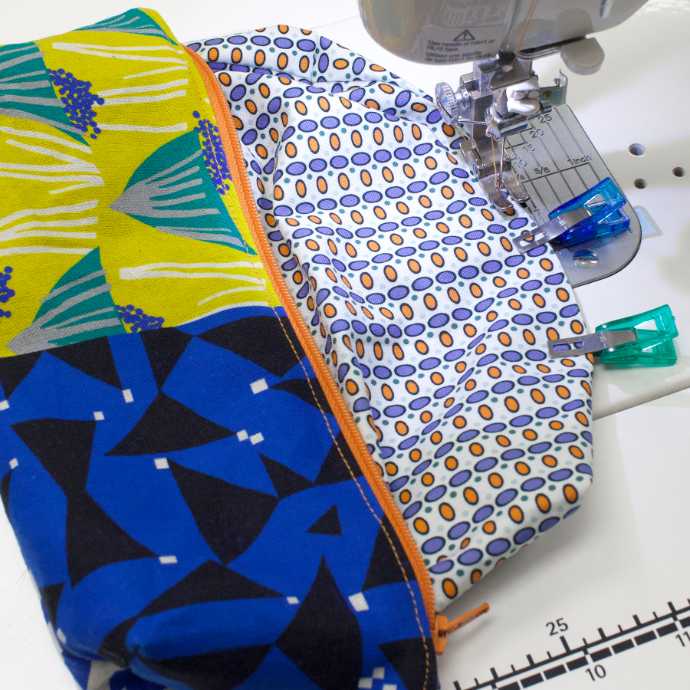
Using a zipper foot and a 1/4" seam allowance, sew the three layers together.
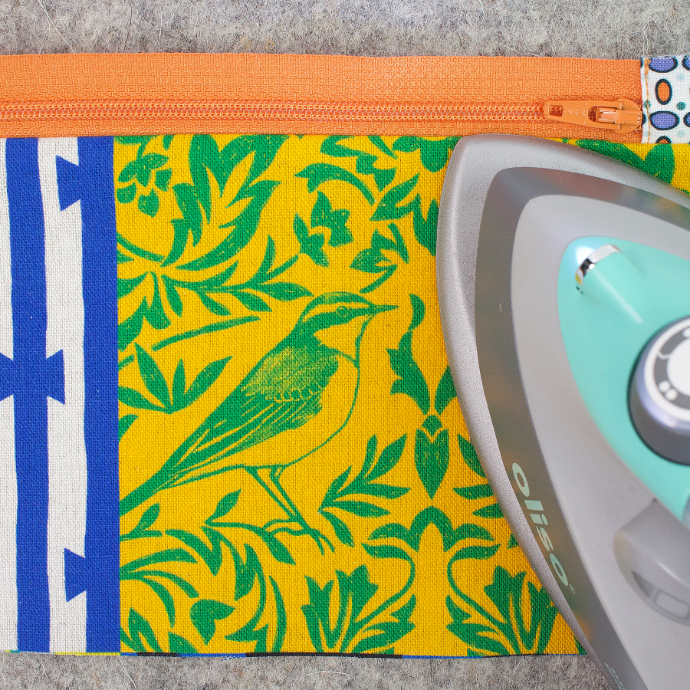
Open the piece so that the zipper is at the top, with the exterior panel and lining wrong sides together. Press the seam on both the exterior and lining sides.
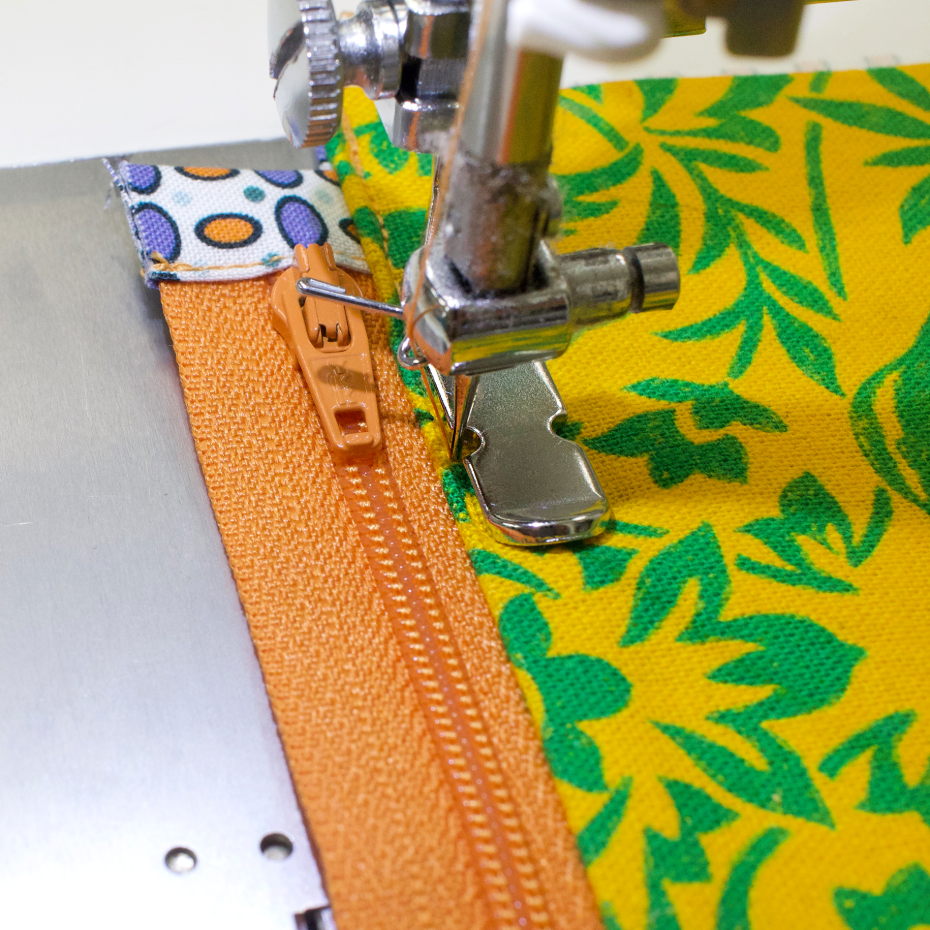
Topstitch along the zipper.
Make a three-layer sandwich:
- Place the exterior fabric right side up on your workspace.
- Lay the completed exterior panel with the zipper on top, right side down, aligning the top edges.
- Place the lining fabric right side down, also aligning the top edges.
Use basting tape to hold the layers together along the top edge, then machine sew that edge with a 1/4" seam allowance.

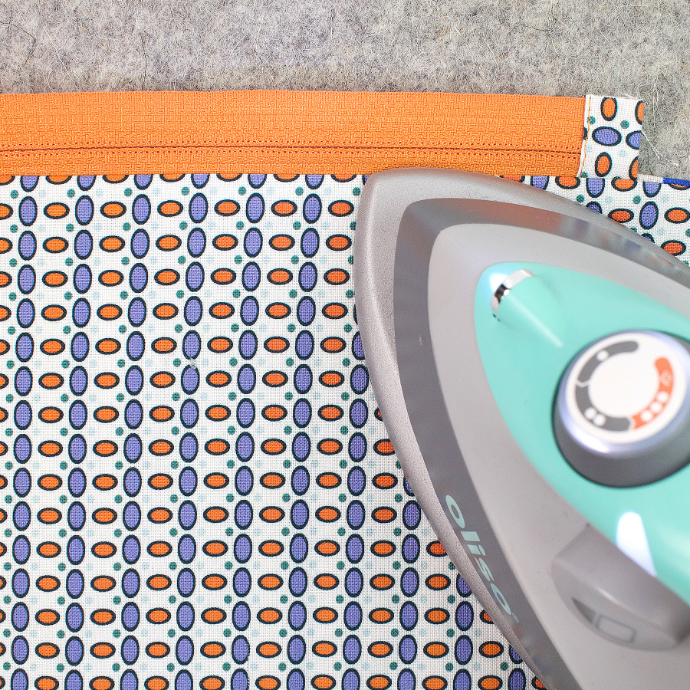
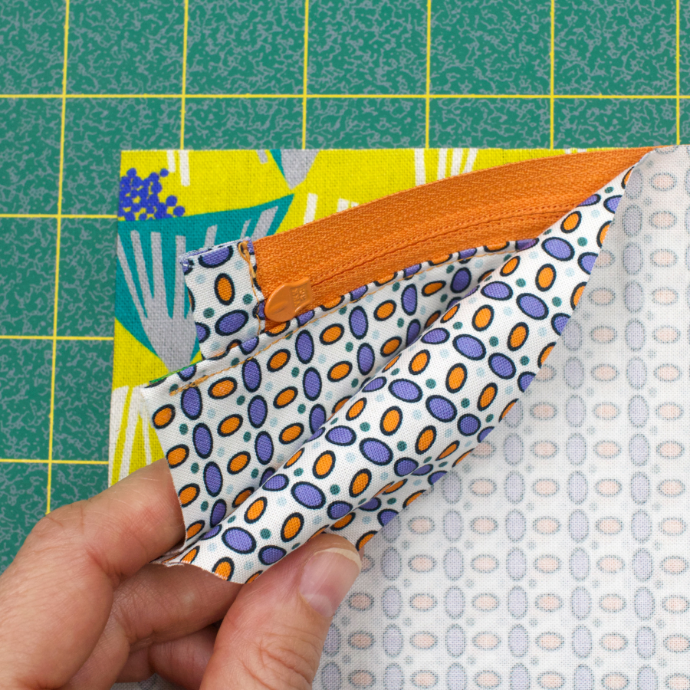
Open the layers as seen in the photo above. Press, then topstitch the second exterior panel. Before moving on to the final assembly steps, be sure to to open the zipper halfway.
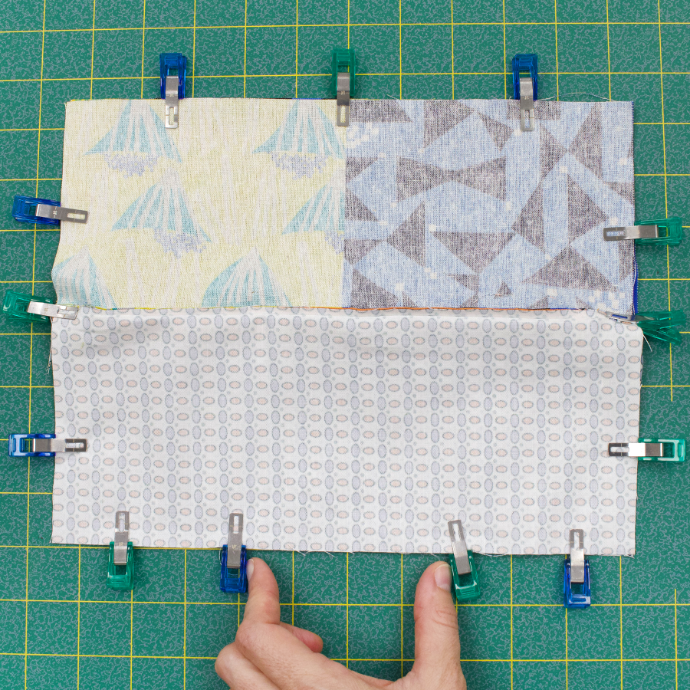
Flip the exterior panels so they are right sides together, and do the same with the lining panels. Clip or pin along all sides of the pouch, making sure the panels line up squarely and the exterior/lining seams meet.
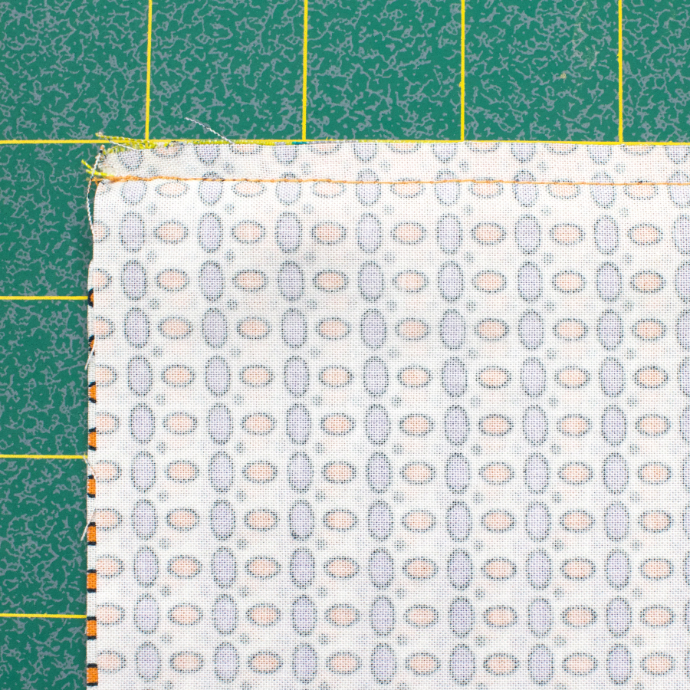
Leave an approximate 4" opening along the bottom of the lining for turning.
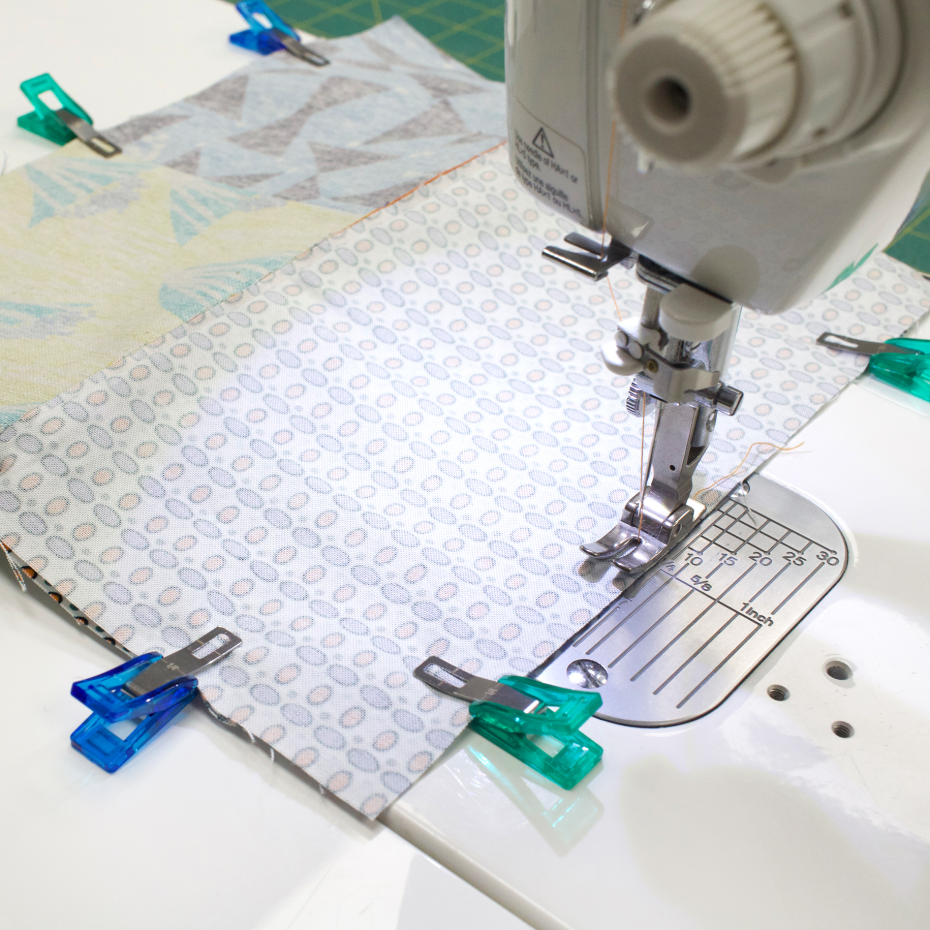
Using a 1/2" seam allowance, sew around the perimeter, stopping and starting at the 4" gap.
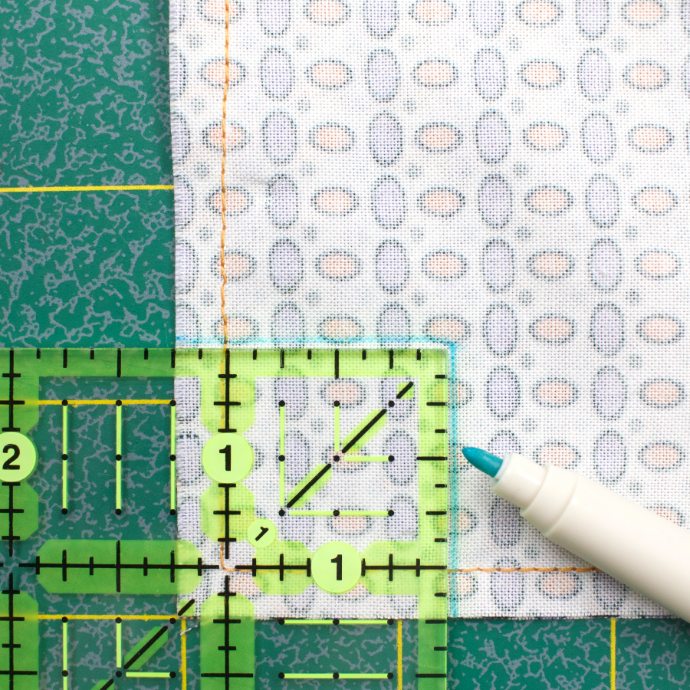
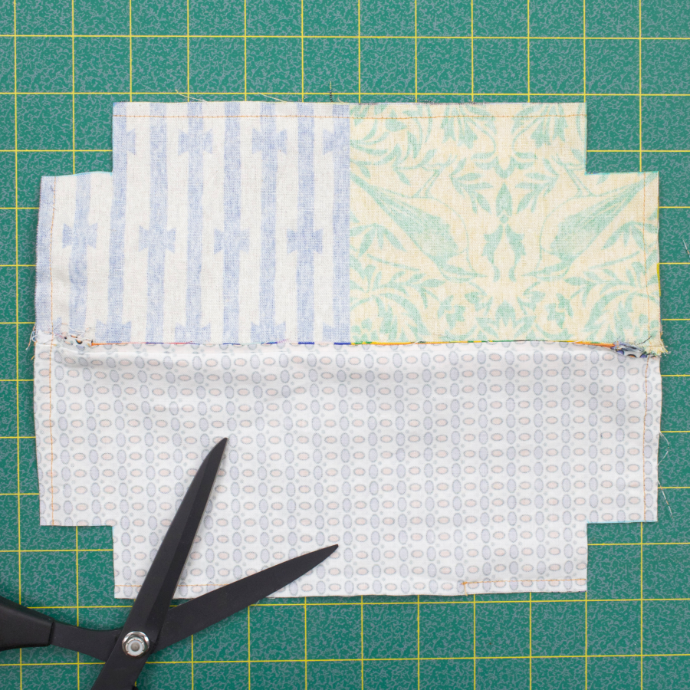
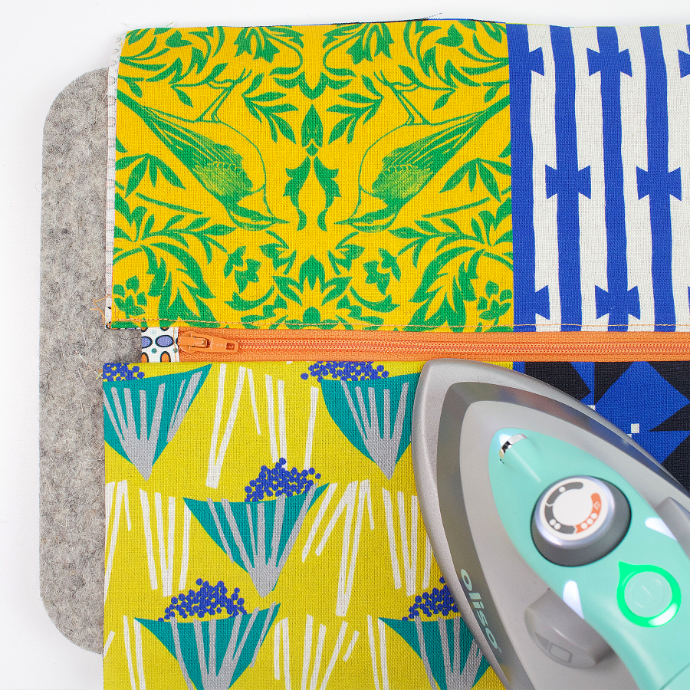
To box the corners, measure and mark a 1¼″ square at each corner, then cut them out.
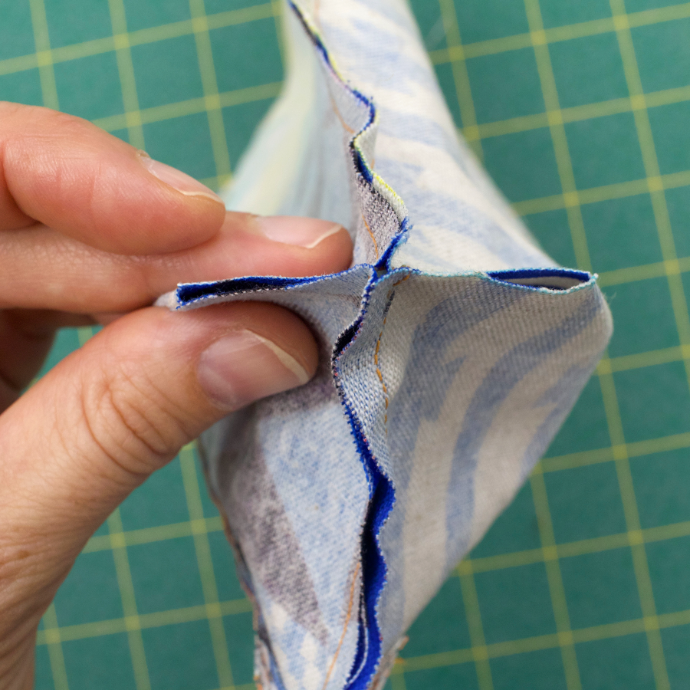

Open each corner and bring the side and bottom seams together. Pin or clip in place and sew across the cut edge with a 1/4" seam allowance.
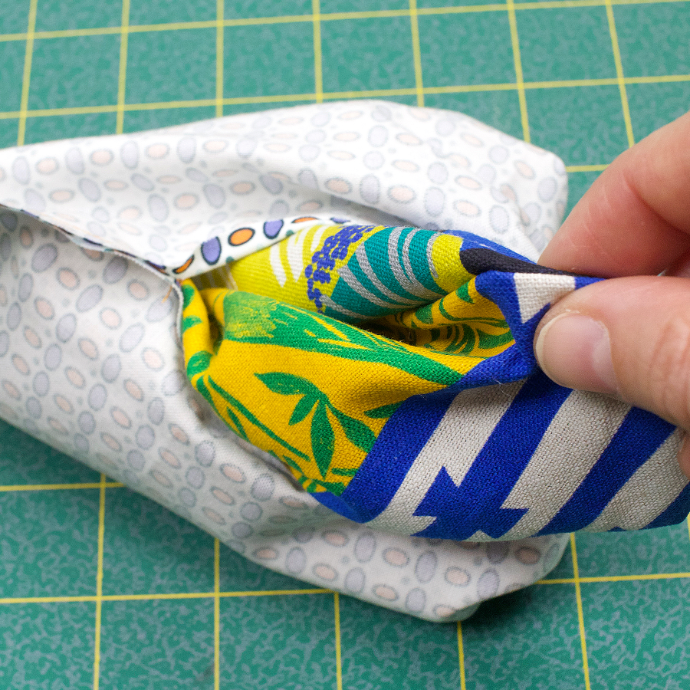
Turn the pouch right side out, and machine or hand sew the 4" opening closed.
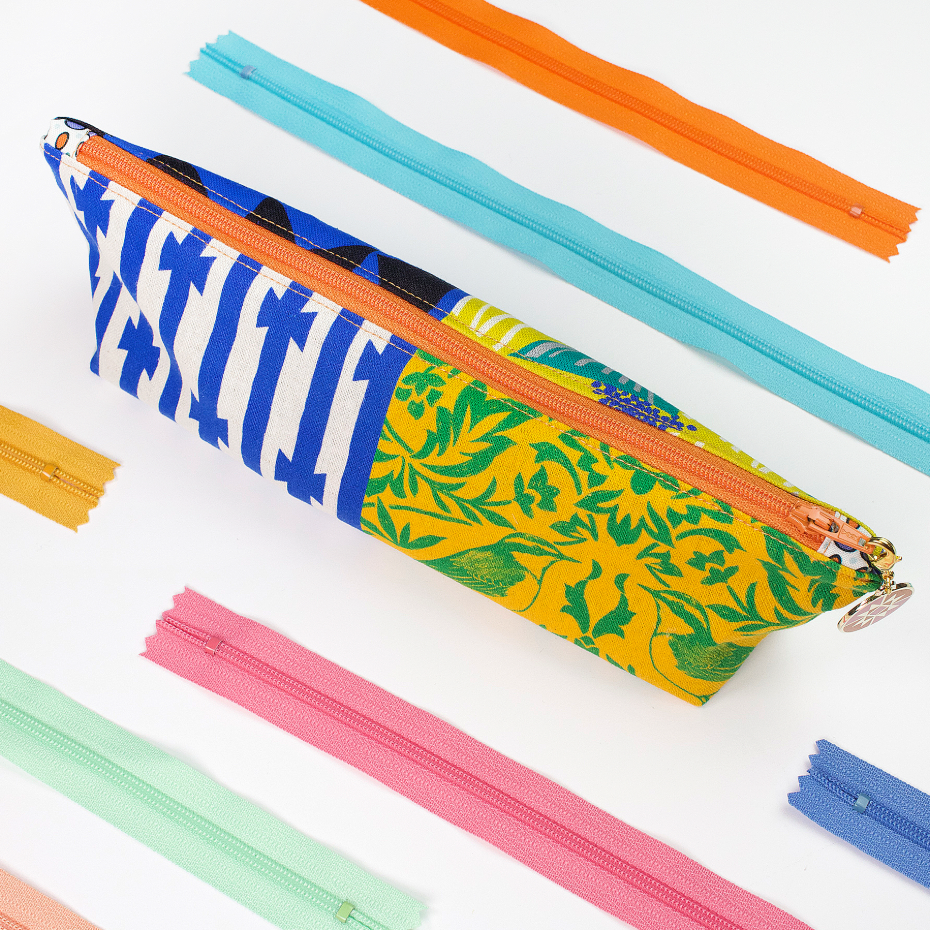
Success!
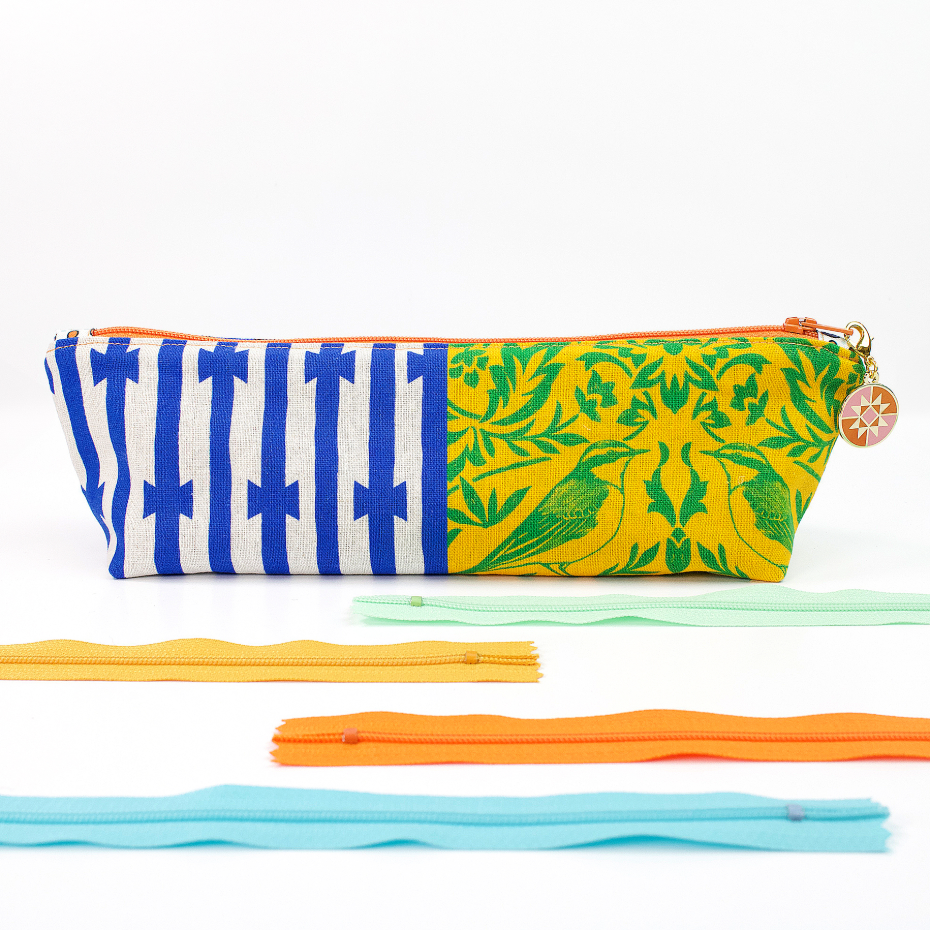
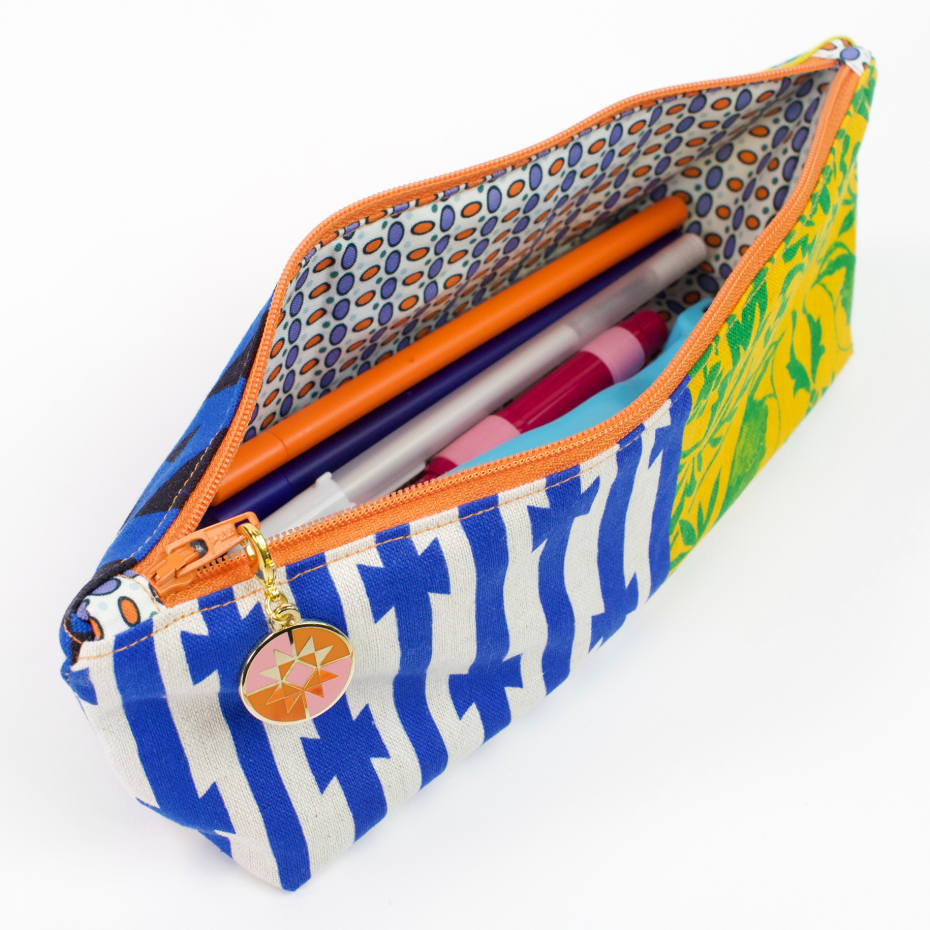
Easy Peasy Zipper Perfection! What a stylish little pouch to hold your sewing or crafting tool! As a finishing touch, add a zipper charm.