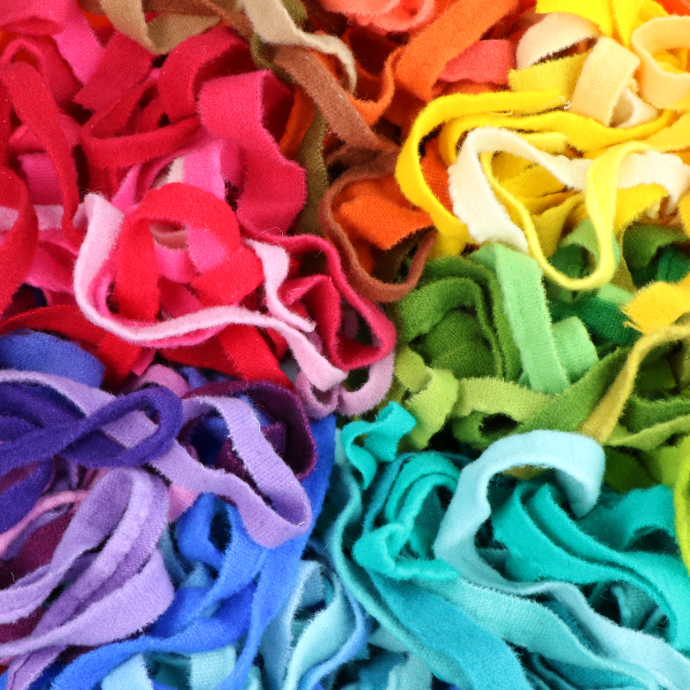
We love discovering creative new uses for wool selvedges—and they never disappoint! Resourceful and eco-friendly, selvedges are bursting with texture and rich, hand-dyed color. Whether you weave them, stitch them together, or use them in appliqué, they’re full of creative potential. Like ribbons of paint on a blank canvas, selvedges invite you to play with color, explore combinations, and spark new ideas. In this tutorial, we'll show you how to turn them into quick, easy striped hot pads—perfect for brightening your kitchen or gifting to someone special. Let's get started!
Pick Your Palette
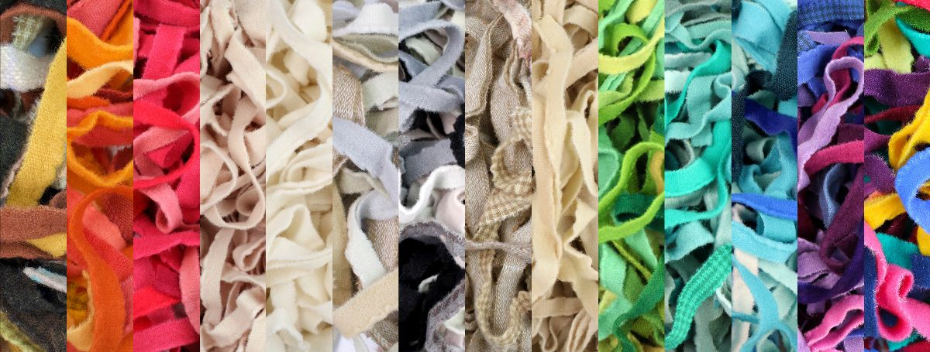
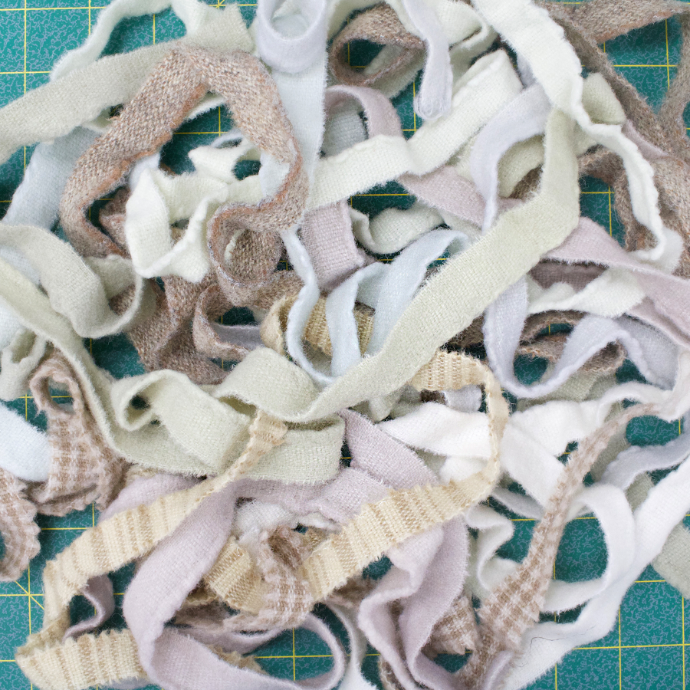
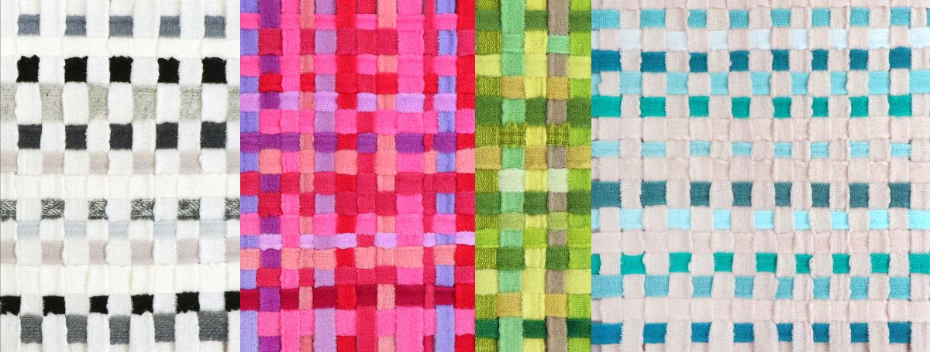
Choose from a range of color blends of our hand dyed Studio Selvedge Bags. One bag will make 1-2 smaller hot pads (around 7" x 7").
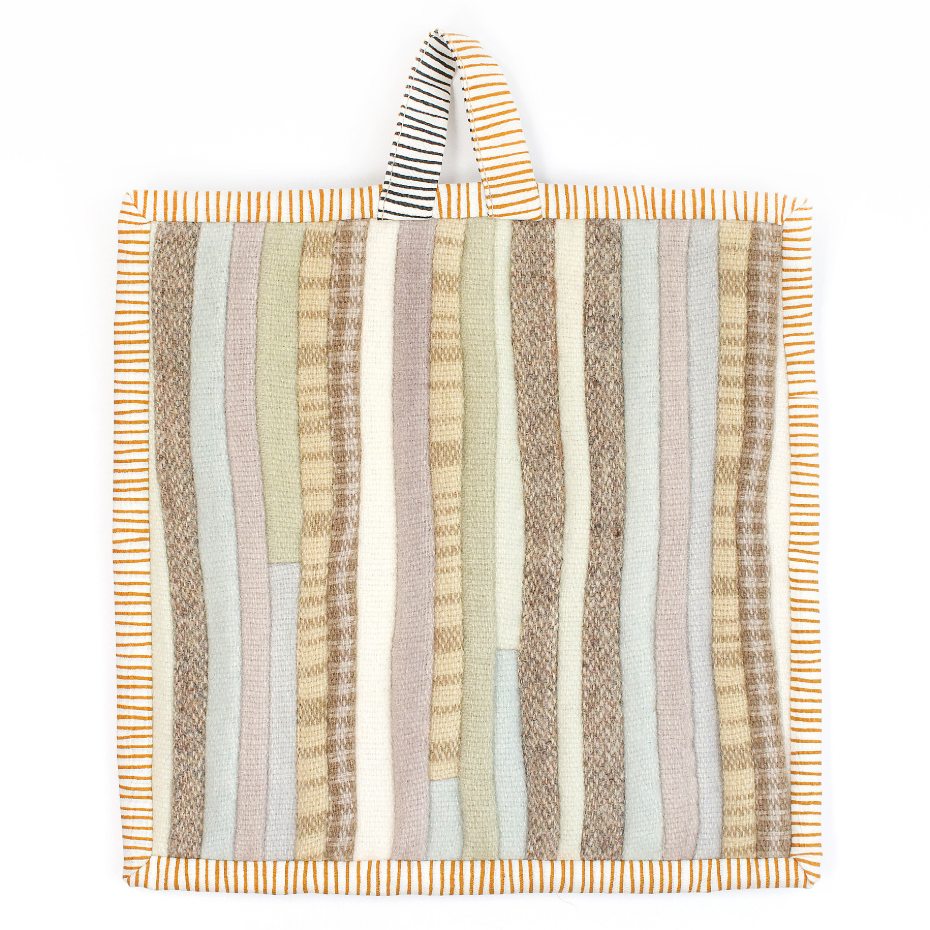
Our Fun Little Trio of Hot Pads
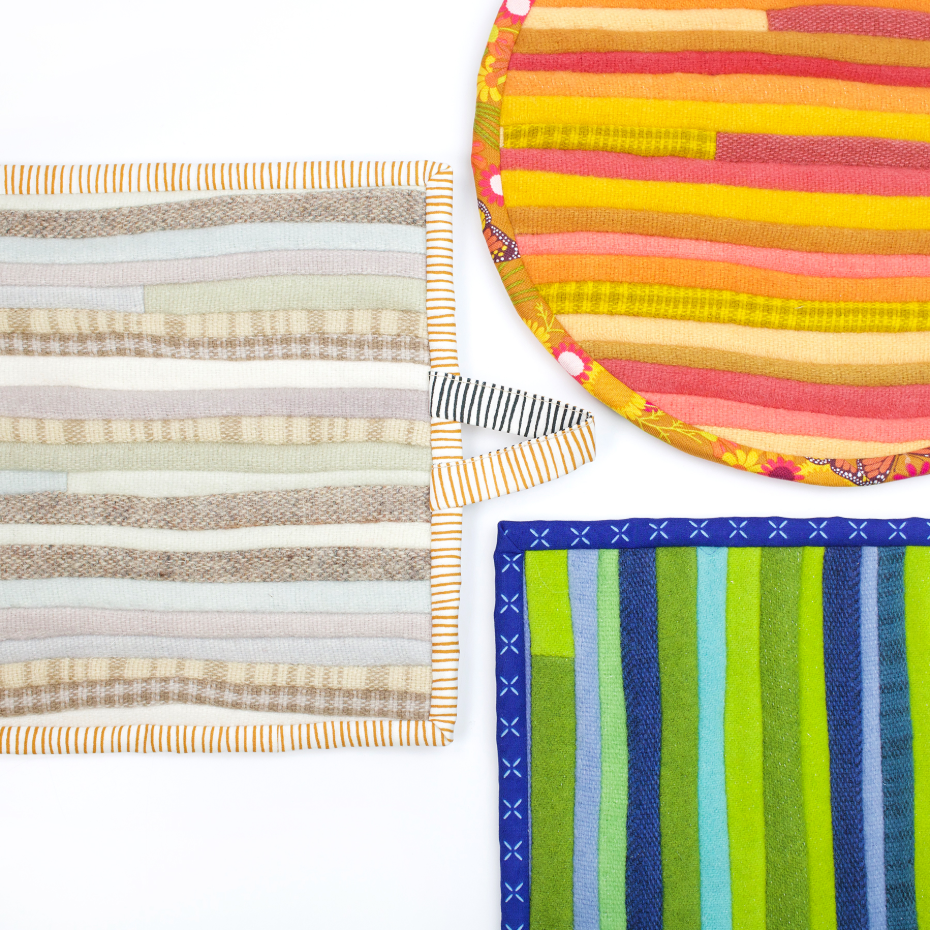
The Neutral colored hot pad is 8" x 8" and was created with Neutral and Off-White selvedges. It features Streaks Bound binding fabric and a cute little hook for hanging.
The Green & Blue colored hot pad is 7" x 7" and was created with Green and Blue selvedges. It features Stitched and Bound binding fabric.
The Orange colored hot pad is a 10" diameter circle and was created with Orange selvedges. We used the 12" Concentric Circles, one of Sue's amazing Creative Stitching Tools, to trace the circle. The binding was cut on the bias and was made with Monarch fabric by Alison Glass.
Steps
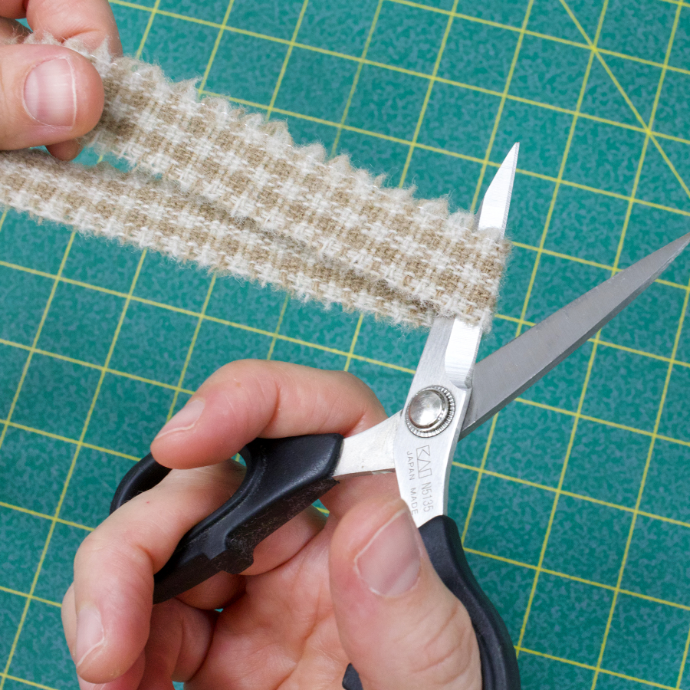
Start by cutting your selvedges about an inch larger than you'd like your hot pad to be.
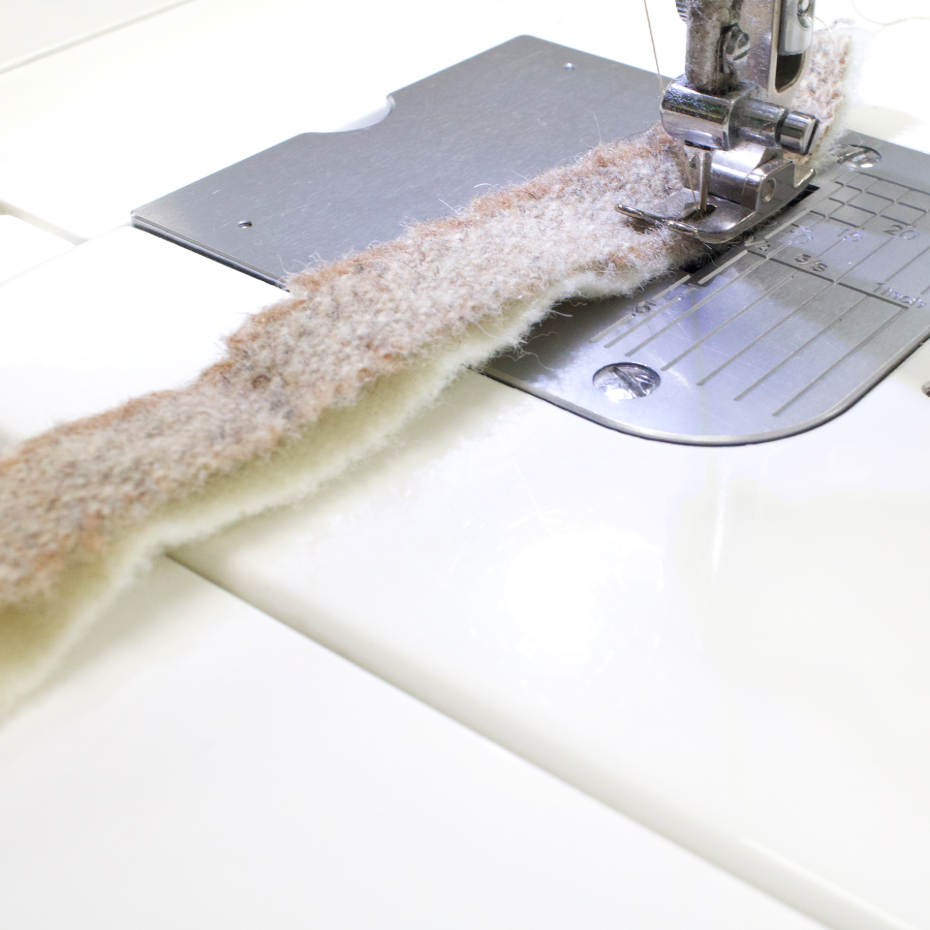
Place two selvedges right sides together. With a scant quarter inch seam, sew them together lengthwise.
With two selvedges sewn together, you are now ready to sew on the next selvedge. Place it on top of the last selvedge, right sides together, and sew them together lengthwise with a scant quarter inch seam allowance.
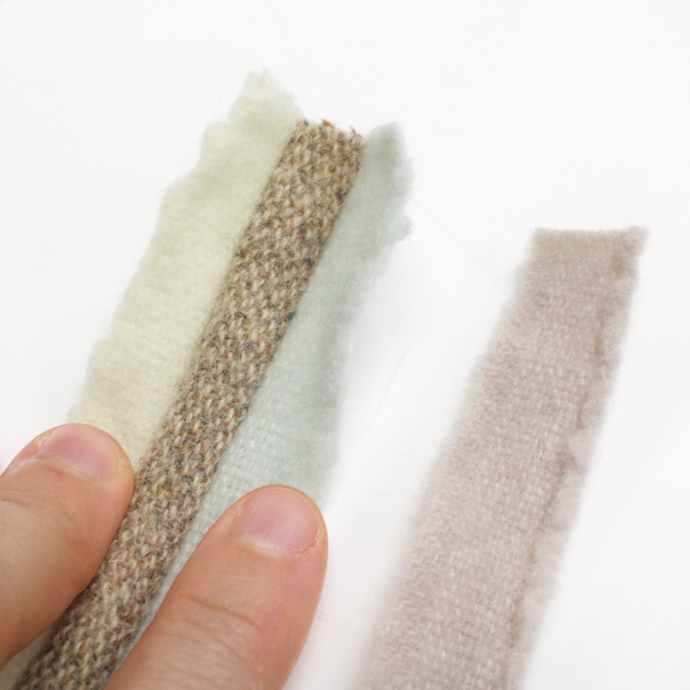
Continue to add more selvedges in this manner. No need to worry about precise straight sewing! The selvedge strips look wonderful with a little wavy meandering! In fact, this project would be fantastic for a newbie of any age!
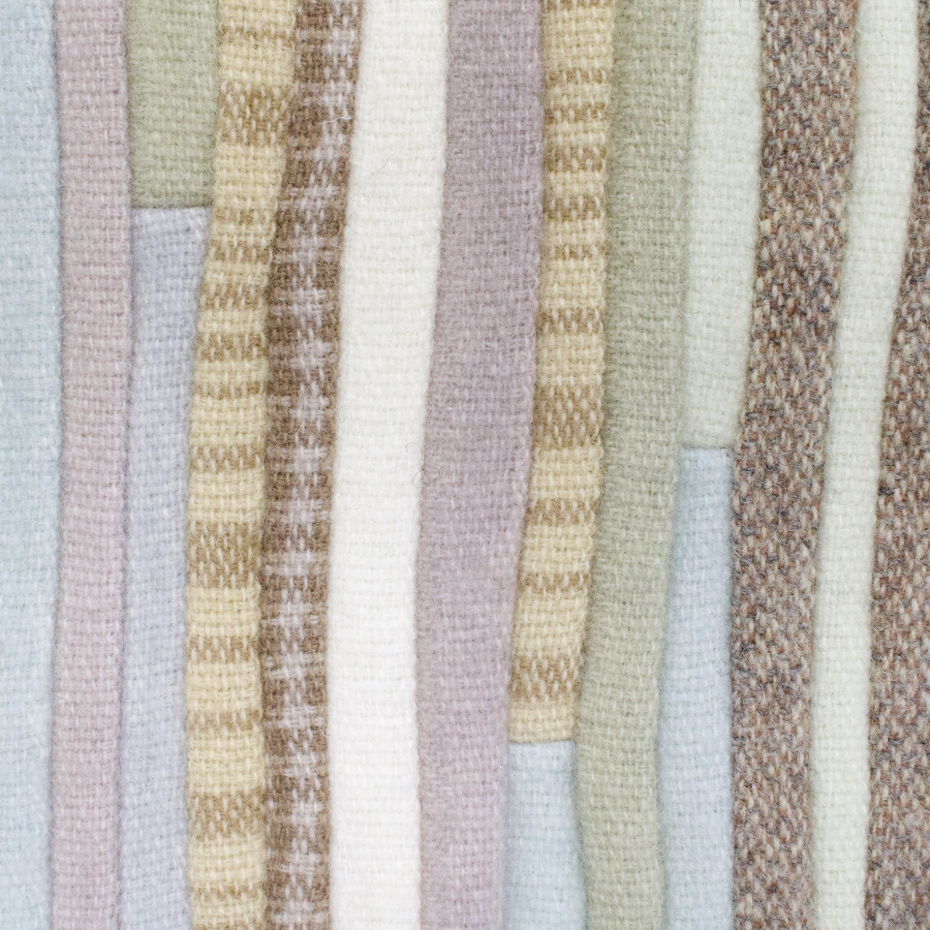
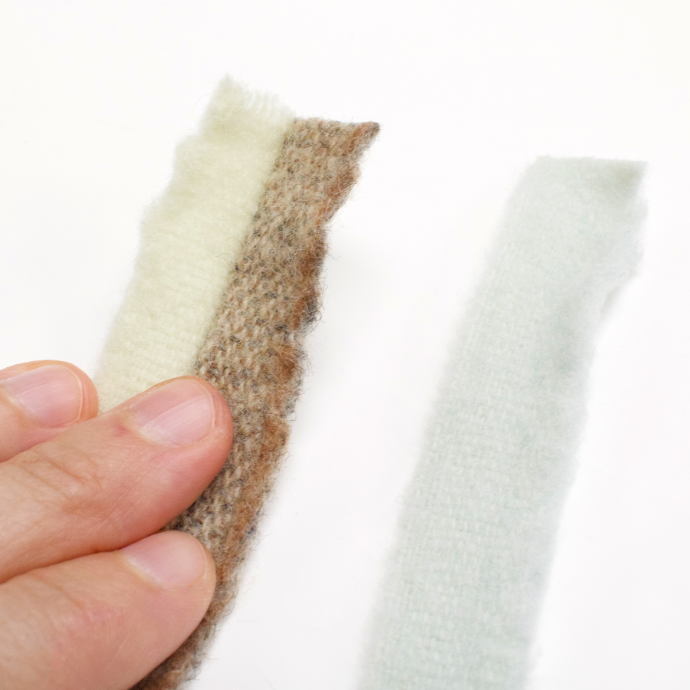
We also love the look of a few stripes that change color along the way!
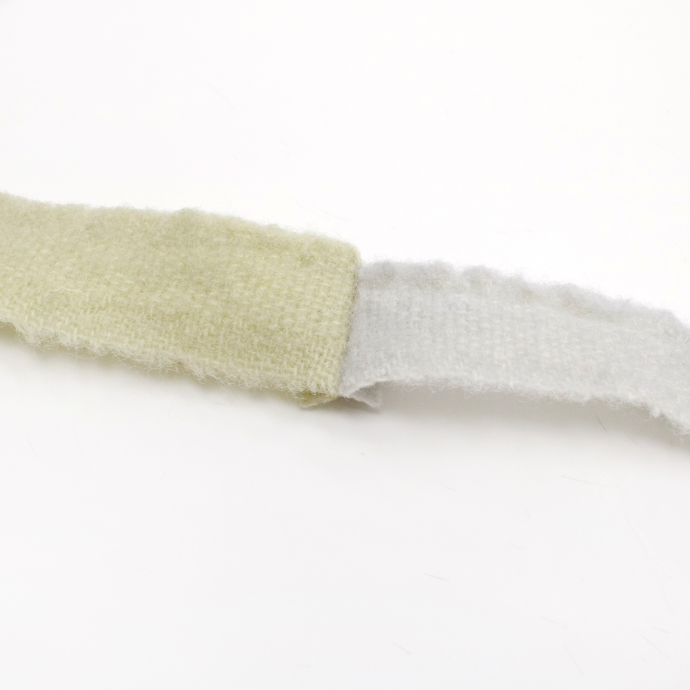
To achieve this color changing look, place two different colored selvedges right sides together. With a 1/4" seam allowance, sew them together across the short end. Press the seam open and now you have a color changing stripe ready to join the party!
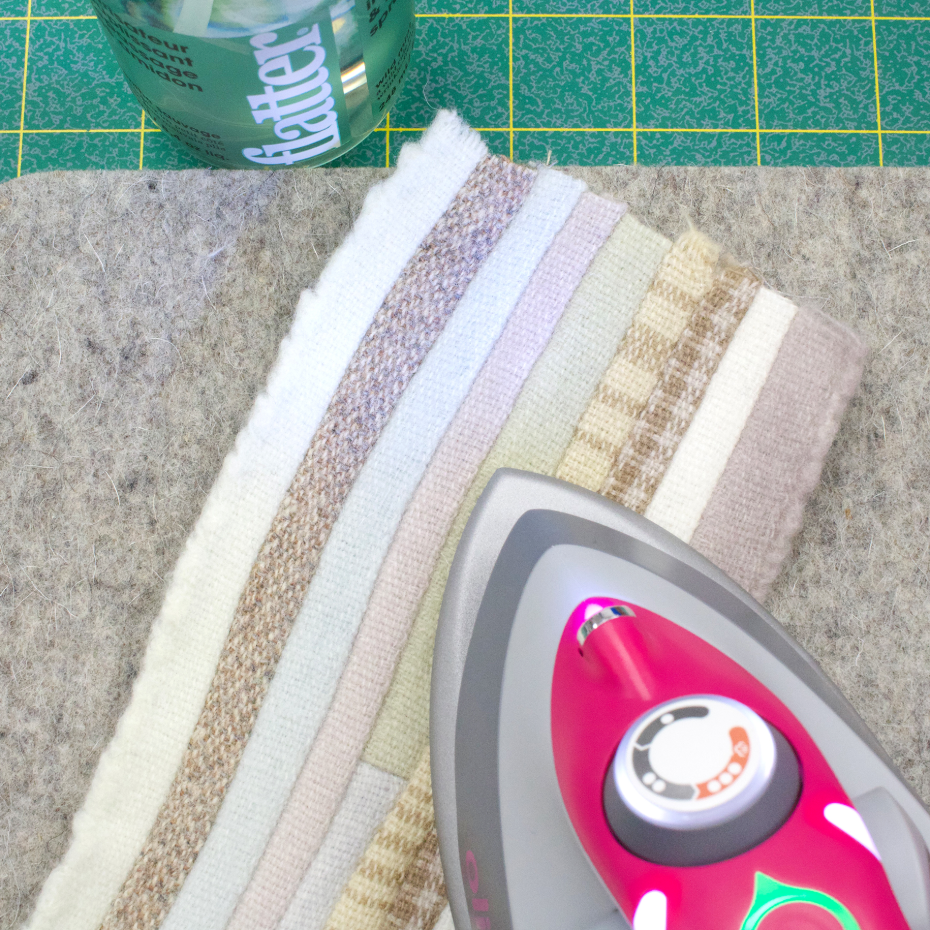
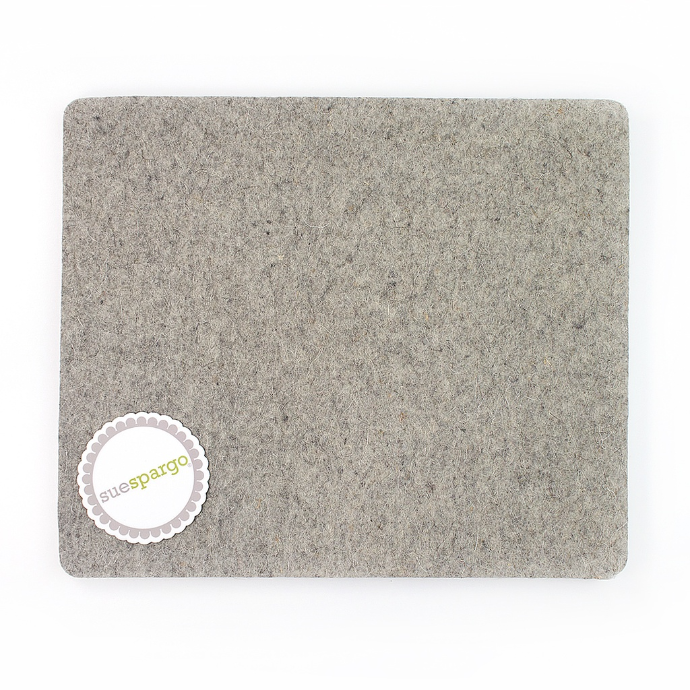
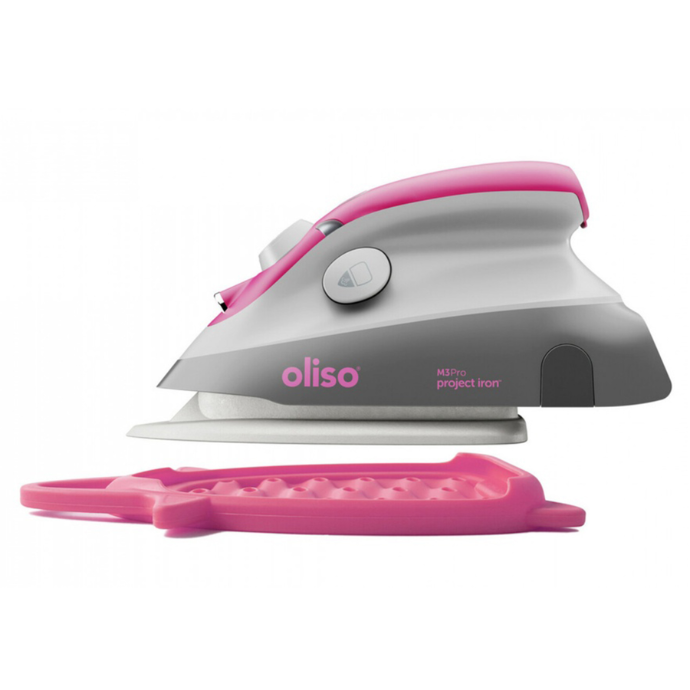
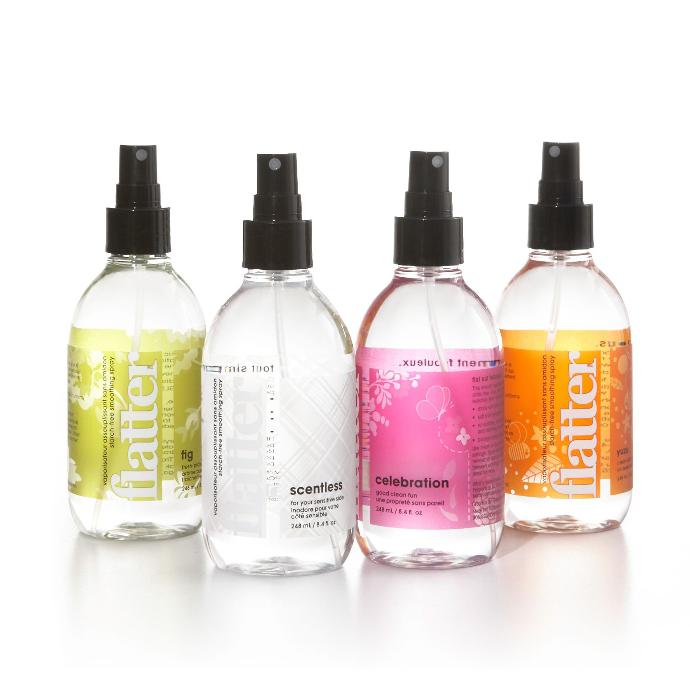
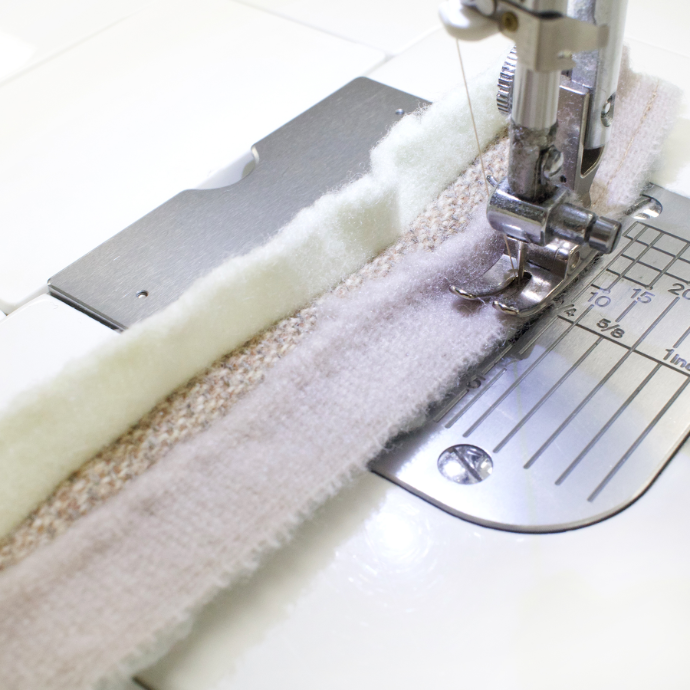
As you continue to add on wool selvedges, the piece will naturally begin to curl. It's a great idea to have your Wool Pressing Mat, Flatter Smoothing Spray and Oliso Mini Iron nearby, so you can periodically give everything a good press.
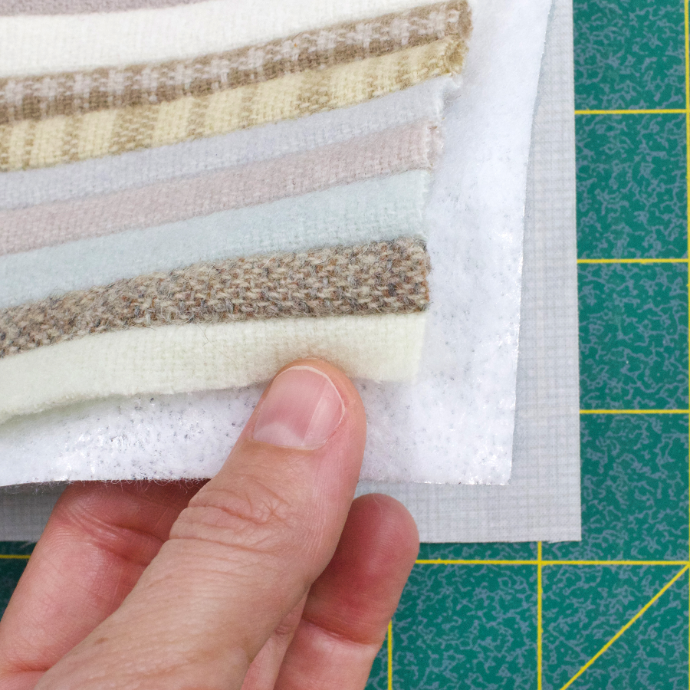
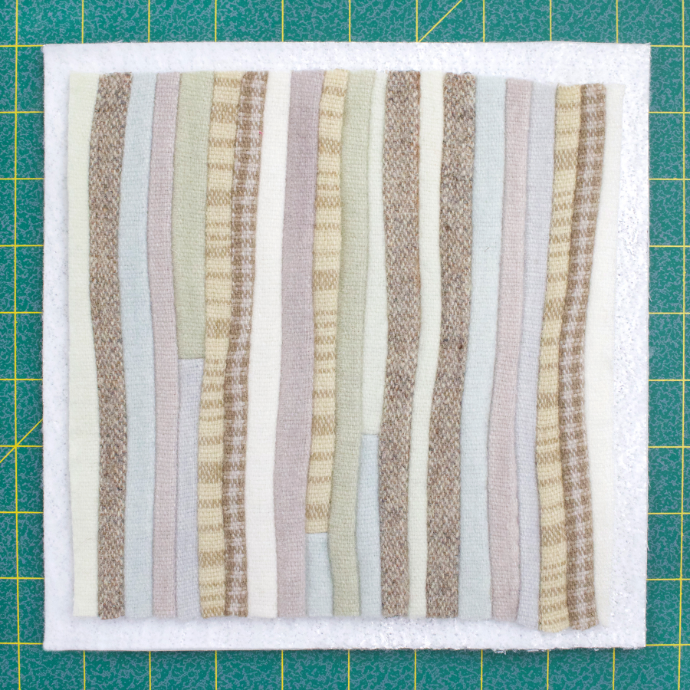
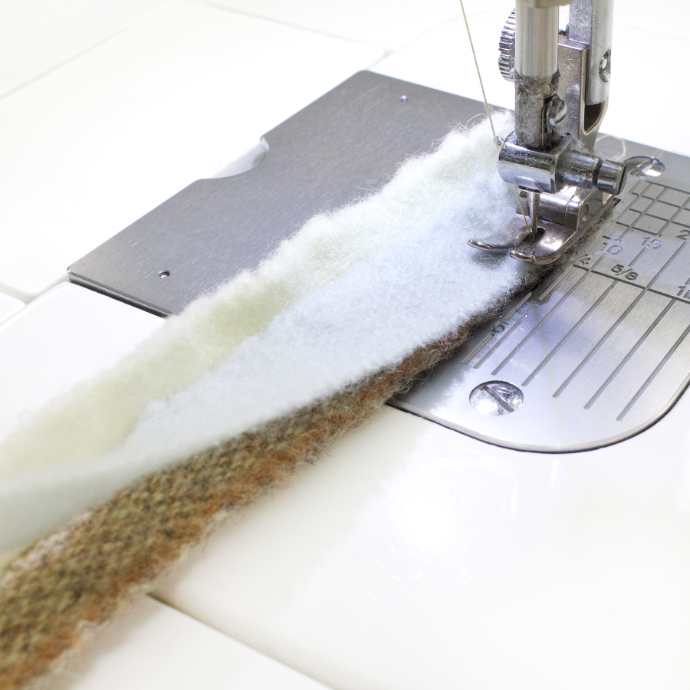
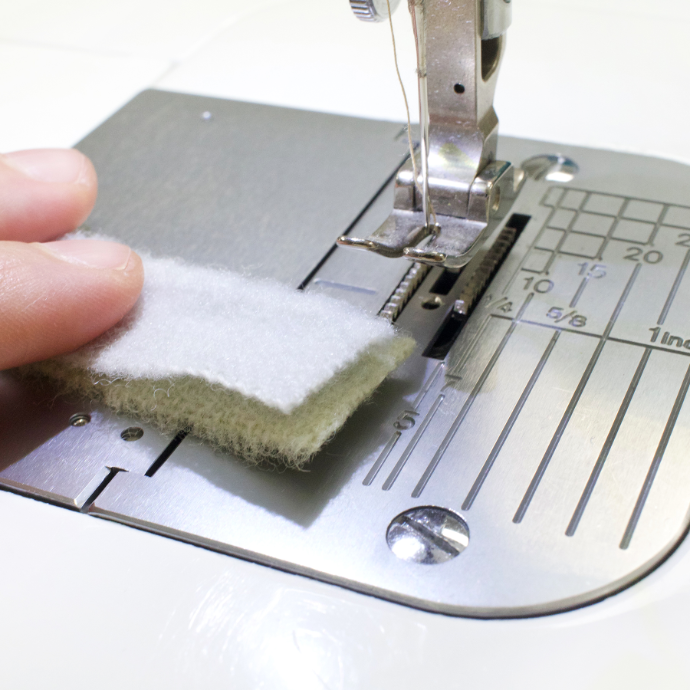
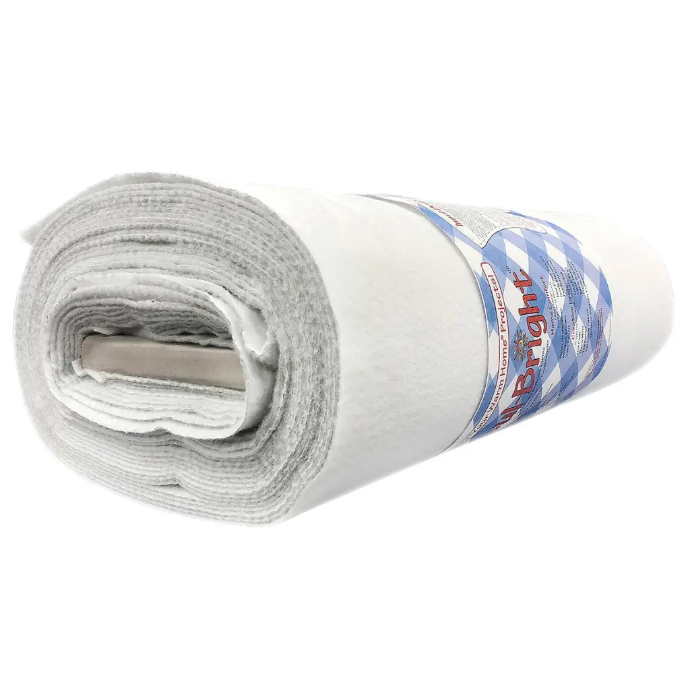
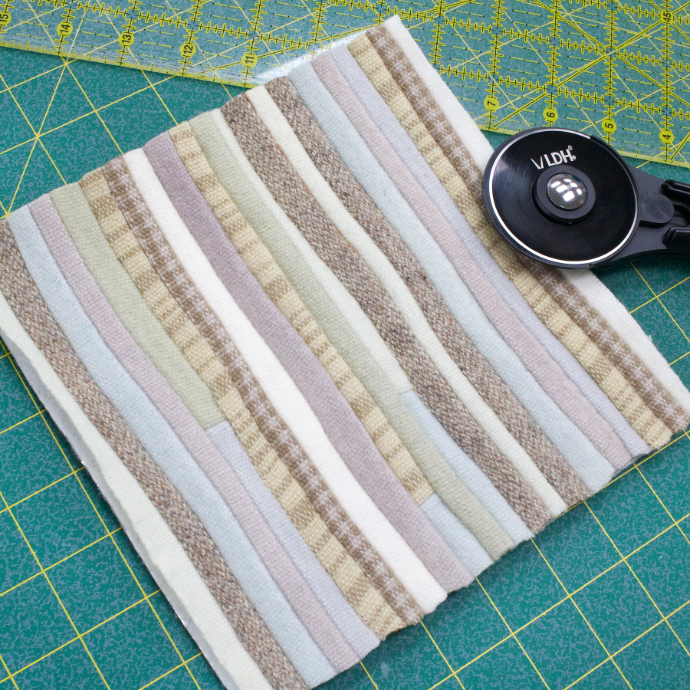
Once large enough, trim your sewn together selvedges to the exact size of your desired hot pad. Next, you'll need to cut your batting and backing 1" larger that your wool selvedge front. You'll want to use Insul-Bright Heat Safe Batting and 100% cotton fabric for the backing.

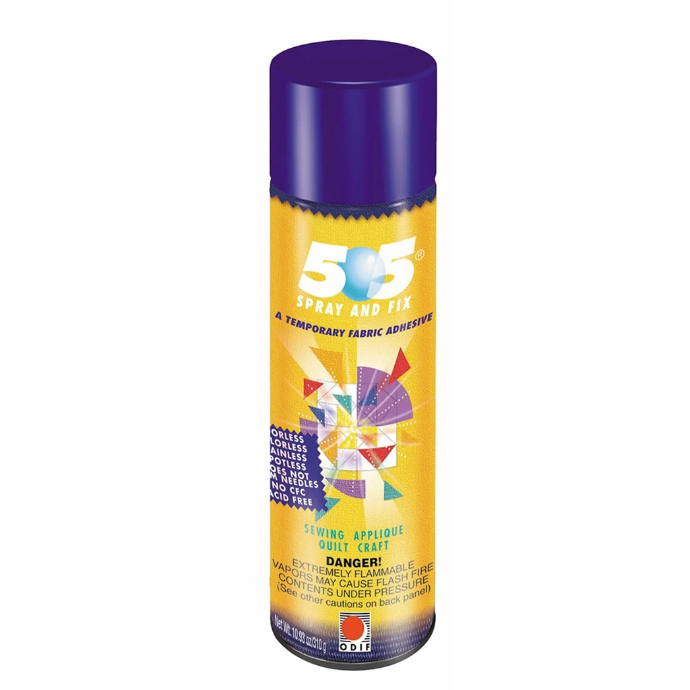
We highly recommend basting the three layers together with 505 Spray and Fix. It makes such a difference when quilting! No need for pins and your fabric will stay put with no shifting! We love this stuff!
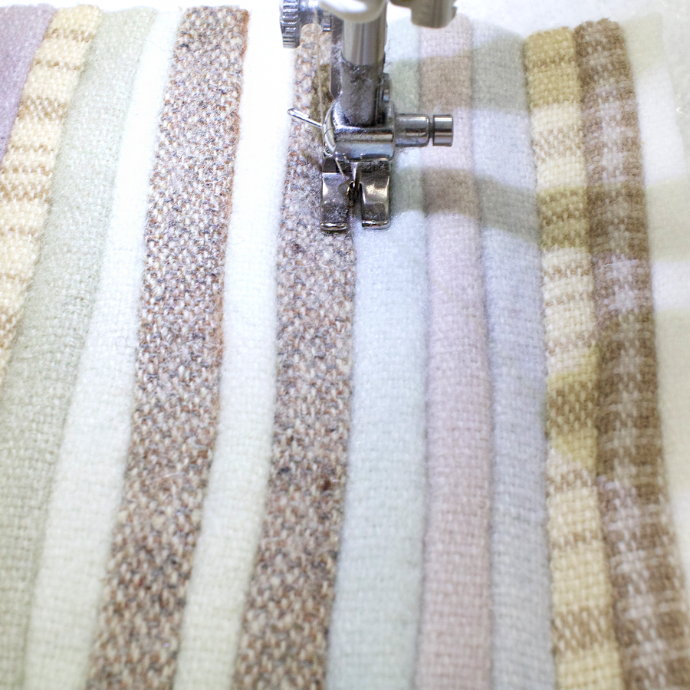
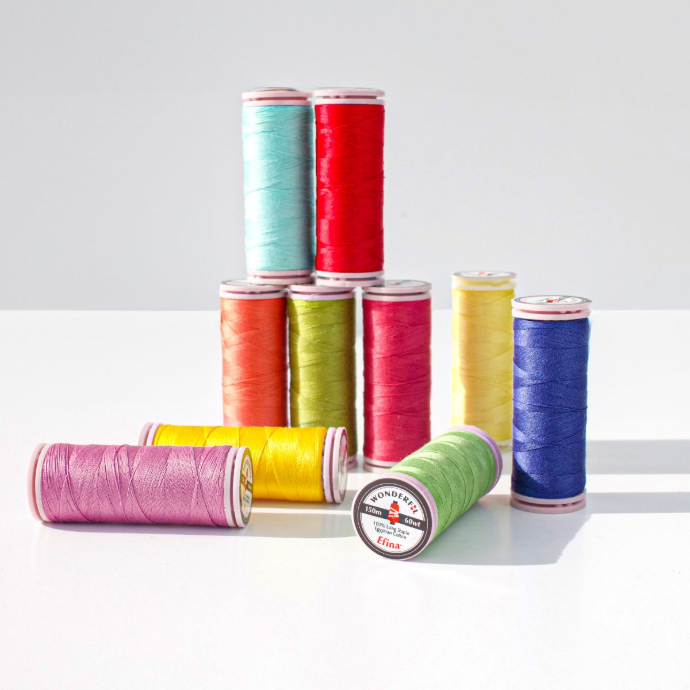
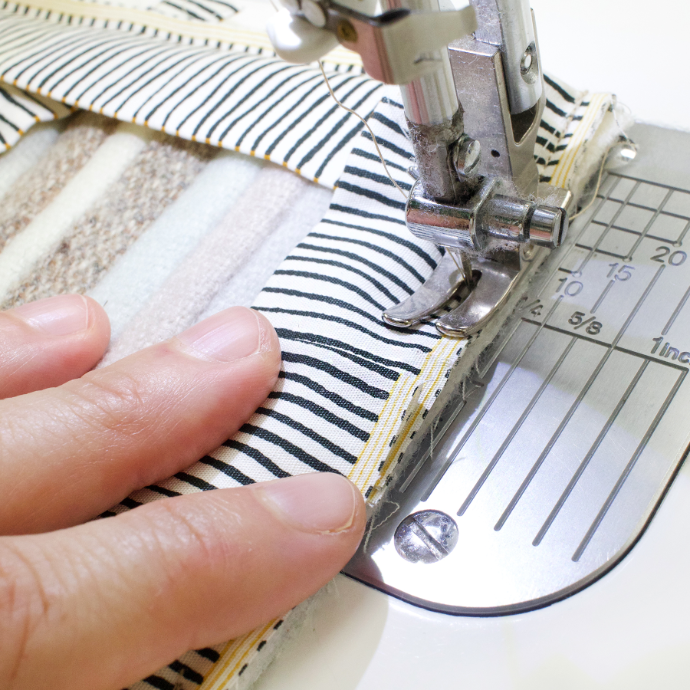
To quilt the layers, machine stitch in the ditch every few stripes. Or you could try hand stitching some running stitches with 100% cotton thread like Eleganza down the center of every few stripes! How fun!
Trim the quilted piece to size.

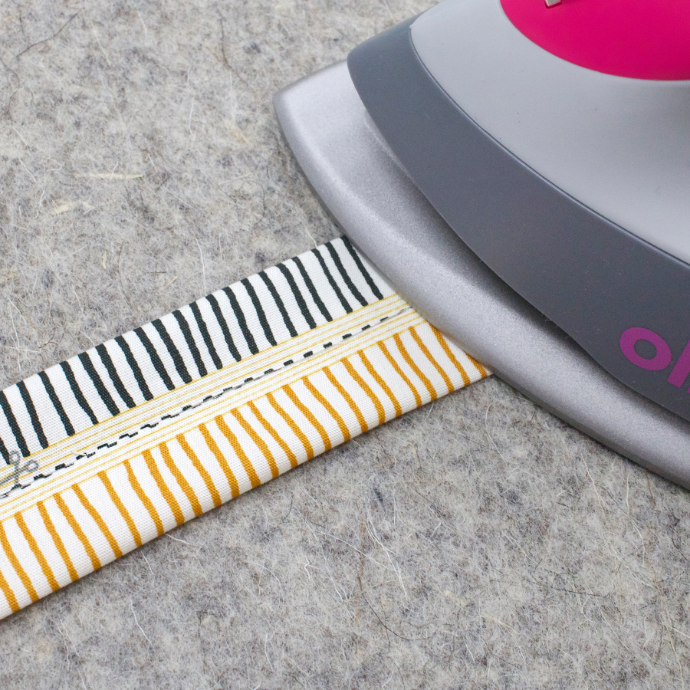
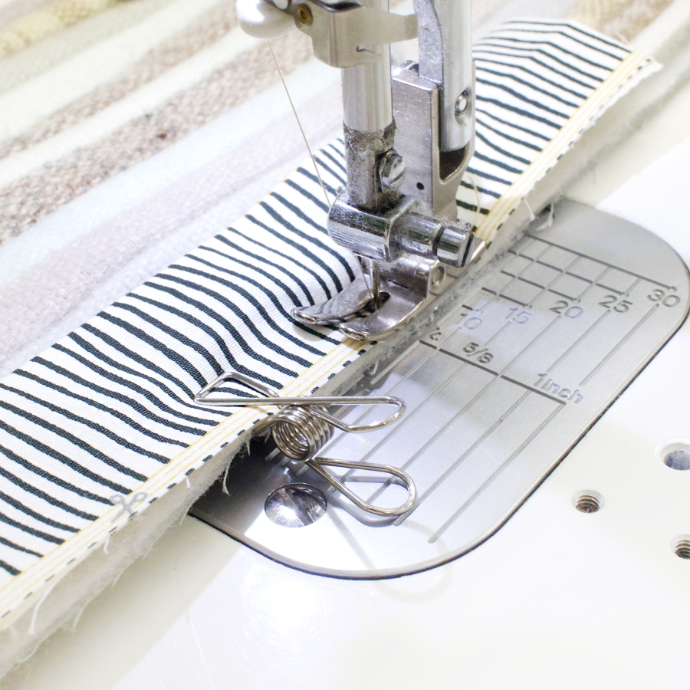
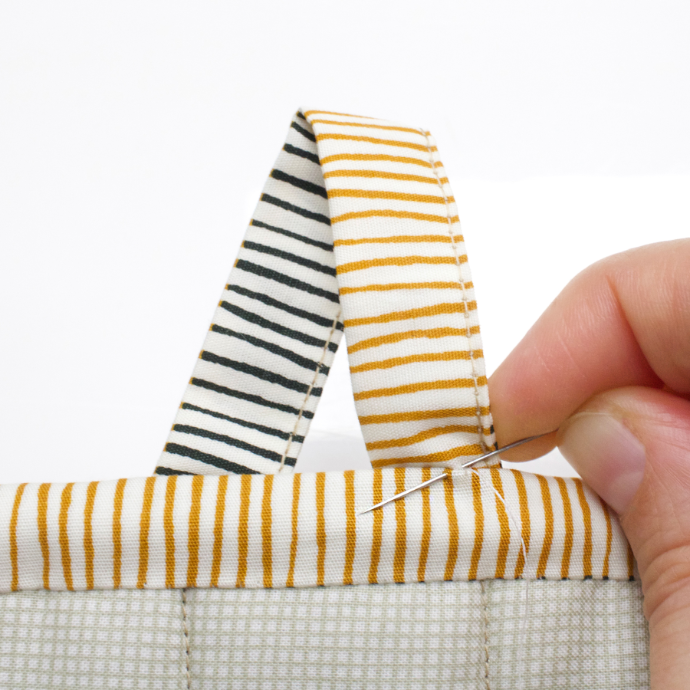
To make an optional hook for hanging, cut a 2 1/2" x 6" piece of your binding fabric. Press in half lengthwise. Open, fold the long sides in to meet the middle fold, and press.
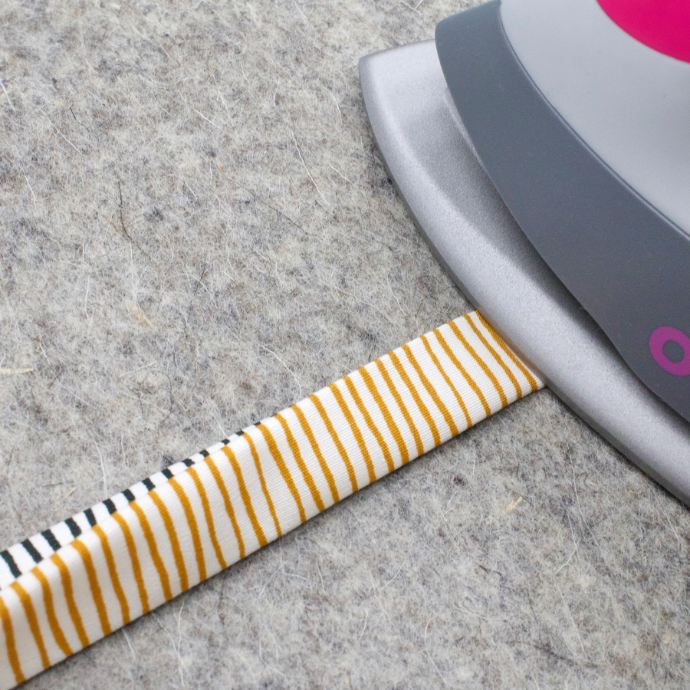
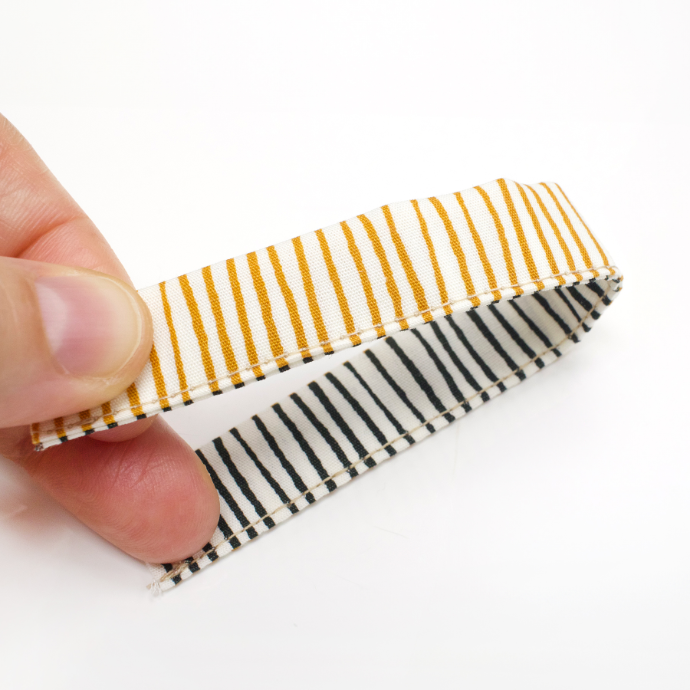
Fold in half once more and press. Topstitch along the open edge to close.
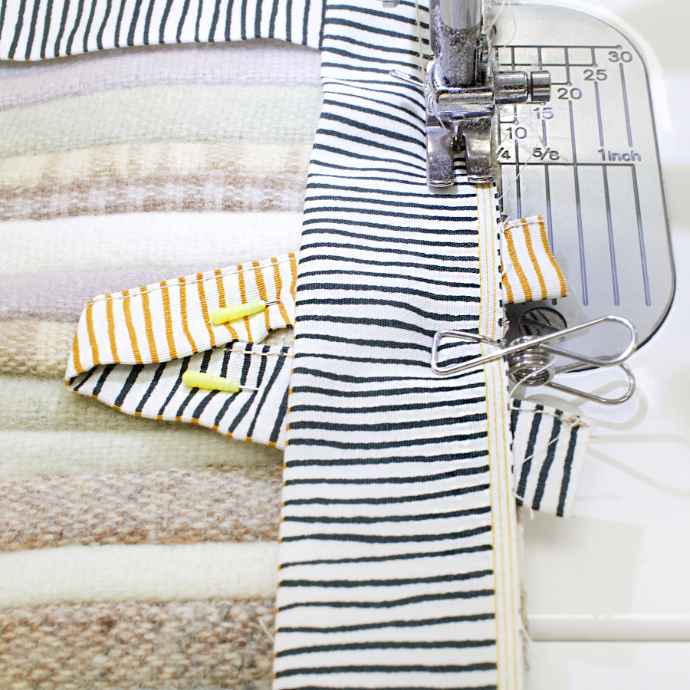
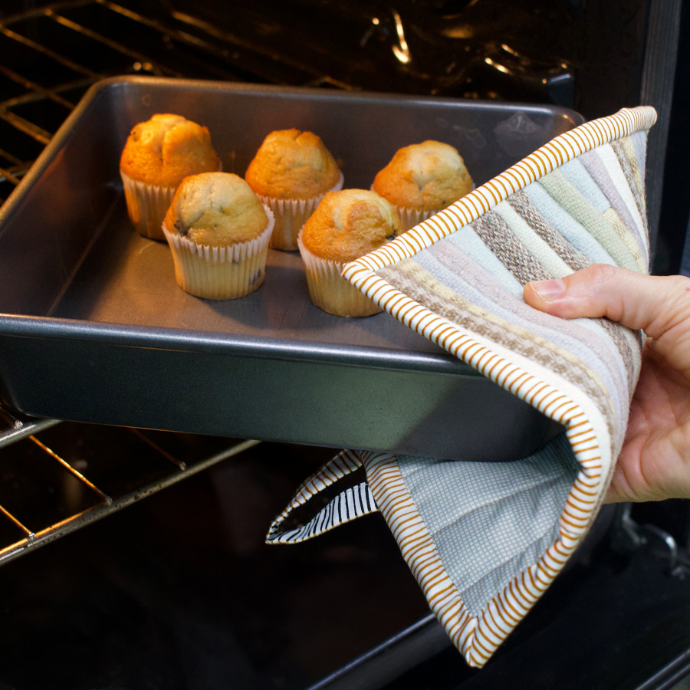
Attach your binding and don't forget to insert your hook along the top edge of the hot pad as pictured above. For a refresher on binding, see our tutorial on Binding Basics & Beyond.
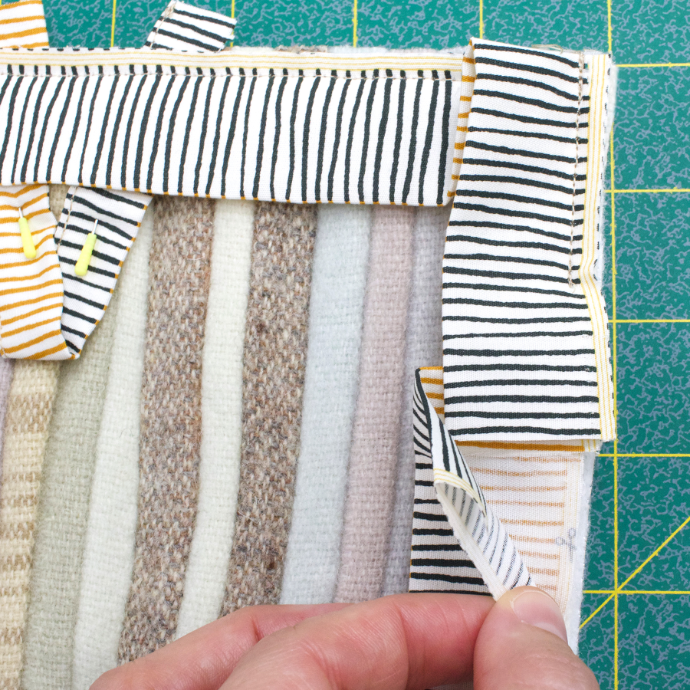
When binding such a small project, we simply slide the end of the binding into the start. Just be sure the start of the binding has the edge pressed under.
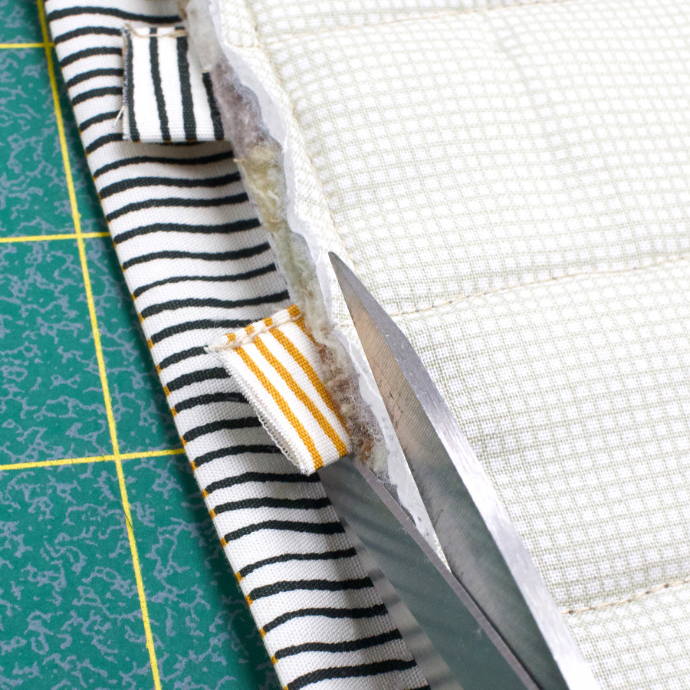
Trim the ends of the hook before wrapping your binding to the backside to whipstitch it in place.
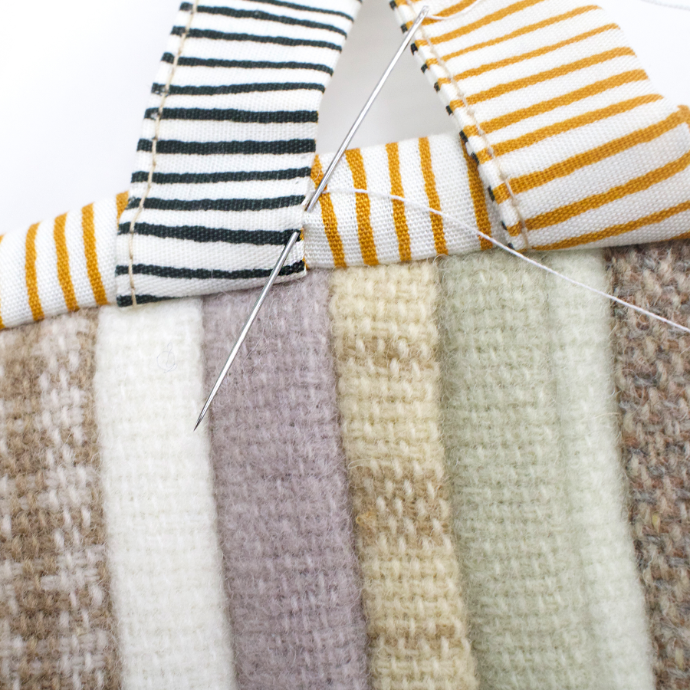
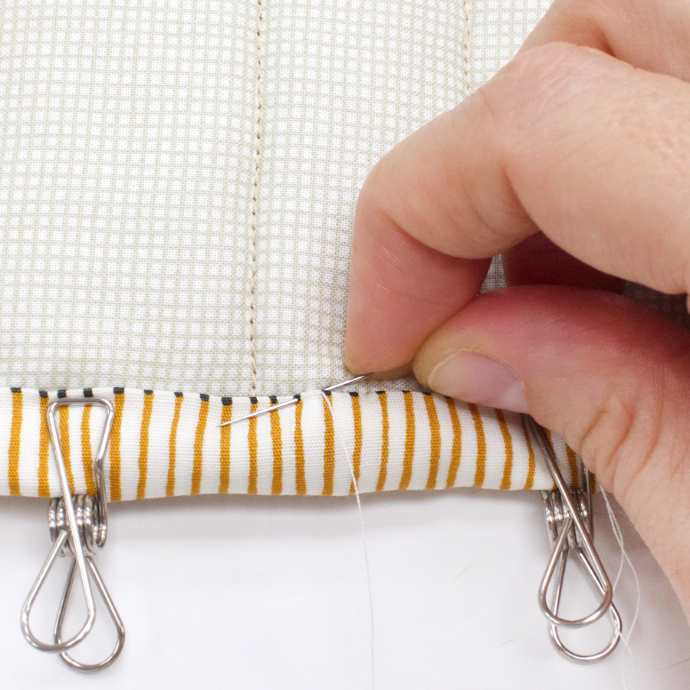
Whipstitch the sides and back of the hook to secure it to the binding.
So easy and so beautiful!
But don't stop with hot pads! What about coasters, placemats, table runners, totes, zippered pouches, or quilt blocks! Let these wavy wool stripes inspire you!
Weaving Wool Selvedges
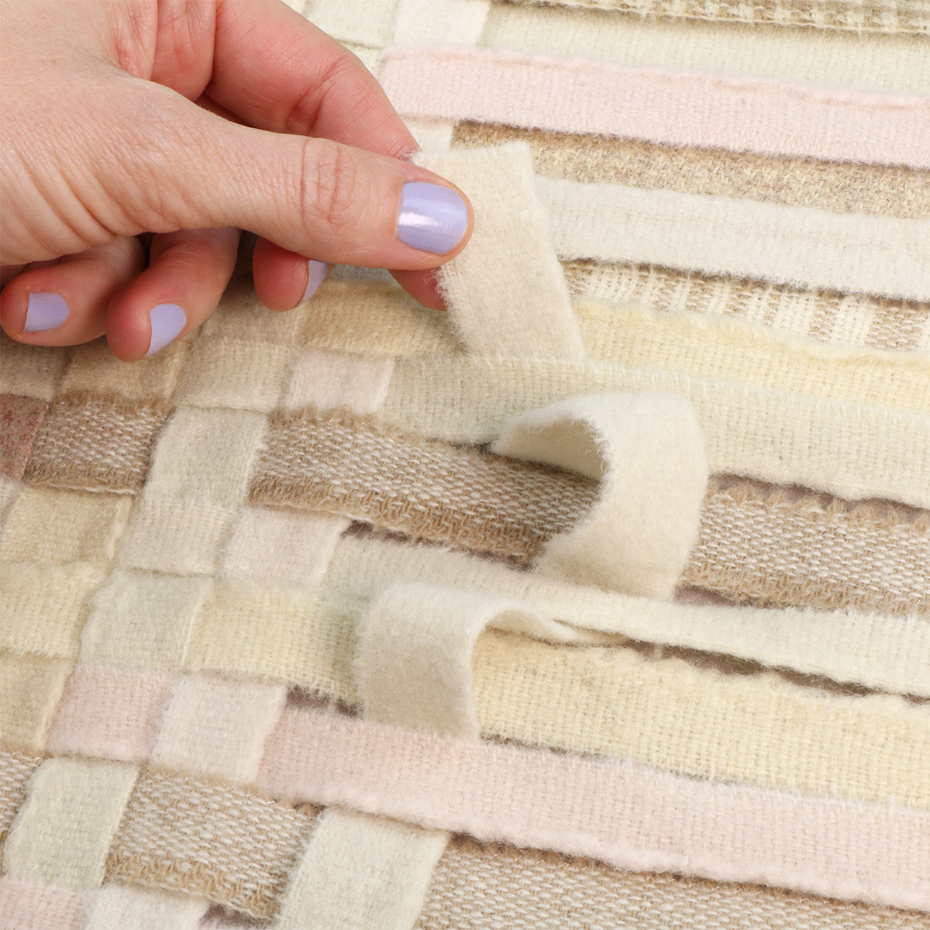
Want to continue the selvedge fun? Check out our tutorial on Weaving Wool Selvedges!