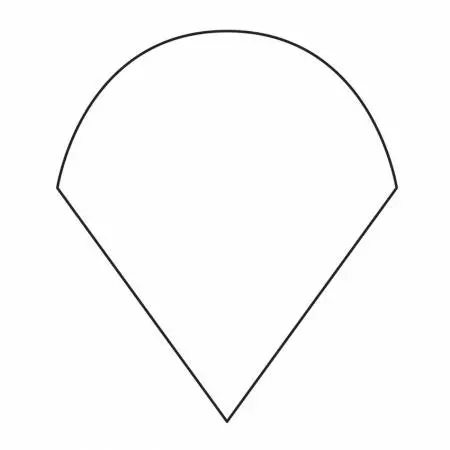
Dive into the fun of English Paper Piecing with our Ice Cream Cone Papers!
These clever little Ice Cream Cone Papers whip up the sweetest five-petal flowers (and so much more!). Mix them with bold, colorful Aboriginal fabrics and watch your creativity take off—there’s no limit to what you can dream up. The results are so delightful, you’ll be grinning from your first stitch to your final press. Don’t wait—scoop up this deliciously fun way to stitch today!
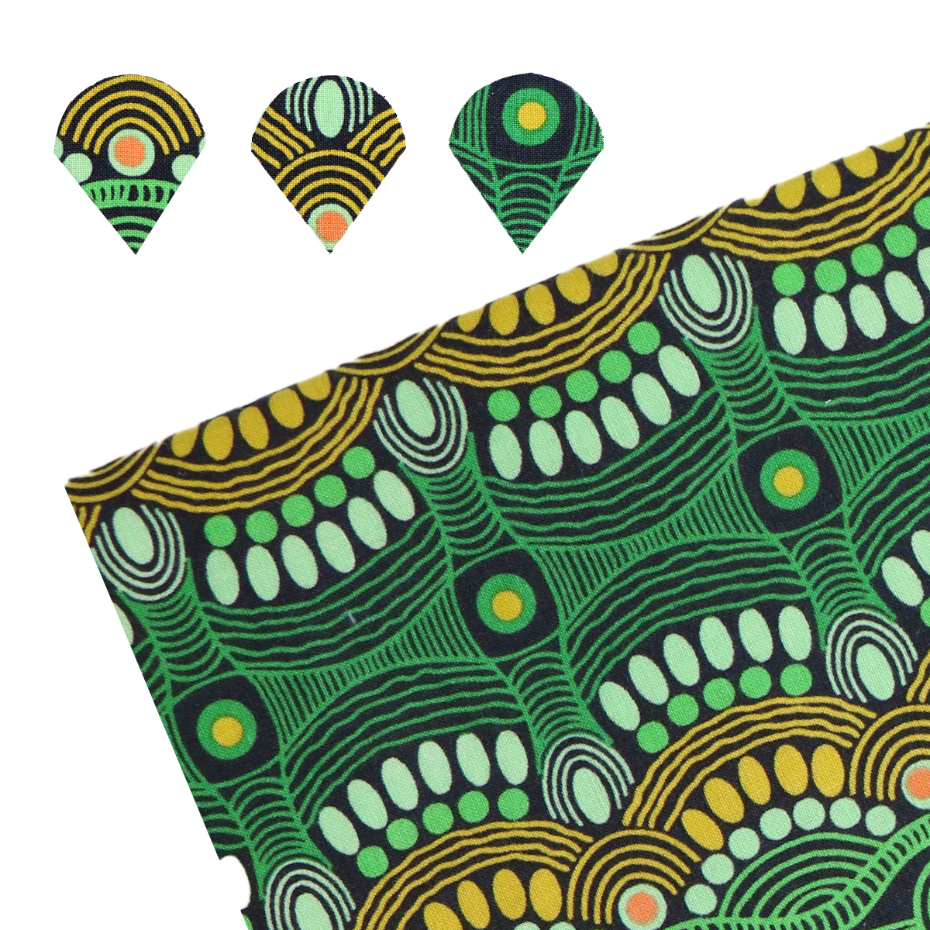
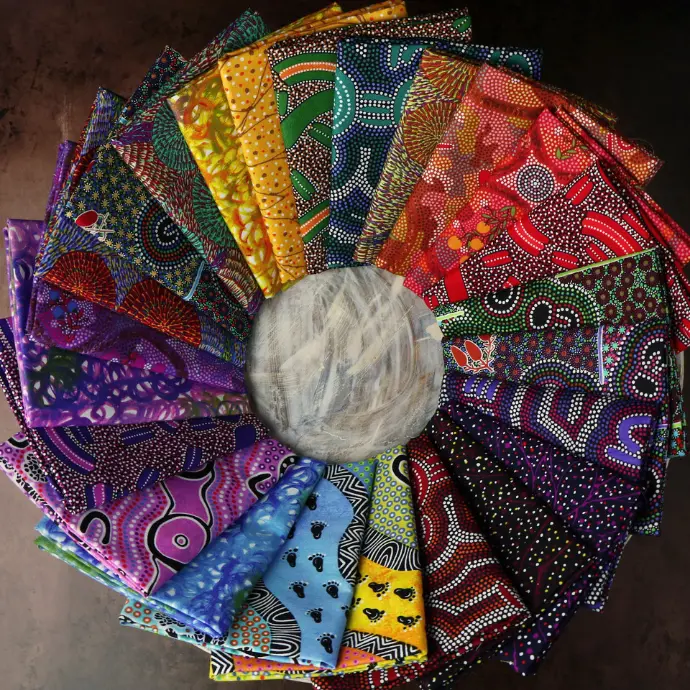
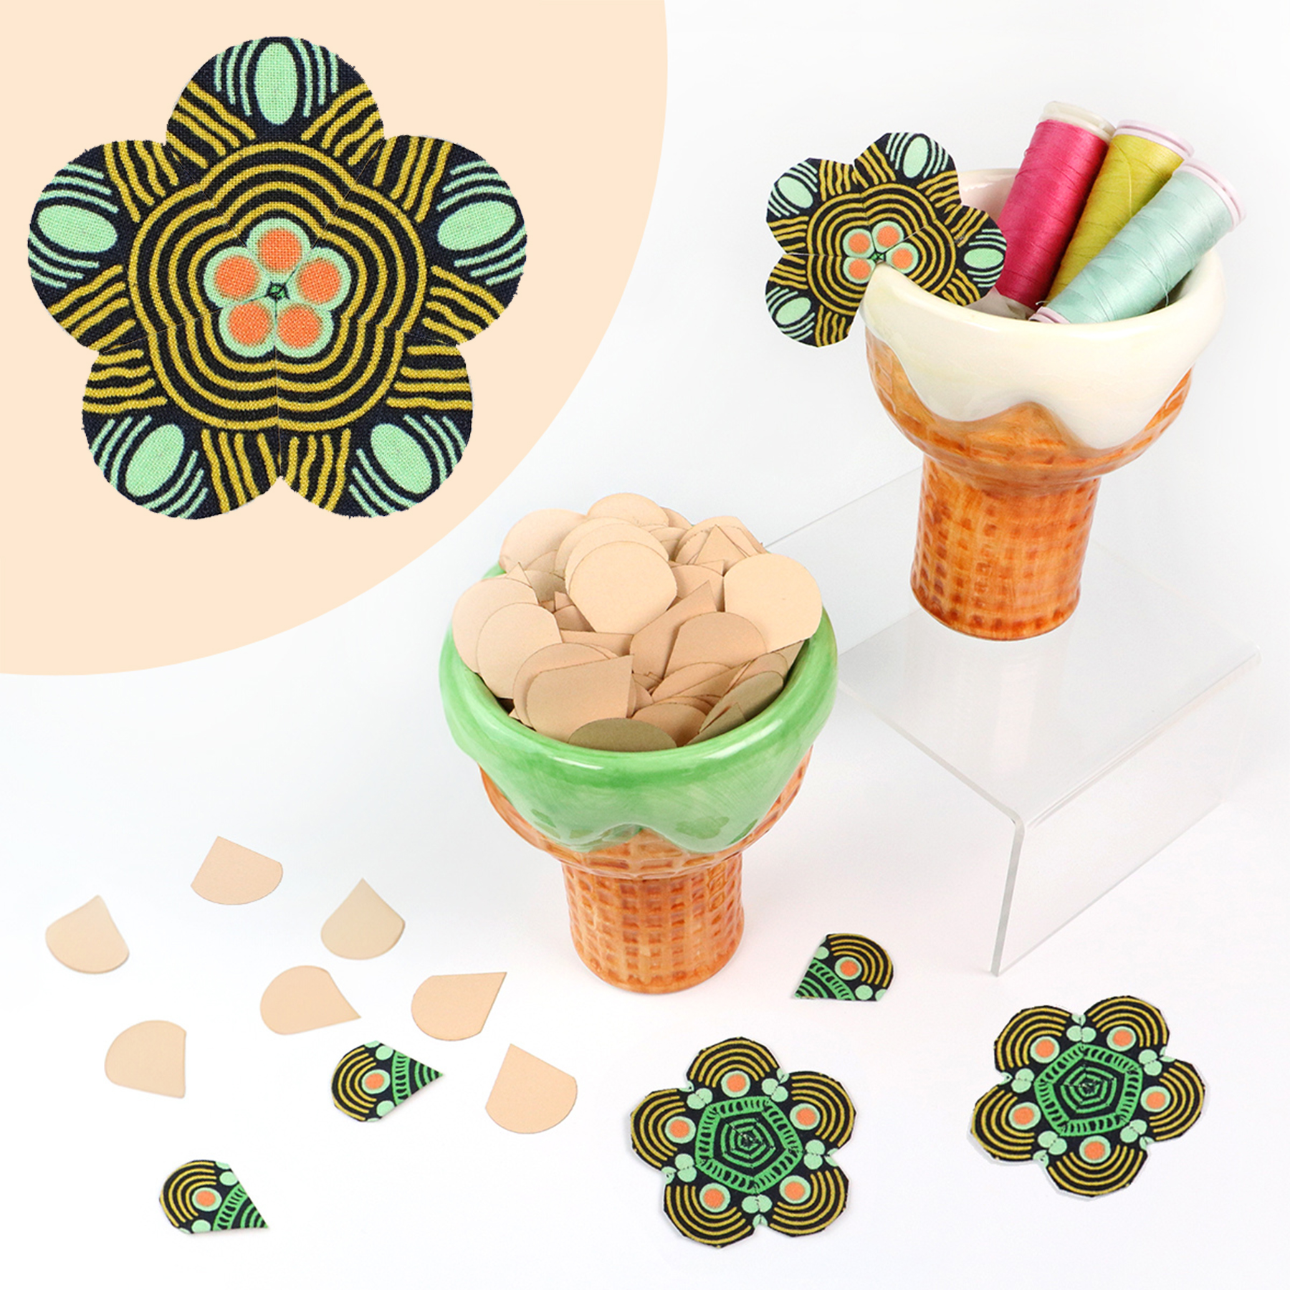
Aboriginal Fabric provides the perfect playground for coming up with new combinations of color, line, and shape. These three different ice cream cone designs were all taken from one Aboriginal Fabric: Desert Flora in Green. Desert Flora is also available in Purple and Blue.
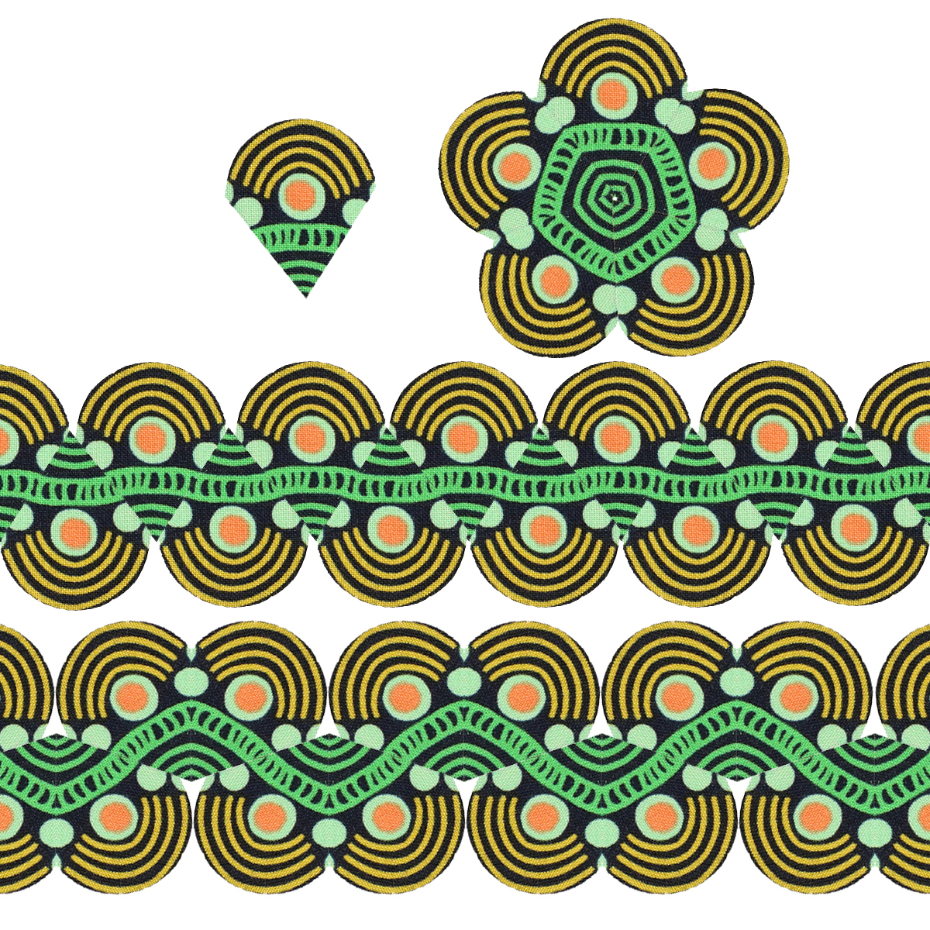

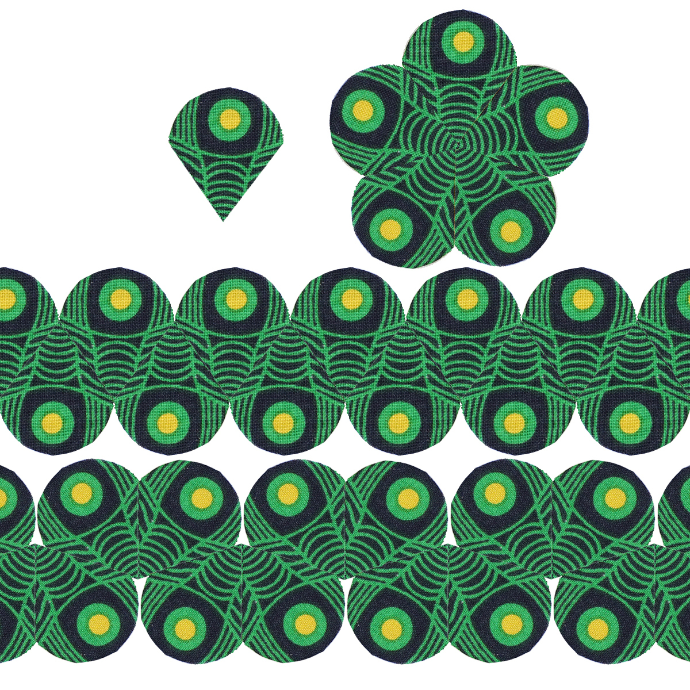
Ice Cream Cone Papers can be arranged in a variety of ways. Try 5-petal flowers, rows made by alternating cone points up and down, or rows made of hearts (two cones attached together) and then alternating the heart points up and down.
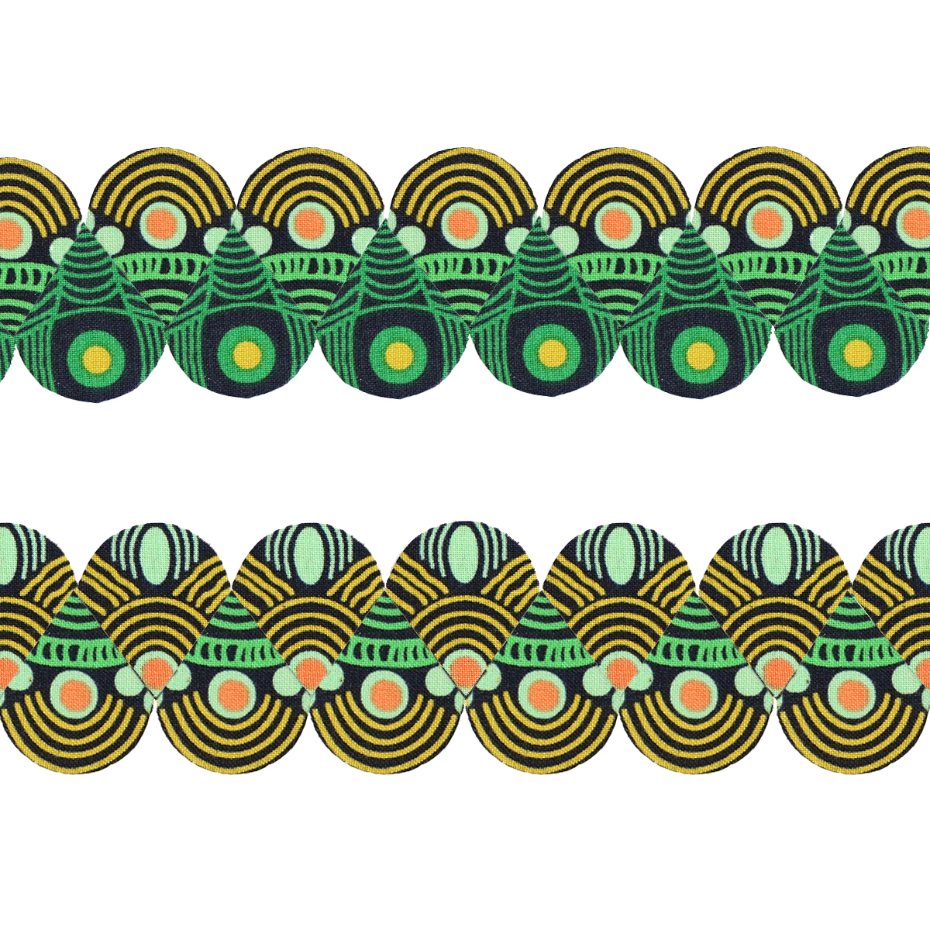
Walk on the wild side by mixing designs! It's so fun to see what new patterns you can create.
Supplies for EPP
- Ice Cream Cone Papers
- Aboriginal Fabric (Snag a bundle for lots of options!)
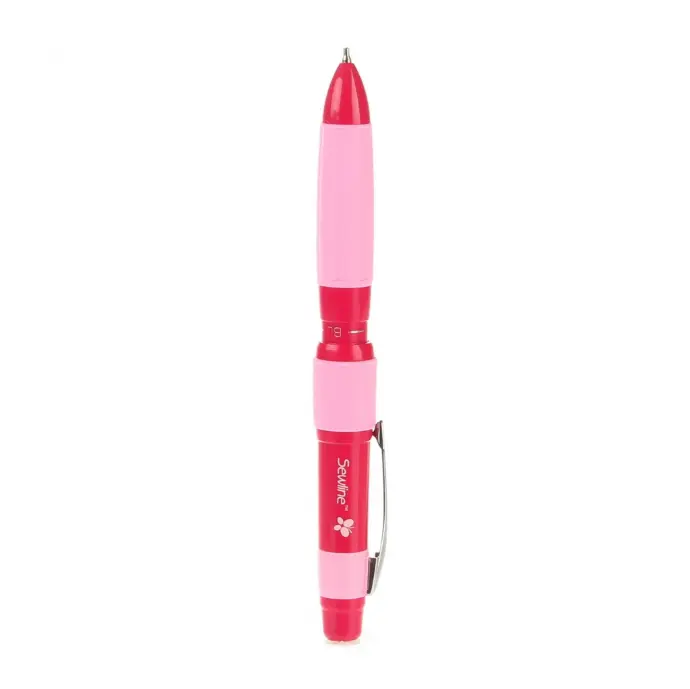
- Sewline Trio Chalk Pencil
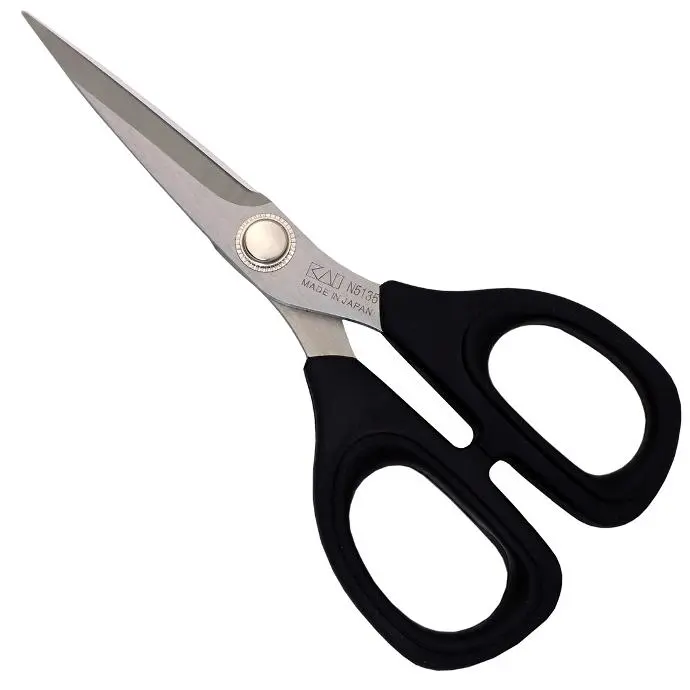
- 5-1/2" Kai Japanese Scissors
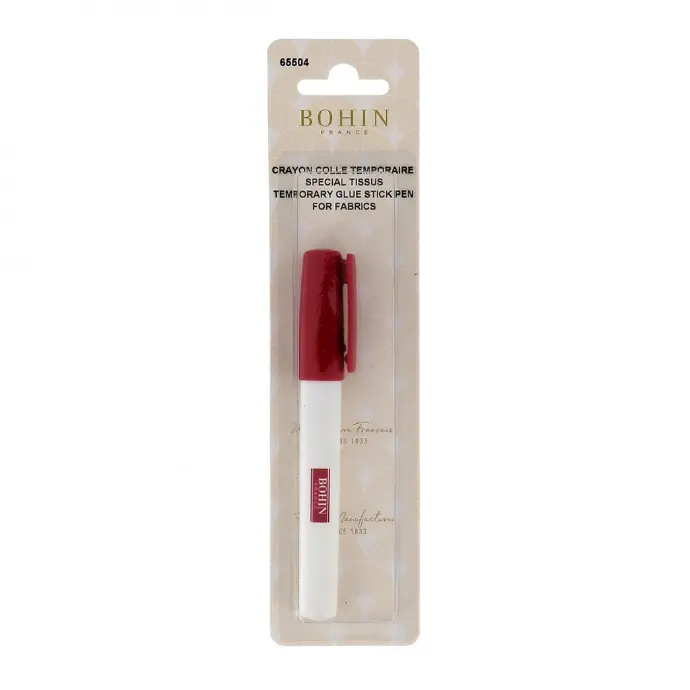
- Bohin Glue Stick Pen
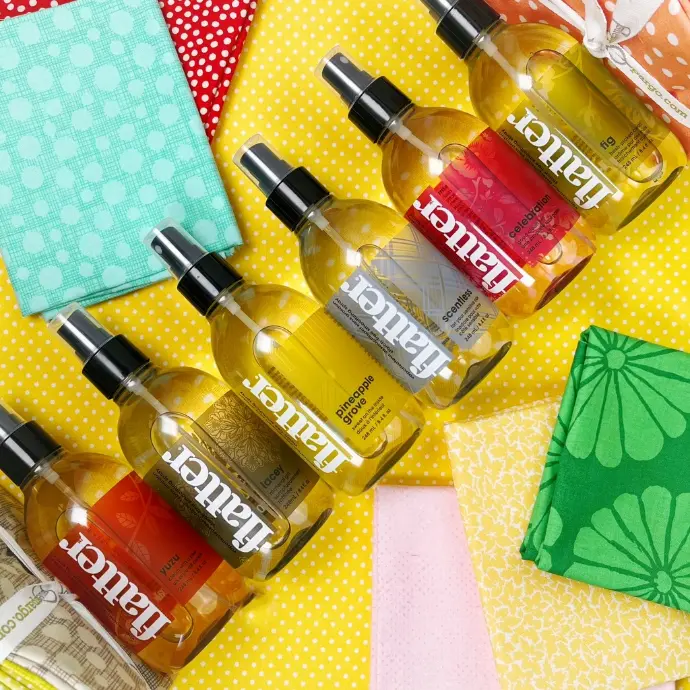
- Flatter Smoothing Spray
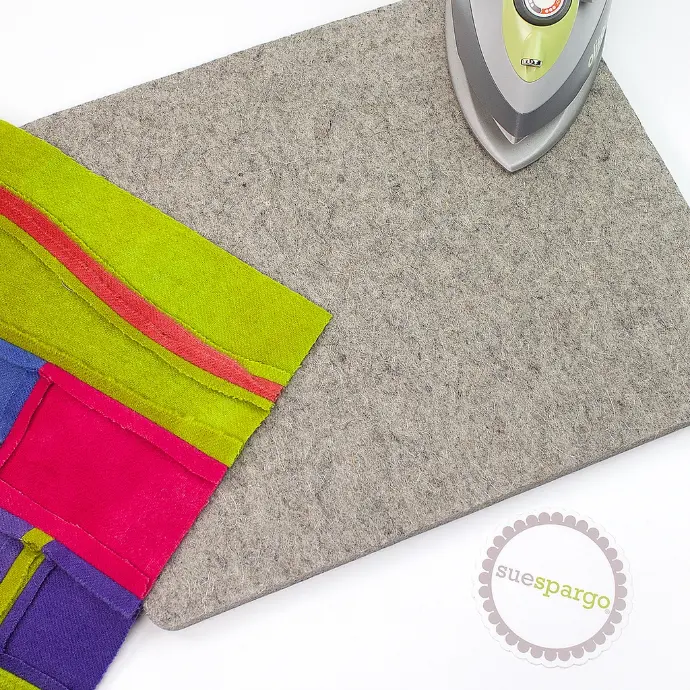
- Wool Pressing Mat, 11" x 13"
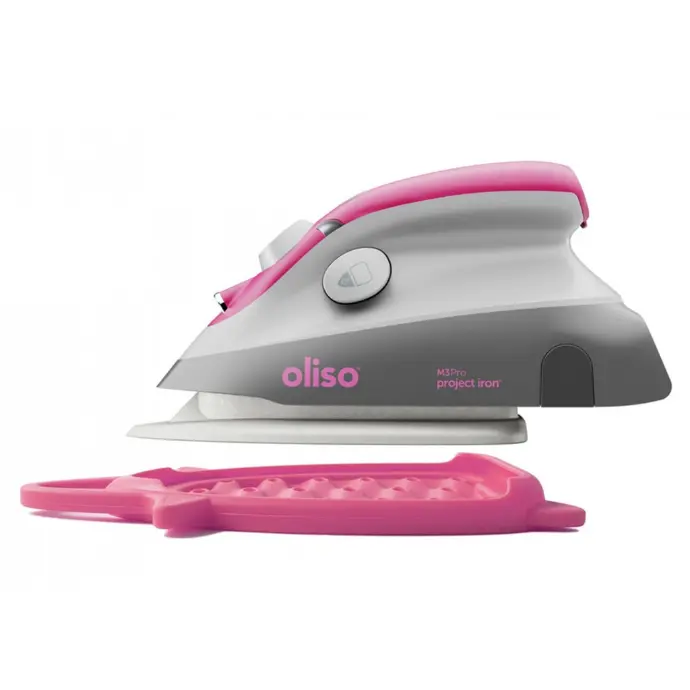
- Oliso Iron
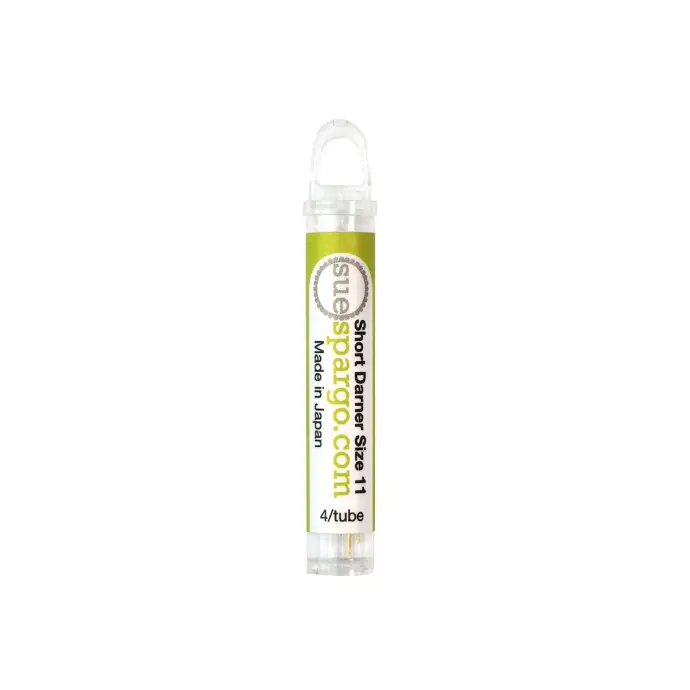
- Short Darner #9 Needles or Short Darner #11 Needles
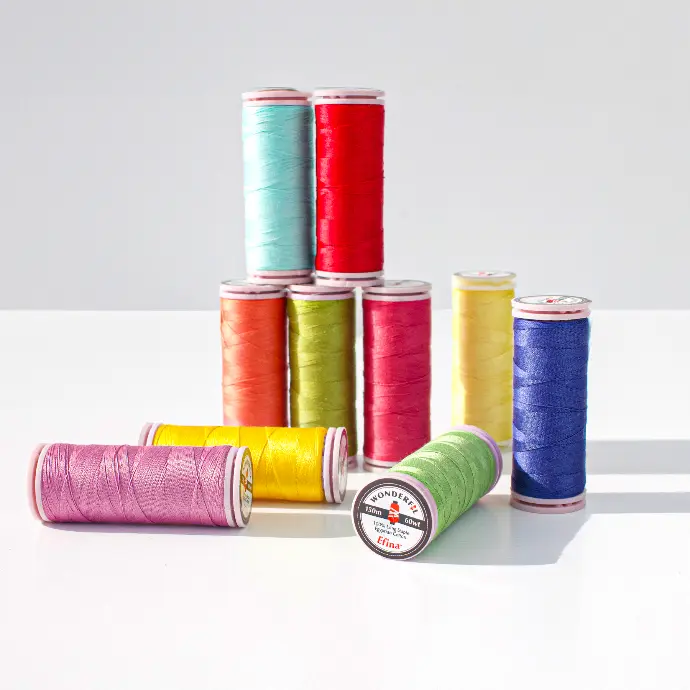
- Efina Cotton Thread that matches your fabric
- Clips
- EZ Rip N Grip (seam ripper and tweezers)
- Little House Applique Pins
- Background fabric for applique
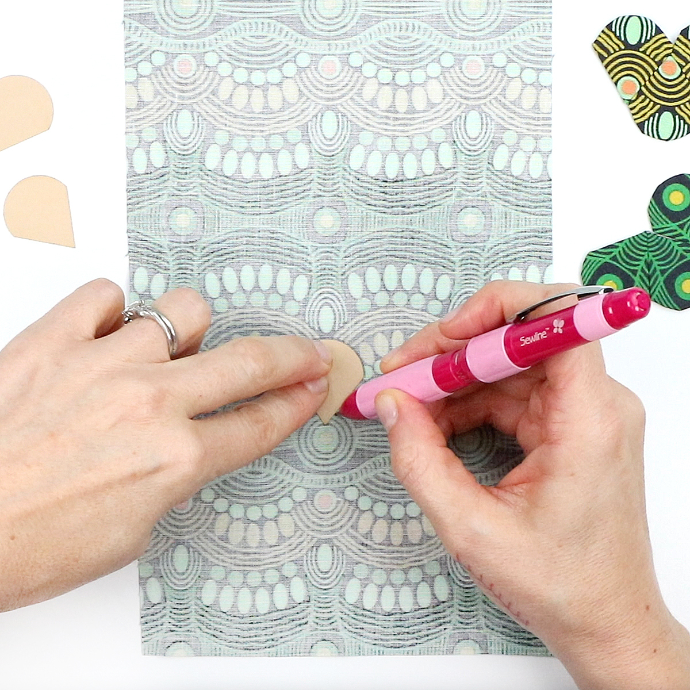
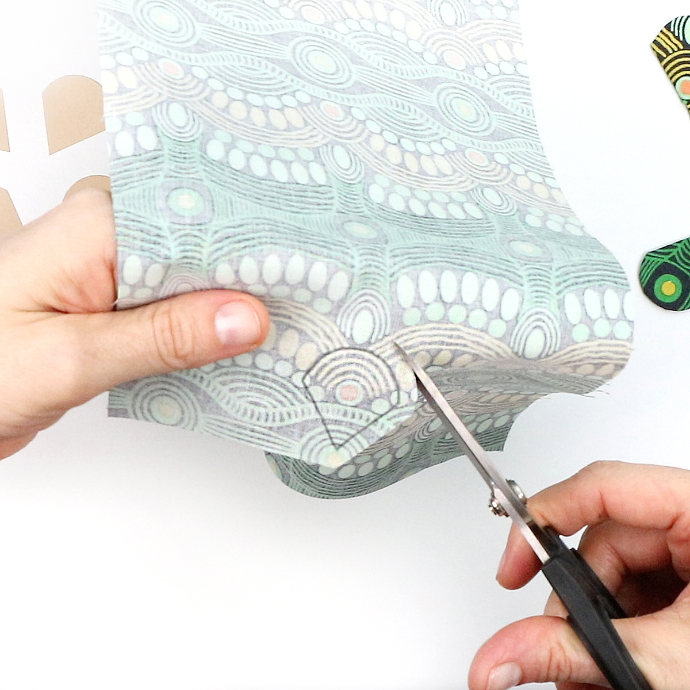
To get started, select an area of your chosen fabric that would fit well within the ice cream cone shape. Place an Ice Cream Cone Paper over this area and trace around it.
Cut around the traced cone shape, leaving a 1/4 inch seam allowance.
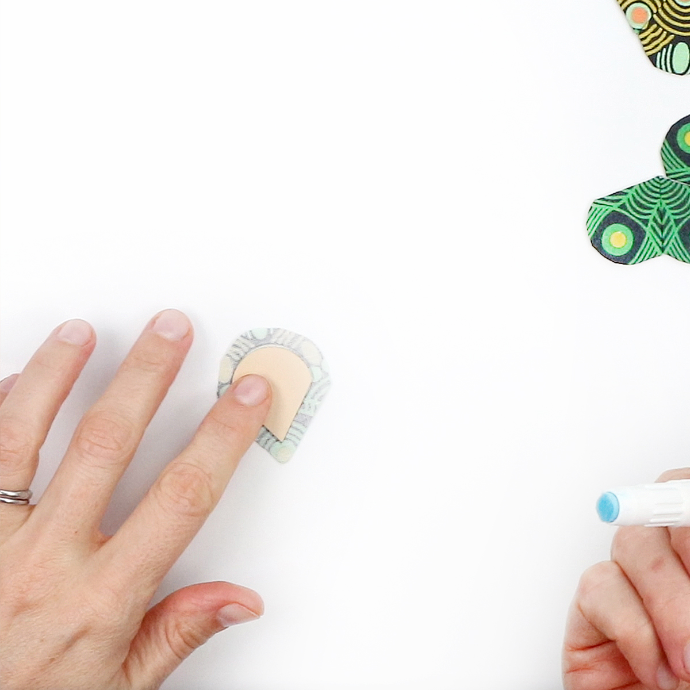
With a touch of glue on the Ice Cream Cone Paper, press it down to fit within your traced cone outline.
Add one swipe of glue along the side edge of the paper cone. Fold the 1/4" of fabric onto the glue and press in place. When working around the curved edge, fold small portions of fabric at a time. Apply glue between each small fold of fabric around the curve. Lastly, fold over and glue the remaining side edge.
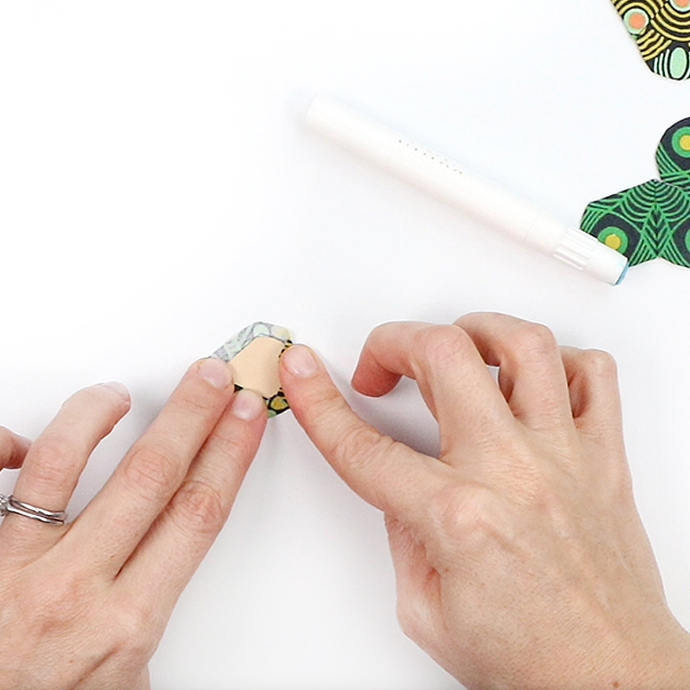
A small tail of folded over fabric will remain at the cone's point. This can be trimmed or left alone as it will not show once the cone shapes are stitched together.
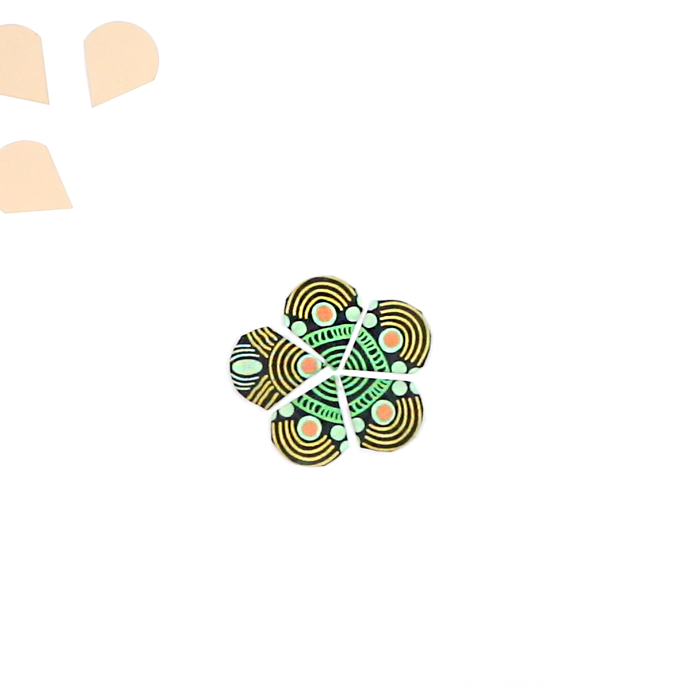
Duplicate cone shapes. Five are needed to create a flower.
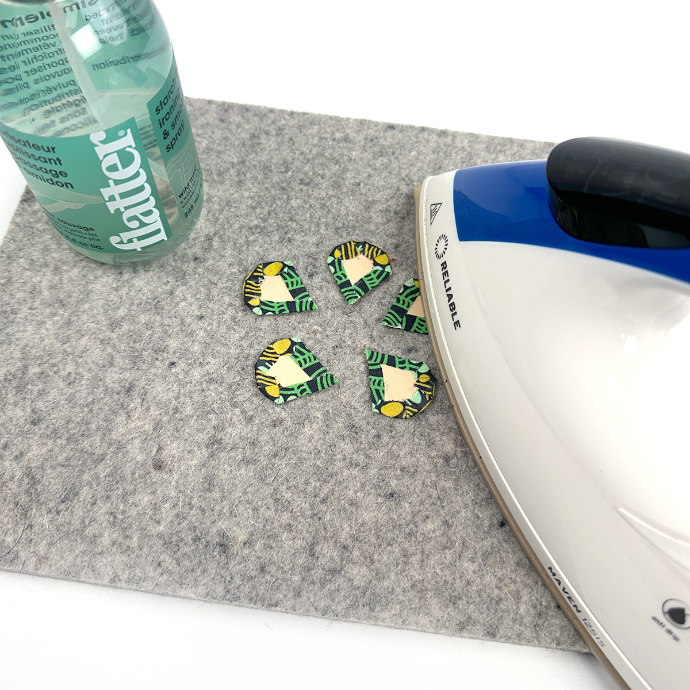
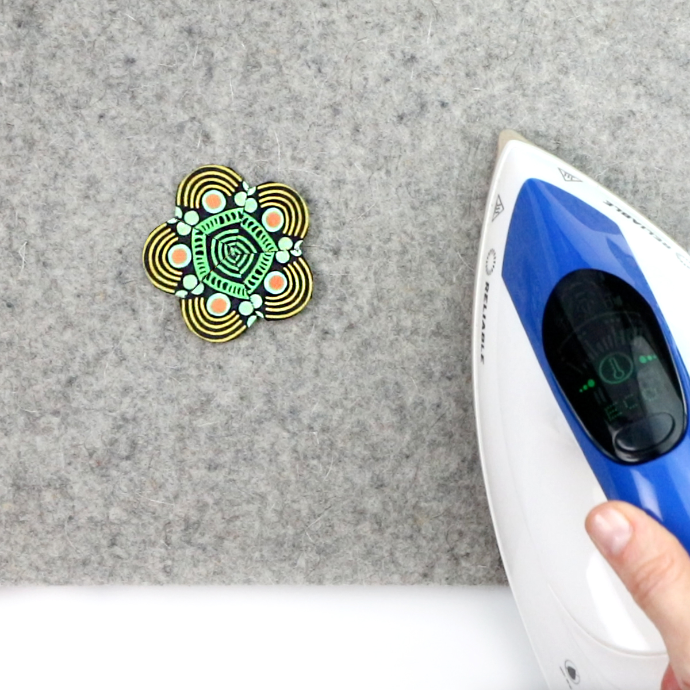
Once the glue has had time to dry, spritz your cone shapes with Flatter Smoothing Spray and press them with an iron.

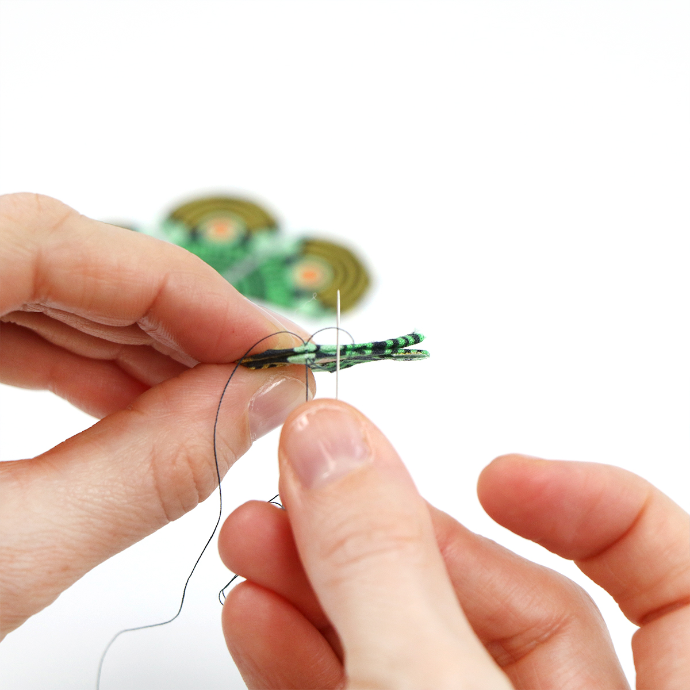
Once you have decided on an arrangement for your cones, you can begin stitching them together, one hinged edge at a time. Start by placing two cones right sides together. A small clip can be a useful tool to help hold the cones in place while you stitch.
Using a Short Darner #9 or Short Darner #11 and matching Efina thread, bring the needle through the very corner of both cones (where the curved edge meets the side), catching just a few threads from each seam allowance.
Leave a small tail and pass the needle through the same spot once more. Secure the thread with a knot by passing the thread through a small loop before pulling it taut. Repeat the knot twice.
Stitch down the side edge while trying to only grab the fabric with the needle and not the paper. Whipstitch the two cones together, and secure the thread with a double knot at the cone point.
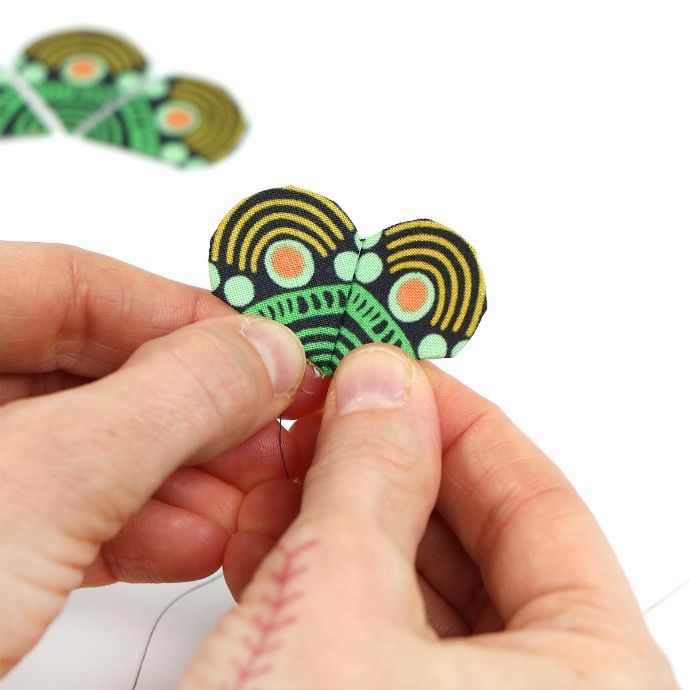
Open the hinged cones, and begin connecting another by repeating the process of holding two cones right side together and whipstitching along an edge. One by one, continue to sew the cones together to create your own unique design.
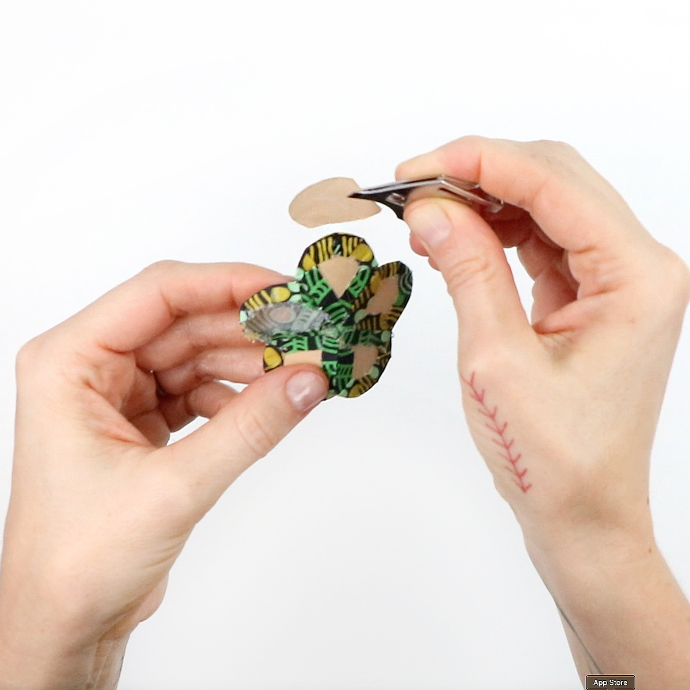
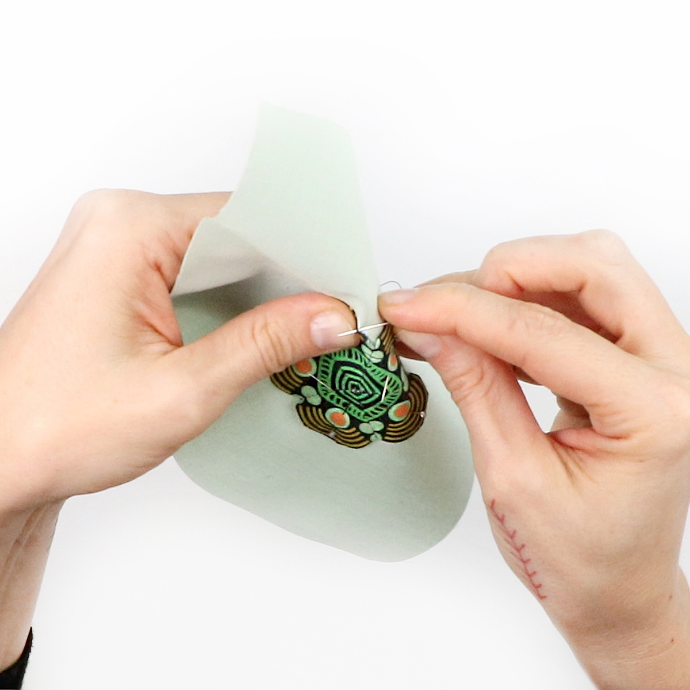
Once your patchwork is all sewn together, use the back of a needle to break the glue seam under the folded edges. Using tweezers, tug the paper out of the back of each cone. The papers may be recycled or reused.
Press once more, and enjoy the mesmerizing and intricate beauty of your English Paper Pieced patchwork!
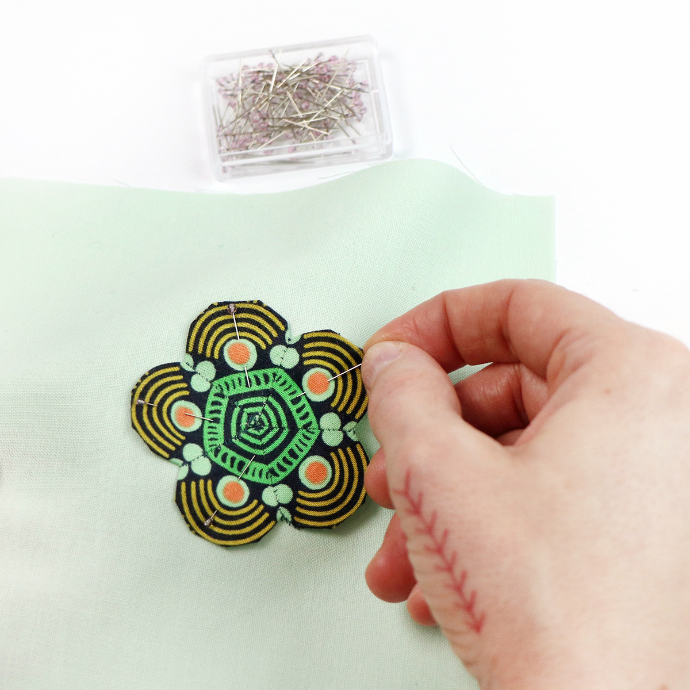
To applique your design onto another fabric, pin it in place using Little House Applique Pins.

Using a Short Darner #9 or Short Darner #11 and matching Efina thread, whipstitch the patchwork to your fabric.
English Paper Piecing can be incorporated into quilt making, bag making, used in backgrounds, or any other crafting project you are excited to tackle! Check out our EPP page to see our variety of paper shapes and useful notions!