The I-Cord, also known as French knitting, is a unique technique that creates a knitted textural cord. I-Cords tend to have a lot of vertical stretch, which makes them ideal for manipulating into objects, applying as edges or borders, or utilizing in backgrounds as abstract elements. The thickness of your I-Cord will vary depending on the size of your knitting needles and the weight of your fiber. The focus of this week's Creative Classroom will be on making I-Cords using Tulips Bead Knitting Needles in order to create delicate cords that can be used on our projects. Follow along as we go through the steps.
To make our I-Cord, we used:
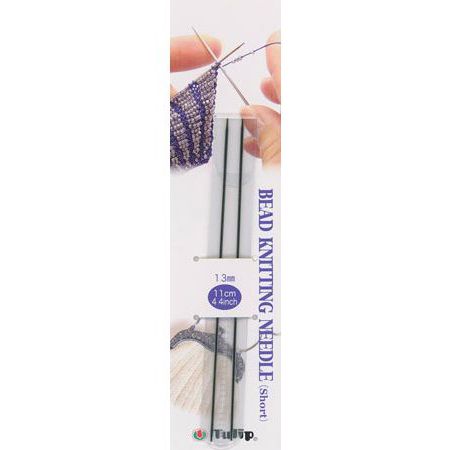
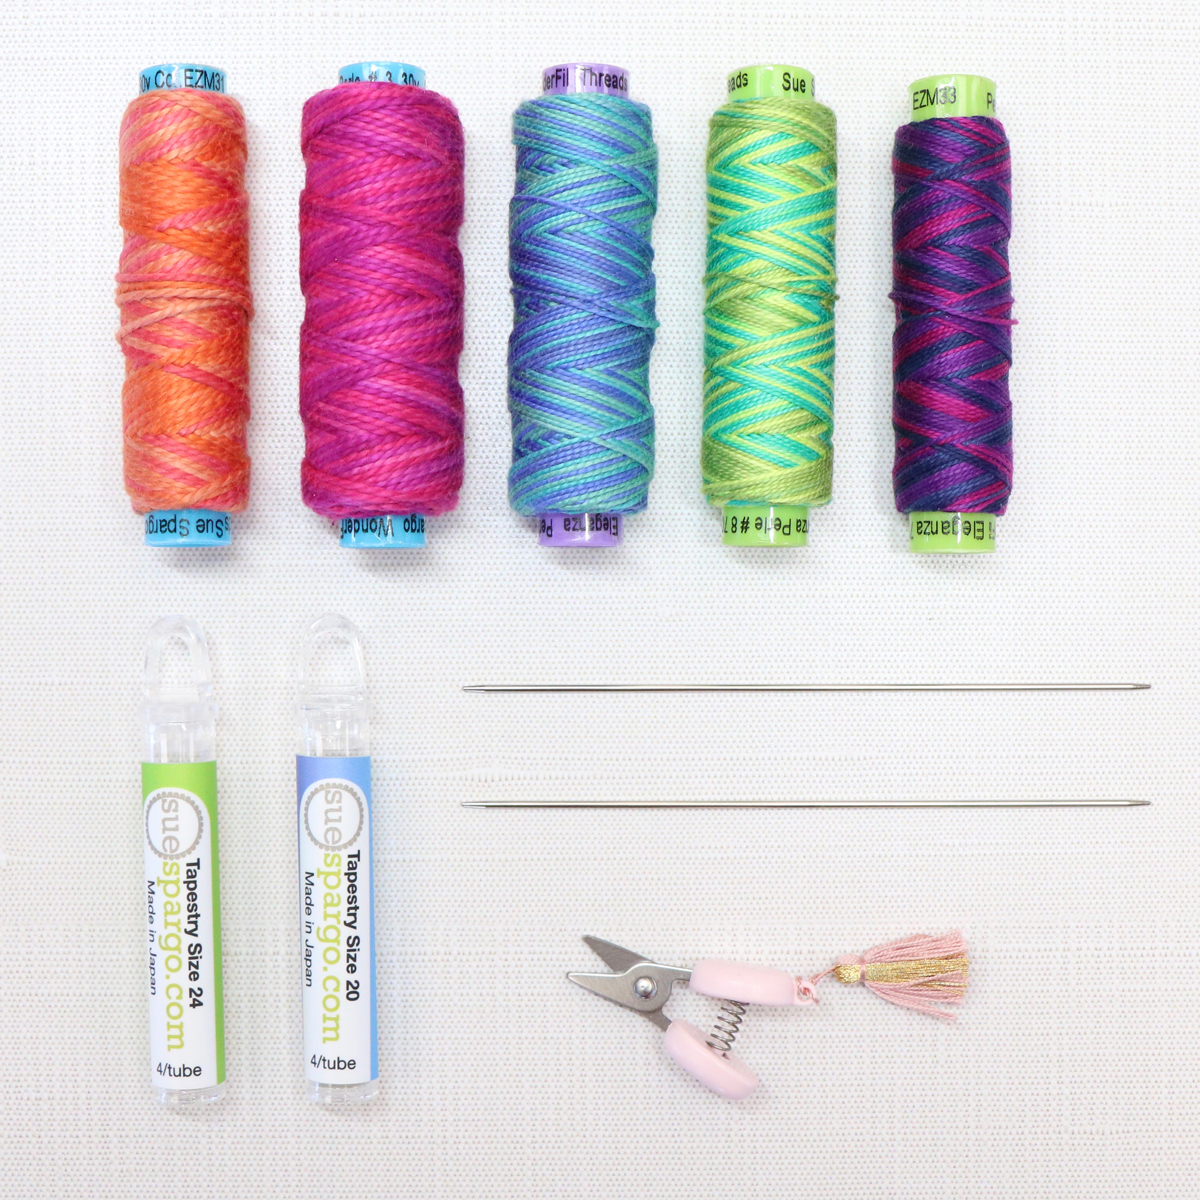
- 1.3mm Bead Knitting Needles
- #24 Tapestry Needle
- #20 Tapestry Needle
- Bean Snips
- Thread - We used #5 EZM21, Birds Eye View. Experiment with different types, textures, and weights of thread. Dazzle will add a little sparkle, Soft Cotton will appear more organic, utilizing any Rayon or Silk will give the cord a sheen, and Eleganza variegates will provide lots of color change due to their extra short variegations.
Casting On
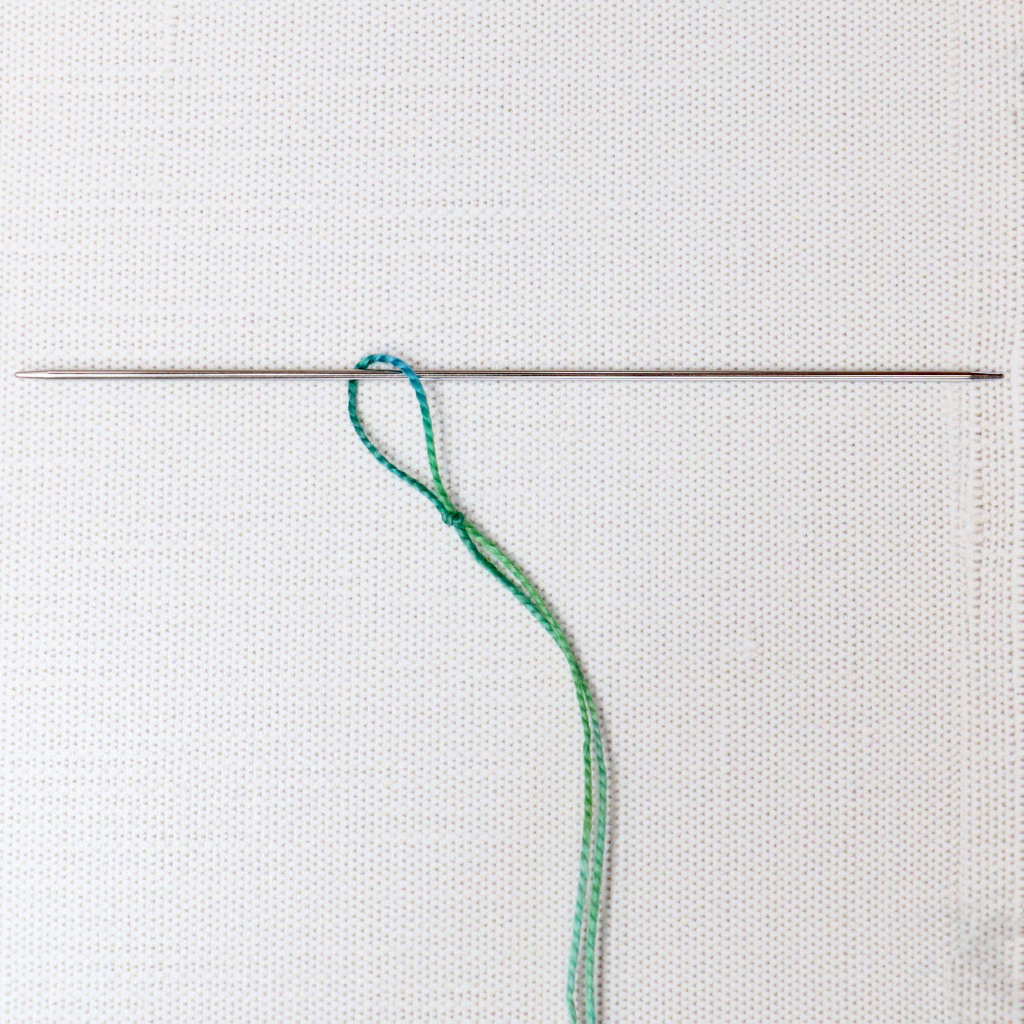
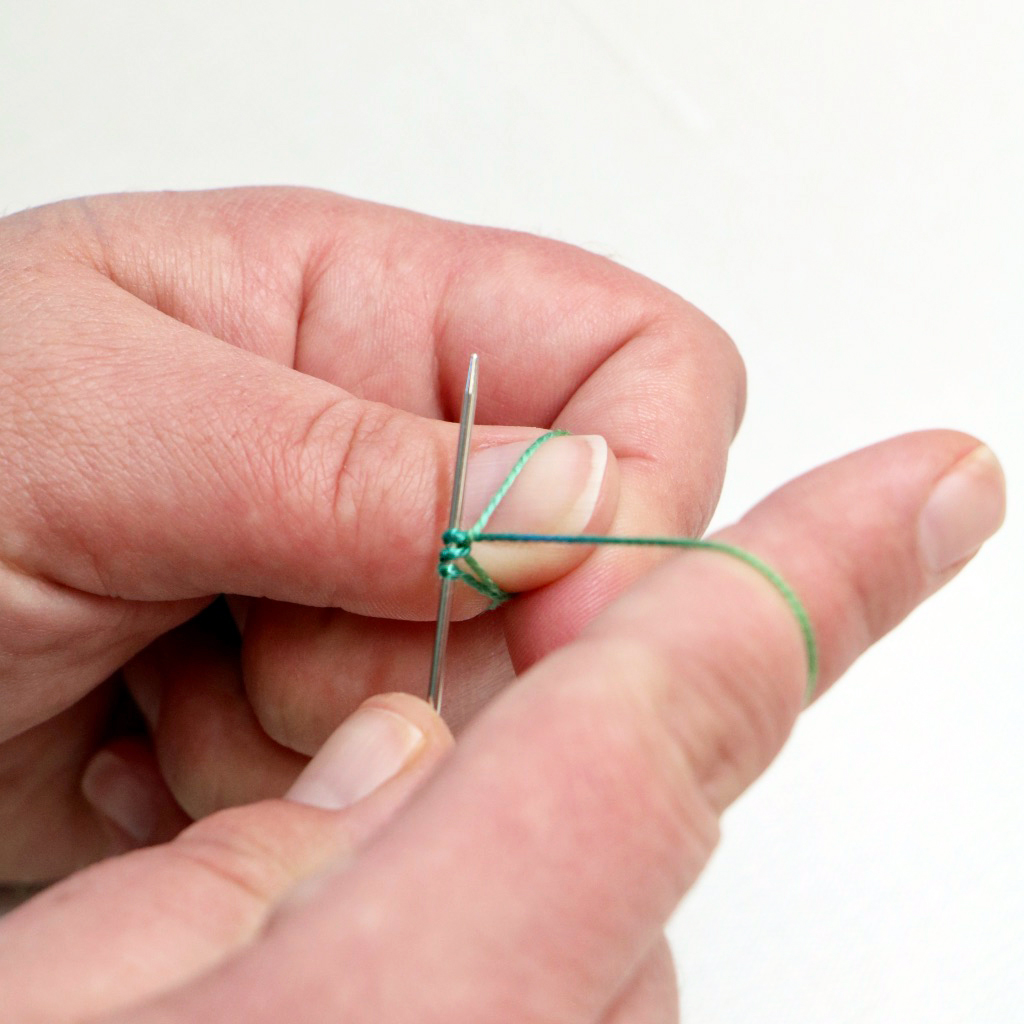
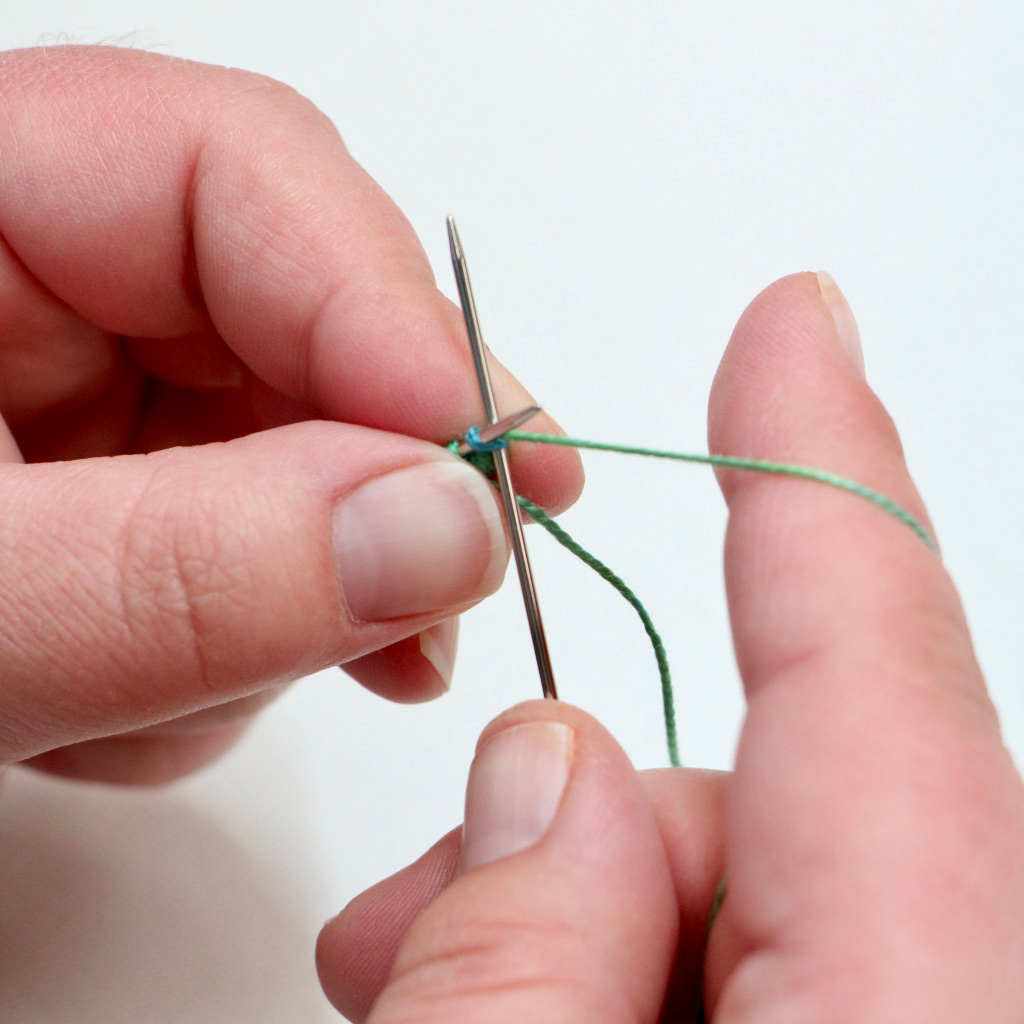
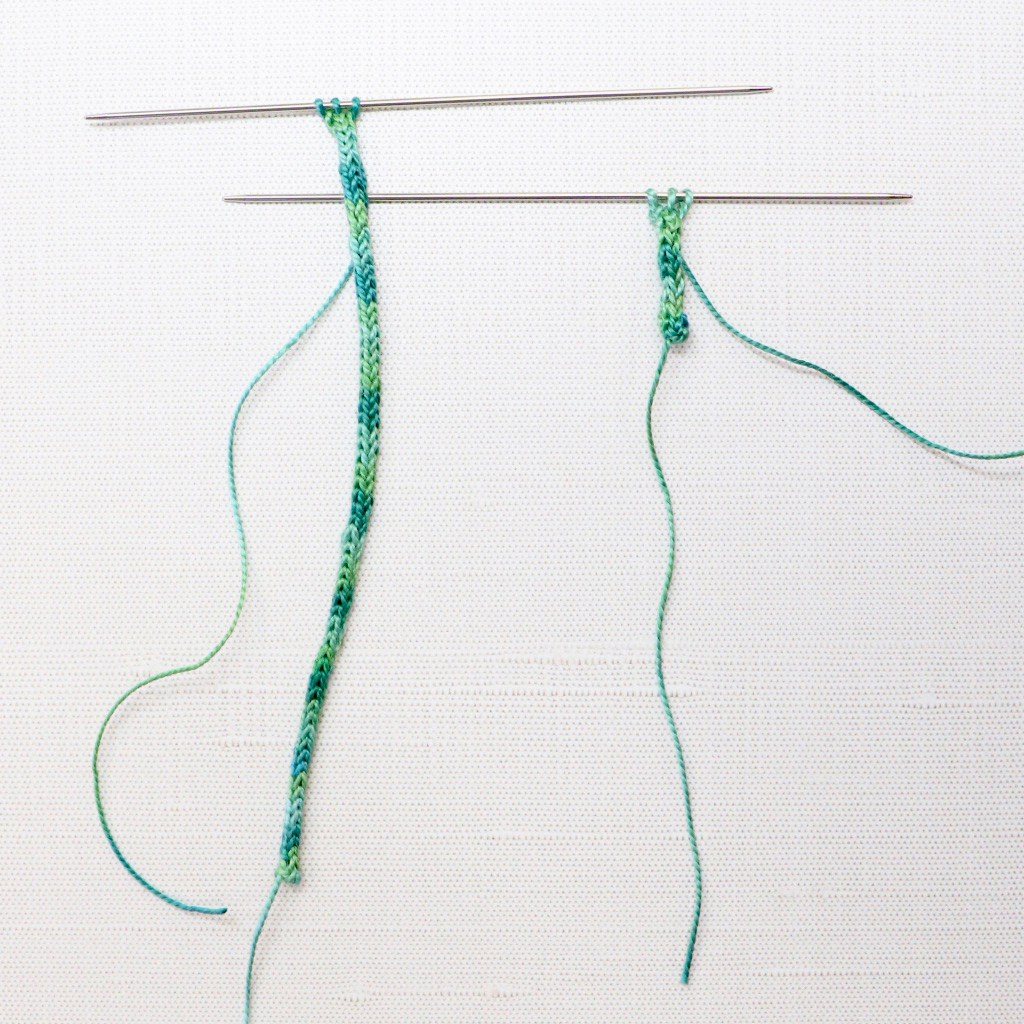
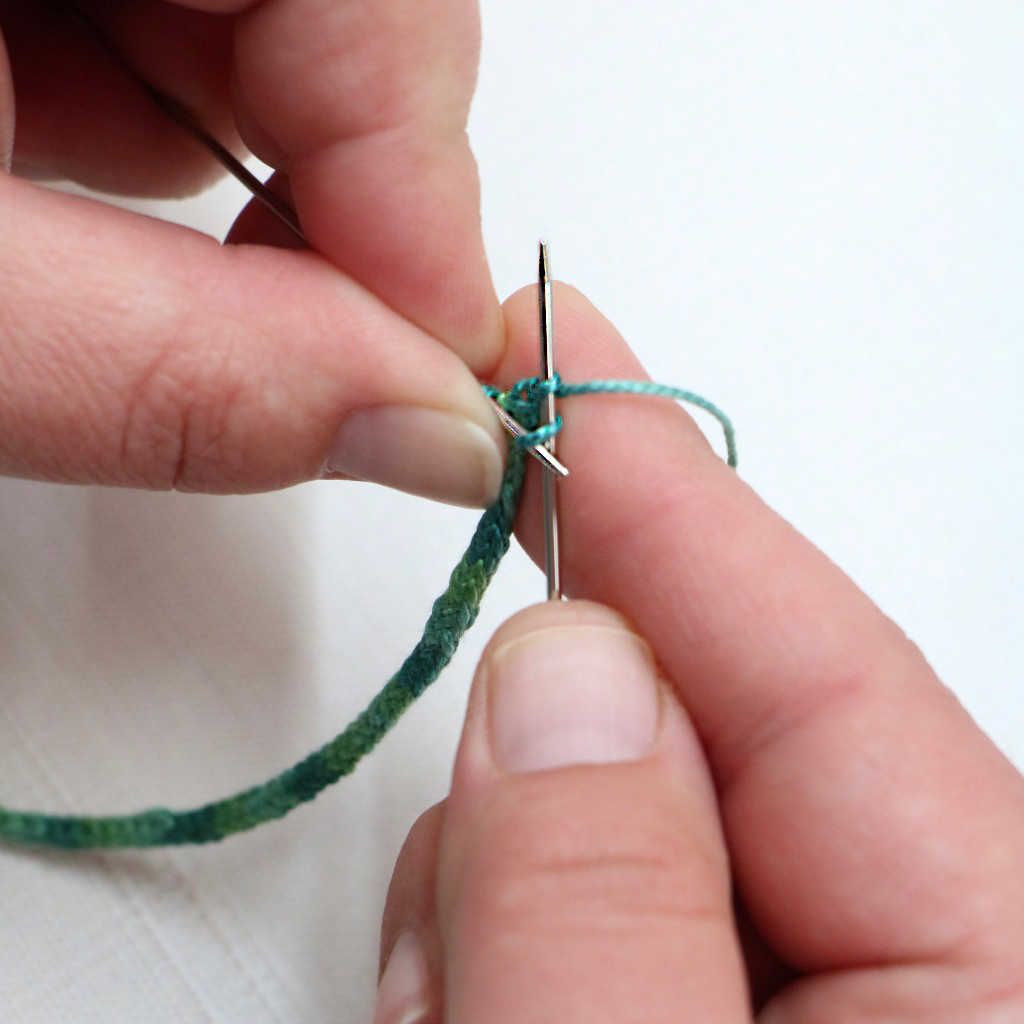
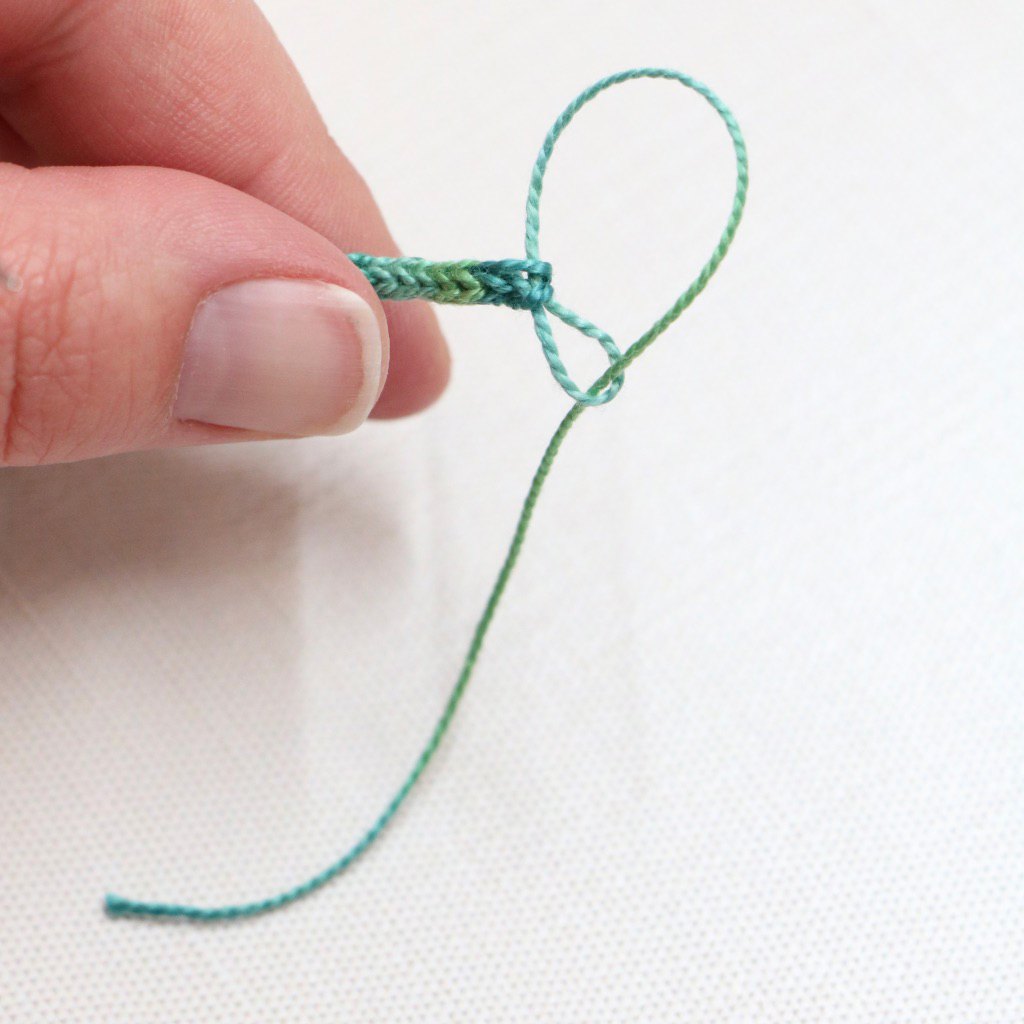
1) To create an I-Cord, you will need a pair of double-pointed knitting needles. We will begin by casting on 3 stitches. Start by making a loose slipknot. Slide one of your needles through the loop and gently pull on the thread and thread tail to tighten the knot. This will count as your first stitch.
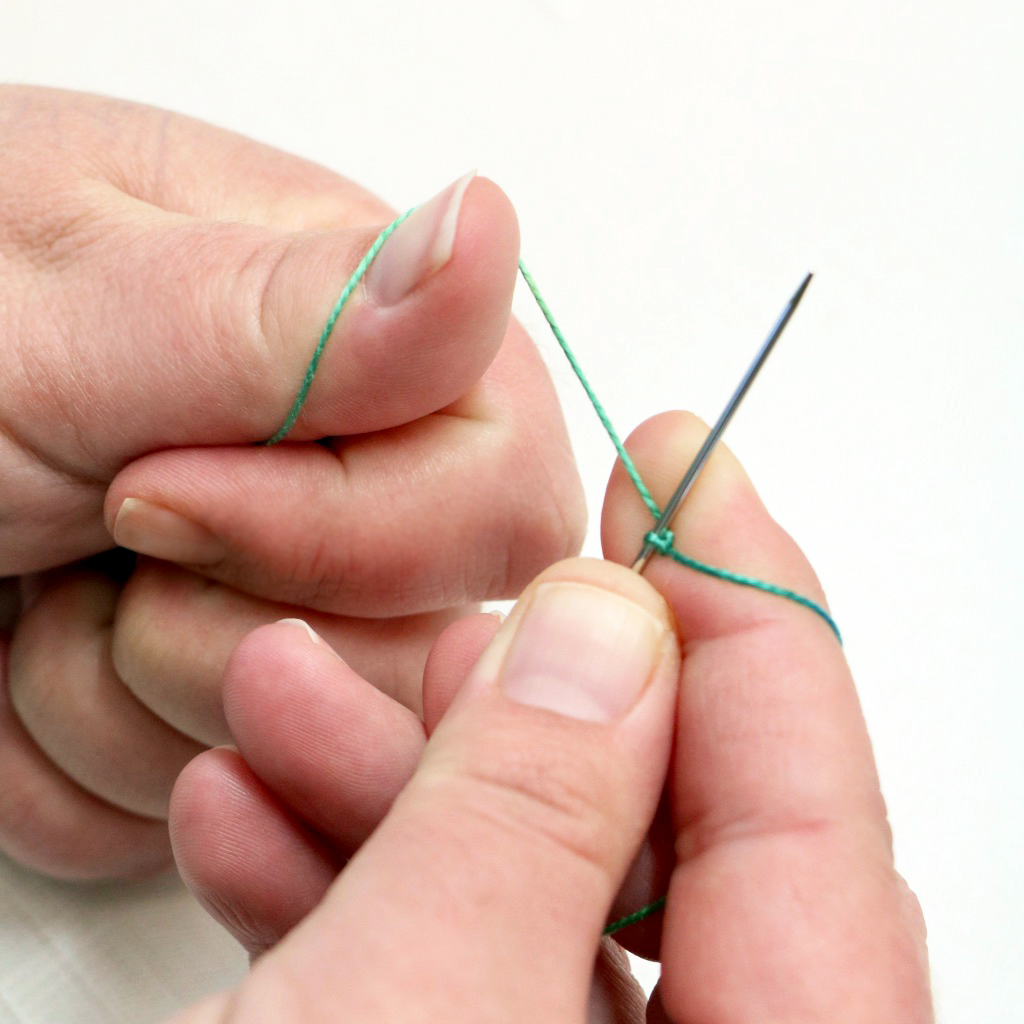
2) Holding the needle and the working thread in your right hand, take the tail over your left thumb.
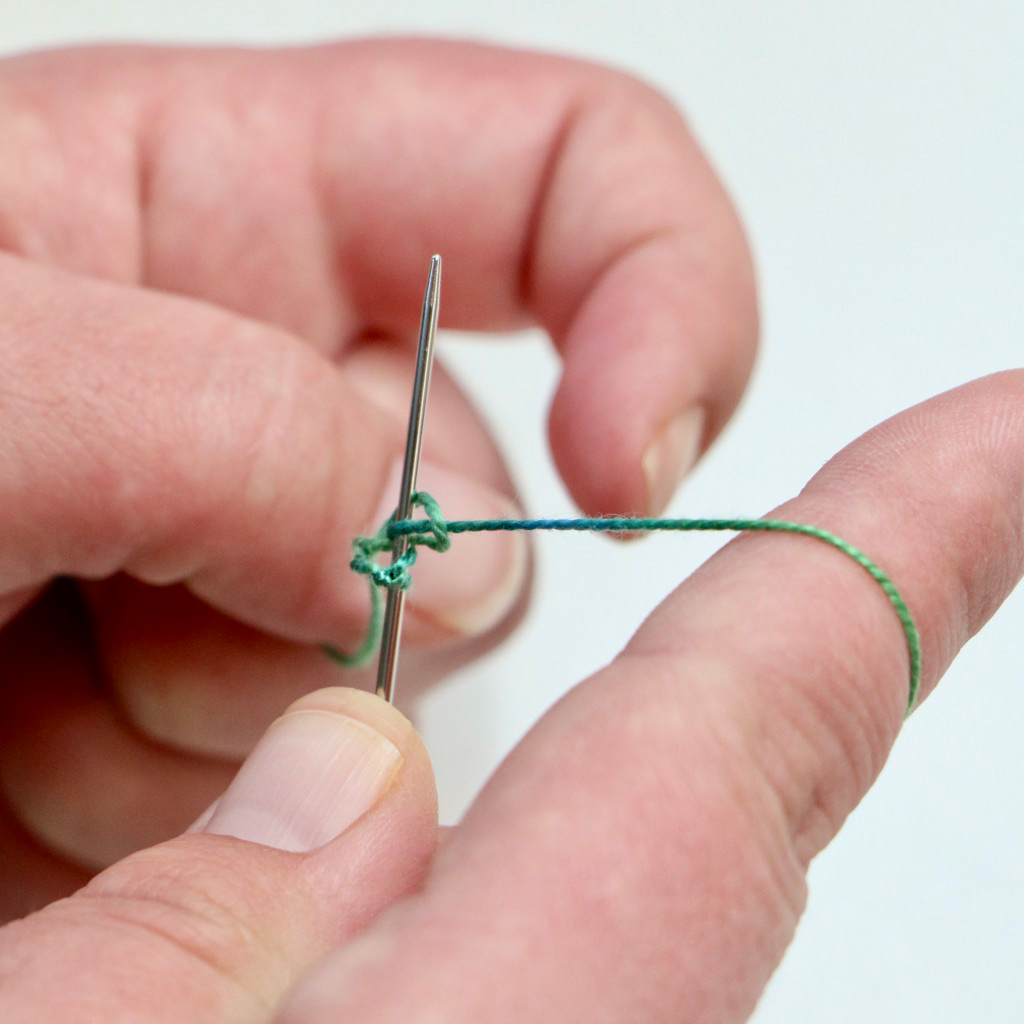
3) Slide the needle under the thread on your left thumb.
4) Take the working thread under and then over the needle.
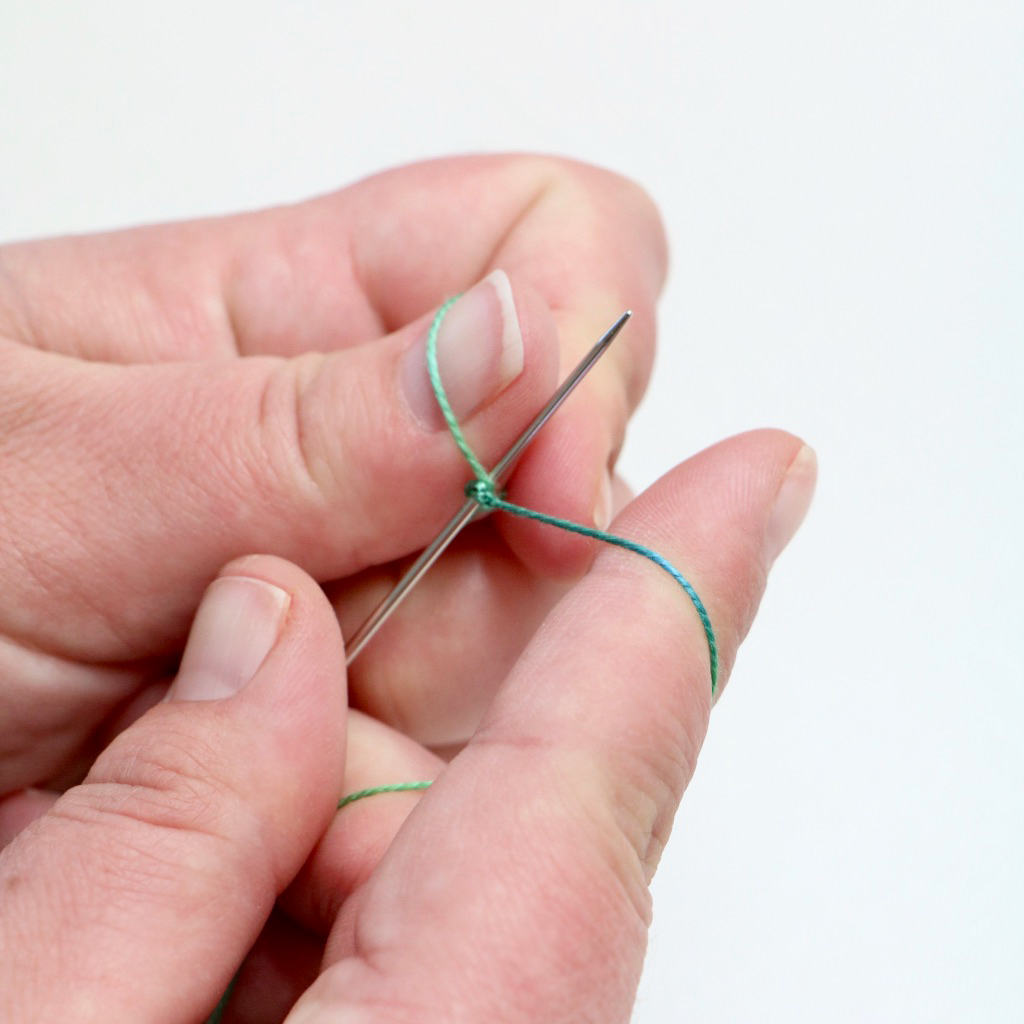
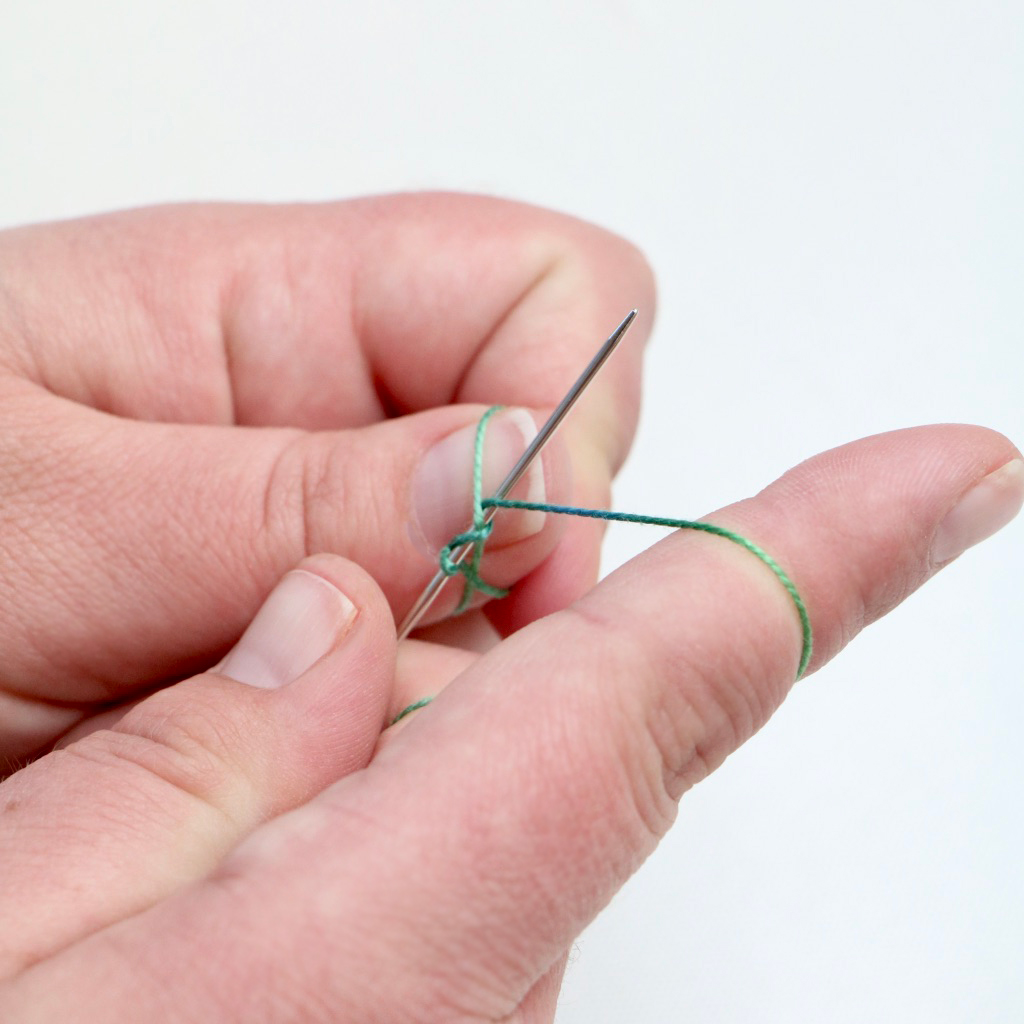
5) Take the needle up through the loop on your left thumb.
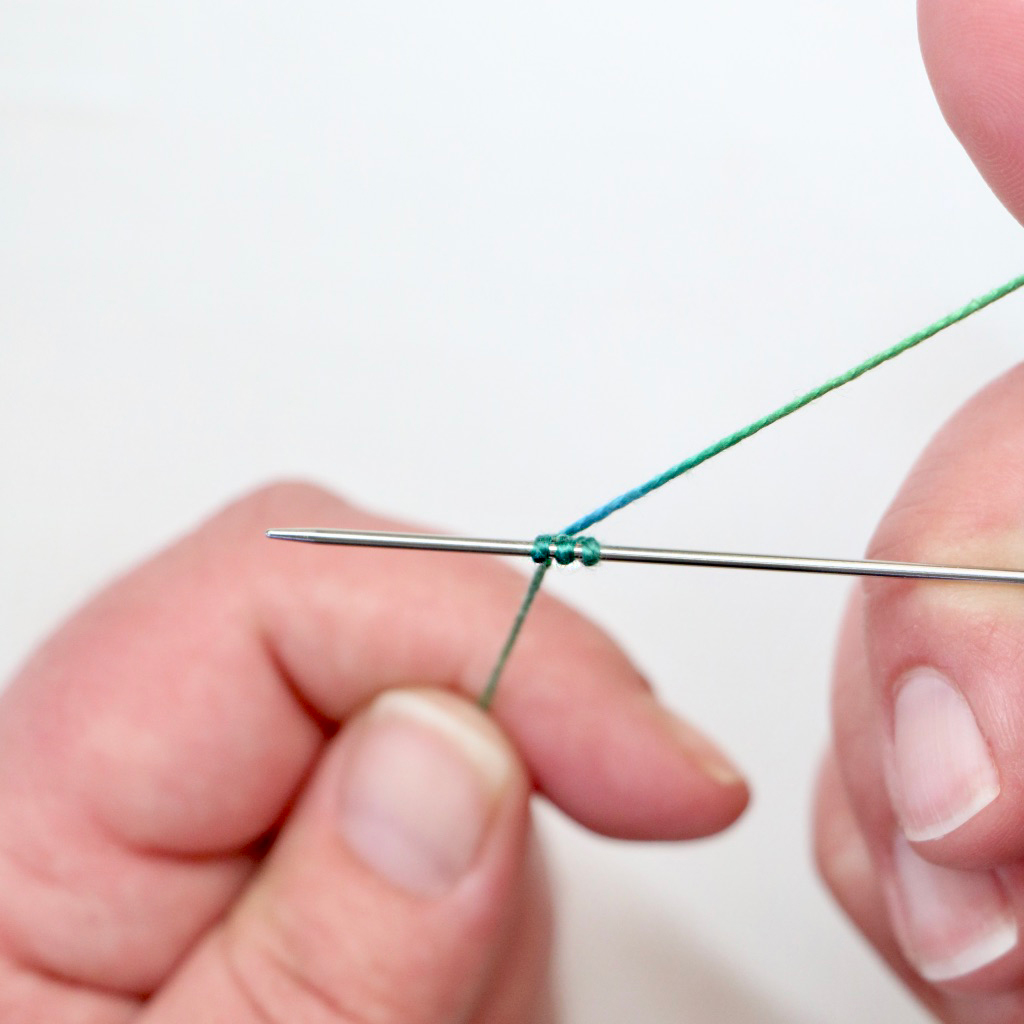
6) Slide the thread off your left finger, dropping the second stitch onto your needle. Tighten by pulling both emerging threads.
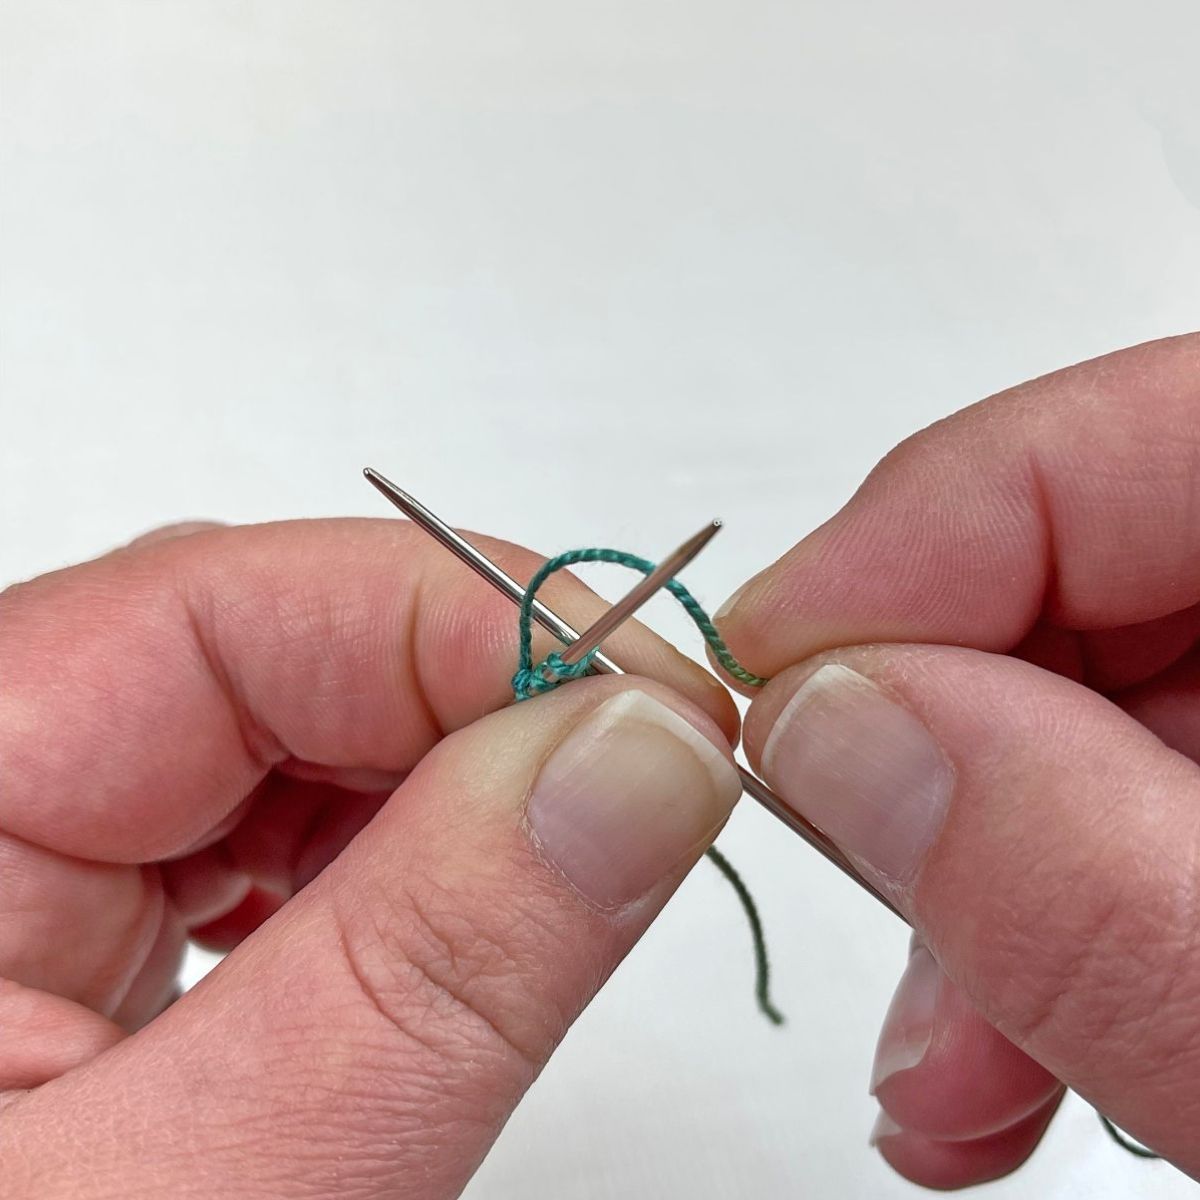
Repeat steps 2-6 to create the third stitch.
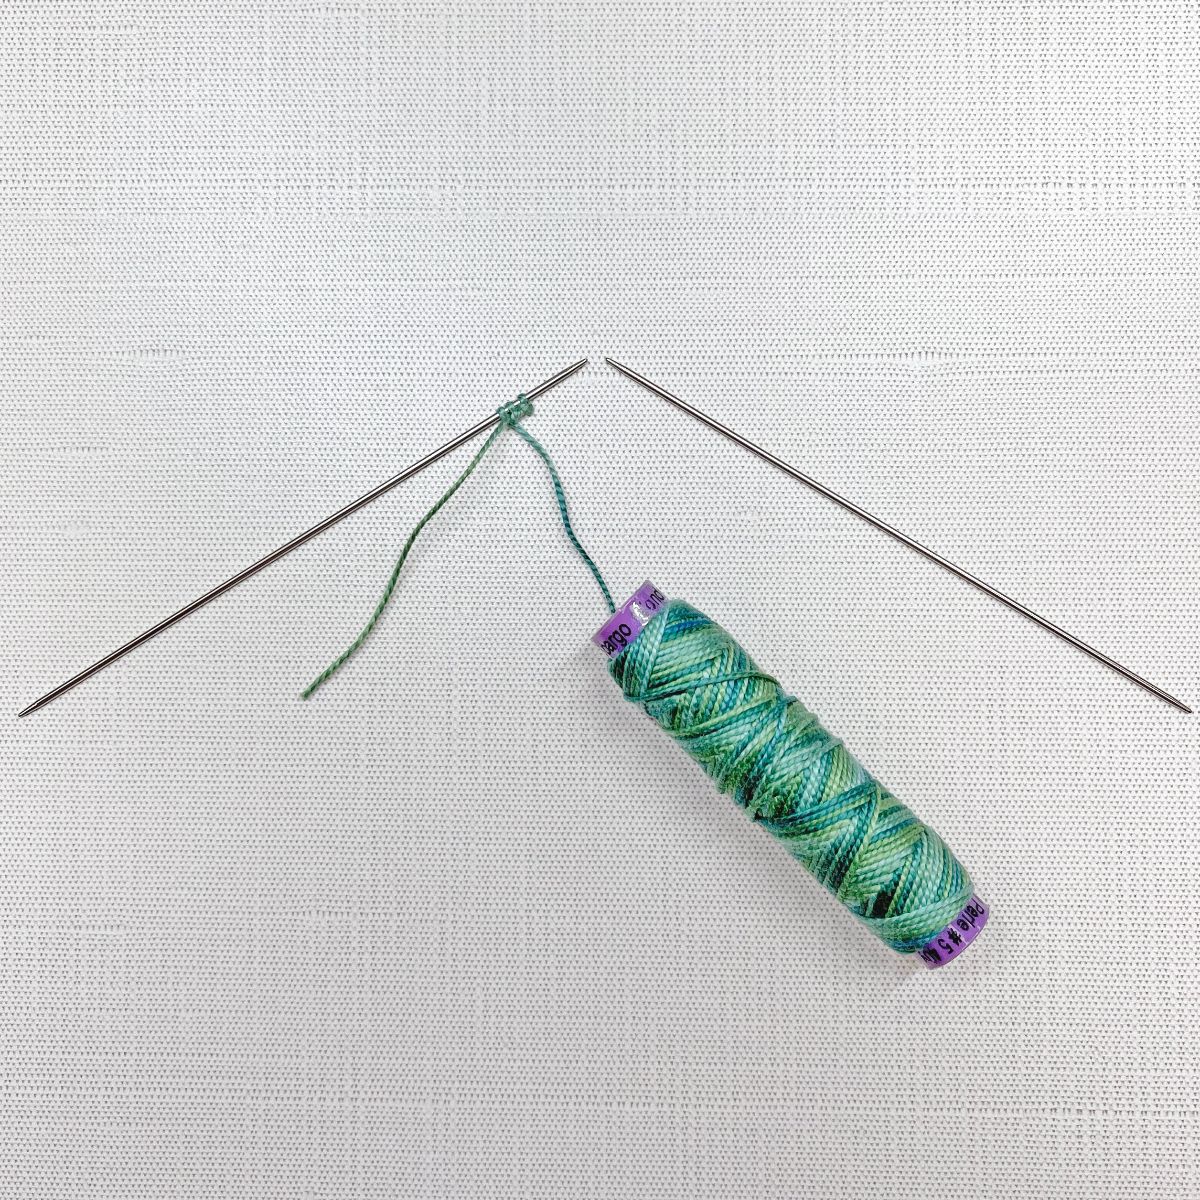
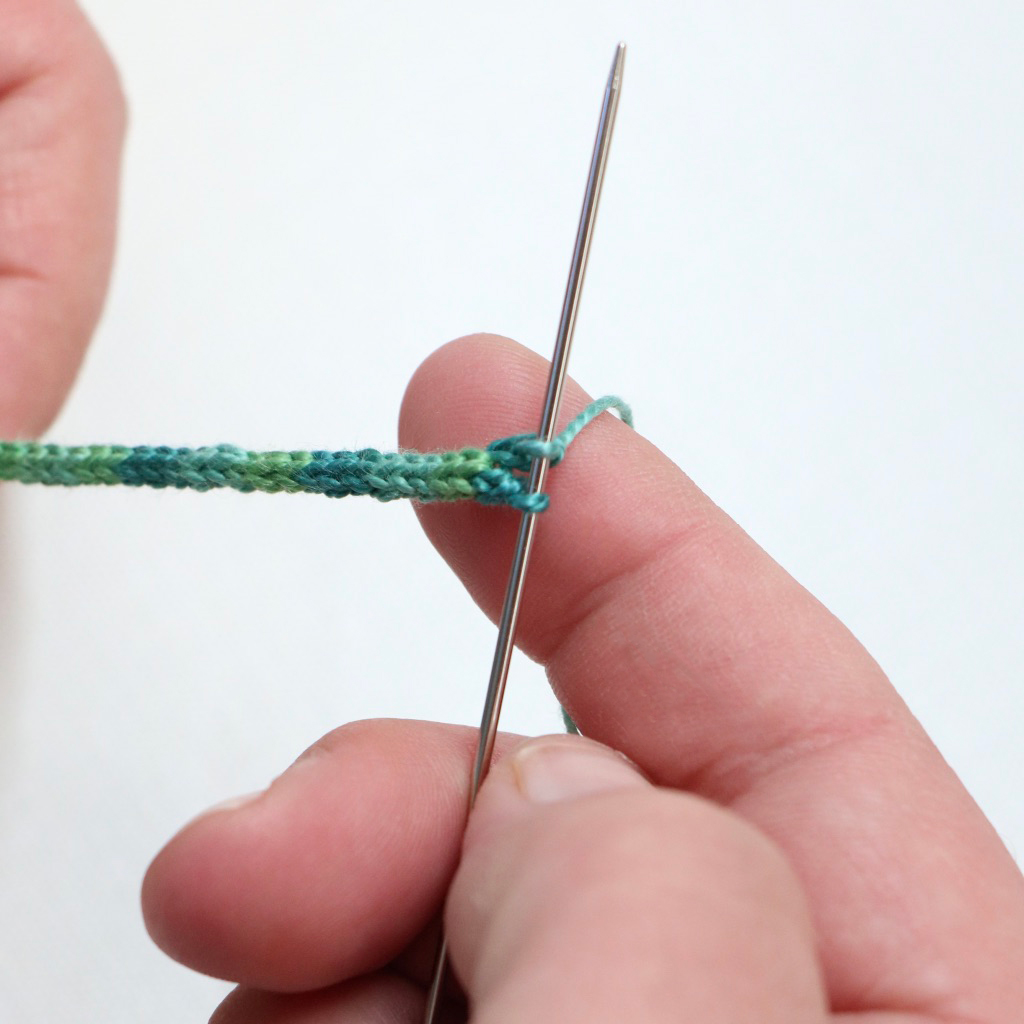
Slide the 3 stitches to the opposite end of your needle (left to right; do not turn your work). Refer to the image above.
Working The Basic Knit Stitch
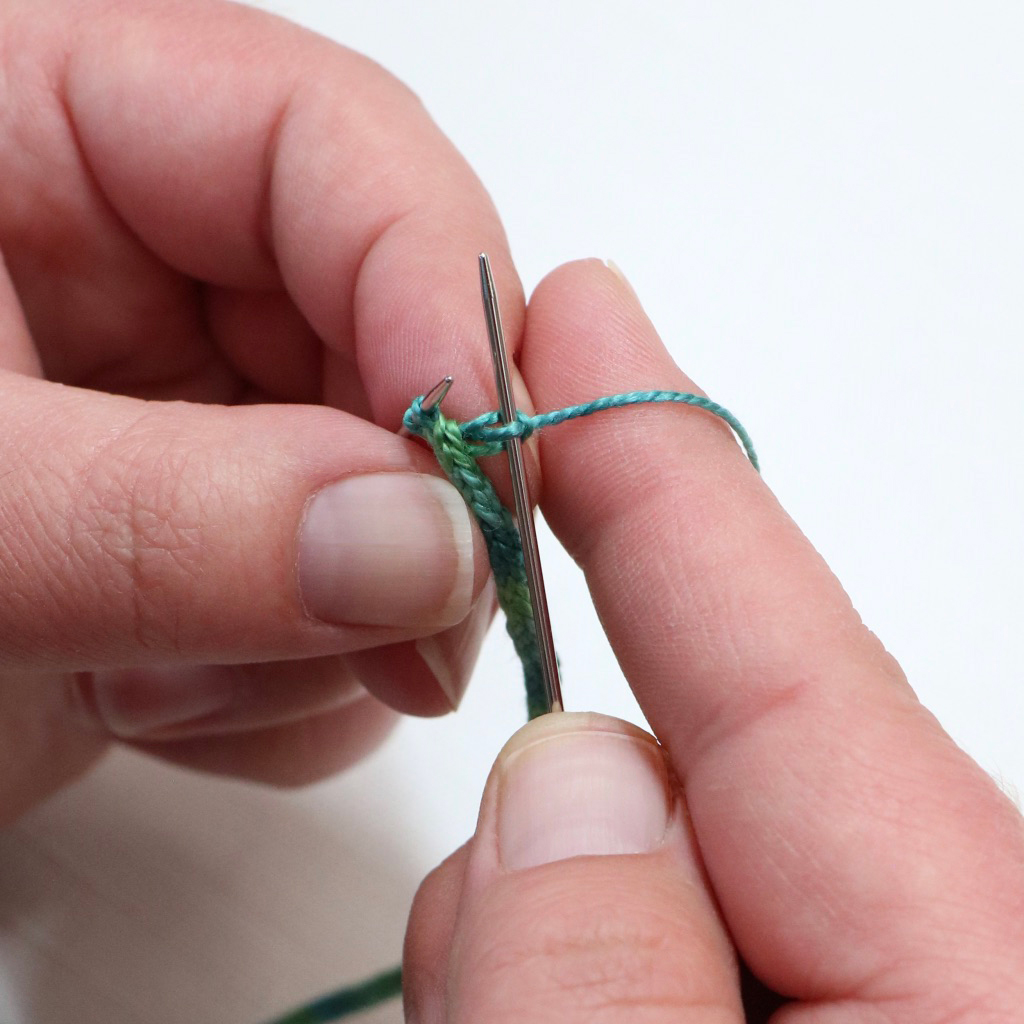
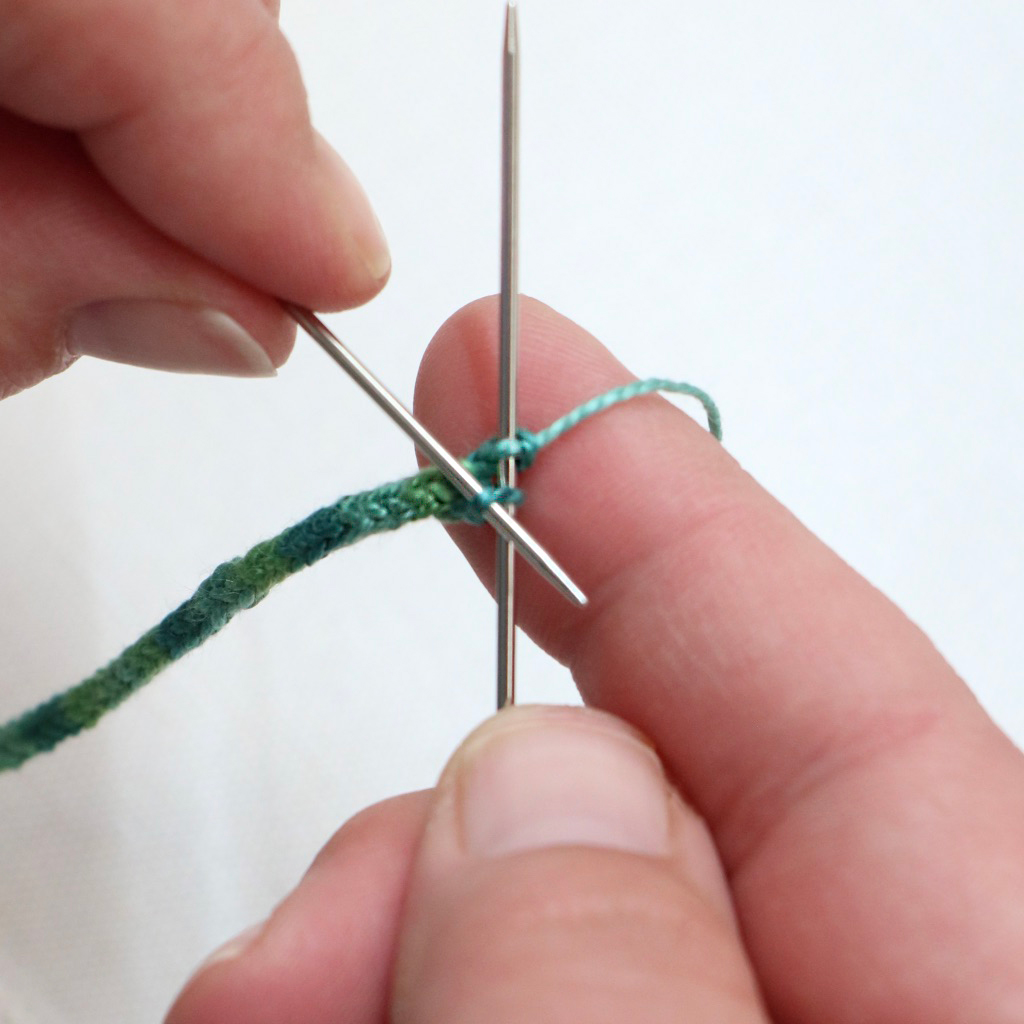
7) Holding the cast-on stitches in your left hand, slide the point of the right-hand needle into the first stitch, making sure the point is going from the front to the back of the stitch and that the working thread is hanging behind your work.
8) Take the working thread behind and over the right-hand needle, letting it settle into the 'V' formed by the two needles.
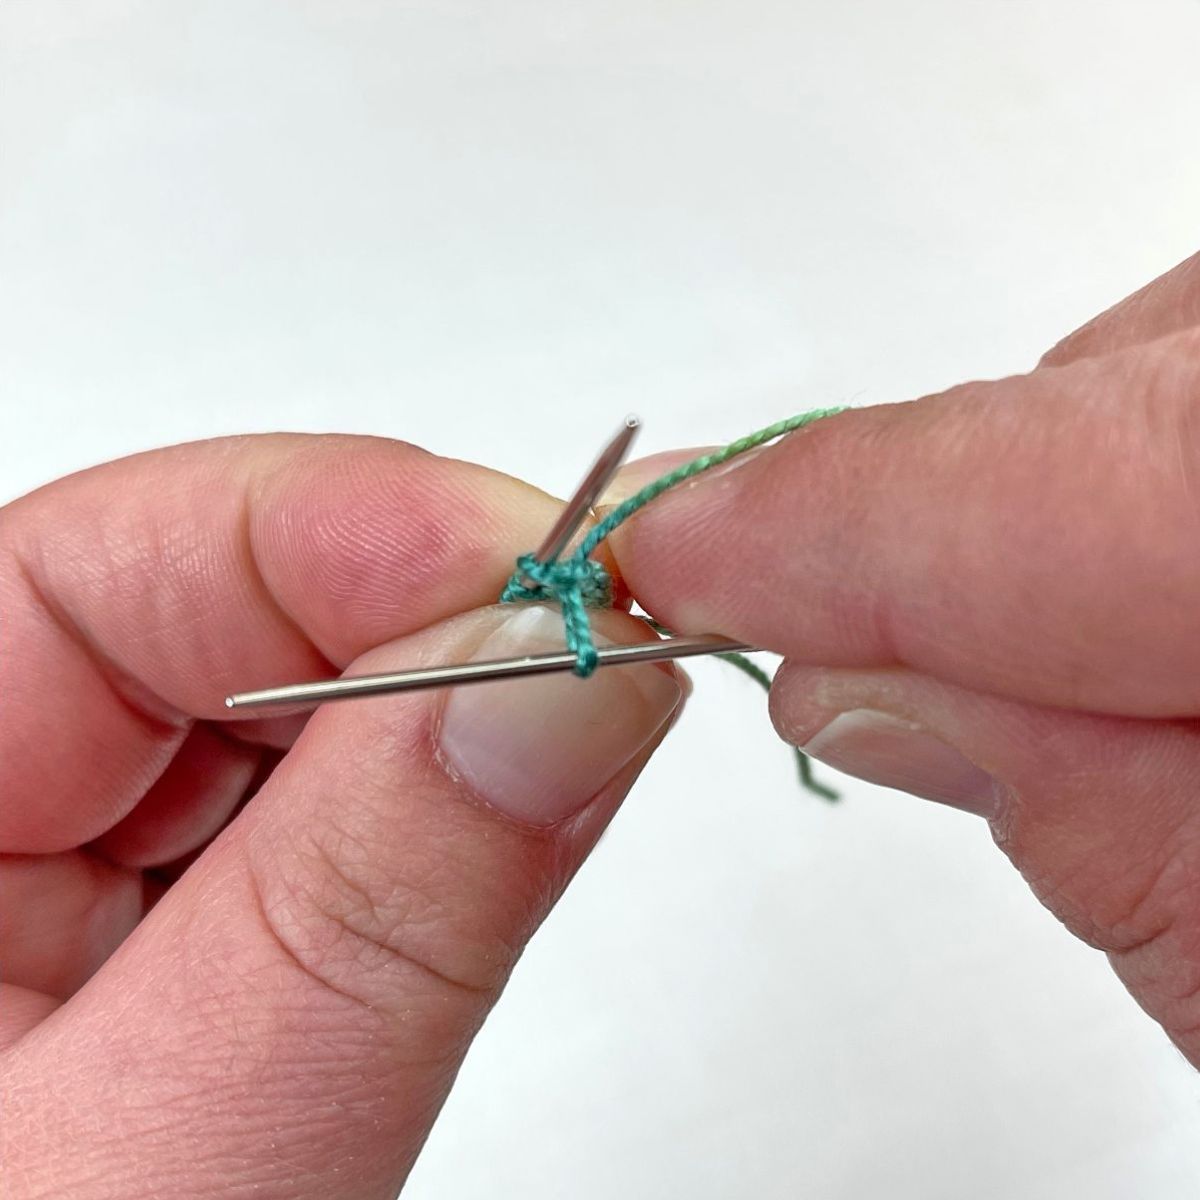
9) Using the right-hand needle, pull the thread through the loop on the left-hand needle of the first cast-on stitch and onto the right-hand needle.
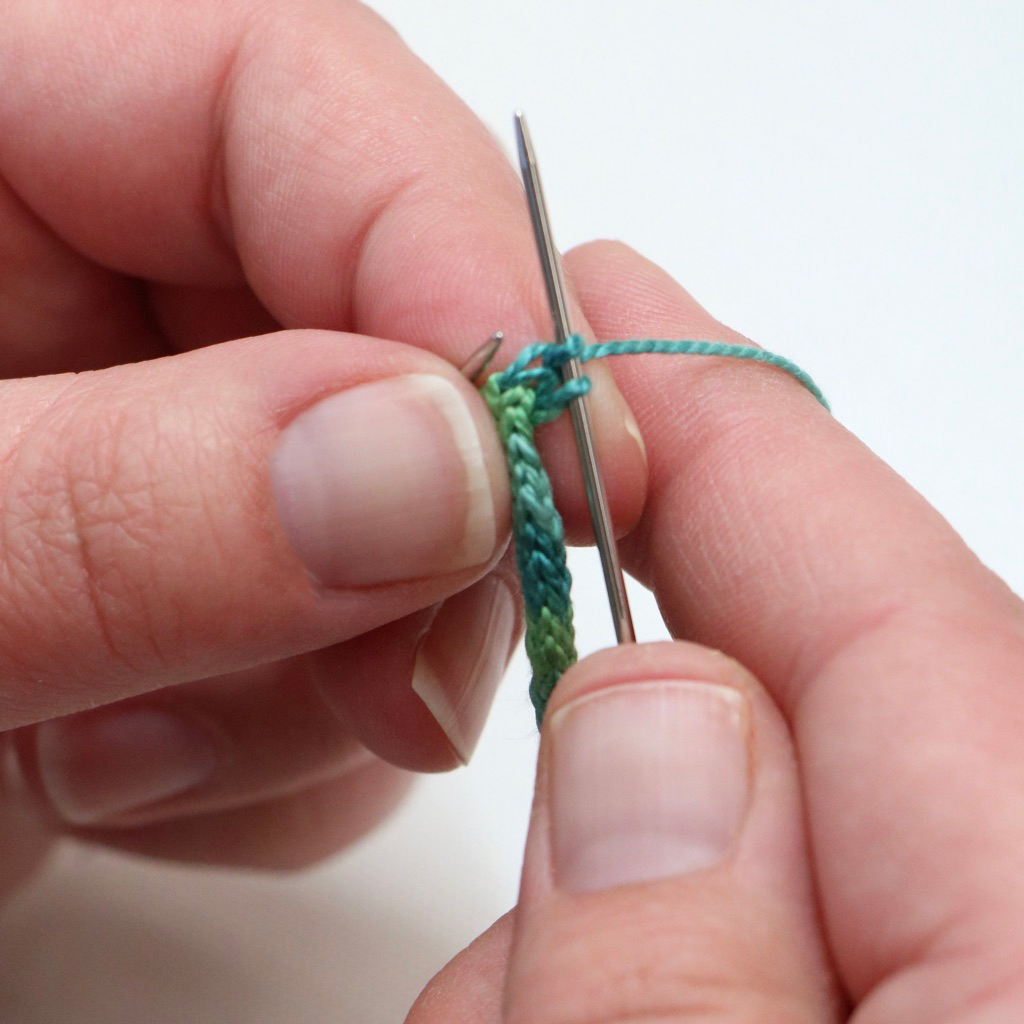
10) Repeat for the remaining stitches.
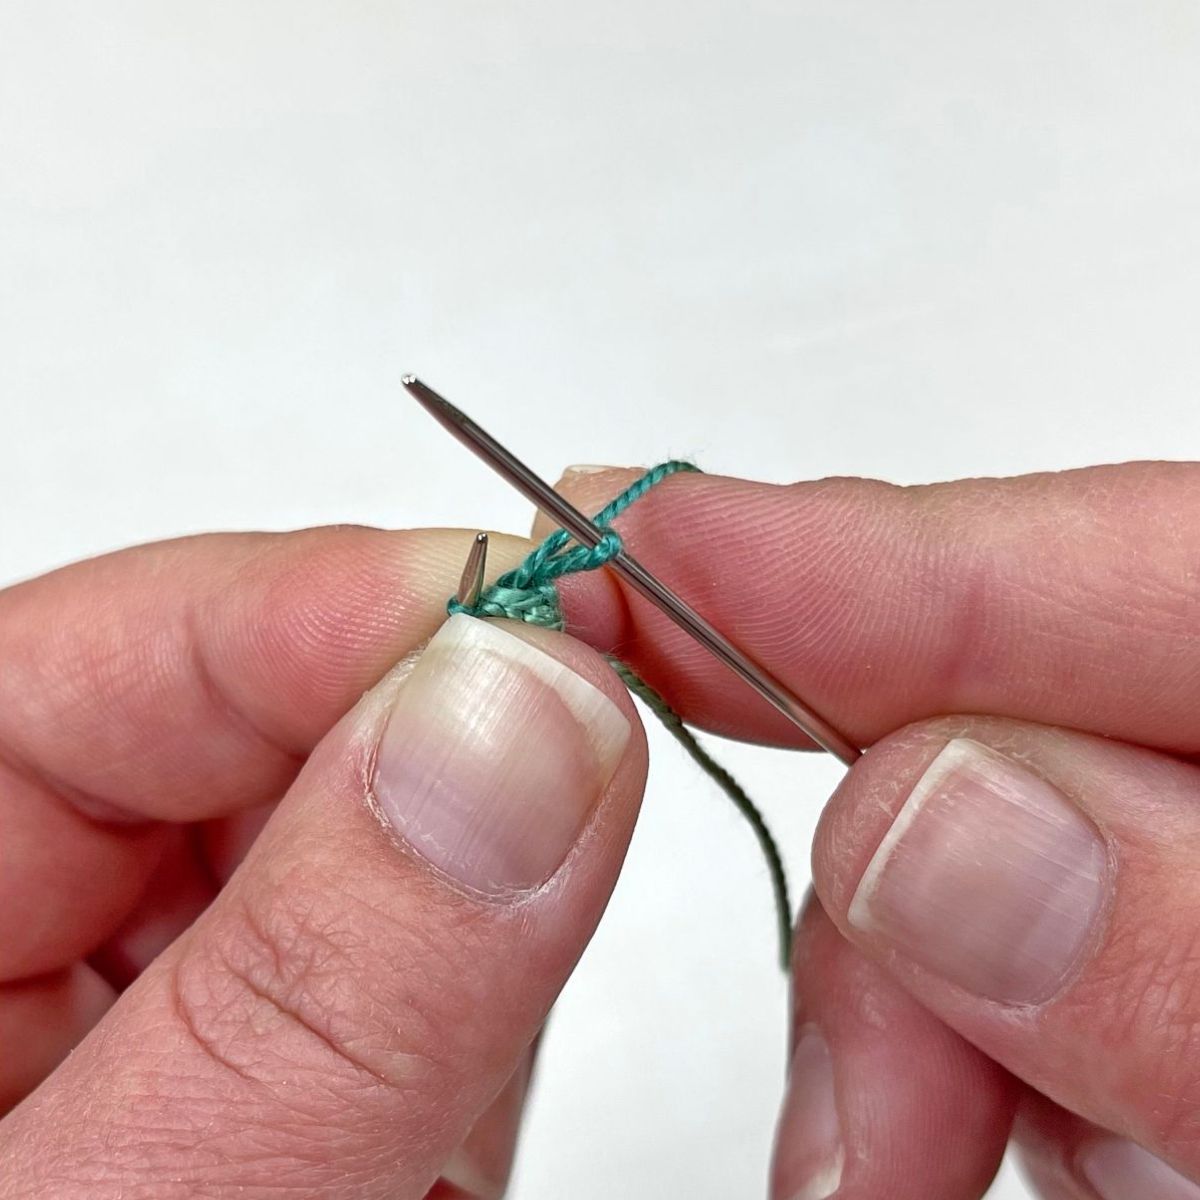
To start the next and subsequent rows, slide the stitches from the left end of your needle to the right and repeat steps 7-9.
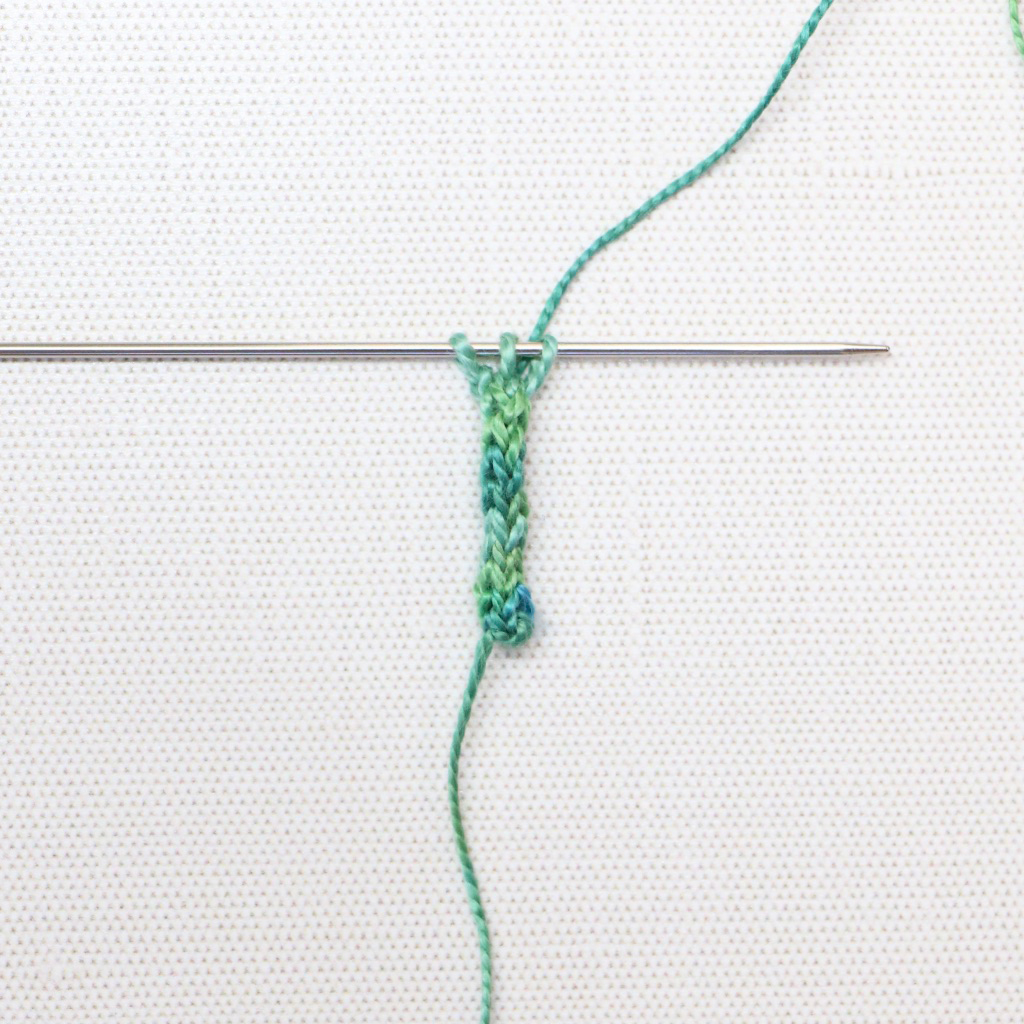
Continue in this manner until you reach the desired length.
Binding Off
To bind off, knit the first and second stitch. Insert the left needle tip into the first stitch on the right needle. Pass this stitch over the second stitch on the right needle.
Knit the third and final stitch. Pass the second stitch over the third.
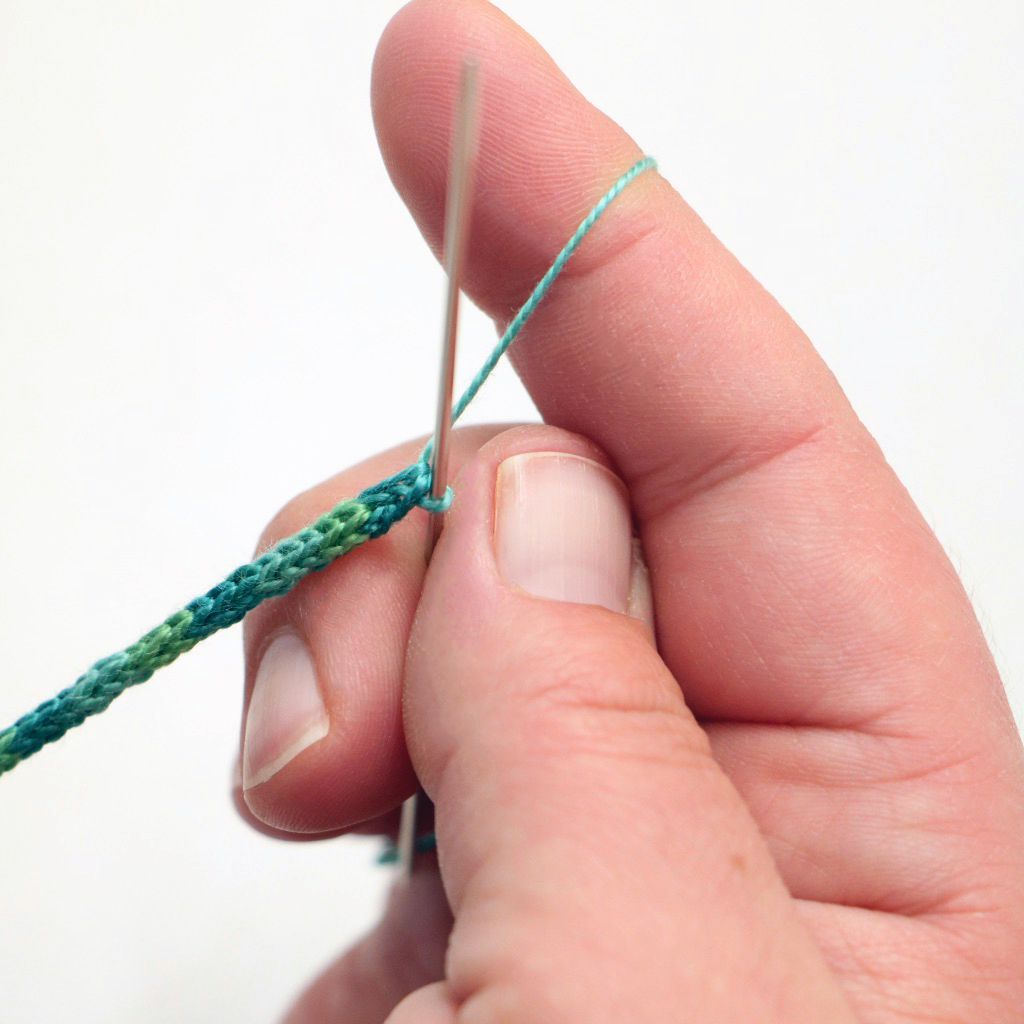
You will now have 1 remaining stitch on the right needle. Cut a tail approx. 6 inches and thread it through the final stitch. Pull the thread gently through the loop to finish. We tend to leave the tails attached, pulling them through to back of our work to anchor the cords. Alternatively you could use your tapestry needle to thread the ends through the cord to complete.

Voila, a completed I-Cord!
Samples
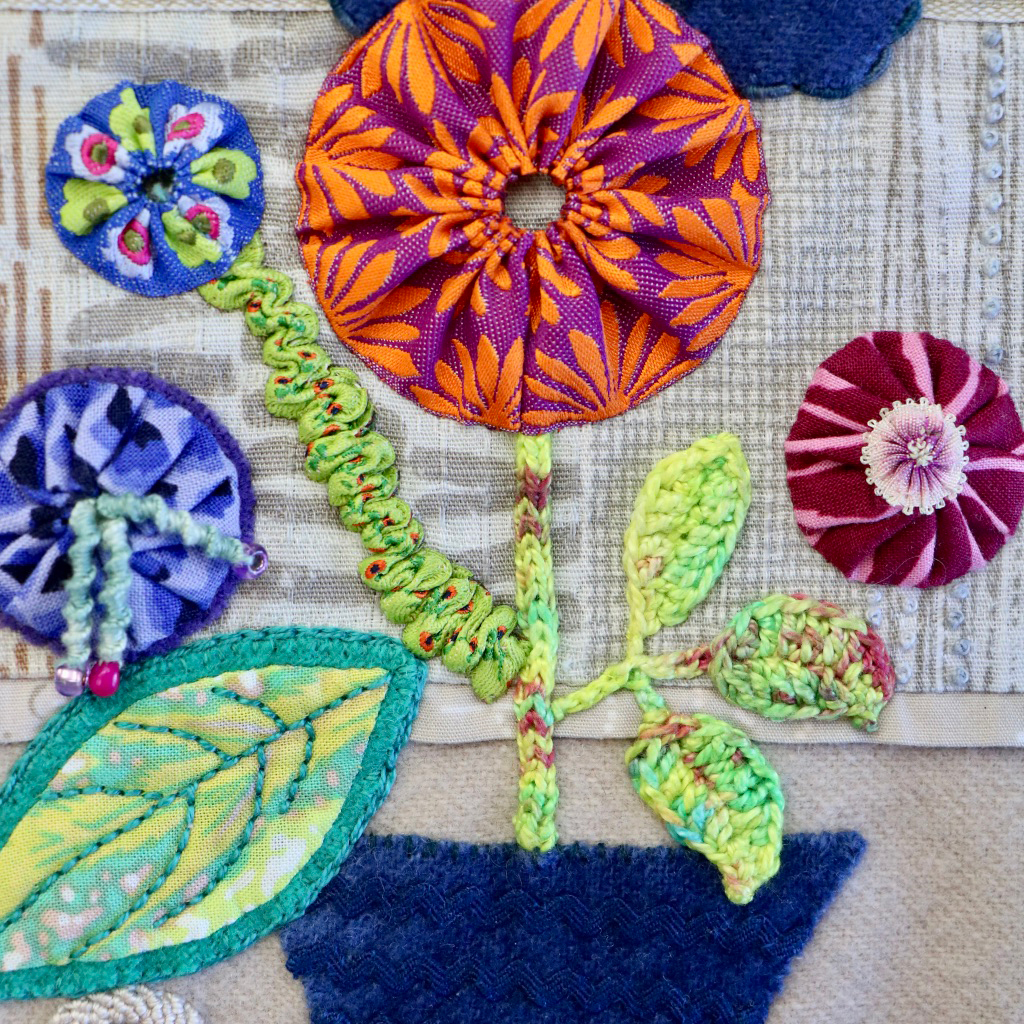
Above, we tacked down a textural I-Cord for a fun and funky stem!
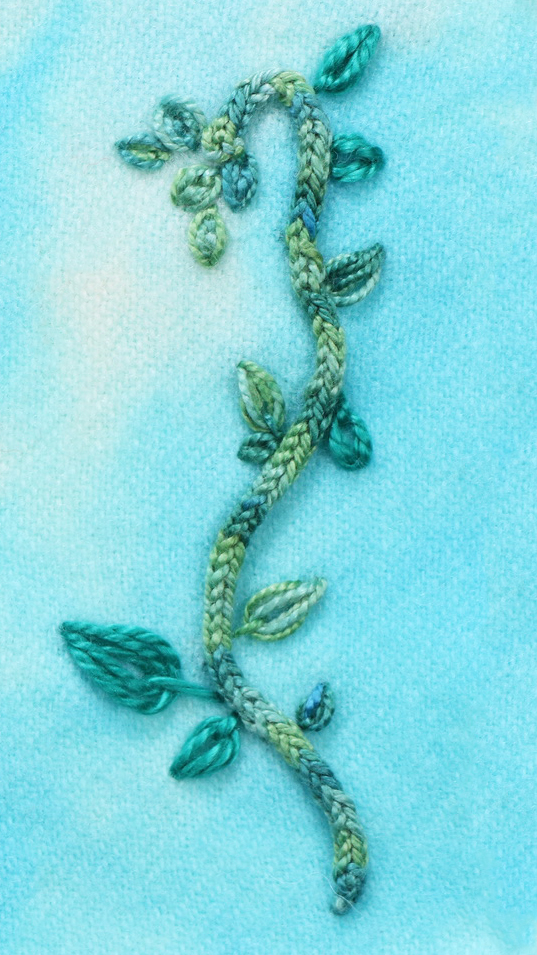
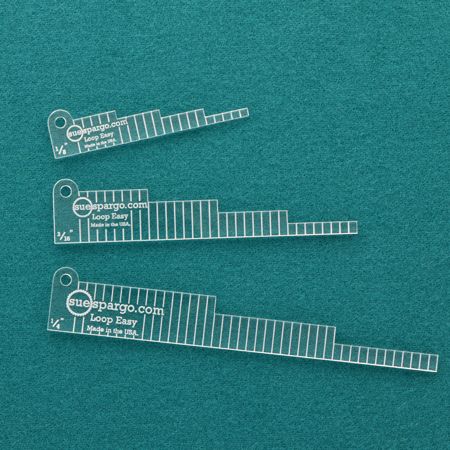
Using #5 EZM21 for the I-Cord, we stitched this sweet yet practical vine. We created the leaves using our Loop Easy Creative Stitching Tool, #5 EZM21 and #3 EZ36.
Create