Foundation Paper Piecing is a form of patchwork that first became popular in 18th-century England. Not to be confused with English Paper Piecing (see EPP Hexi Tutorial and EPP Cone Tutorial), Foundation Paper Piecing utilizes patterns printed on paper. You sew directly through the paper and later tear the paper away along the perforated sewn lines. It's so easy, and nothing compares to the accuracy and perfect points achieved with FPP!
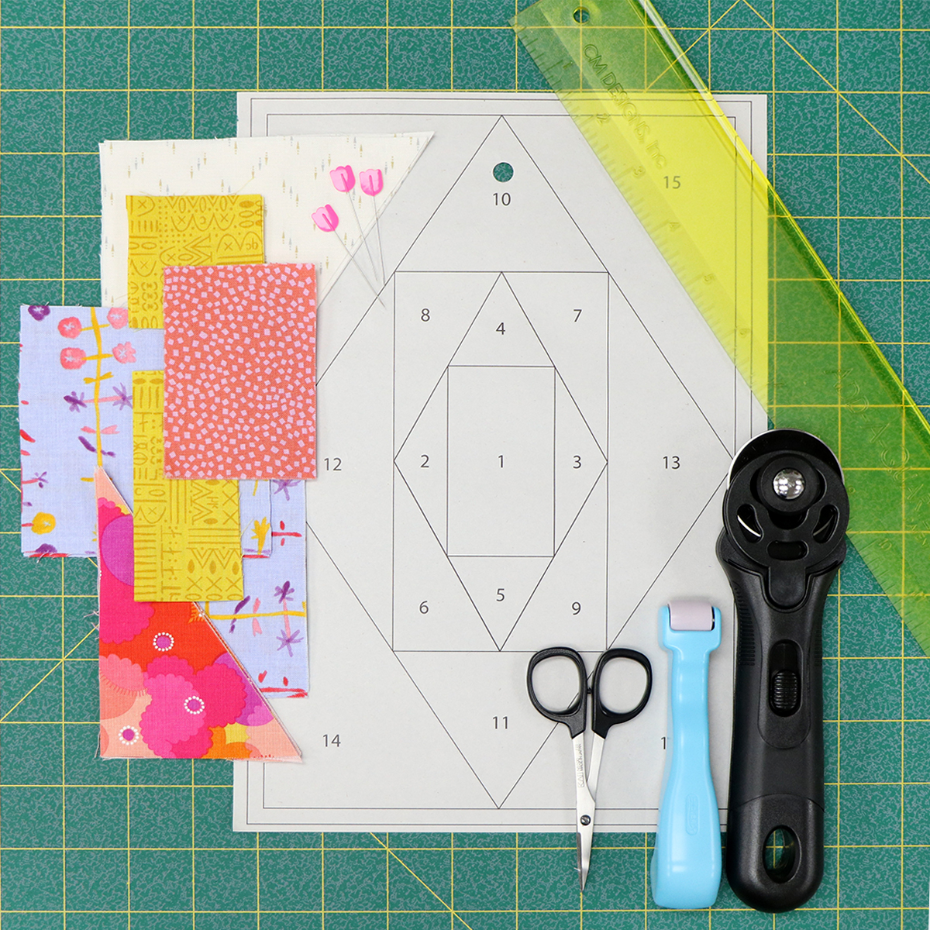
Supplies
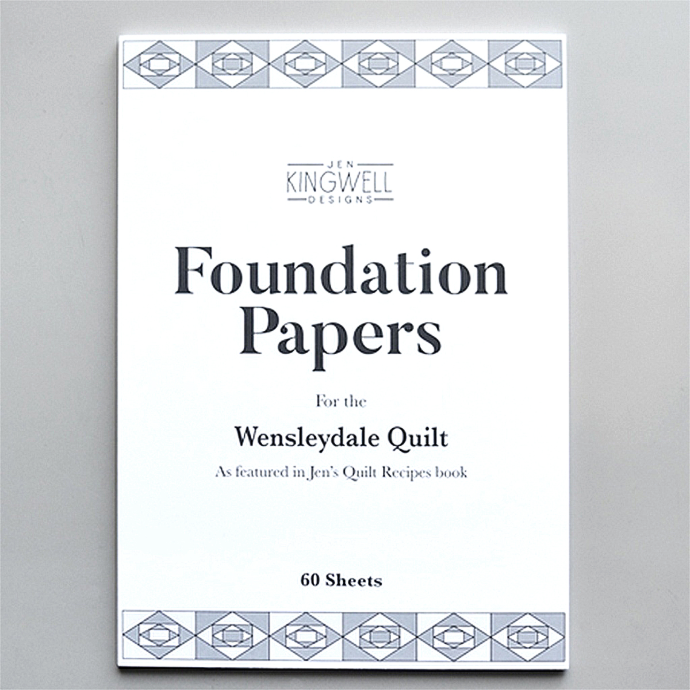
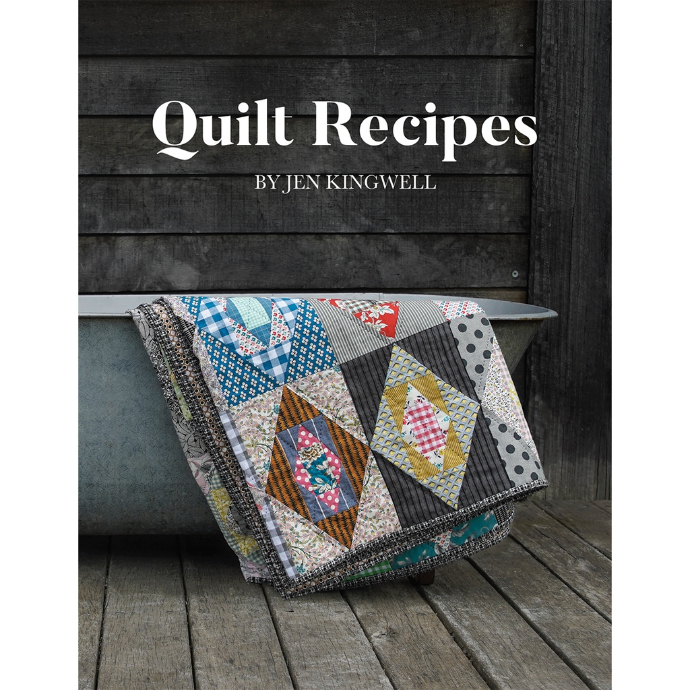
For this tutorial, we are using Jen Kingwell's Wensleydale Foundation Papers.
We also used the following supplies:
- Daylight Wafer Lightbox or Daylight Wafer Lightpad
- TULIP Cellulose-Head Pins (Pink Thin or Yellow Regular)
- Roll and Press
- 45mm Rotary Cutter, Midnight Edition
- Oliso Mini Iron with Trivet
- Wool Pressing Mat
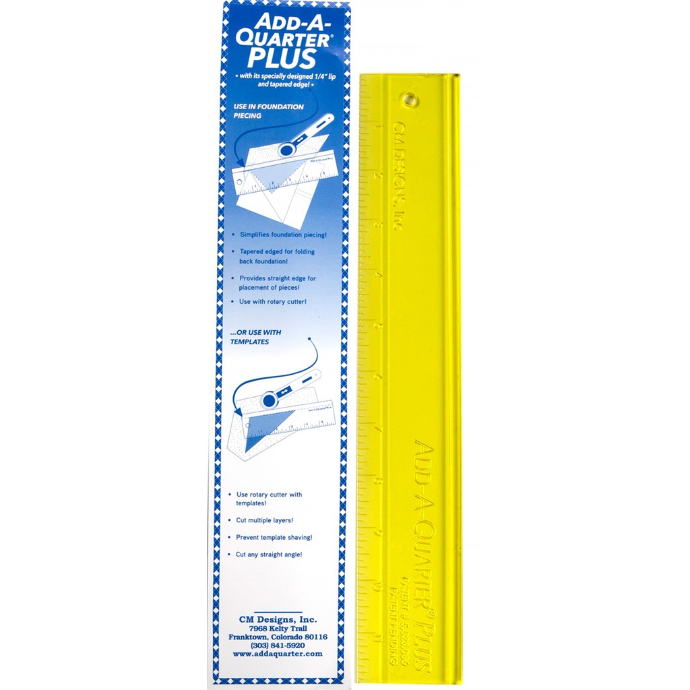
- Add A-Quarter Ruler 12" Plus
- Kai 4" Curved Scissors
- Cutting Mat
- Sewing Machine
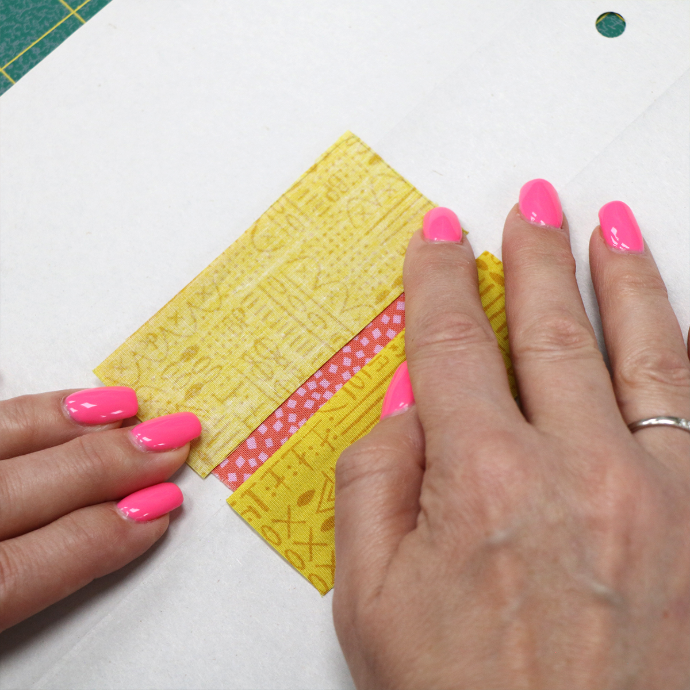
Fabric Pieces
To reduce fabric waste, we precut our fabric pieces with a minimum of a 1/4" seam allowance all around; however, the beauty of Foundation Paper Piecing is that you don't have to precut your fabrics. You can use scraps of fabric as long as they are larger than the shape they need to cover, including a seam allowance. Using scrappy, irregular shapes of fabric is not a problem at all! Be sure to remember to trim the excess fabric away (adding a 1/4") and press between each step.
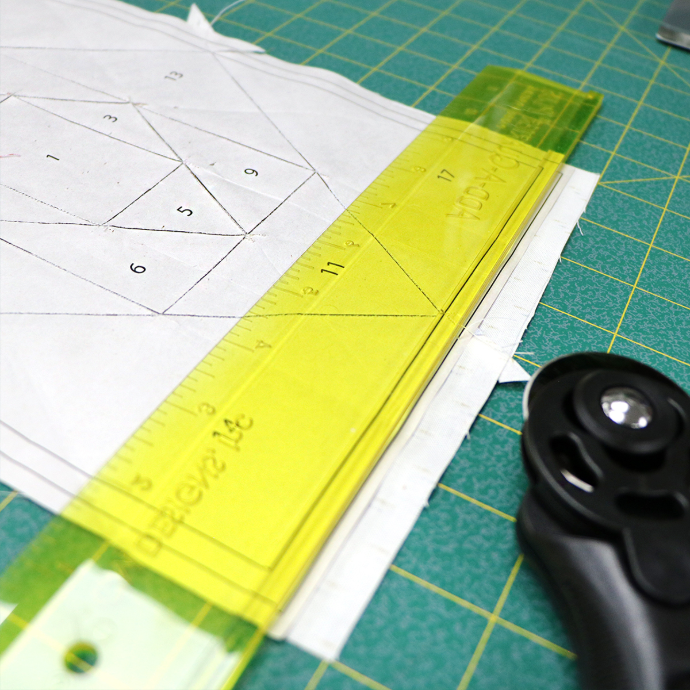
As Easy as 1-2-3 and T-S-P!
Foundation papers are numbered for you, so it makes it easy to piece fabric together one step at a time. The abbreviation for a teaspoon, TSP, can help you remember the repeating process used in Foundation Paper Piecing: trim, sew, press!
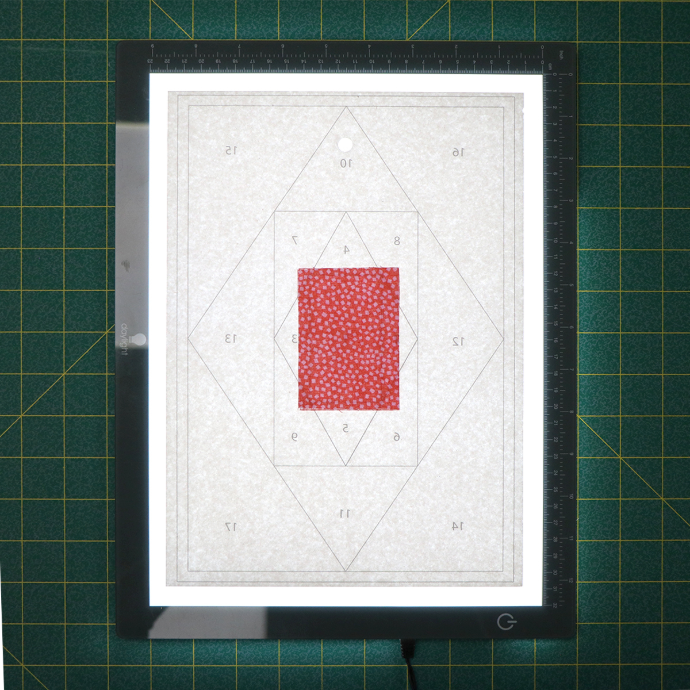
#1
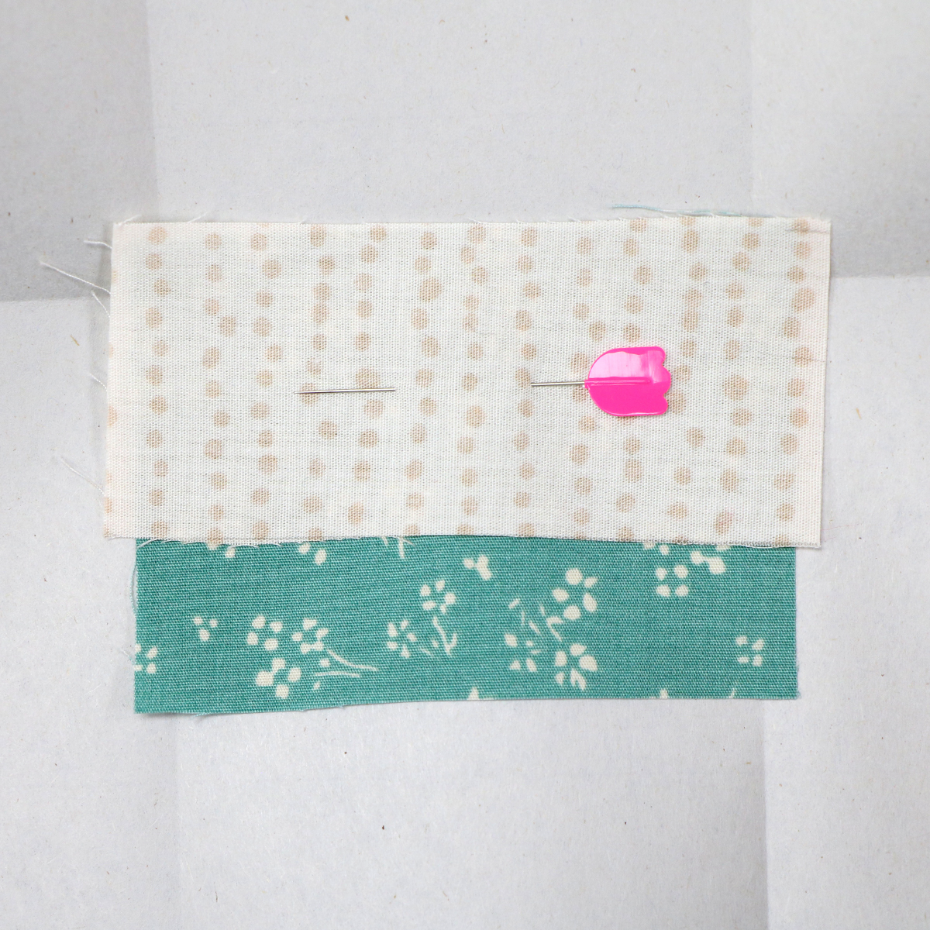
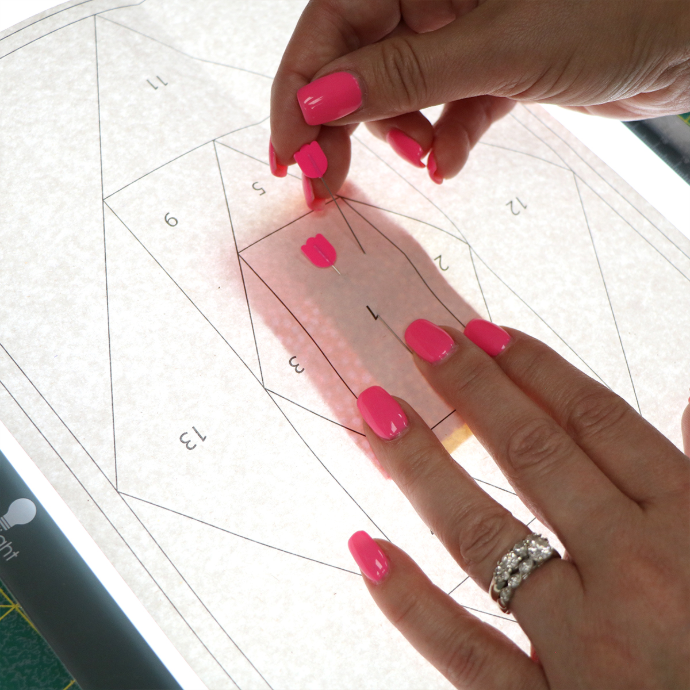
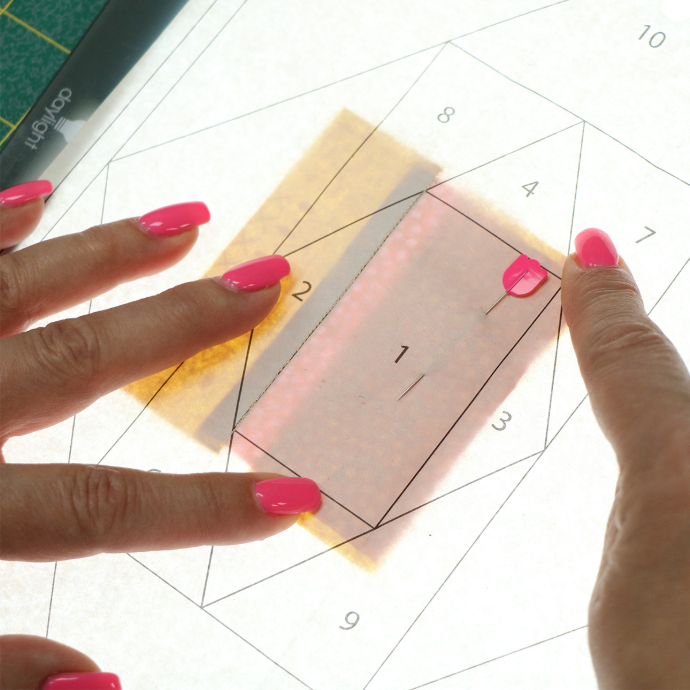
Place fabric piece #1 right-side up on the back side (non-printed side) of your foundation paper. (Note: Piece #1 will be the only fabric piece placed right side up.) Use a light box or hold the paper against a window to help you position fabric piece #1 so that it completely covers the #1 area.
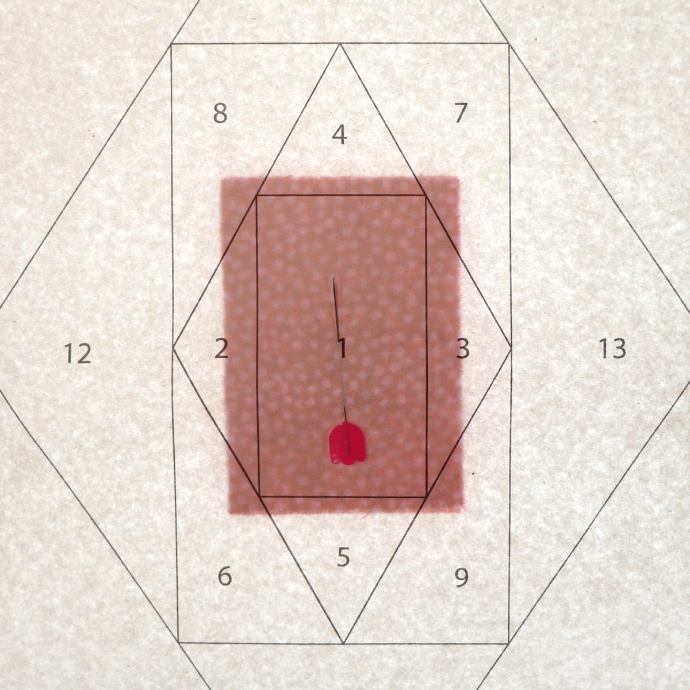
Flip the paper over while holding the fabric in place, and pin on the front side. (Tip: Flat head pins are a must!) Pinning on the light box is helpful because it allows you to make sure the fabric is correctly positioned on the back. Be sure to pin parallel to the direction you will sew. The first seam to be sewn will be between areas #1 and #2.
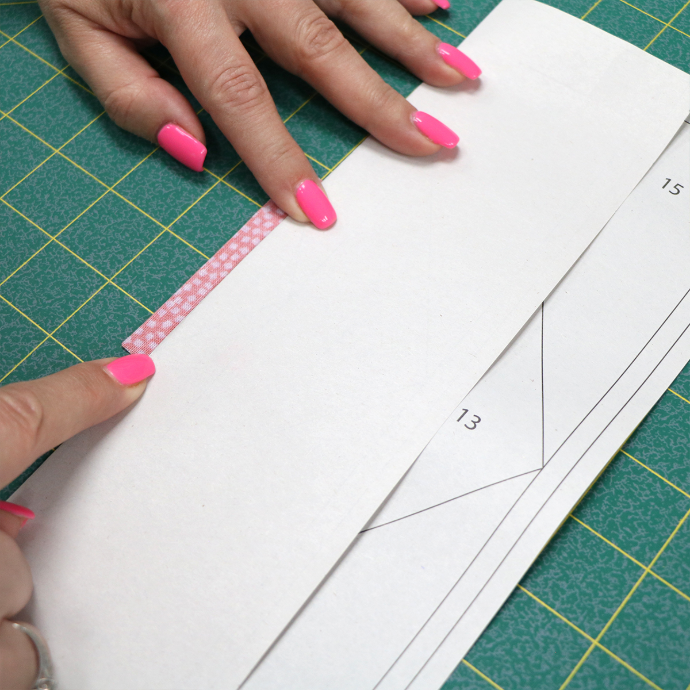
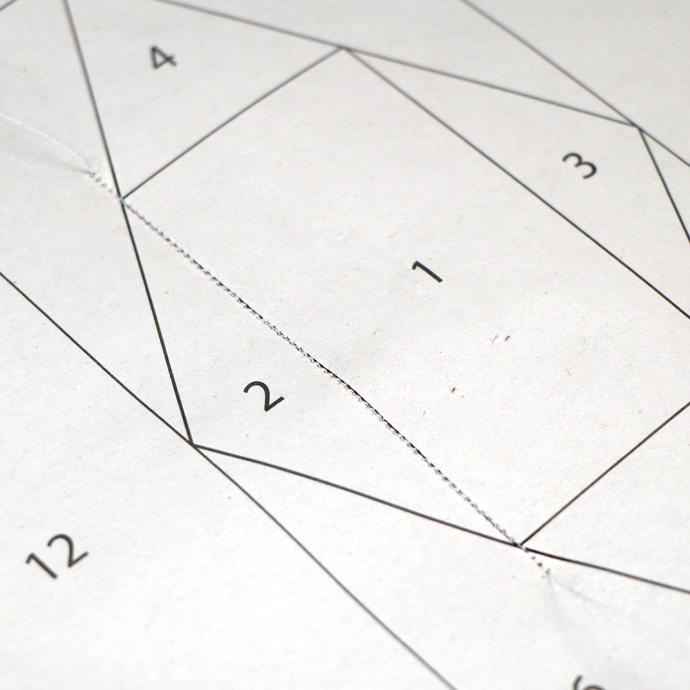
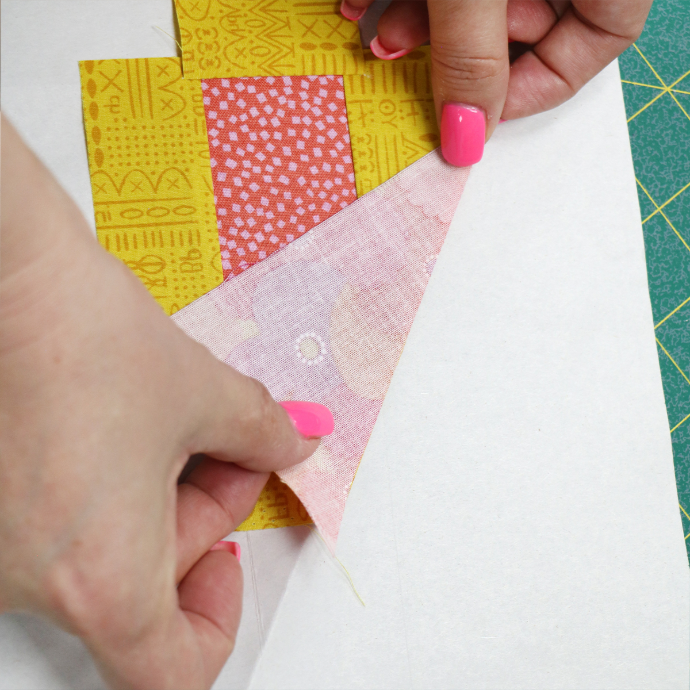
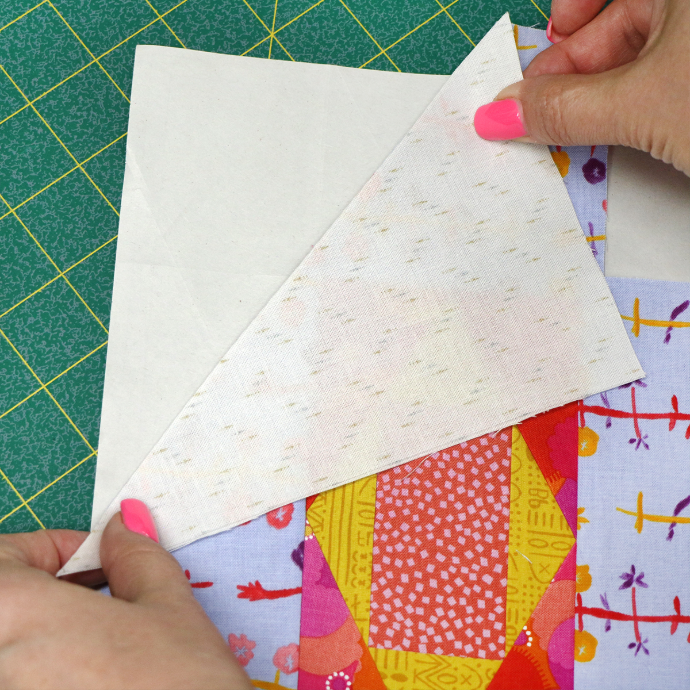
Folding as an Alternative to Back Lighting
In the example above, you can see how folding the foundation paper on the front-side printed lines can provide guidelines on the back side for placing fabric.
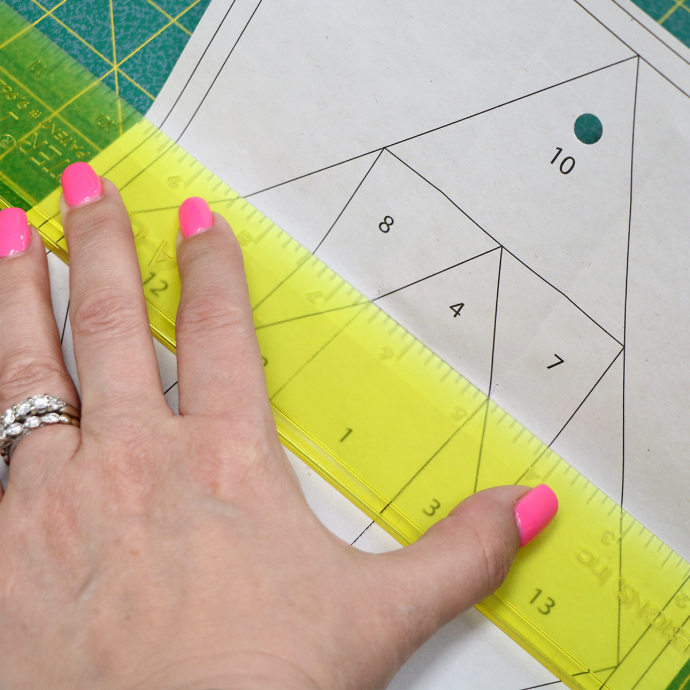
TRIM
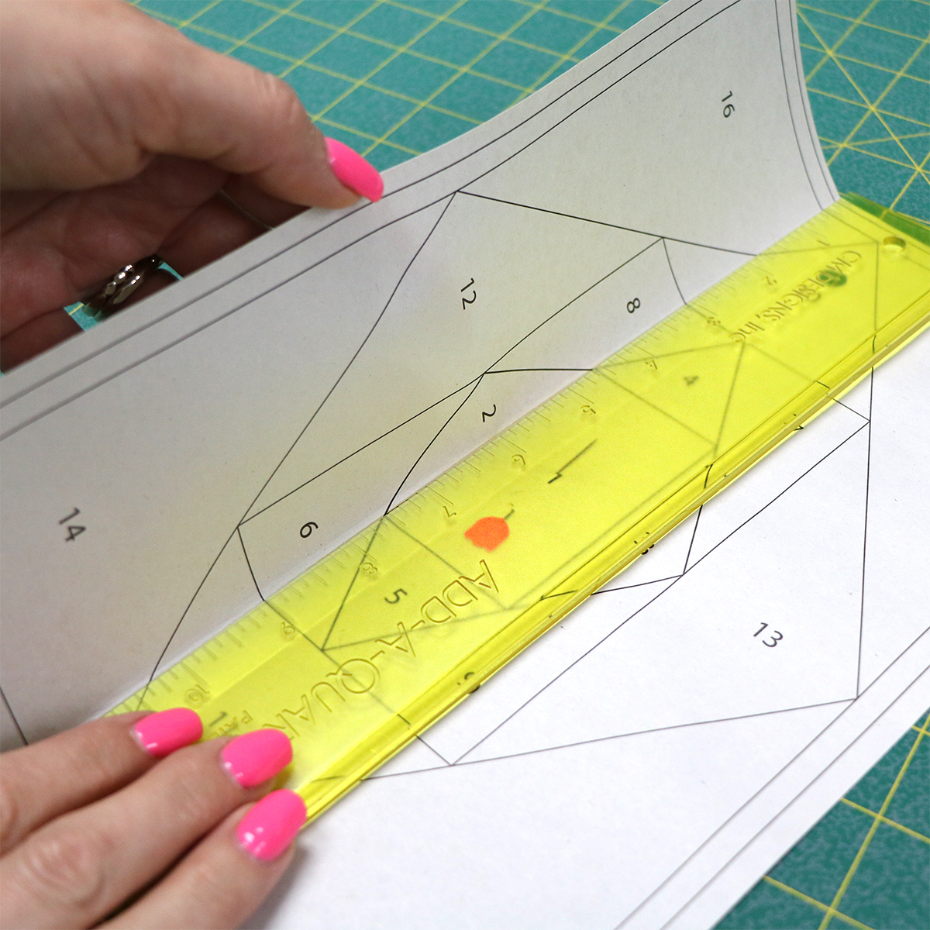
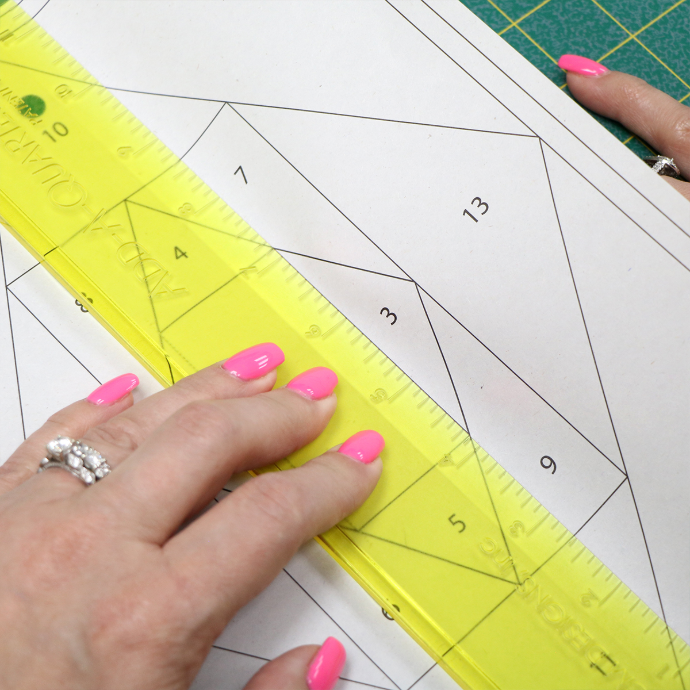
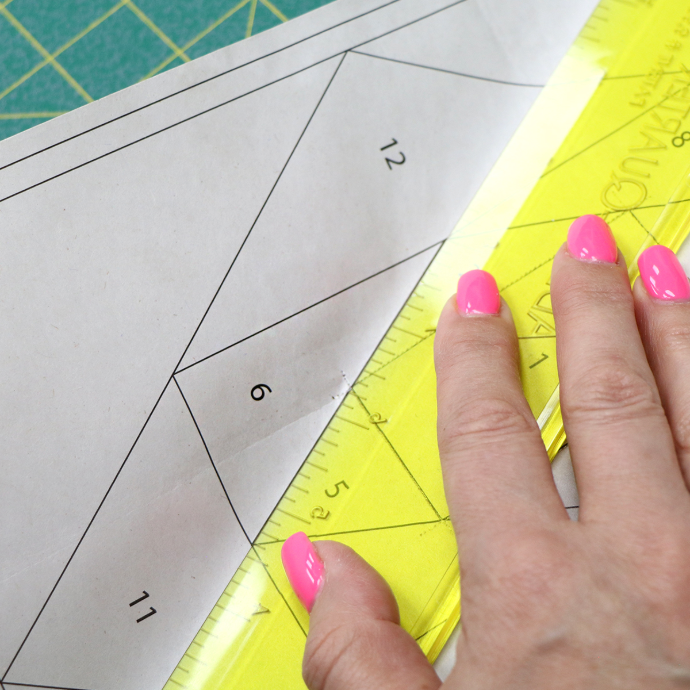
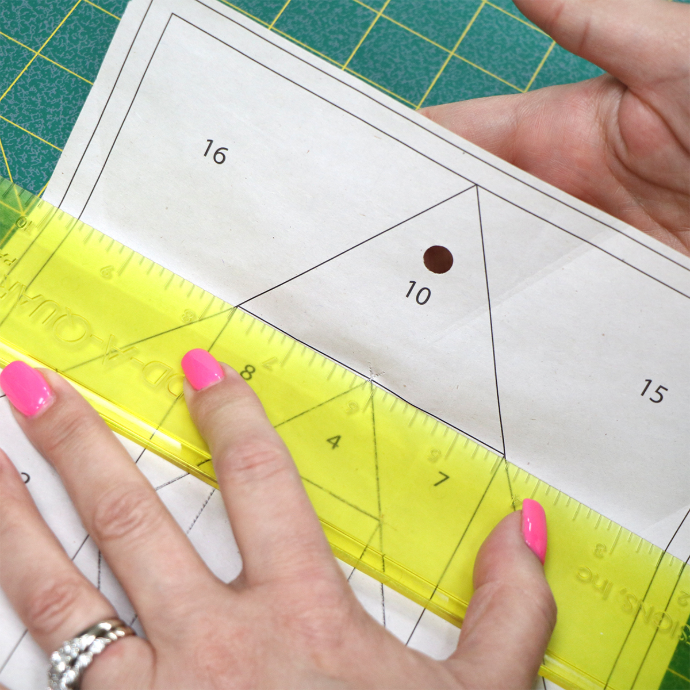
To prepare to trim fabric #1, fold the foundation paper on the line between #1 and #2. Folding against a straight edge is so helpful! Cardstock or a postcard will work, but we love the handy Add A-Quarter Ruler Plus! Not only is it great for adding a quarter-inch seam allowance, but it has a tapered edge meant for folding foundation papers!
Once the foundation paper has been folded over on the #1 - 2 line, it will expose part of the #1 fabric pinned to the back side.
Use the Add A-Quarter Ruler to trim the fabric to have an exact quarter-inch seam allowance. The lip on the bottom of the Add A-Quarter Ruler fits right up to the paper fold and makes this trimming process so fast and easy!
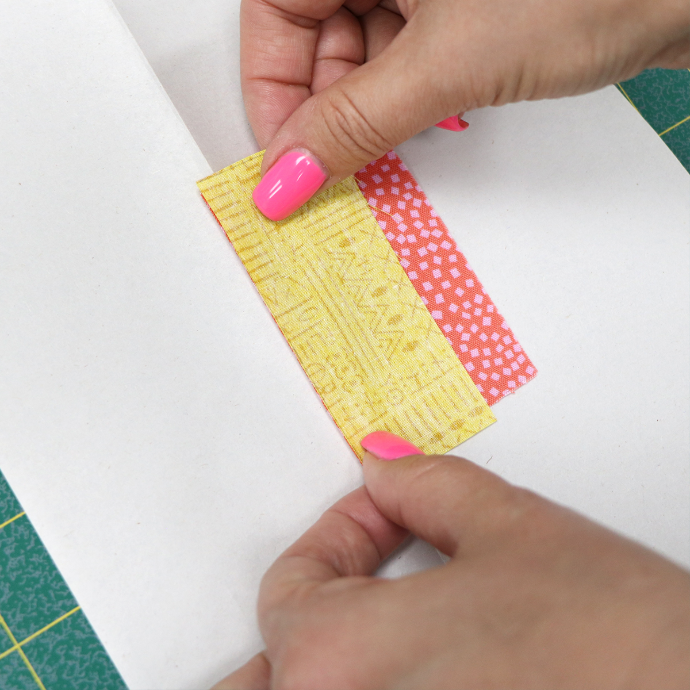
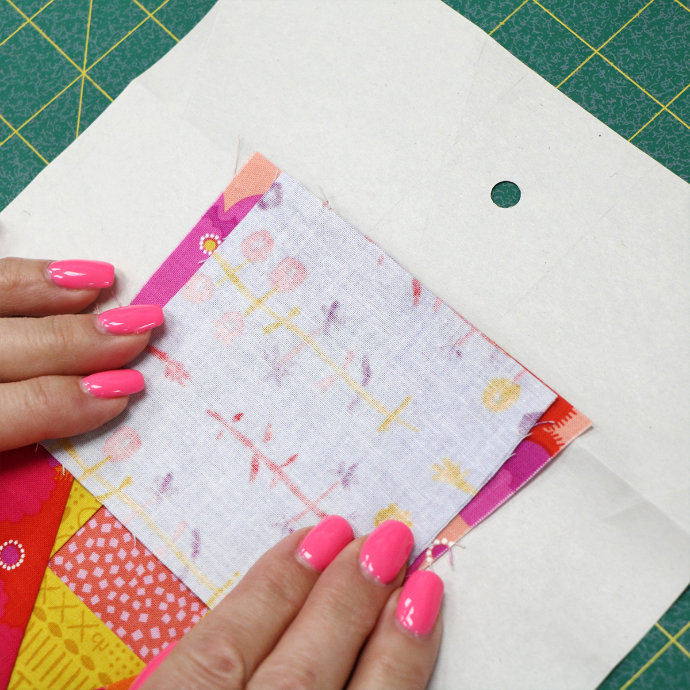
Take fabric piece #2 and place it right-side down on fabric #1. The edge of fabric #2 should line up with the trimmed edge of fabric #1.
Pin the fabric in place.
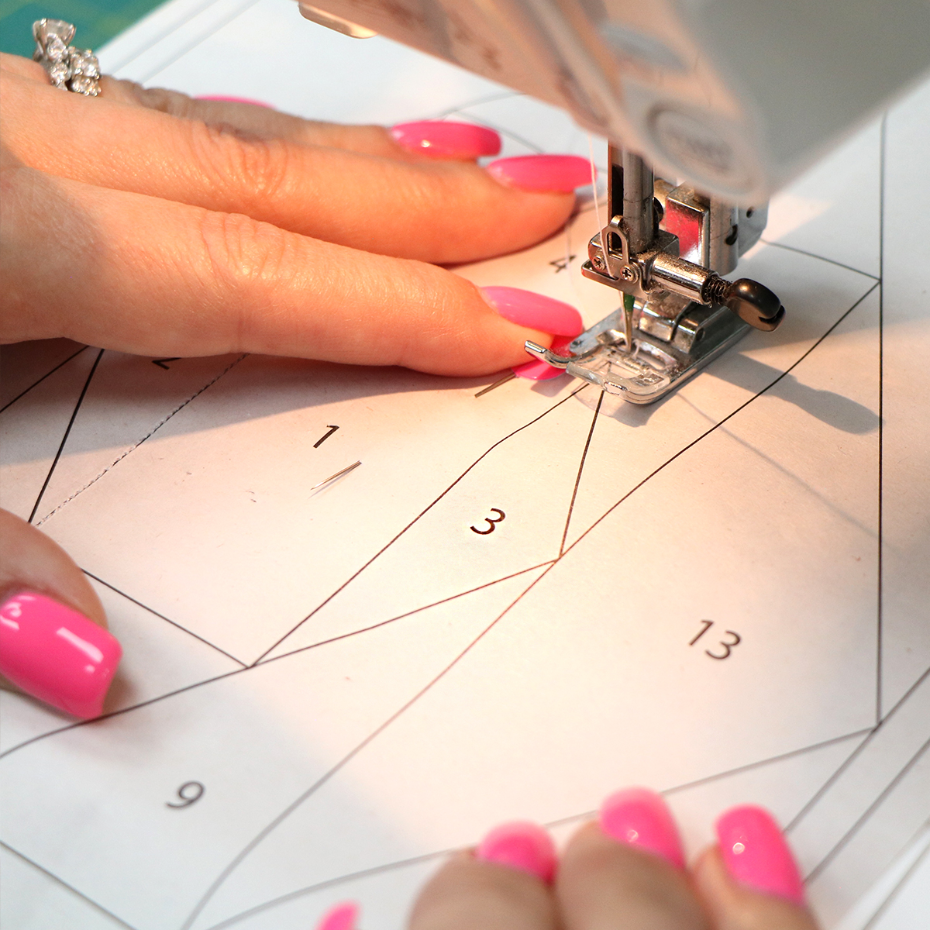
SEW
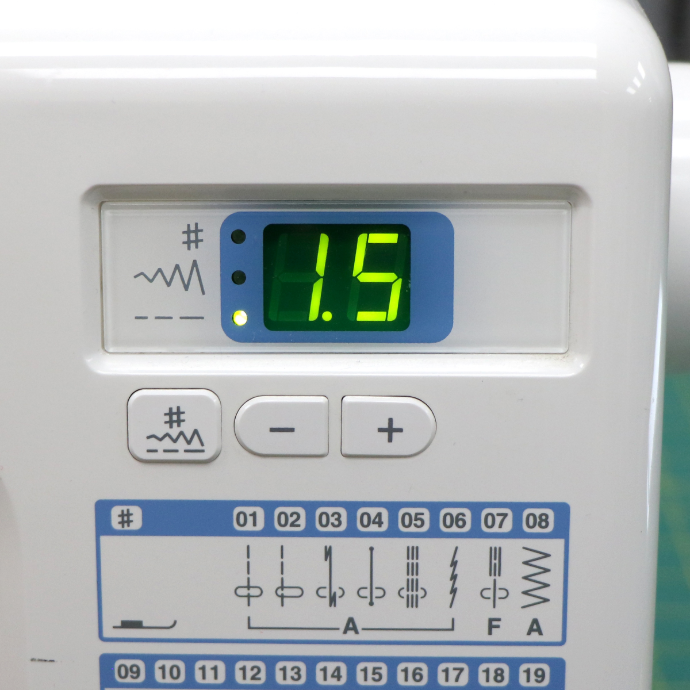
Set your stitch length shorter than usual to 1 - 1.5. This will perforate the paper, making it easier to remove from your completed block.
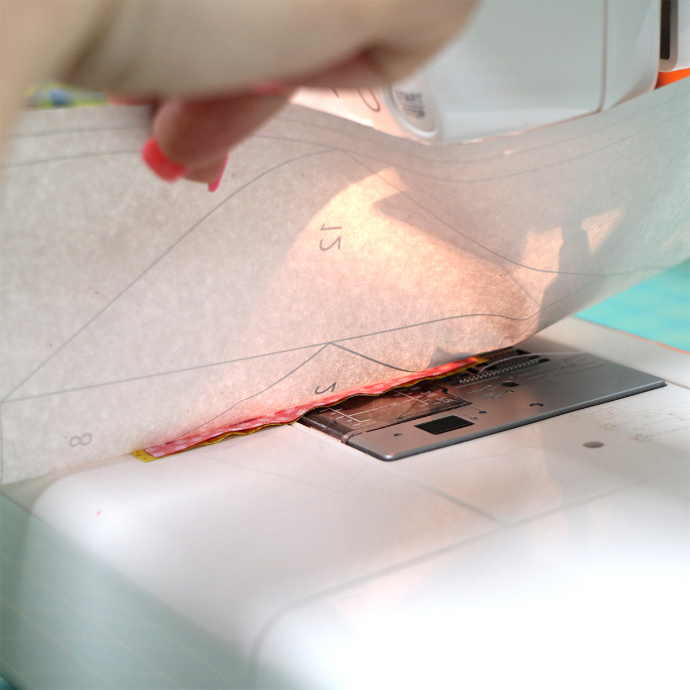
You will sew with the printed side of the foundation paper facing up and the fabric underneath. Before sewing, always be sure to peek under the paper to make sure your fabric is flat and hasn't accidentally folded over.
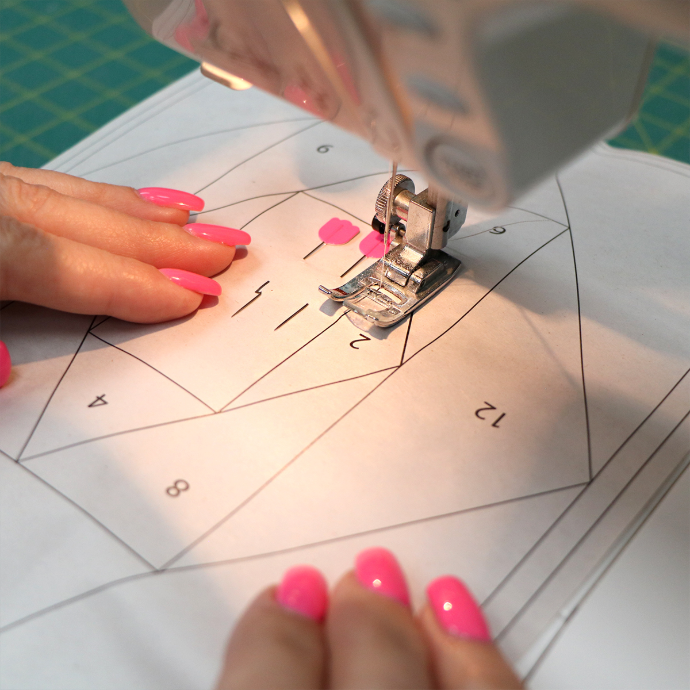
Sew on the line between #1 and #2. Start and stop about 1/4" before and after the line.
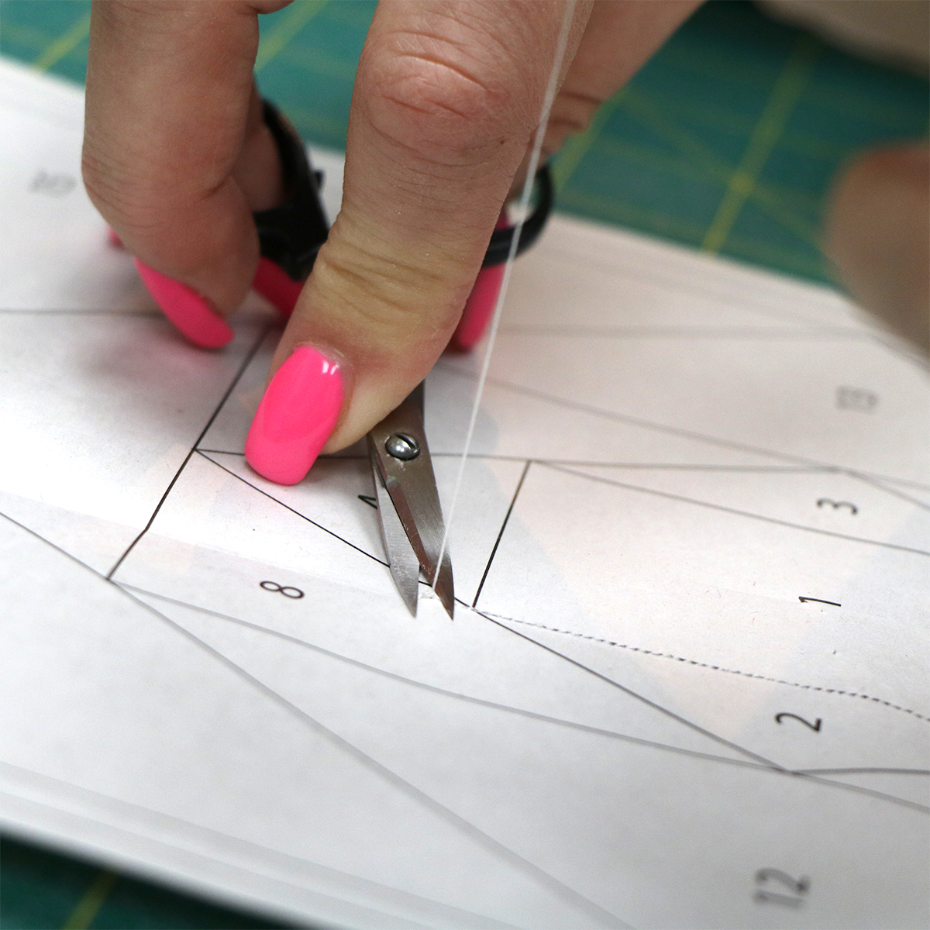
The Kai 4" Curved Scissors are a great foundation paper piecing companion. Pull taught on the thread and cut against the paper. The curved blades safely snip the top and bobbin thread at the same time!
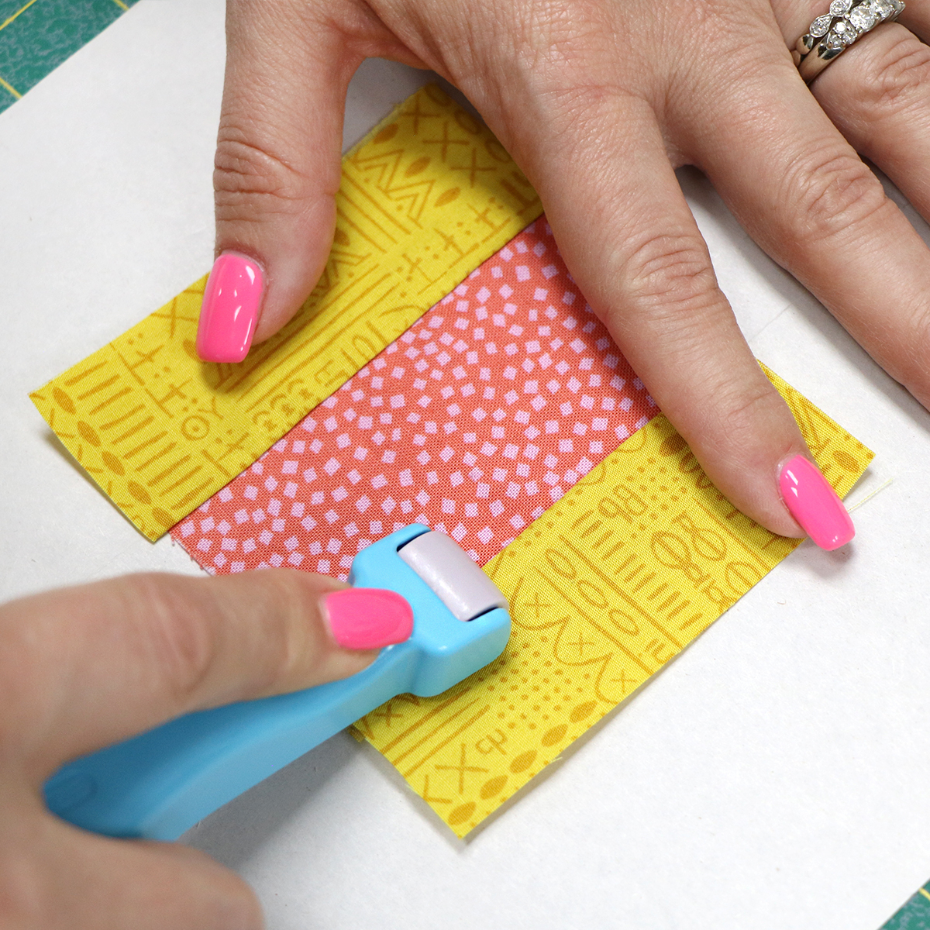
PRESS
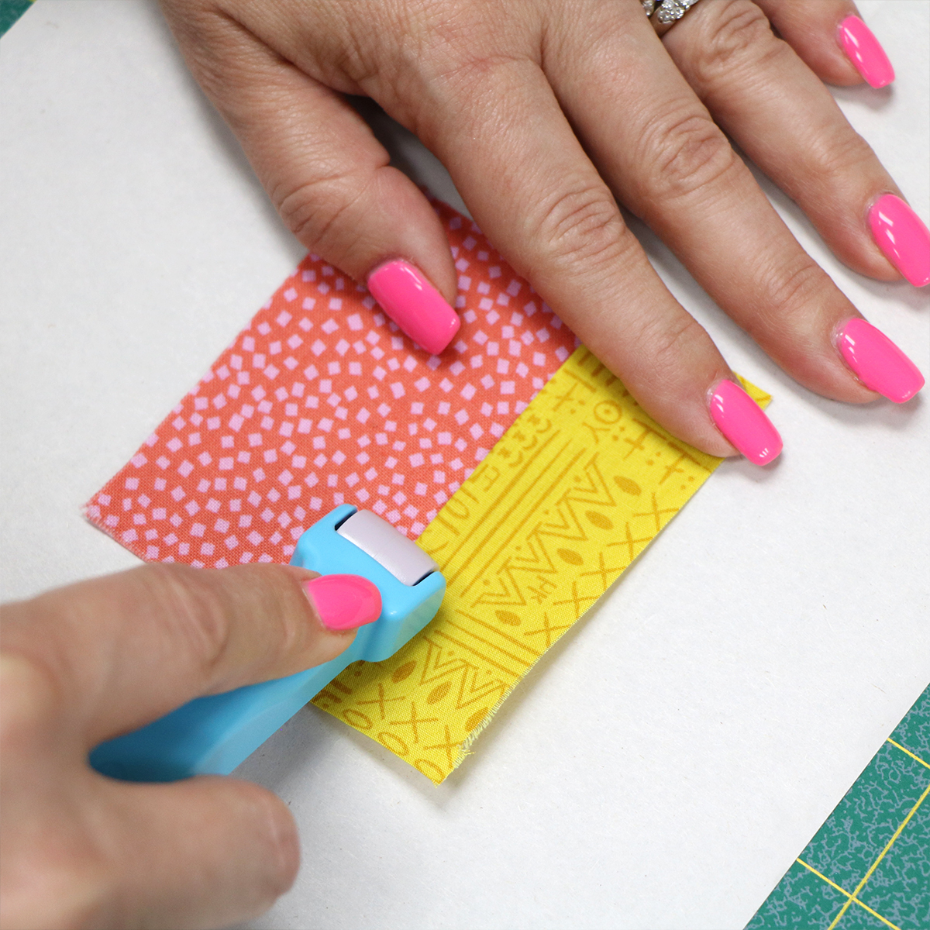
Open and press the seam between fabrics #1 and #2. Using a handy Roll and Press makes this step a breeze.
and...REPEAT
Fold on the next seam line between #1 and #3.
Trim, leaving a 1/4" seam allowance.
Using this new fold guideline, place and pin following the same method used for the last piece.
Sew on the printed line between #1 and #3.
Open and press the seam.
Next up is the line between #1 and #4. Grab your #4 fabric piece and repeat the trim, sew, press process.
Note: You may need to tug the fabric away from the folded paper before trimming.
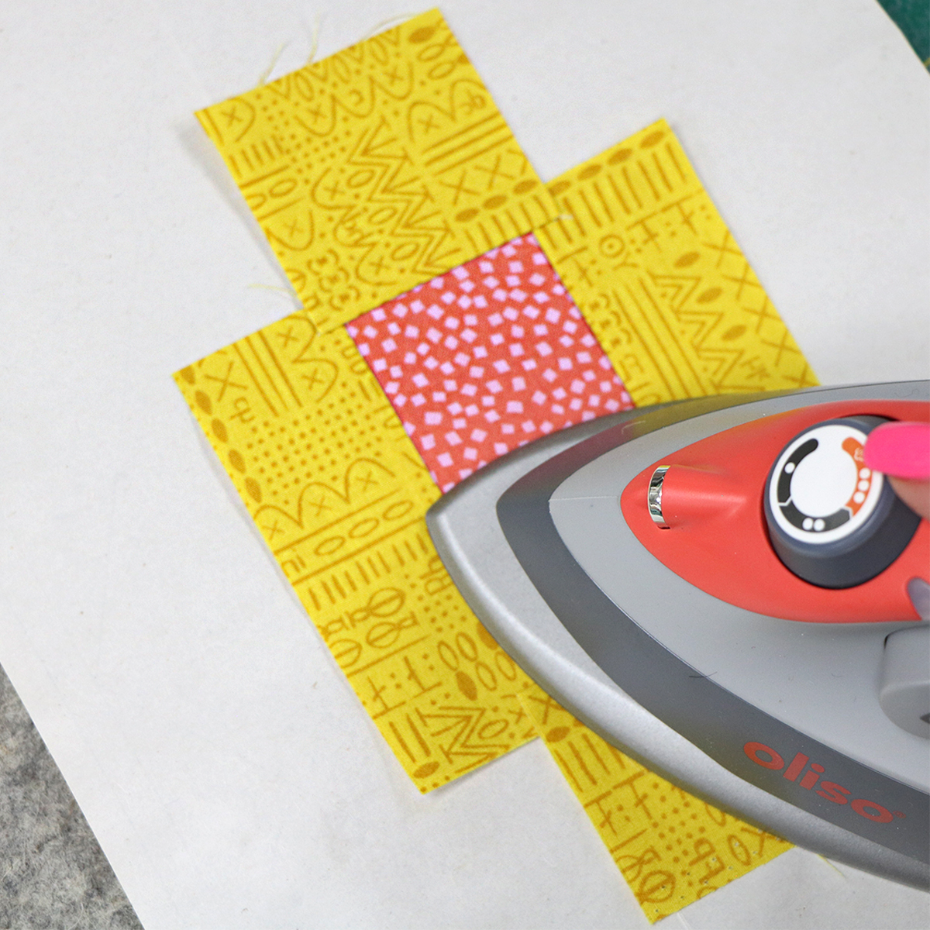
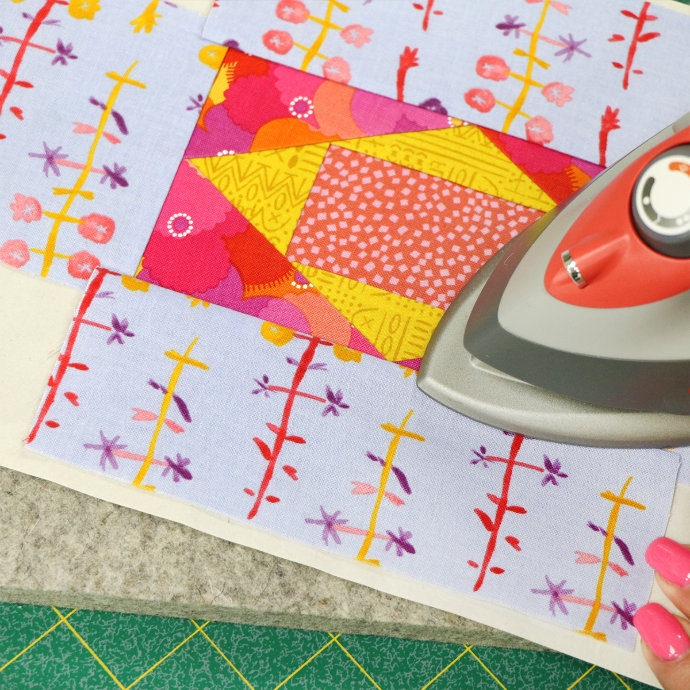
Repeat the process with fabric piece #5. Now fabric has been sewn to all sides of our first fabric piece! This is a good time to press with an iron (cotton setting with no steam).
Some people prefer to stick with a Roll and Press for the entire foundation paper piecing process; however, we like to press with an iron periodically.
#6-9
Continue to trim, sew, press as you add fabric pieces in order.

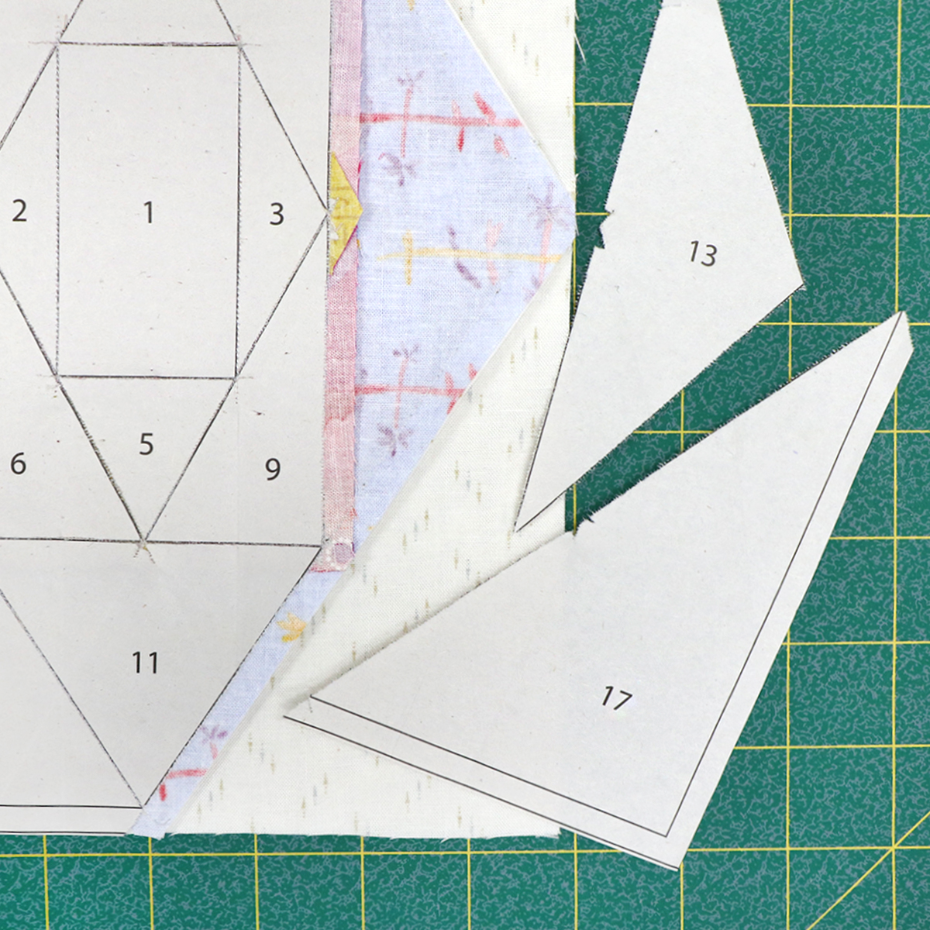
#10-13
#14-17

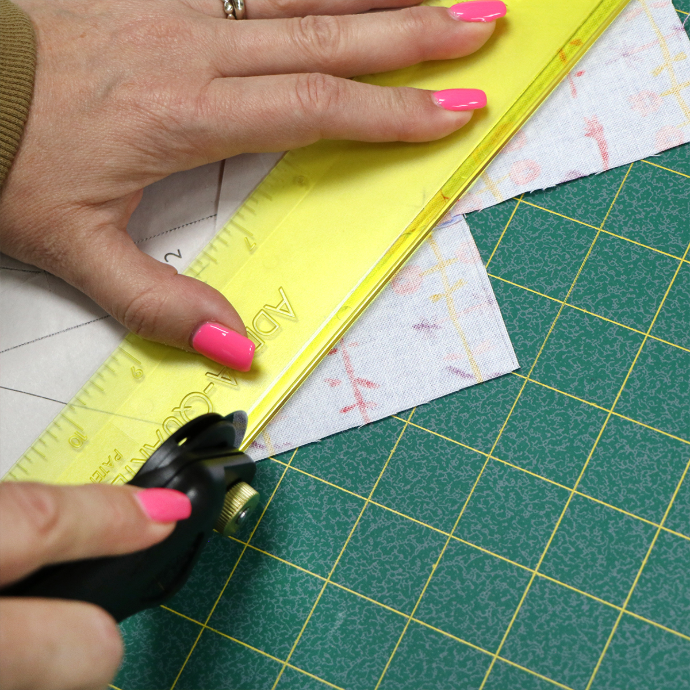
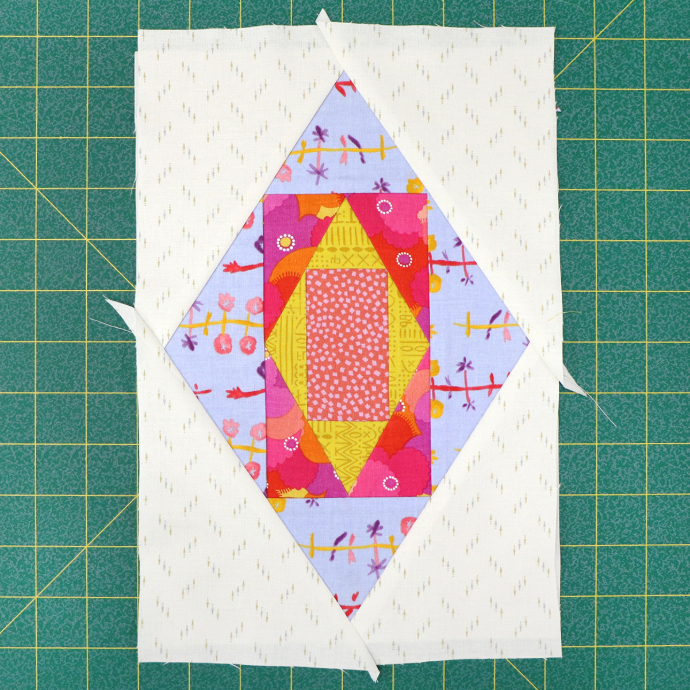
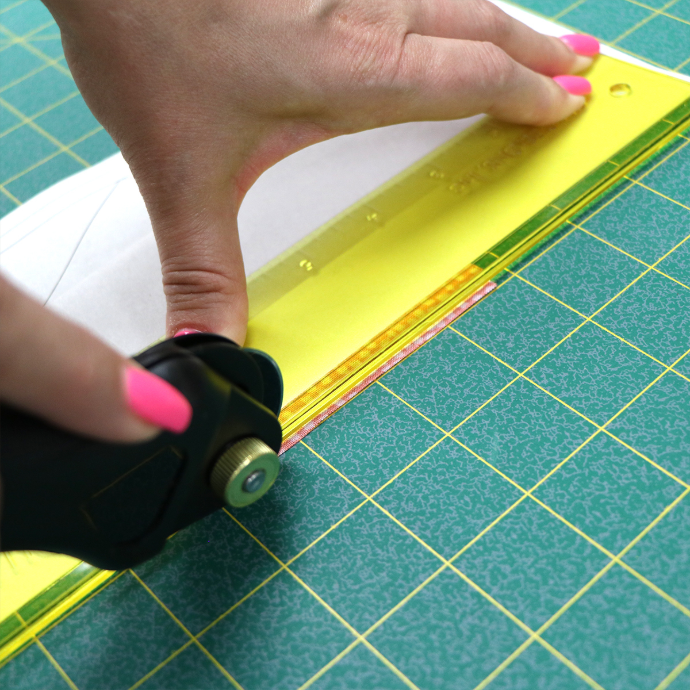
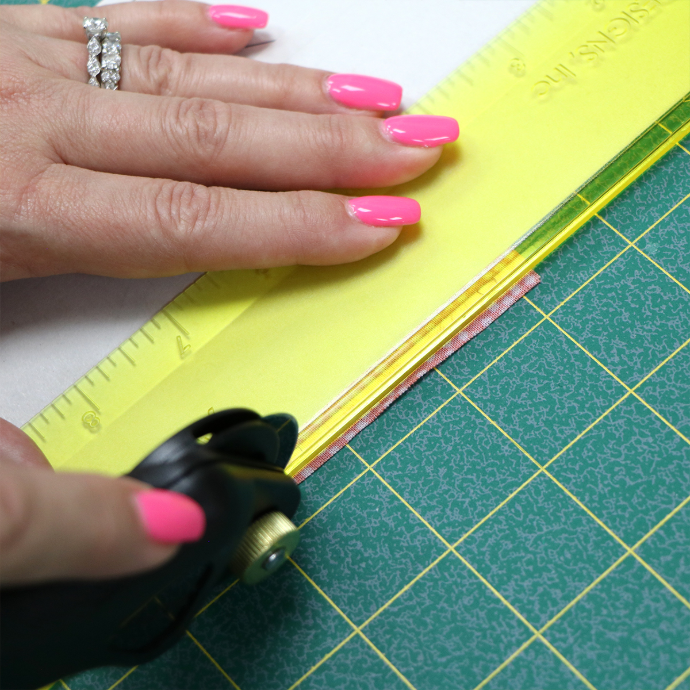
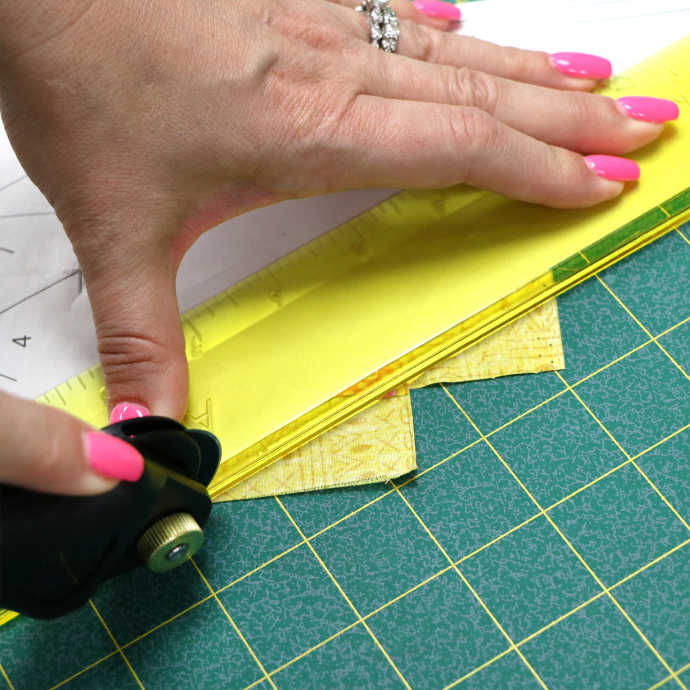
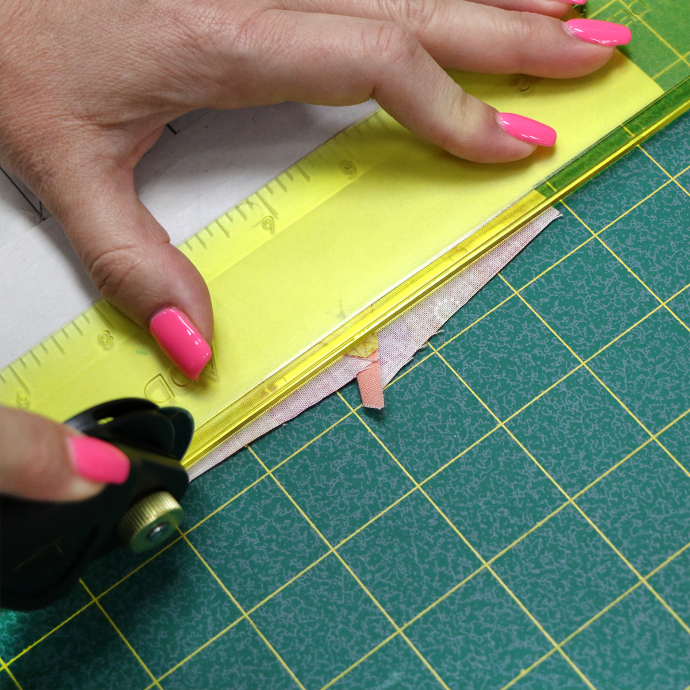
Trim the Outside Edge

Once the block is complete, trim the outside edge by cutting on the outermost printed line with a rotary blade, cutting through both fabric and paper.
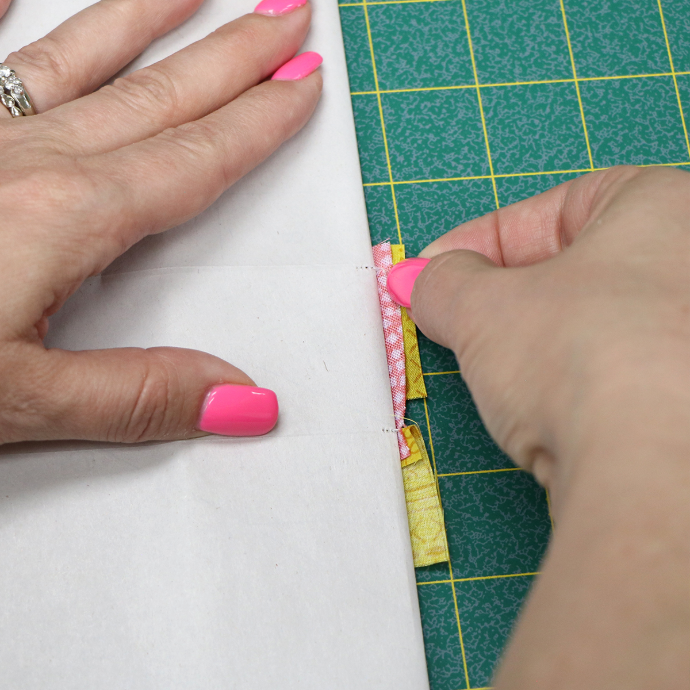
Joining Blocks
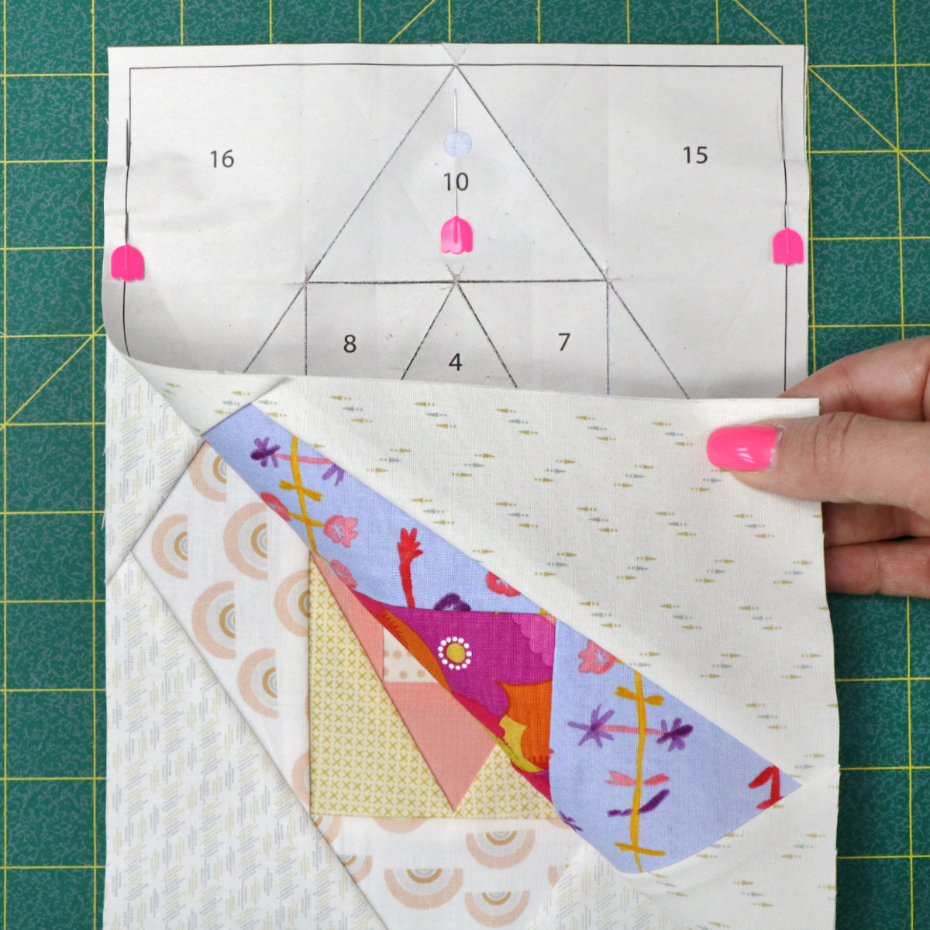
When you are ready to begin joining blocks, you will pin two blocks right sides together. Be sure your points are lined up on the edge to be sewn, and pin directly under these points.
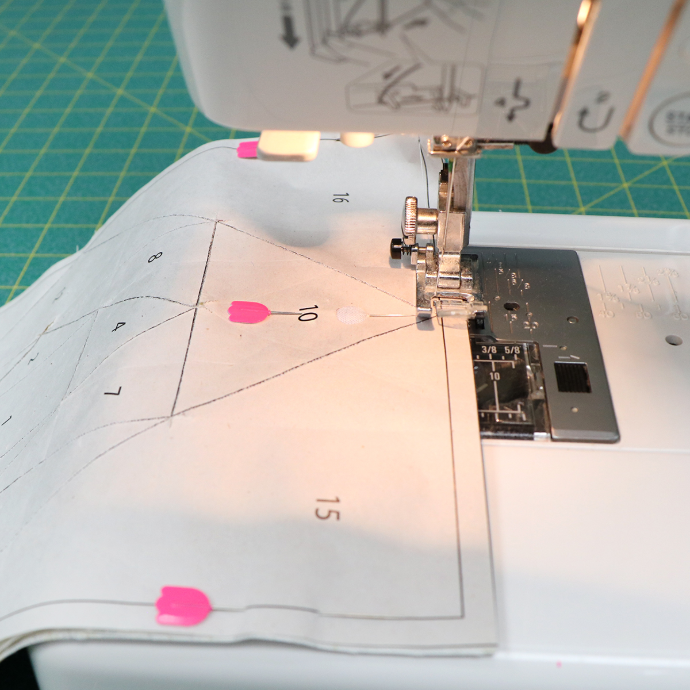
Use a basting stitch on the sew line (1/4" in from the edge).
This allows you to check that your points are aligned before sewing with the shorter stitch length.
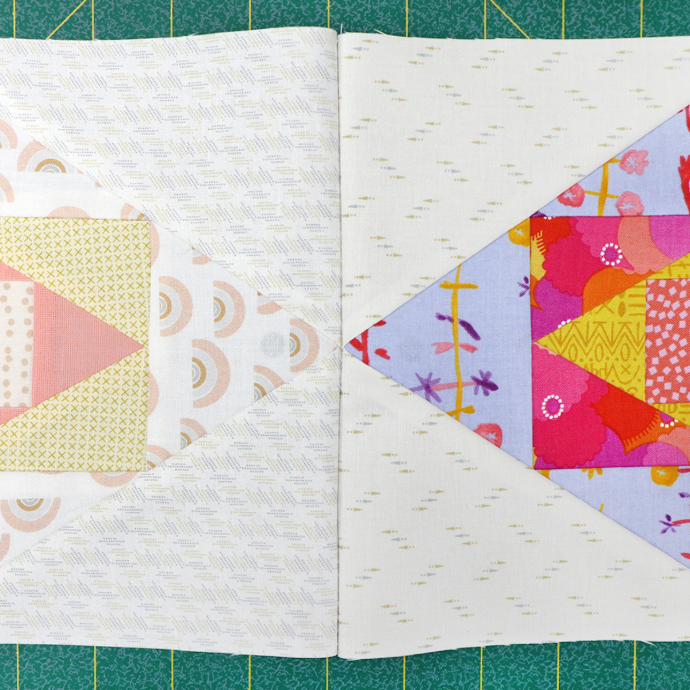
Removing Paper
When you are ready to remove the foundation papers, simply tear the perforated paper along the seams to remove each paper piece from the back of your blocks.
The perfection of a Foundation Paper Pieced block is so satisfying! If you haven't given it a try yet, now is the time! We have a great selection of foundation papers and patterns for you!
Create
Start writing here...