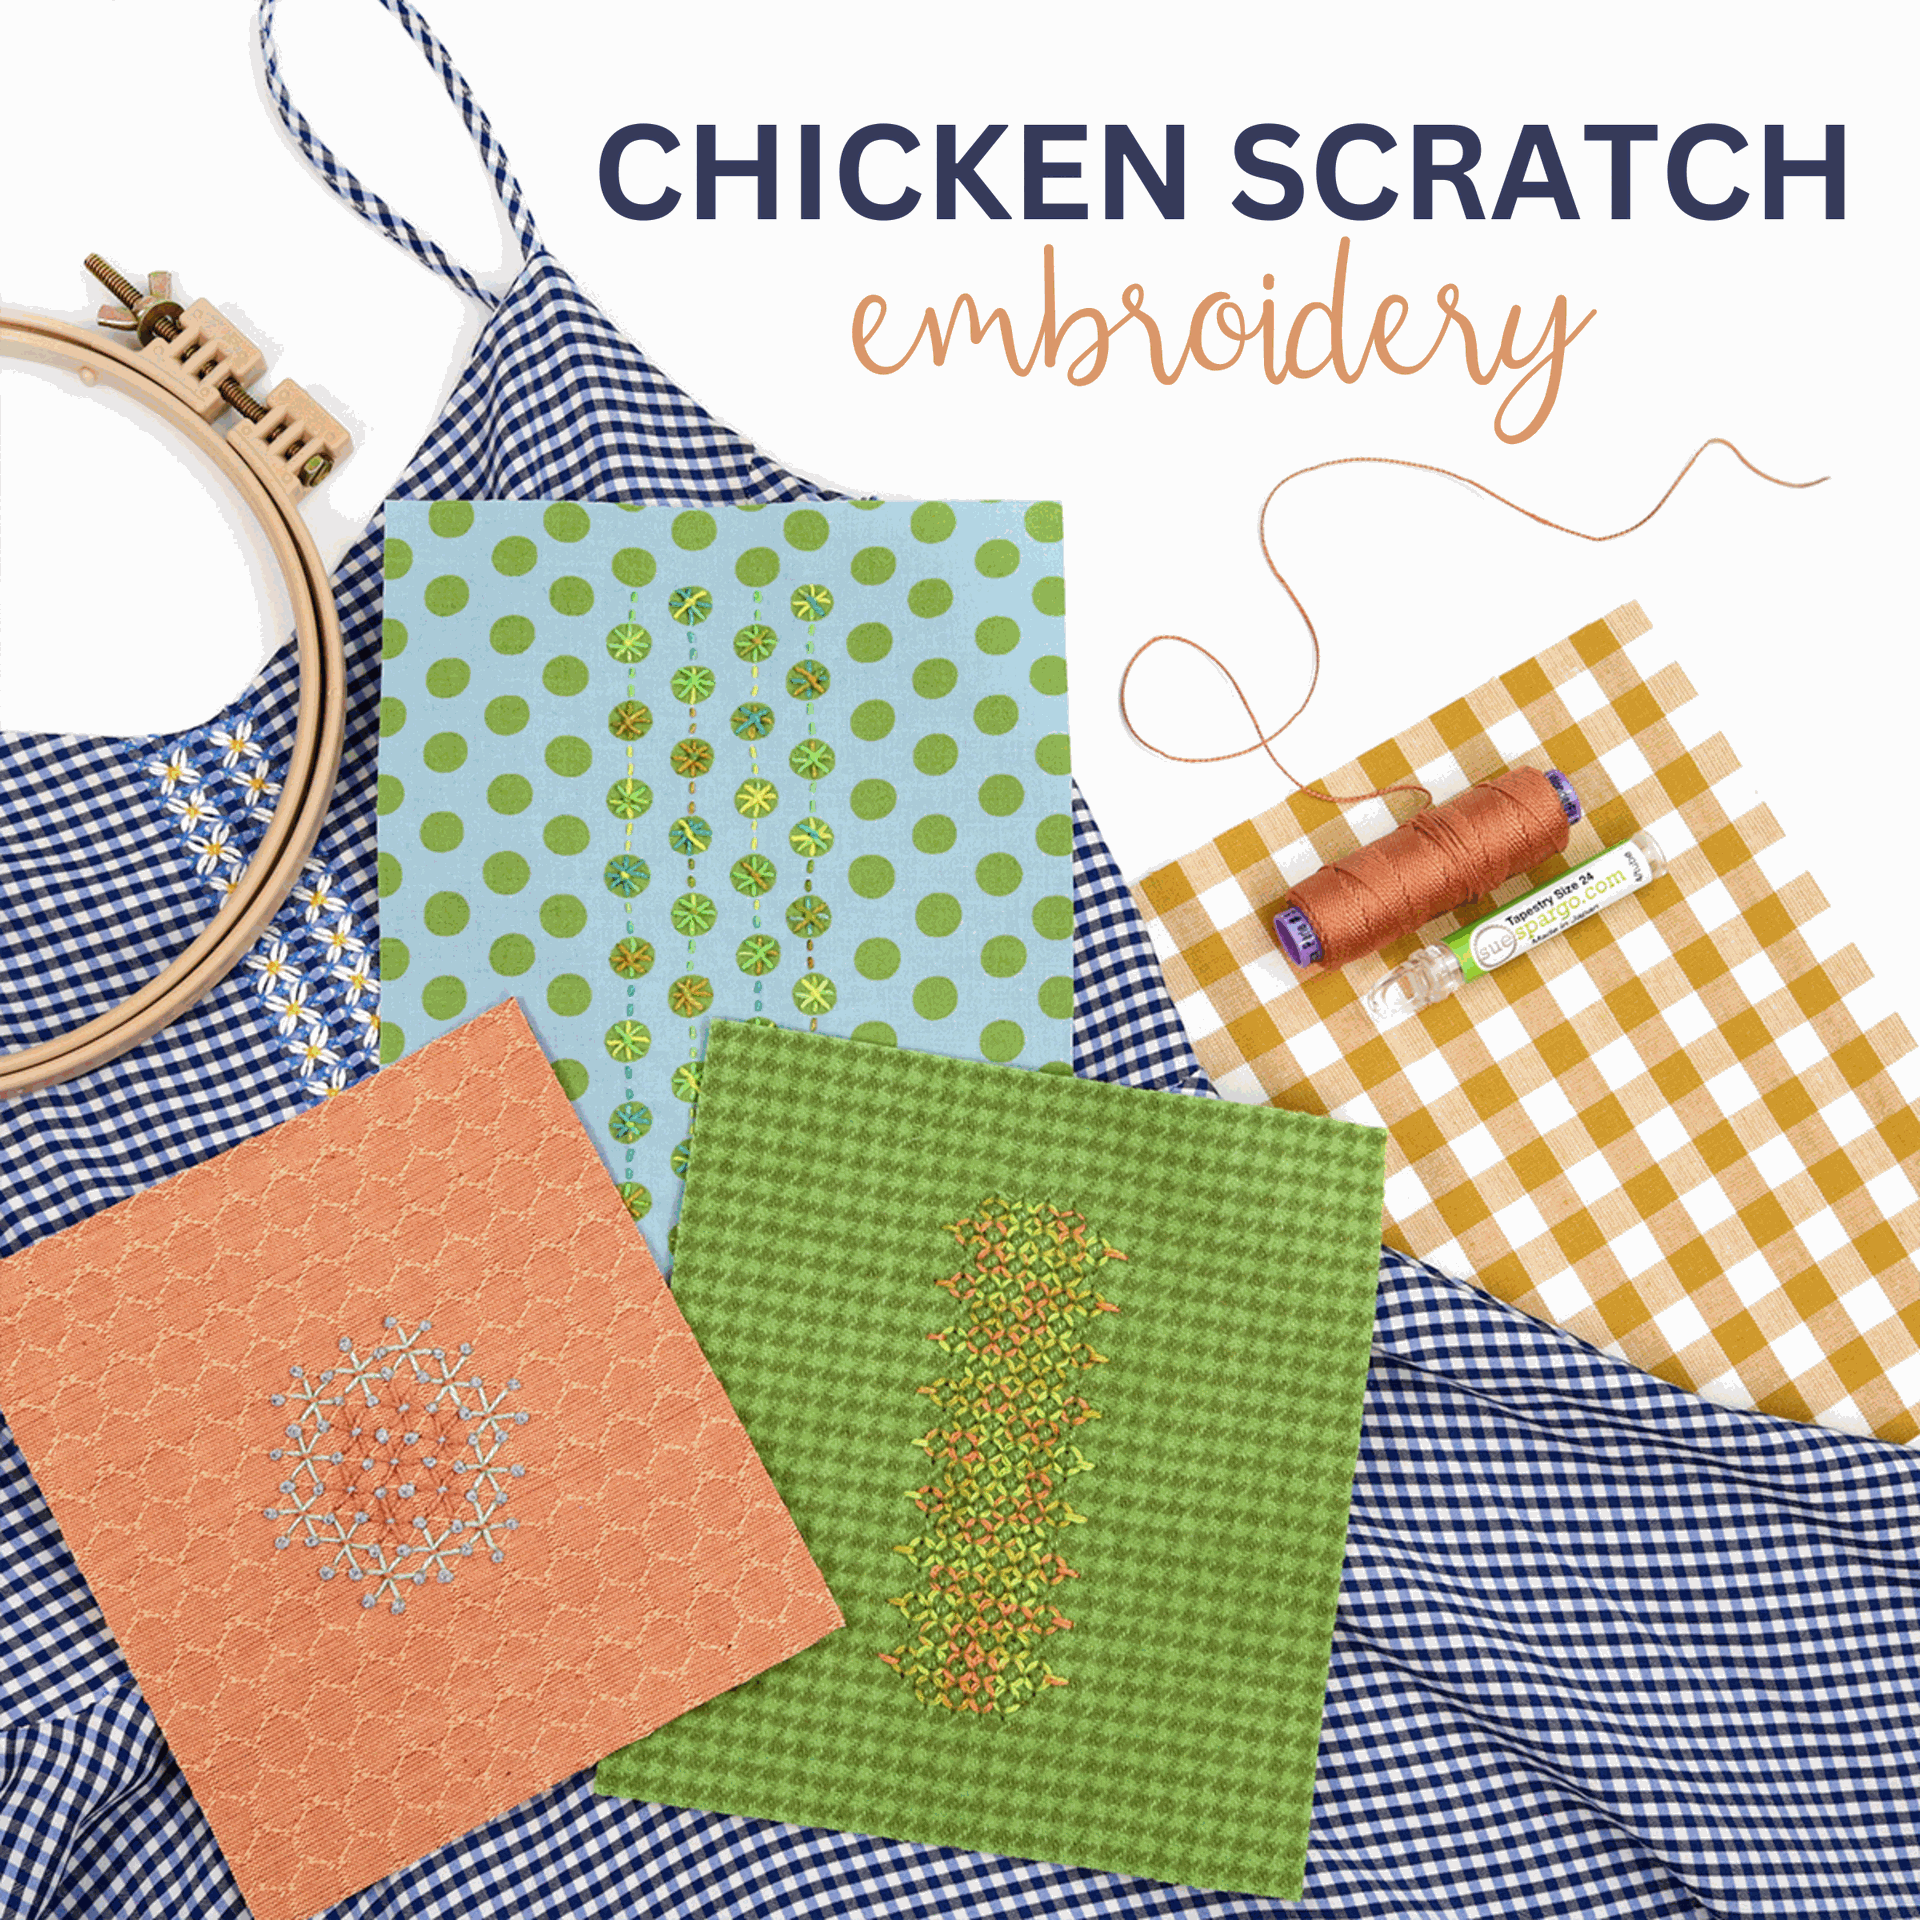
Grab some gingham and let's get stitching with Chicken Scratch Embroidery!
Chicken Scratch is a cross-stitching technique on gingham or checked fabric that goes by many names, like Australian Cross Stitch, Depression Lace, and Snowflake Embroidery. Since the 1800s, Chicken Scratch Embroidery has enjoyed surges of popularity across the globe, from Europe to the US to Australia. Now, after experiencing a popular boom in the 1980s, Chicken Scratch Embroidery is once again in the spotlight, and we bet you're going to love it as much as we do!
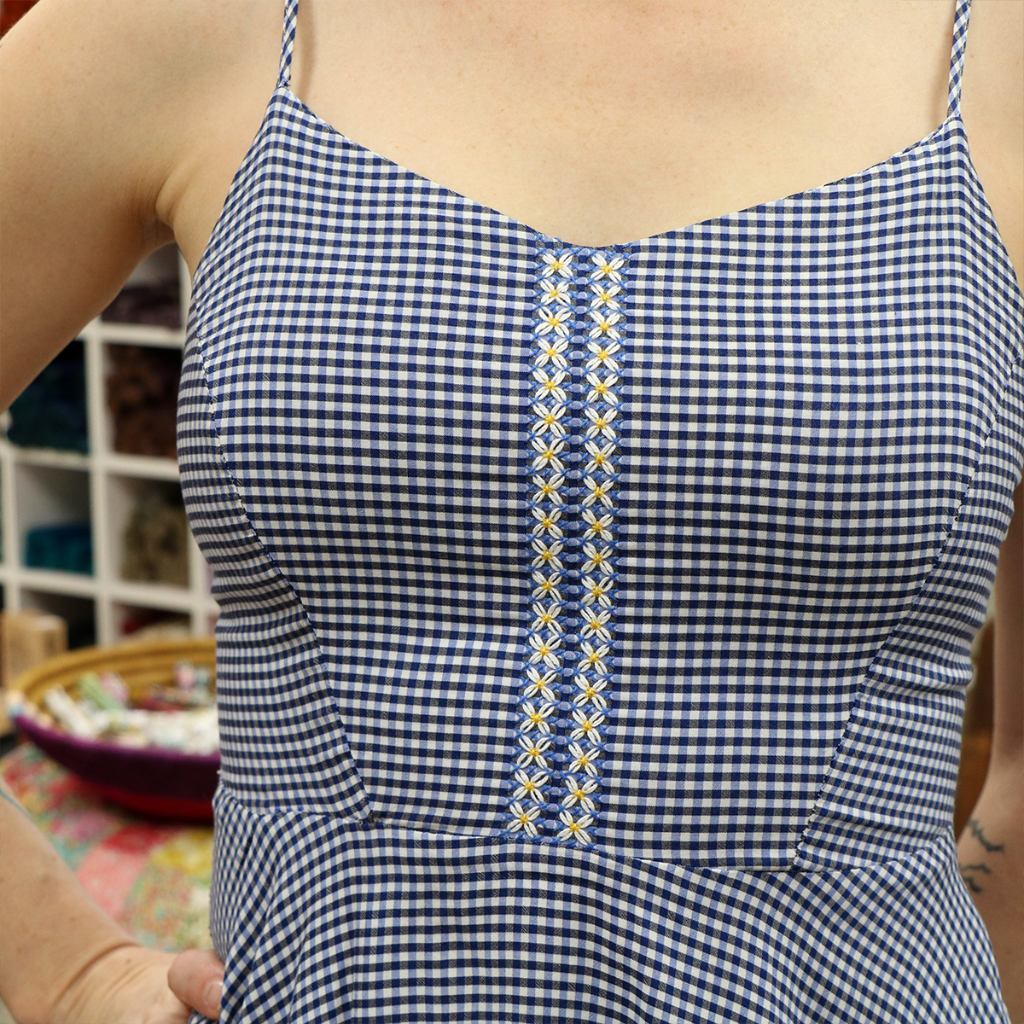
Chicken Scratch Embroidery became a popular way to embellish inexpensive gingham fabric during the American Great Depression of the 1930s. It continues to be a great way to repurpose clothing. This thrift store dress was given an upgrade with a Chicken Scratch daisy pattern stitched down the center.
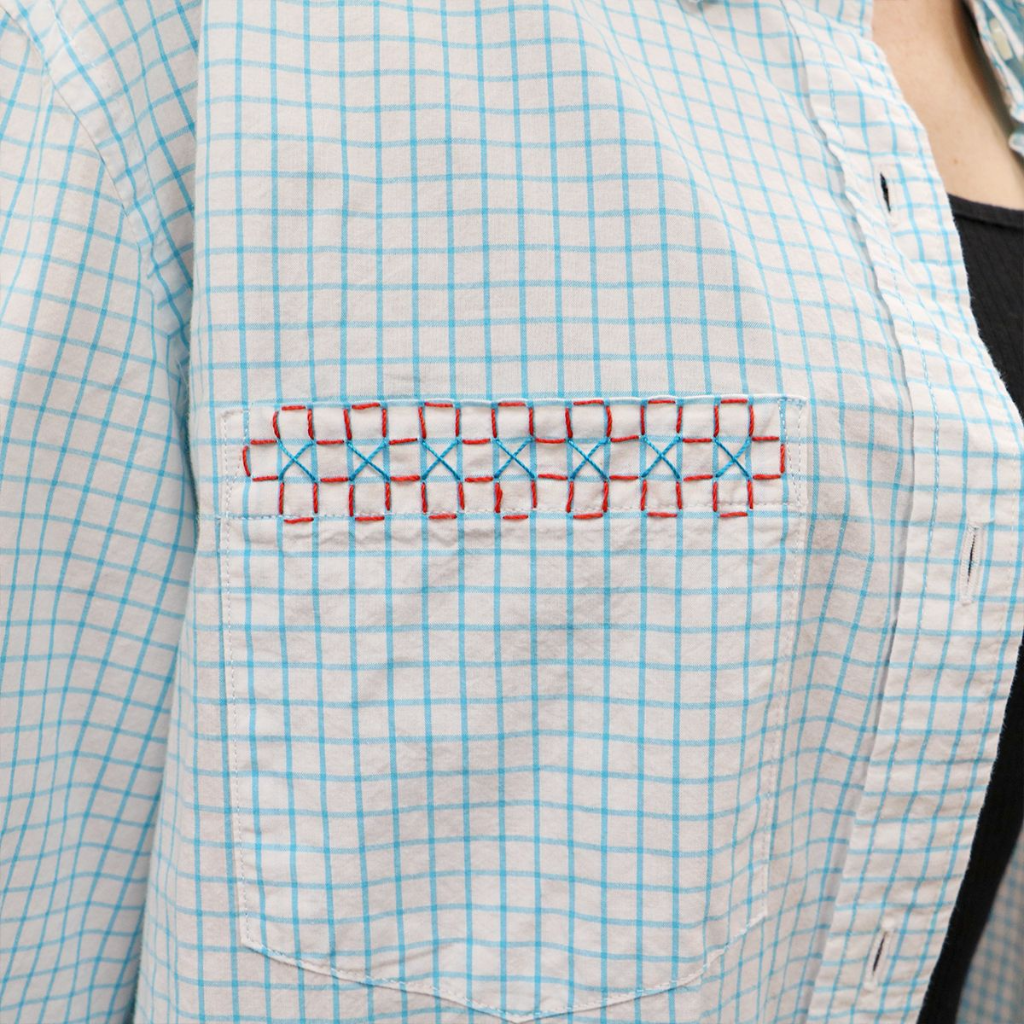
Whether you're aiming for a modern or vintage look, or prefer something simple or ornate, your wardrobe can be as unique as you are!
Chicken Scratch can embellish clothing and so much more. Imagine it as background stitching on a project or the focal point of a bag or pouch! The possibilities are endless!
Beauty in Boundaries
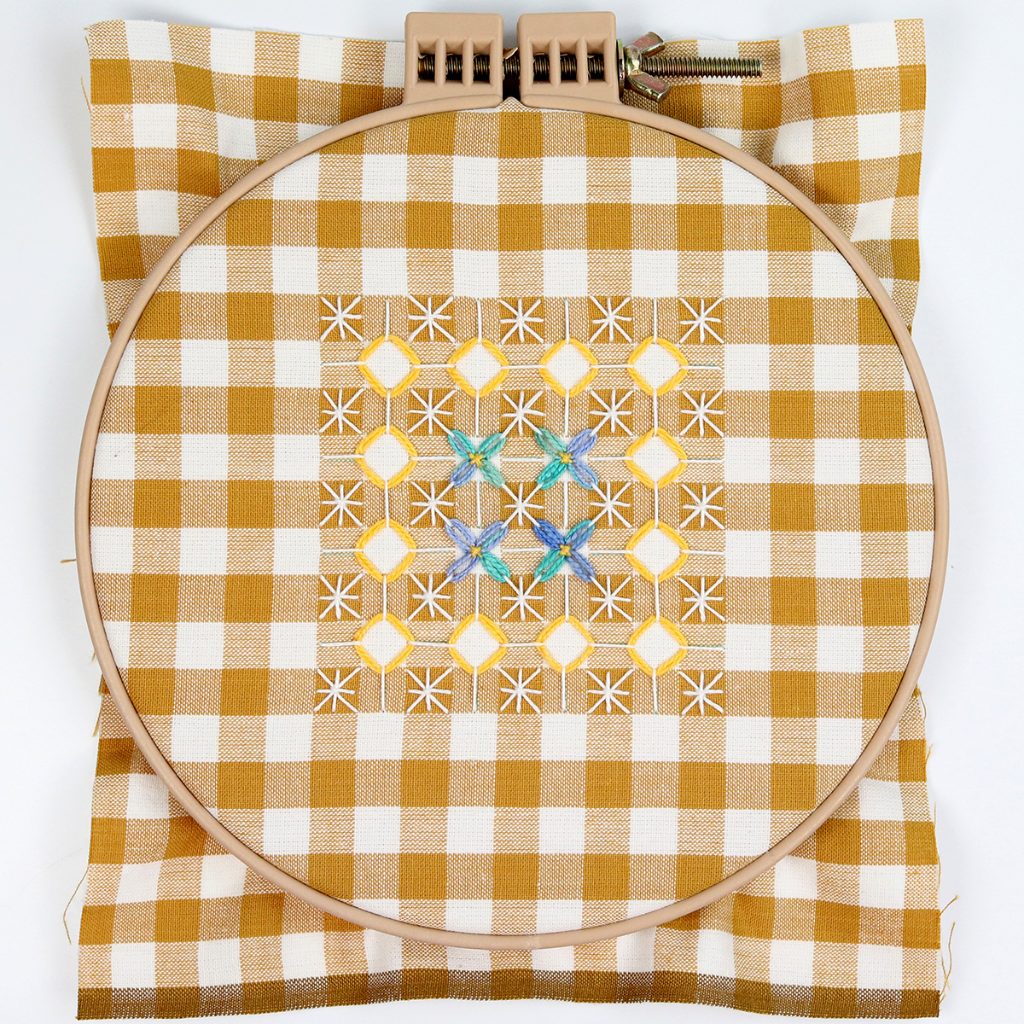
Creativity is often thought of as free-flowing and unbridled, but in reality, creativity flourishes most when it functions within a framework. With Chicken Scratch Embroidery, the checked fabric provides the framework and gives the artist a focus and a challenge. Without parameters, making something new can feel overwhelming. With Chicken Scratch, it’s simple stitches, one square at a time. Change the combo of stitches or the color of thread, and let the exciting journey begin!
Supplies
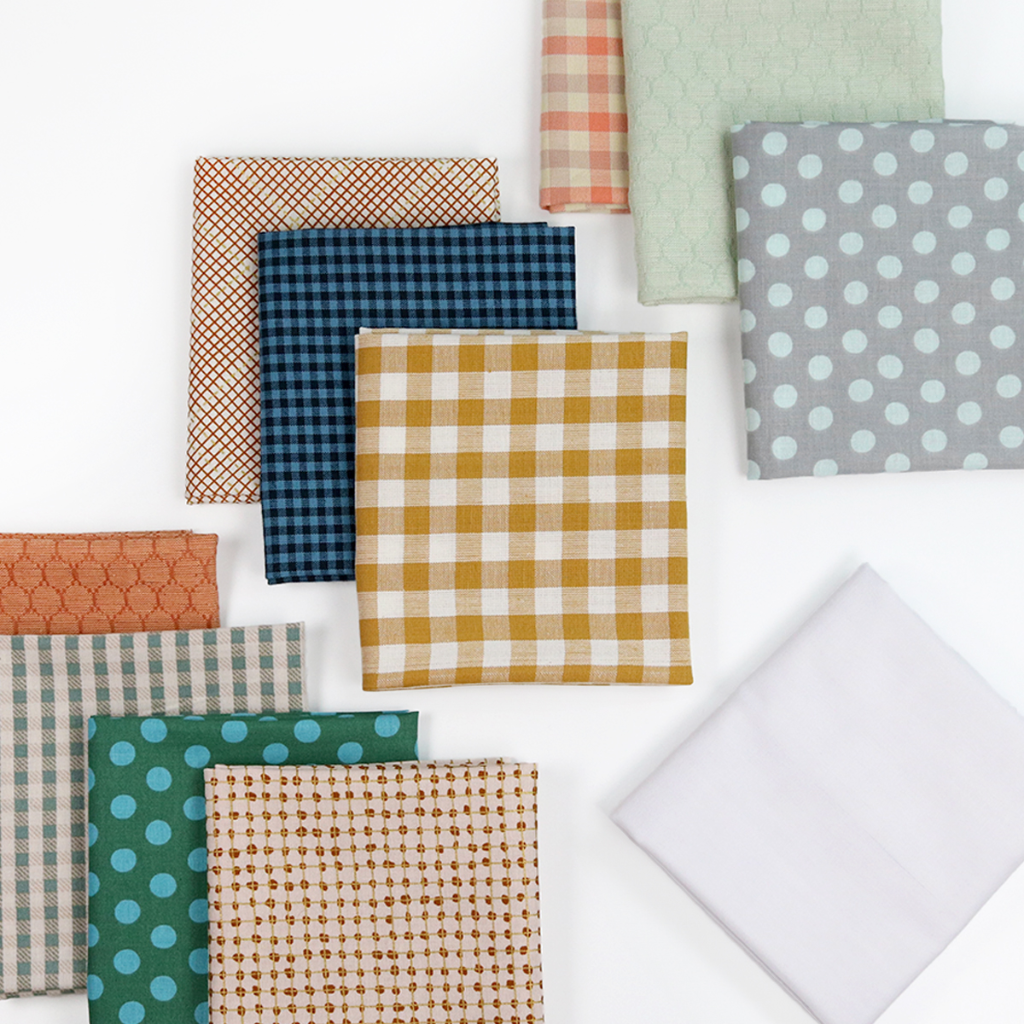
Any non-stretch fabric with a repetitive pattern can work great for Chicken Scratch, such as:

Prepare your fabric for stitching by ironing Presto Sheer on the backside.
We also used the following supplies:
- An iron such as the Reliable Maven Home 1L Iron Station or the Oliso Mini Iron with Trivet
- 5" or 7" Morgan No Slip Hoop
- A Chacopen Blue Water Soluble Dual Tip Pen with Eraser or the Sewline Trio Chalk Pencil for marking design placement
- #5 or #8 Eleganza Thread
- Gold Eye Tapestry Needles (#20 with #5 Eleganza and #24 with #8 Eleganza). Or if preferred: Gold Eye Chenille Needles (#18 with #5 Eleganza and #24 with #8 Eleganza).
- Embroidery Scissors such as the Medium Crane Scissors or the Floral Teardrop Scissors
How To
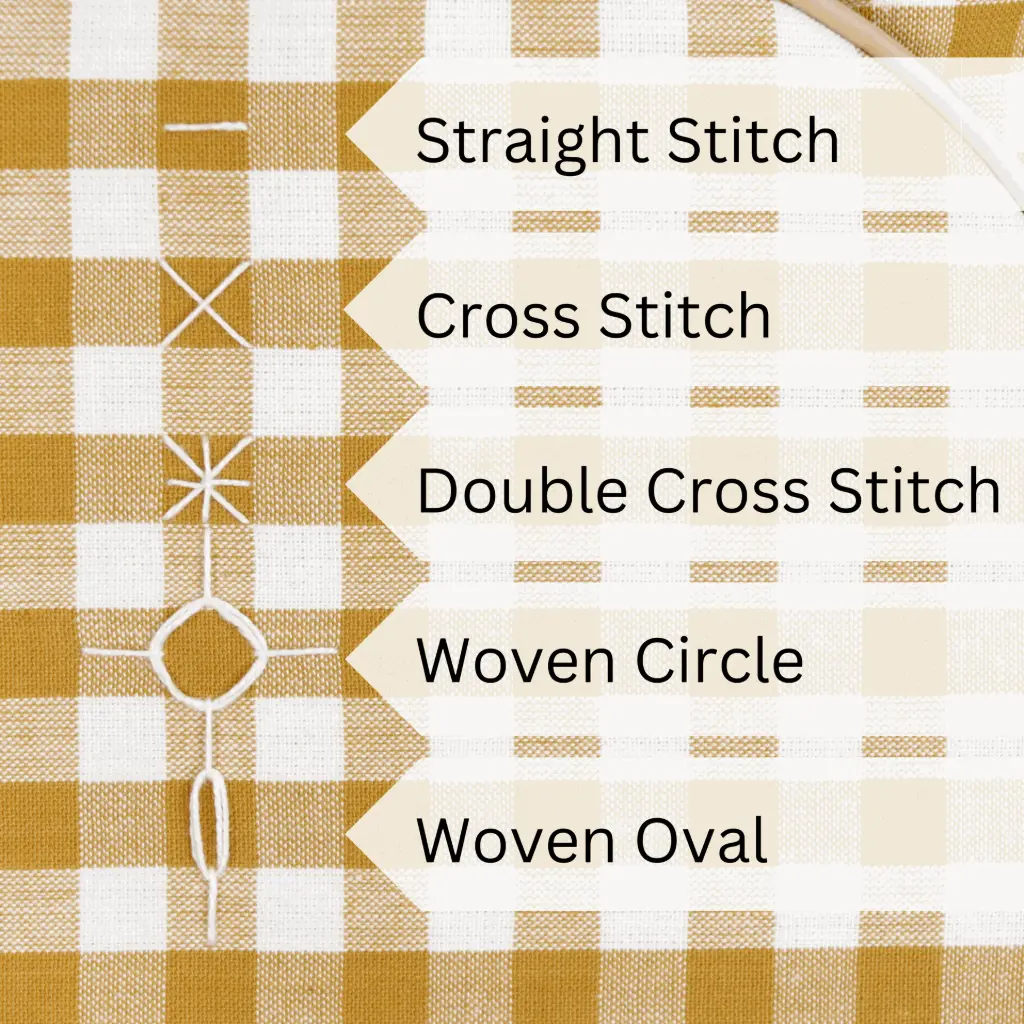
Simple stitches can come together to make beautiful lacy looking designs. The Chicken Scratch basics are the straight stitch, cross stitch, double cross stitch, woven circle, and woven oval stitch. Of course, other stitches can be combined with these. There are so many creative possibilities!
See how to use basic stitches to create your own Chicken Scratch design in the video below.
Inspiration

Chicken Scratch on Fableism Honeycomb Pattern
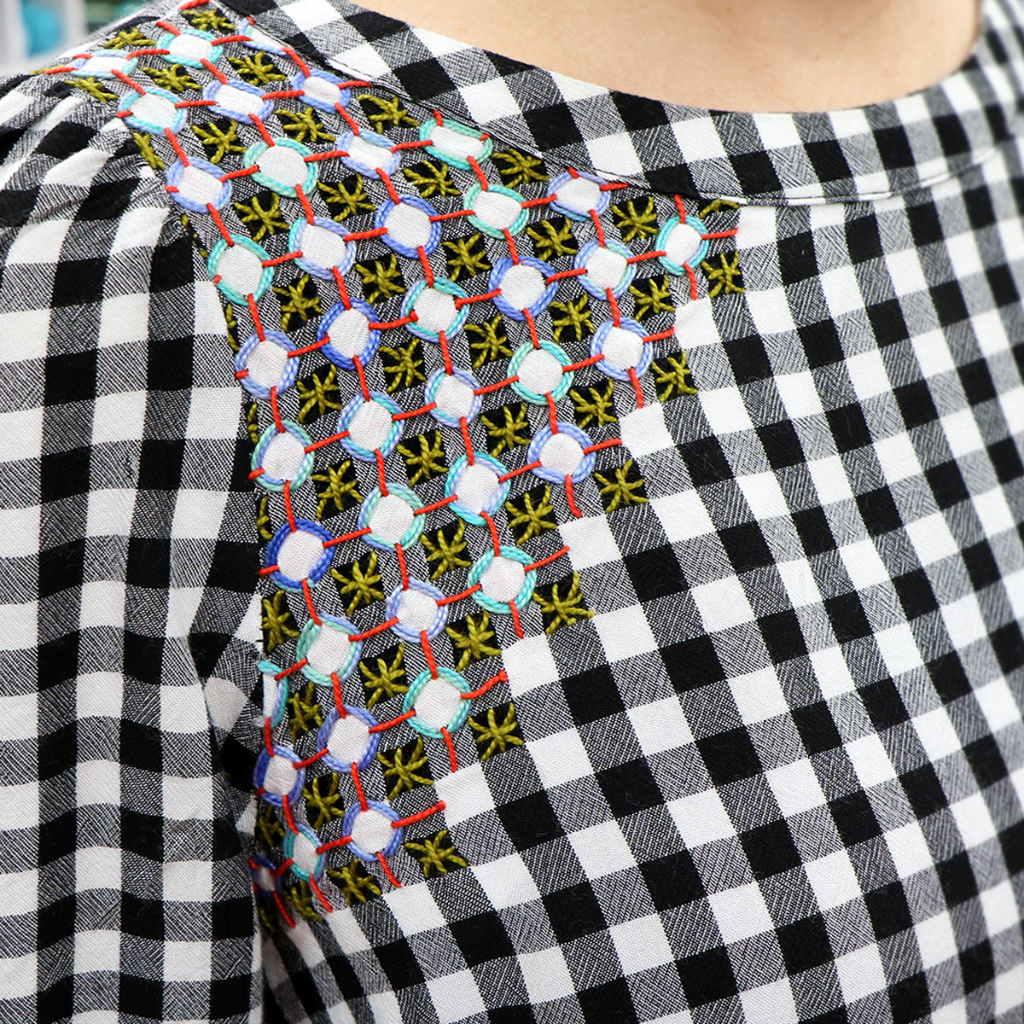
How sweet are the little French Knots placed at the corners of each honeycomb hexagon? You can easily create these using a #1 Milliners needle.
Below, you can see how incorporating variegated threads into Chicken Scratch creates a fun and surprising gradient of color within the design.
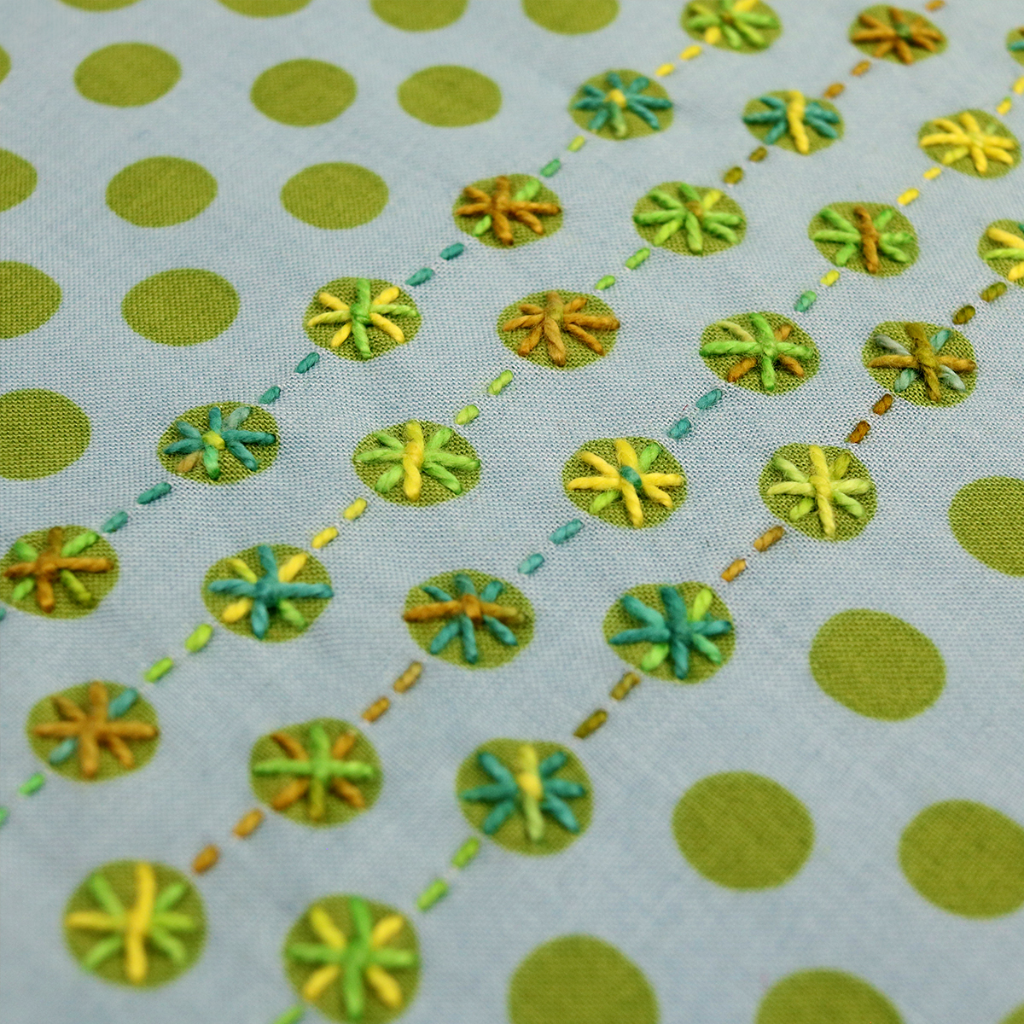
Chicken Scratch on Kaffe Fassett Spot Pattern
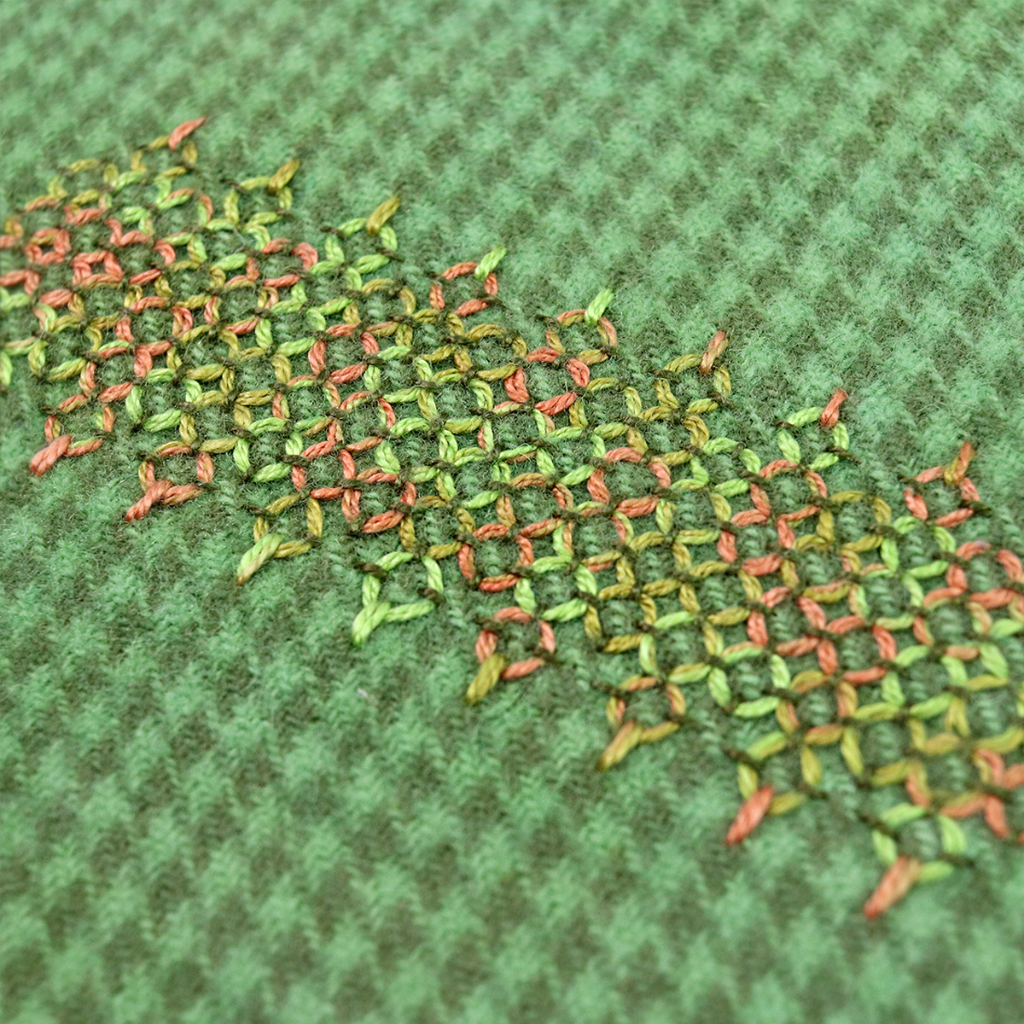
Chicken Scratch on Hand Dyed Textured Wool. Try a Houndstooth or Glen Check!
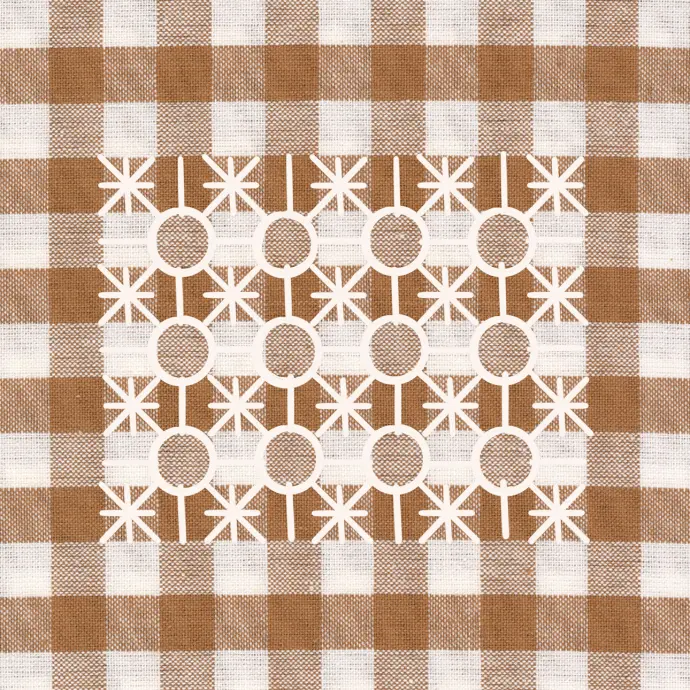
Changing the placement or color of stitches within Chicken Scratch can have drastically different effects on a design. The below examples were mock-up designs made using a tablet to draw over a digital photo of fabric. You can also print out an image of fabric and draw directly on the print to experiment with different ideas before picking up your needle and thread.
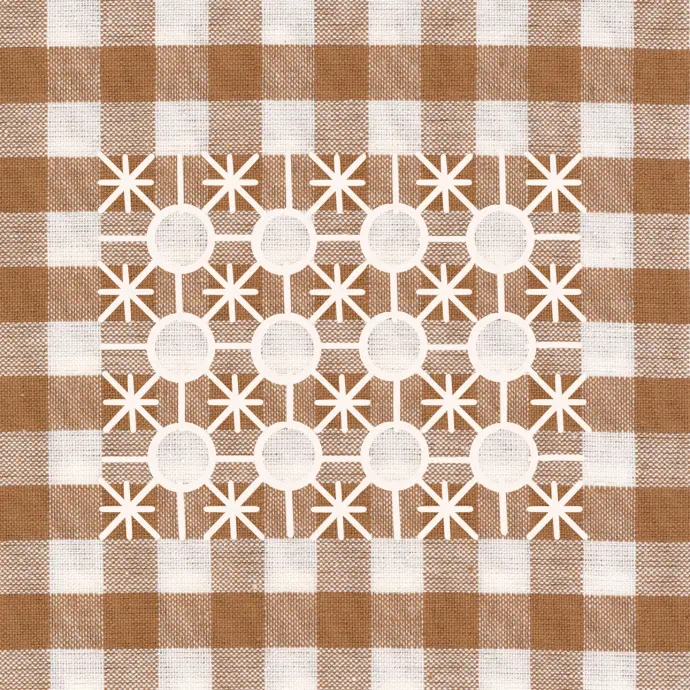
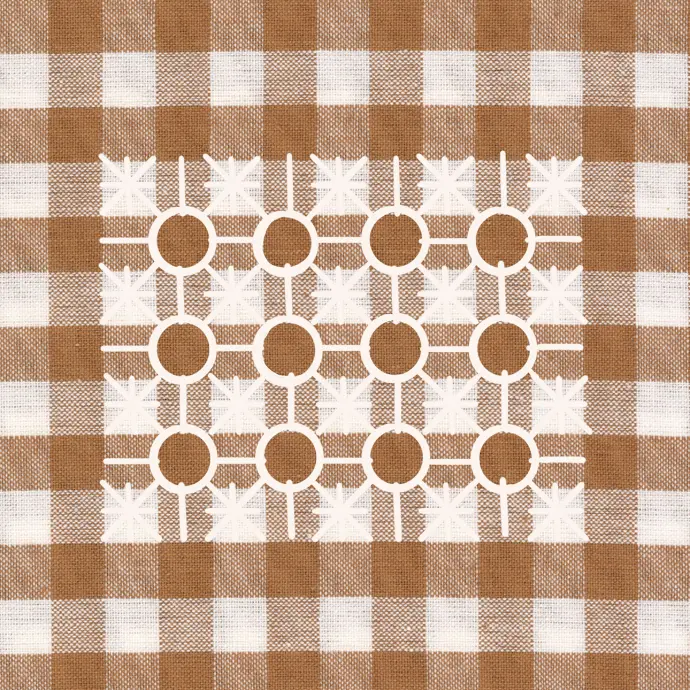
White thread around white checks
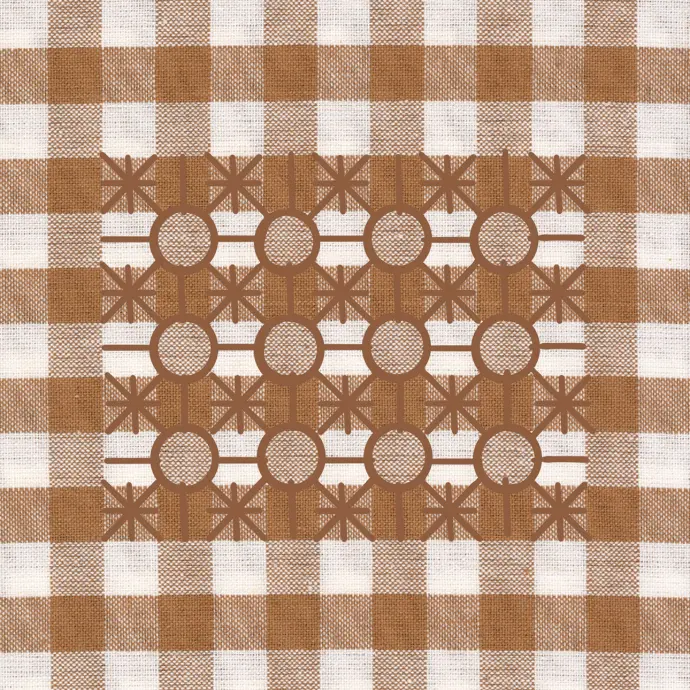
White thread around medium checks
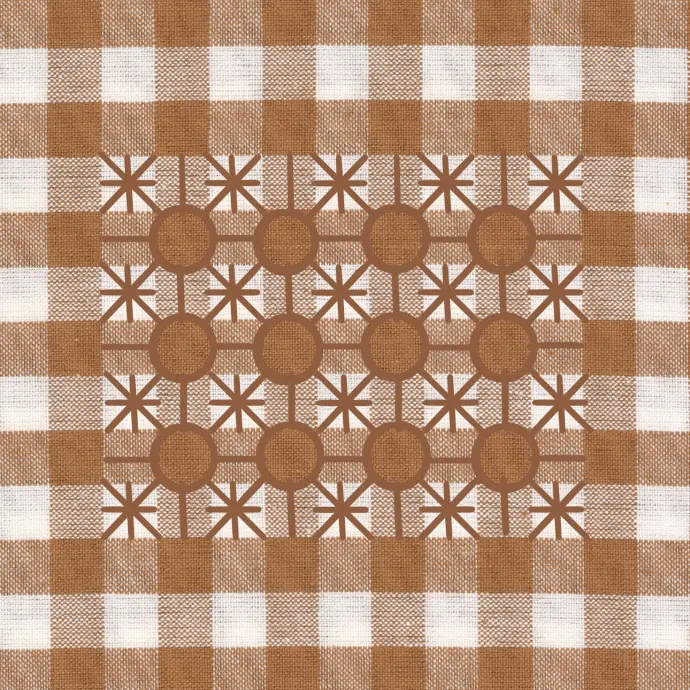
White thread around dark checks
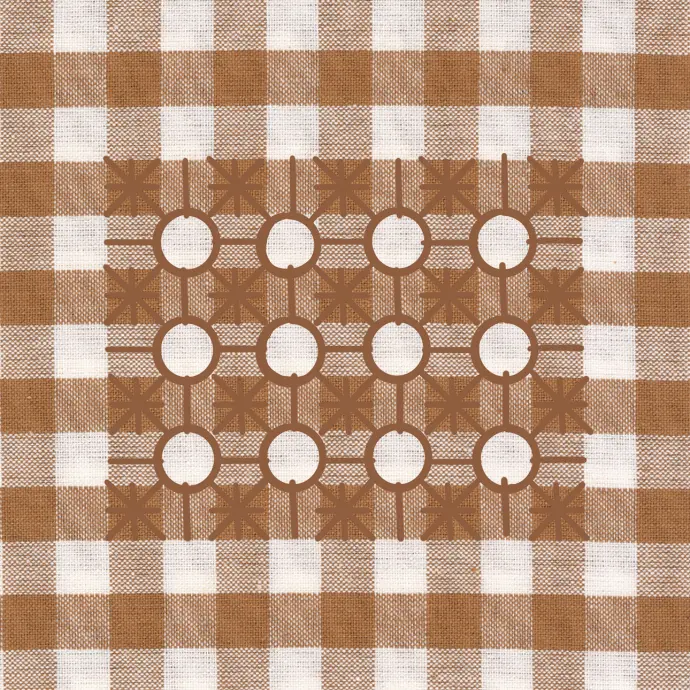
Dark thread around white checks
Dark thread around medium checks
Dark thread around dark checks
CLICK HERE to download and print the gingham graph below to draw out your Chicken Scratch ideas!