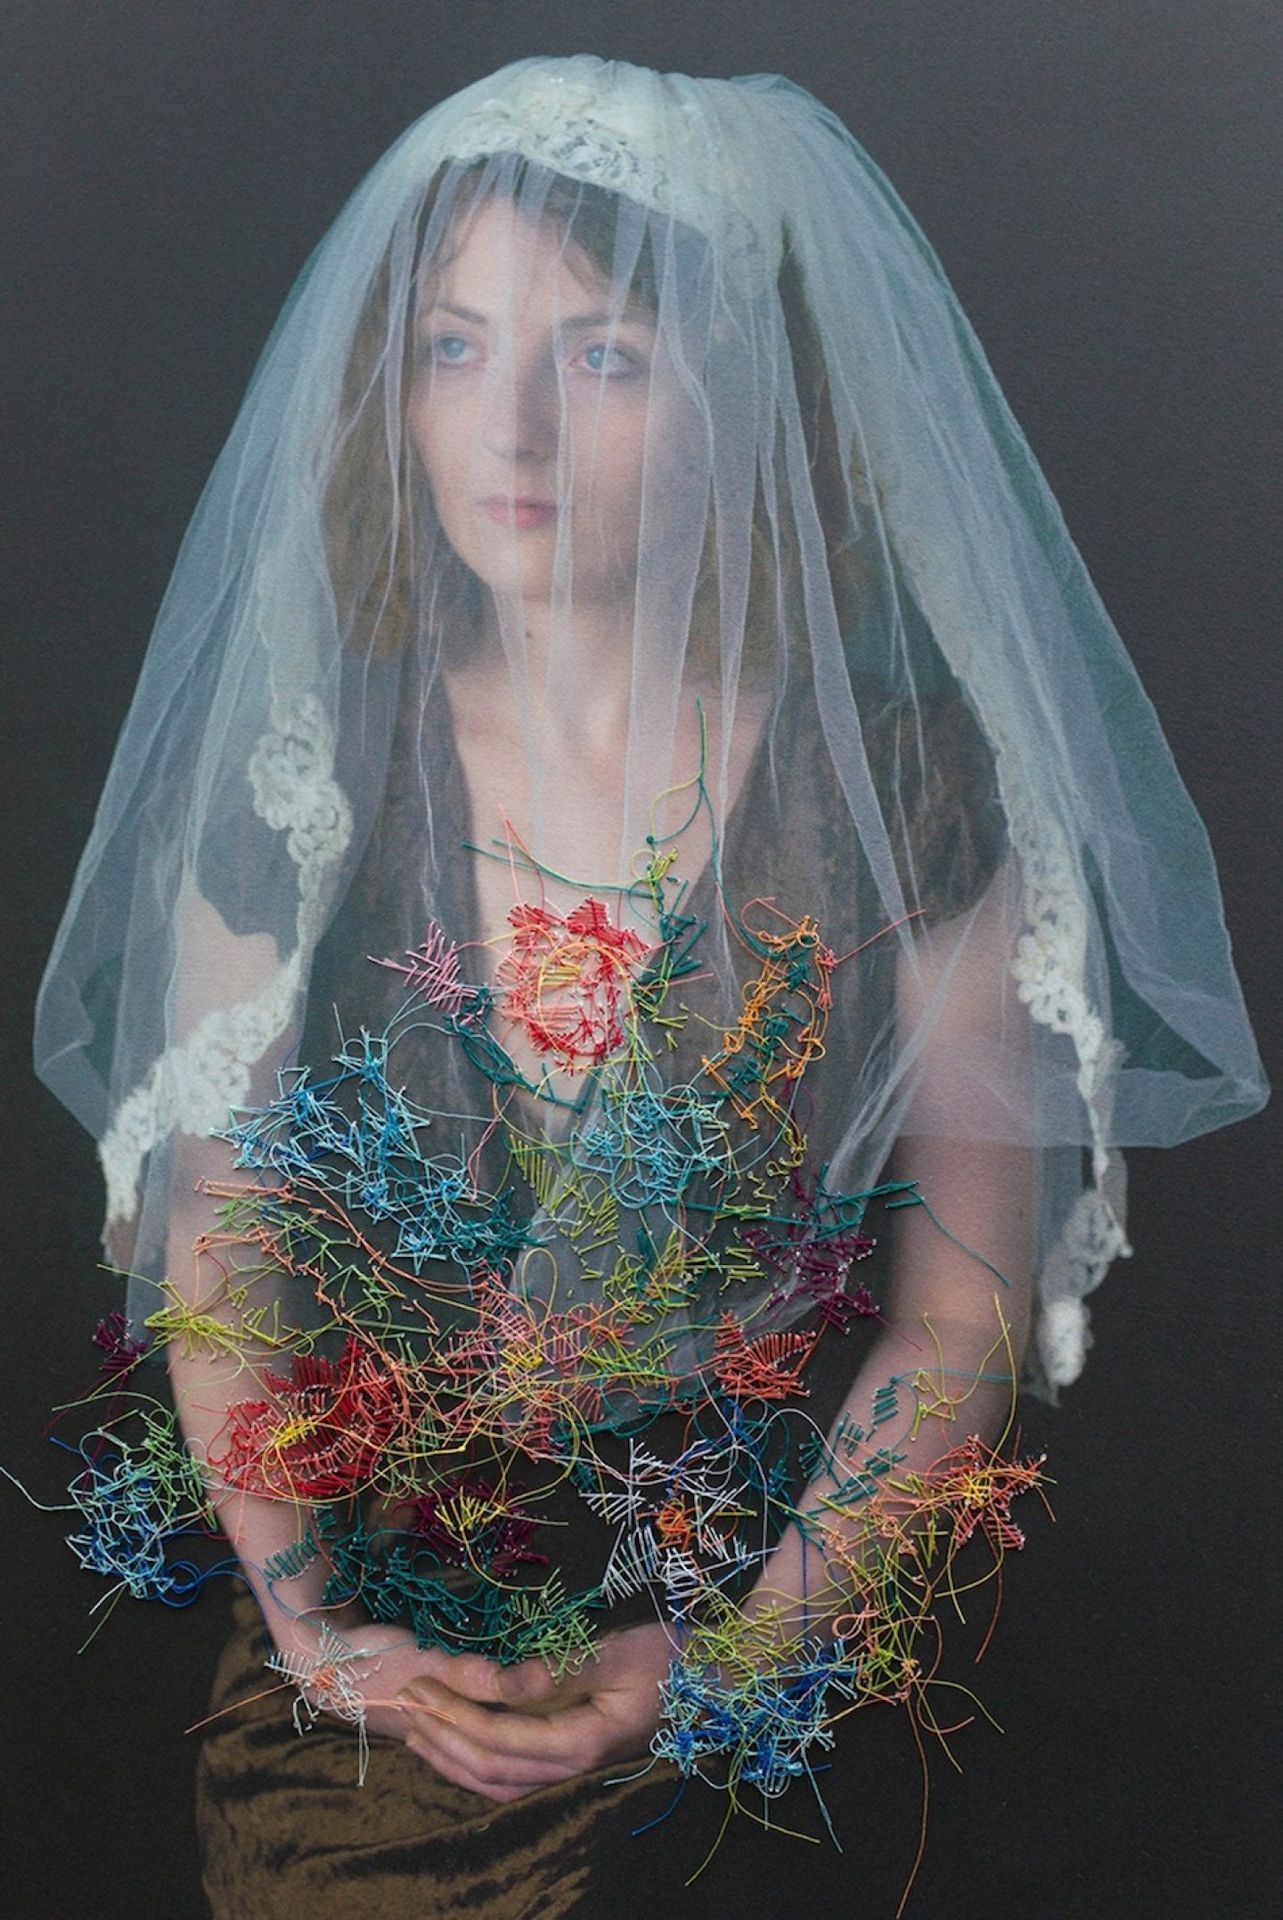
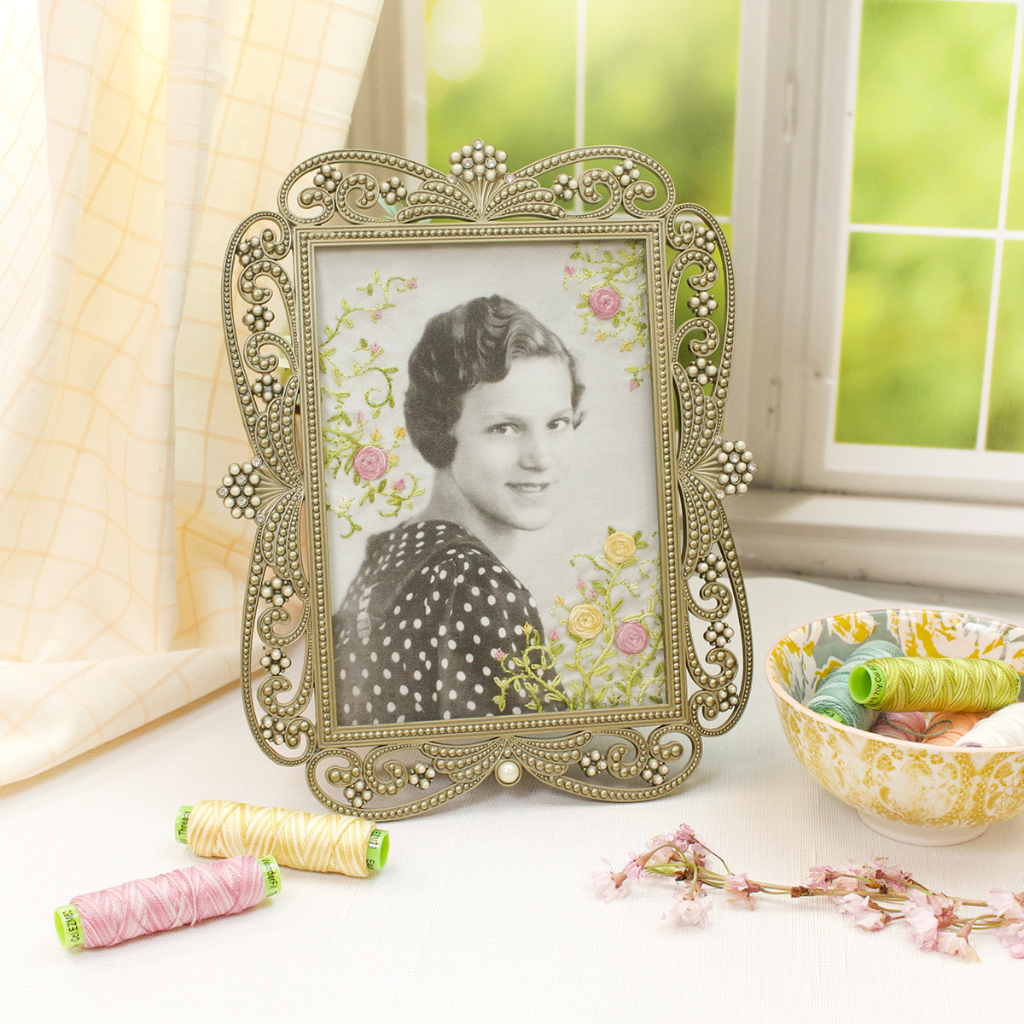
Bring your memories to life one stitch at a time. Let us show you how to print your favorite photos directly onto fabric using Inkjet Fabric Sheets right from your home printer, then transform them with beautiful hand embroidery. Whether you’re creating a heartfelt Mother’s Day portrait or stitching cherished family recipes into a one-of-a-kind tea towel, this technique opens the door to meaningful, memory-filled sewing projects that are as personal as they are stunning.
Get Your Inkjet Fabric Sheets Today!
How it Works
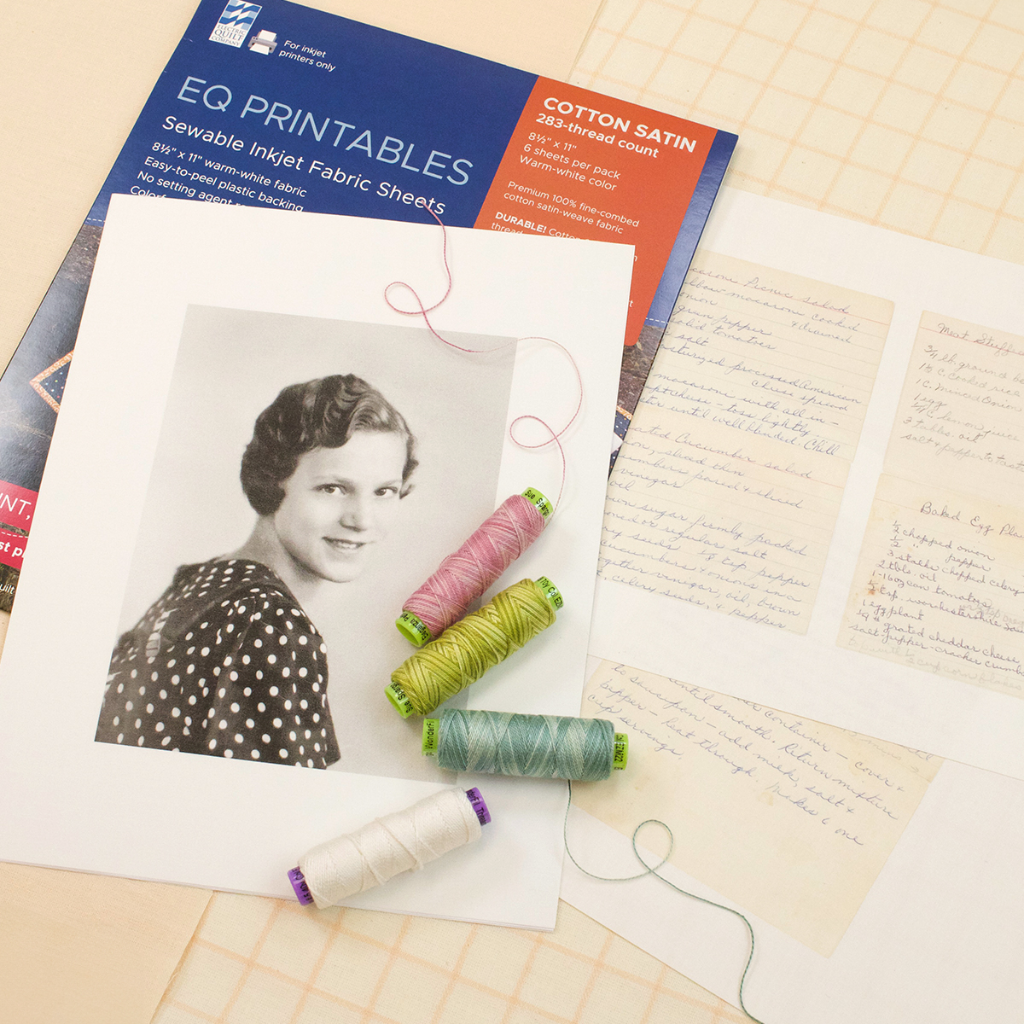
When printing photos, follow the instructions included in your pack of Inkjet Fabric Sheets.
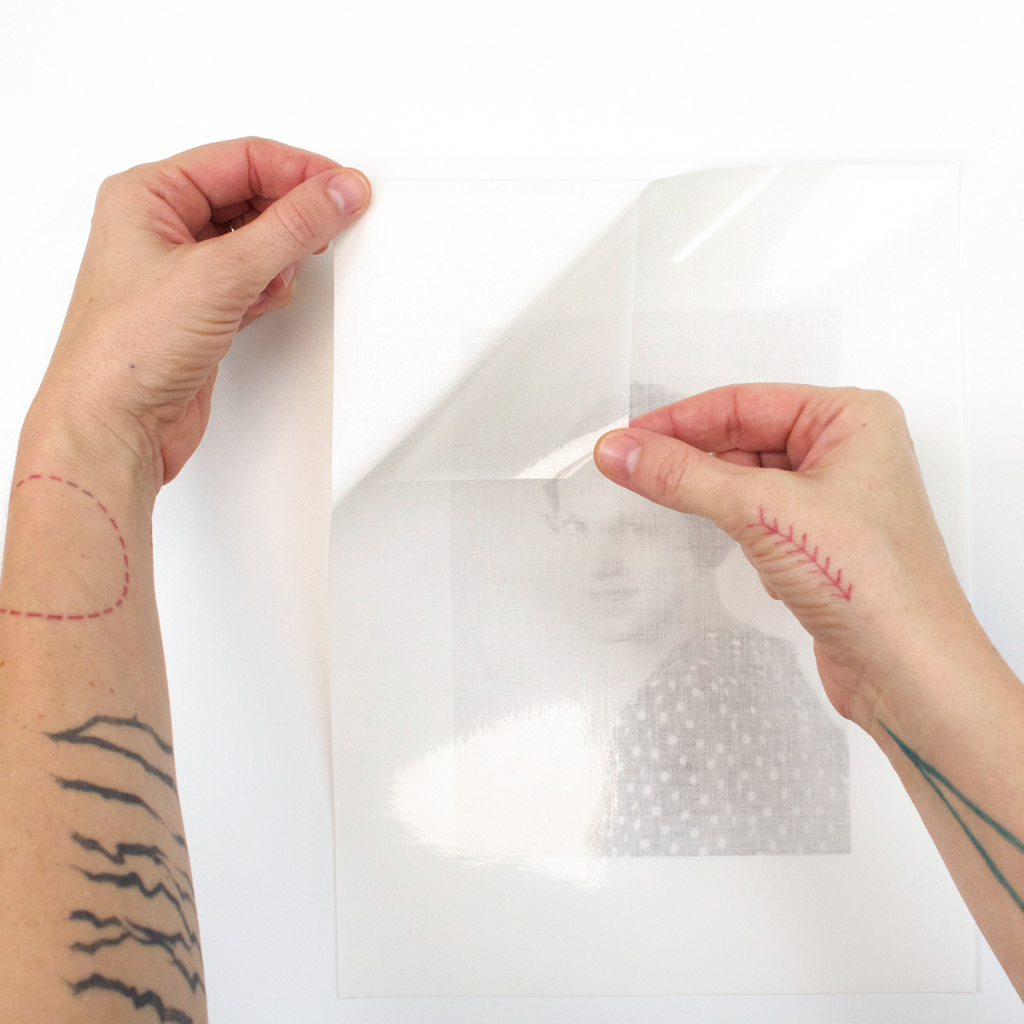
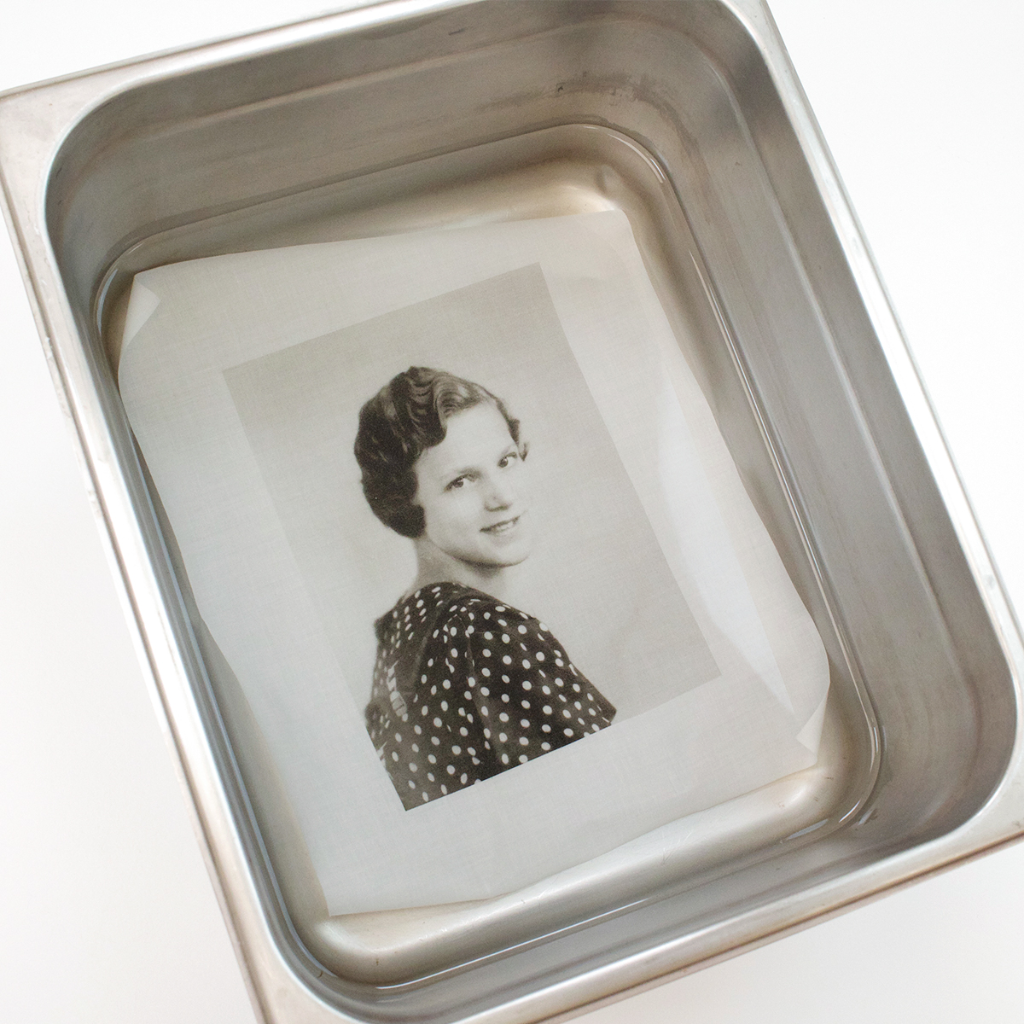
Peel off the backing and soak the printed fabric in room temperature water for 10 minutes.
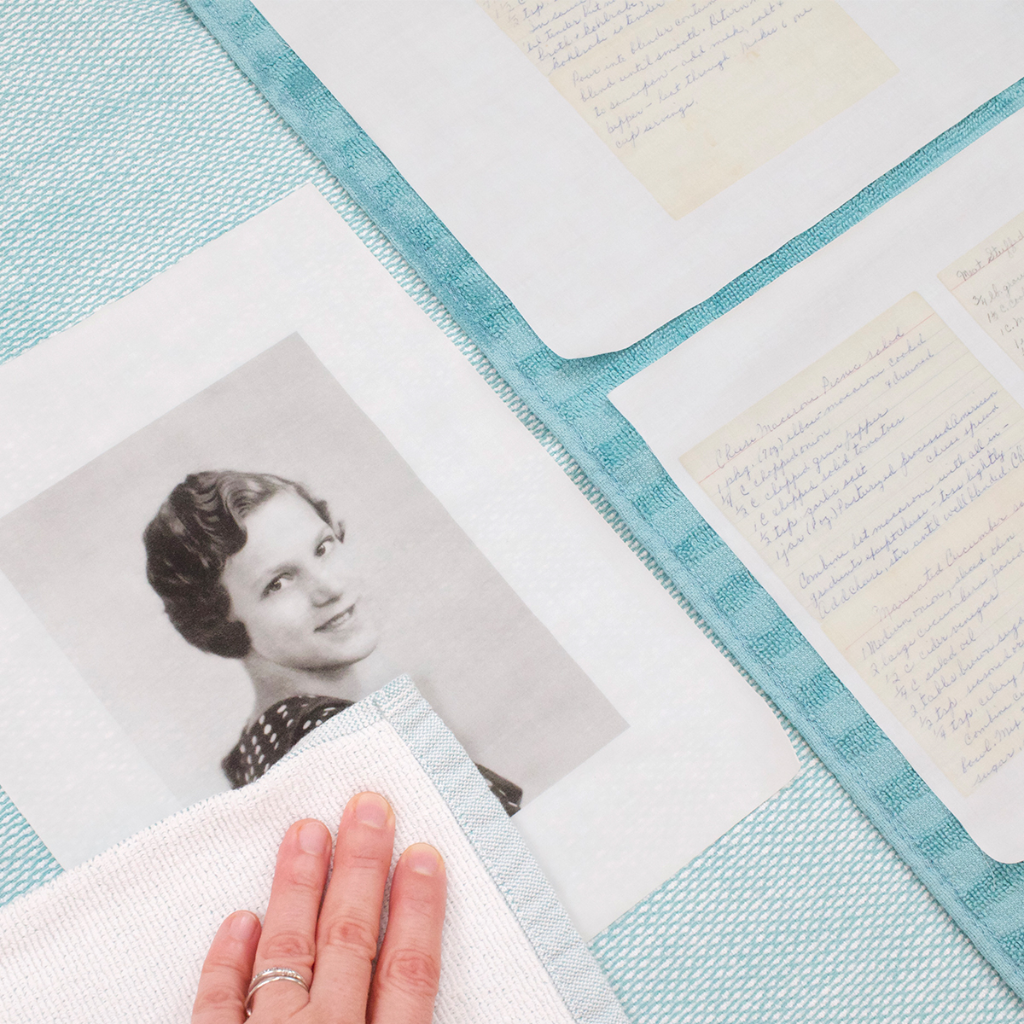
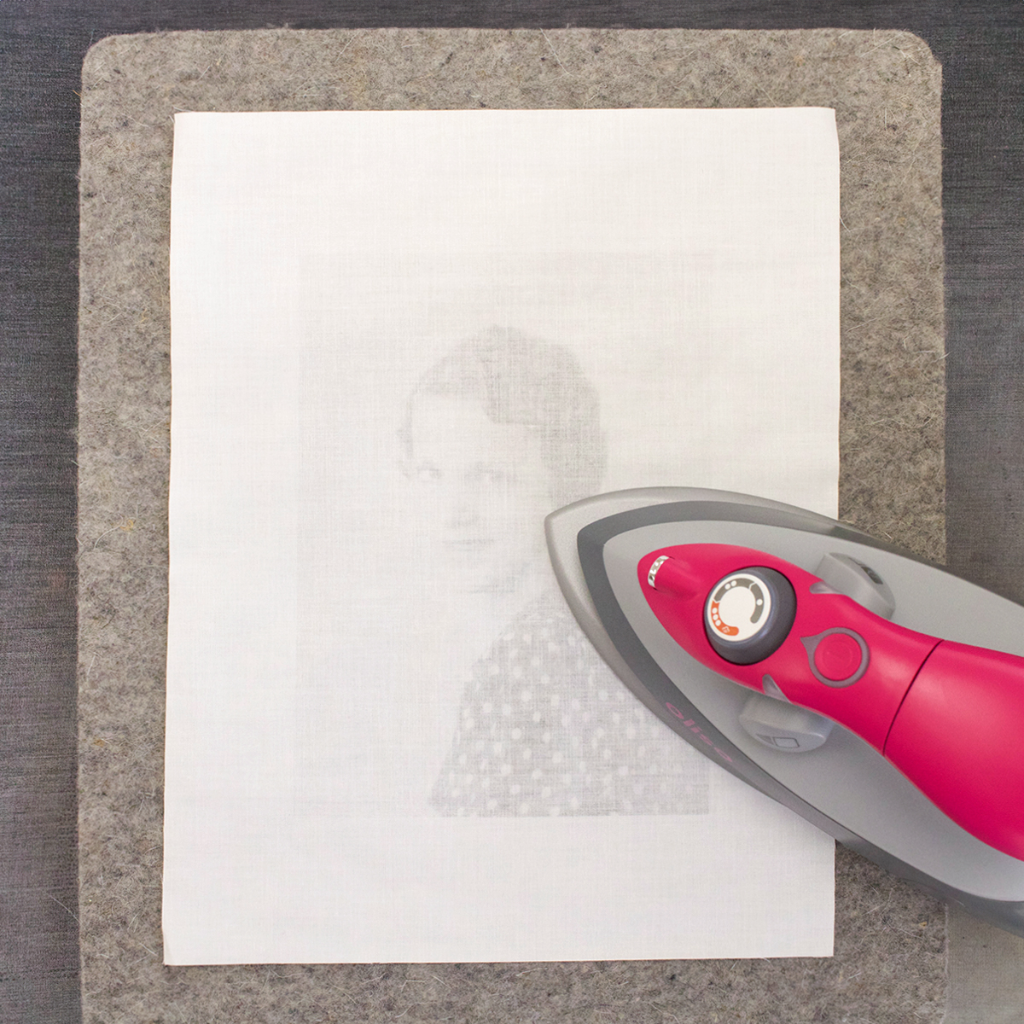
Lay flat and blot dry. Press to remove any wrinkles.
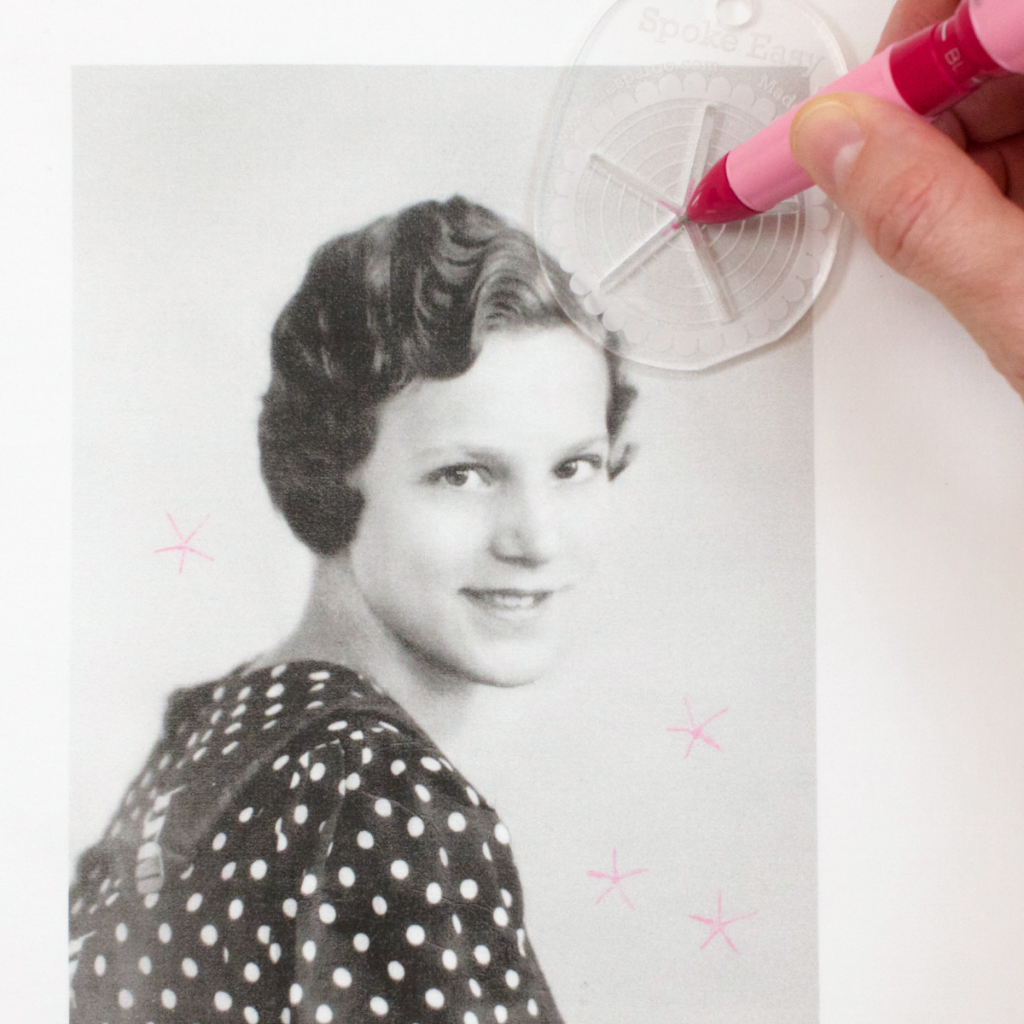
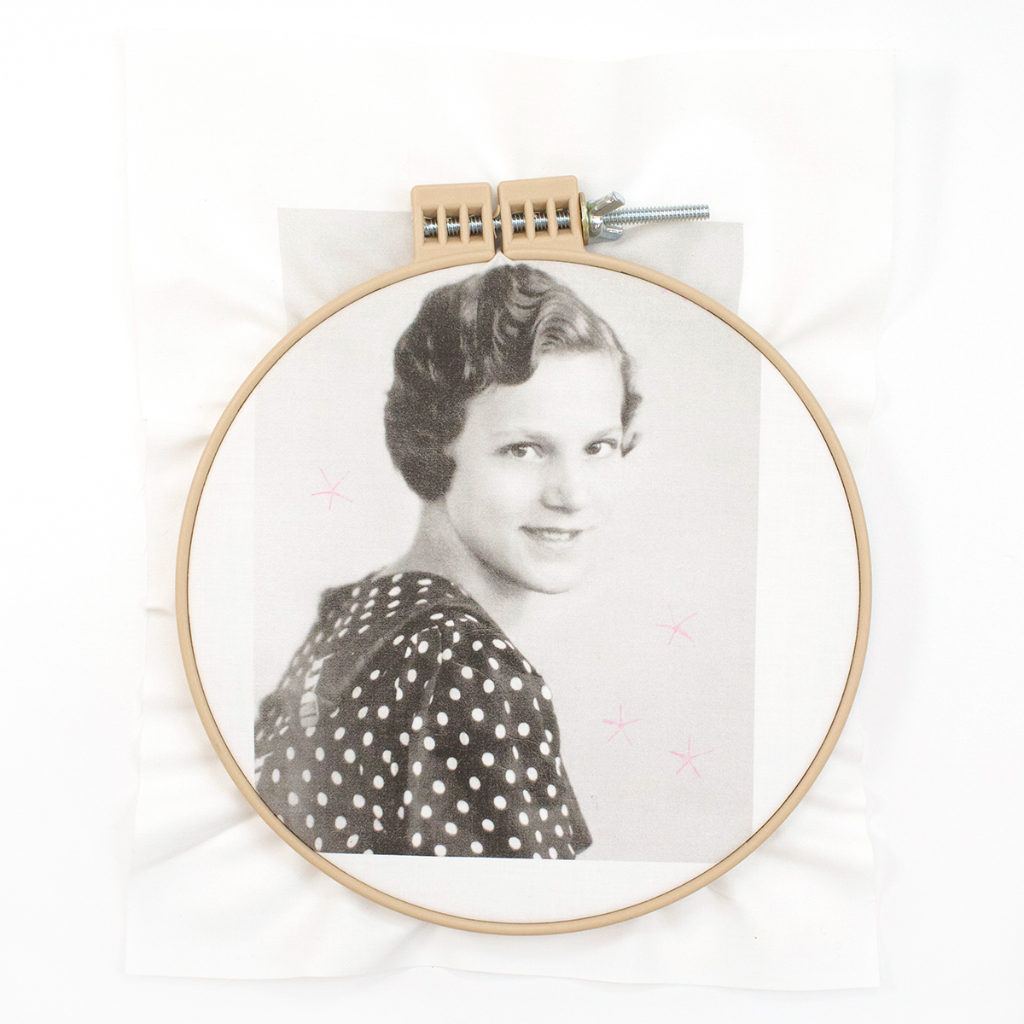
Gathered embroidery ideas from Sue's Creative Stitching Book. Lightly sketch out your embroidery design. We used the Sewline Trio Chalk Pencil with the Spoke Easy (5 spoke) and planned for where we wanted woven circle roses. We used a 7" Hoop and selected some beautiful Eleganza variegates to stitch with.
See how to make woven circle roses in the video below!
Other Stitches Used:
- Vines and Stems: Stem Stitch (pg 82), Backstitch (pg 34)
- Leaves and Rose Buds: Detached Chain Stitch (pg 52)
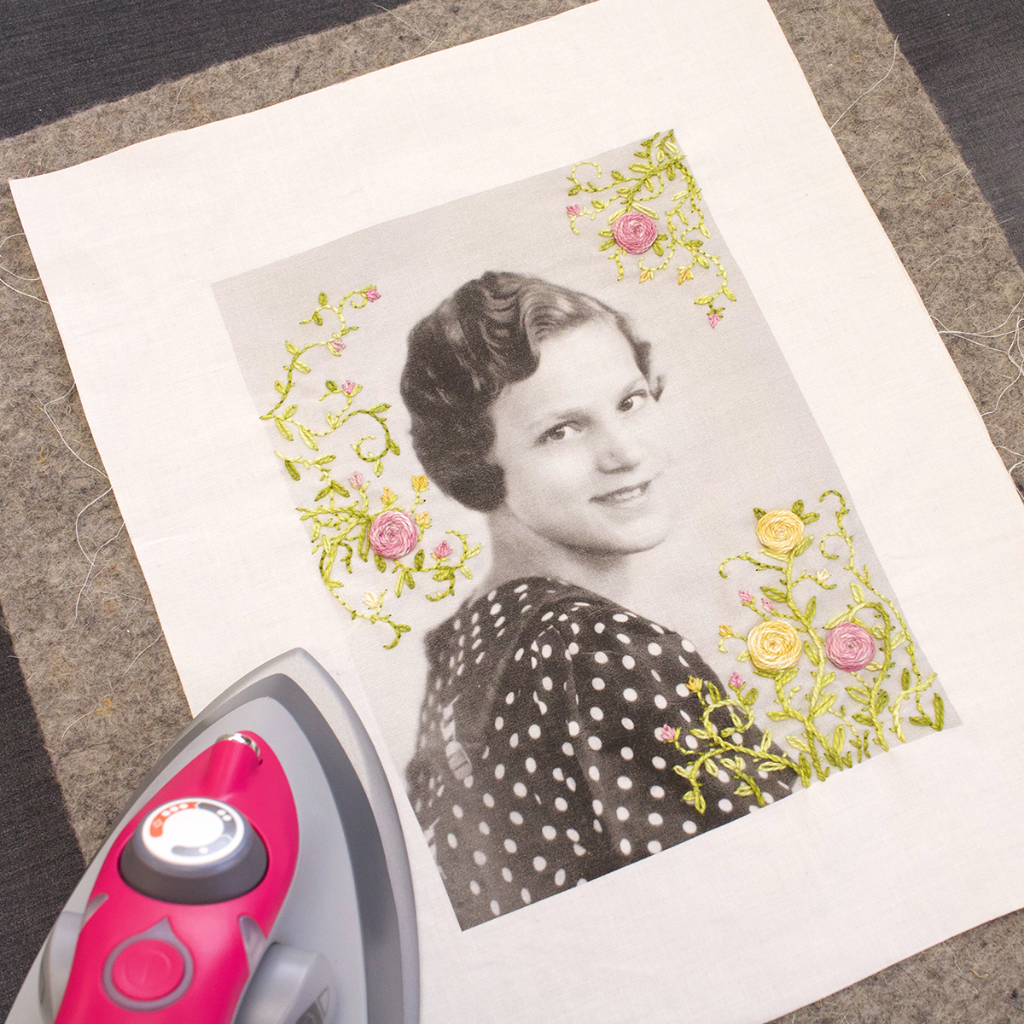
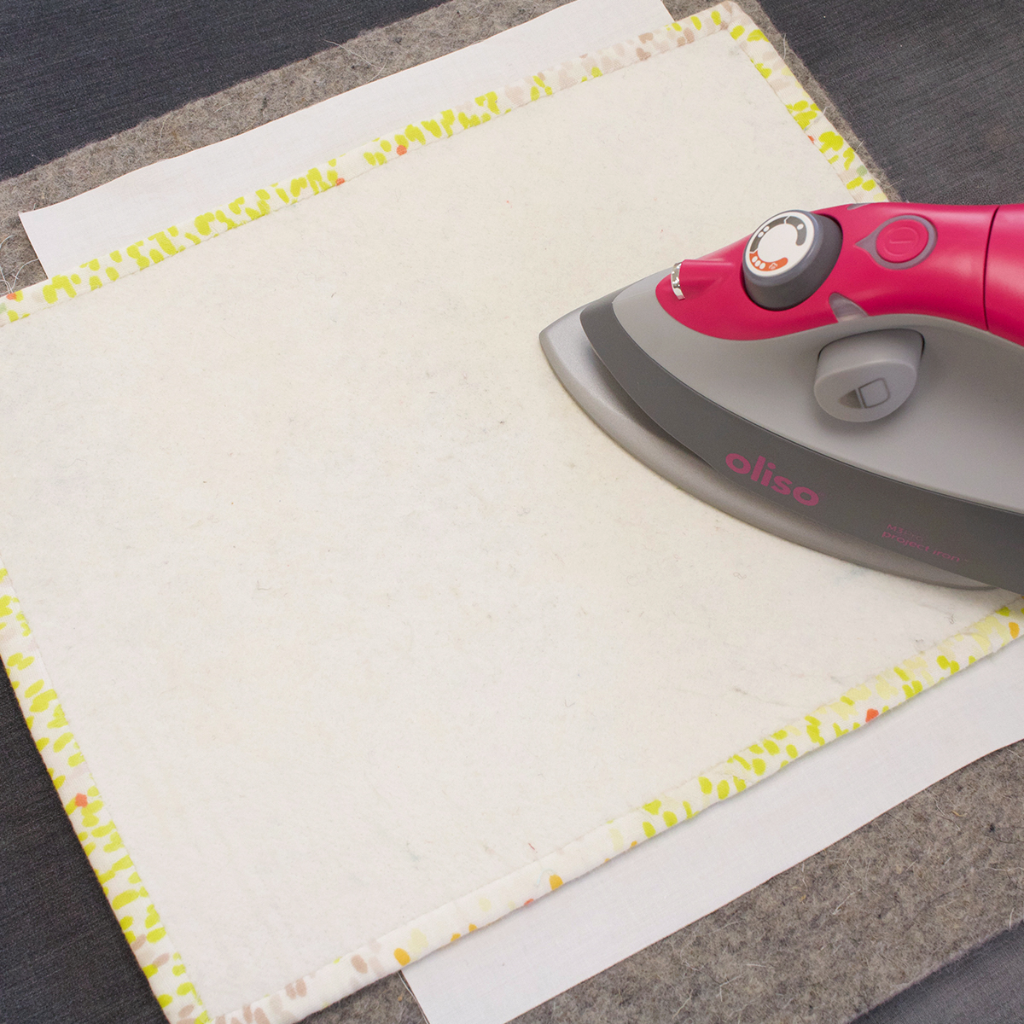
Press to remove wrinkles. Place a Press Cloth over embroidered areas to protect them and prevent flattening the dimensional stitching.
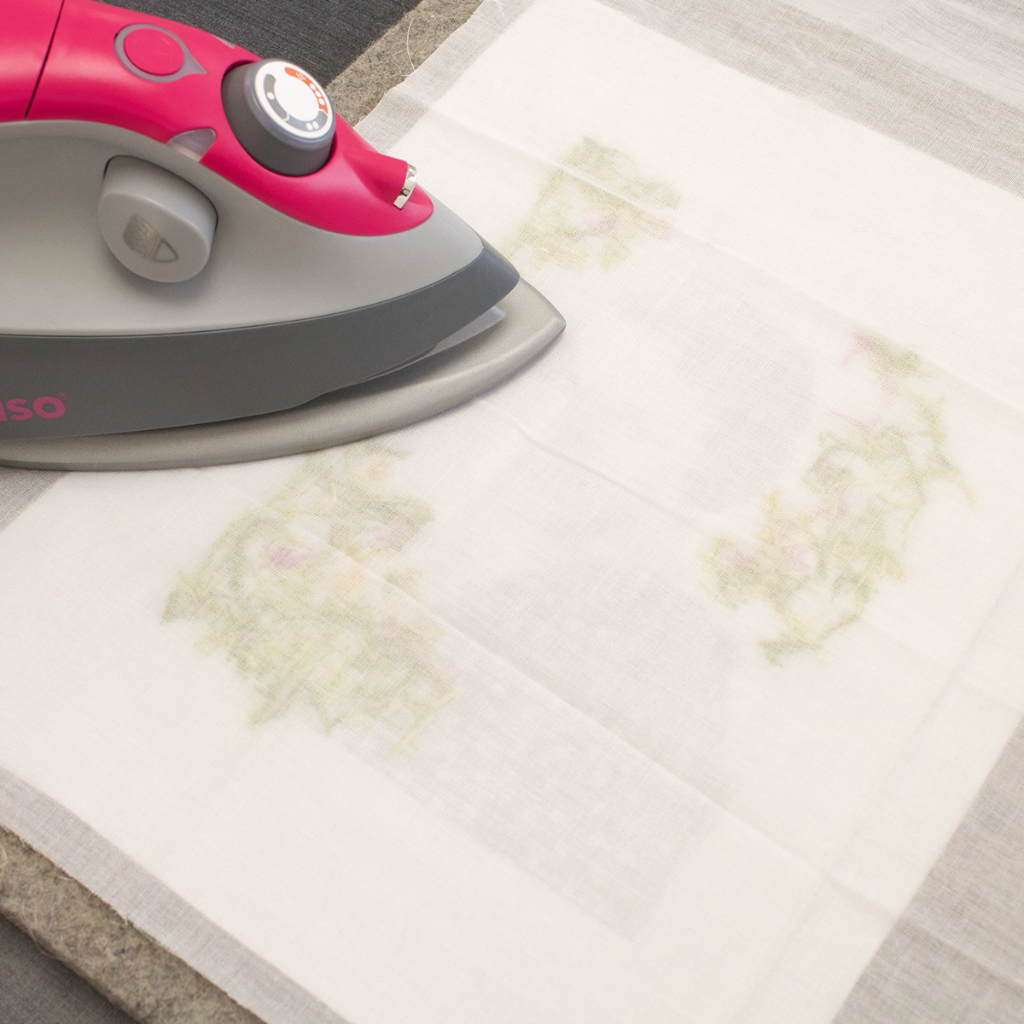
Ironing Presto Sheer to the backside will help protect and stabilize your embroidered photo. For added rigidity, you can adhere the fabric to cardstock or board using 505 Spray and Fix.
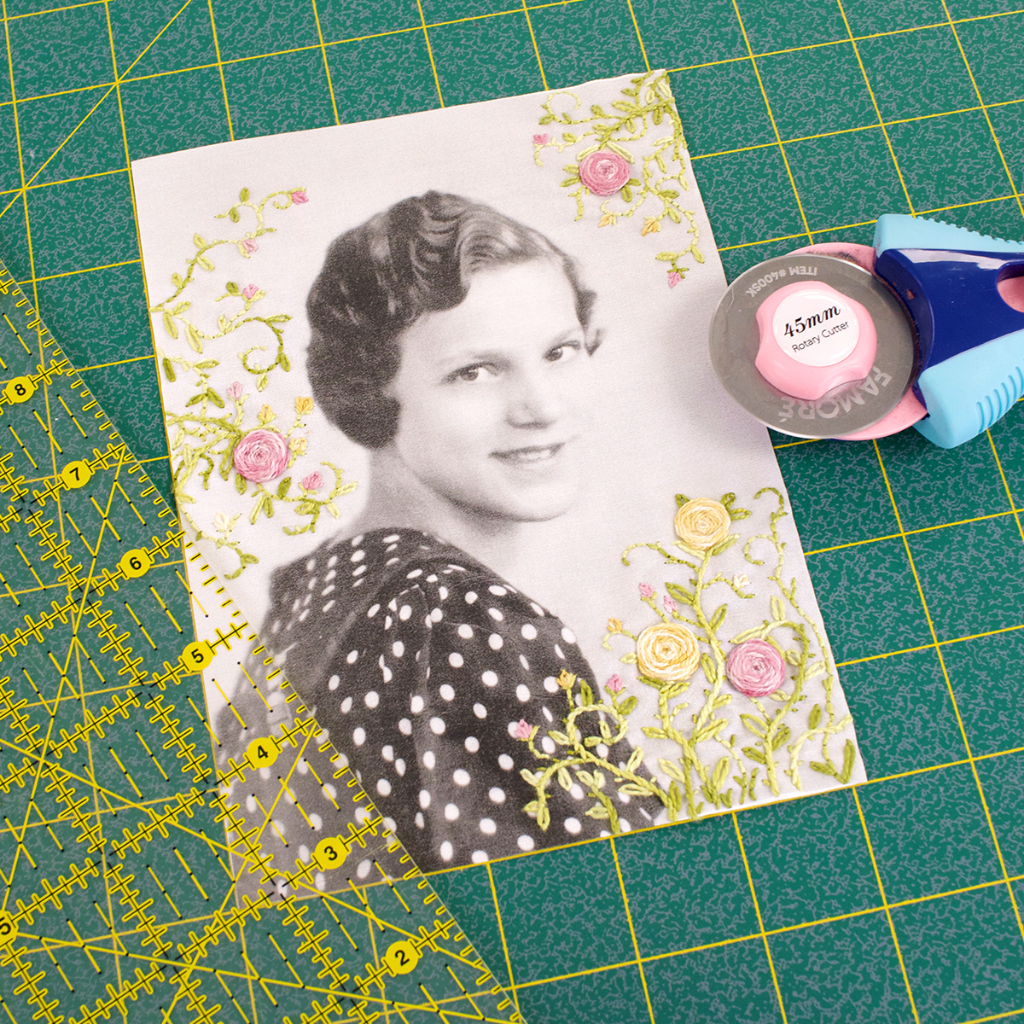
Trim to size, frame, and delight in your beautiful keepsake creation!
Mom's Recipe Tea Towel
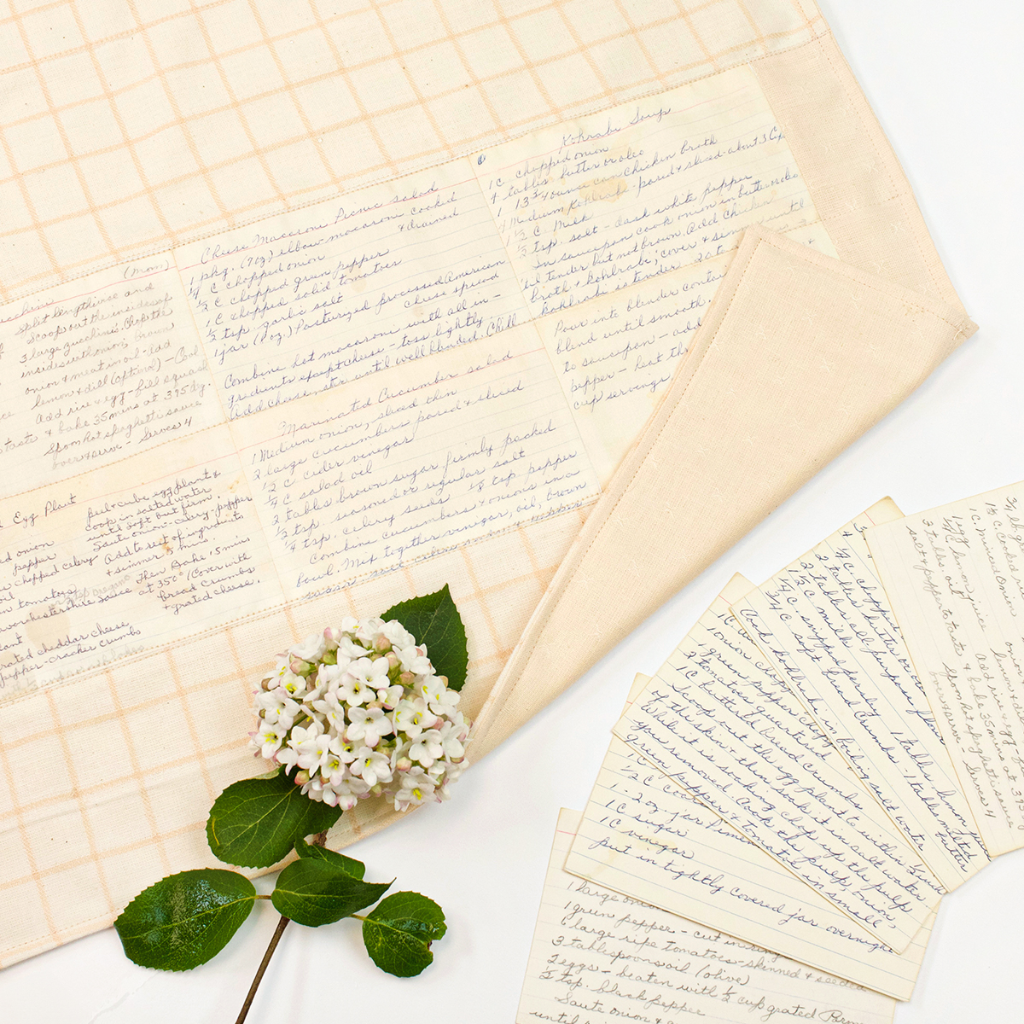
This gorgeous decorative tea towel was made using 2 half yards of woven cotton fabric. Fableism wovens are our favorite! We used Fableism's Trellis Wovens in Peachy for the front and Sprout Wovens in Almond for the back.
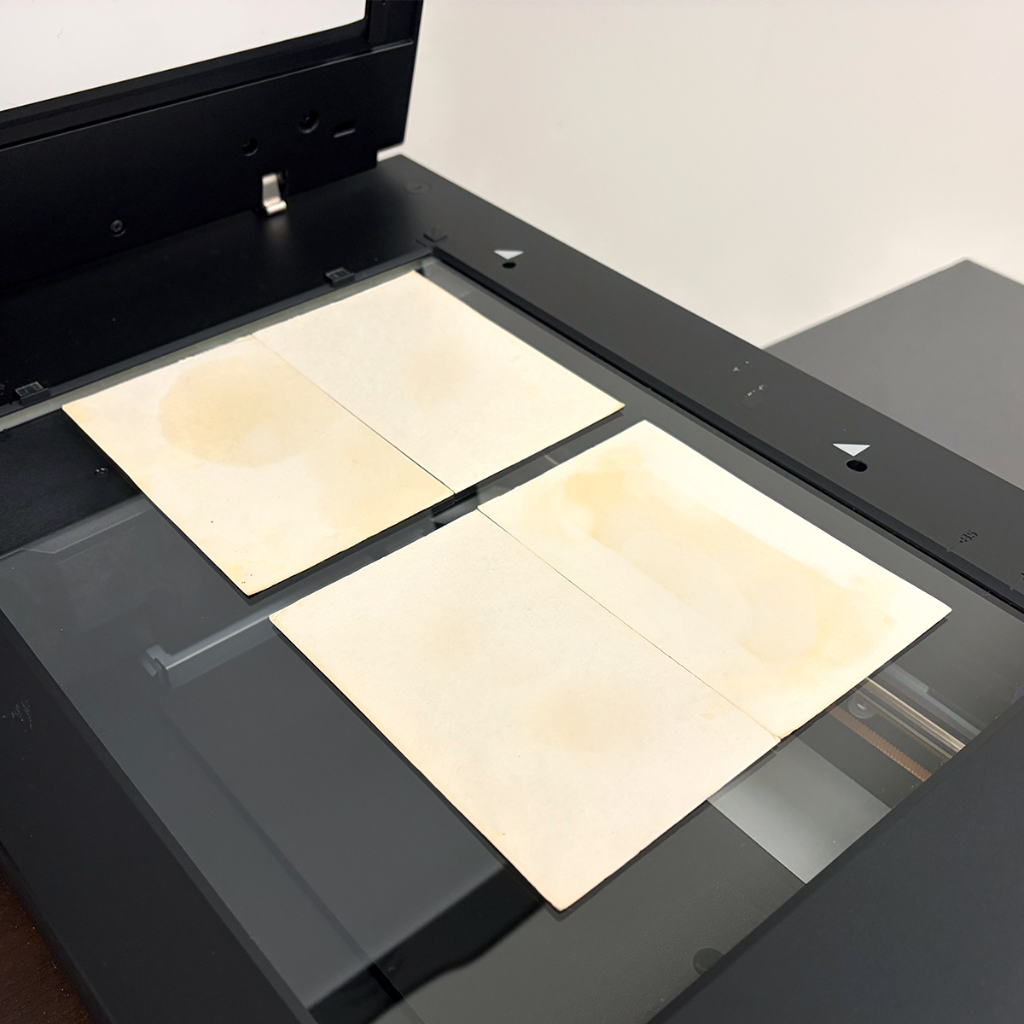
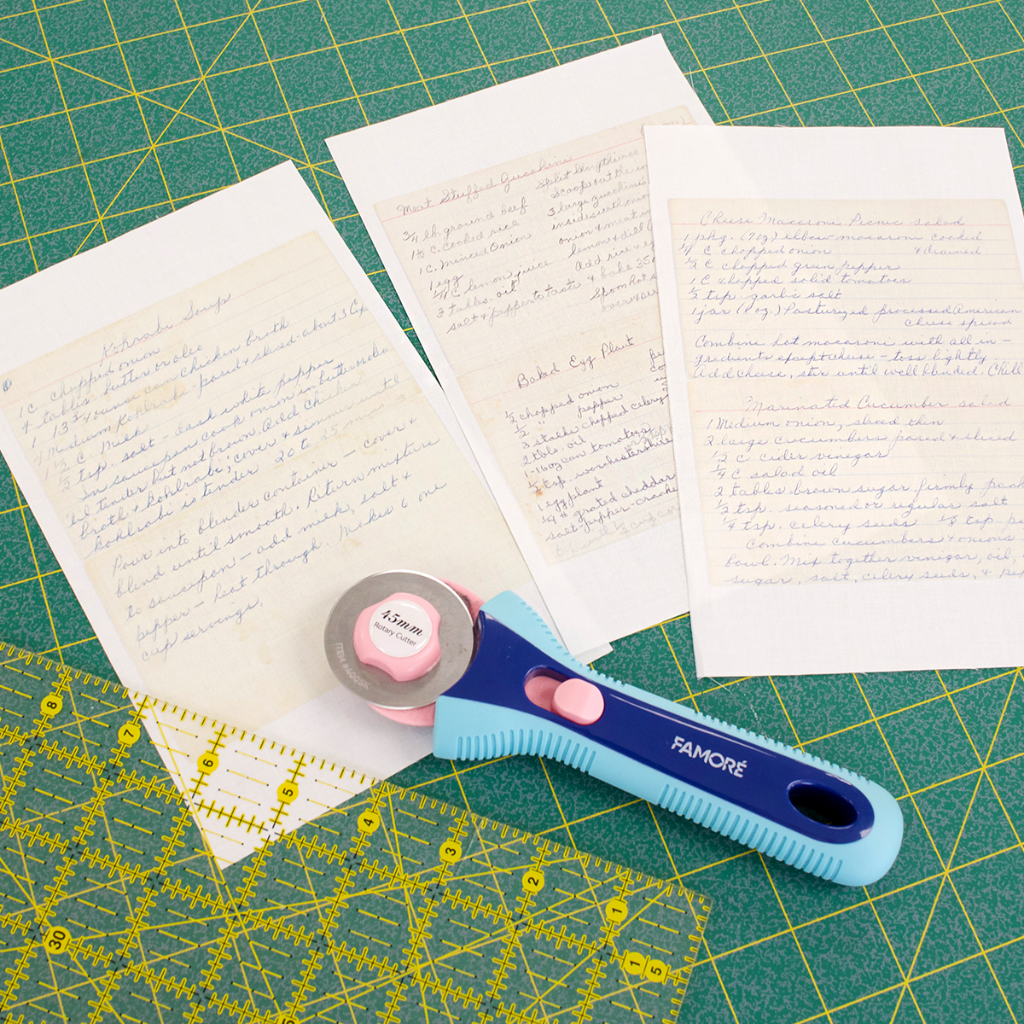
To create the decorative recipe panel, scan your favorite family recipe cards. If you don't have a scanner, your local print shop should be able to do this for you. Next, print the scanned recipe cards onto your Inkjet Fabric Sheets (follow all instructions). You could create the entire front of a tea towel from pieced-together recipes, or, like us, design a decorative panel of recipes within the tea towel.
We created three sections of recipe cards, each featuring two 3×5" cards aligned one above the other. Trim the sides of these printed sections leaving a 1/4" seam allowance.
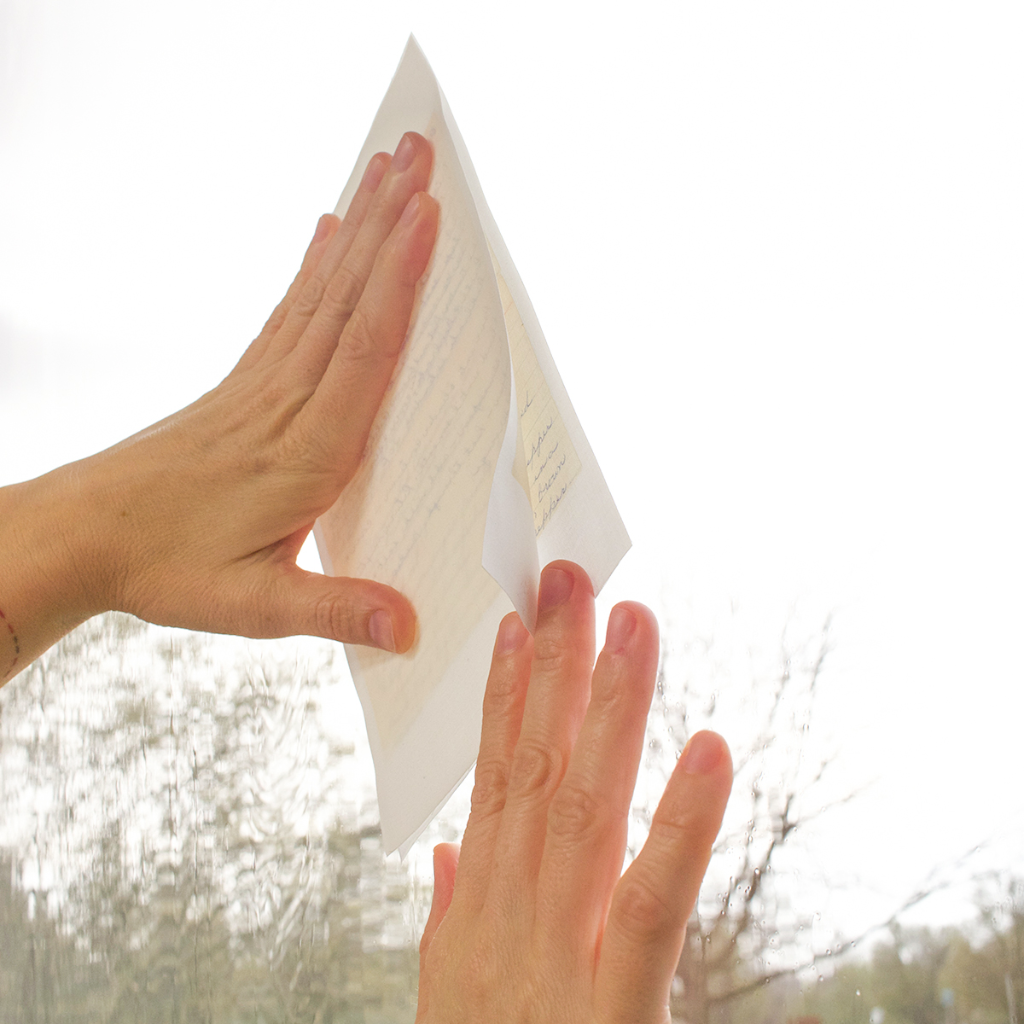
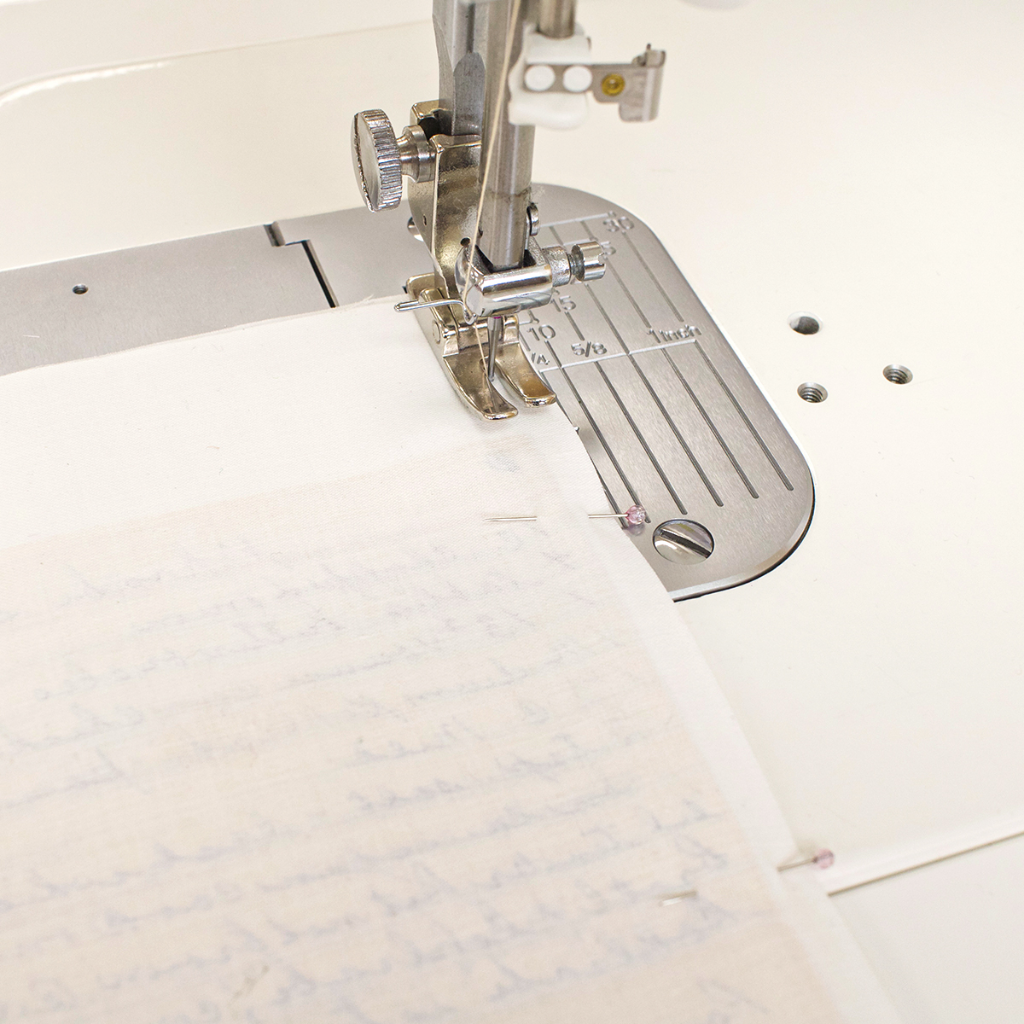
Before stitching all three sections together, first place the two sections right sides together, carefully aligning the printed edges. For best accuracy, hold the fabric up to a window or use a light box to match the prints precisely.
Pin in place, then machine sew along the edge of the aligned prints. For better accuracy, you may find it helpful to mark this line on the wrong side of the fabric while holding it up to a window or using a light box.
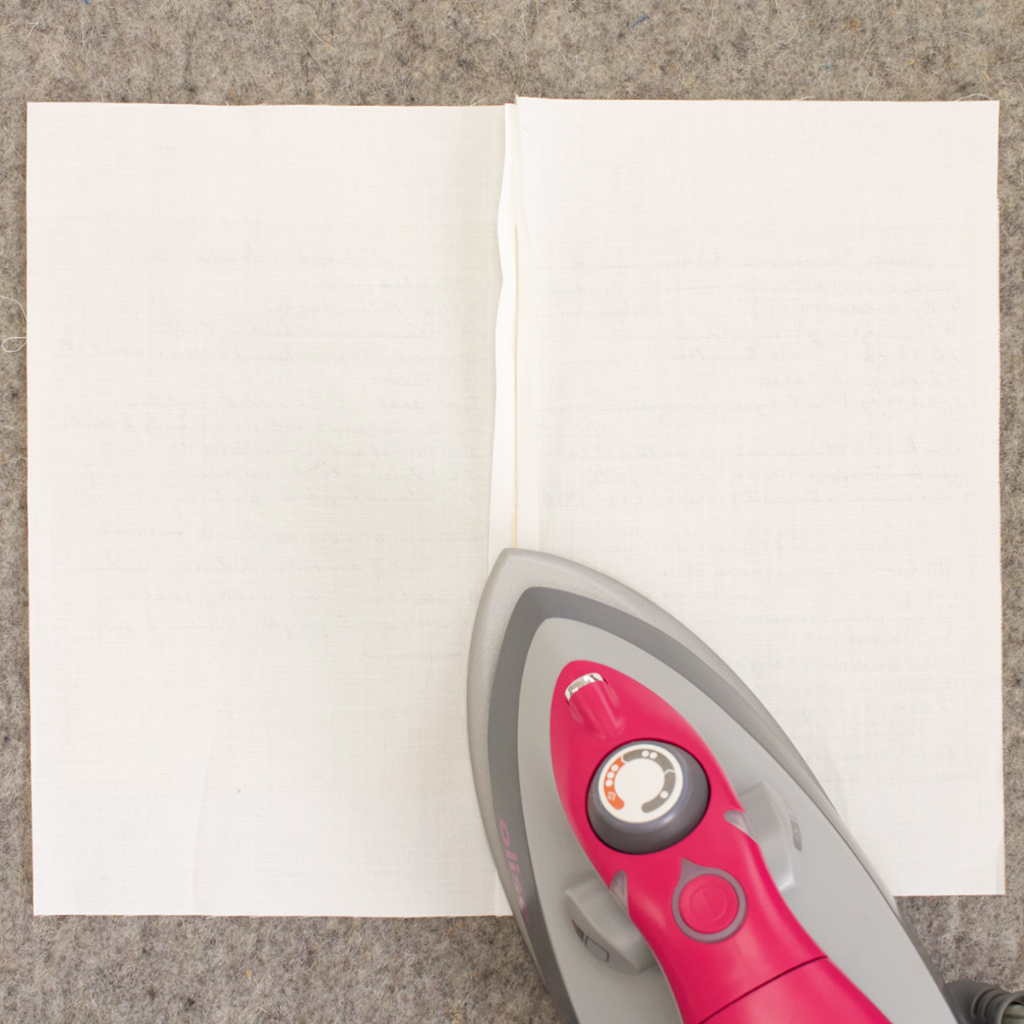
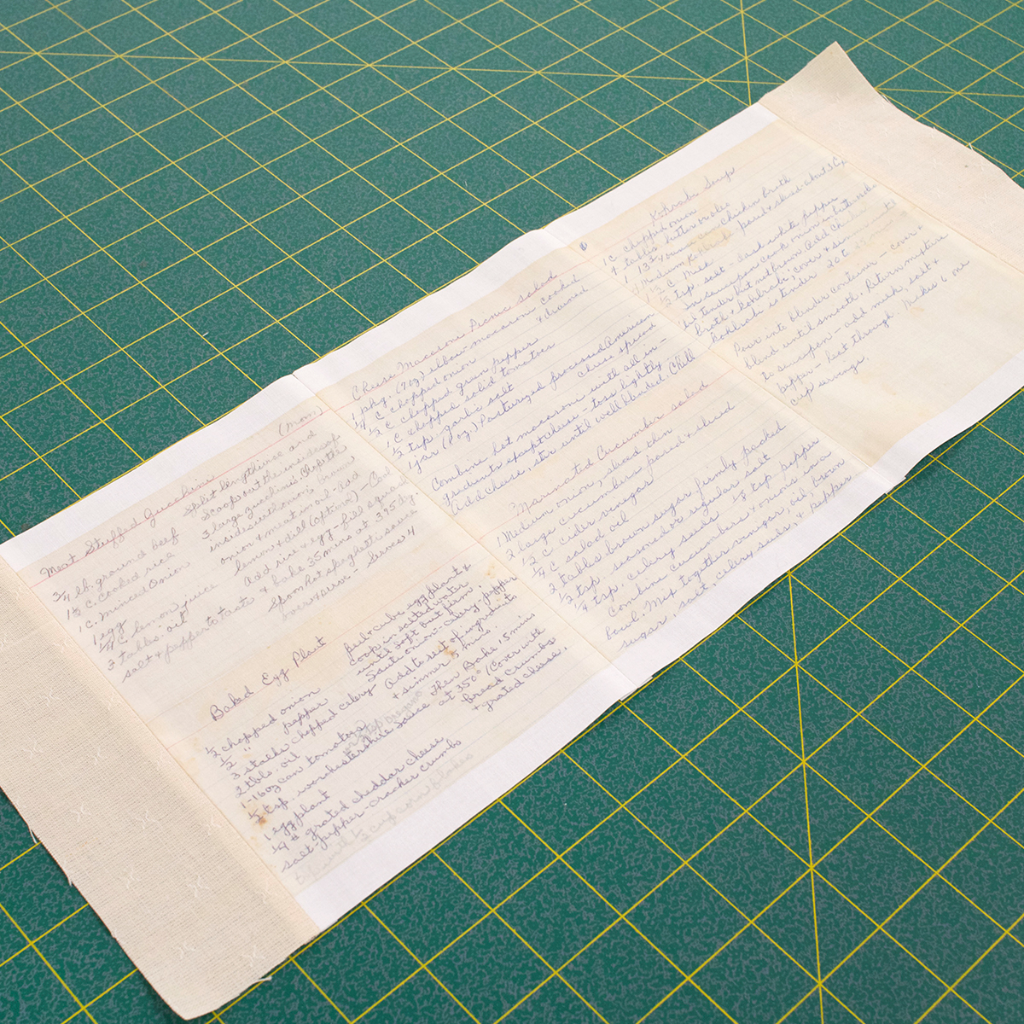
Press the seam open, then attach the third section in the same way as before.
We’re aiming for an 18" wide panel for our tea towel. Once all three printed sections are joined, the panel will measure about 15" wide. To reach the full width, use fabric from the half-yard cut for the towel back to add two small side pieces, extending the panel to 18".
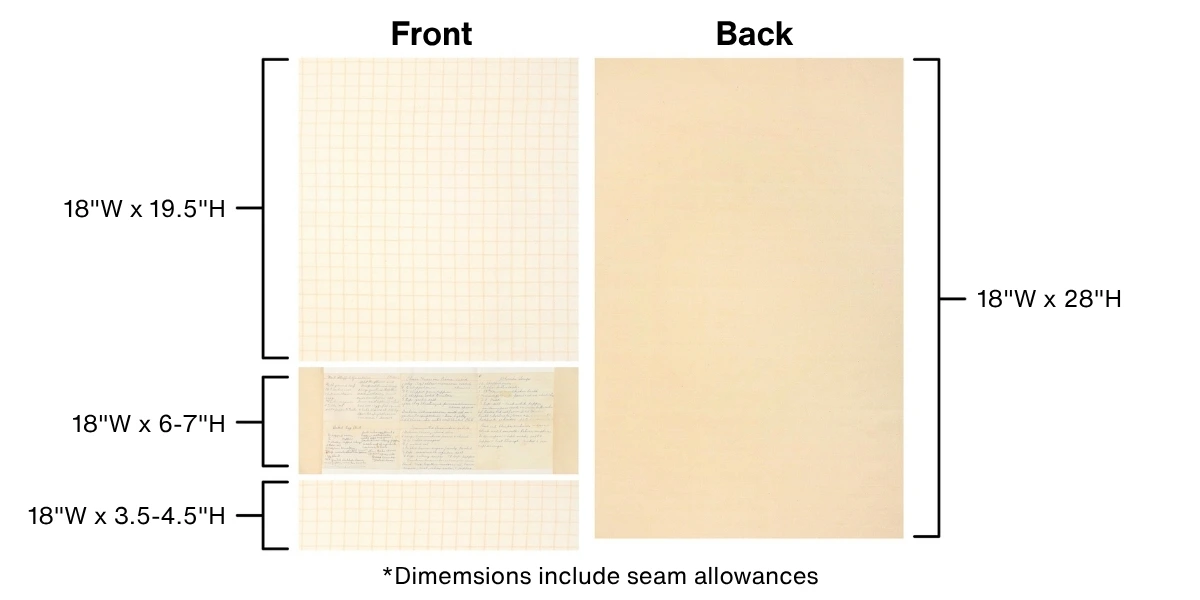
Let show you all the steps of how to make a tea towel in our quick and easy eLearning course!
Note: The dimensions shown above differ slightly from those used in the eLearning course. They have been adjusted to accommodate recipe cards printed at 100% scale.
eLearning Course: How to Make a Tea Towel
Artist Spotlight: Melissa Zexter
Artist Melissa Zexter is known for her delicate fusion of photography and hand embroidery, transforming found and vintage images into richly textured, narrative works. Her pieces often explore themes of memory, identity, and storytelling, inviting viewers to look more closely at the layers beneath the surface.
See more of Melissa work HERE!