Add texture, dimension, and personality to your stitching with Kurumi Buttons. These fabric-covered buttons are surprisingly easy to make—we'll show you how to wrap a simple plastic dome with your favorite fabric to create custom embellishments in minutes. Use them as flower centers, decorative accents, brooches, hair clips, or to add a unique finishing touch to garments, bags, and more.
Supplies
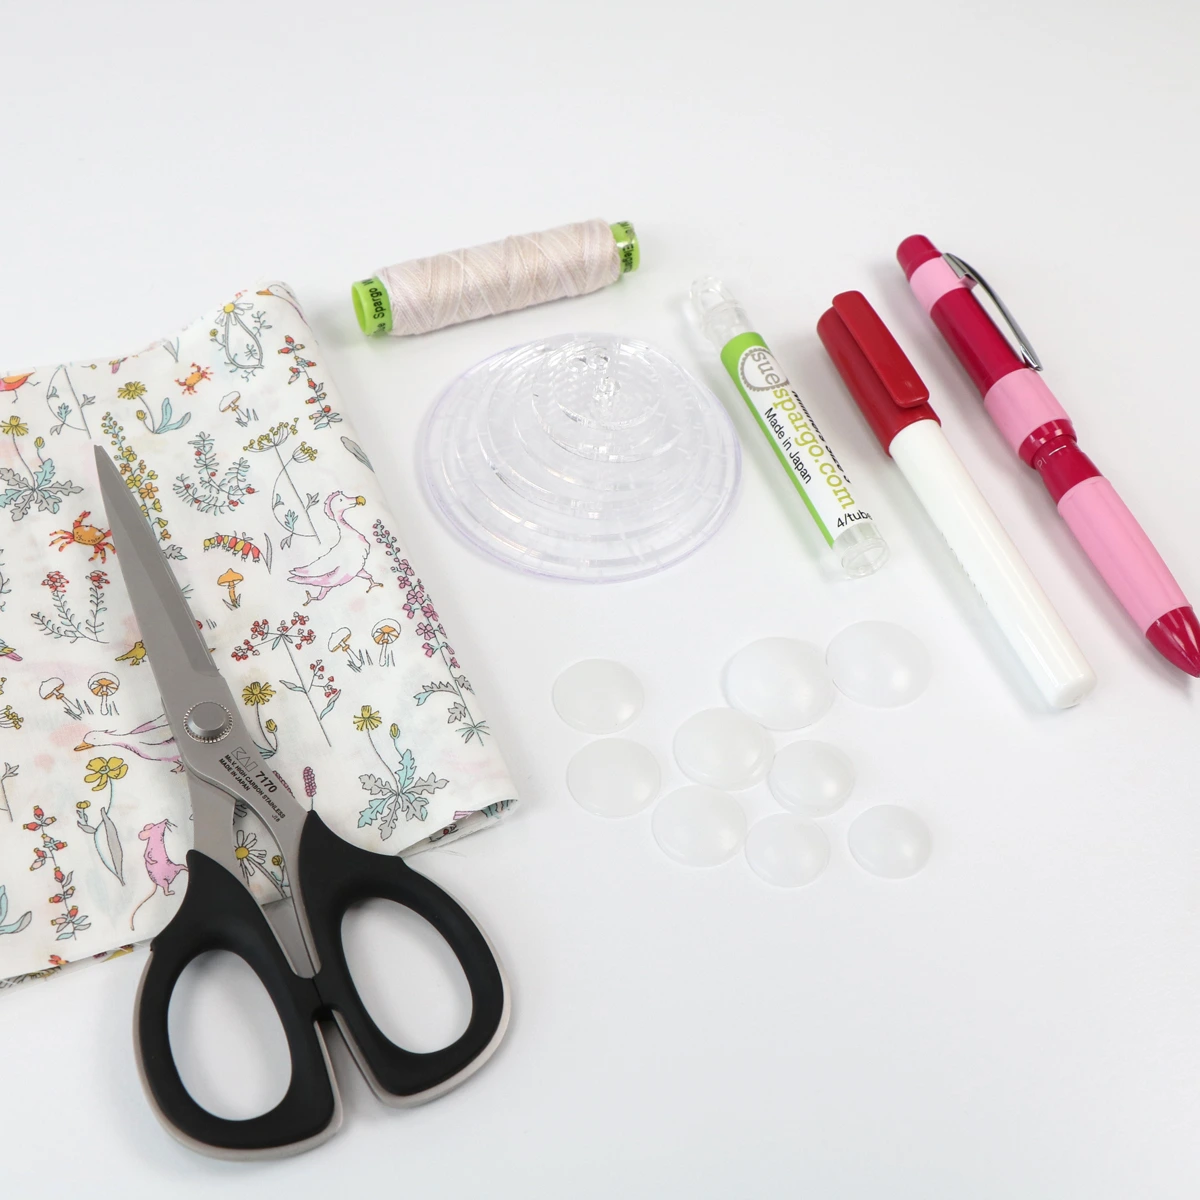
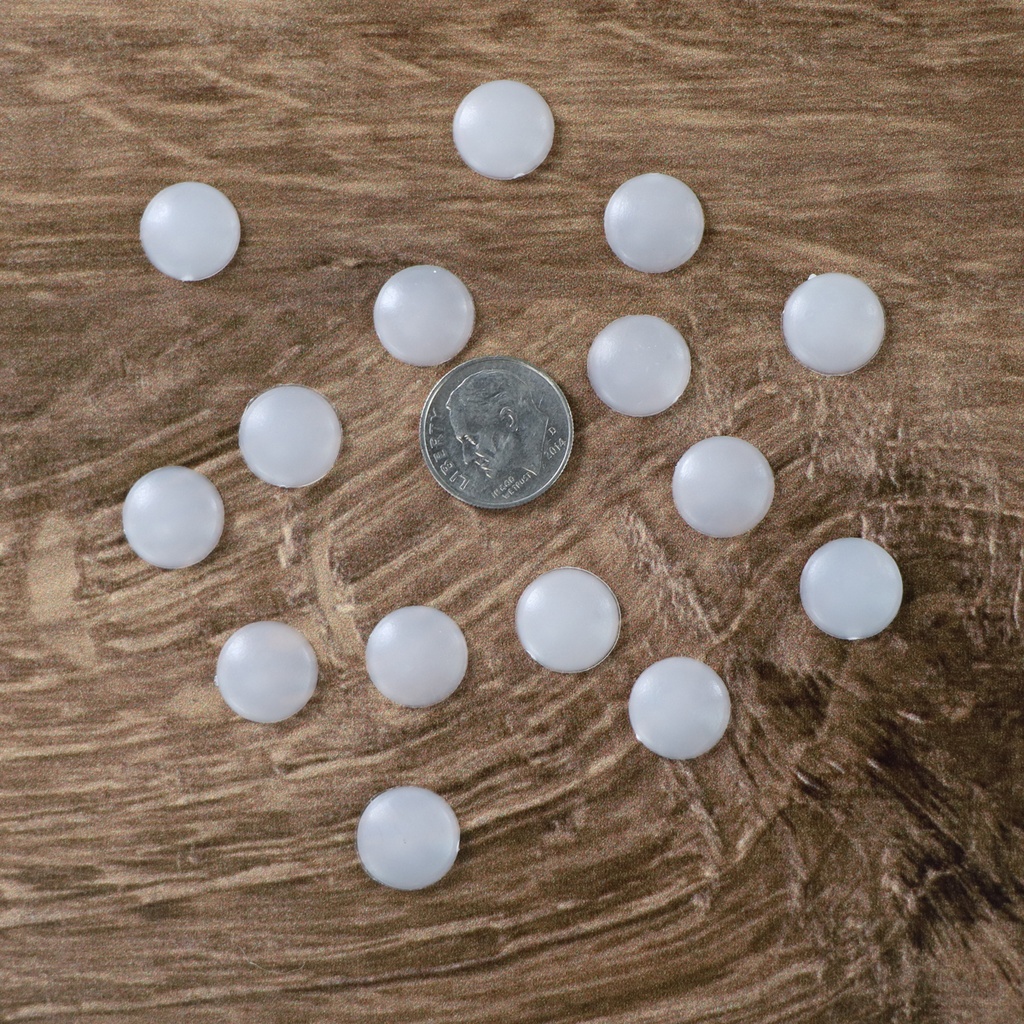
- Plastic Domes
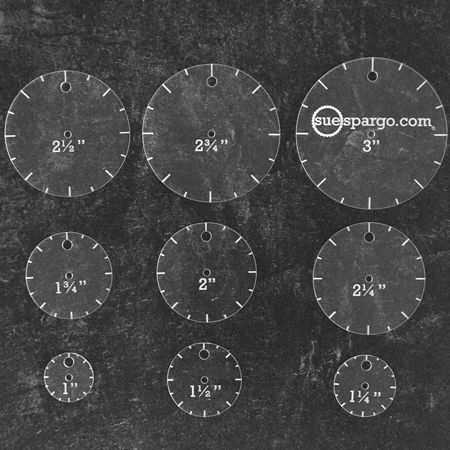
- Circles Easy
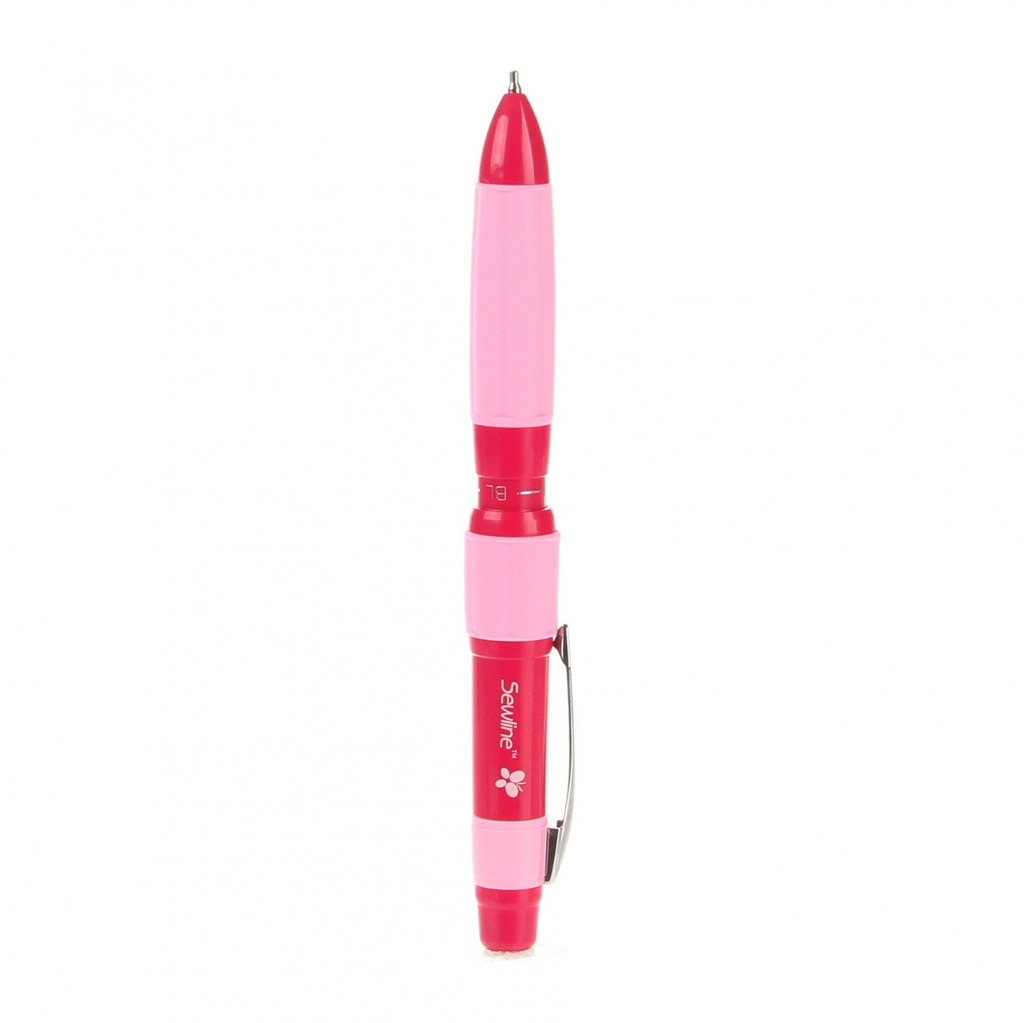
- Sewline Trio Chalk Pencil
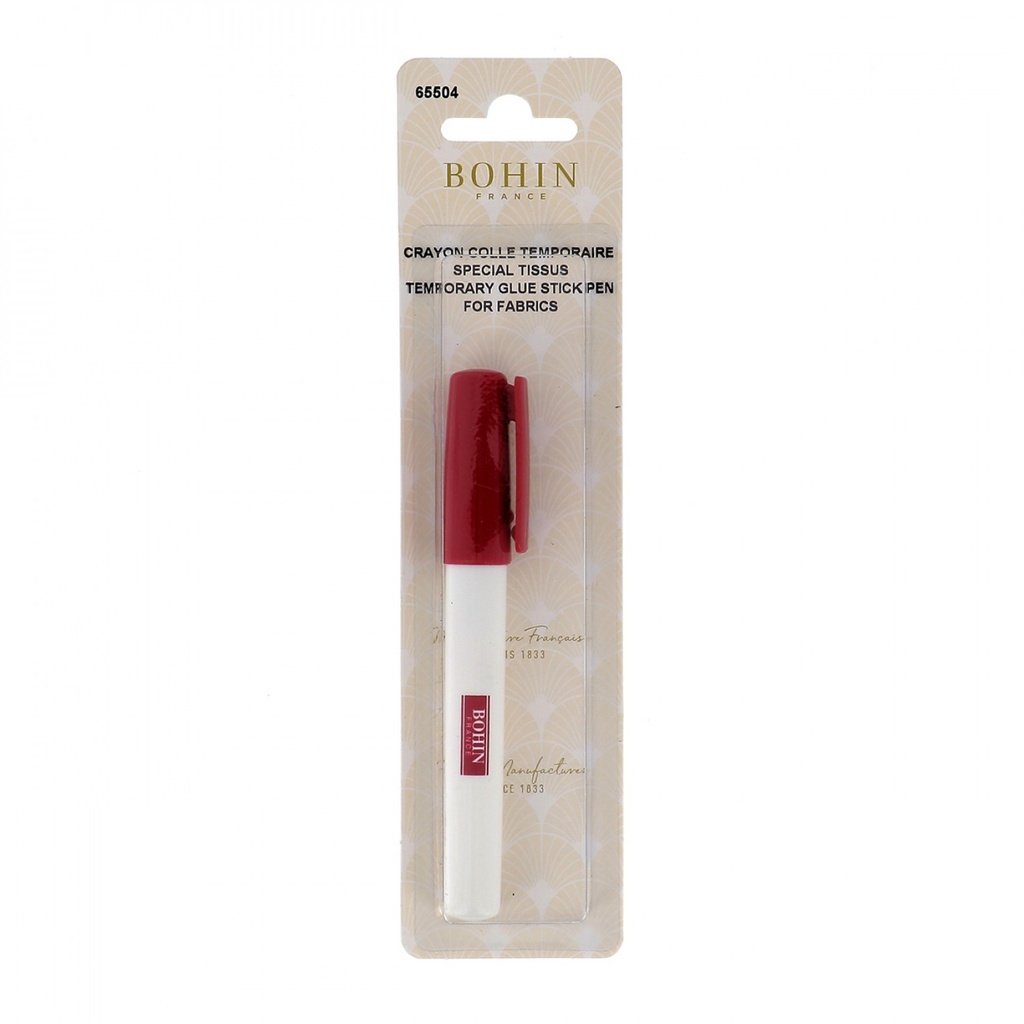
- Bohin Glue Stick Pen
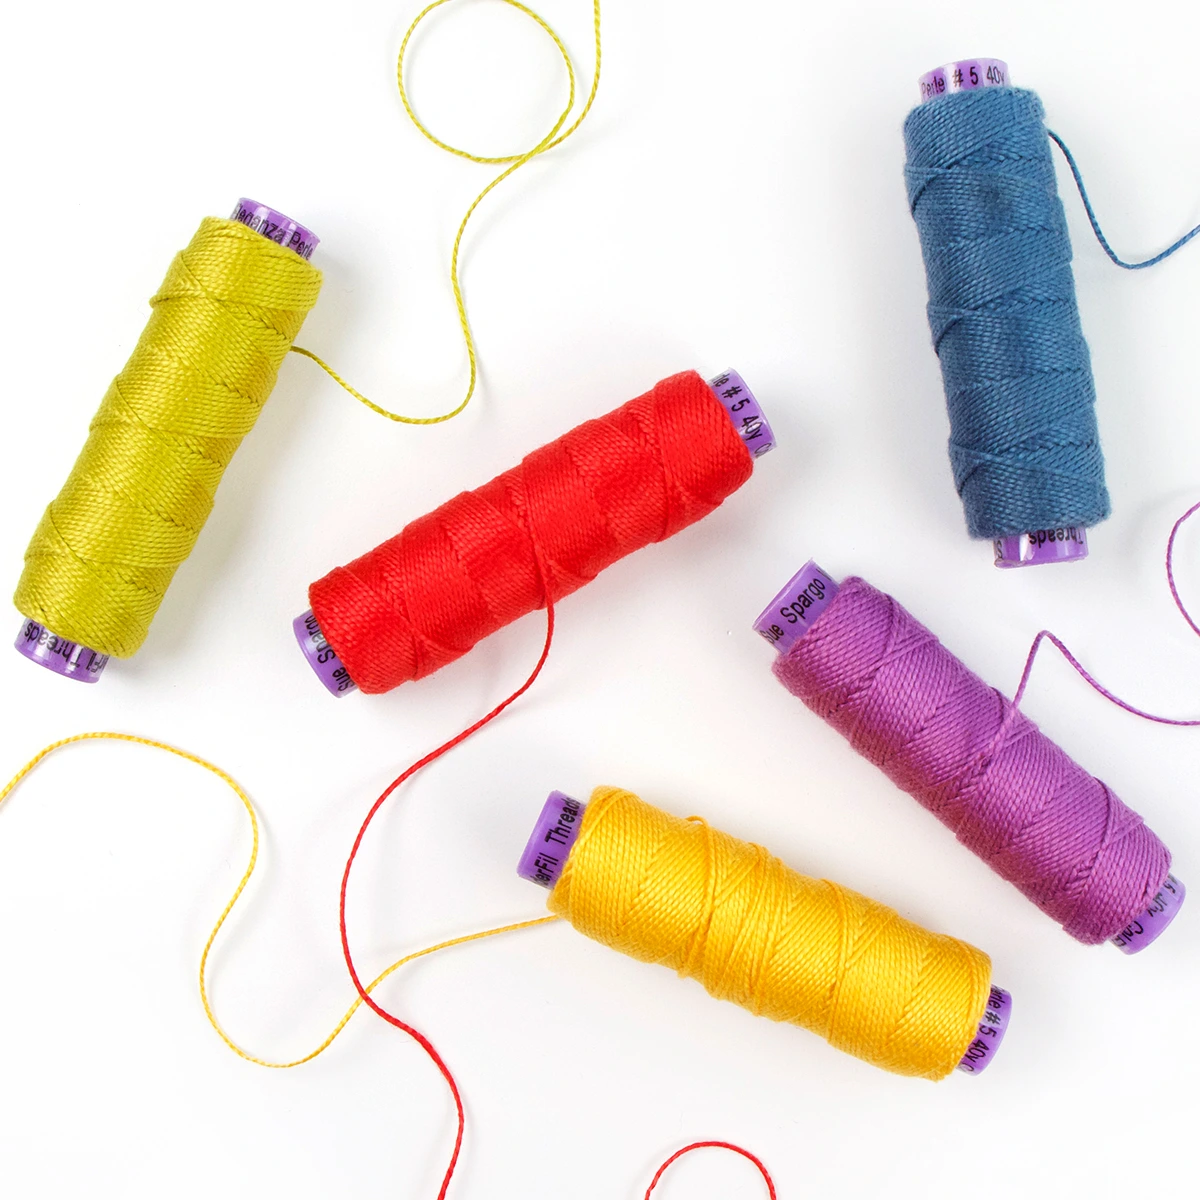
- #8 Eleganza
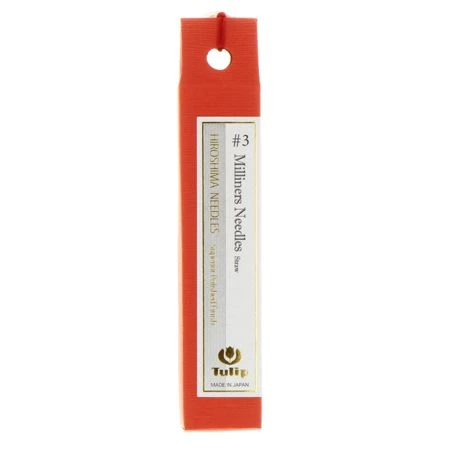
- #3 Milliners Needles
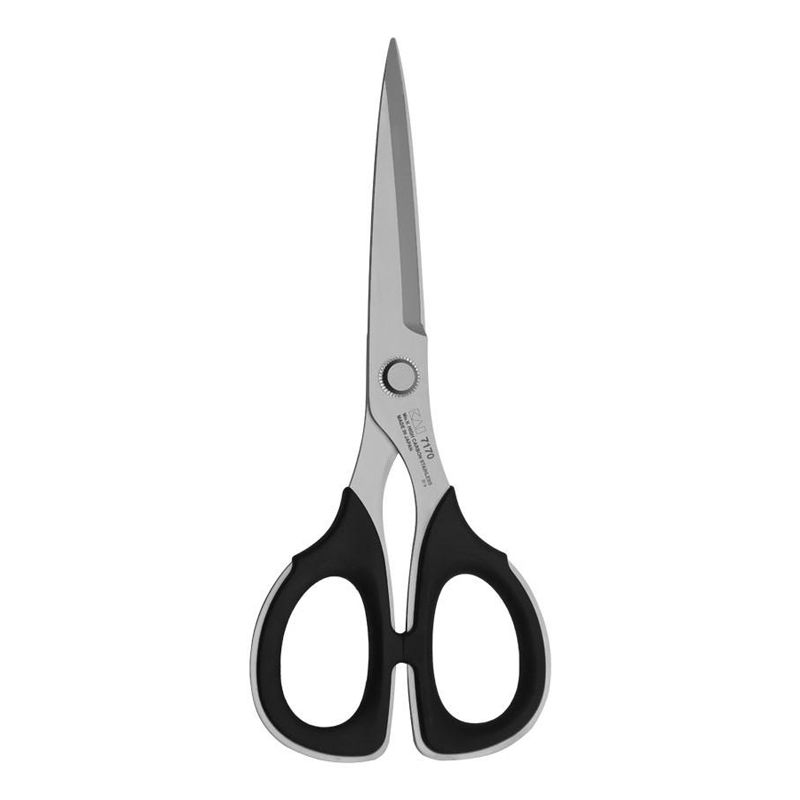
- 6-2/3" Kai Professional Series Scissors
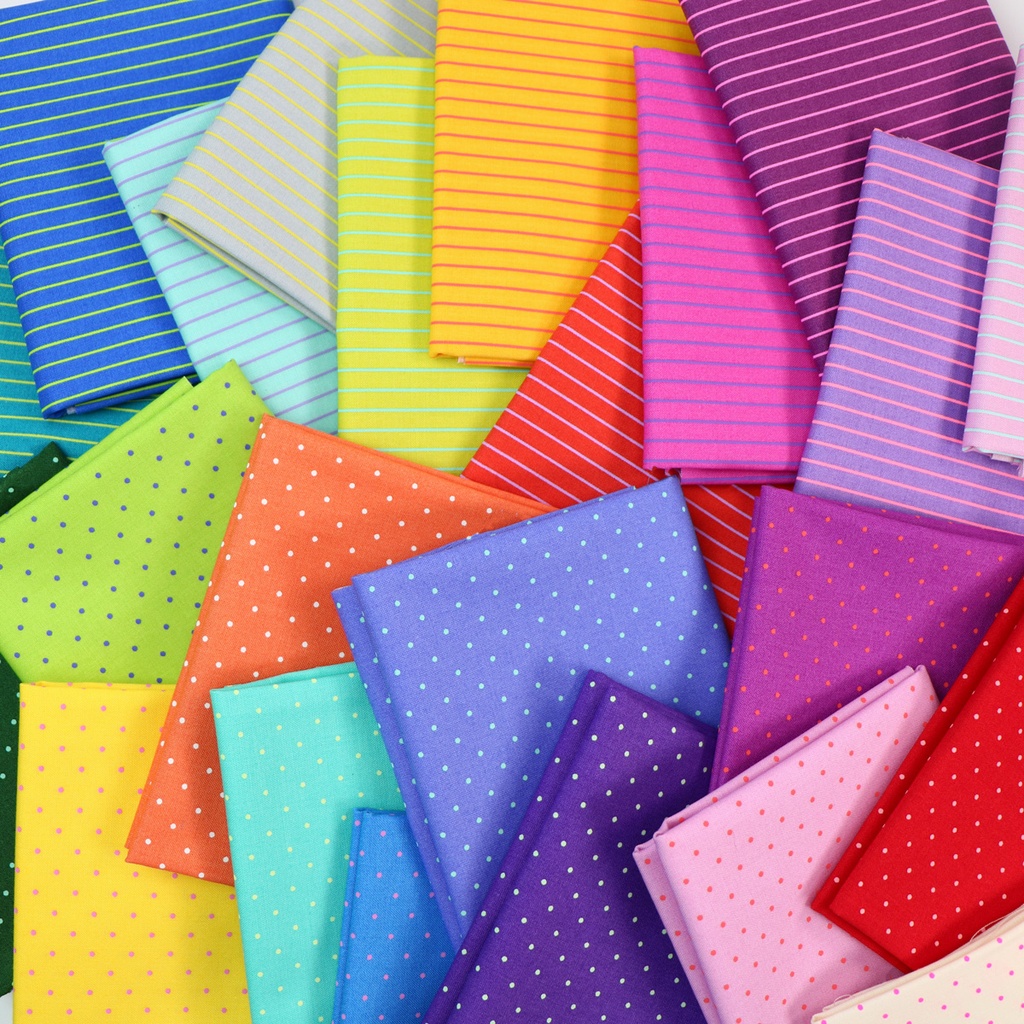
- Lawn or any cotton, wool, silk or velvet fabric
The Process
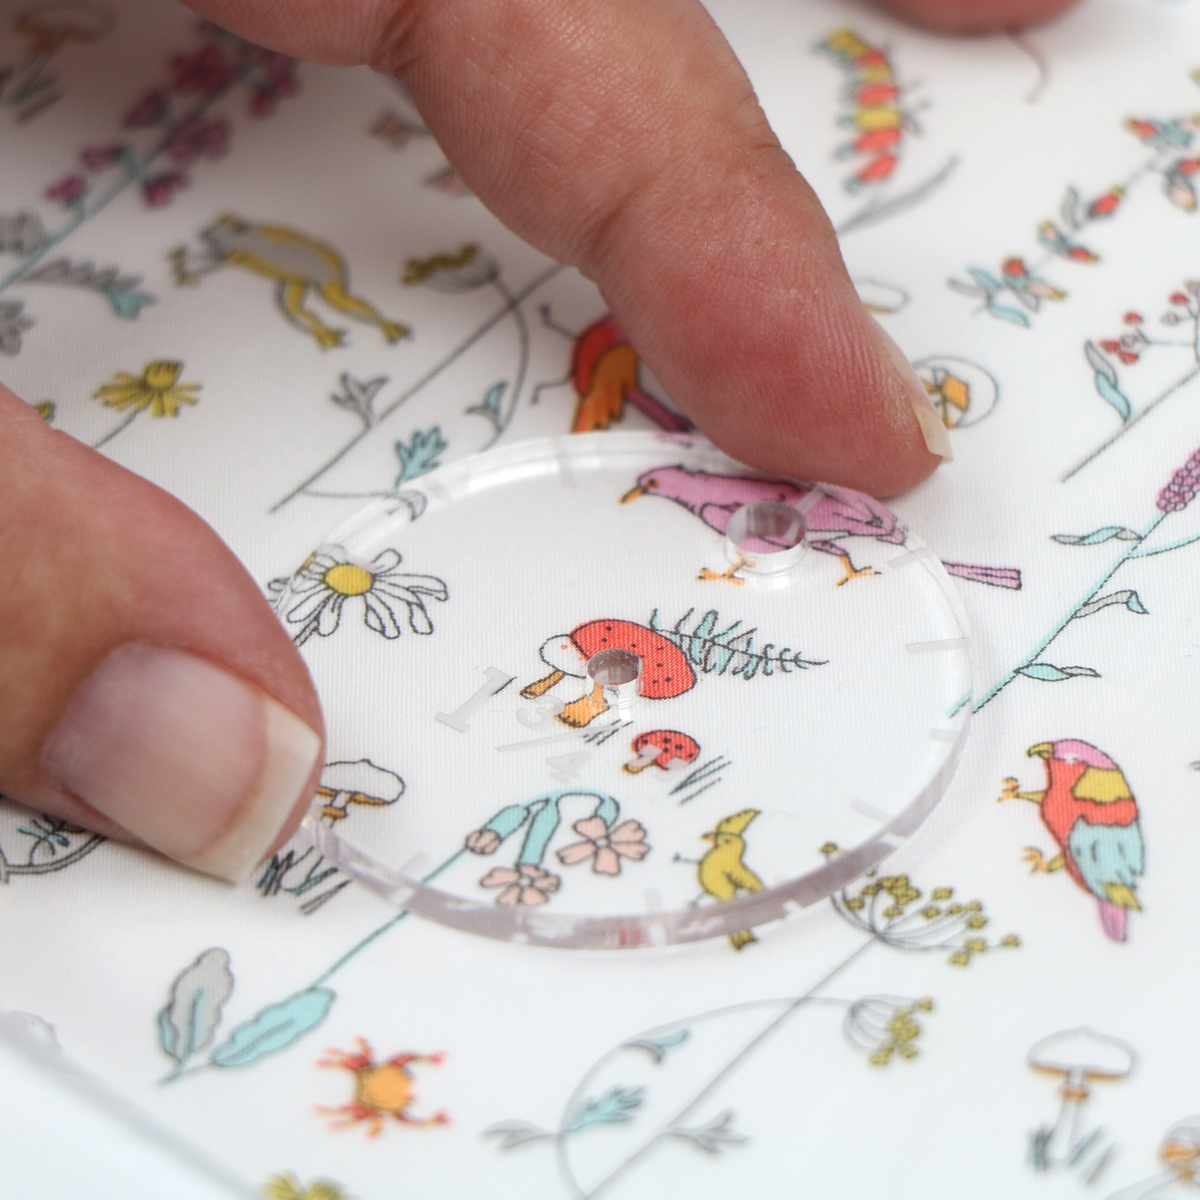
To begin, select the fabric and image you would like to apply to your Kurumi button. For our example, we have chosen a Liberty of London, Tana Lawn print, as there are so many sweet images to choose from.
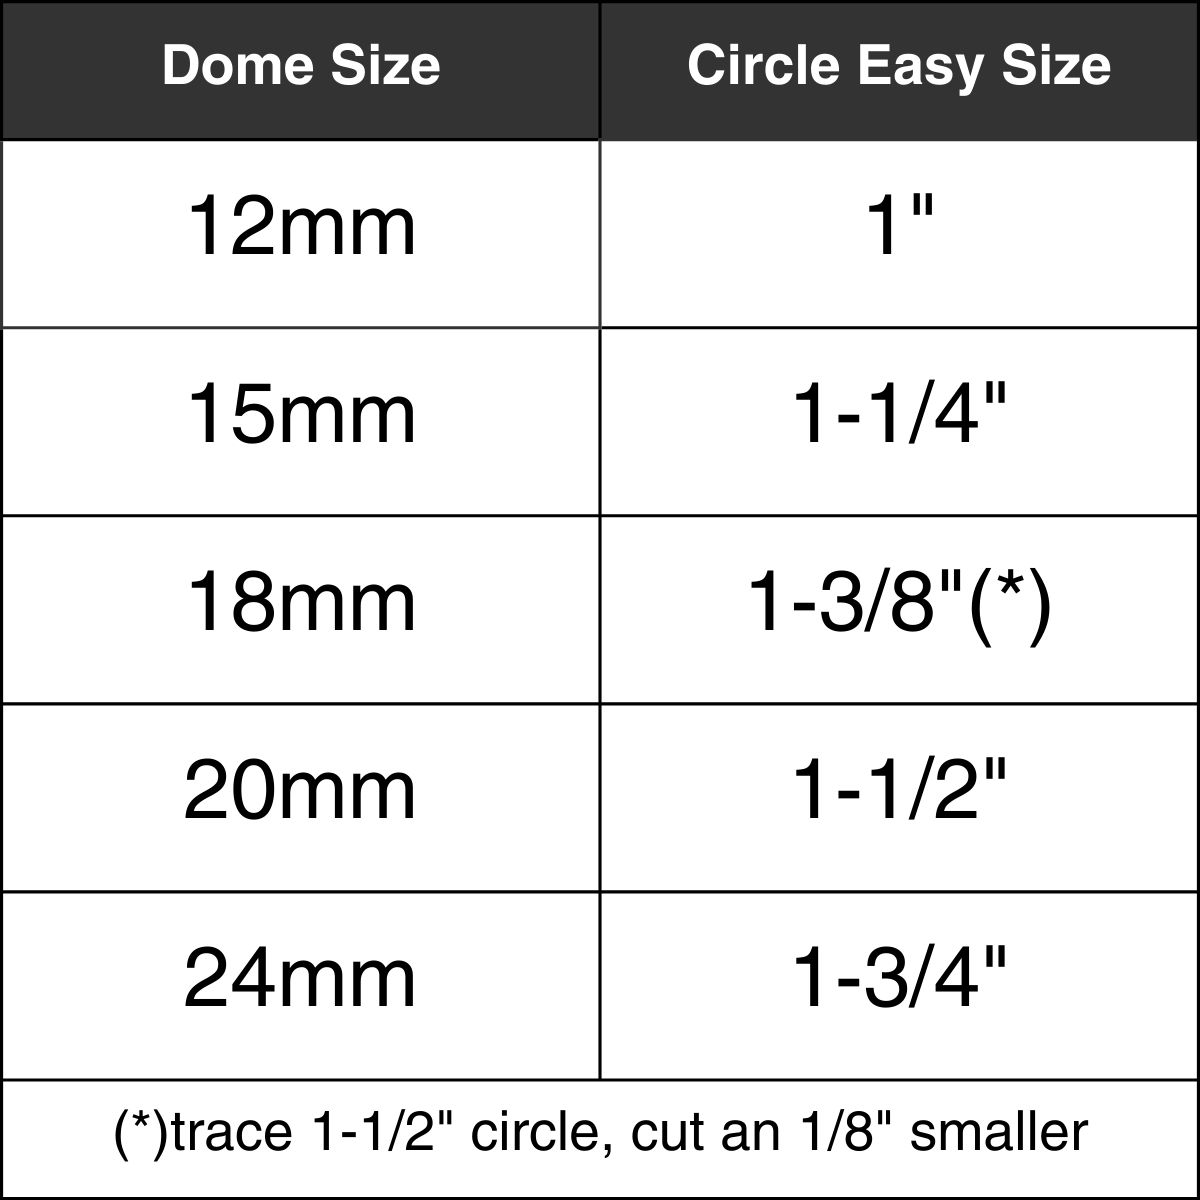
We will be covering a 24mm button. Referring to the table below, you can see we will need to trace a 1-3/4" circle around the image.
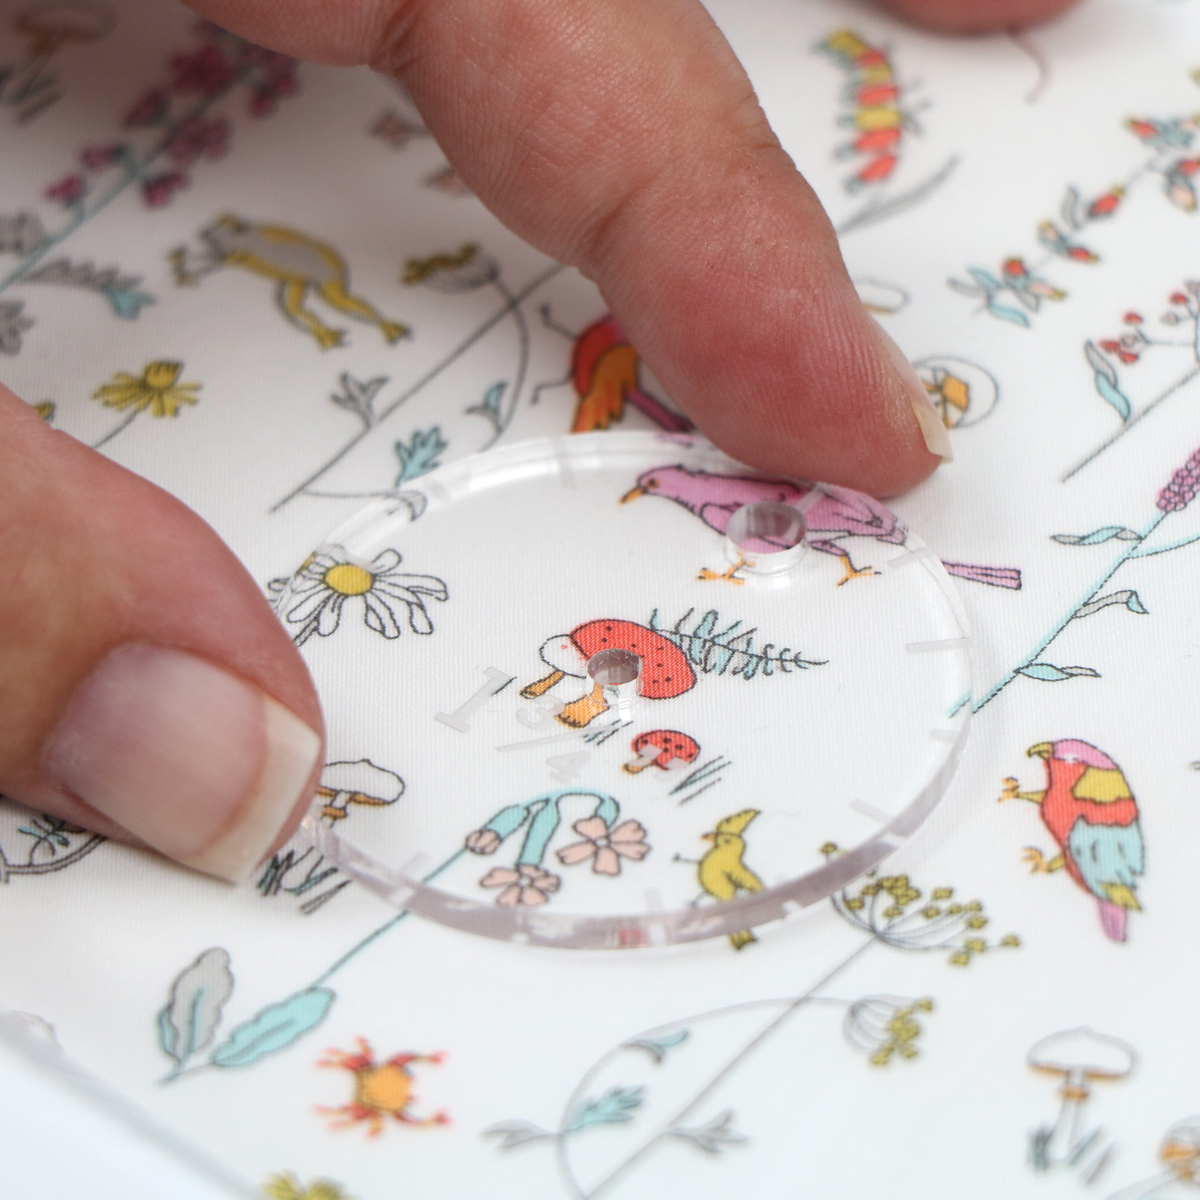
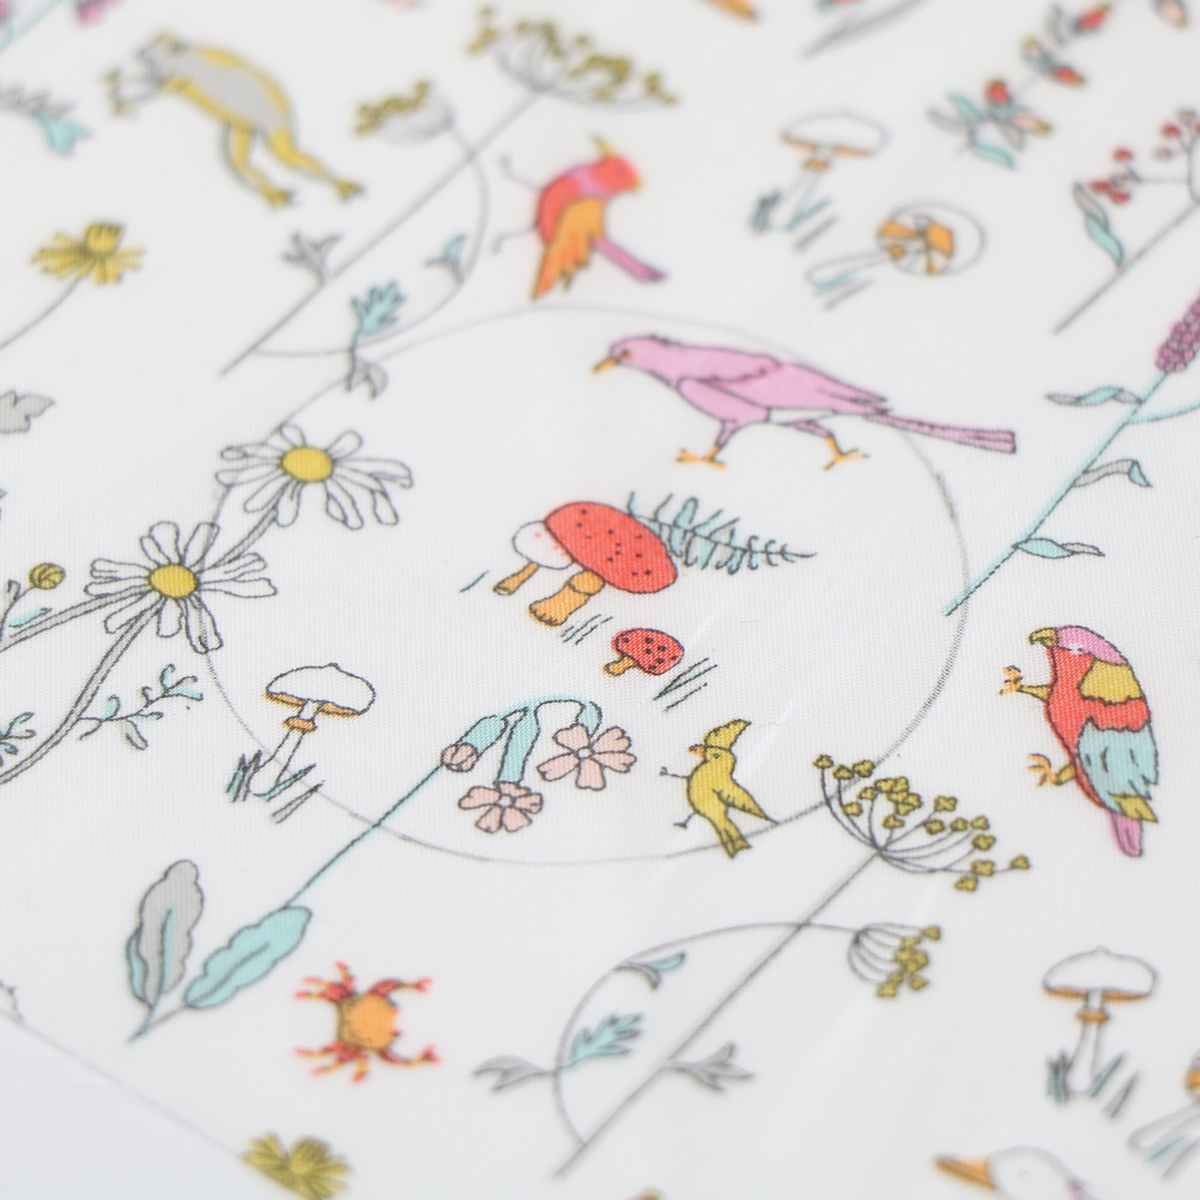
Centering the image is so easy with the Circle Easy. Position the center hole over the center of the image and trace around the edge using the Sewline Trio.
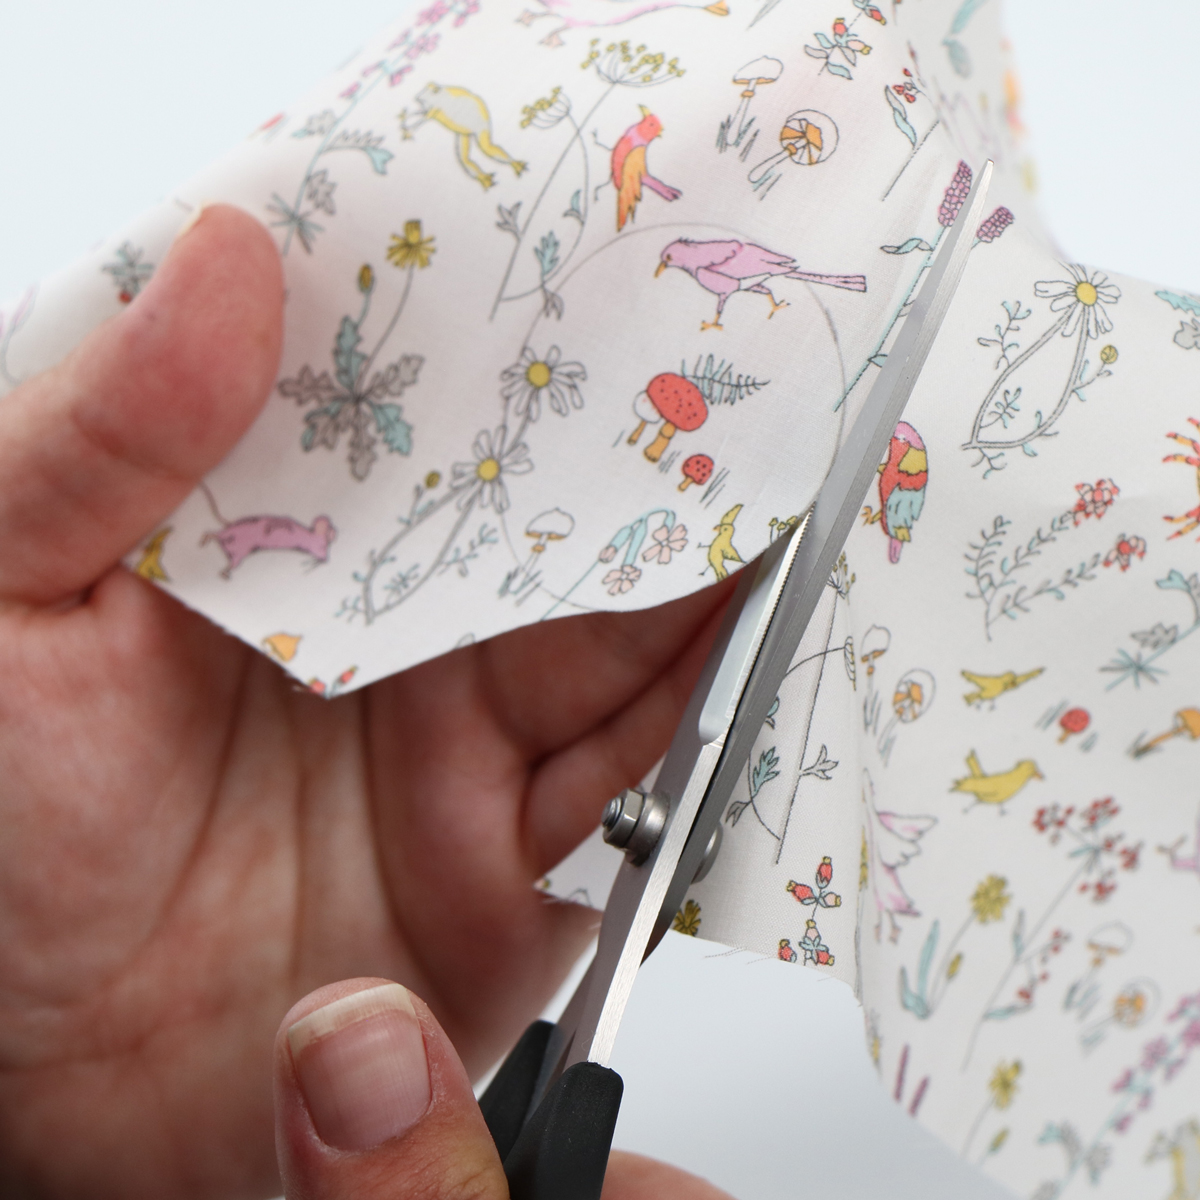
Cut the circle out on the line. The 6-2/3" Kai Professional Series Scissors are a favorite as their specialty serrated blades grip fabric and wool for a smooth and precise cut.
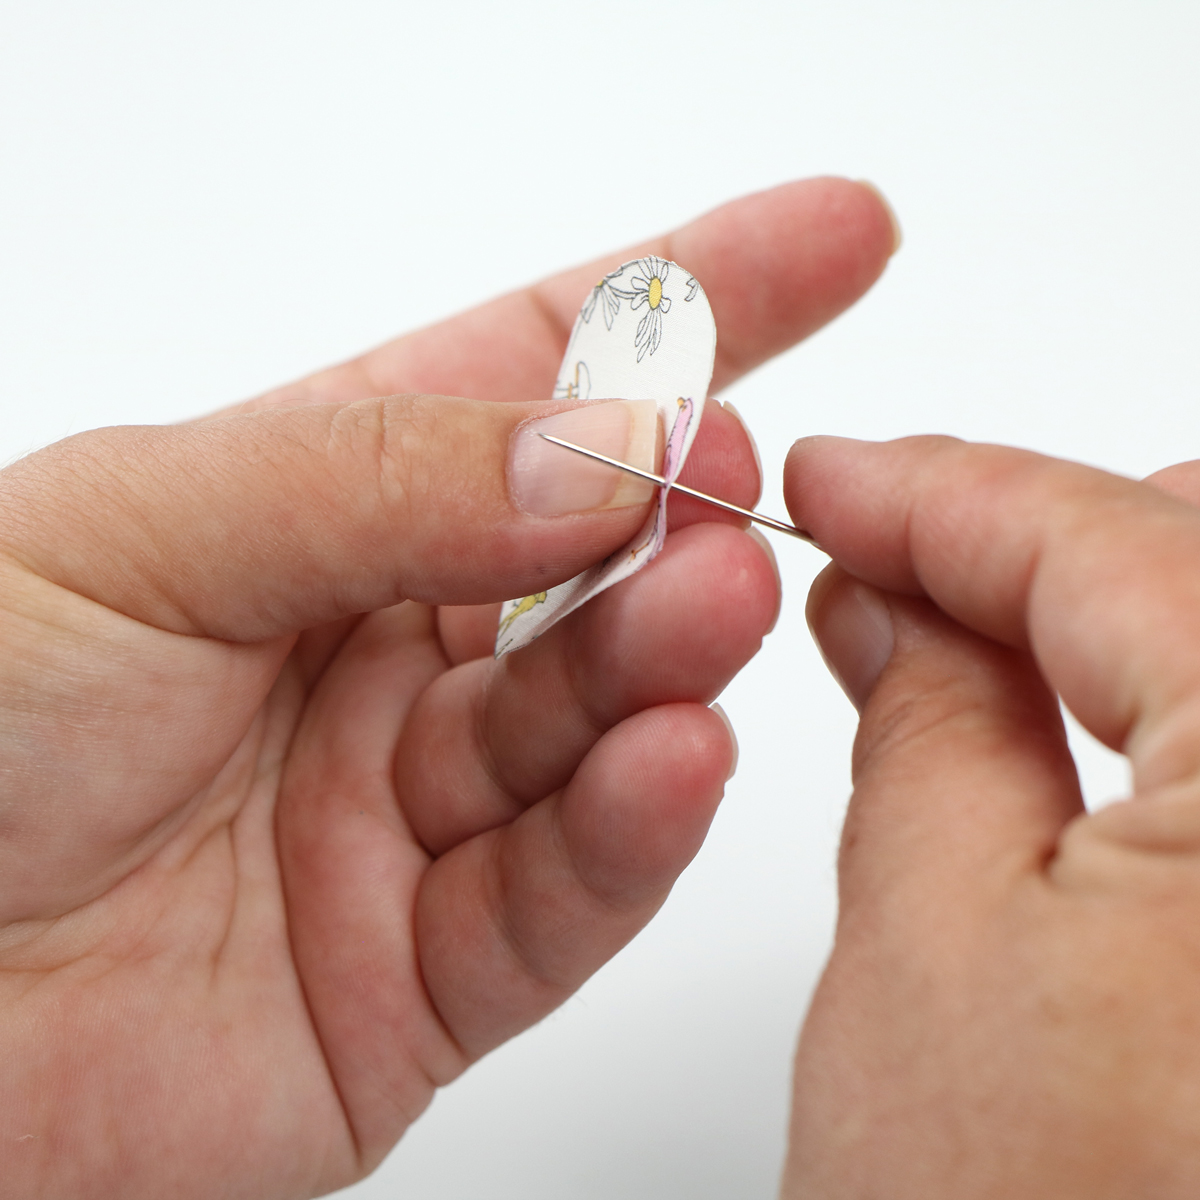
Using a #8 Perle Cotton, thread a #3 Milliners needle, placing a quilter's knot at the end of your thread. From the wrong side of the fabric, bring your needle to the front of your work.
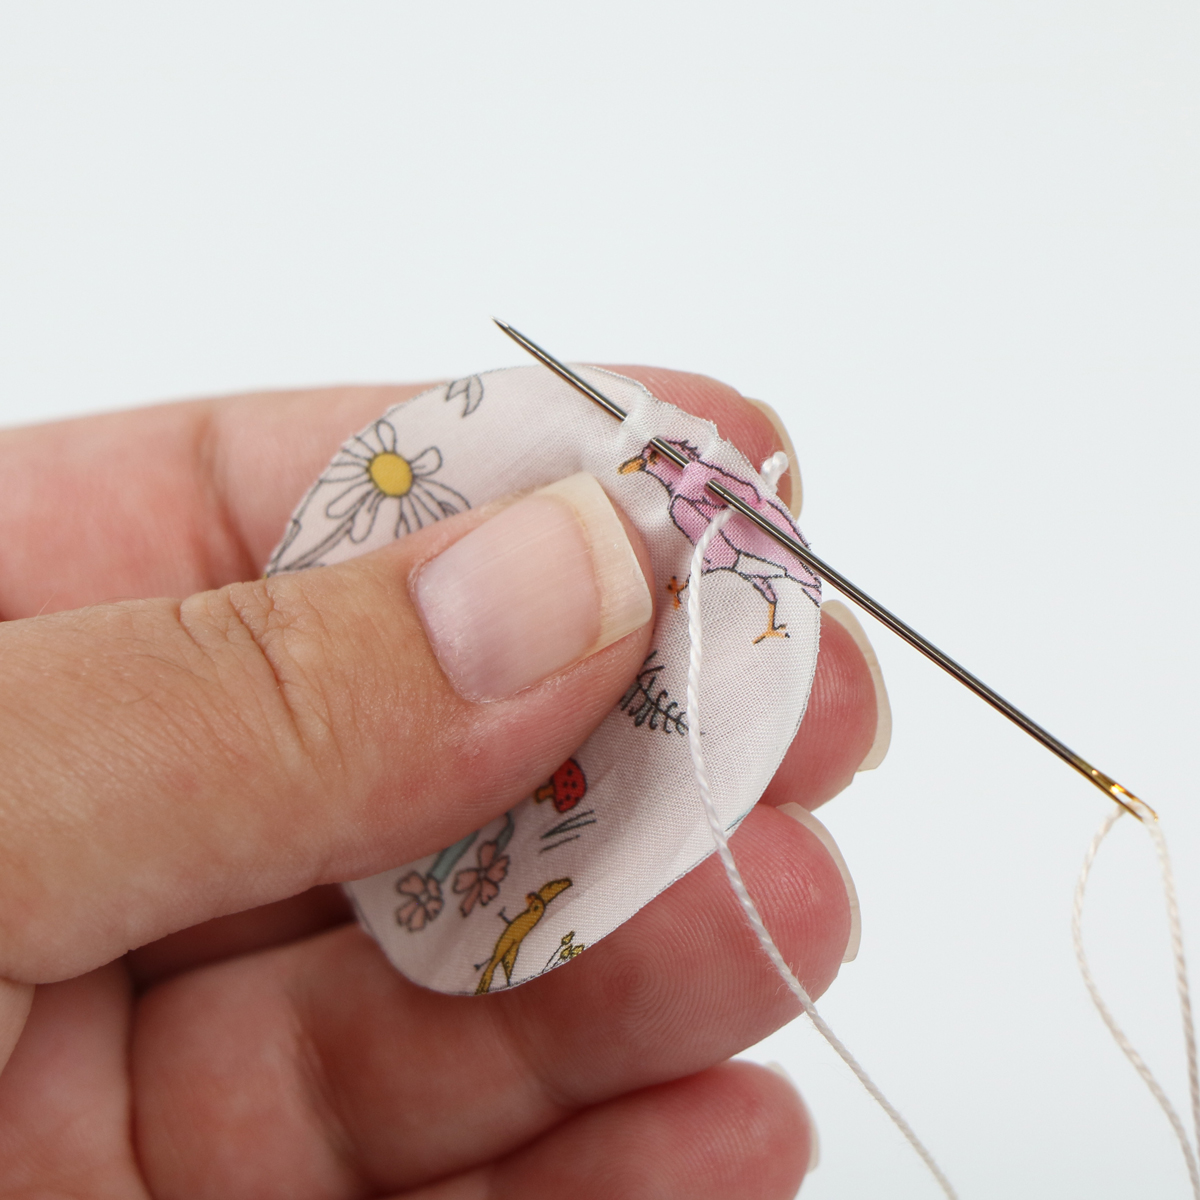
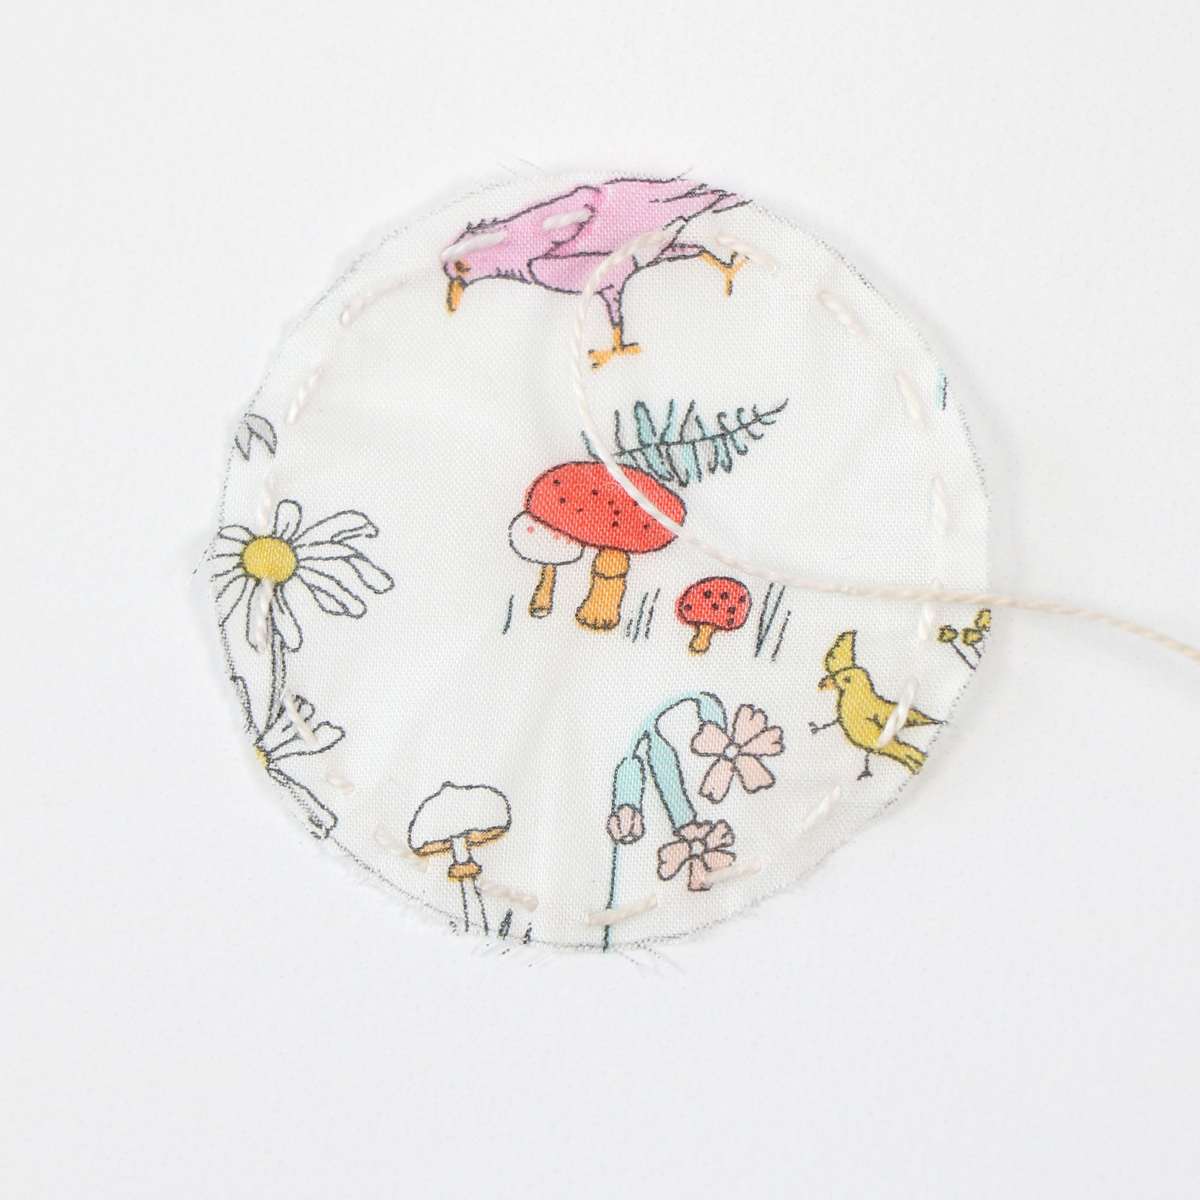
Work a running stitch around the edge of the circle, being sure to end with the thread on the right side of your fabric.
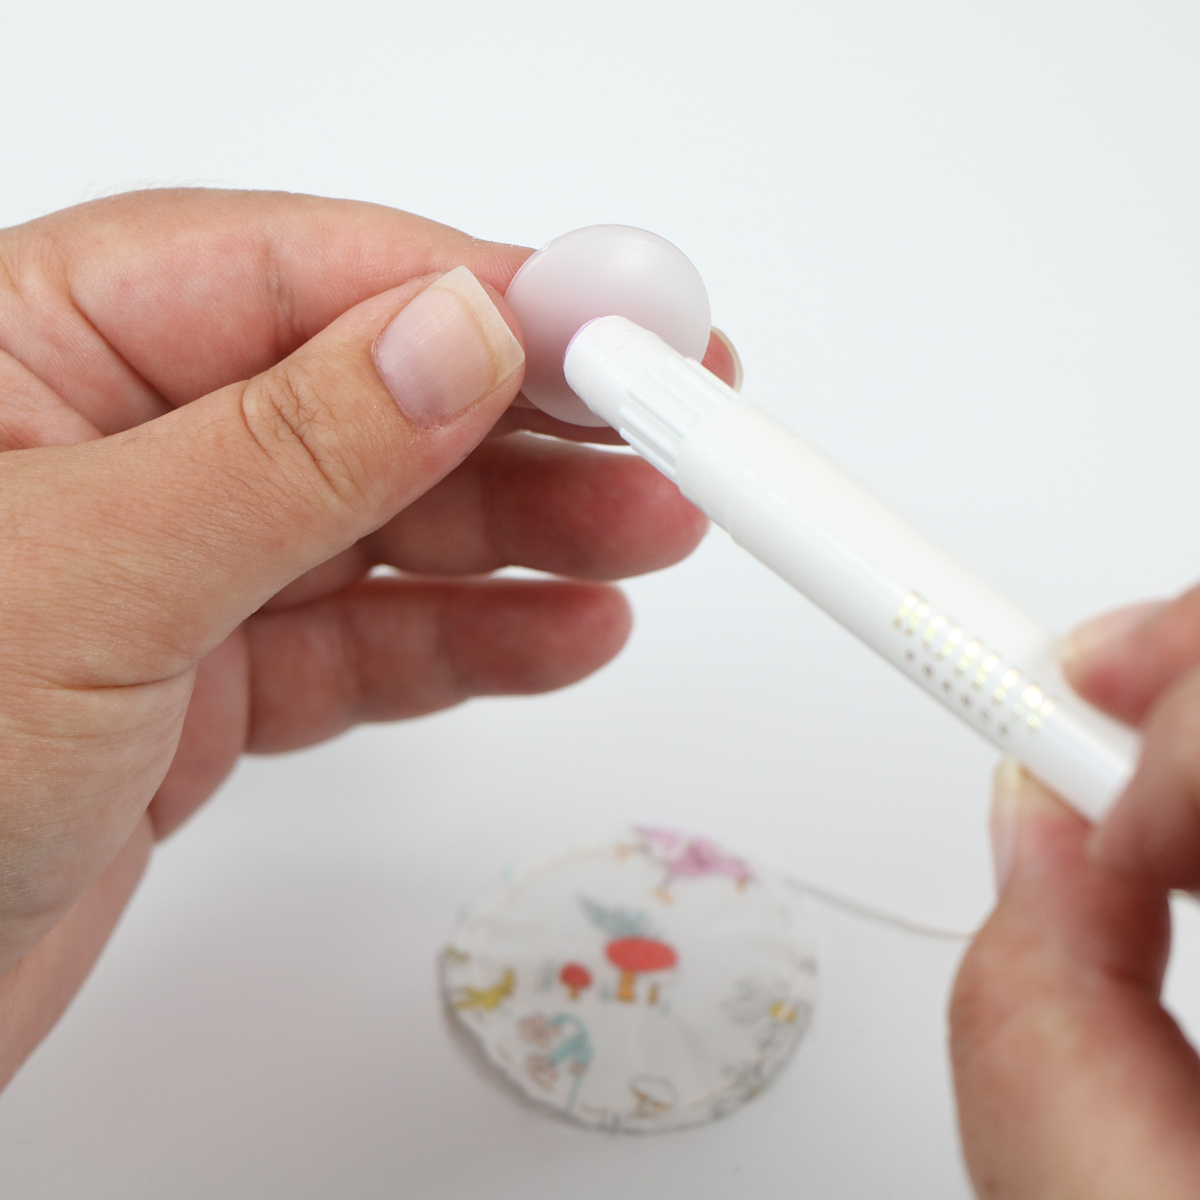
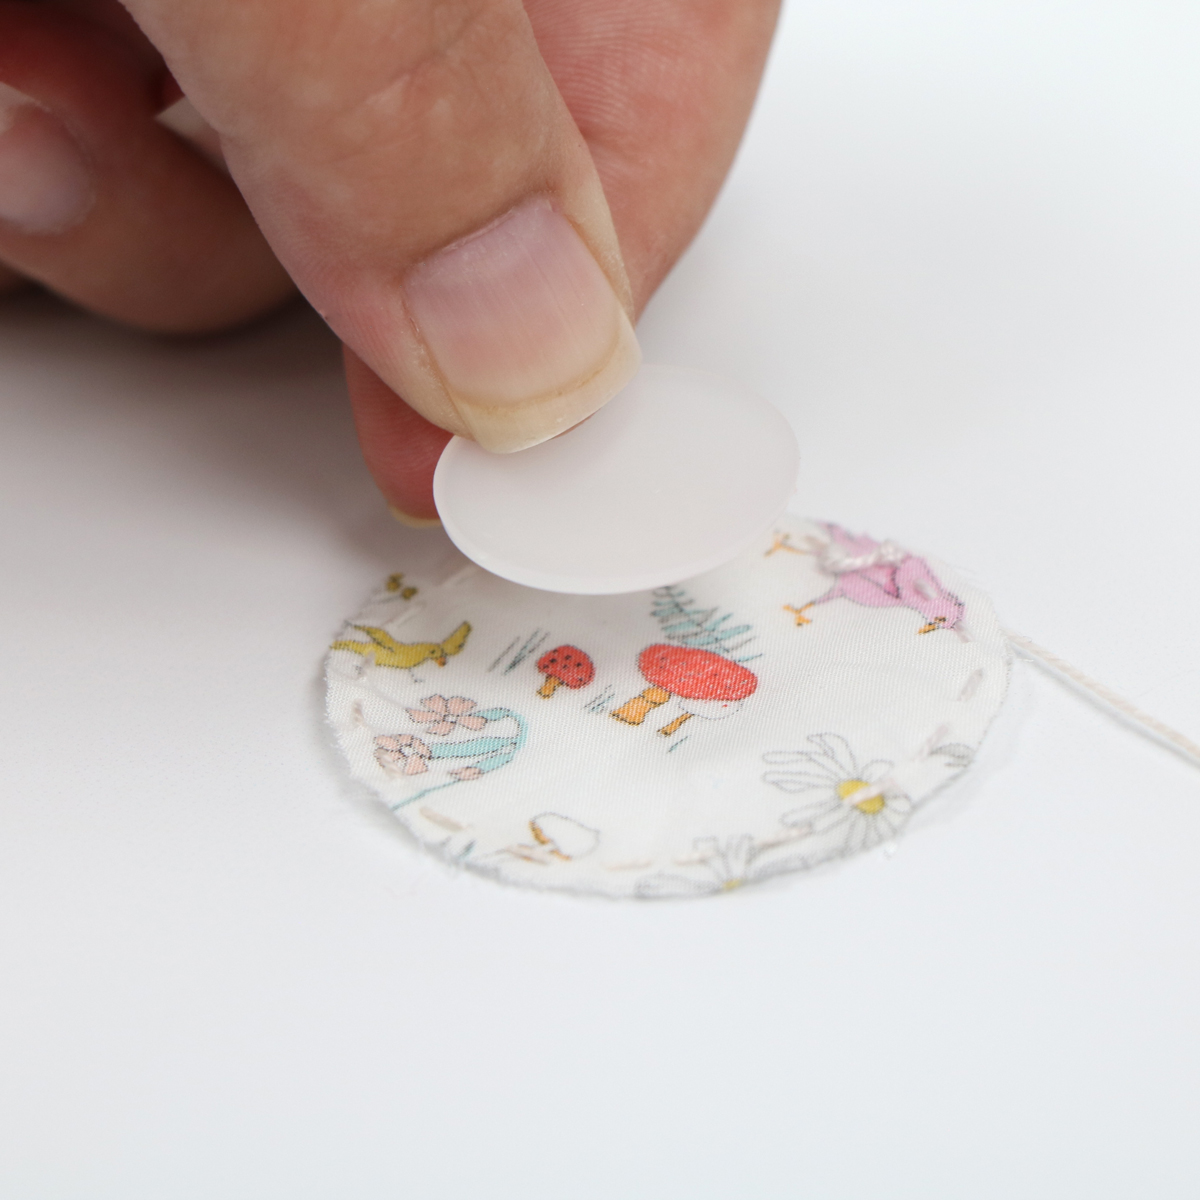
Using the Bohin Glue Stick Pen, place a dollop of glue on the plastic dome. With the fabric wrong side up, place the dome in the center of the fabric circle.
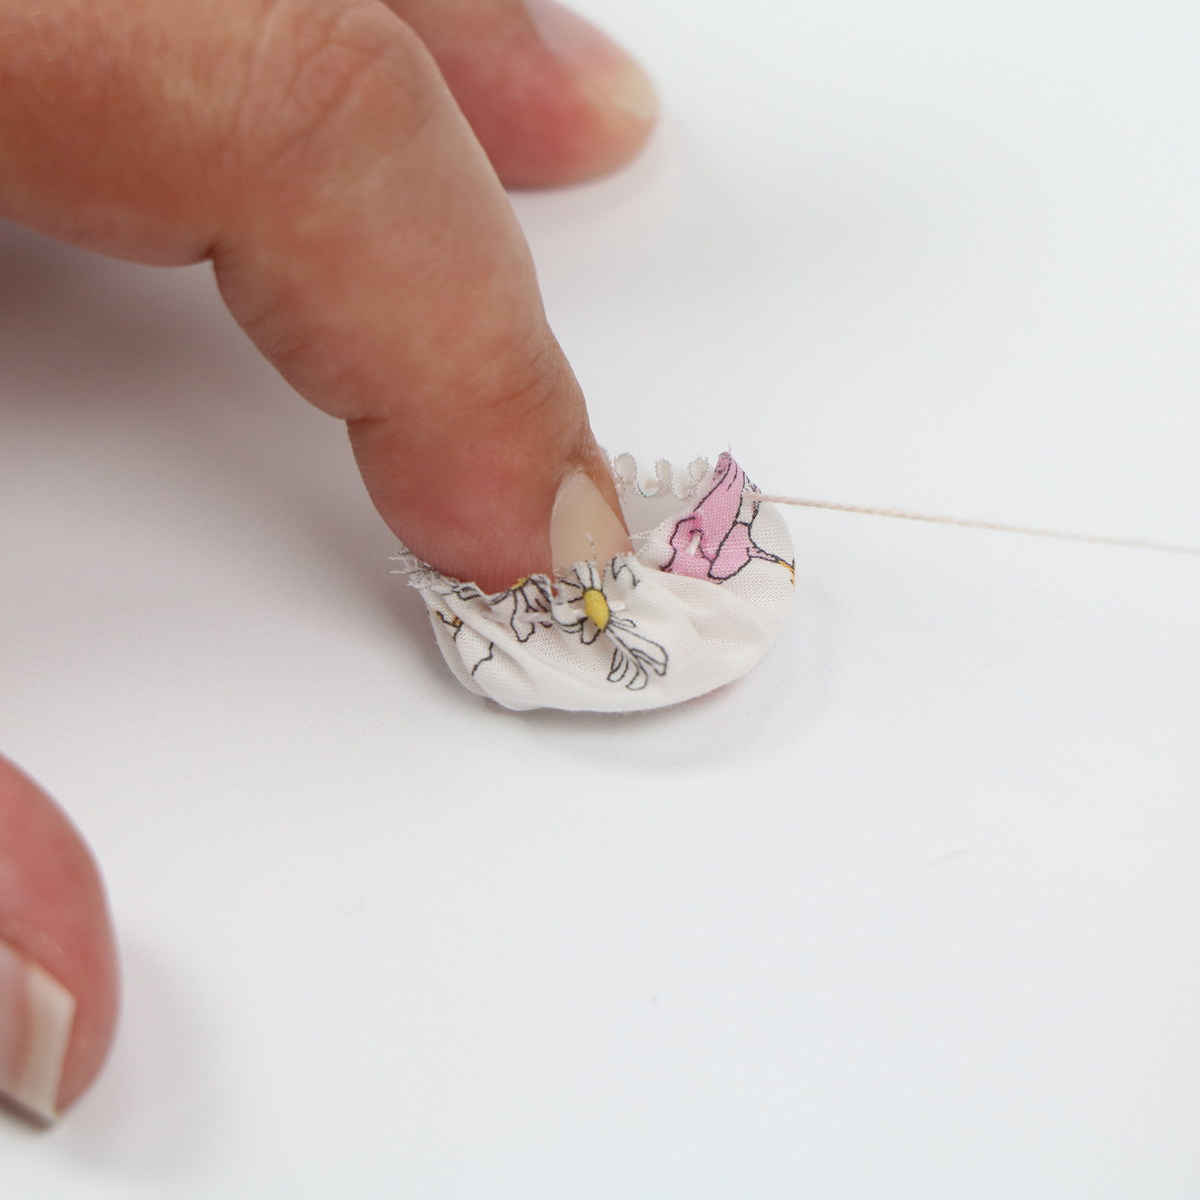
Keeping your finger on the dome, pull on the thread to draw up the fabric around the dome.
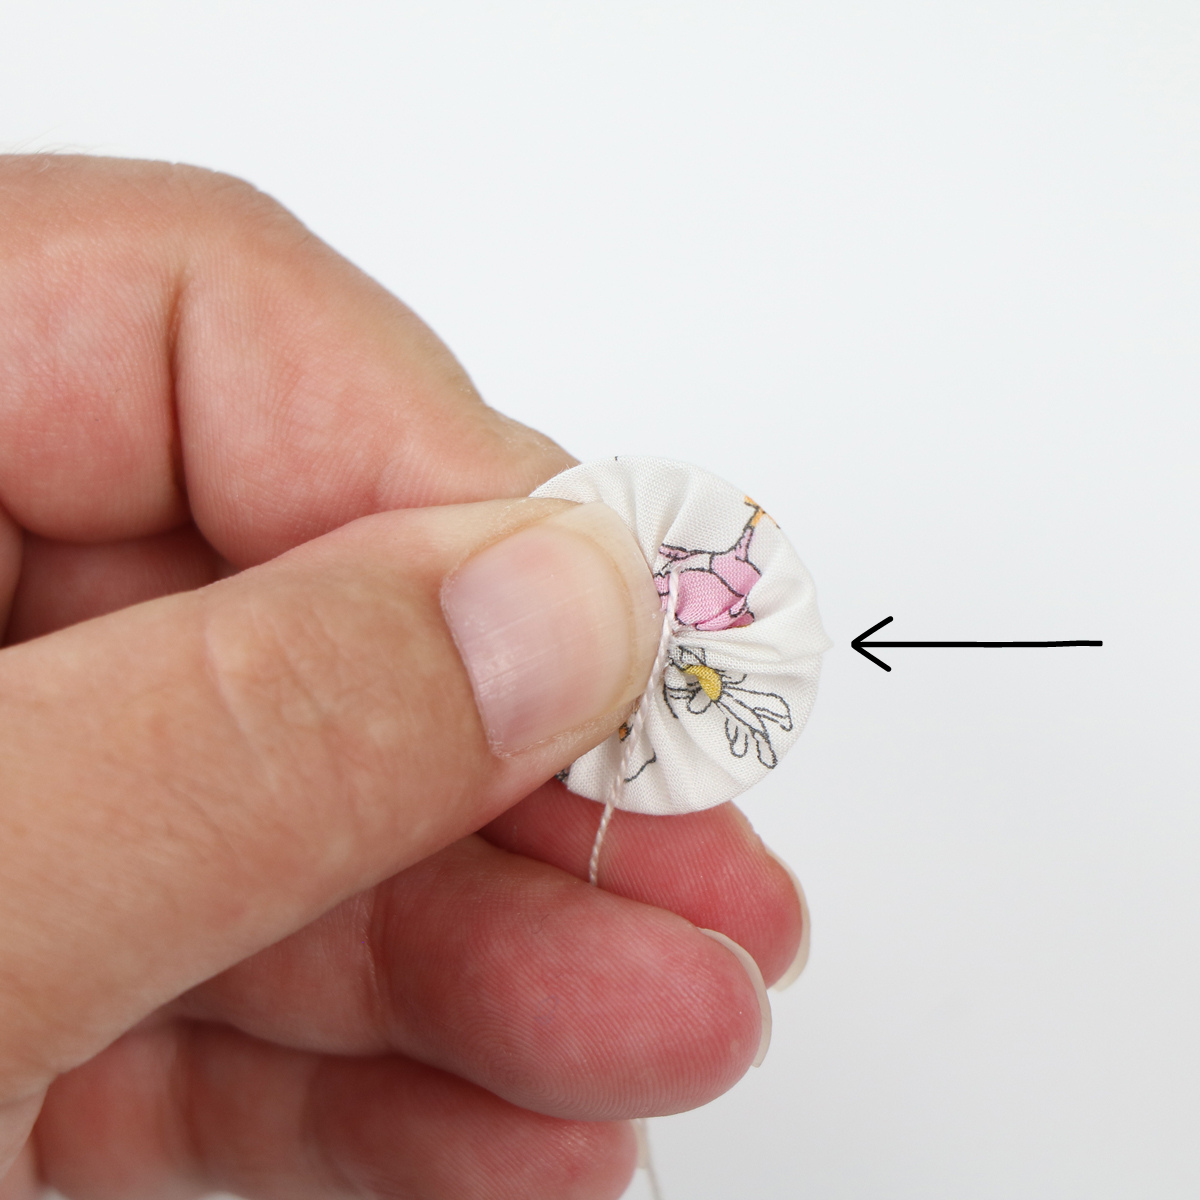
As you can see, the button is not smooth along the edge. The fabric puckers, creating little pleats around the edge that are nearly impossible to remove.
But where there's a will, there's a way! Next, we will go through Sue's technique for a perfectly smooth-edged button!
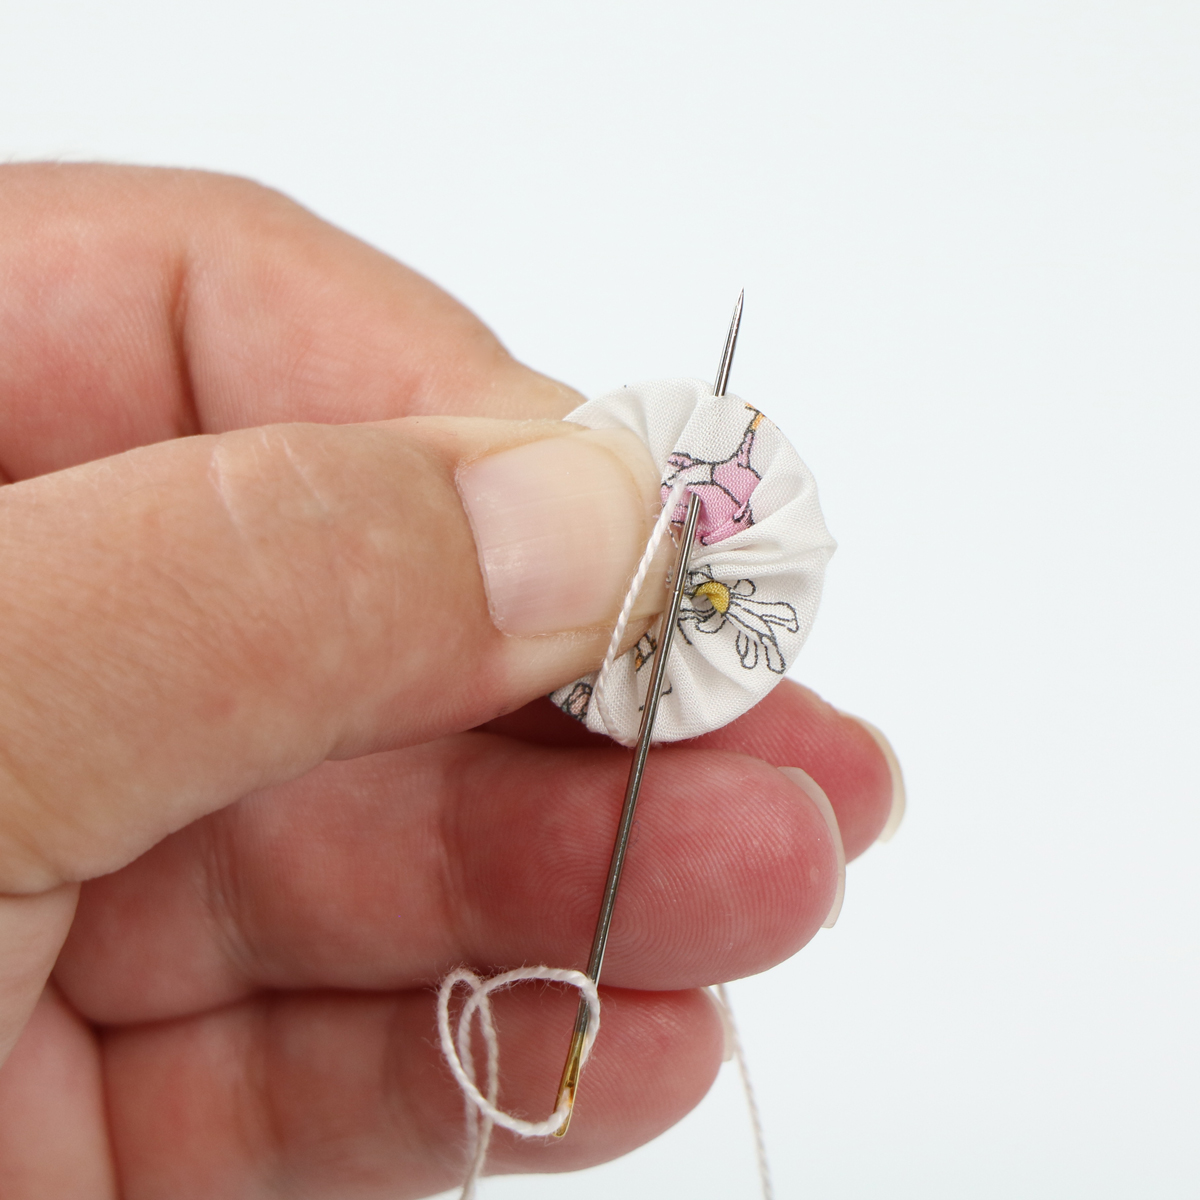
On the backside, take your needle to the outer edge of the button.
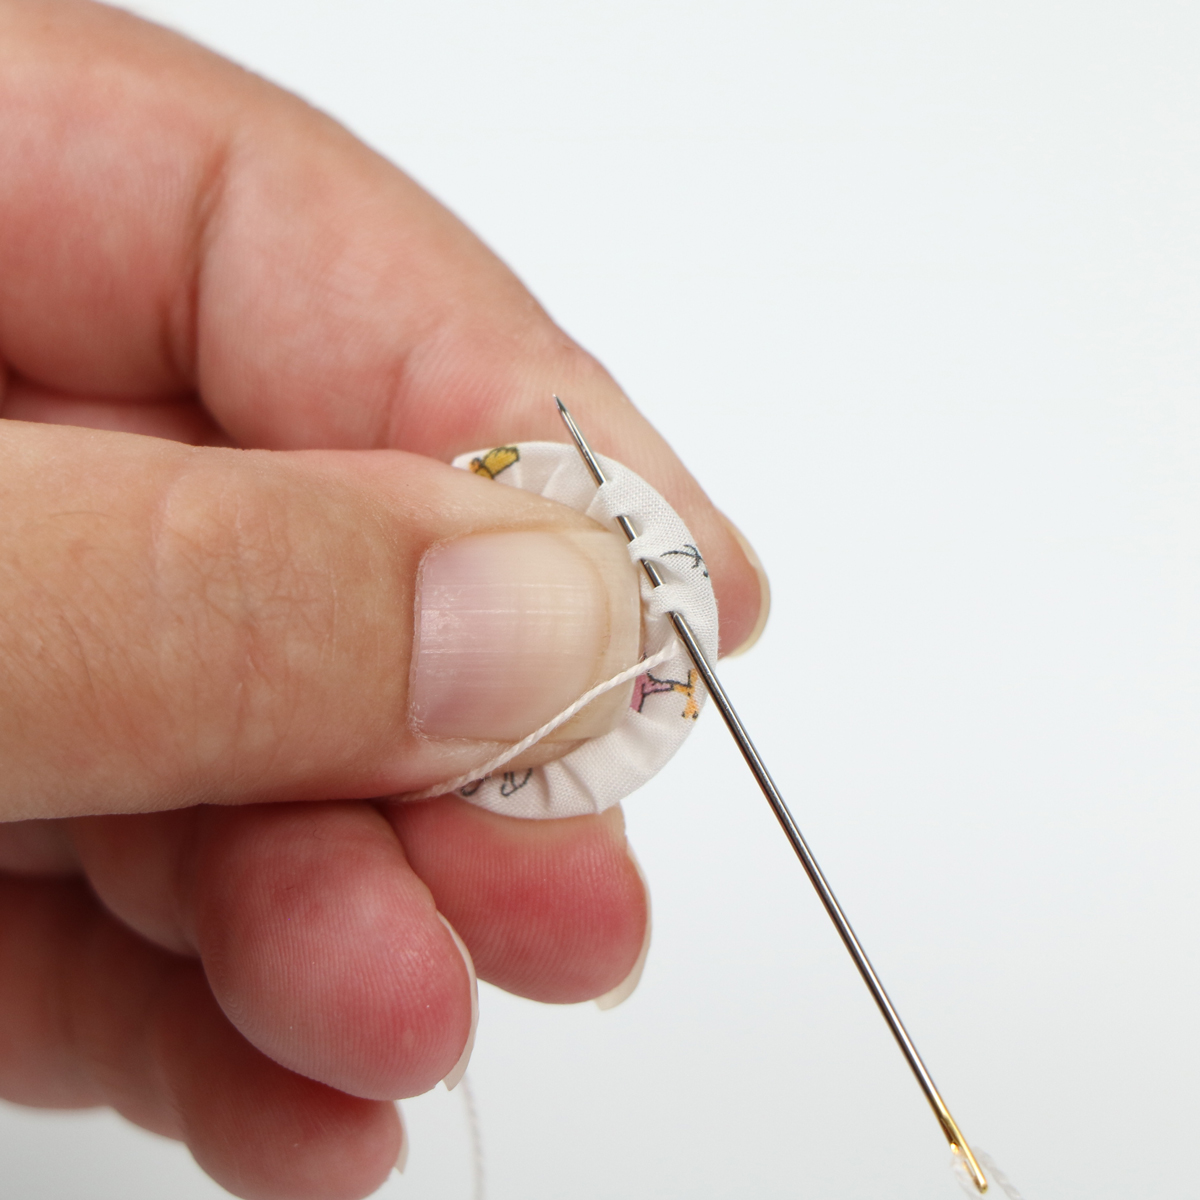
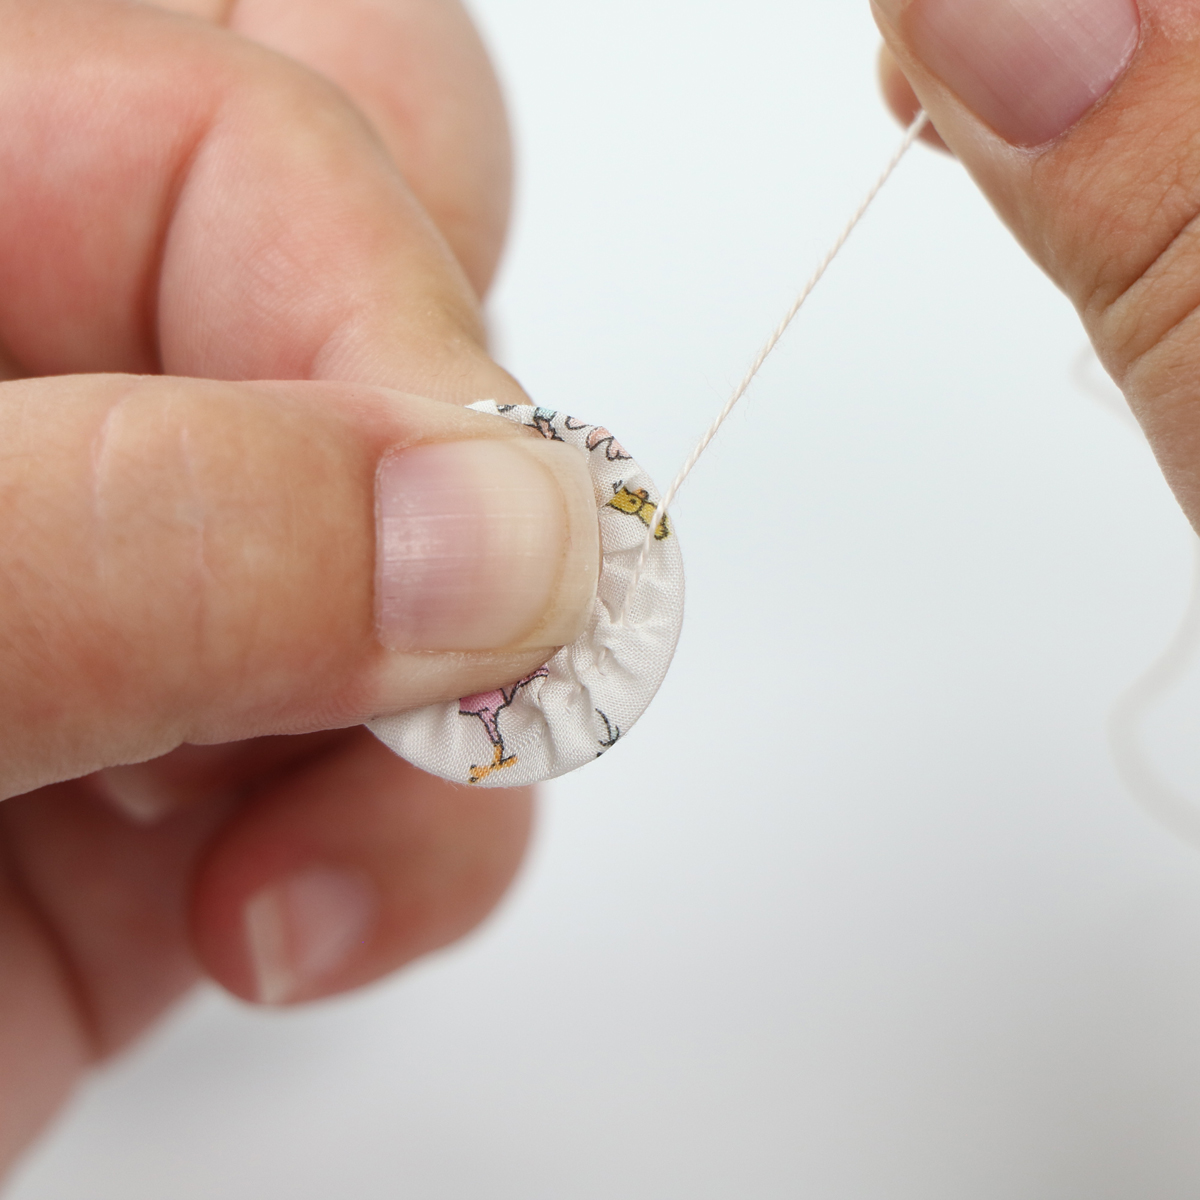
Do a running stitch, drawing it up tightly as you stitch, around the outer edge.
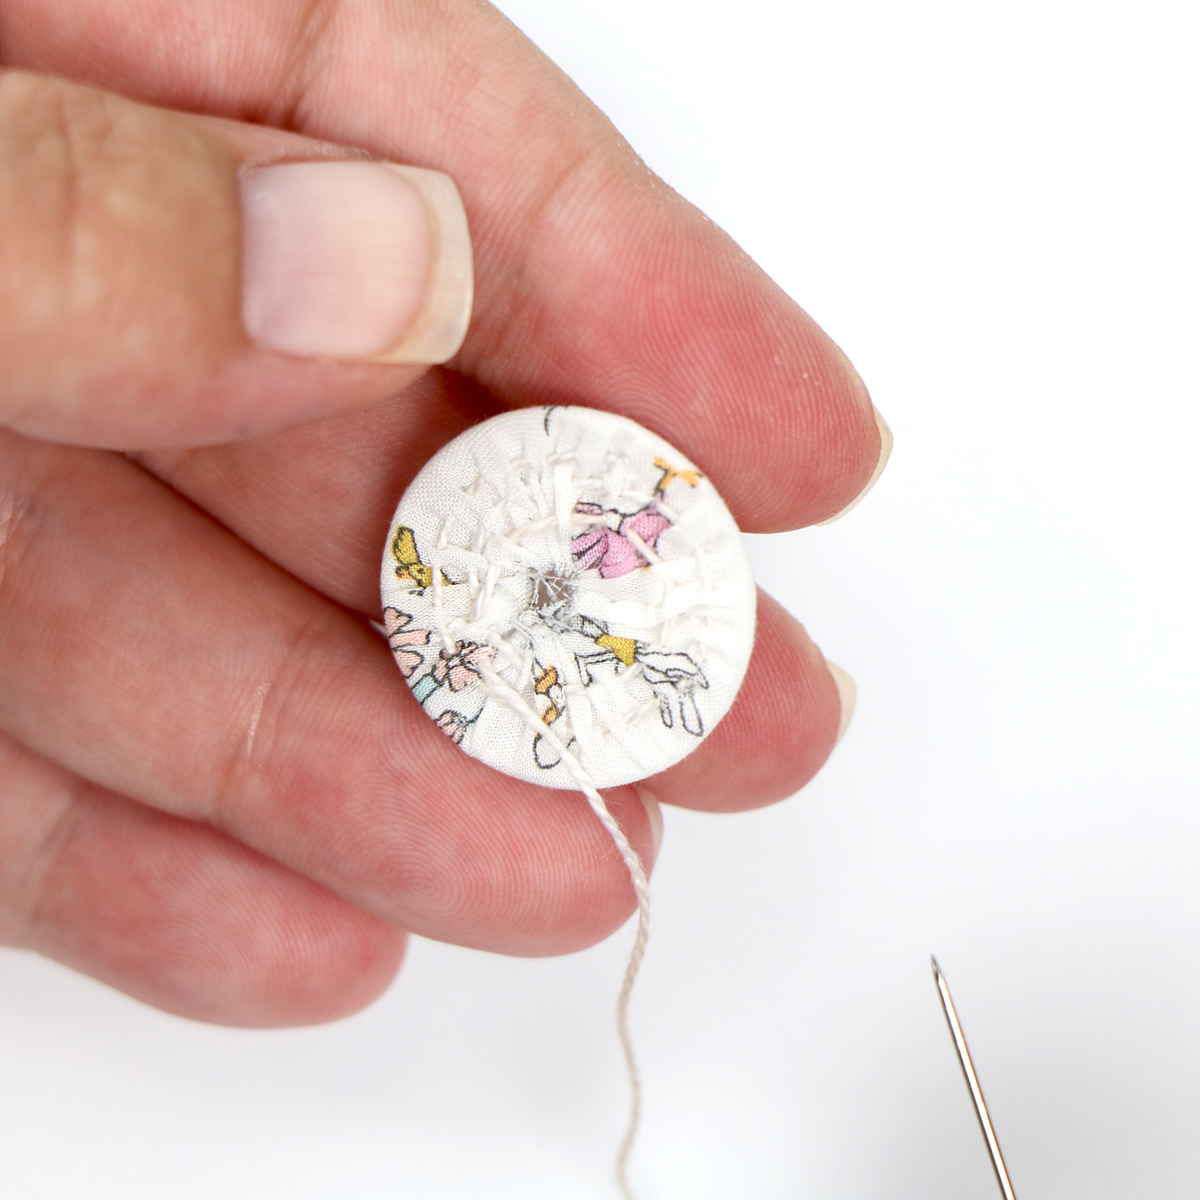
Continue in this manner, creating a spiral.
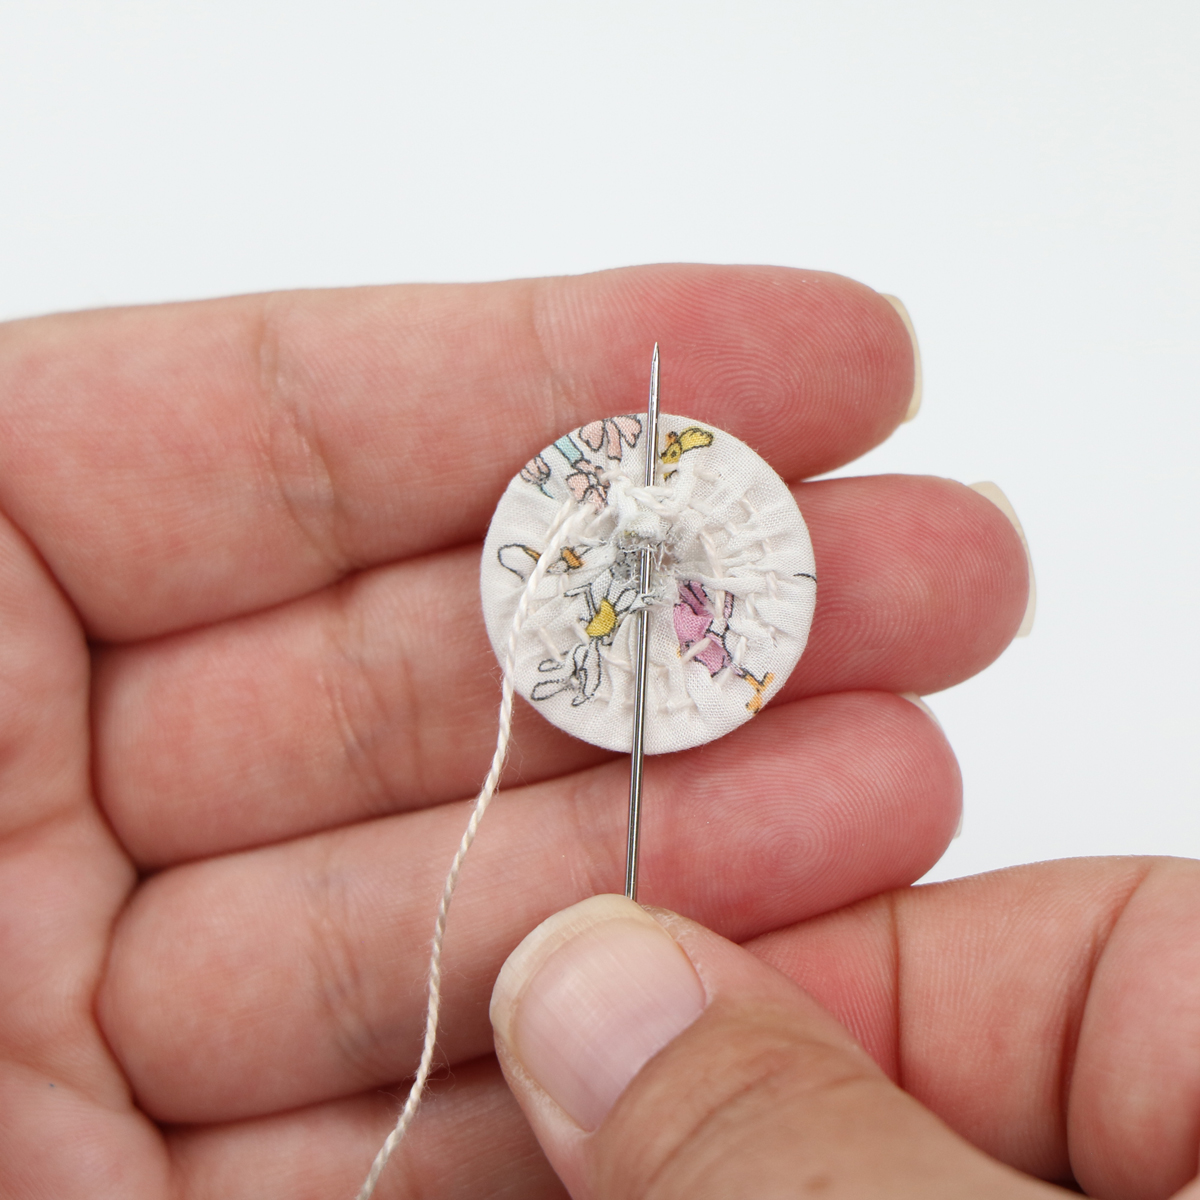
Once you reach mid-center, create a series of long stitches to join the edges together, trying to create as flat a button back as possible.
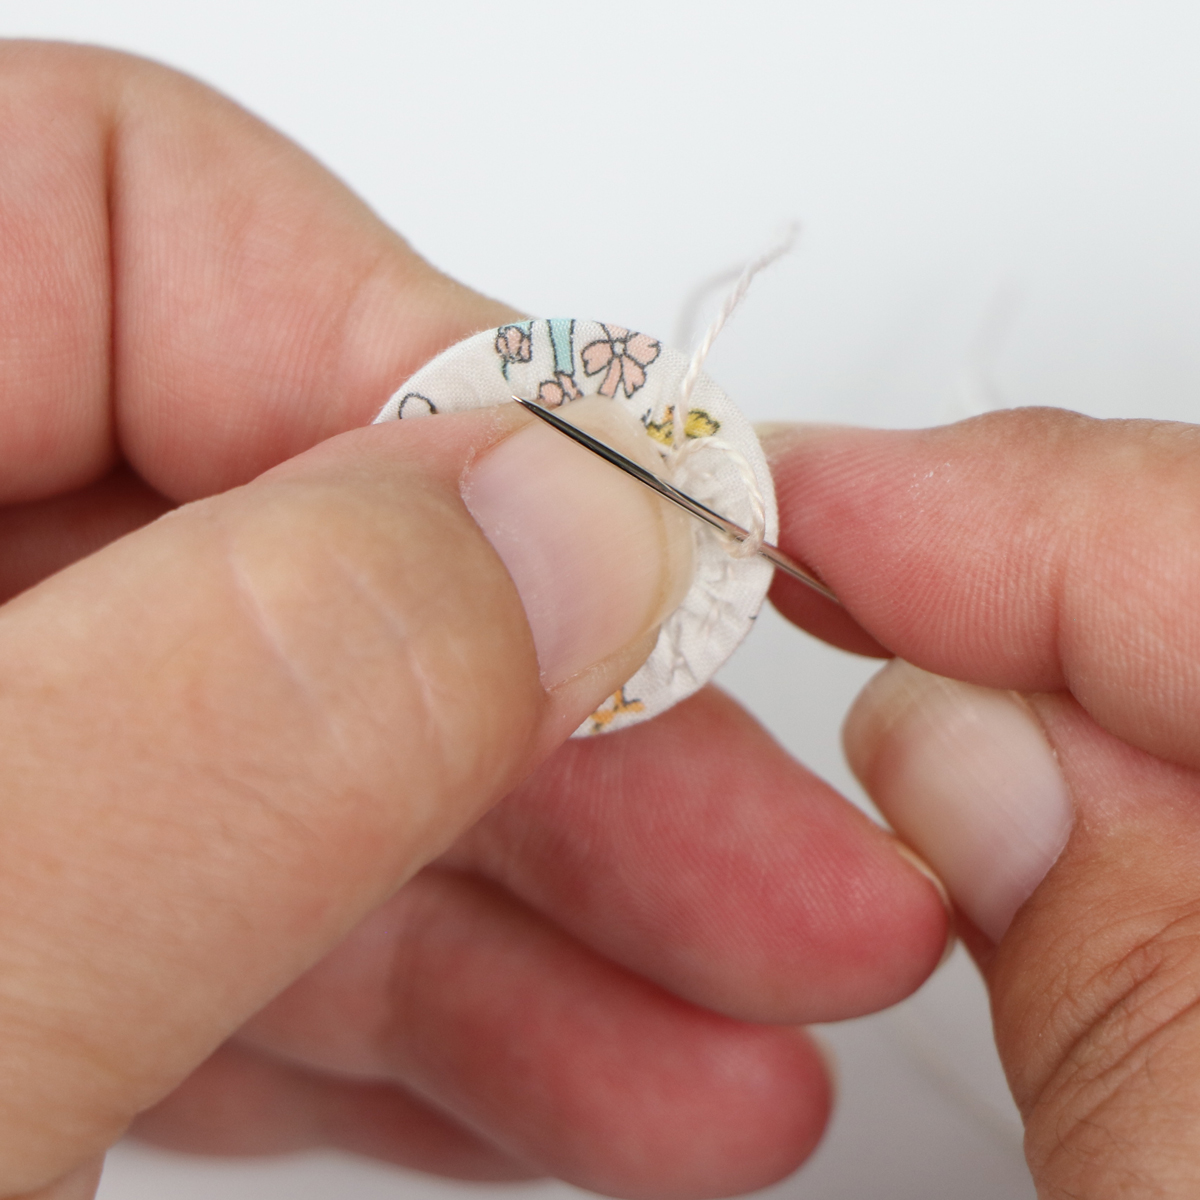
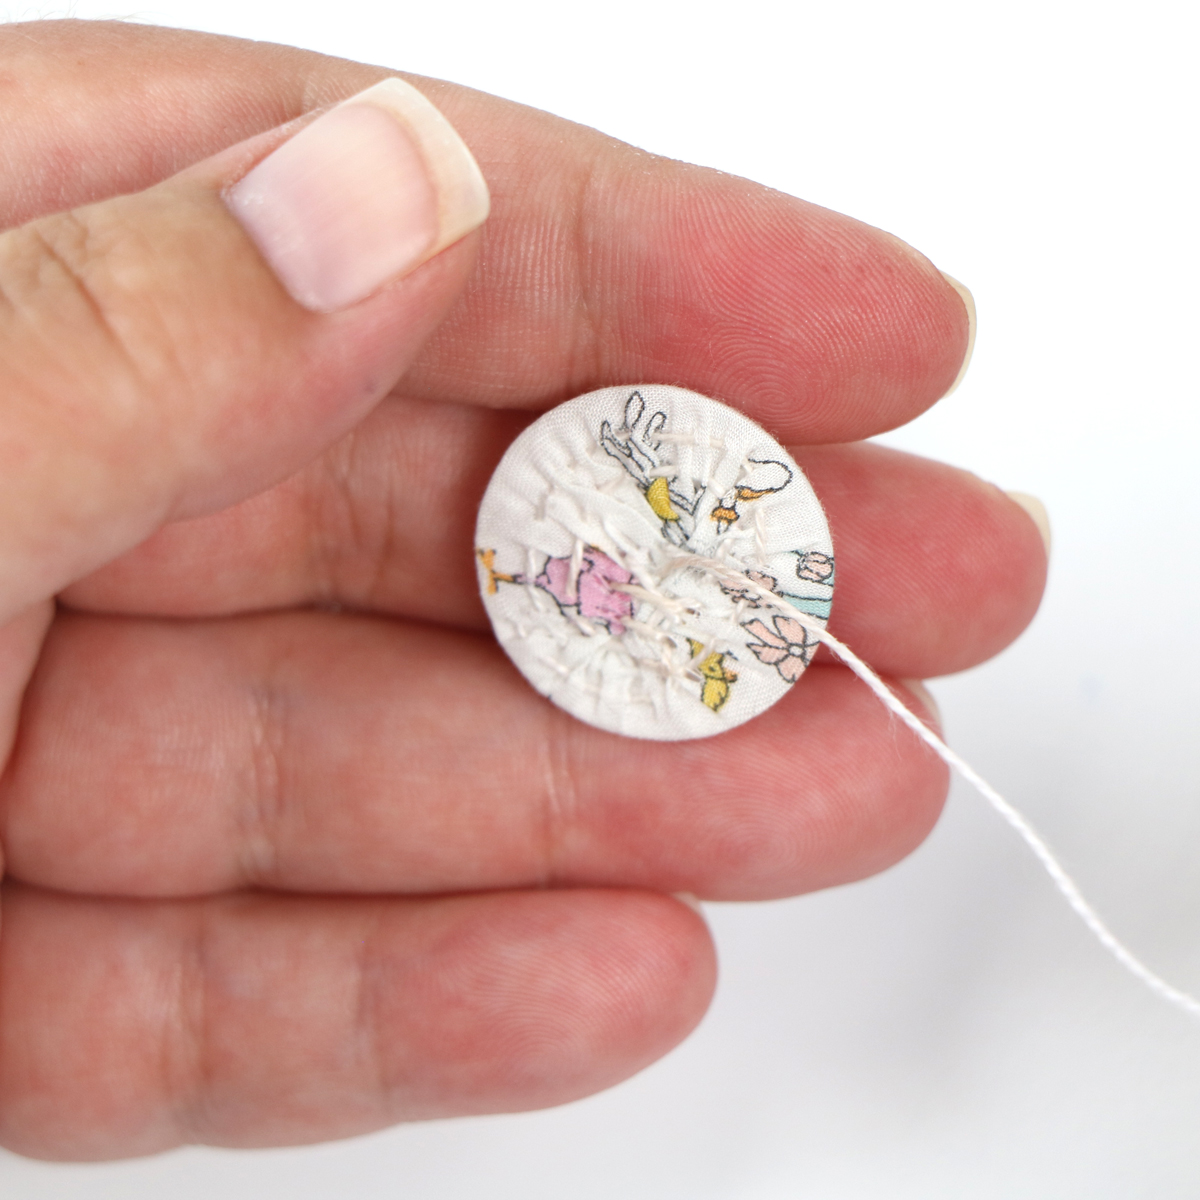
Knot, then bring your thread to the center.
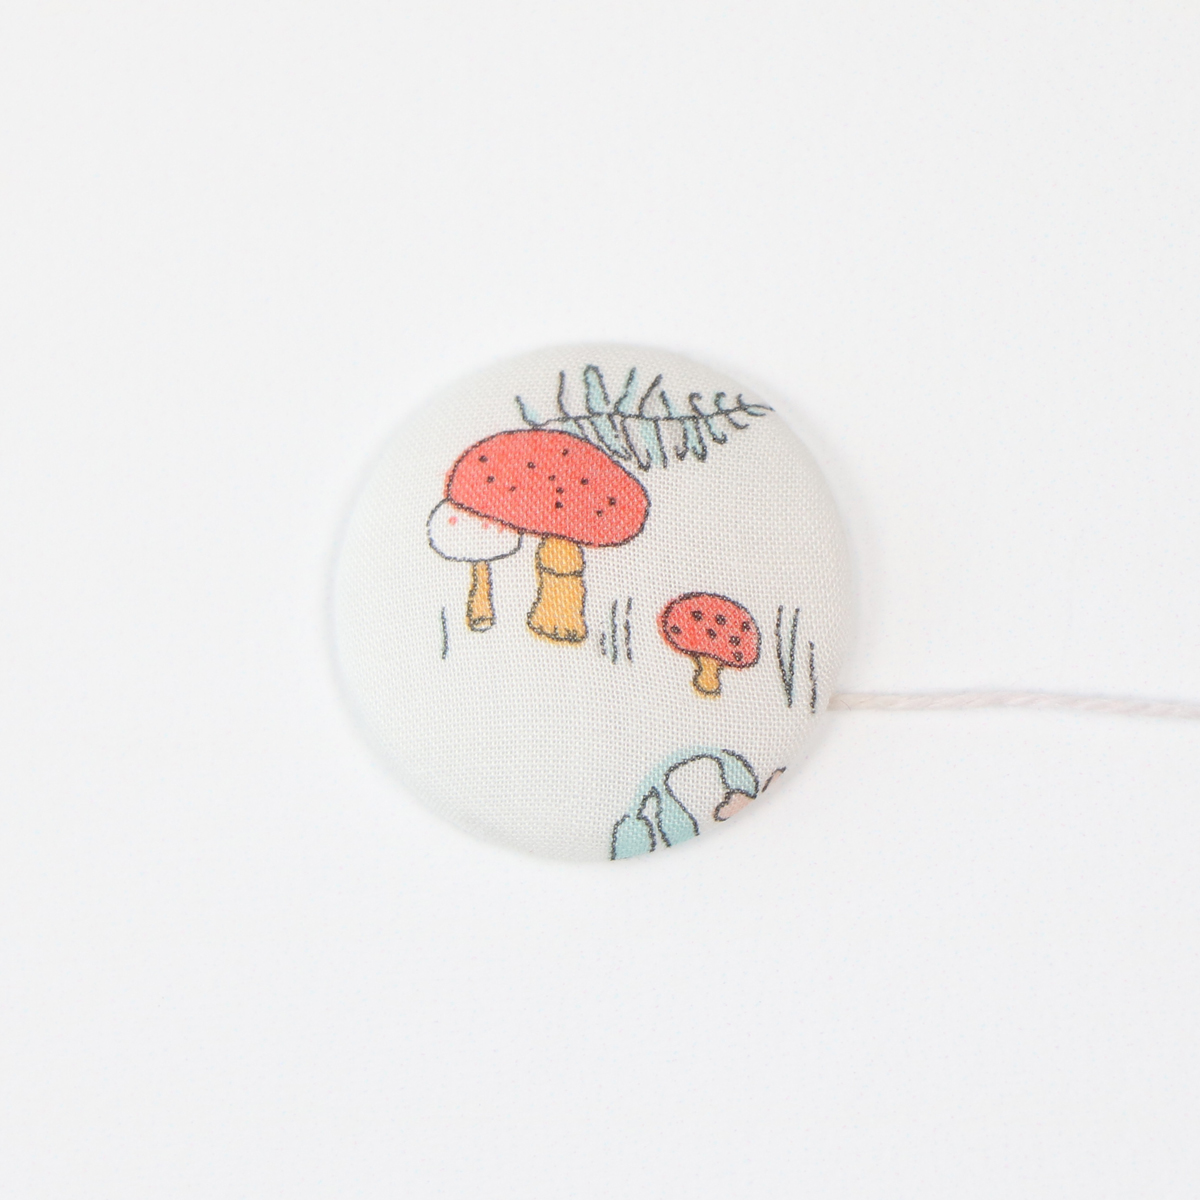
A complete Kurumi button! There's no need to snip the thread tail; leave it attached so the button can easily be stitched onto a future project.
Inspiration
Take a look at some of our samples and the ways we have incorporated Kurumi buttons into our projects.
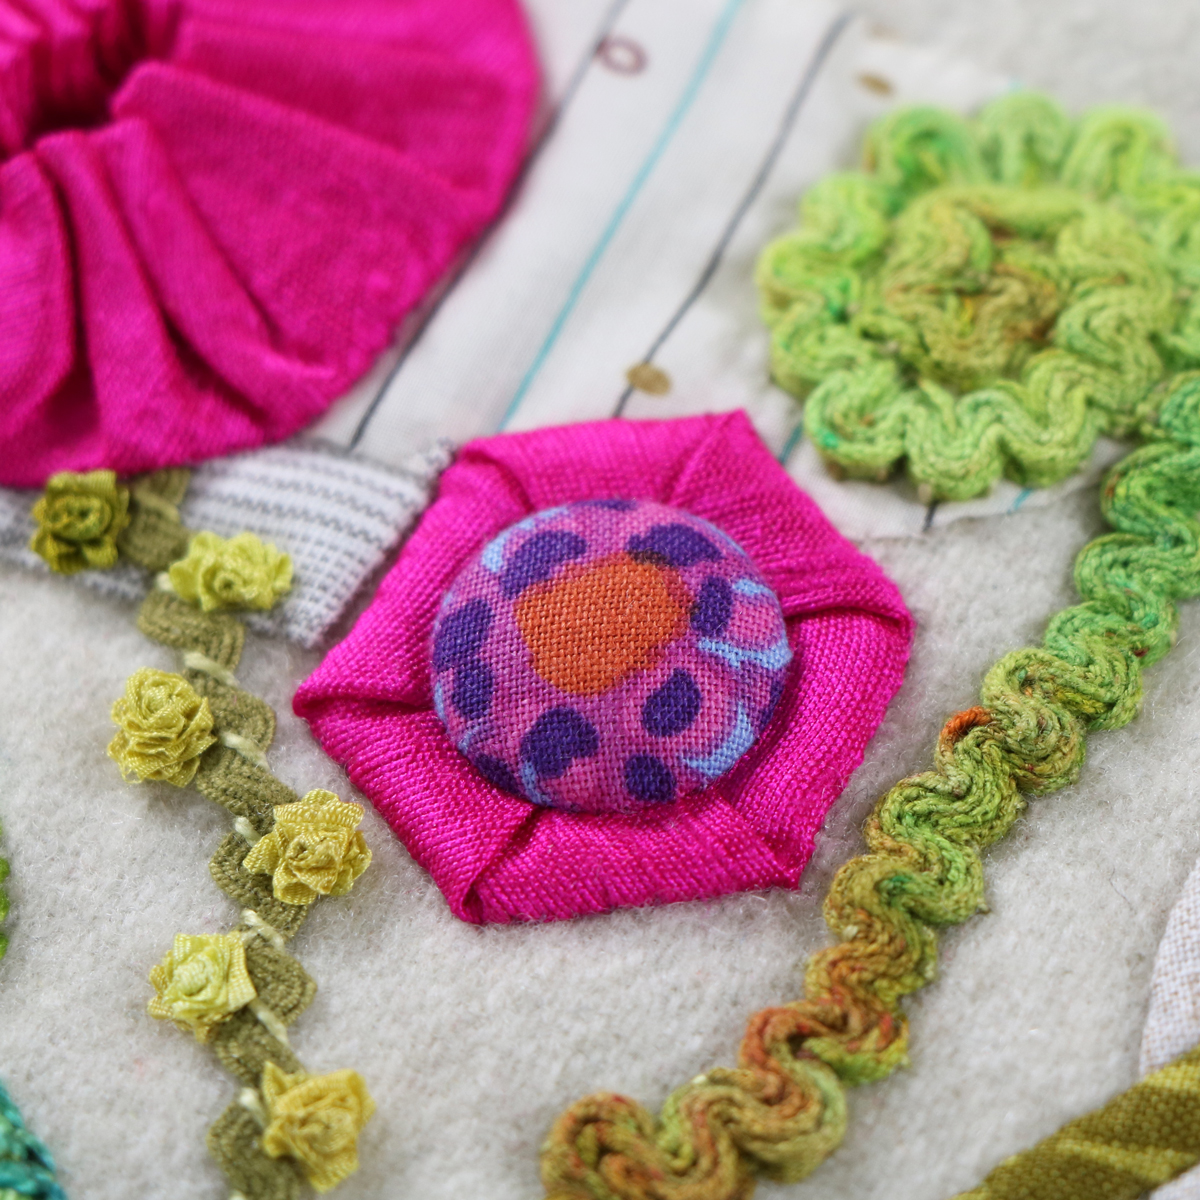
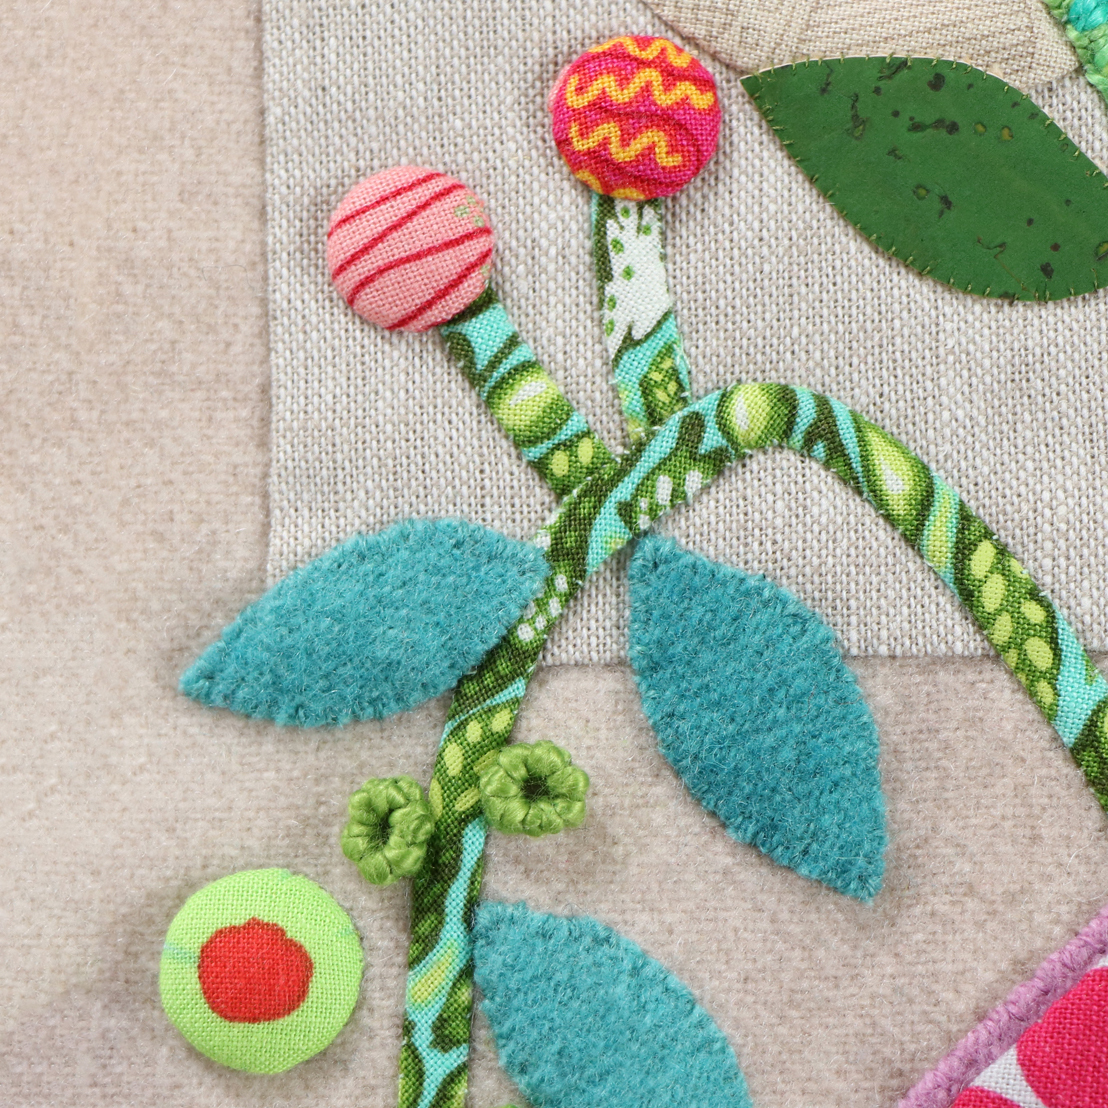
Bright, bold berries
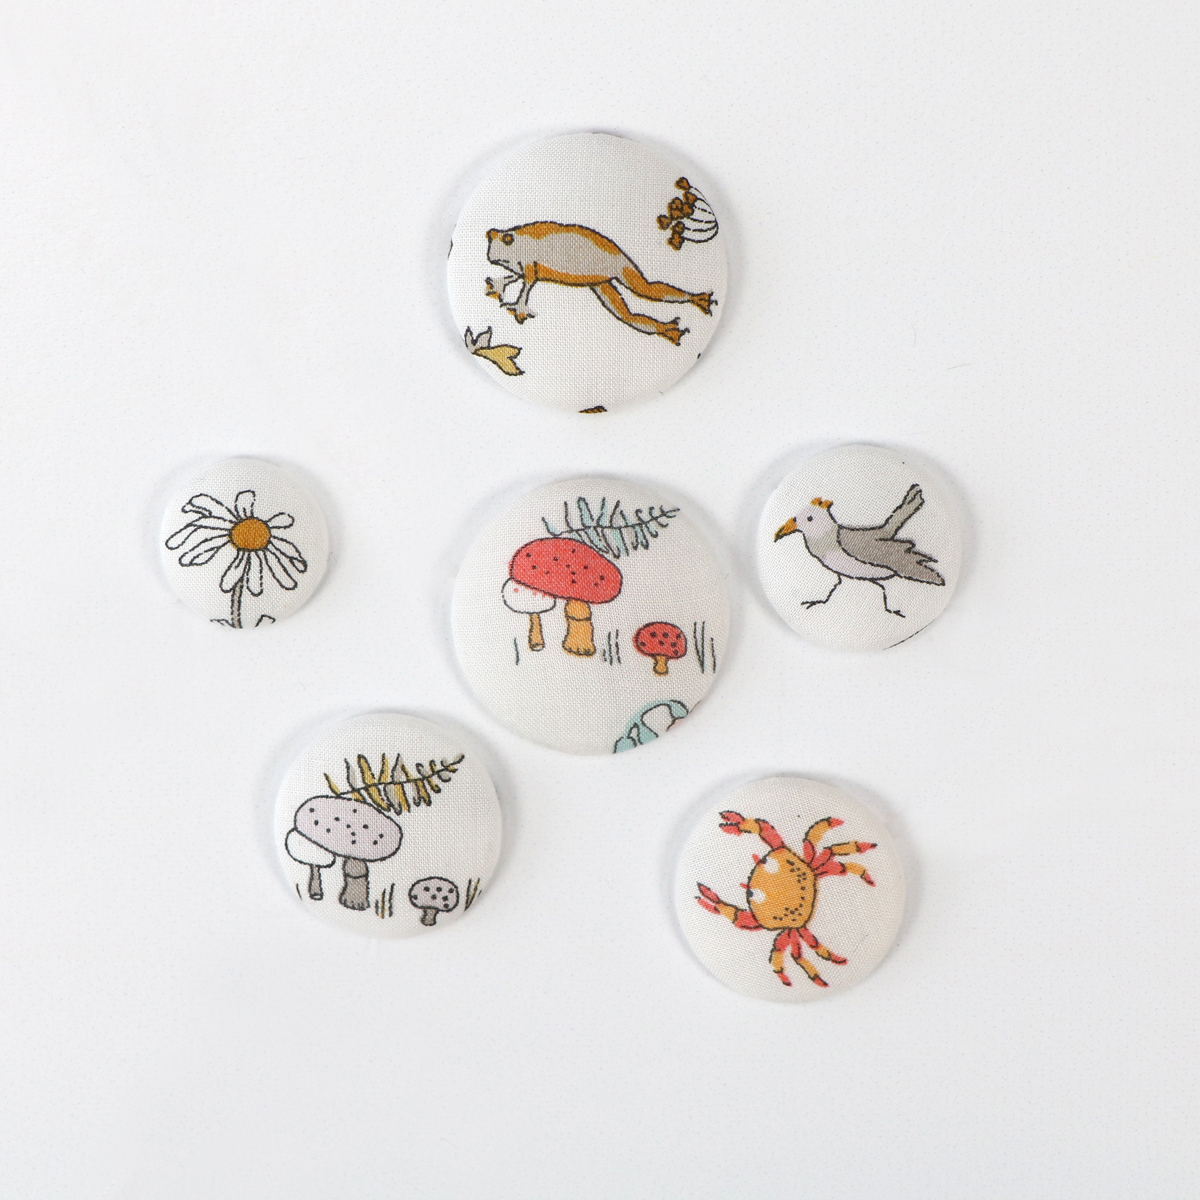
Fussy cutting
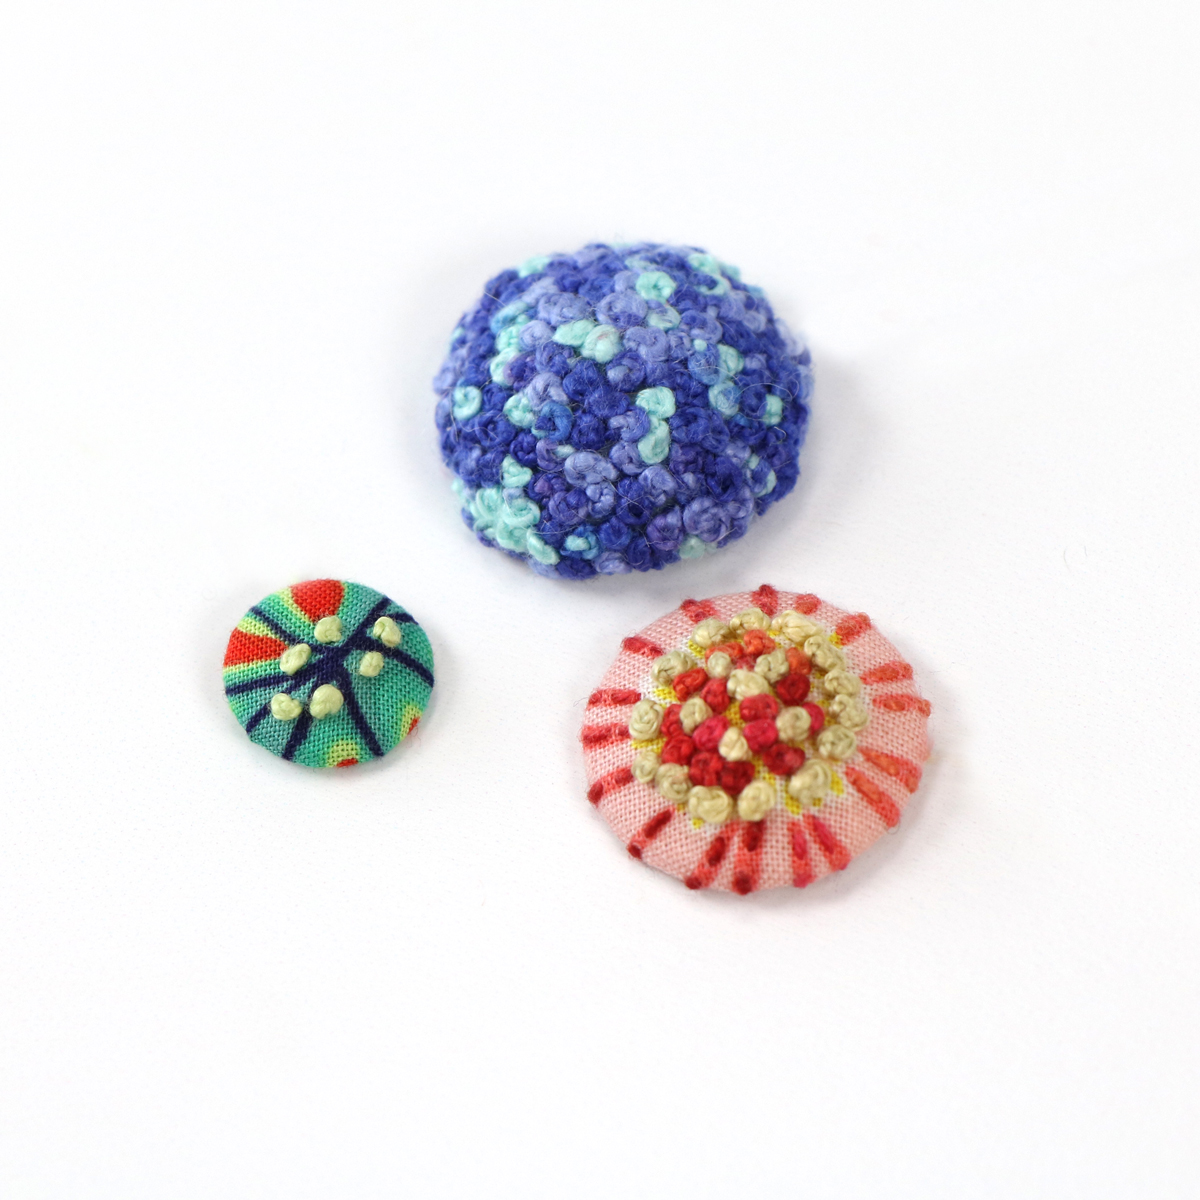
A touch of embroidery
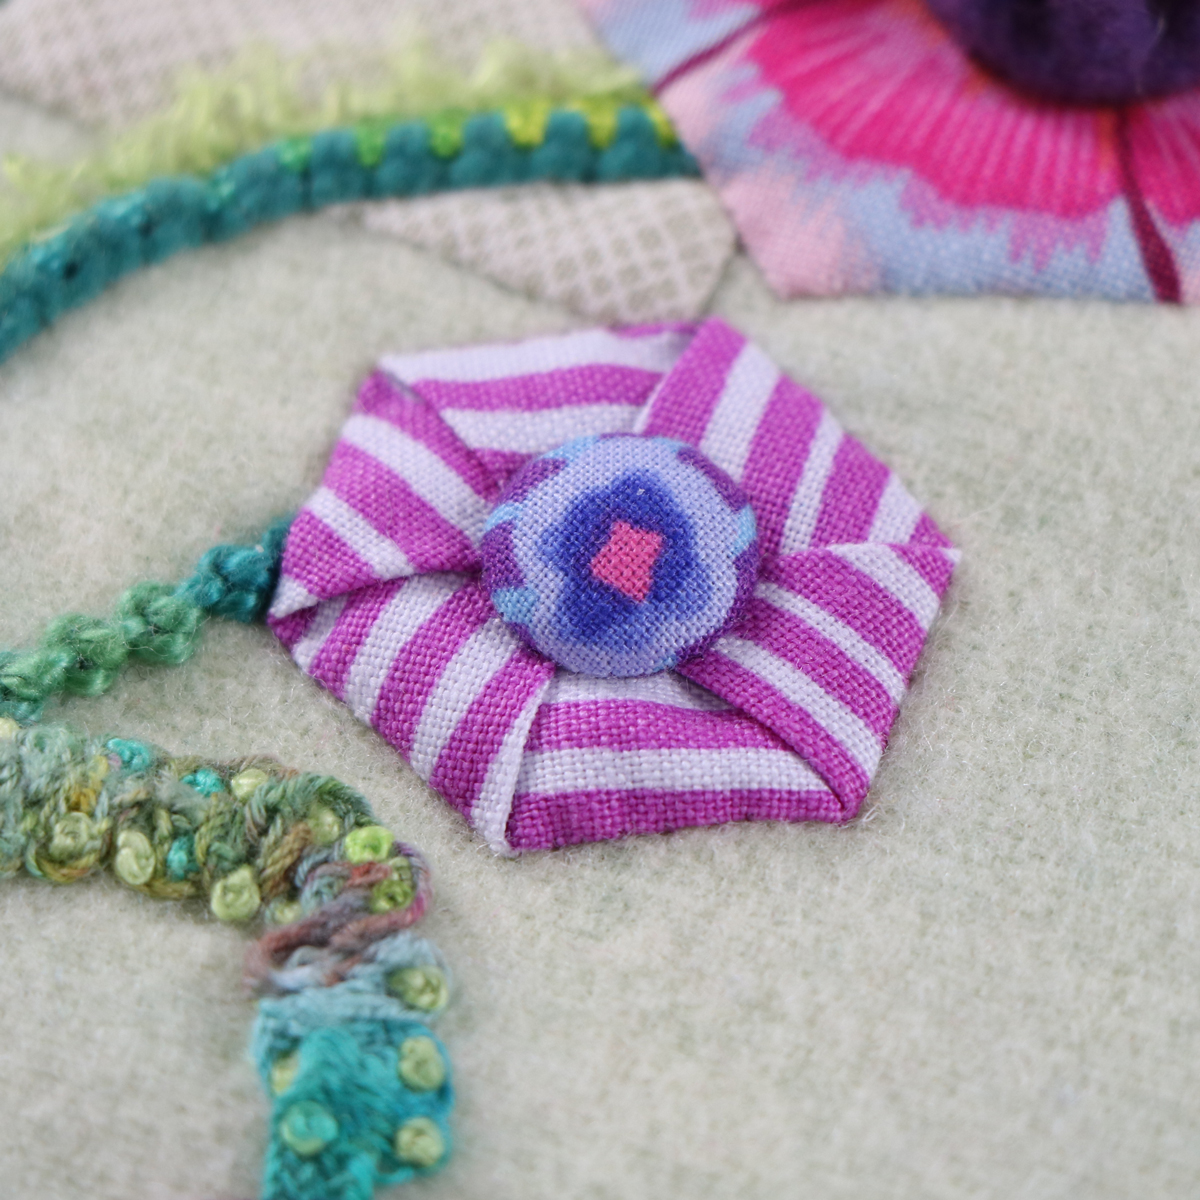
The center of a flower
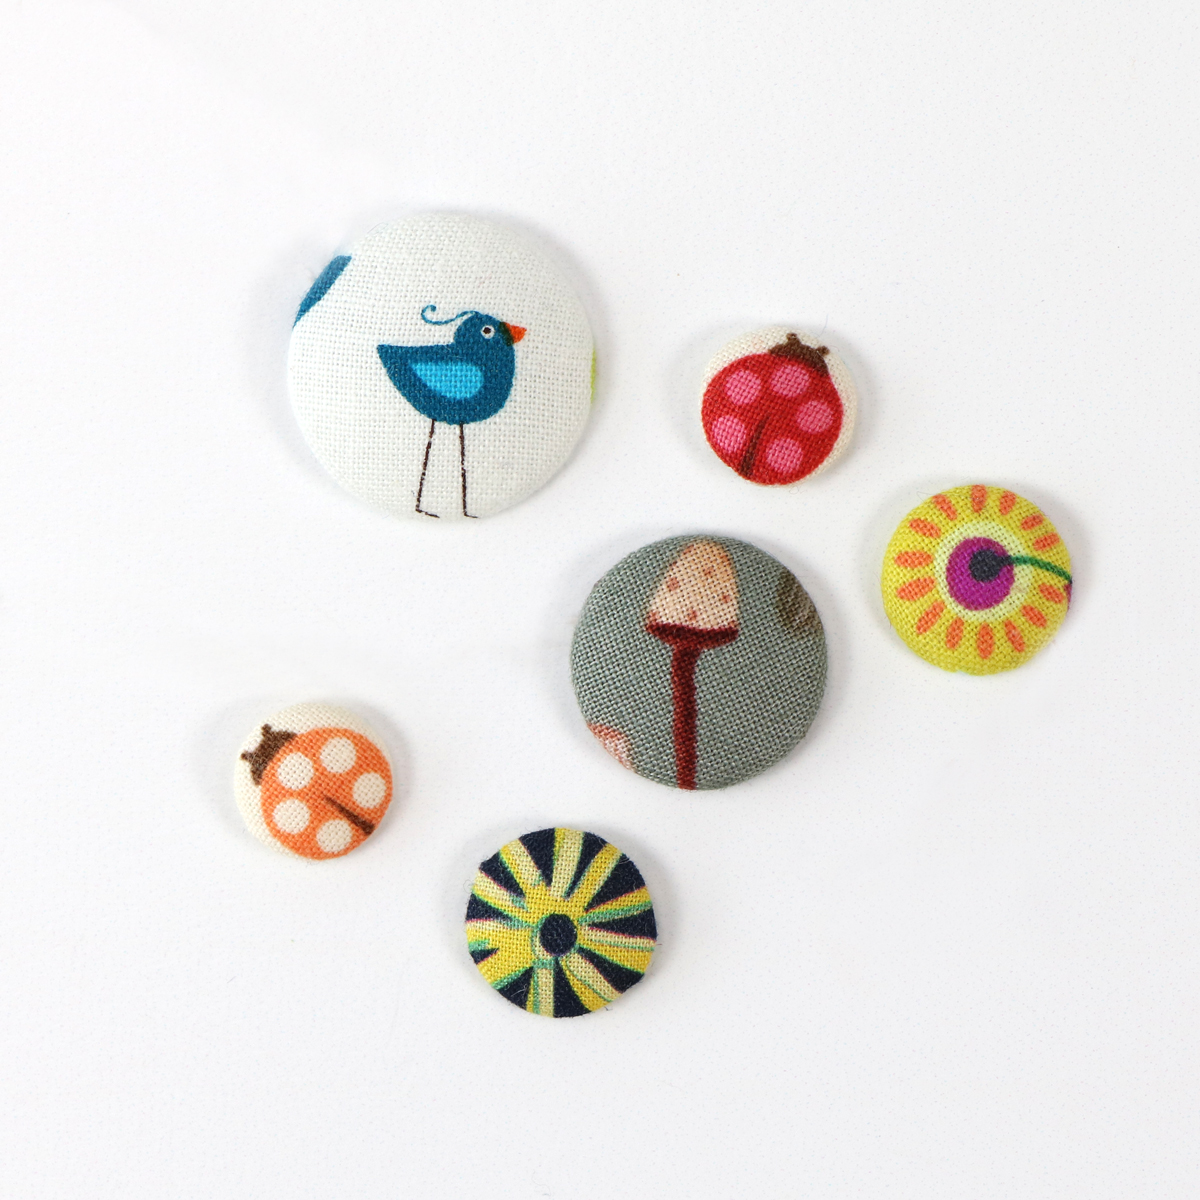
Fussy cutting
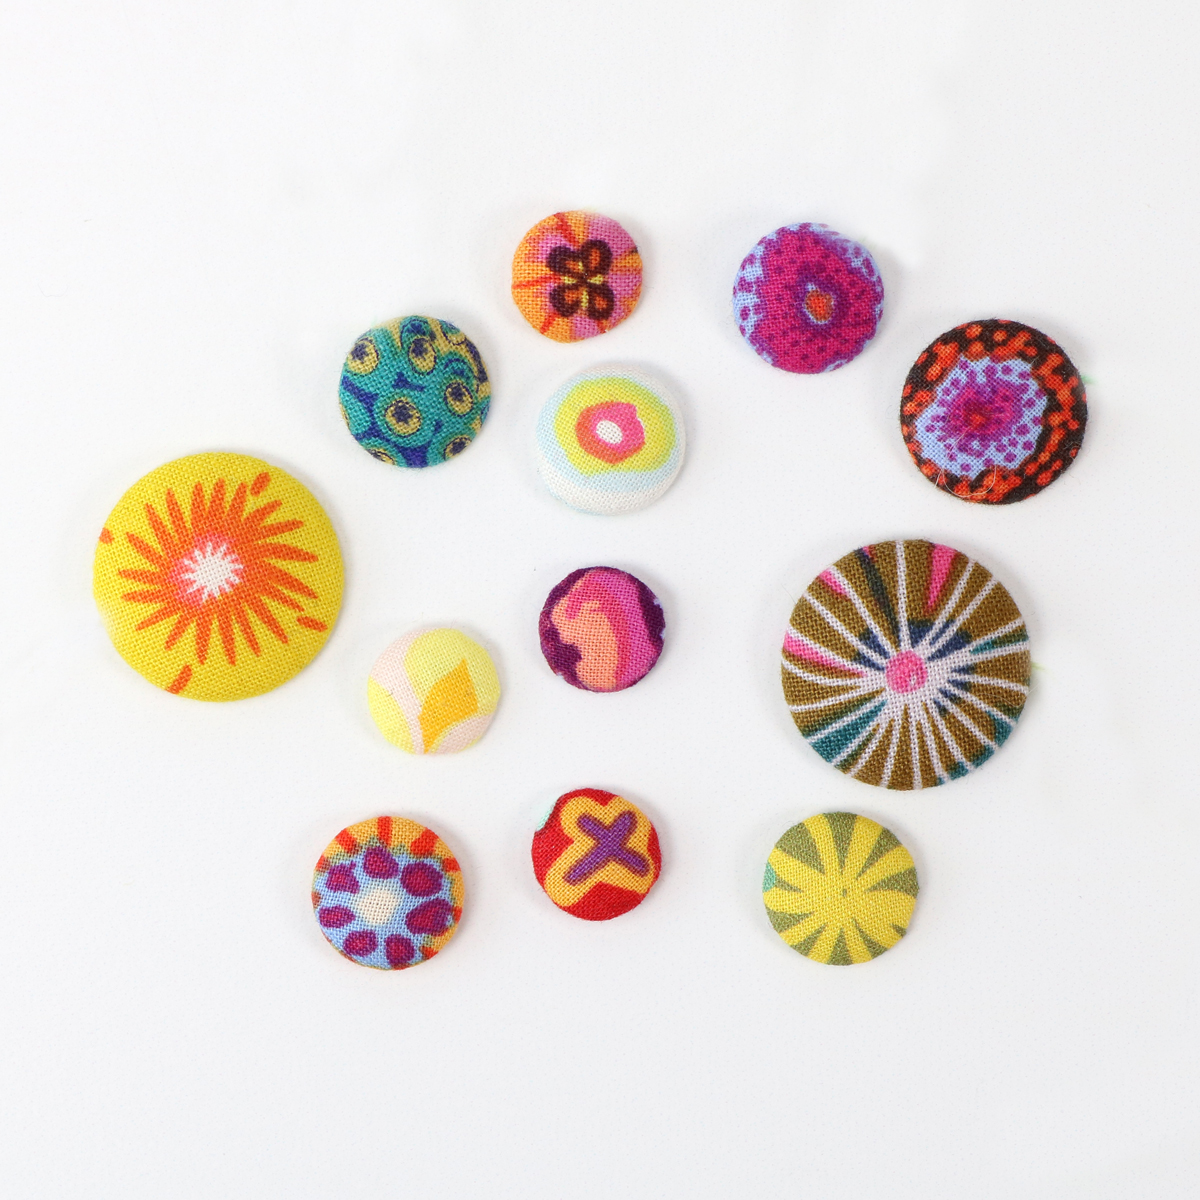
Fussy cutting flower centers
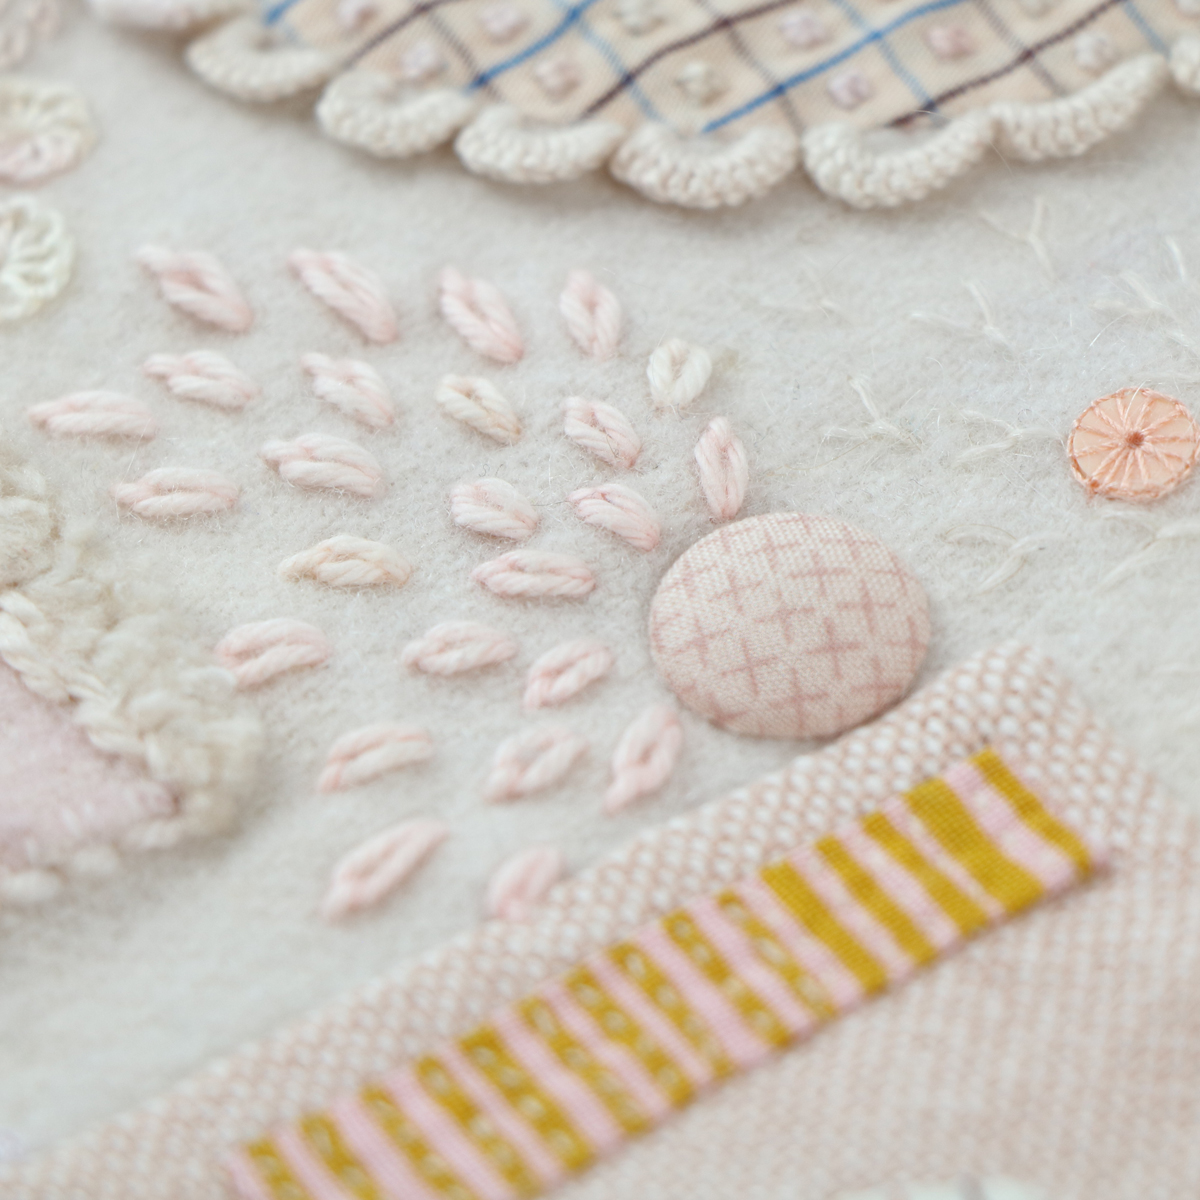
Adding texture to a background
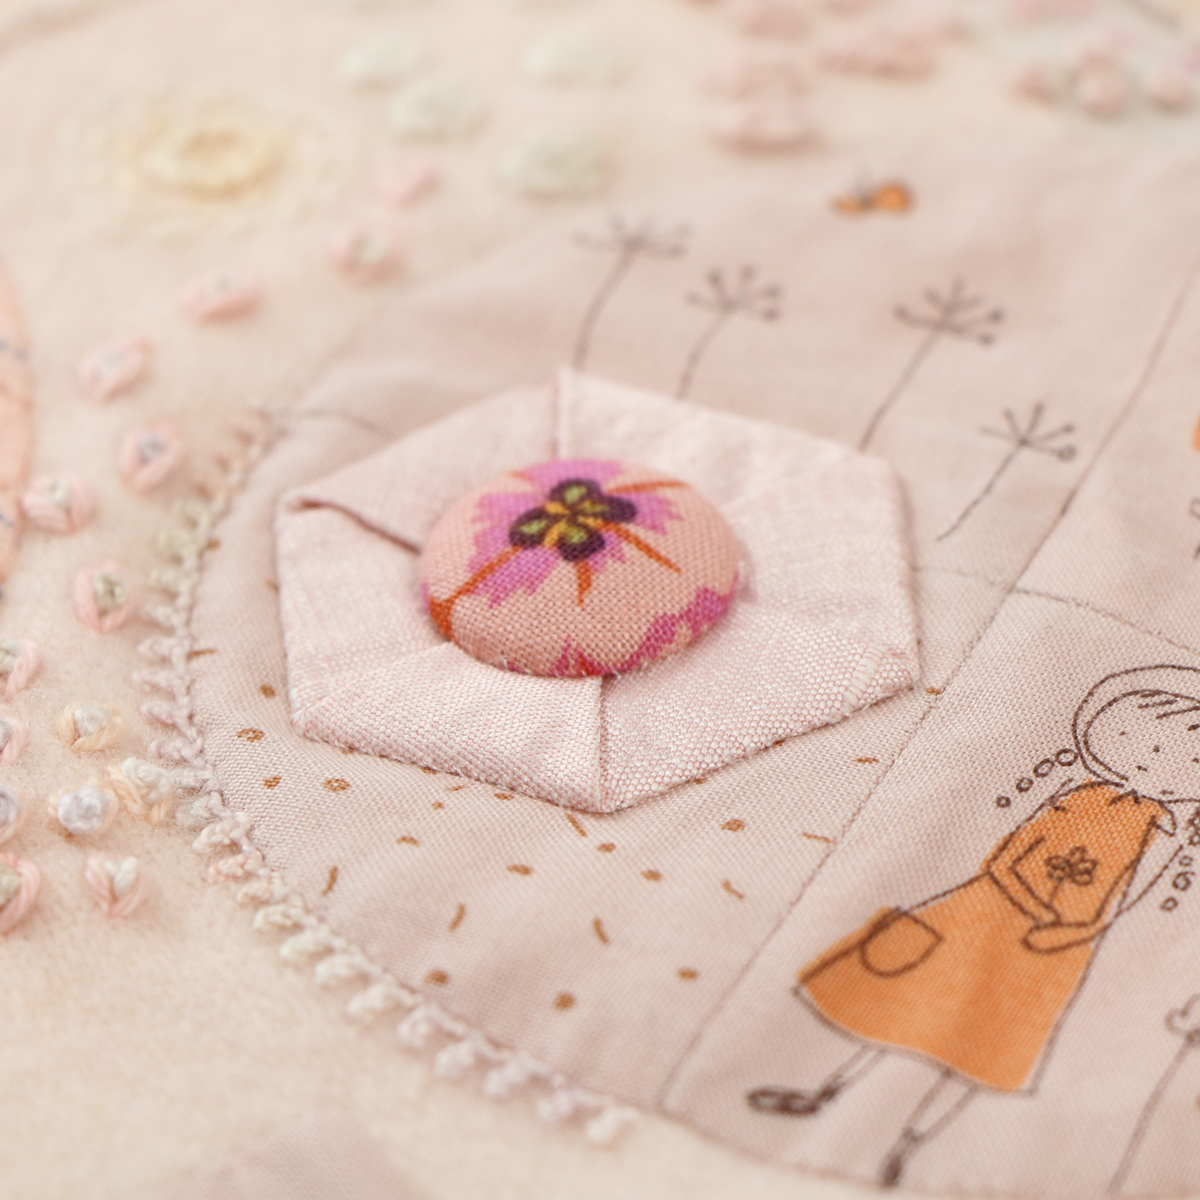
Heightened detail on a dupioni silk folded flower
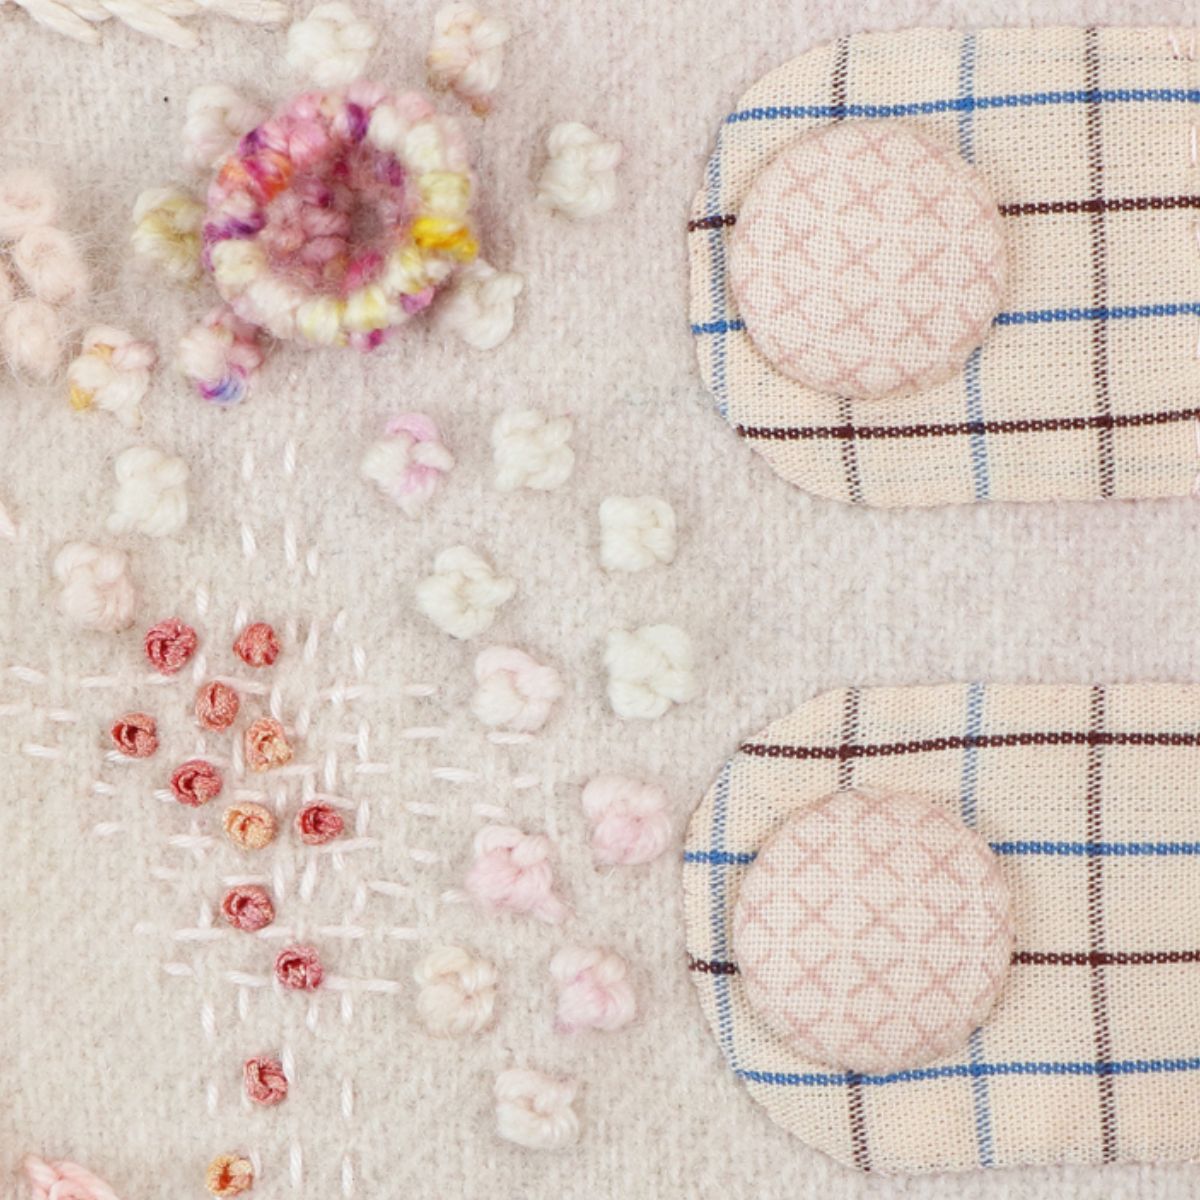
Layering on scallops for added interest
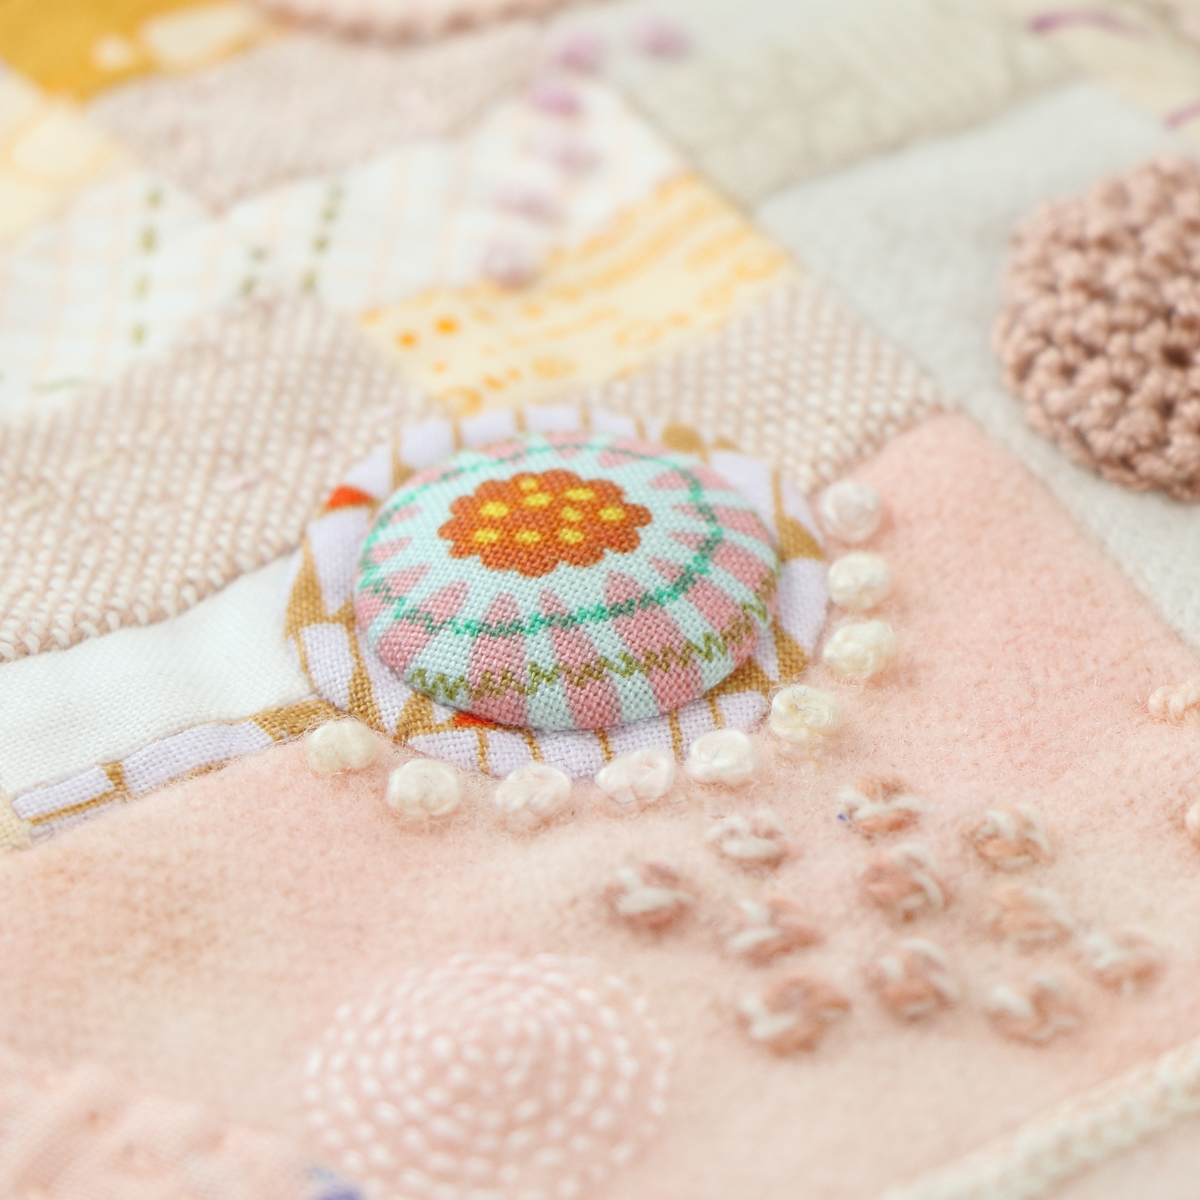
Instant texture is achieved in the piece, and the fussy cutting of the fabric draws your focus.