Binding... the final step of completing a quilt and often the most dreaded. But not to worry, we have the pro tips to make binding a breeze! We even put together a brand new eLearning course that covers multiple ways of binding, so you can choose the best option to make your quilt shine!
Steps
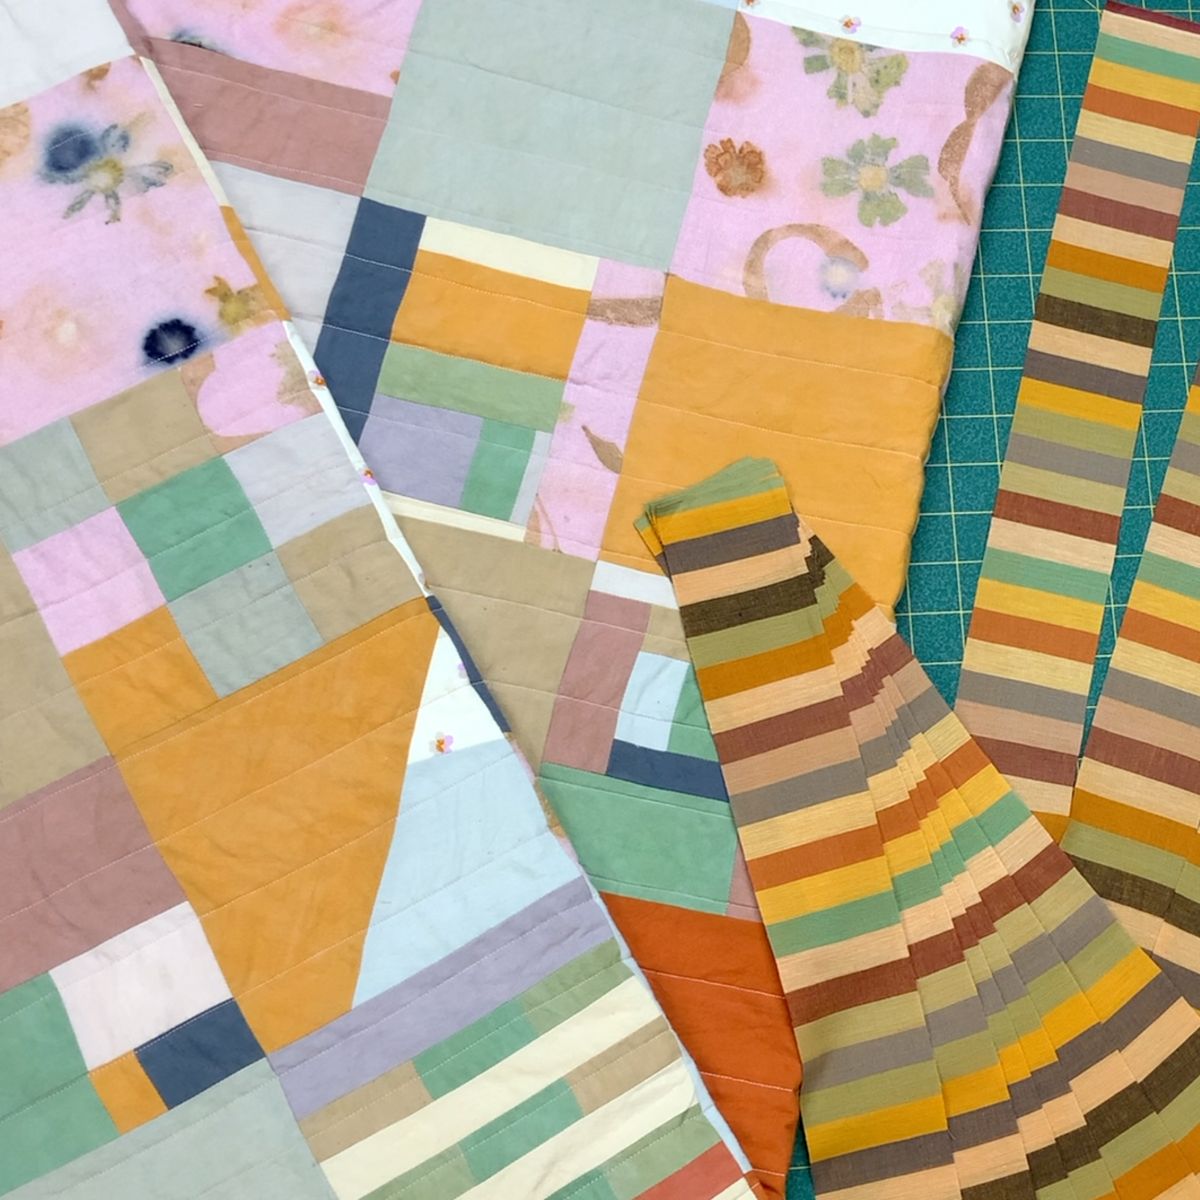
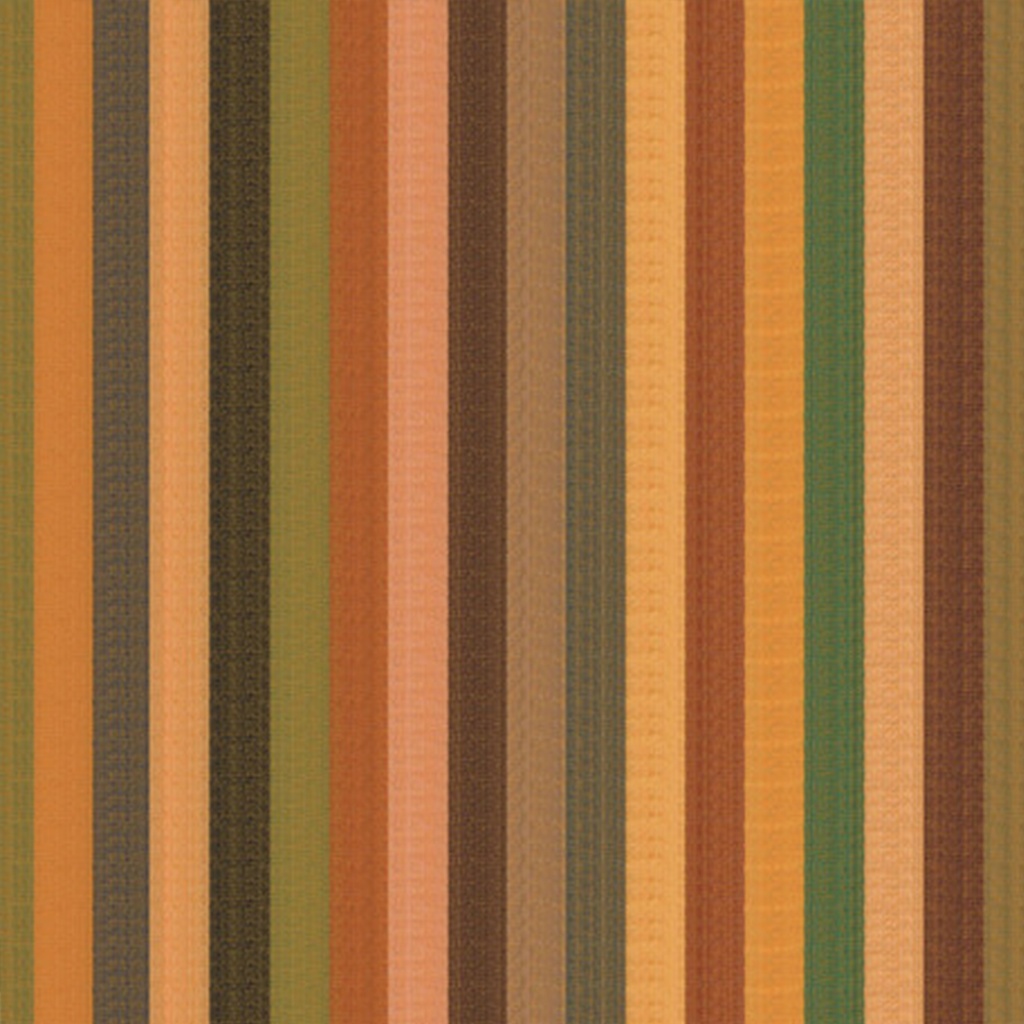
The first step is to choose a fabric for your quilt binding. Sometimes you may want your binding to have a soft, blending effect, and other times, it may feel right to go bold and choose a contrasting color or value. This improv quilt was made primarily with hand dyed Cherrywood cottons that have a velvety, lived-in feel and our in-house Ecoprints. We selected a Kaffe Fassett Stripe in a gold color for the binding, because it accentuated the warm, organic feeling of the quilt.

Next, you'll want to cut enough 2-1/2" strips of fabric to go around the perimeter of your quilt. To determine the total length of binding fabric you'll need, add all 4 sides (this quilt was 60" x 60"), divide the sum by 40 (approximate width of fabric), and then add 1. This is how many binding strips you'll need for your quilt.
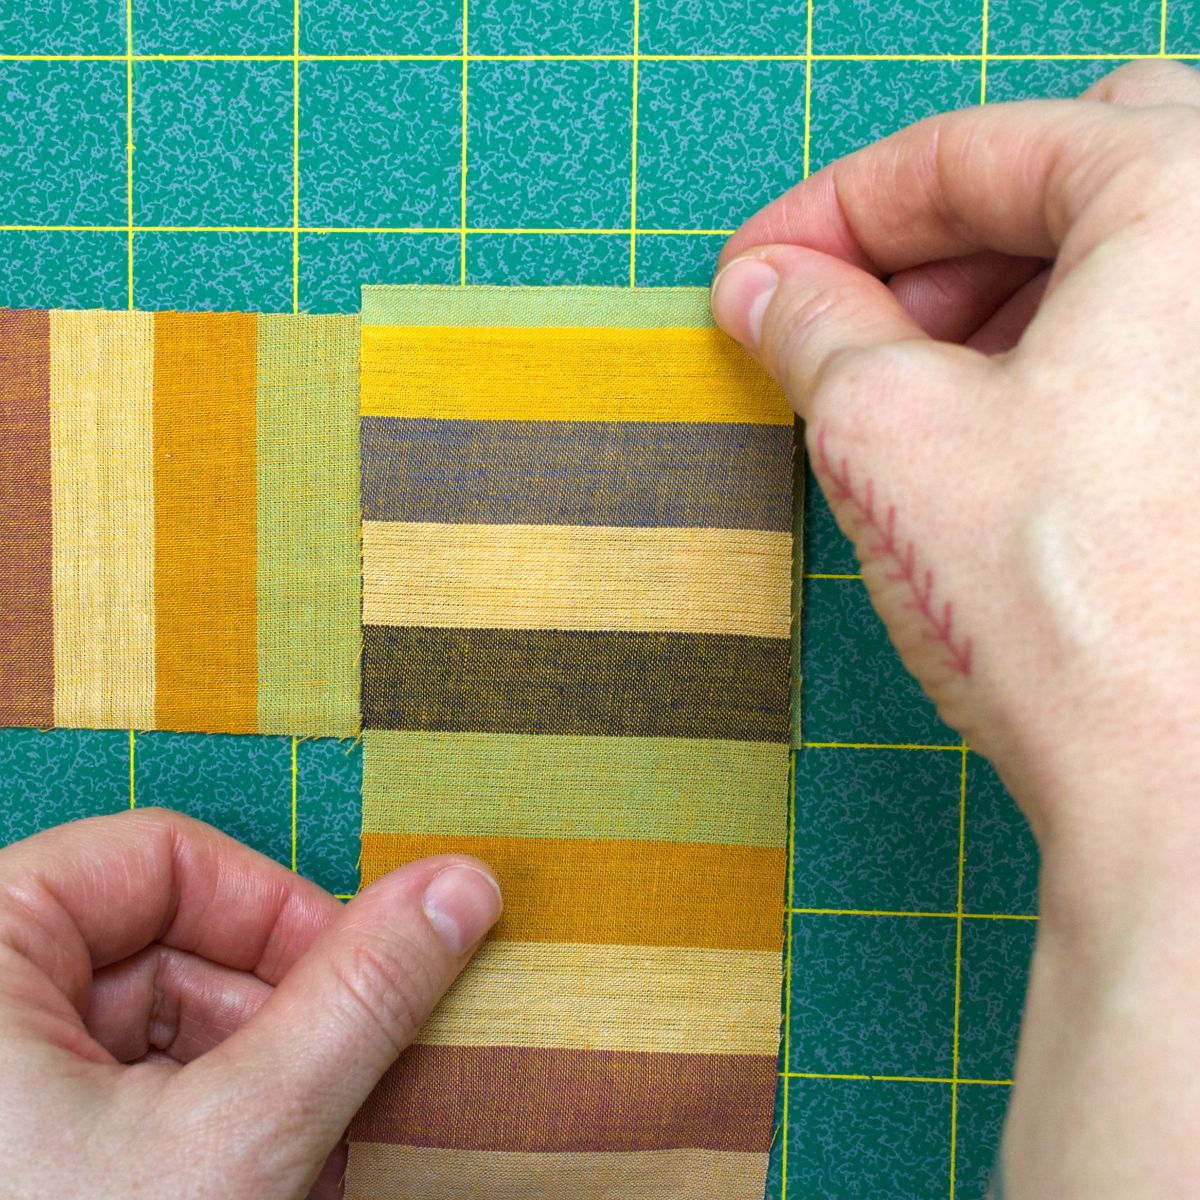
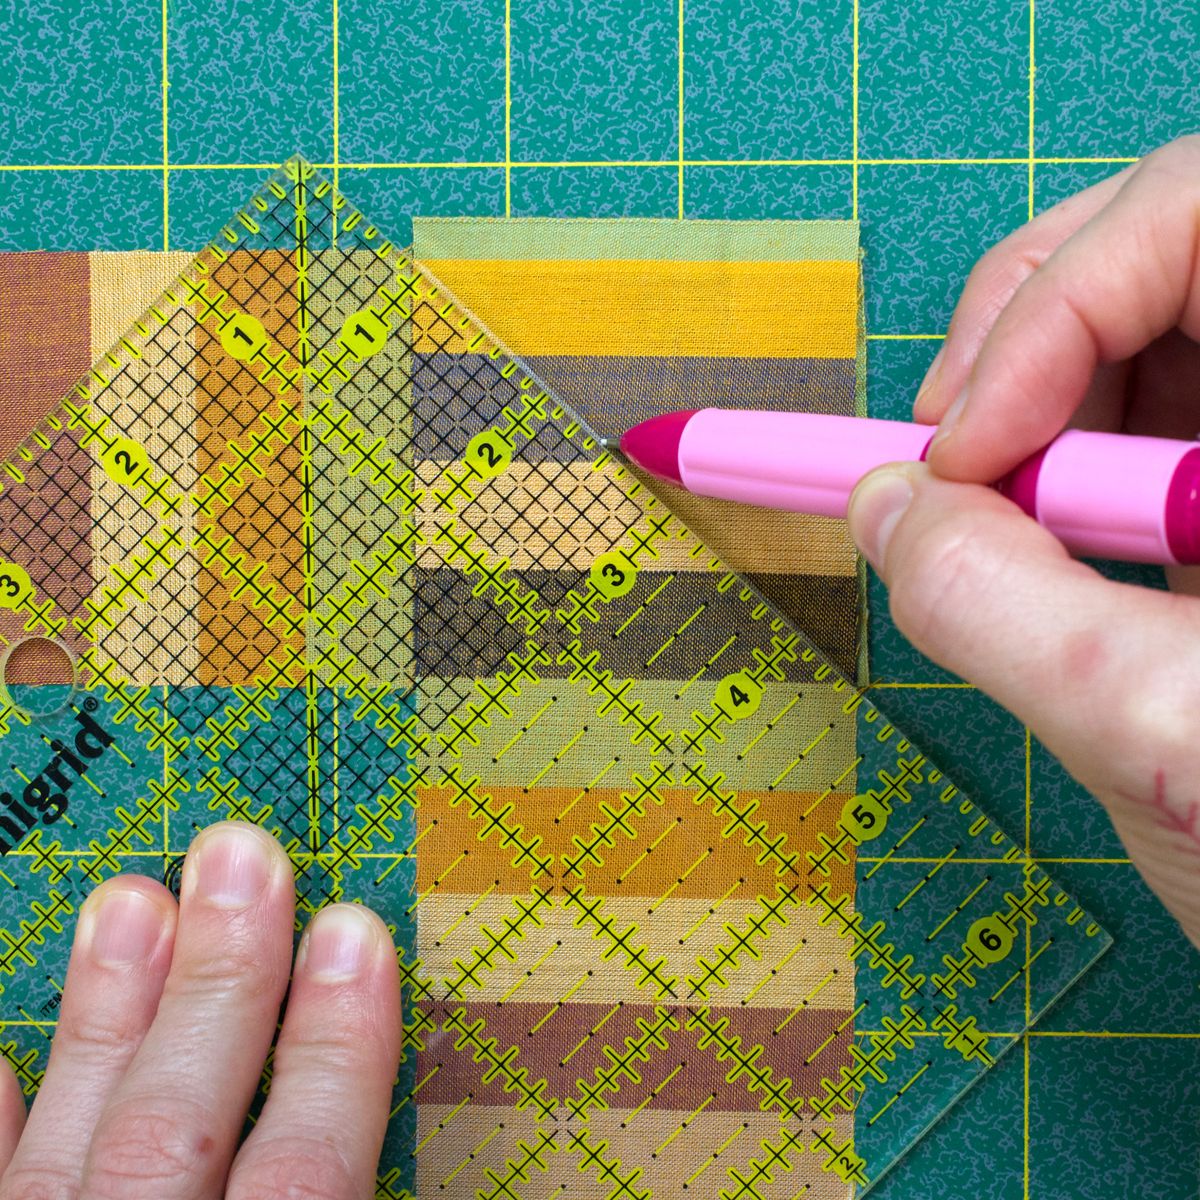
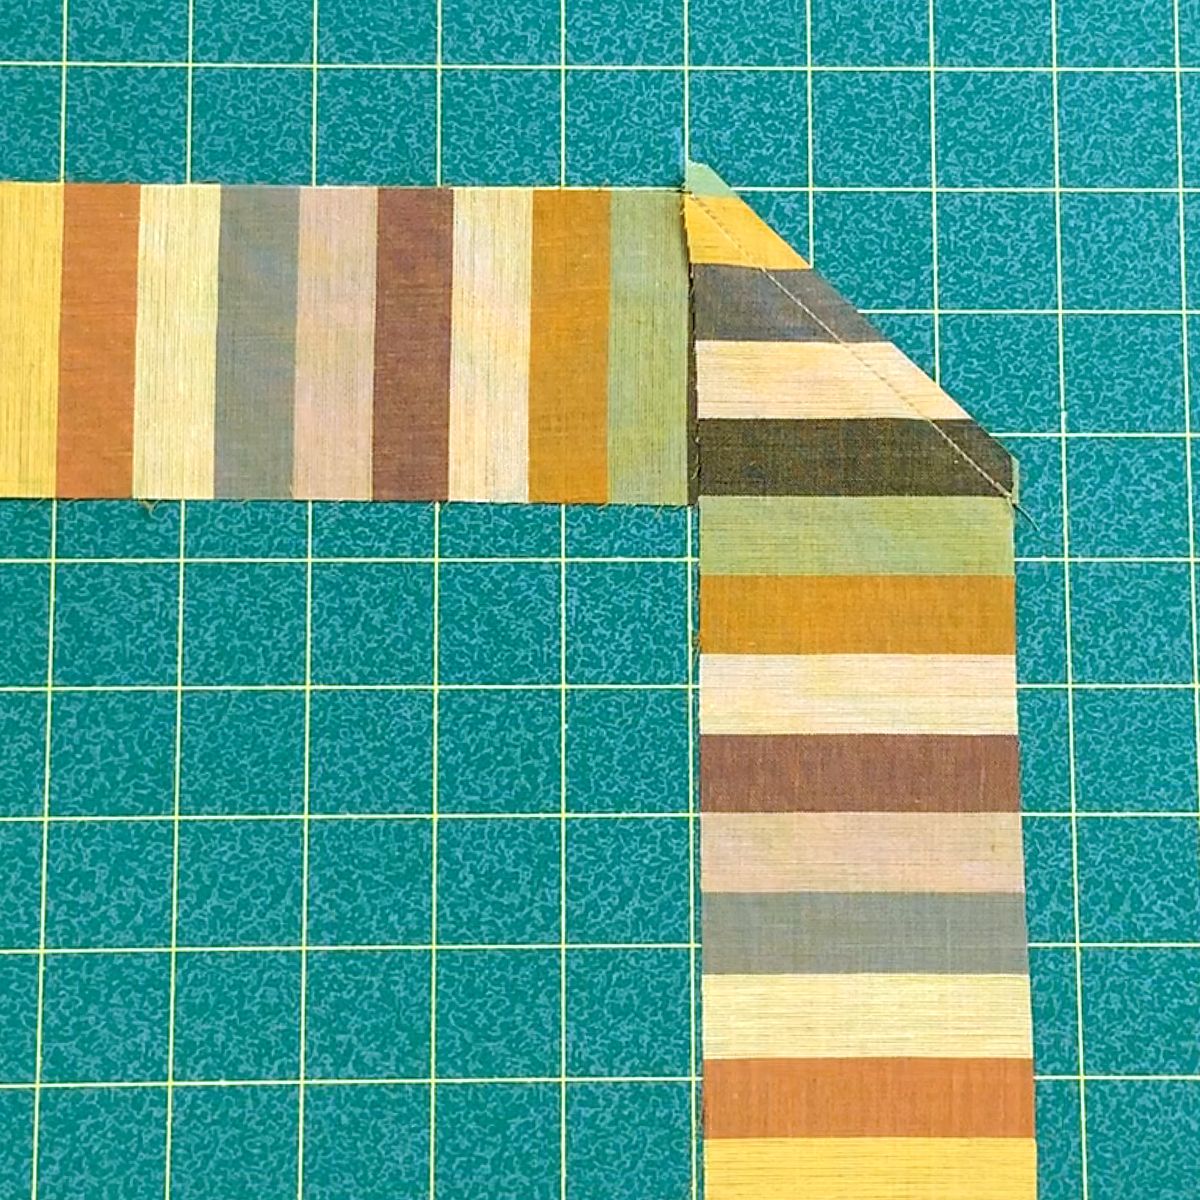
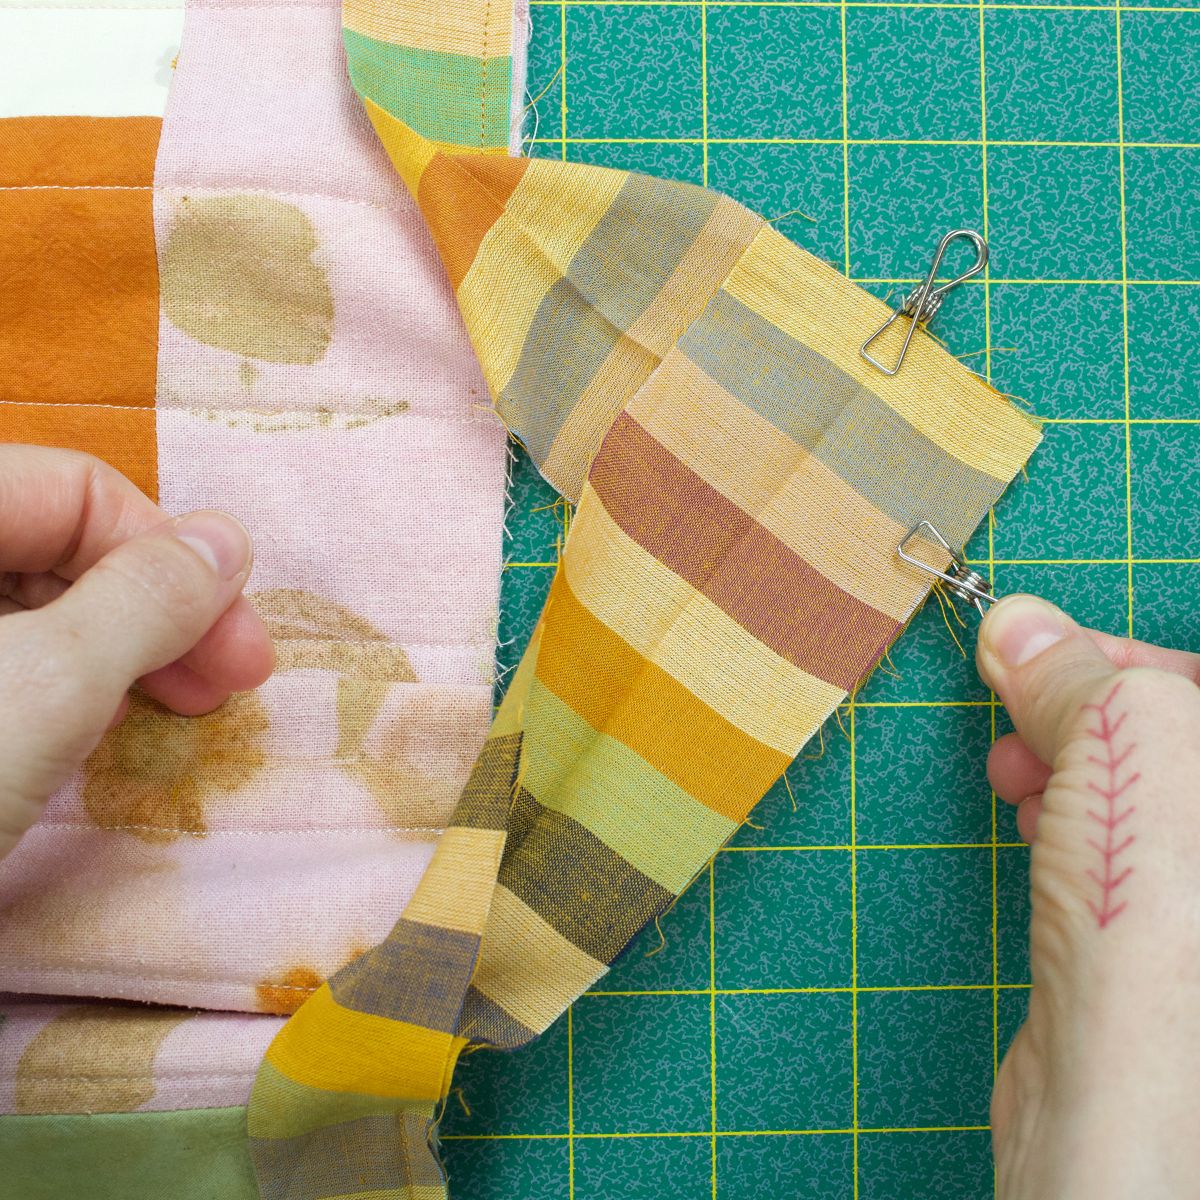
Begin by laying the very end of two strips right sides together and perpendicular to one another. Kaffe Fassett wovens don't have a right side and wrong side as both sides look the same, so we don't need to worry about that here.
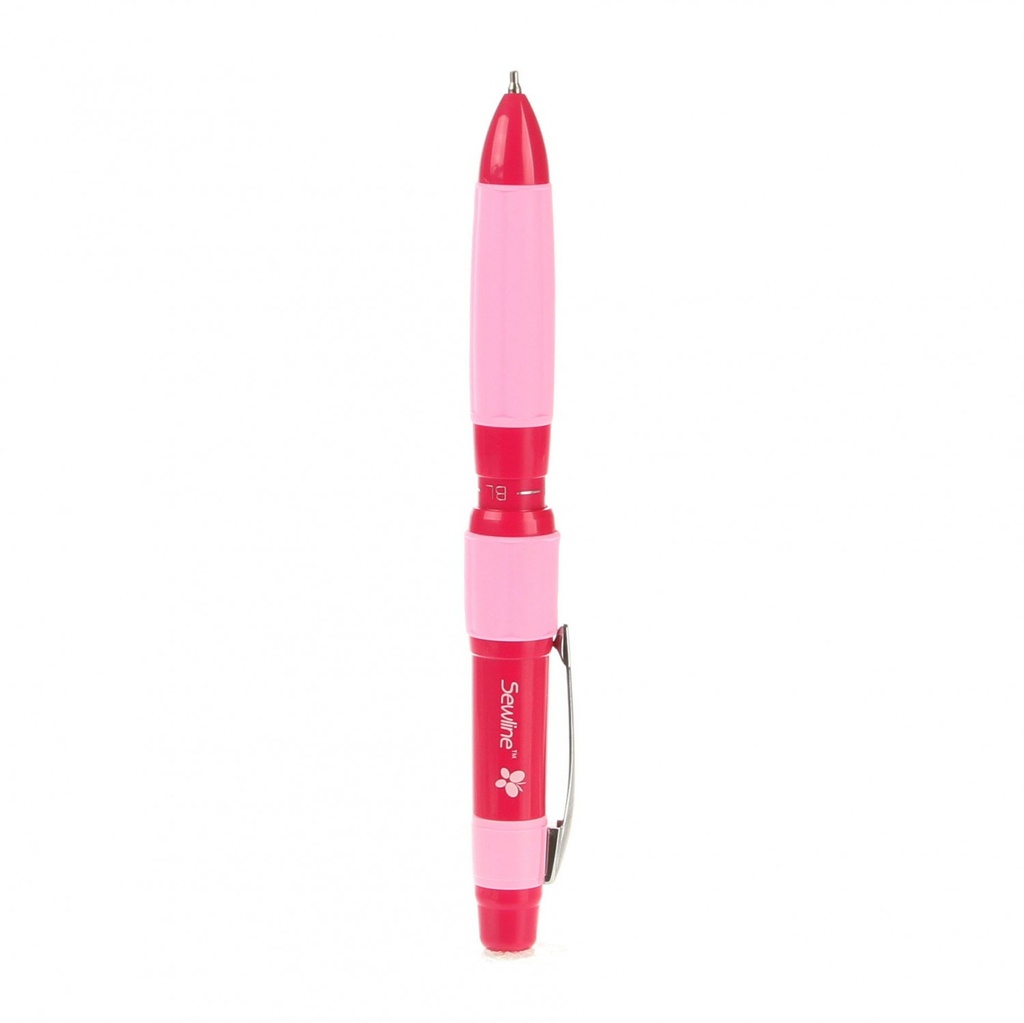
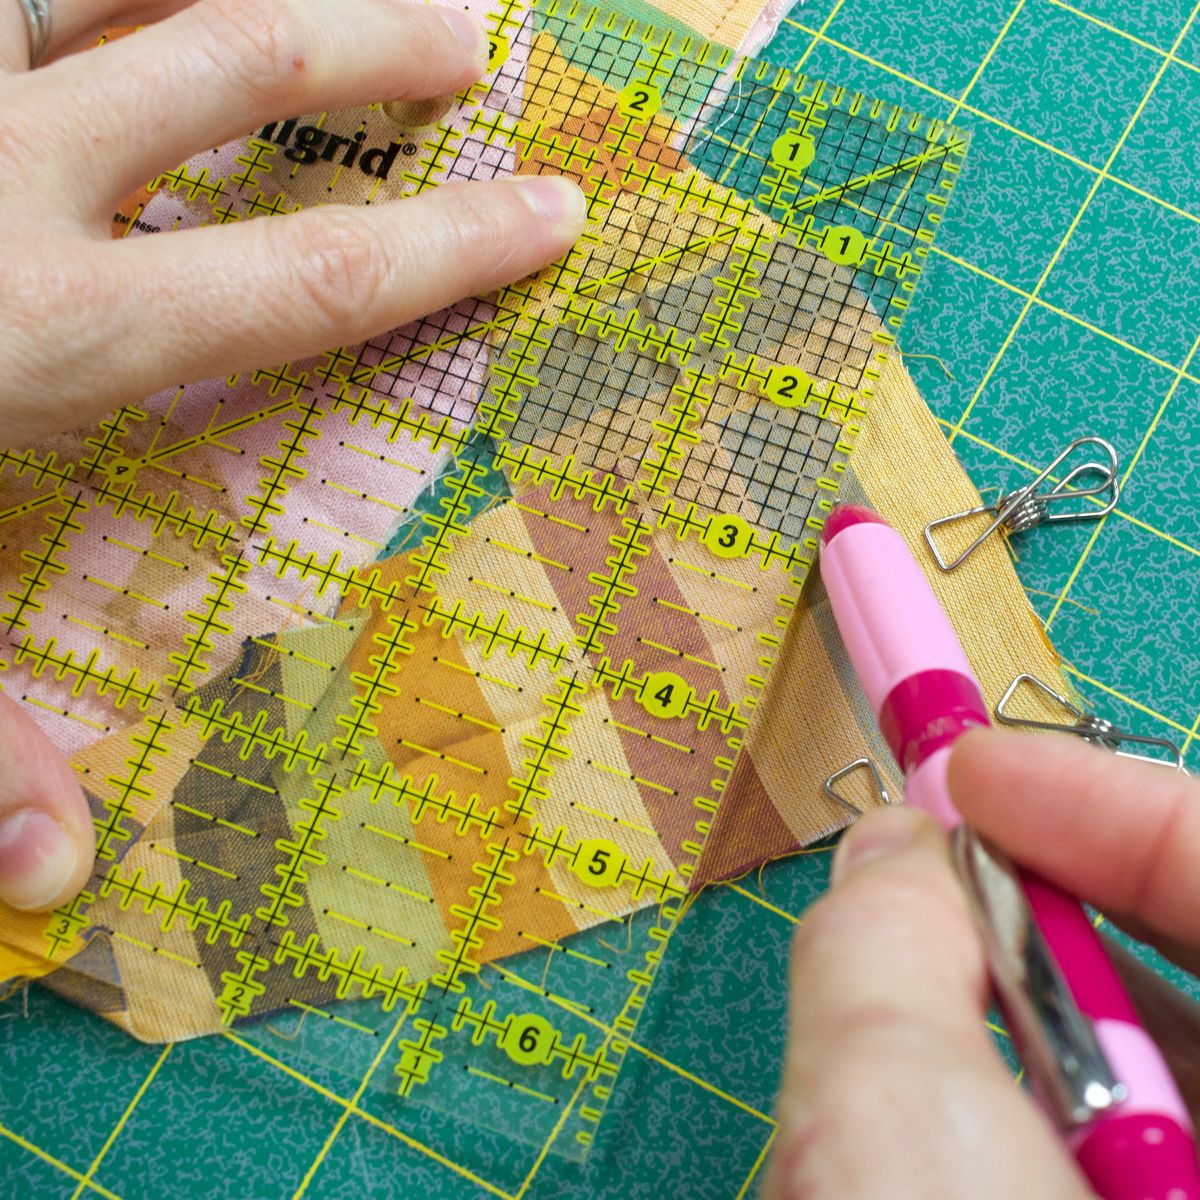
Draw a line diagonally from corner to corner.
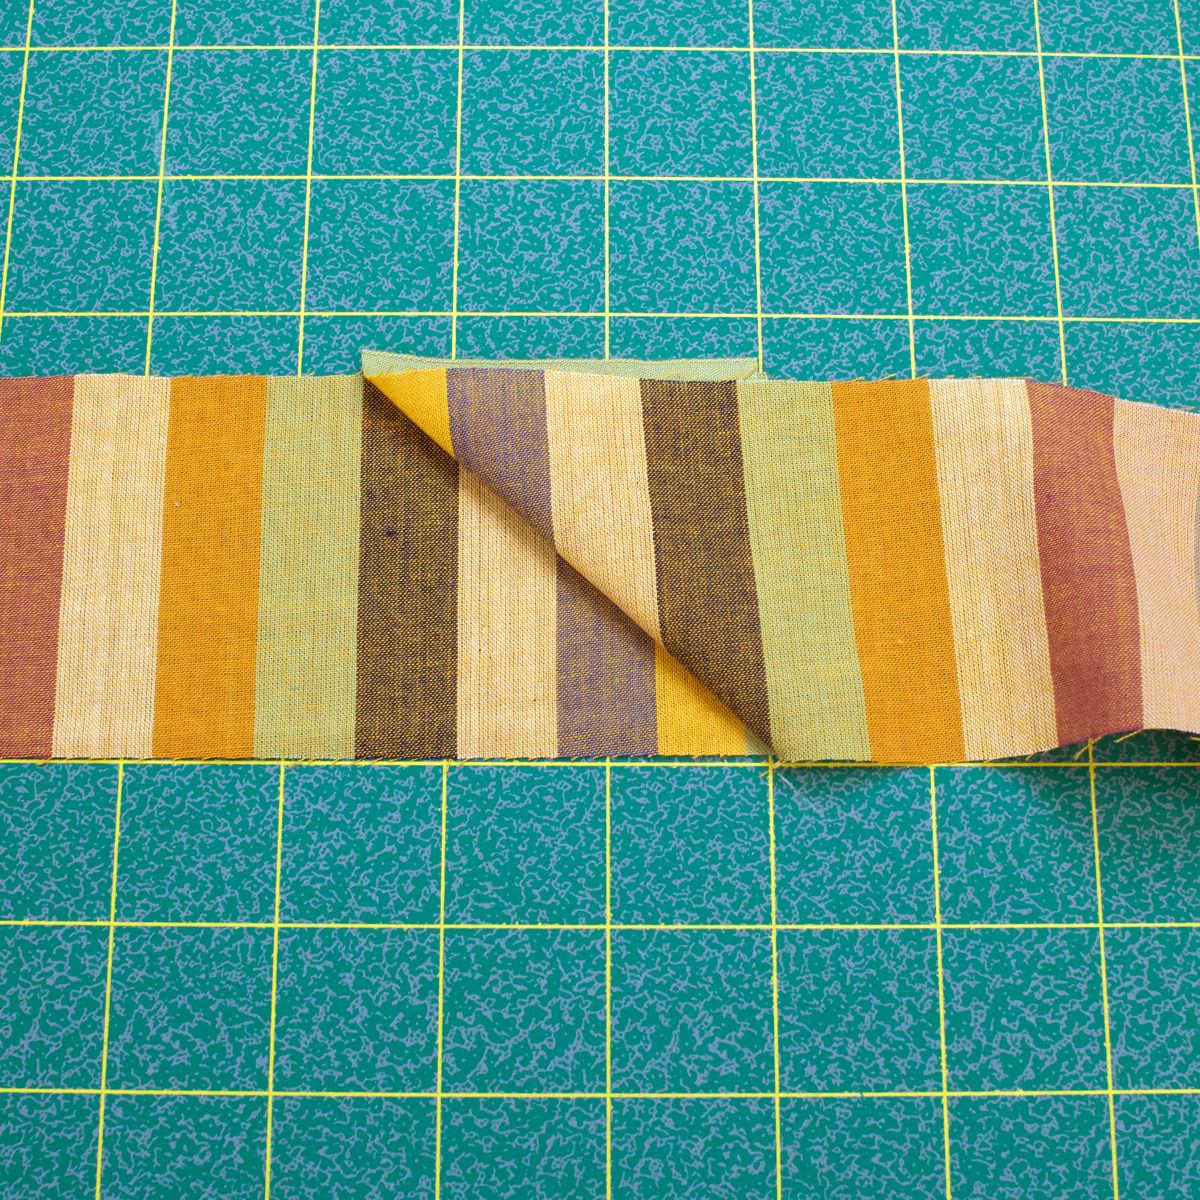
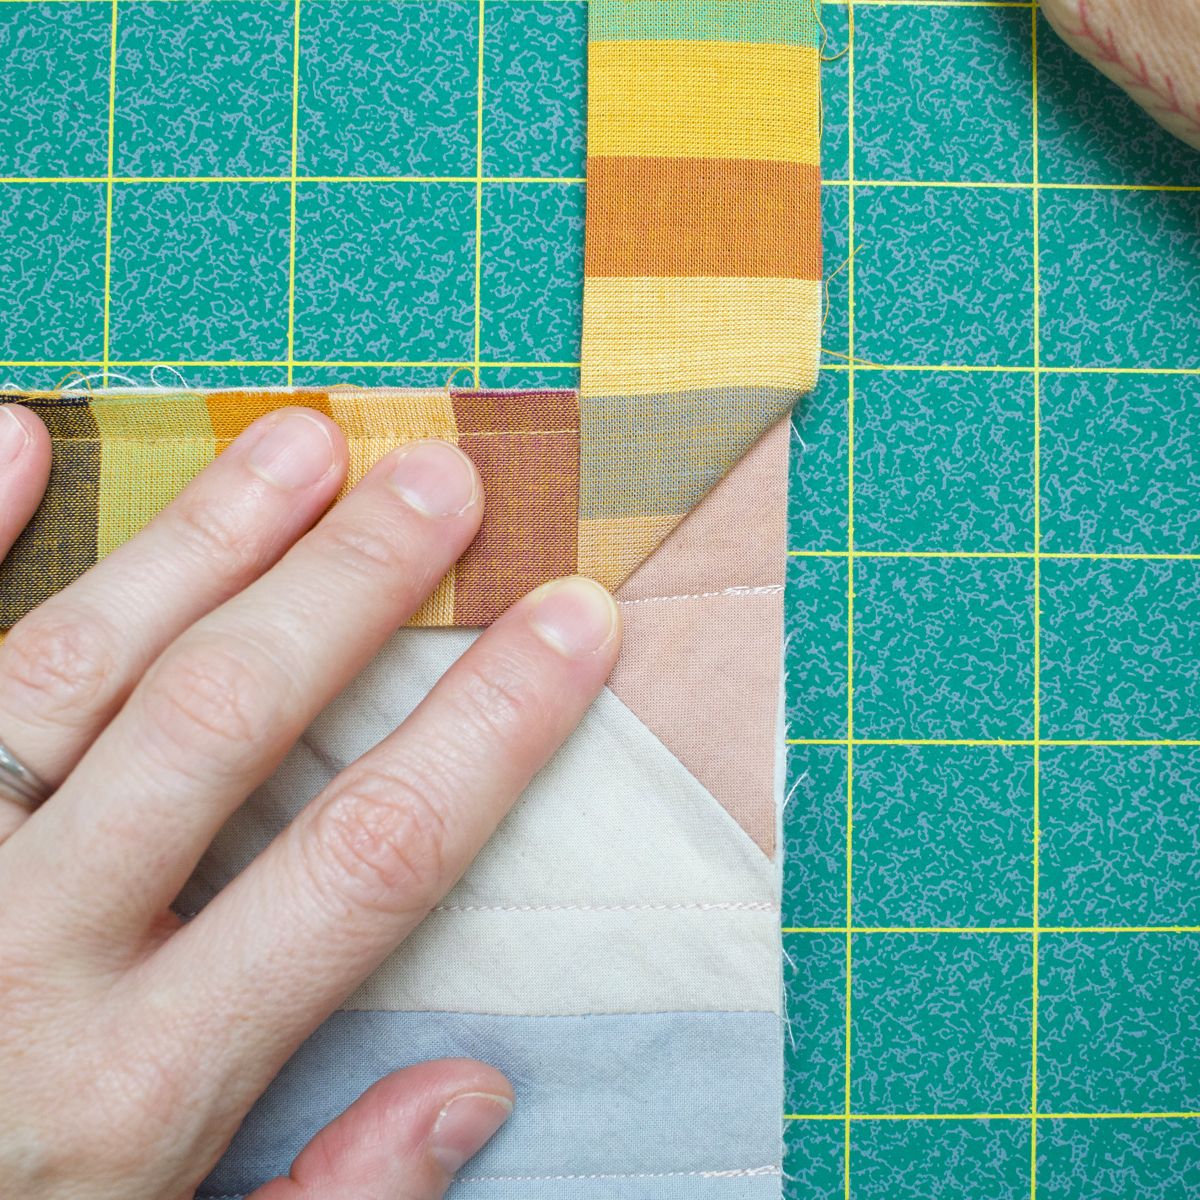
Double check that the top strip's pattern is perfectly aligned when flipped over. With a multicolored stripe like this, we didn't worry about matching the colors, rather we focused on the edges of the stripes lining up.
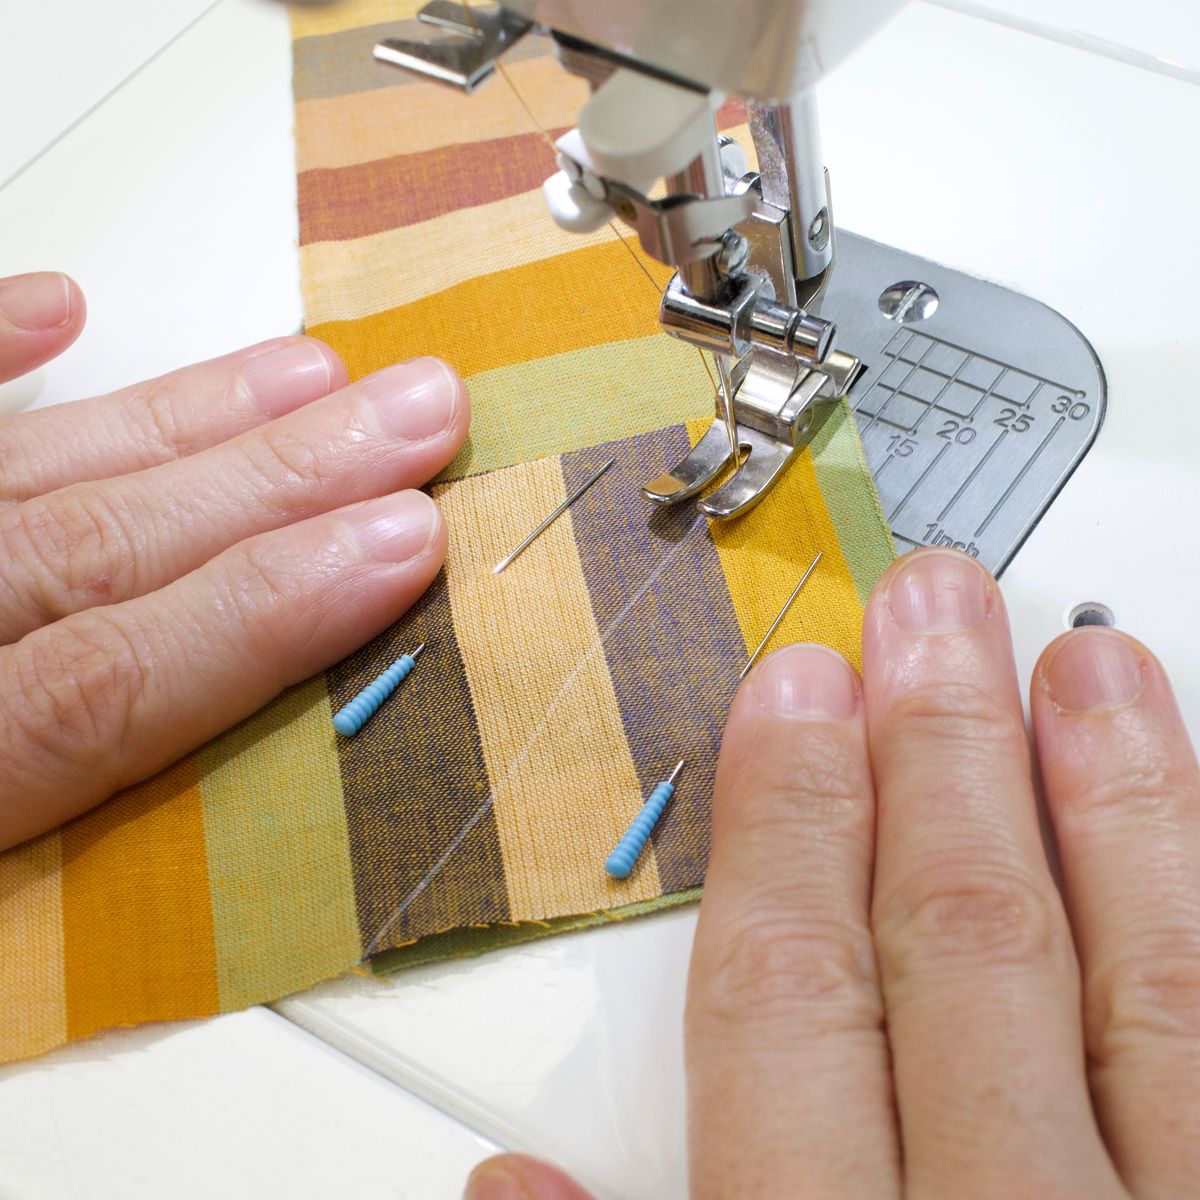
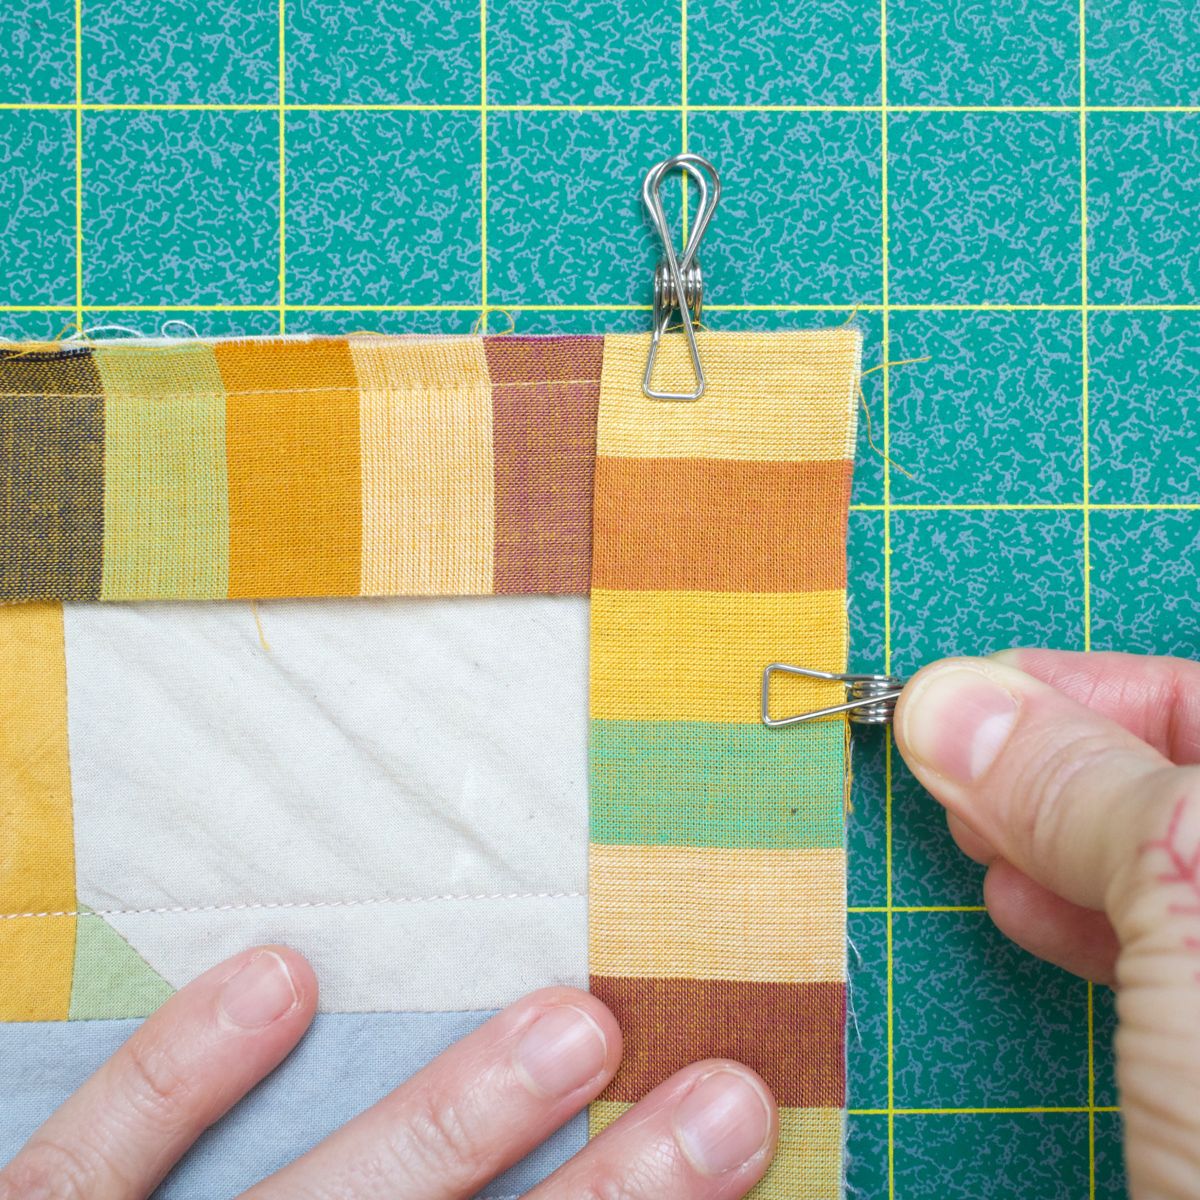
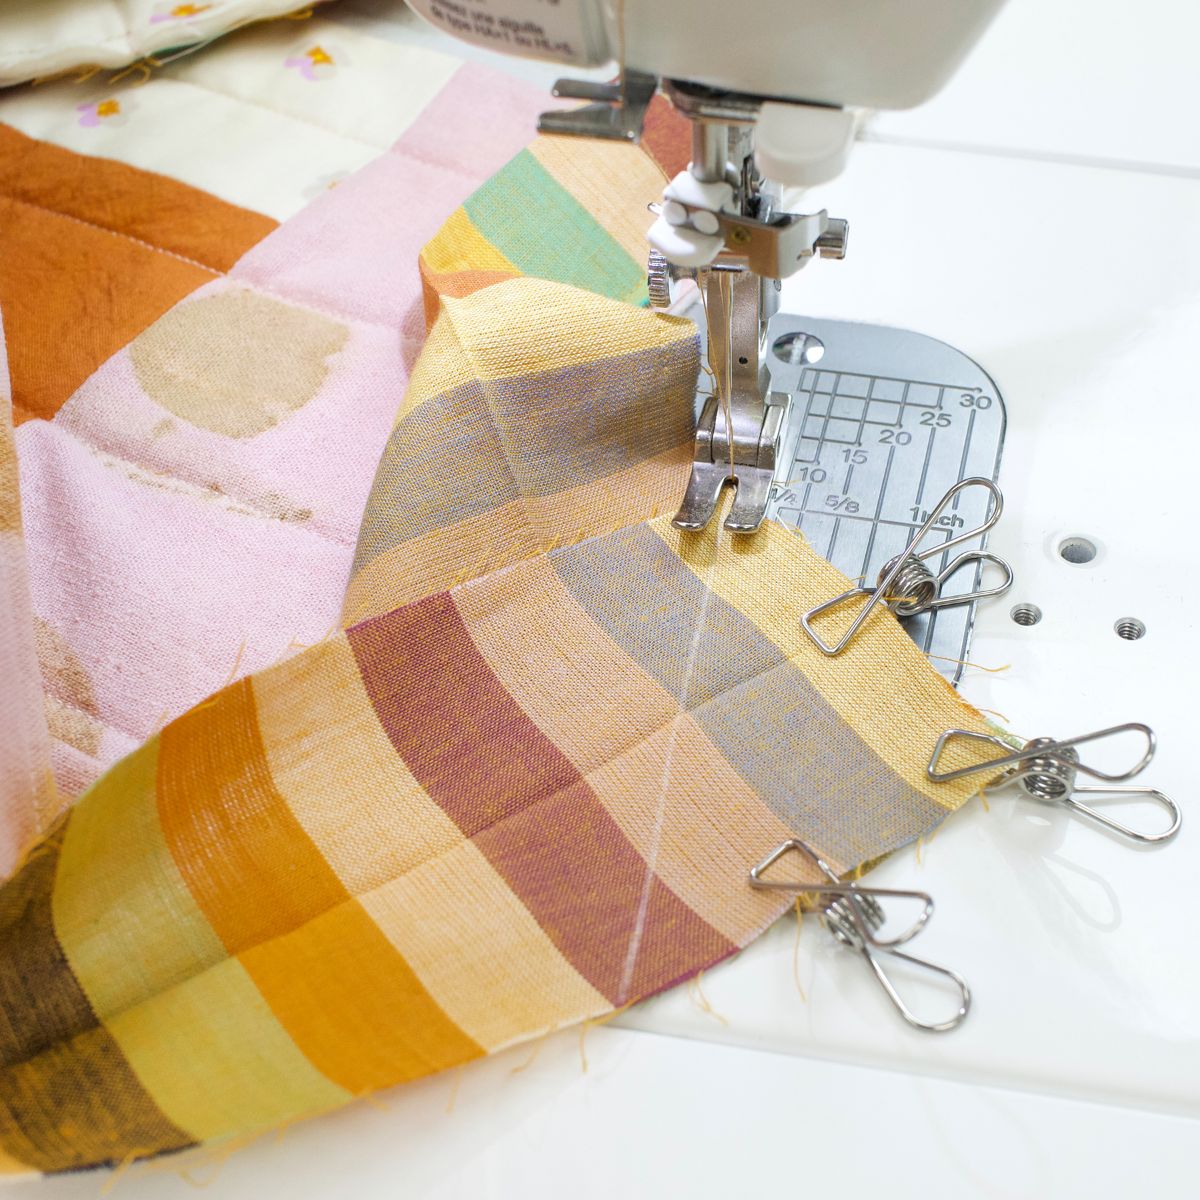
Clip or pin the fabric in place, and sew on the line. Always be sure to backstitch when starting and stopping.
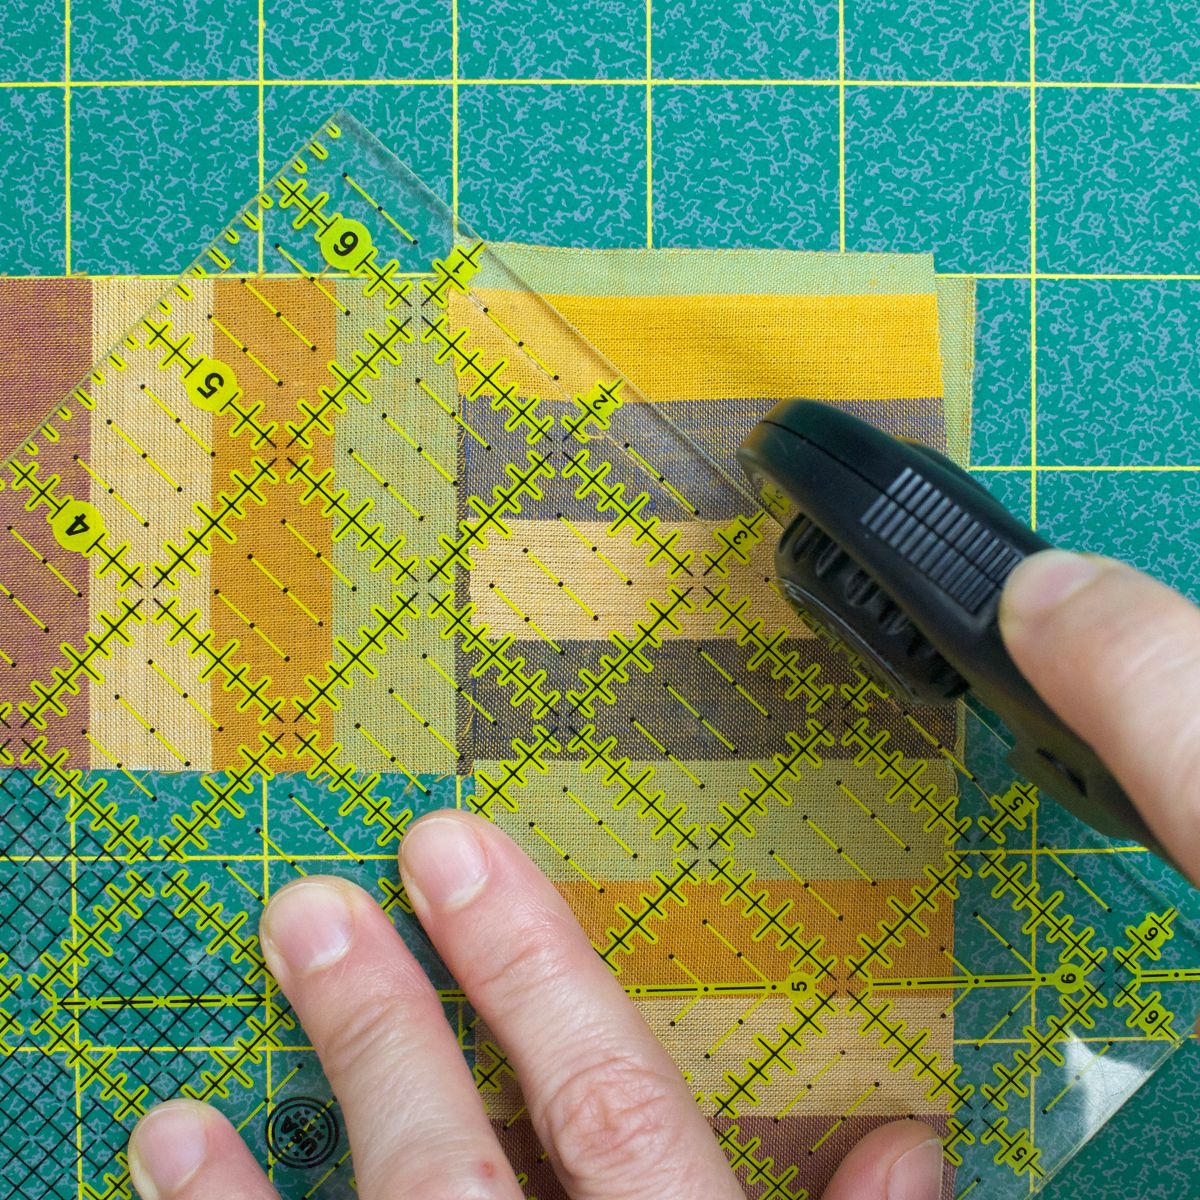
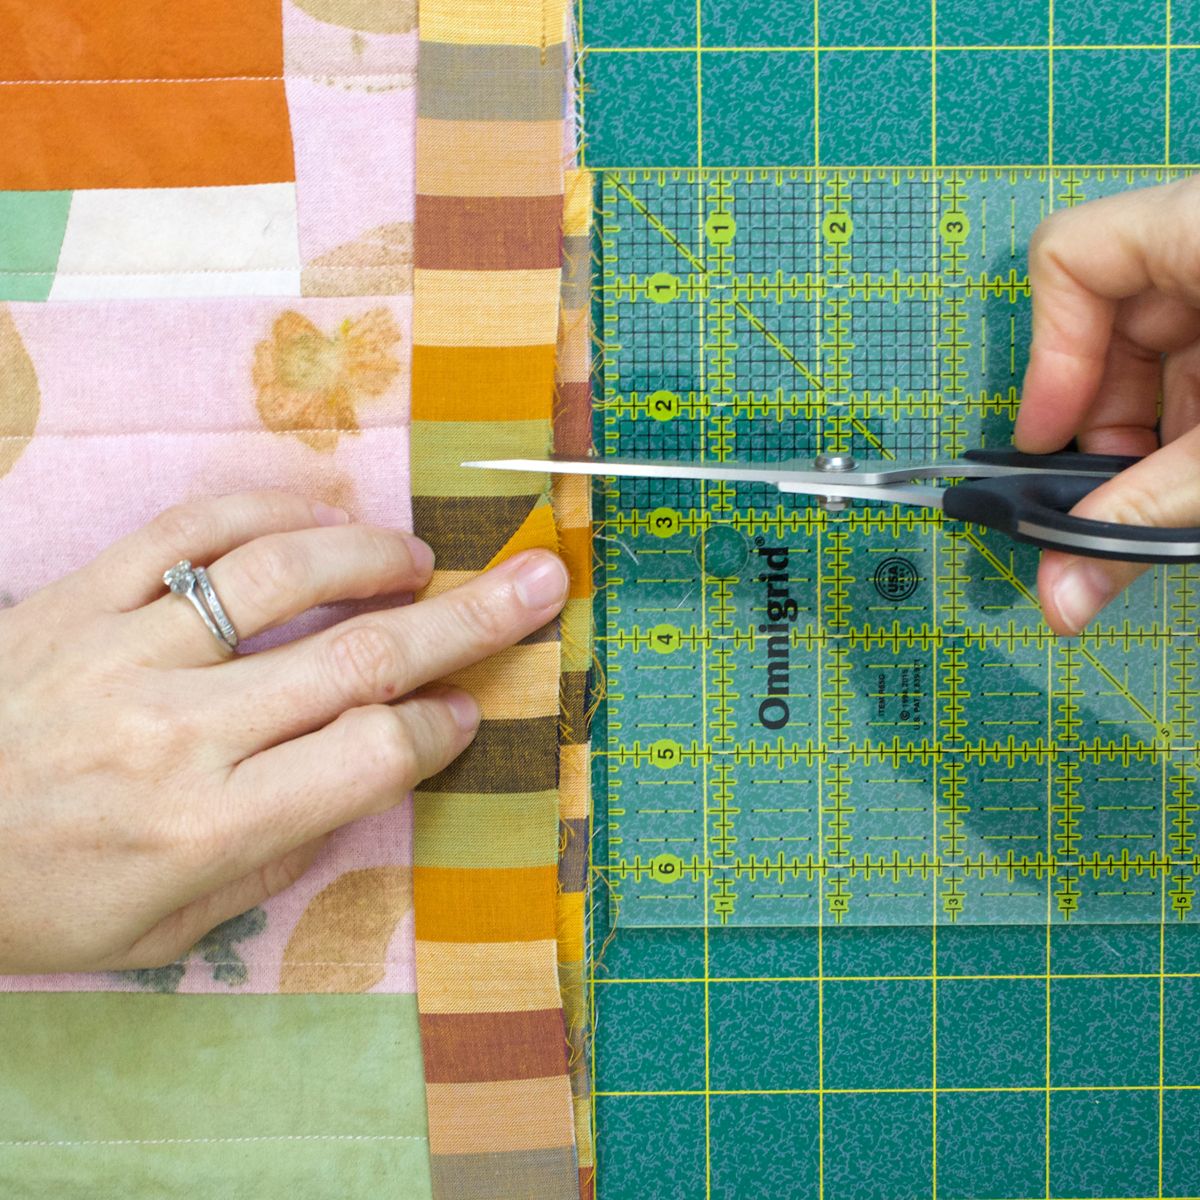
Trim the corner a quarter inch from the sewing line.
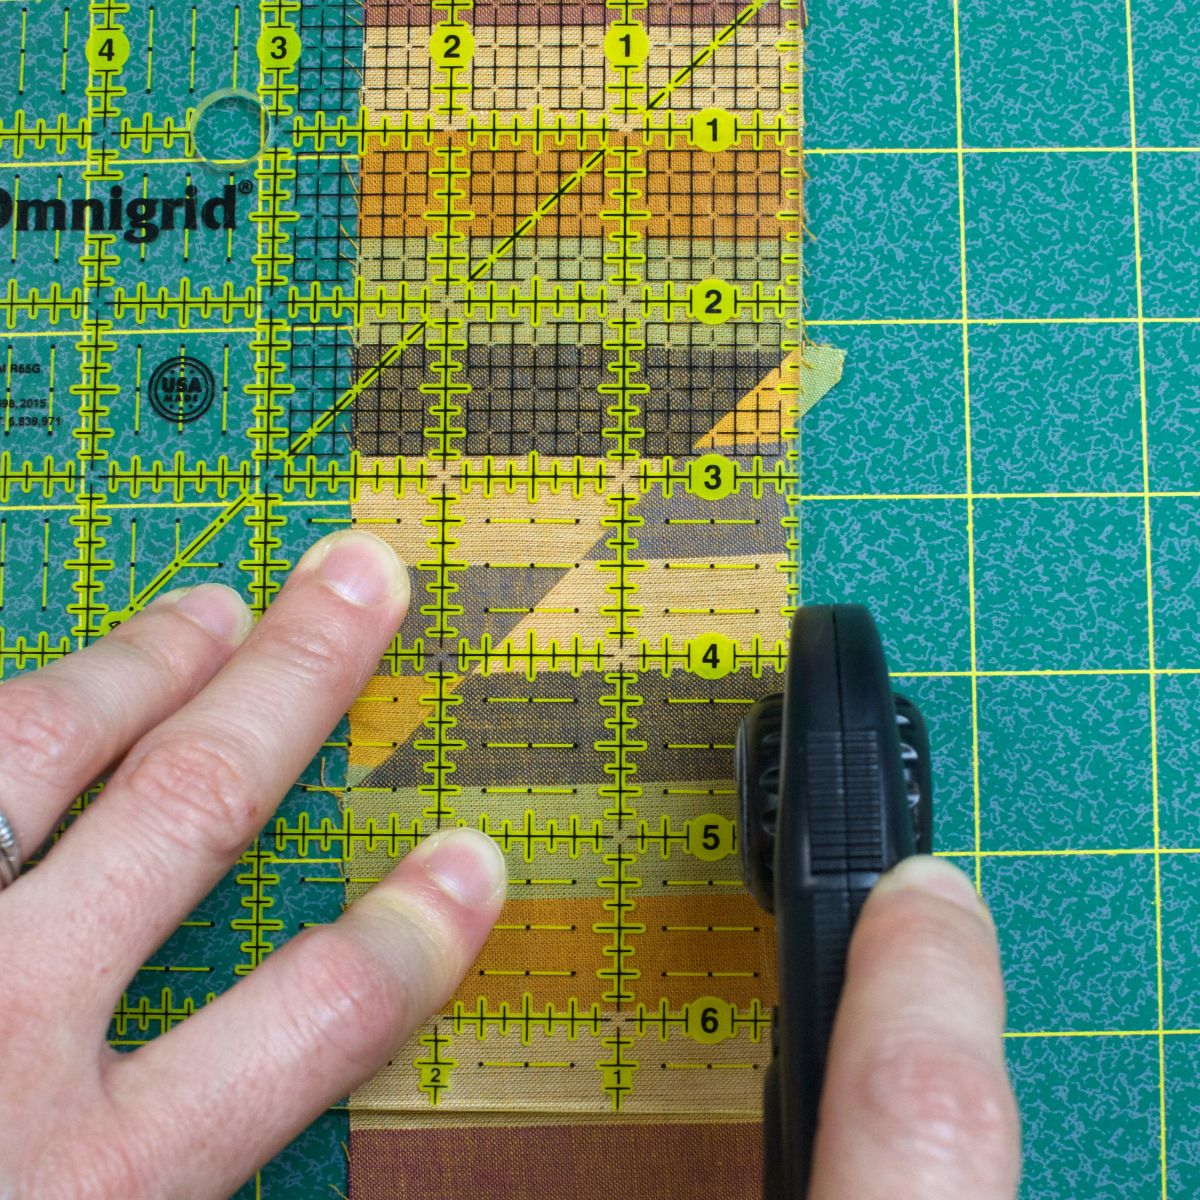
Open up your strip and trim off any overhang. Now you have a beautifully joined binding strip! Repeat with all of your strips to create one continuous binding.
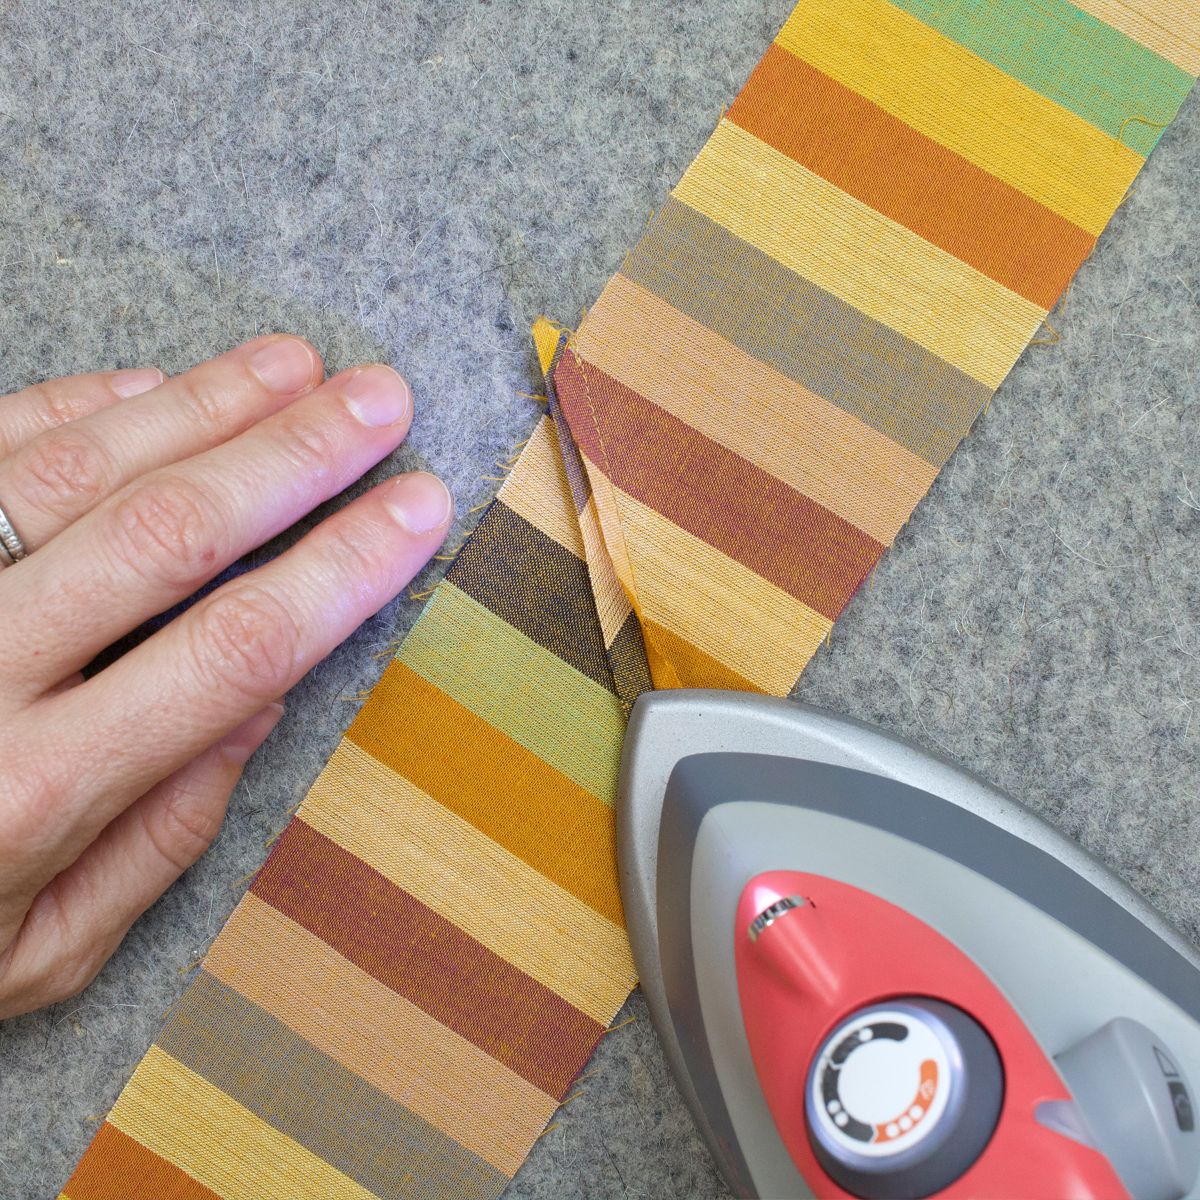
Flip your binding strip over, spritz with Flatter, and press open all of the seams.
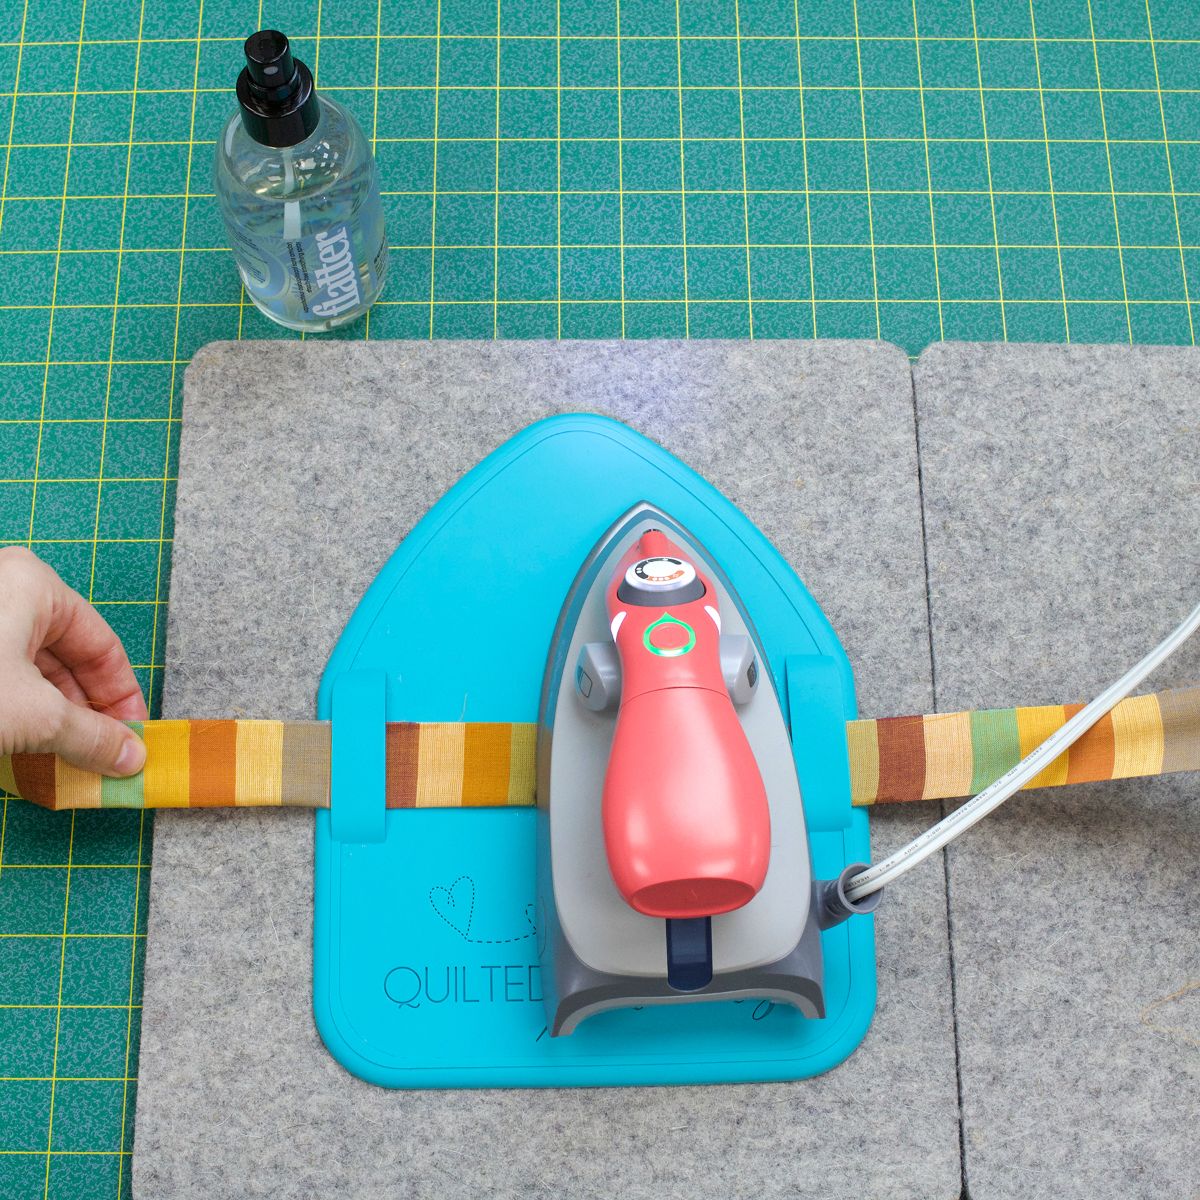
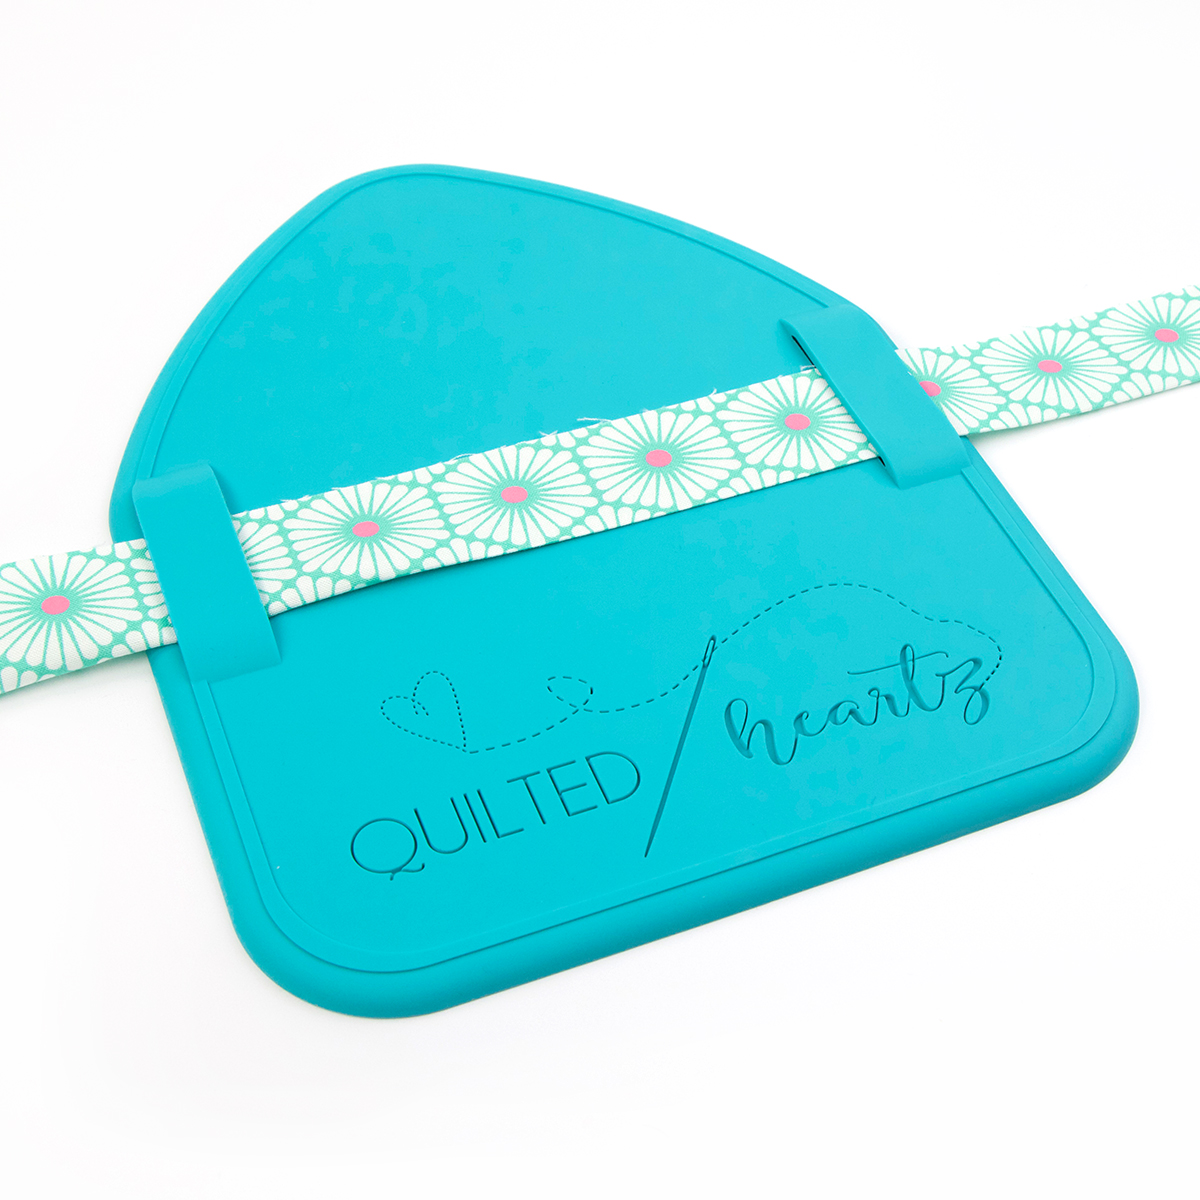
Now it's time to fold and press the binding strip in half lengthwise. We used the Binding Eaze, which is a silicone mat that makes pressing binding fabric fast and easy! To get started, fold and press one end of the binding strip. Feed the pressed end through both of the silicone loops. Place your iron in the center of the silicone mat directly on top of the binding strip. No need to hold the iron; you simply pull the binding strip through! Be sure the binding strip is folded neatly in half lengthwise as you are feeding it through and don't forget to spritz with Flatter as you go.
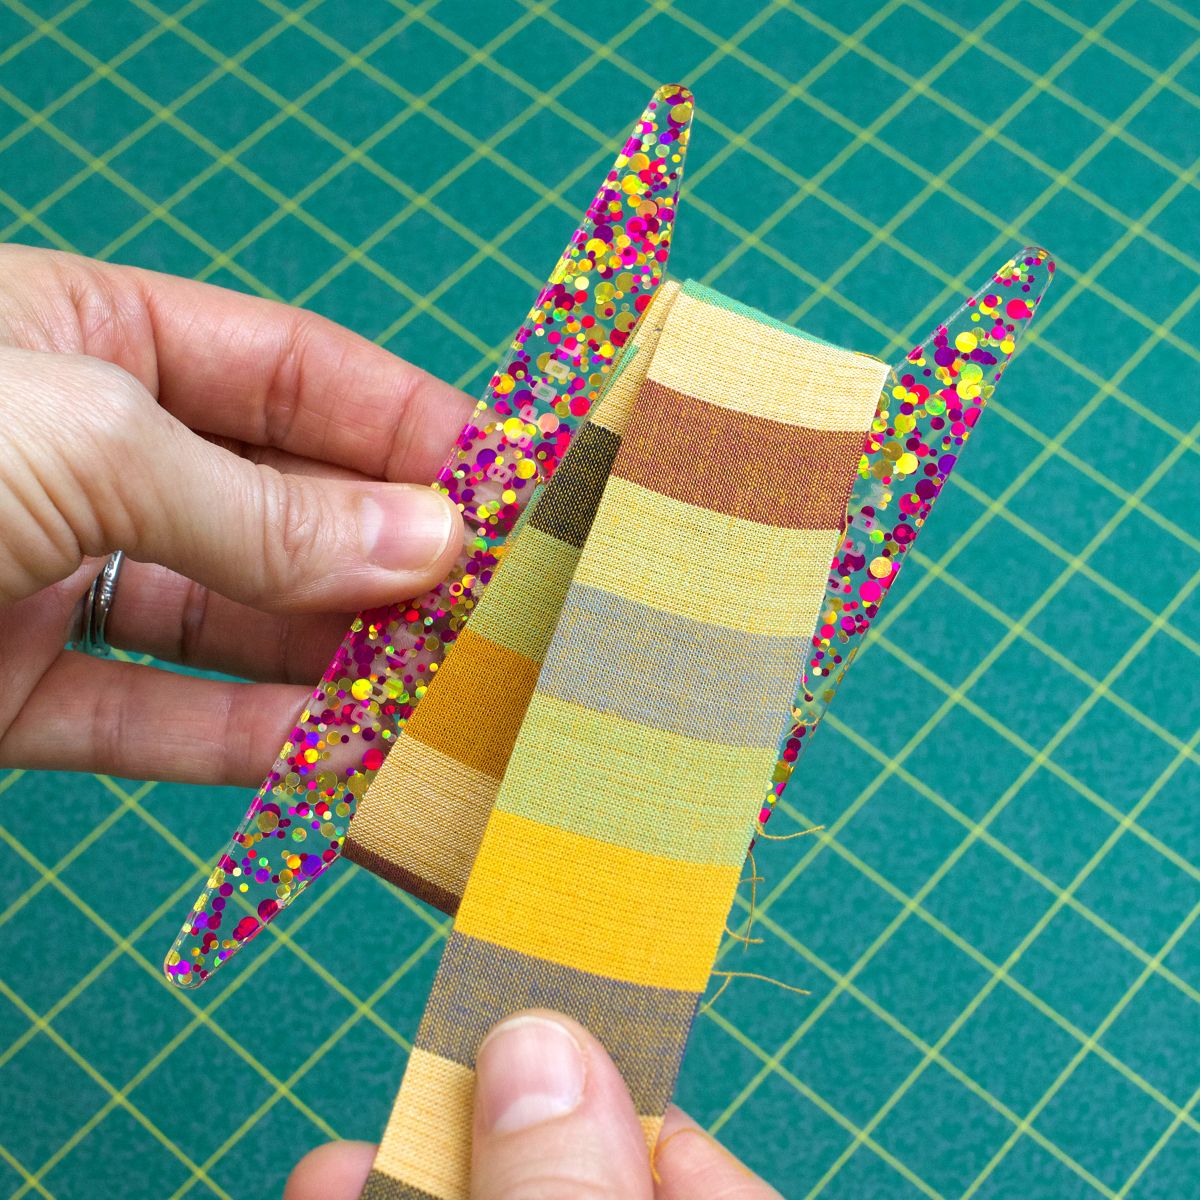
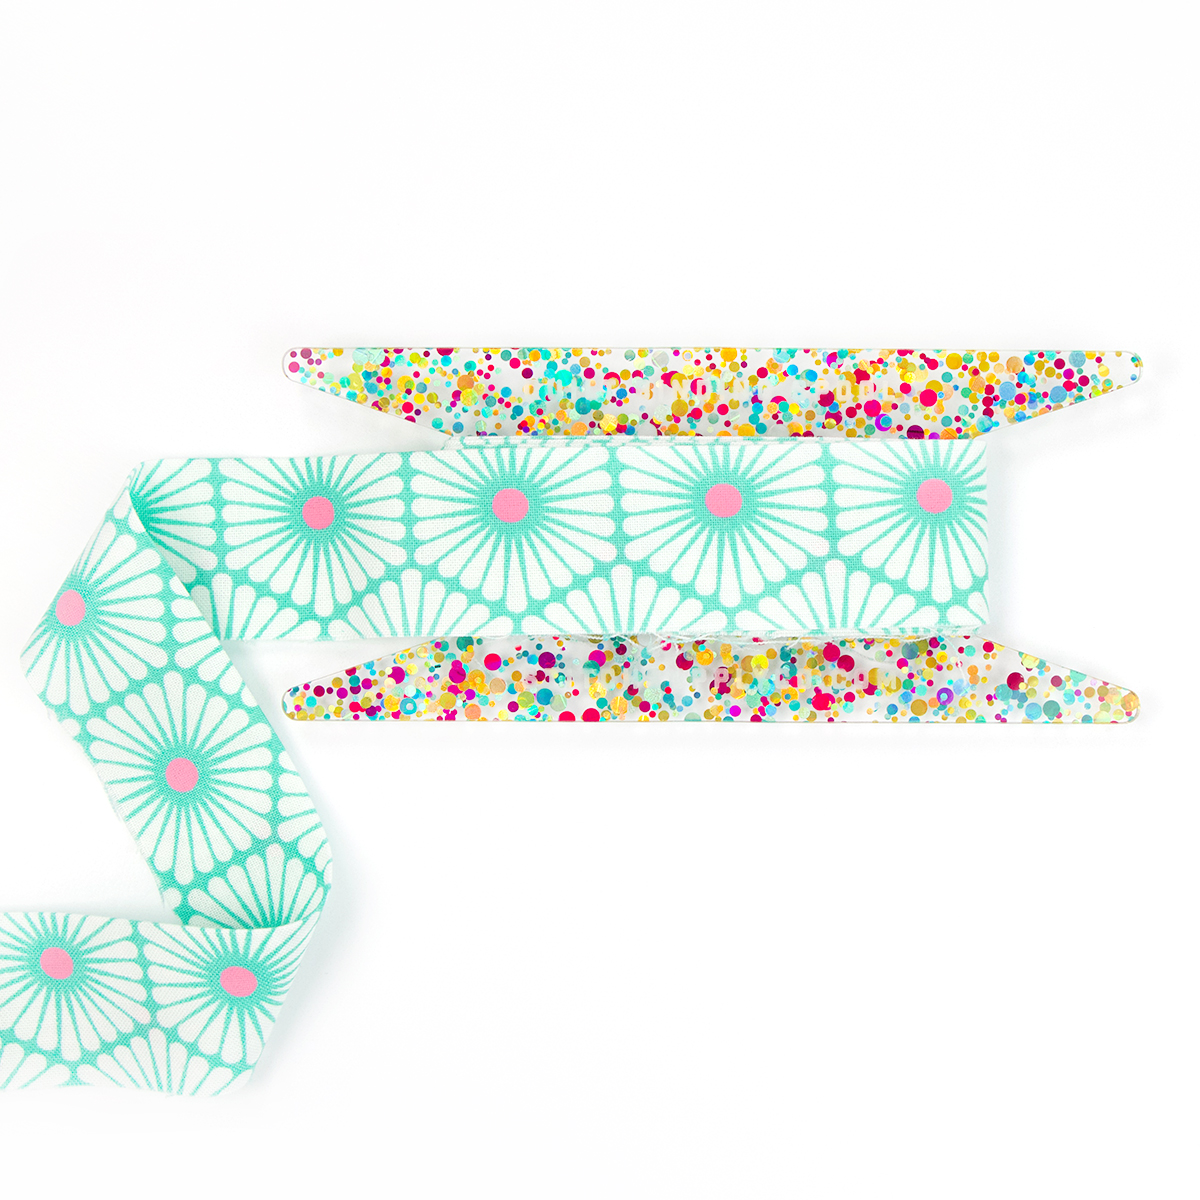
You can keep your prepared (and extra) bindings nice and neat on a binding spool. We love these glittery Binding Spools. Each spool will hold enough 2.5" binding for a whole quilt, whatever size you make!
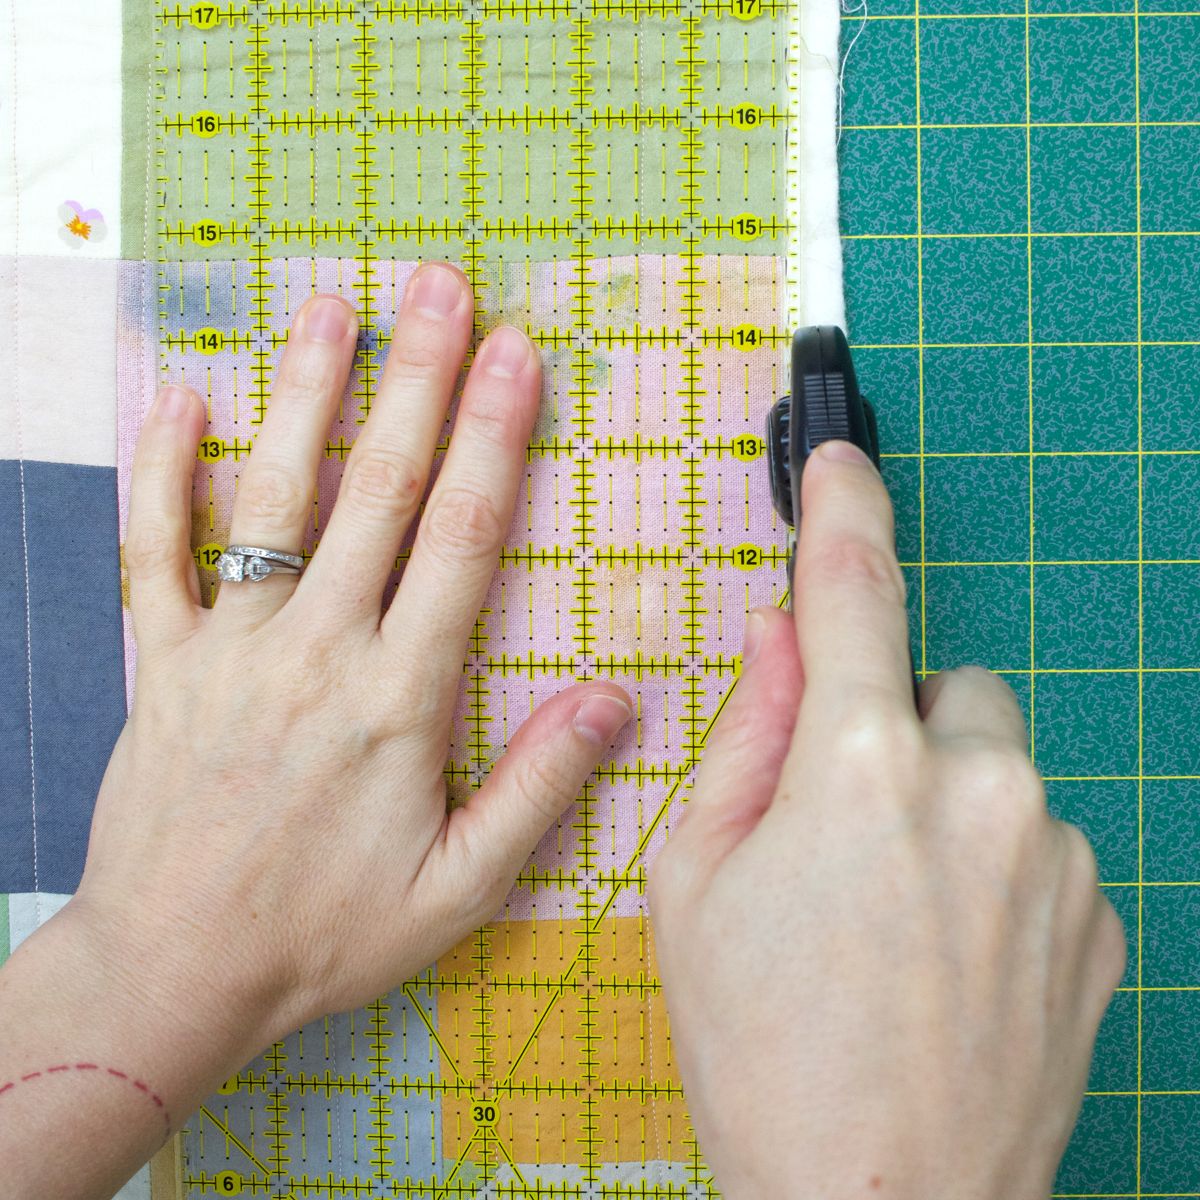
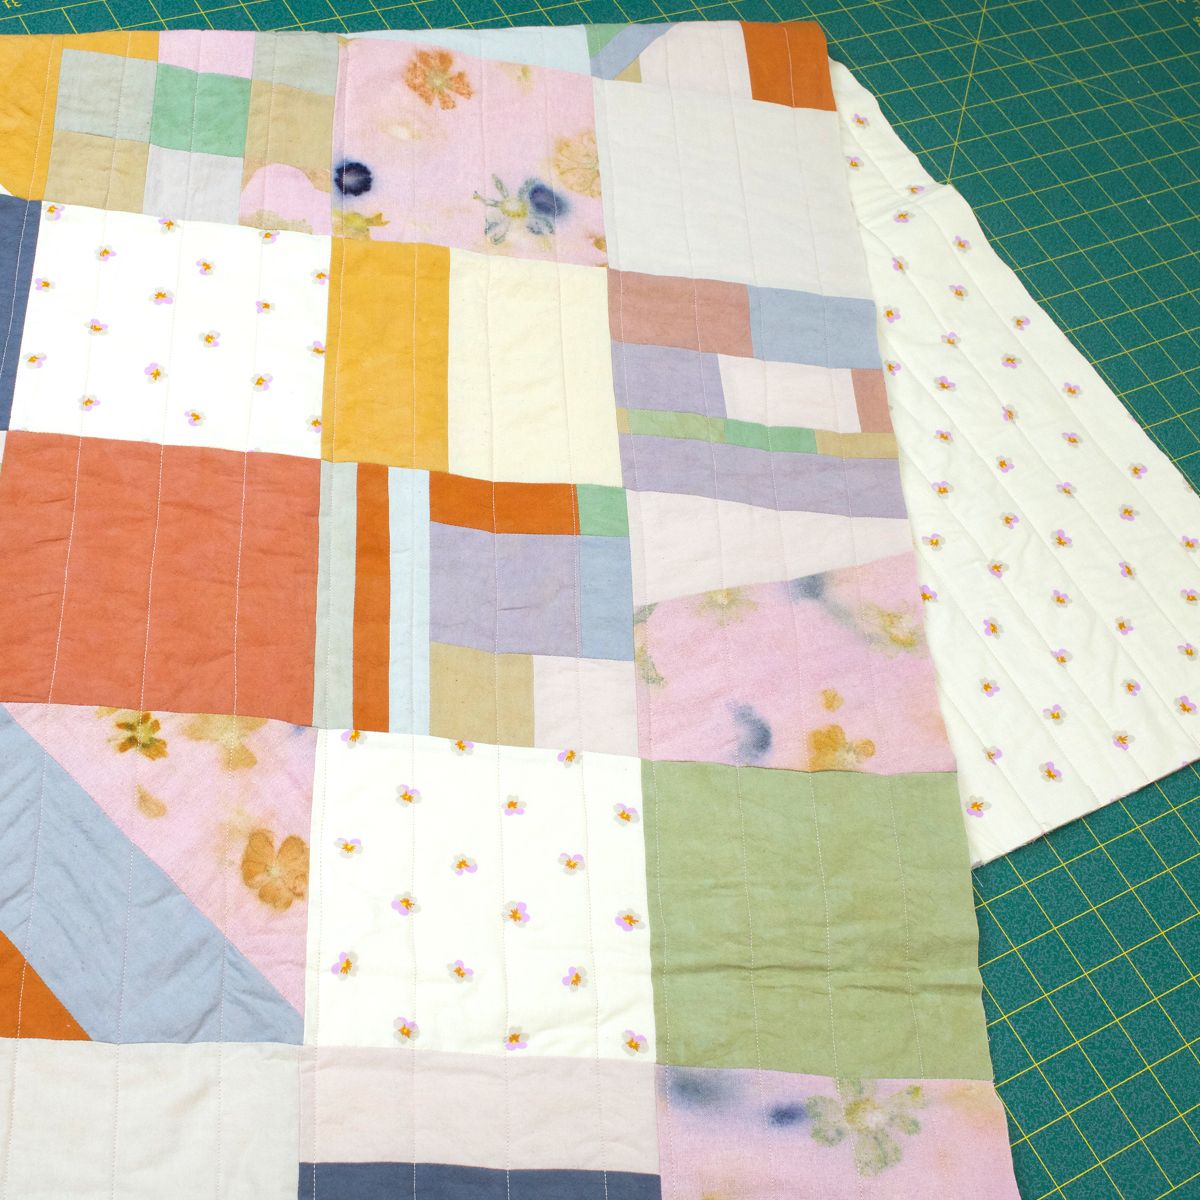
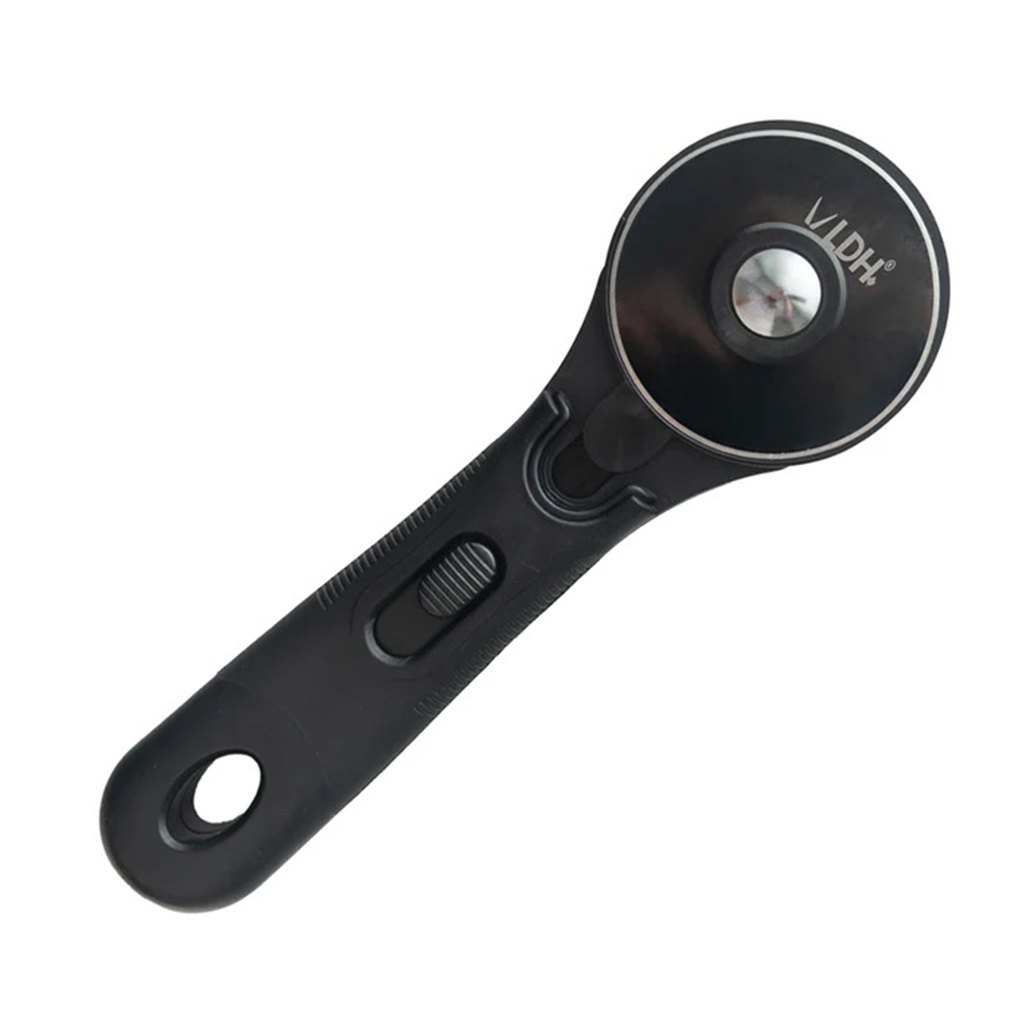
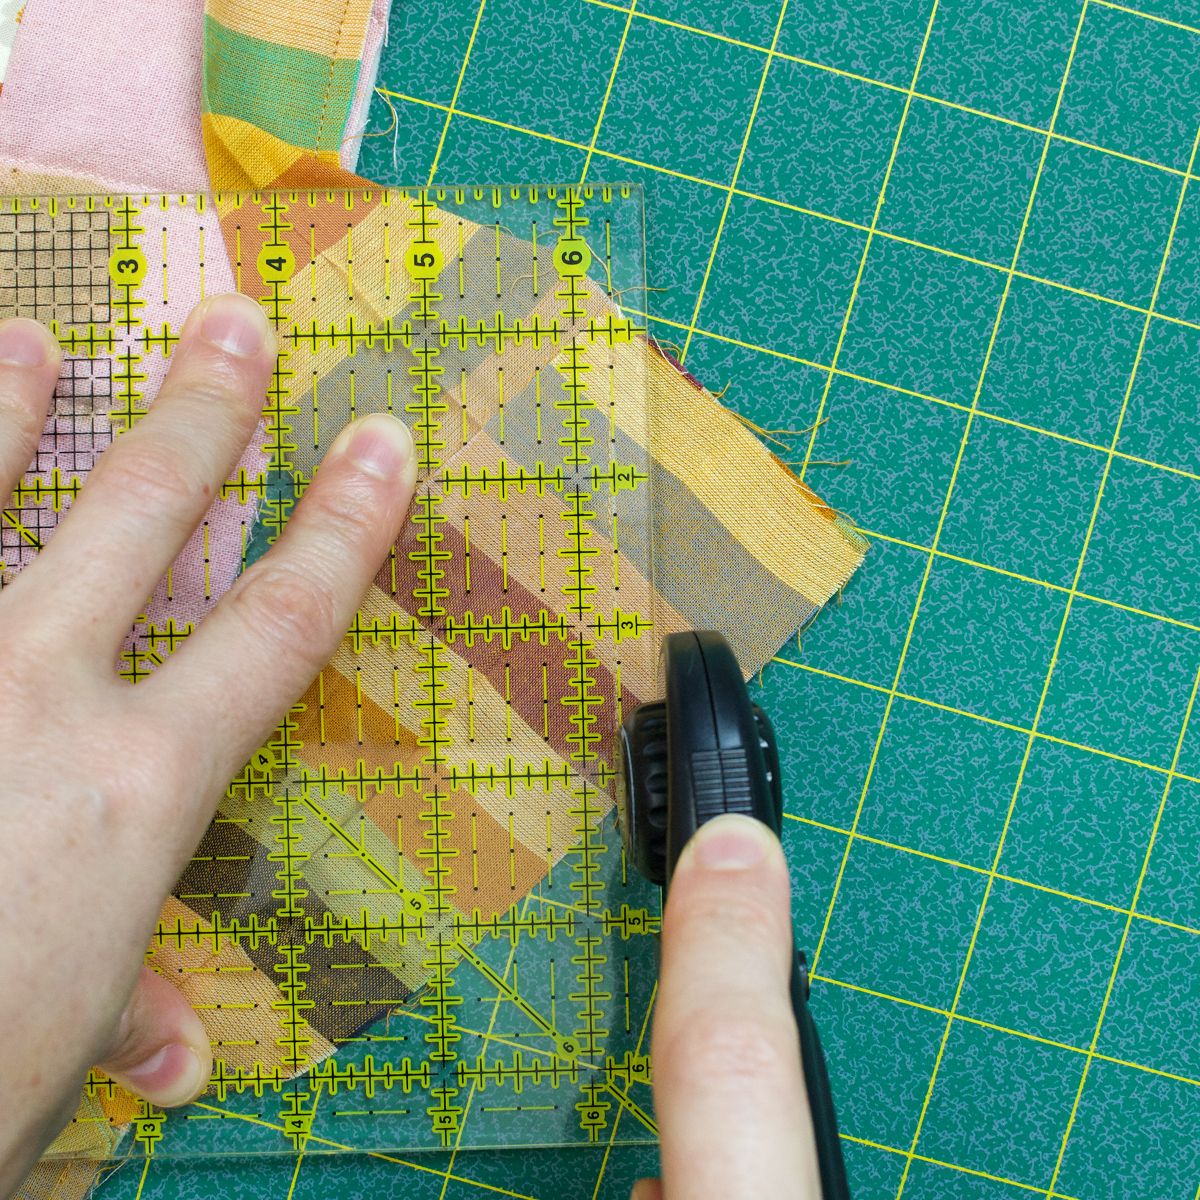
Using a ruler and rotary cutter, trim the excess batting and backing fabric all the way around your quilt for a clean, straight edge.
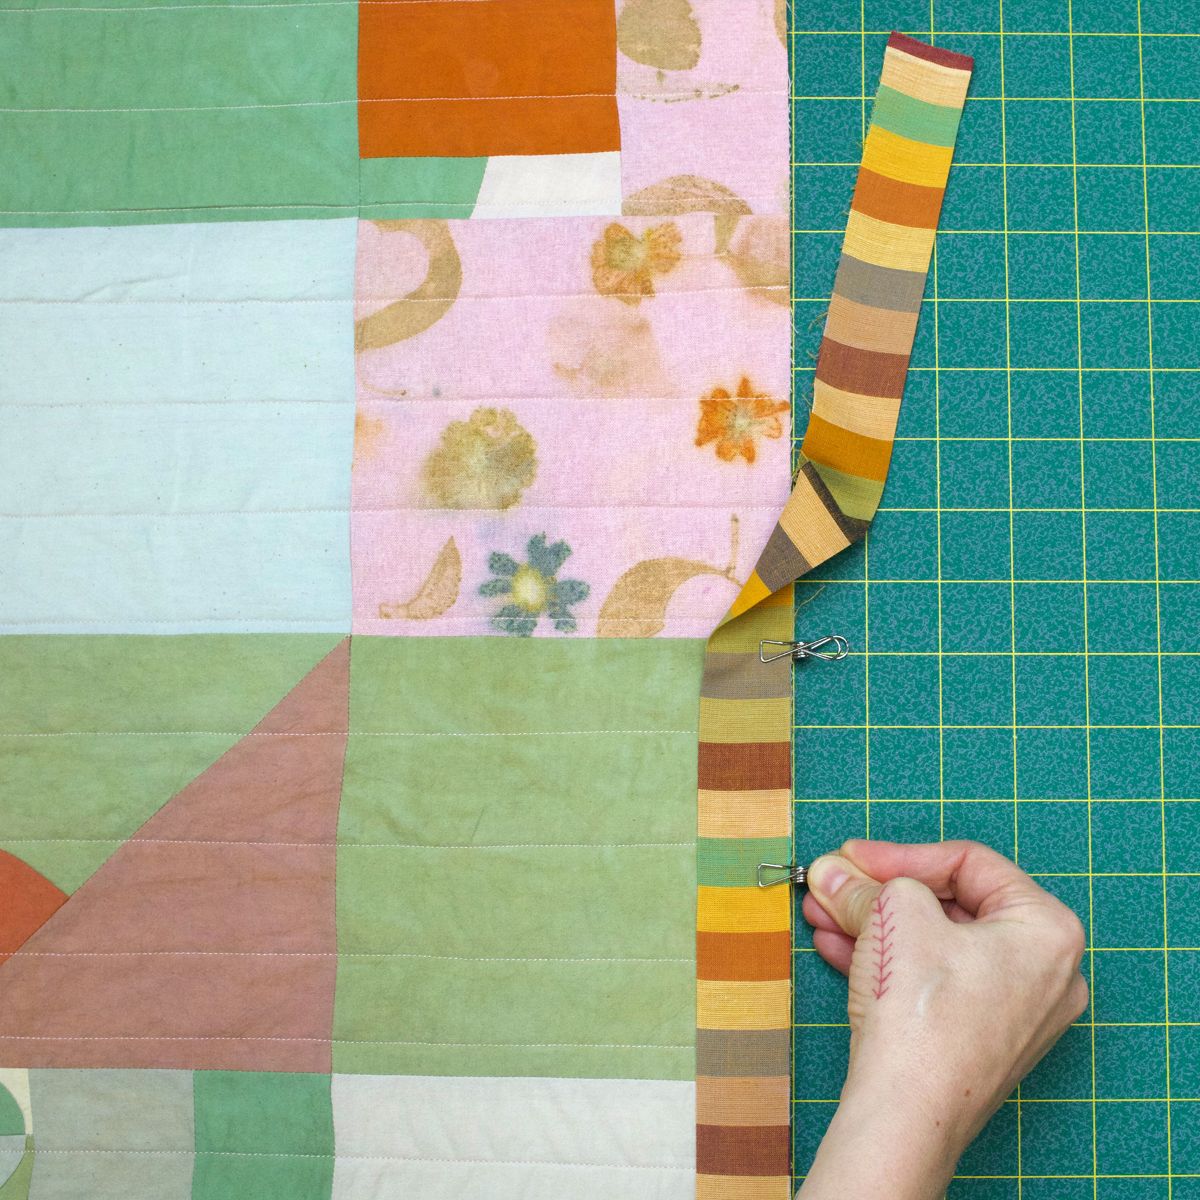
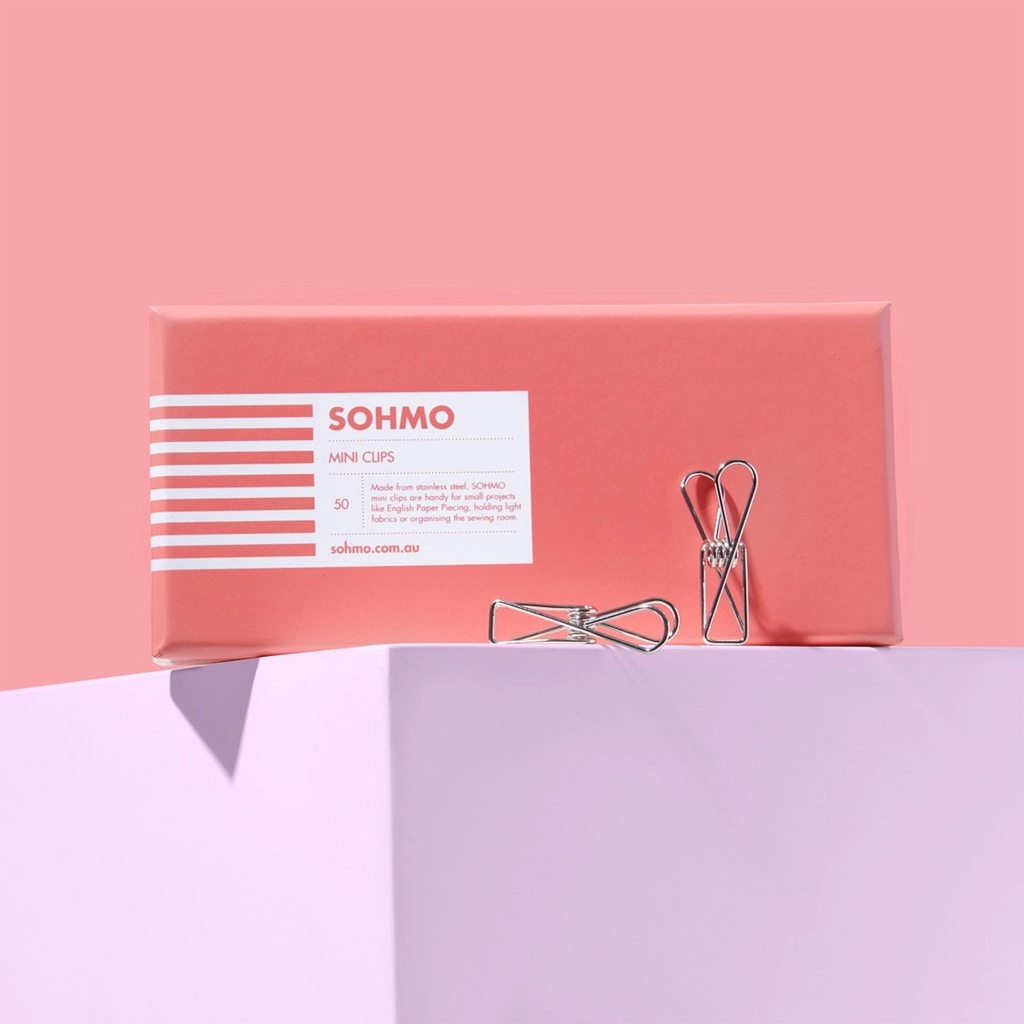
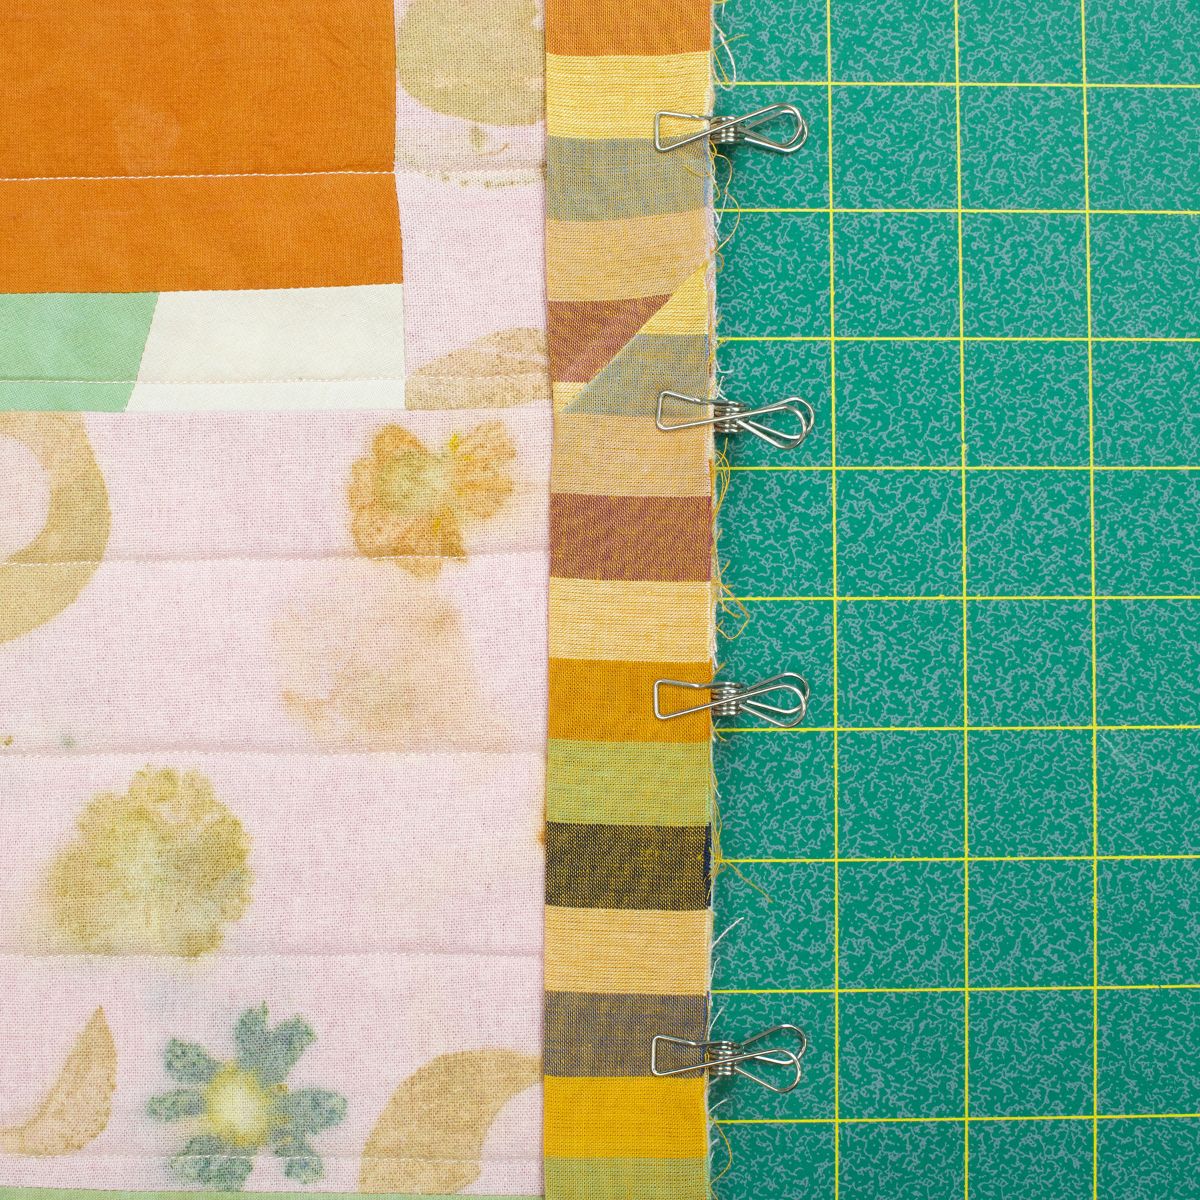
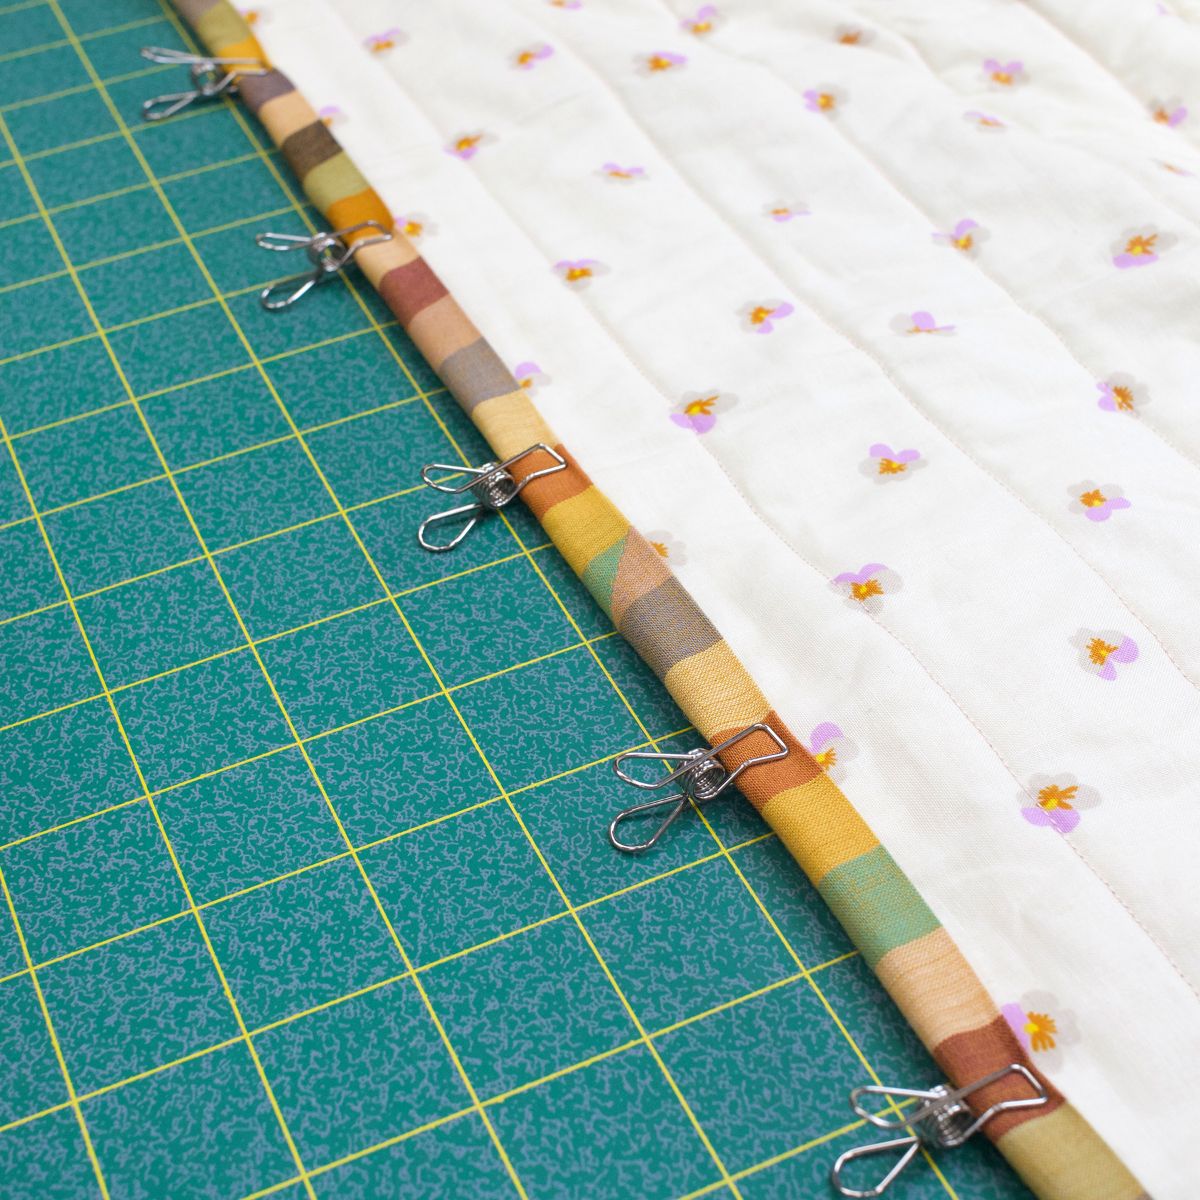
Leaving about a 10-inch tail, begin clipping the binding to the edge of your quilt about half way down one of the sides. The binding and quilt should be right-sides together with the raw edge of the binding lined up with the raw edge of the quilt. Place a Mini Metal Clip every few inches down the first side.
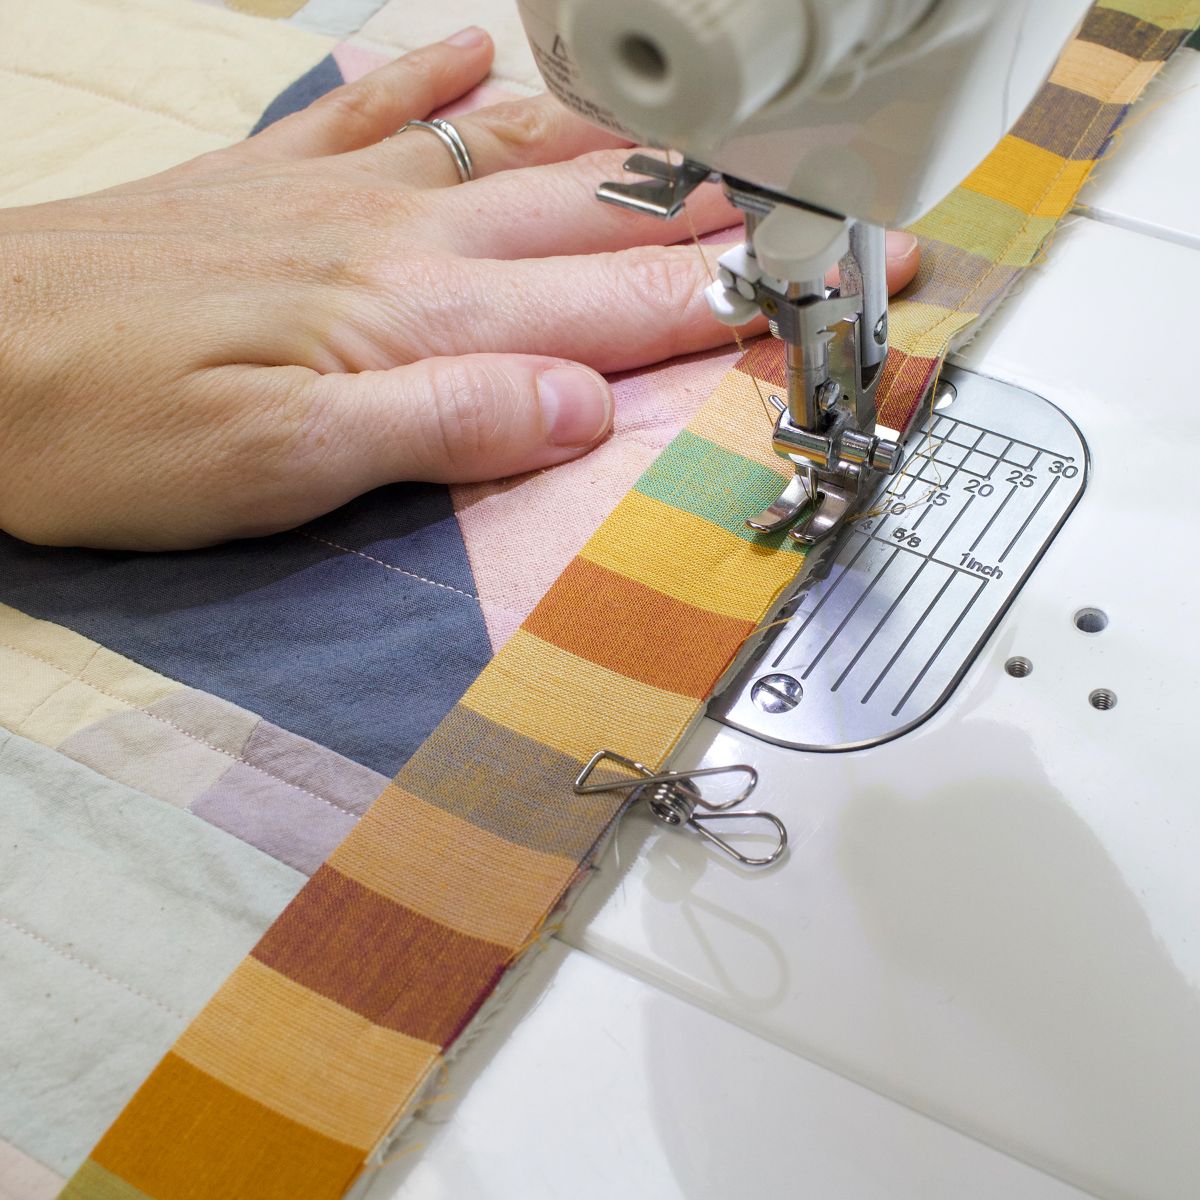
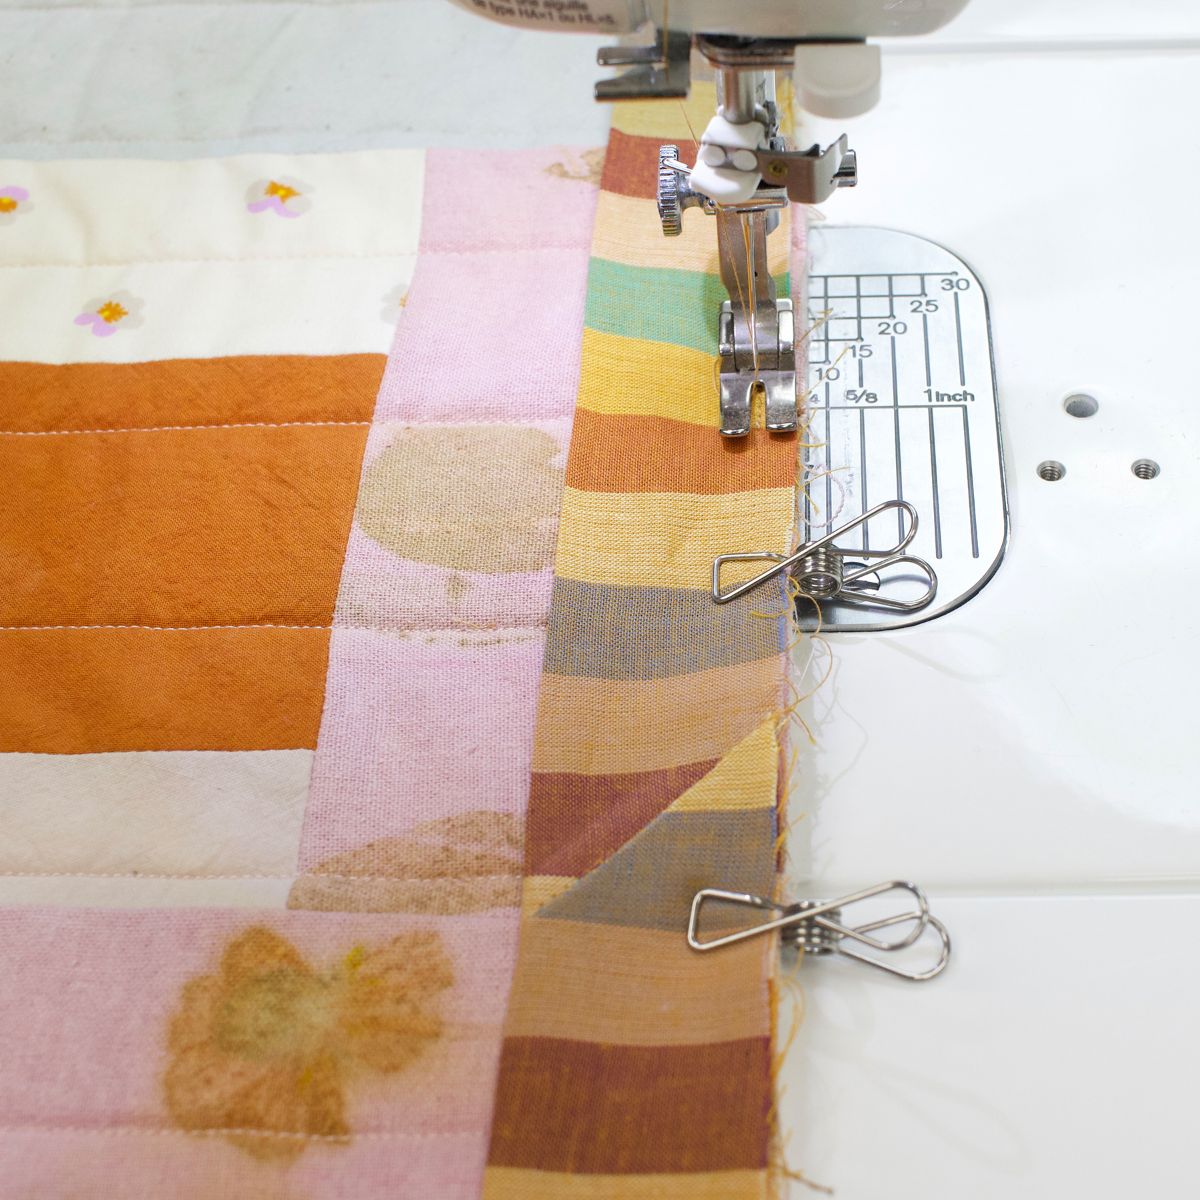
Sew a quarter-inch seam down the side until you get about an inch away from the end. Remove the clips as you go.
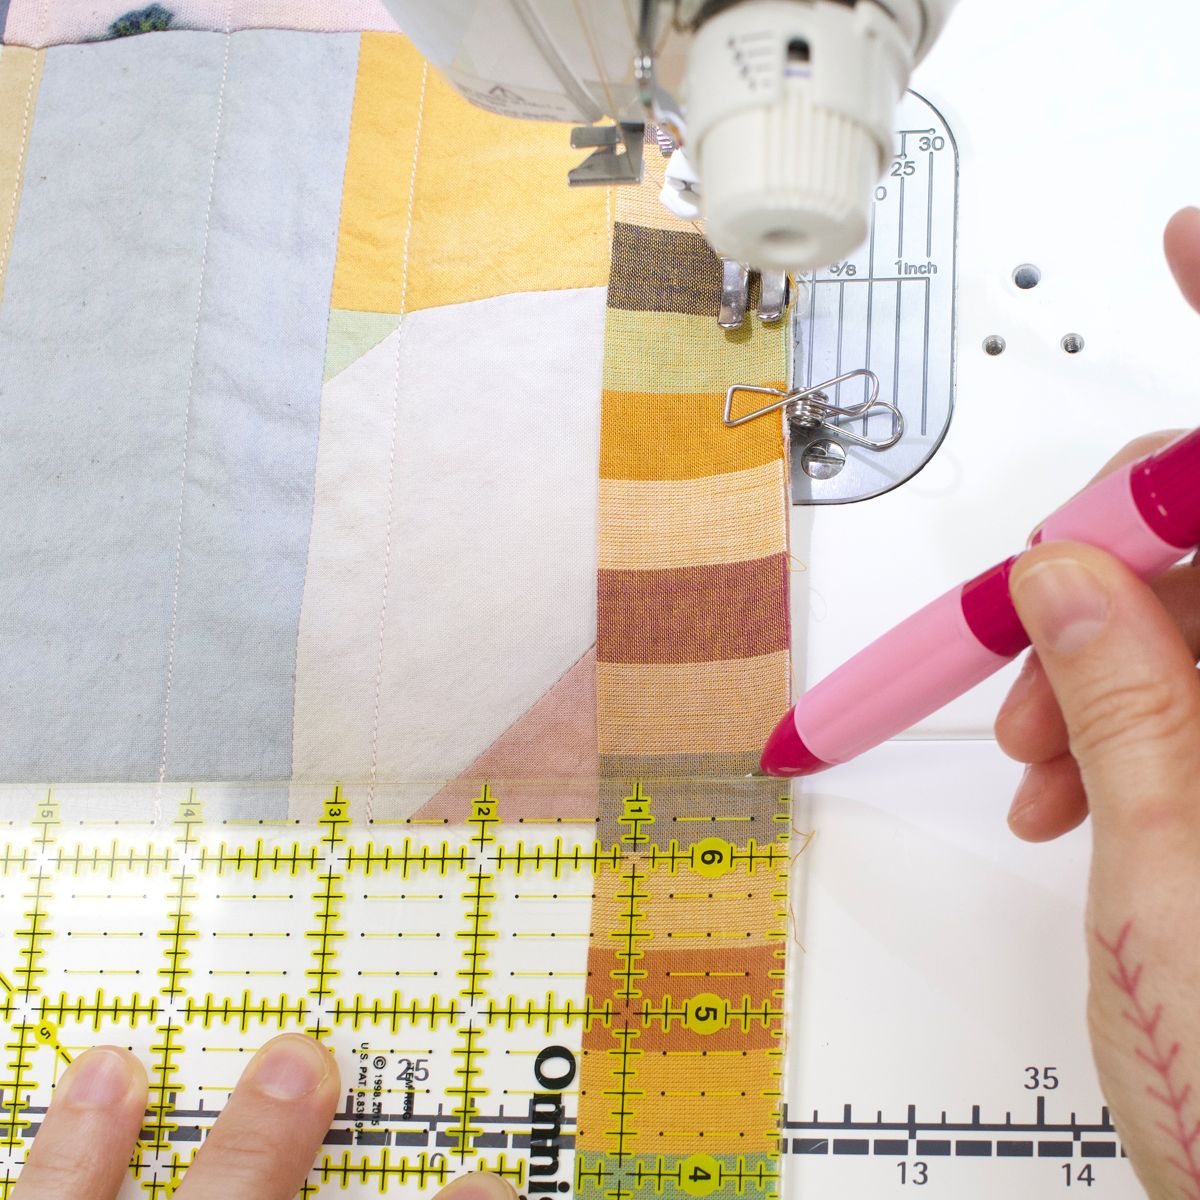
Mark the binding a quarter inch from the bottom edge of the quilt, and sew to the marked line.
Lift your presser foot, swing the quilt around, and backstitch off the edge.
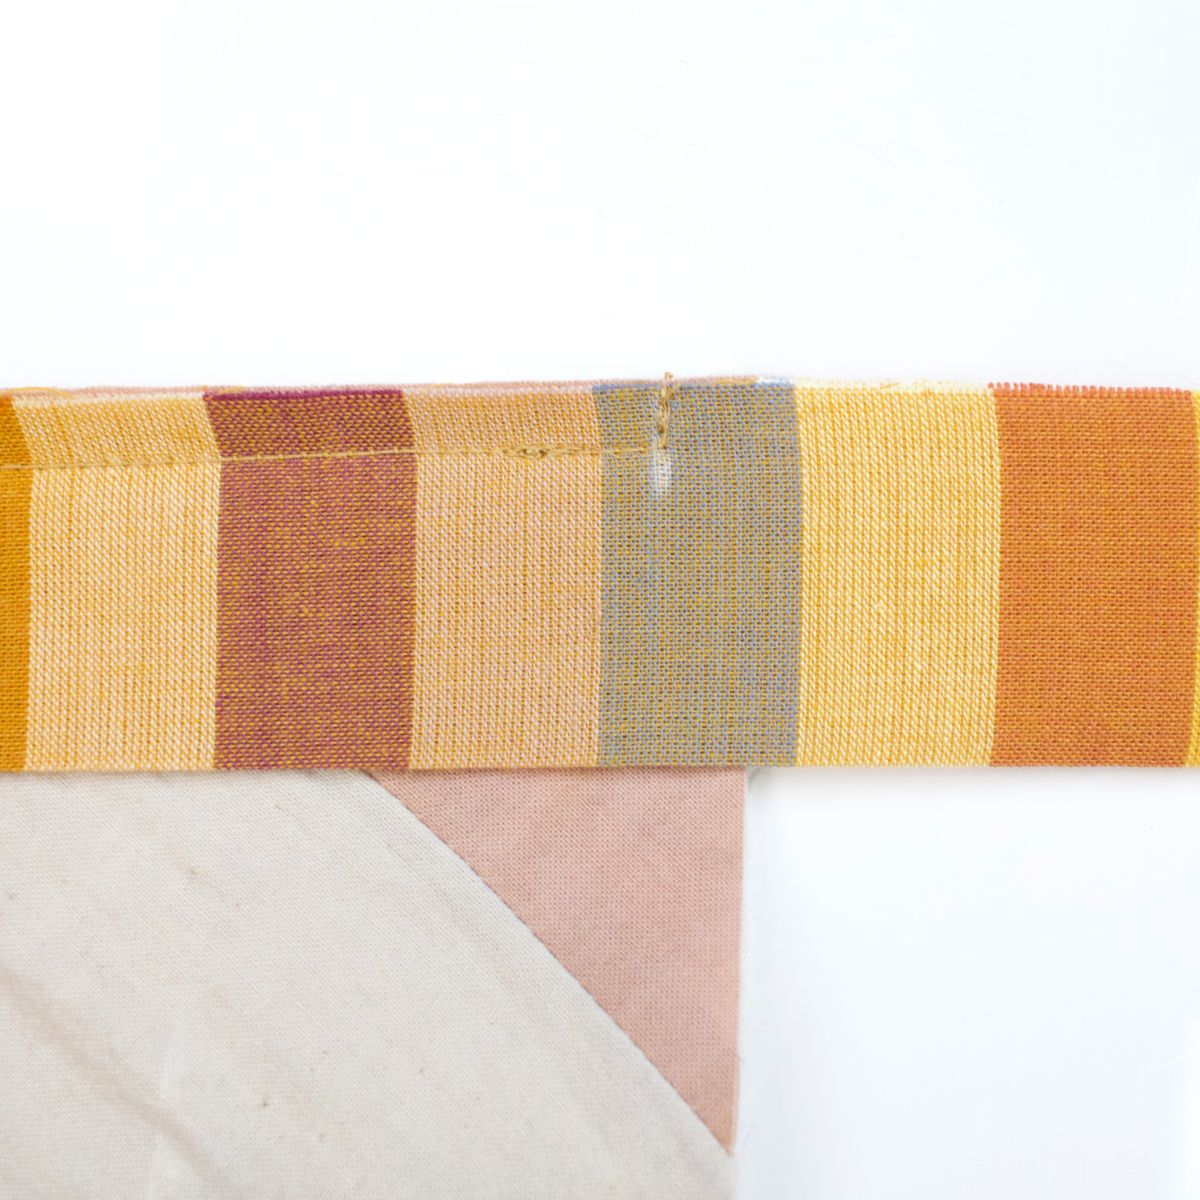
Flip the binding over on the corner so that it creates a 45-degree angled fold.
Flip the binding back down, lining the fold up with the side edge of the quilt and keeping the 45-degree fold underneath. Clip the folded corner in place and continue clipping down the length of this next side.
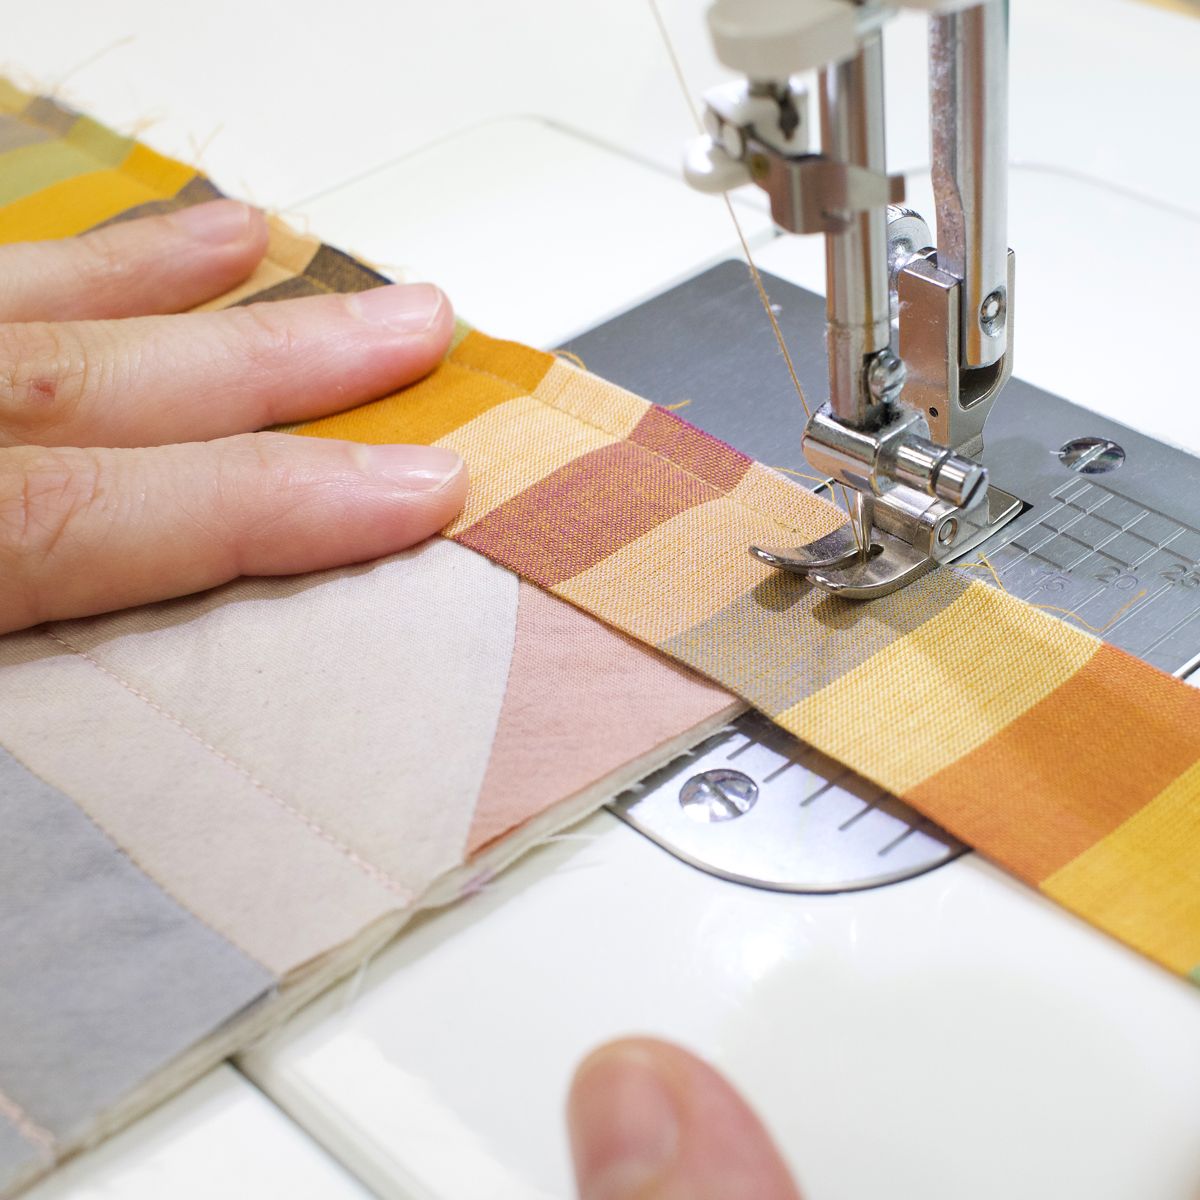
Leaving a quarter inch seam allowance, sew along the entire length of the side, stopping to repeat the same process with the next corner you come to. Continue working your way around the perimeter of the quilt.
When you get close to the start of your binding, leave about an 8-inch unsewn gap.
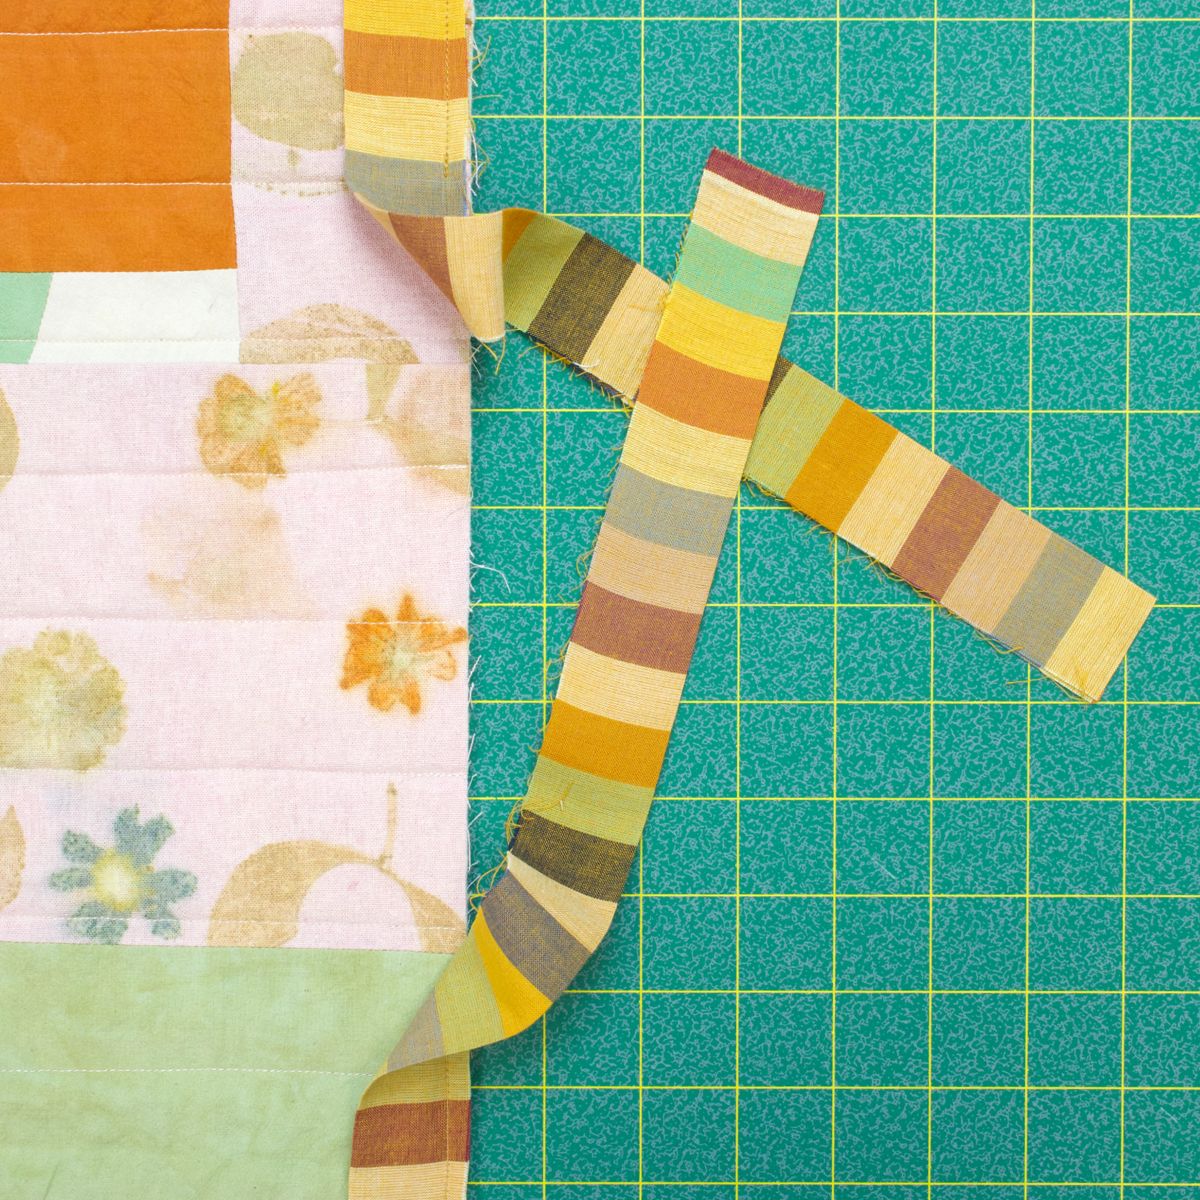
Lay the end of the binding over the start, and cut both ends so that they overlap by 2-1/2 inches.
Open up the two ends of the binding and place them right-sides together and perpendicular to one another, in the same manner you joined the rest of the strips. Secure with clips.
Draw a line diagonally from corner to corner.
Sew on the drawn line.
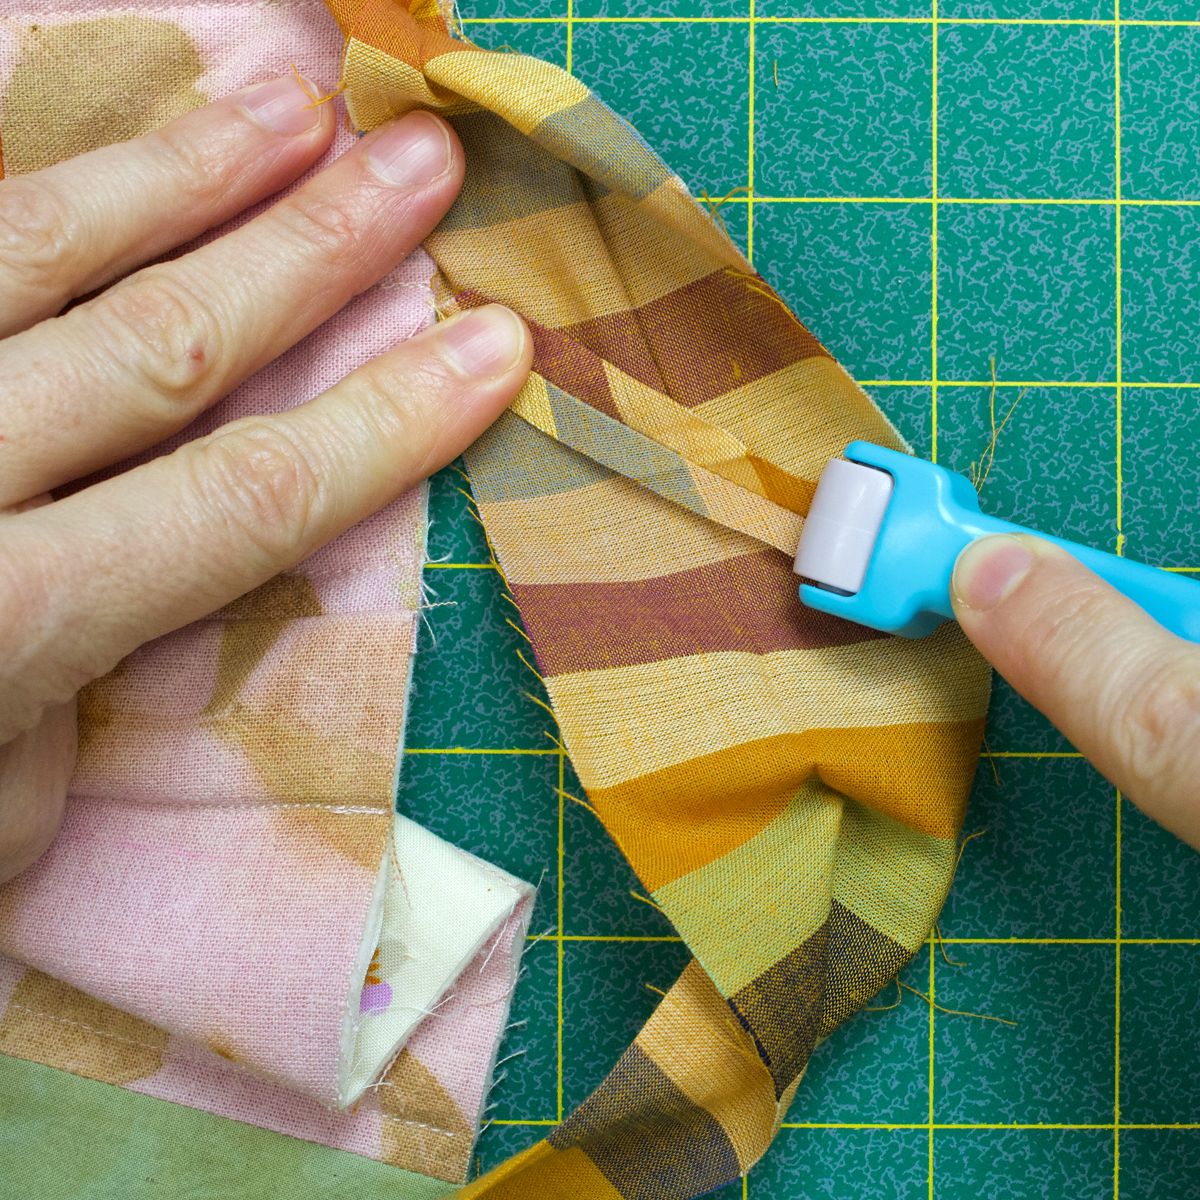
Trim the corner a quarter inch from the sewing line, and press the seam open. The handy Roll and Press is our favorite little sidekick when in need of a quick seam press.
Now that the binding is joined at the ends, fold it lengthwise and clip in place along the edge of the quilt.
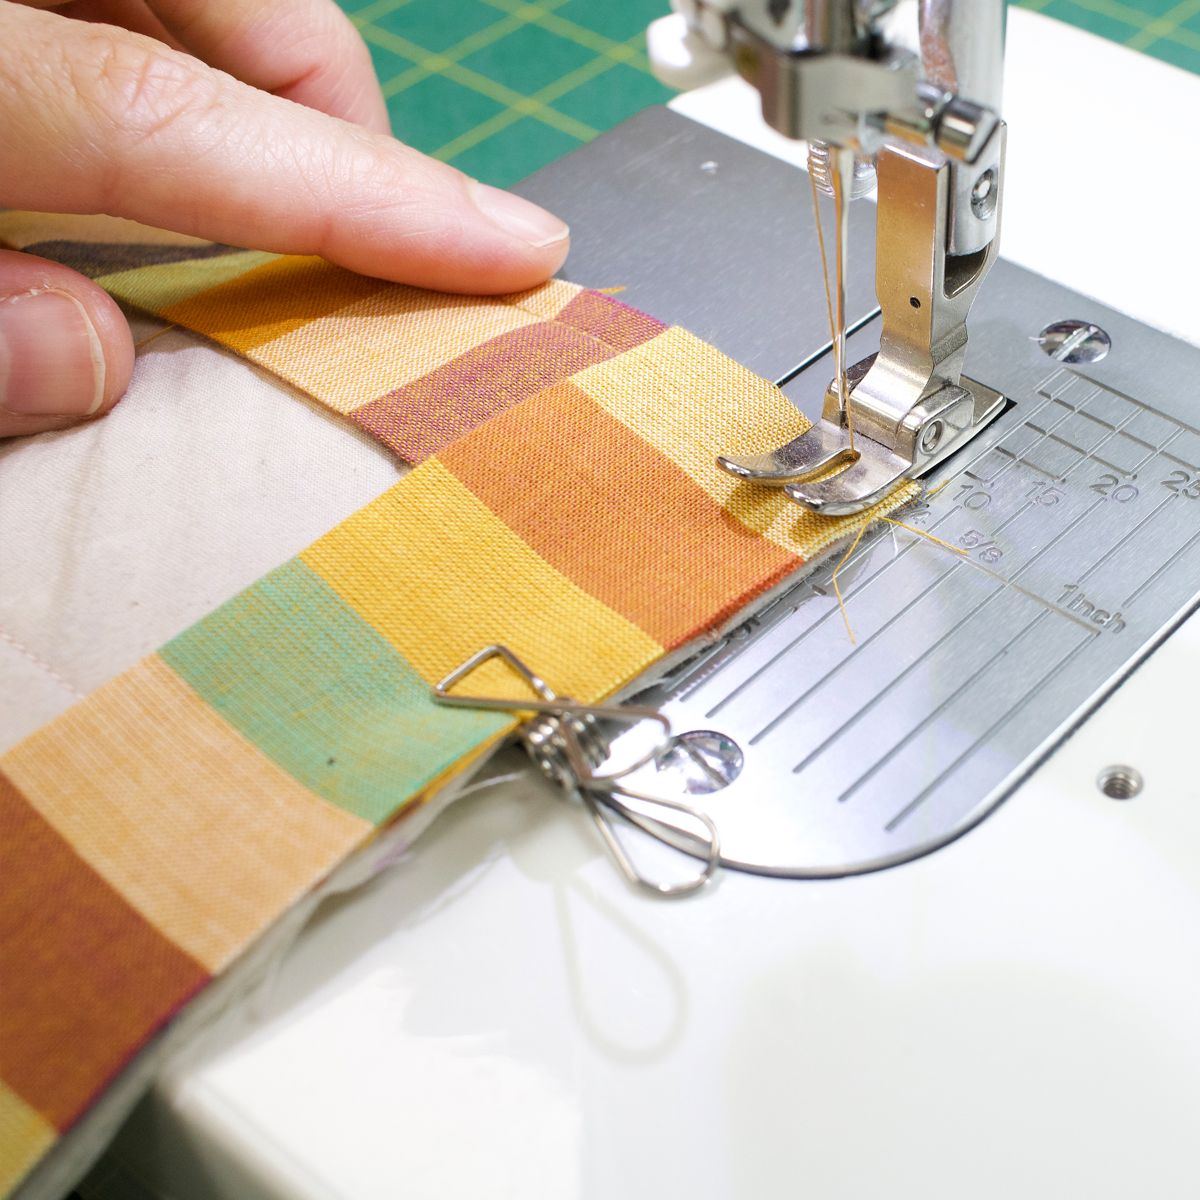
Sew with a quarter-inch seam allowance.
Flip the binding over to the backside, making sure it goes past the stitch line and clip it in place.
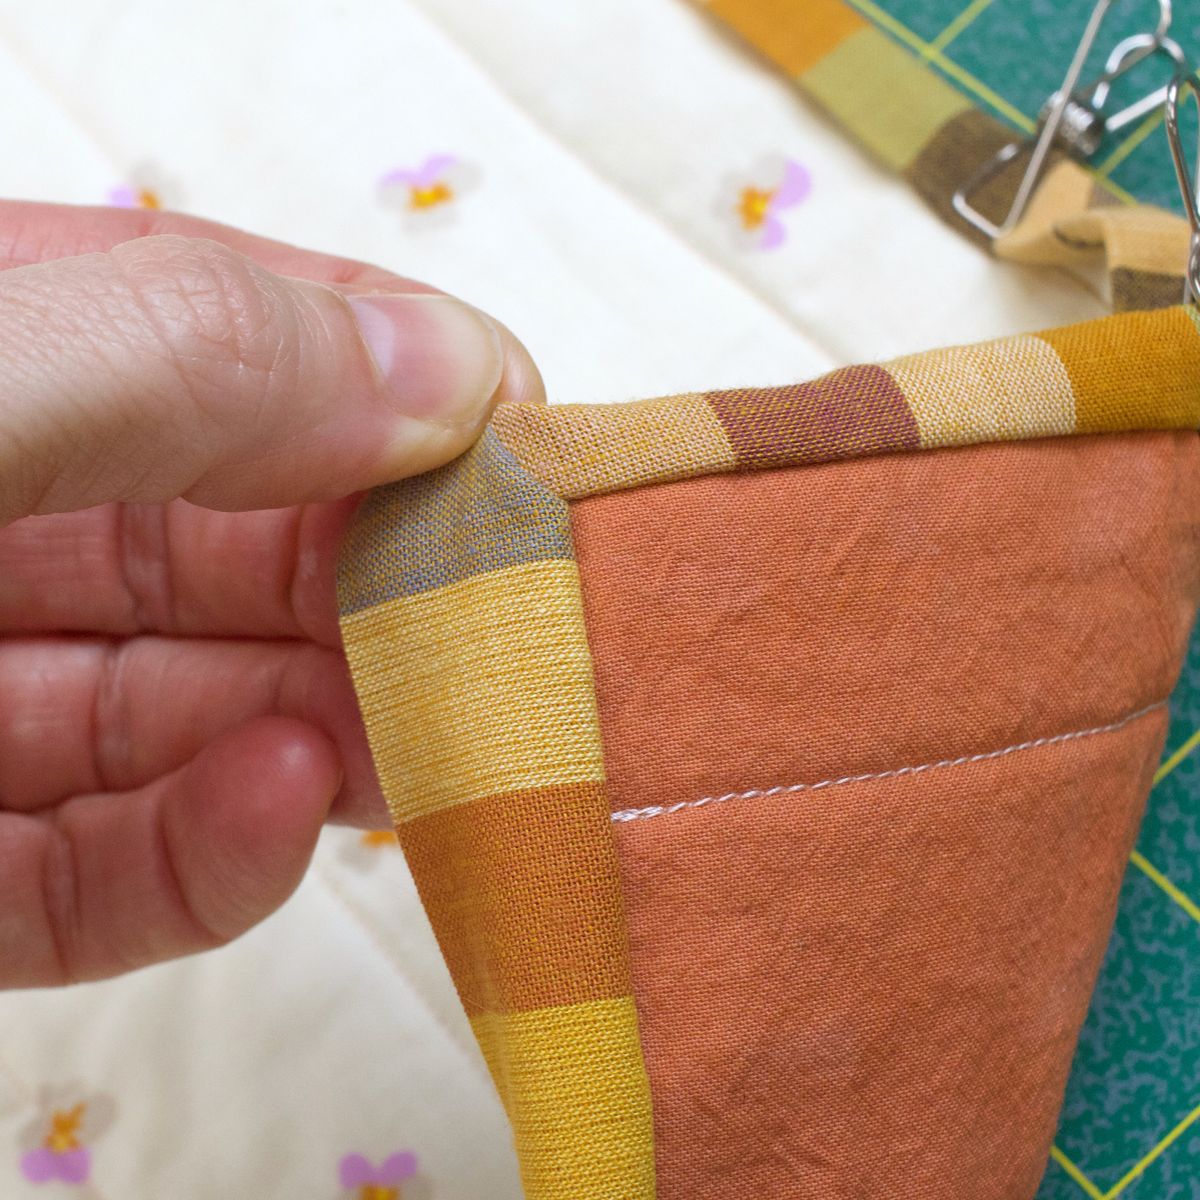
On each corner, fold the binding over to the backside. You'll see that it naturally creates a mitered corner on the front.
On the backside of the corner, flatten one side of the binding down and hold.
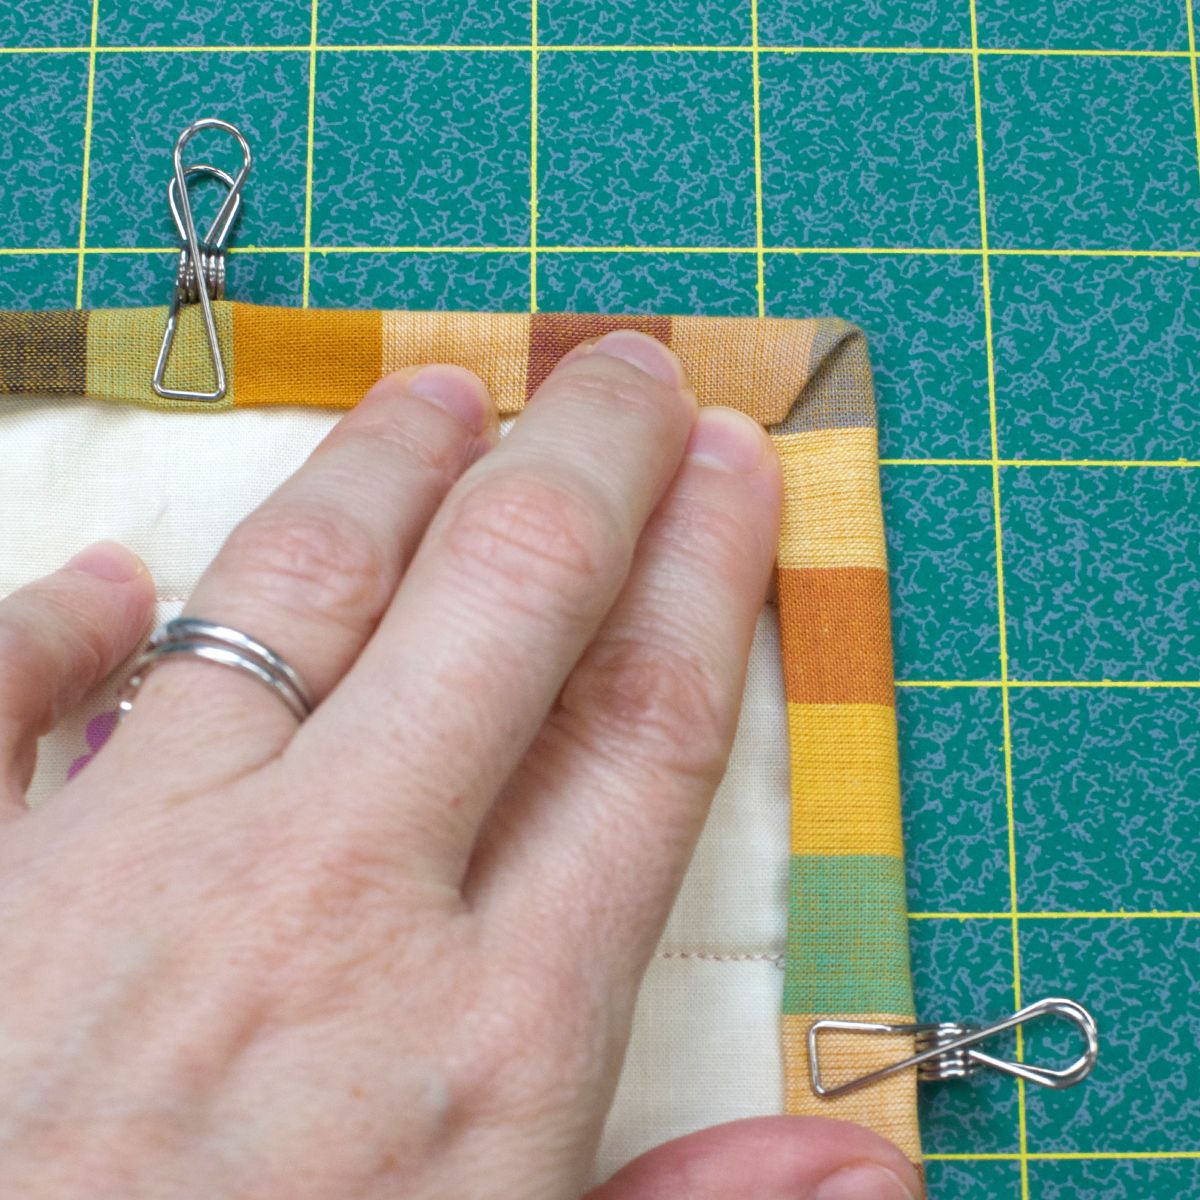
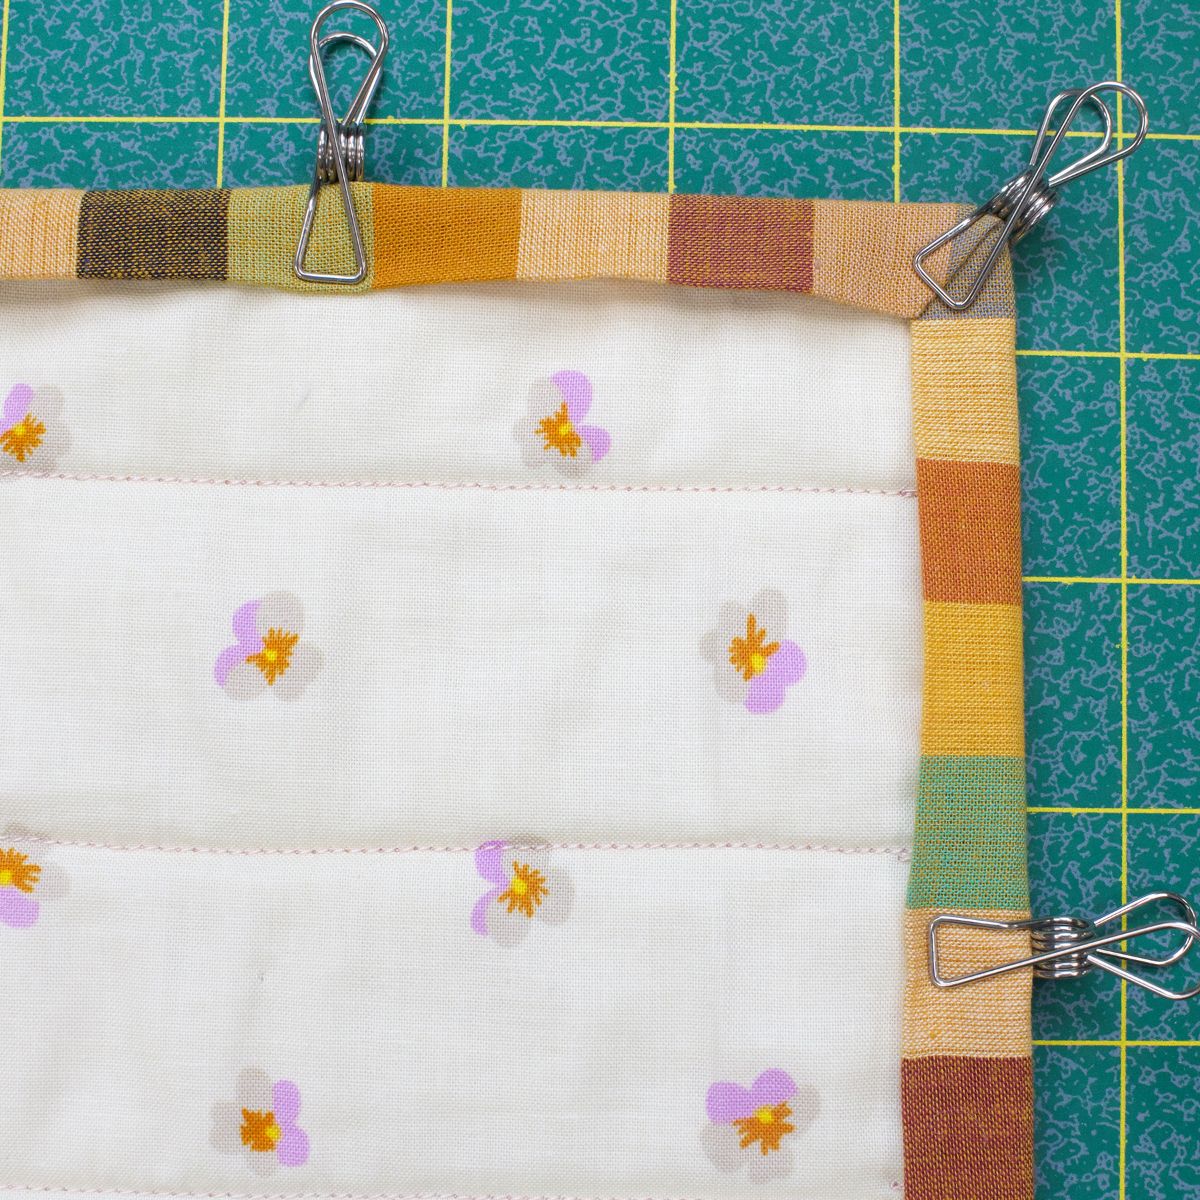
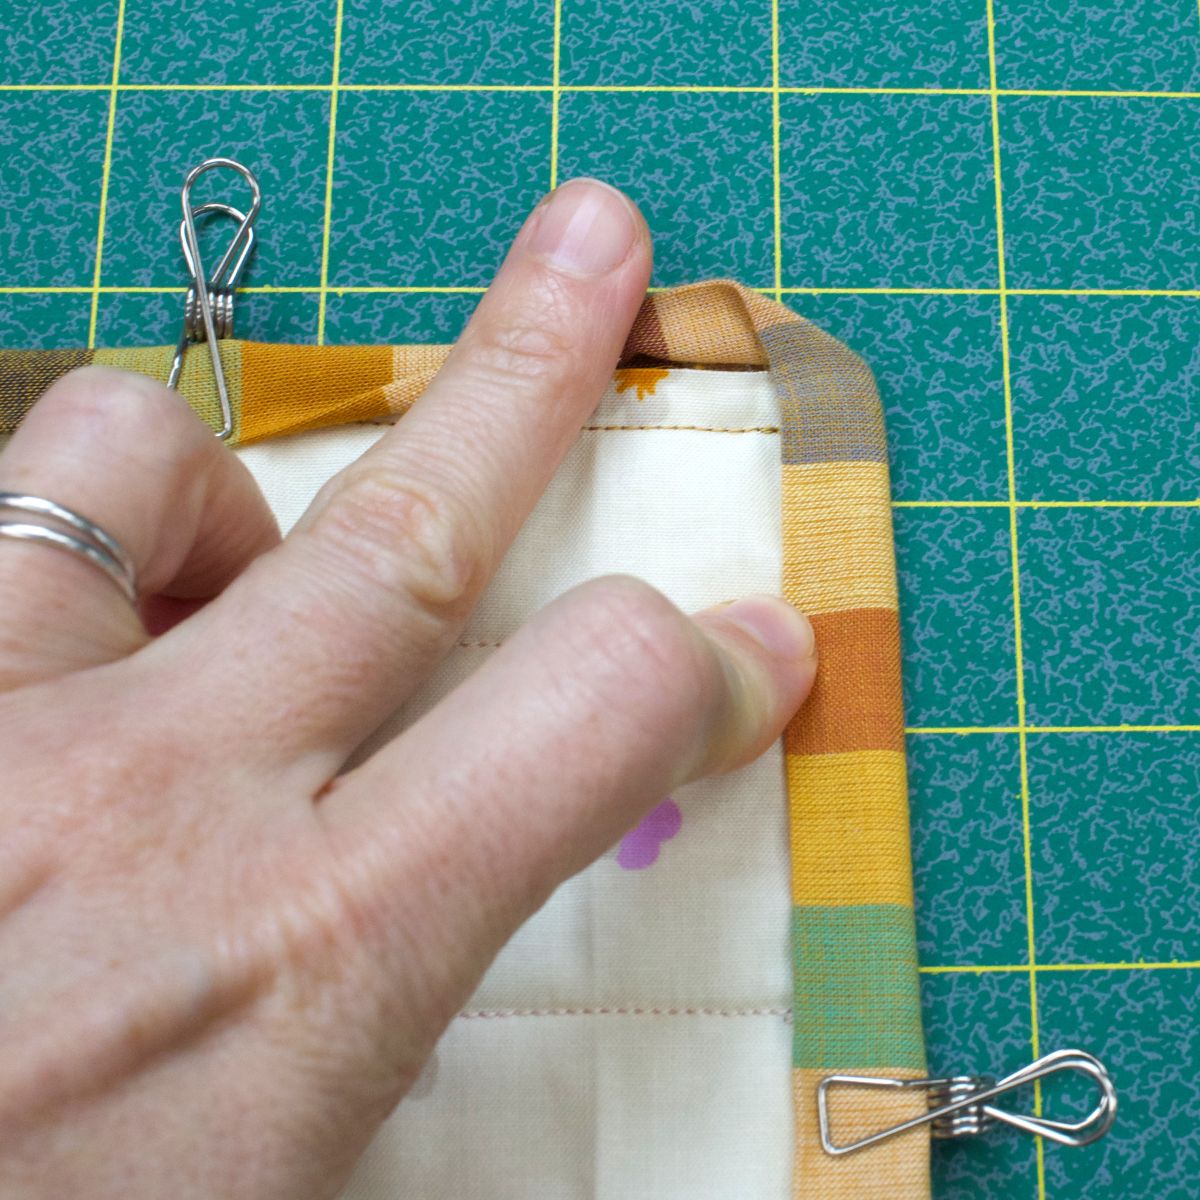
Fold down the other side, adjusting it to create a nice, mitered corner on the backside of the quilt.
Clip securely in place.


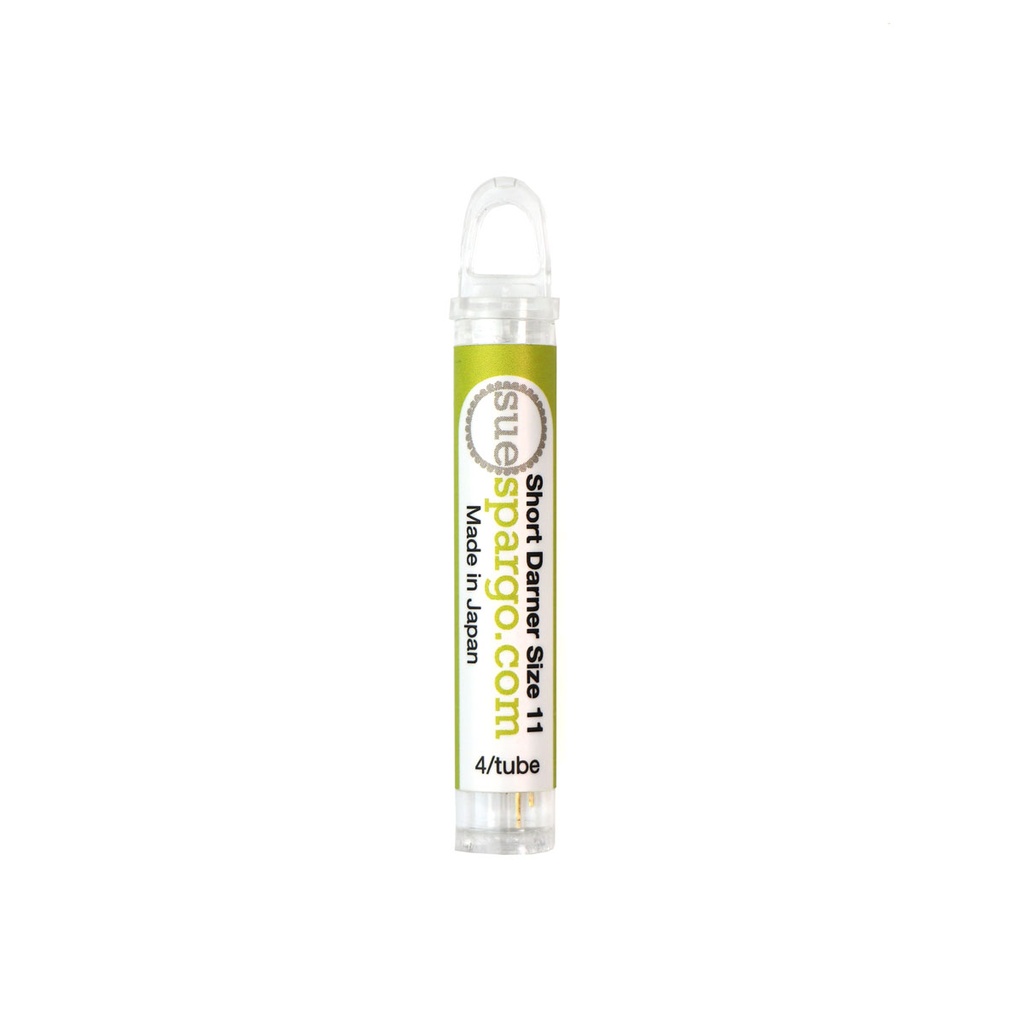
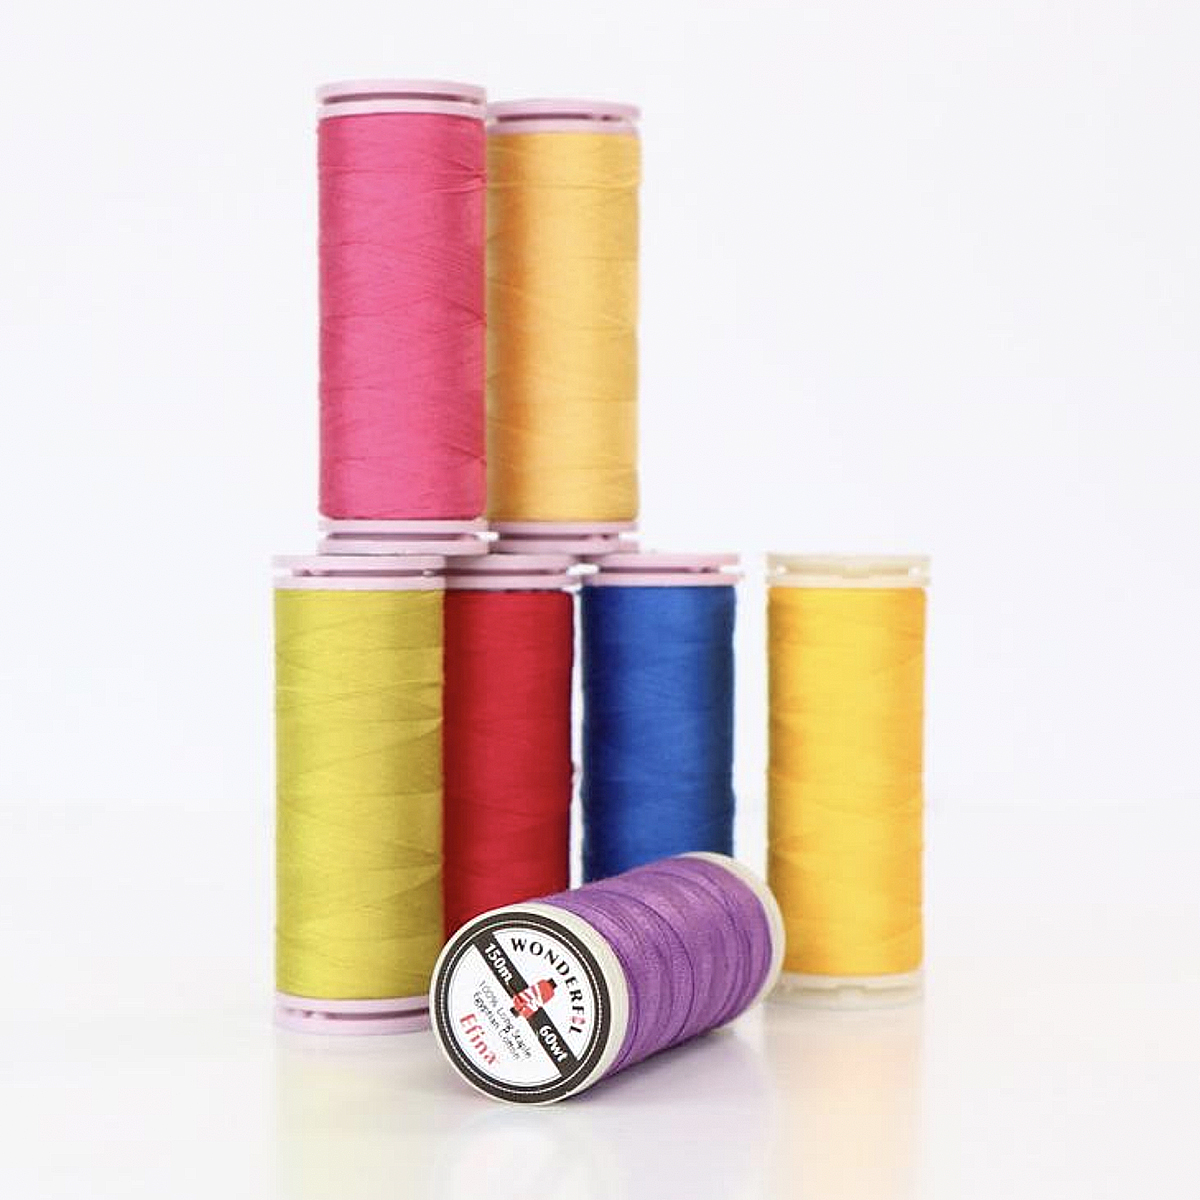
Using a #11 Short Darner Needle and matching Efina Cotton Thread, whipstitch the folded edge of the binding to the backside of the quilt.
Knots: Easily hide your knots between the binding and the backing.
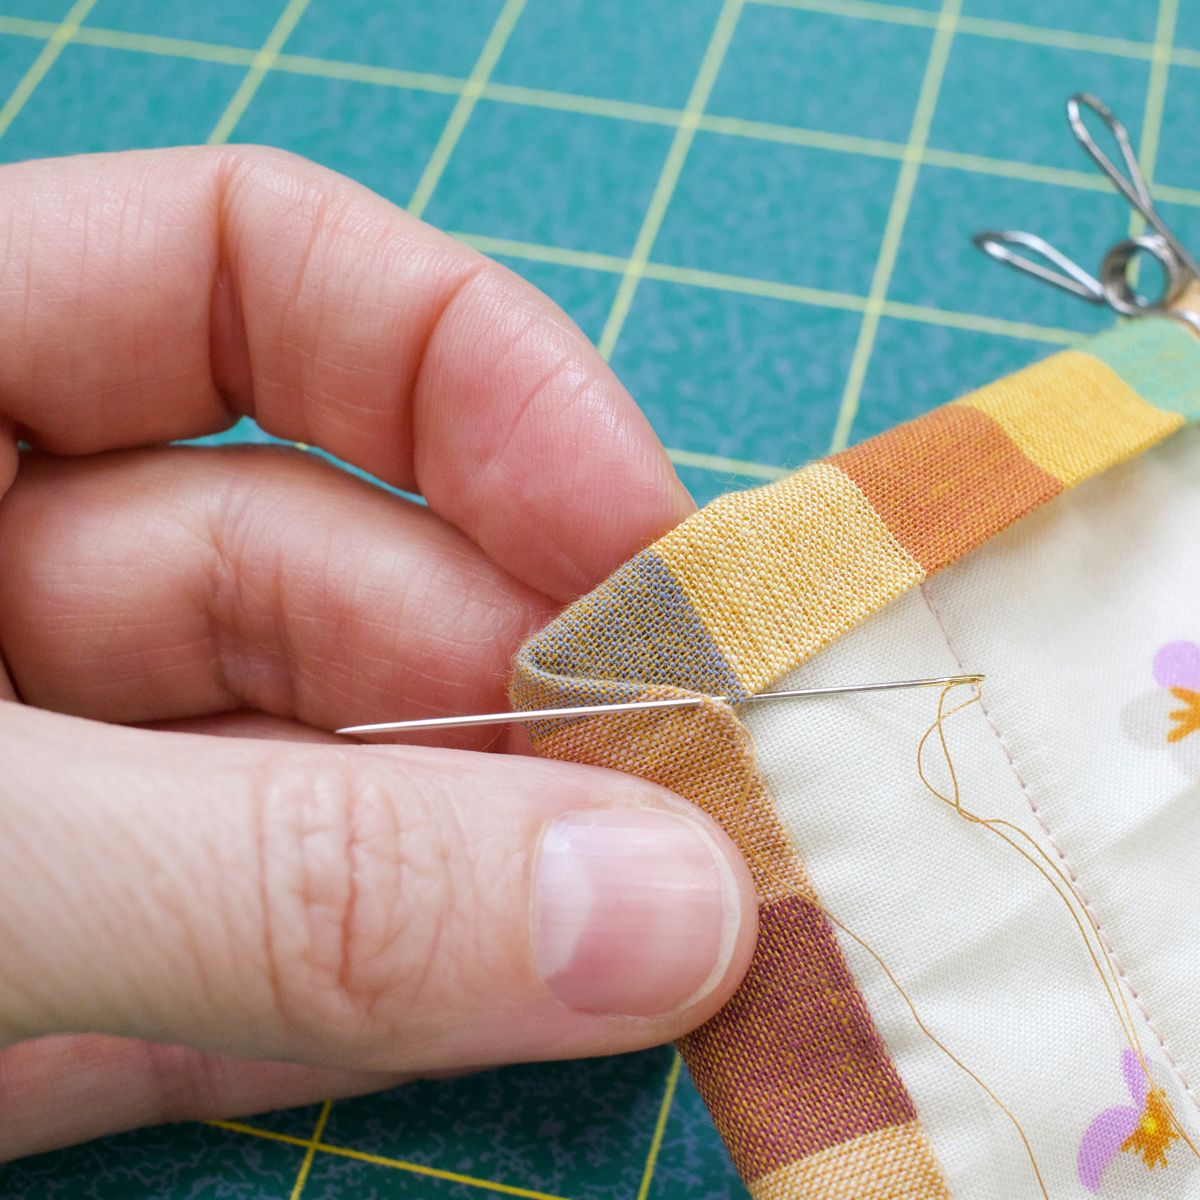
Mitered corners: Whipstich down the fold to secure it in place.
You should now have crisp and clean binding that beautifully showcases your quilt!
Go Beyond!

Hungry for more? We've put together a video course on basic binding, binding with your backing, and invisible binding (quilt facing). Become a binding pro with the knowledge of multiple binding options!
Click HERE to enroll the Binding & Beyond course!
Create