Perfect Circles & Ovals
We talk a lot about wool, but we love working with cotton too, especially cotton appliqué! And while curves can sometimes feel tricky, creating smooth, consistent circles and ovals doesn’t have to be. Perfect Circles, Bigger Perfect Circles, and Perfect Ovals make shaping your cotton appliqué easy, precise, and beautifully polished every time.
Shop All Karen Kay Buckley Perfect Shapes
Gather Your Supples
We used the following:
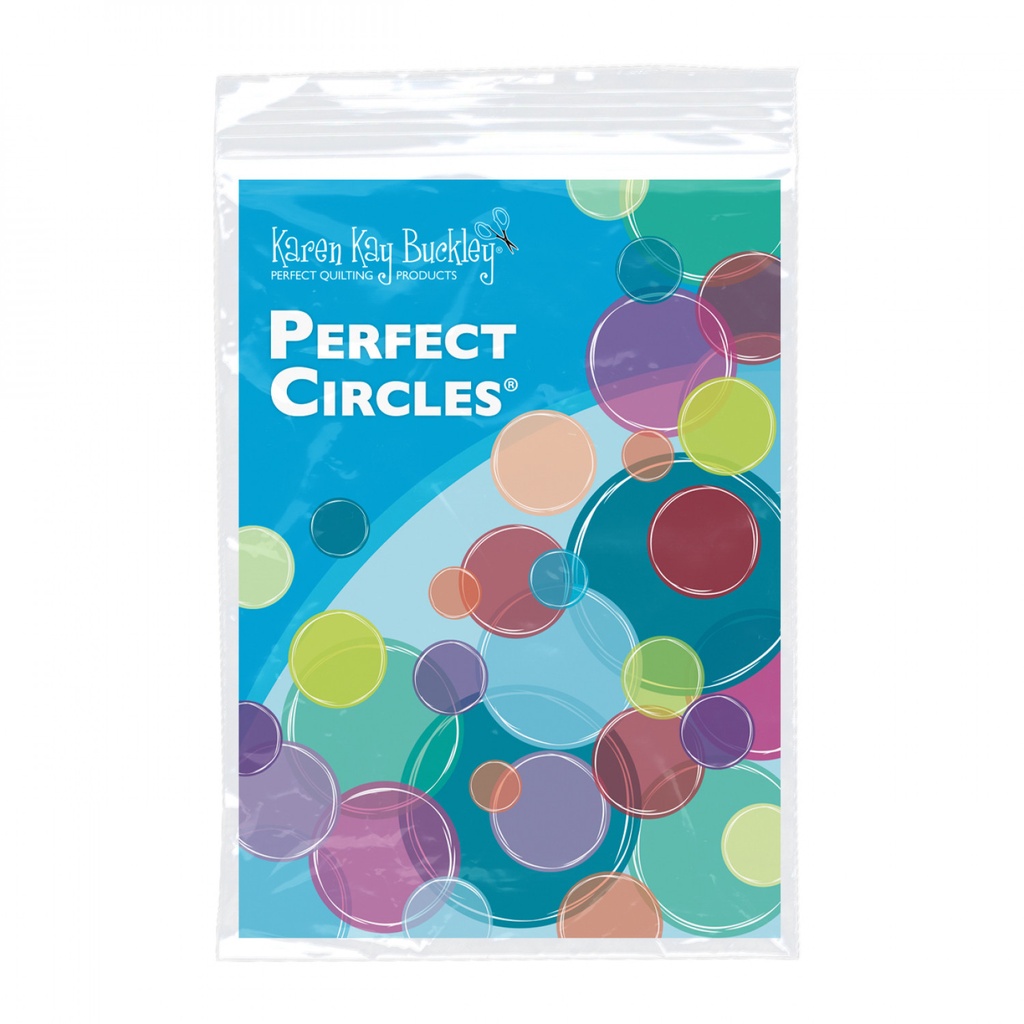
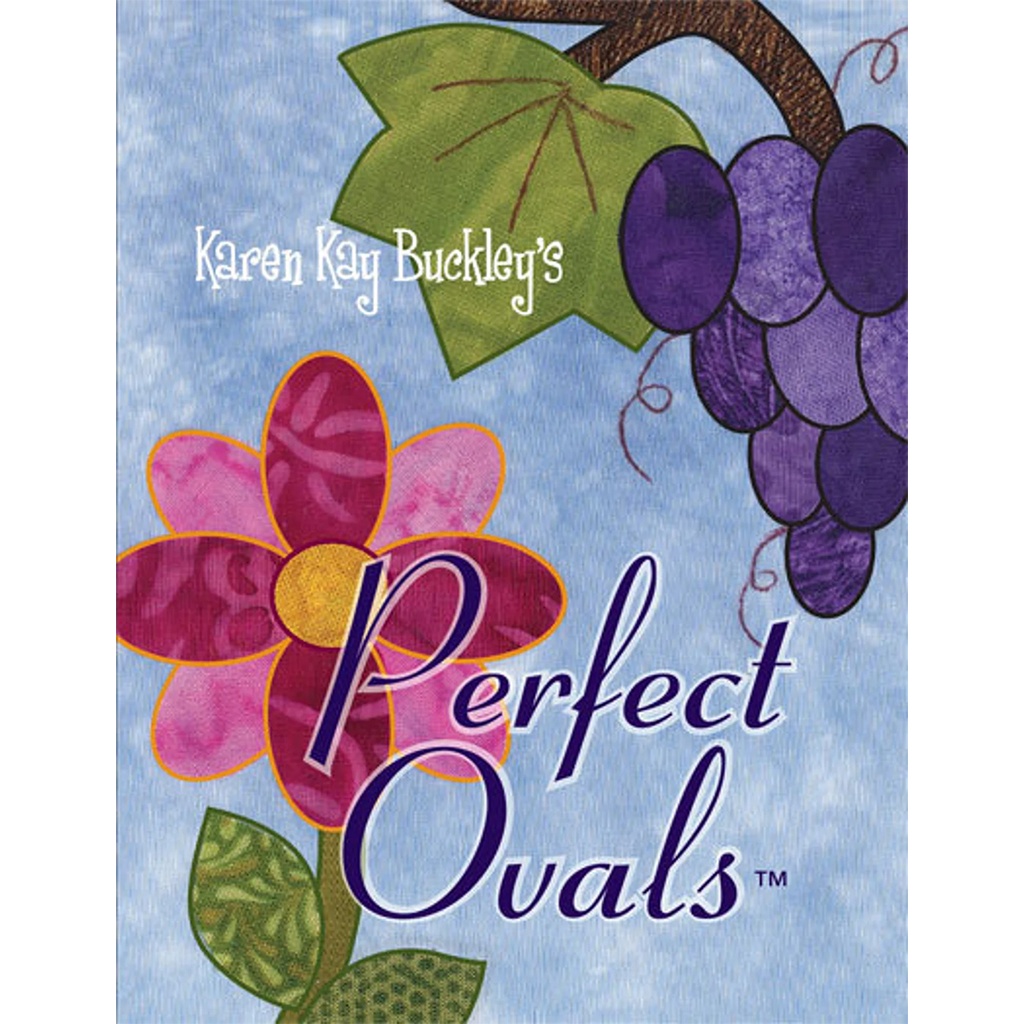
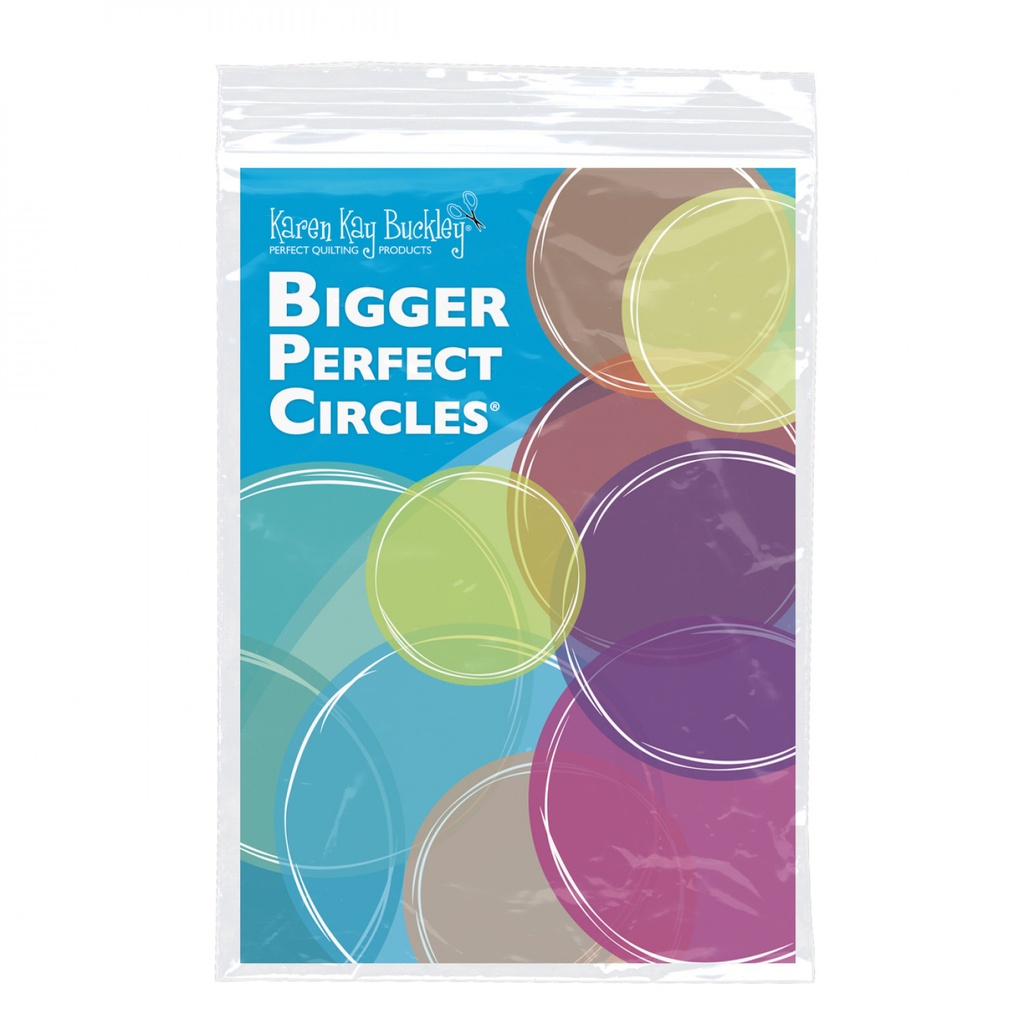
Perfect Circles and/or Perfect Ovals
- Perfect Circles are available in the original sizing or the Bigger Perfect Circles so your circles will be pristine no matter the project!
- Cotton Fabric
- Short Darner #11
- Efina Cotton Thread in a matching color to your fabric
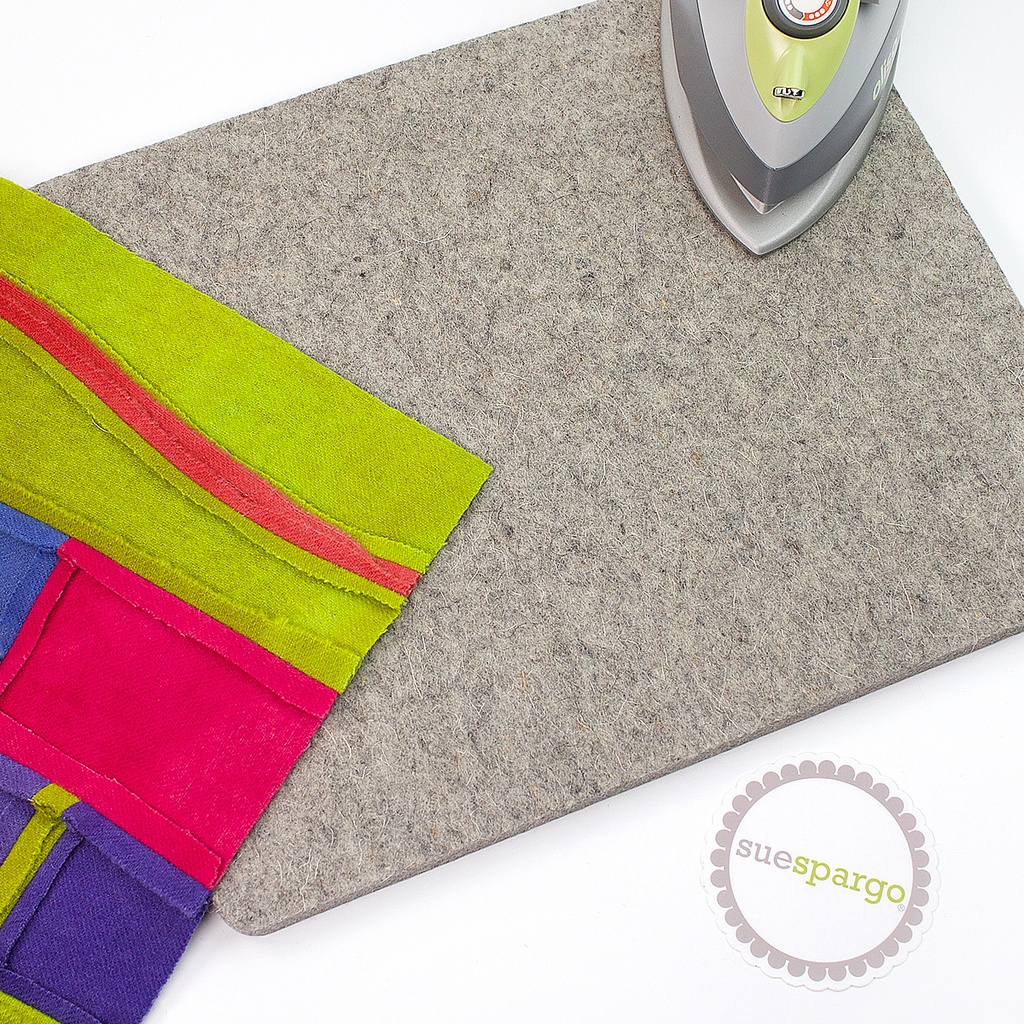
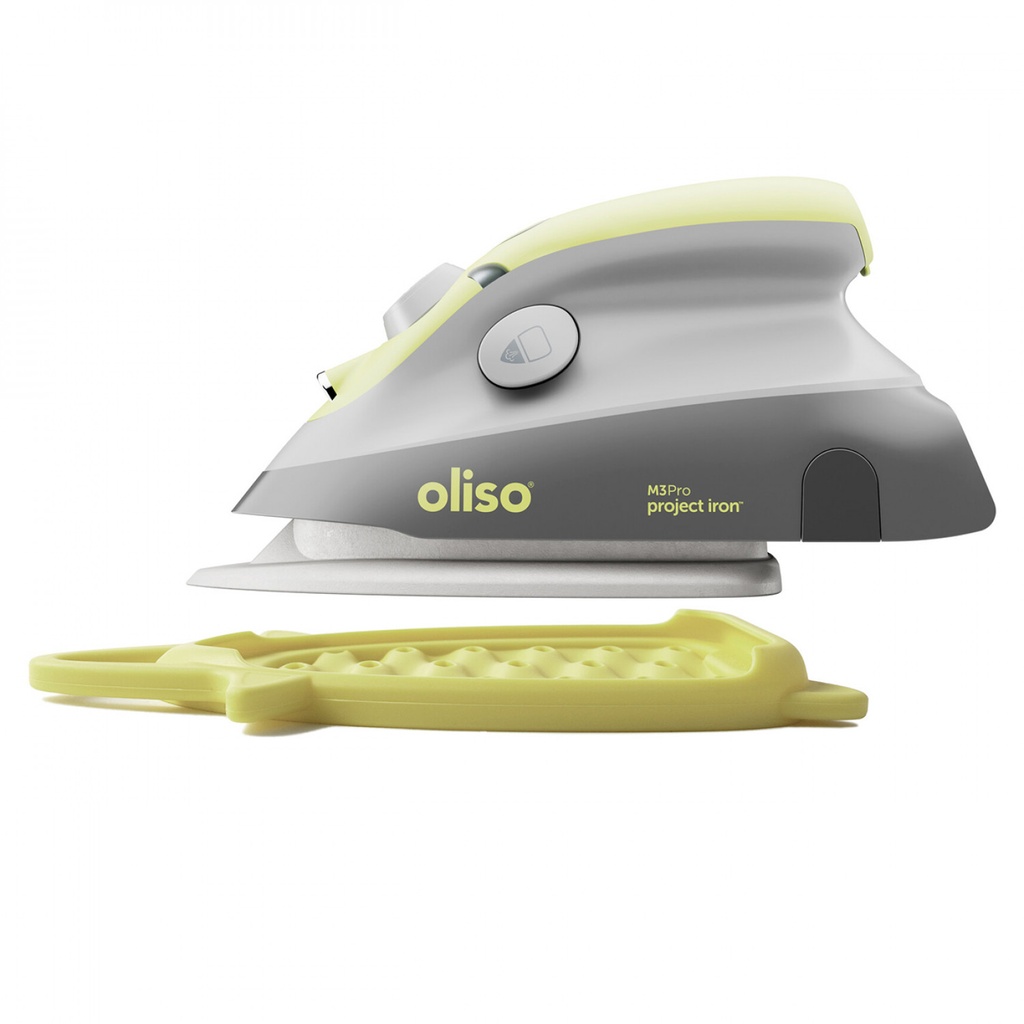
Iron
- An Iron
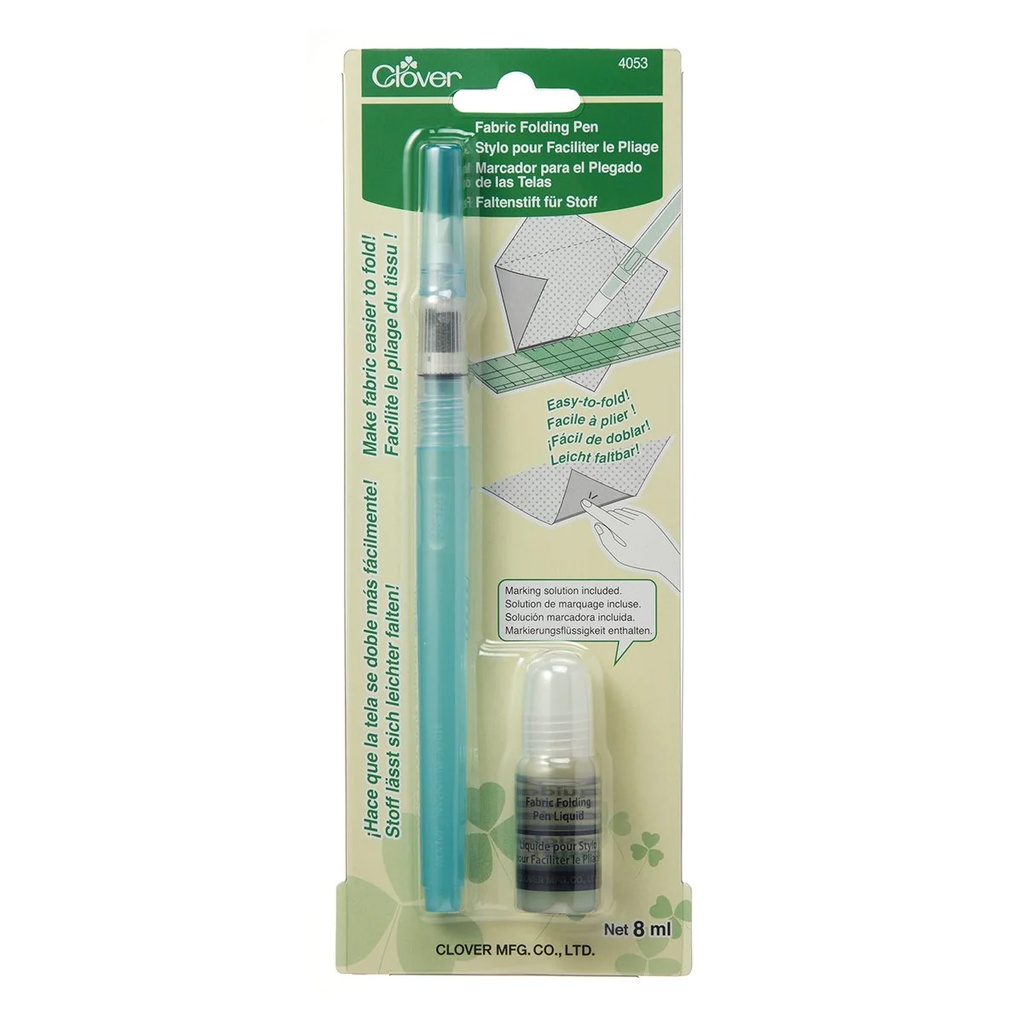
Fabric Folding Pen and Flatter
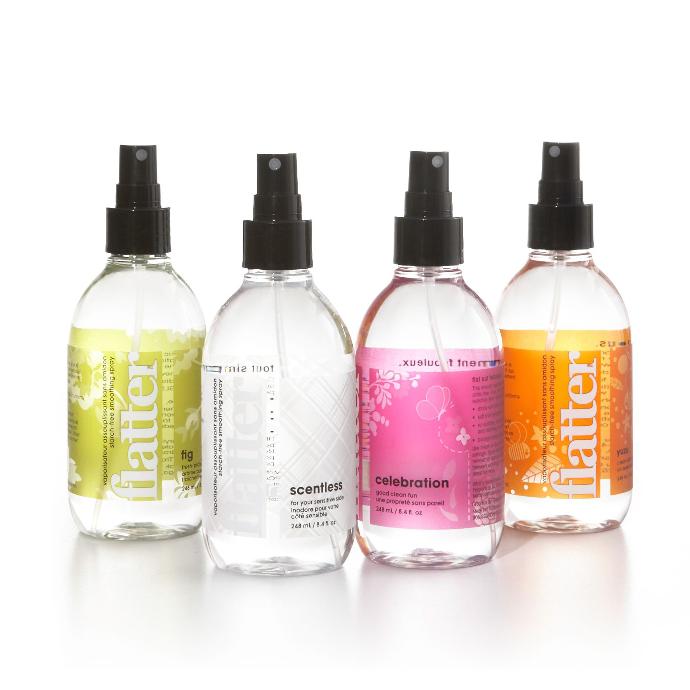
- Instead of the fluid that's included with the Fabric Folding Pen, we fill it with Flatter to get nice crisp edges, while using a plant-derived and biodegradable product!
- We are using the 5-1/2" Kai Scissors
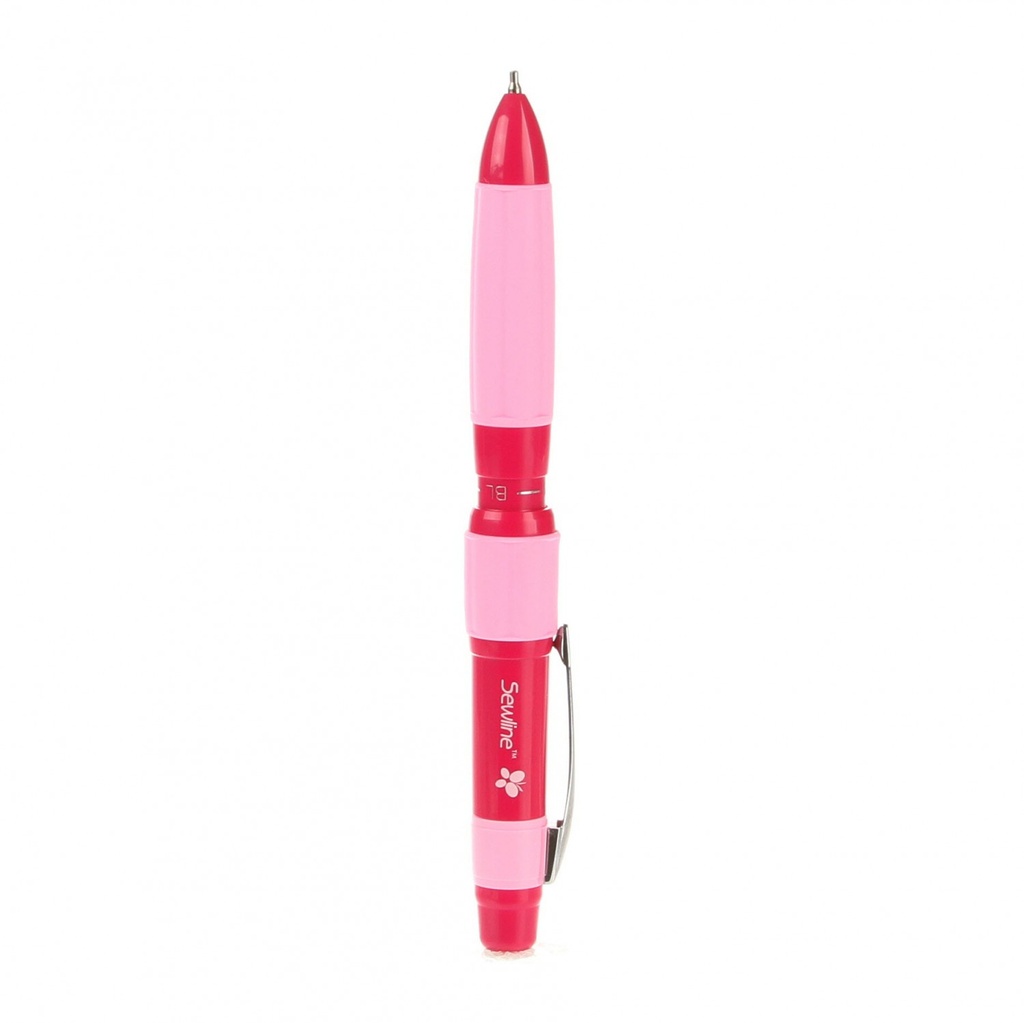
Chalk Pencil
- We are using our favorite Sewline Trio Chalk Pencil
Getting Started
The technique for making Perfect Ovals is the same as Perfect Circles, so we’ll demonstrate the process using circles.
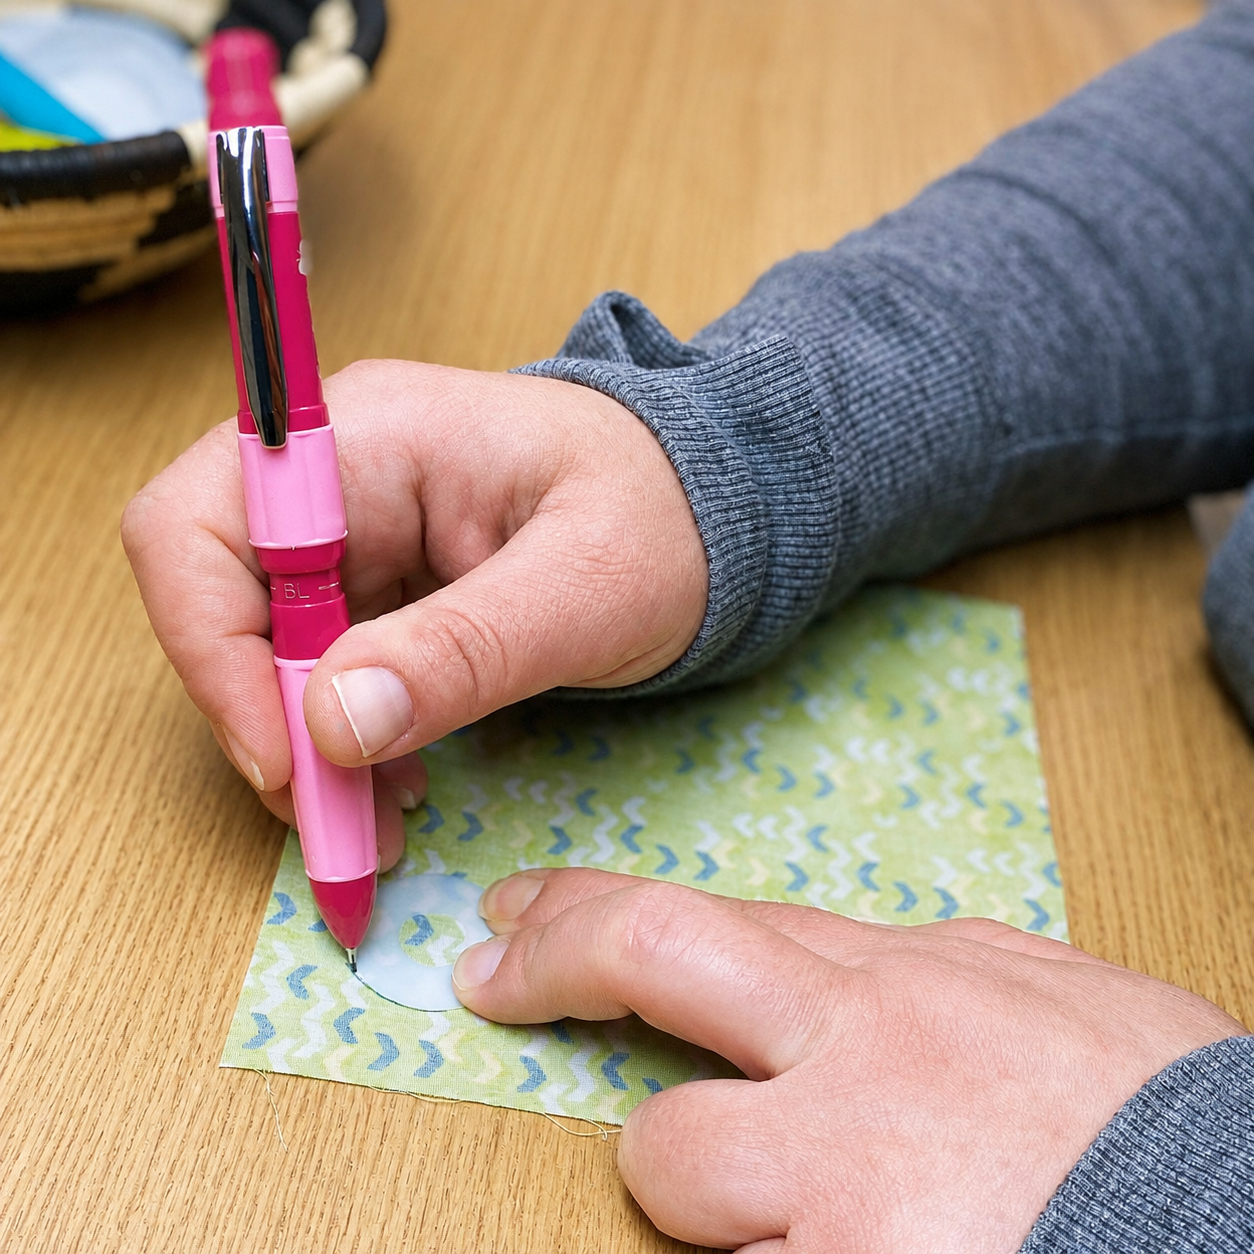
To start, choose the size of circle you'd like to make. Trace around the outside of the circle with your chalk pencil on the wrong side of the fabric.
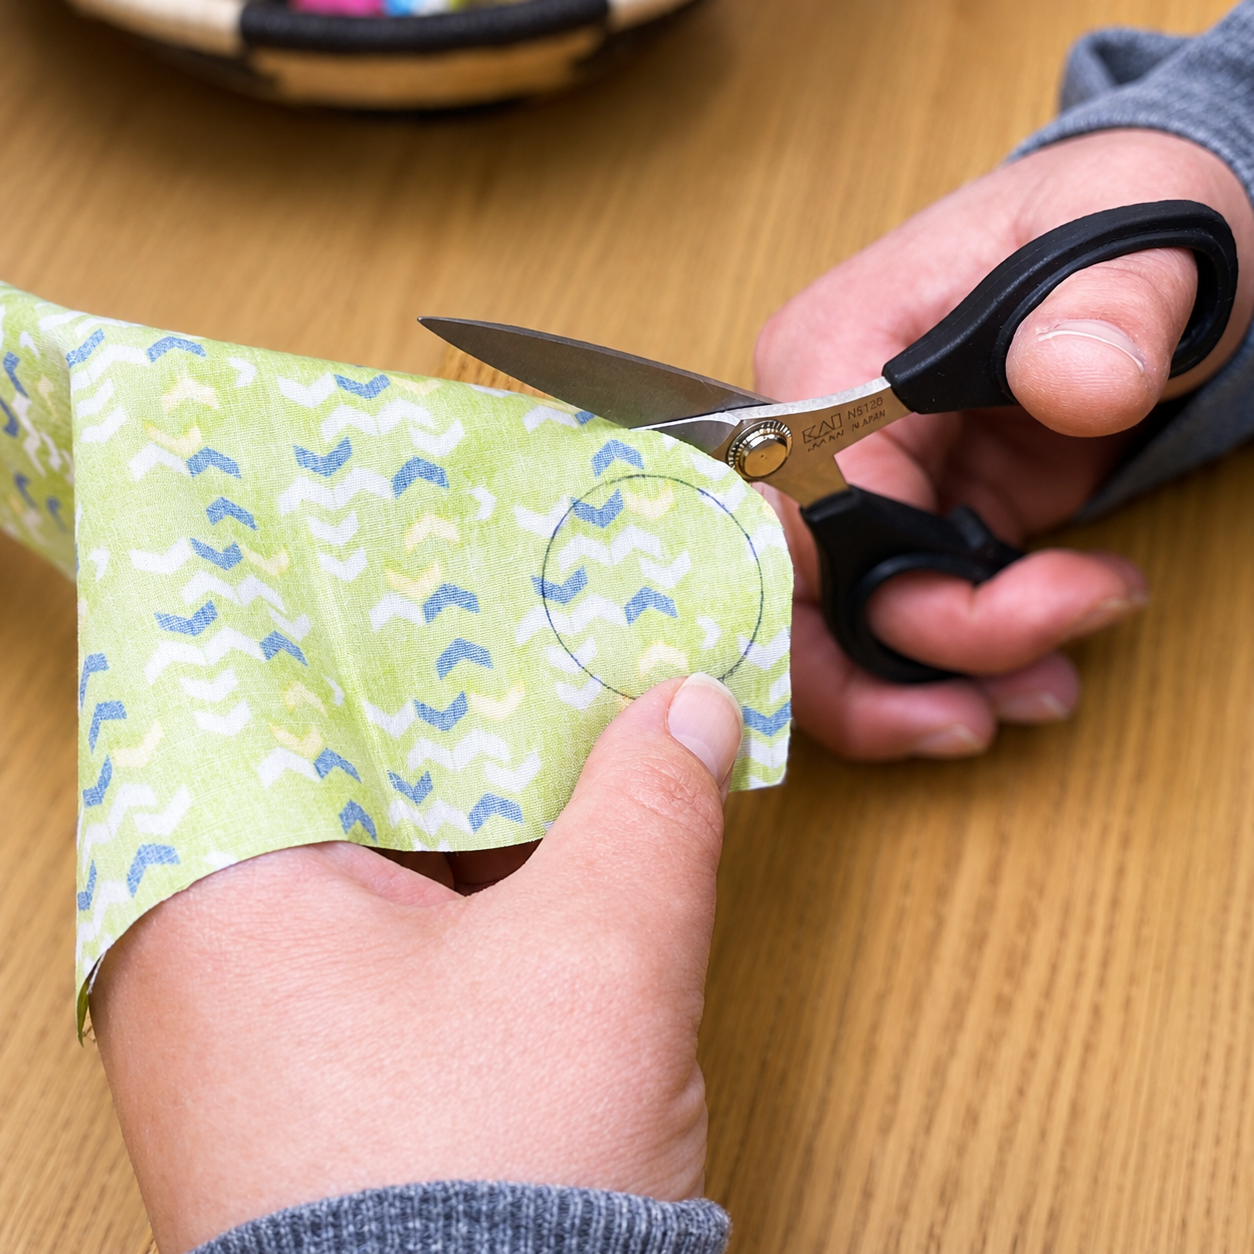
Remove the circle template and cut out the circle with a 1/4" seam allowance.
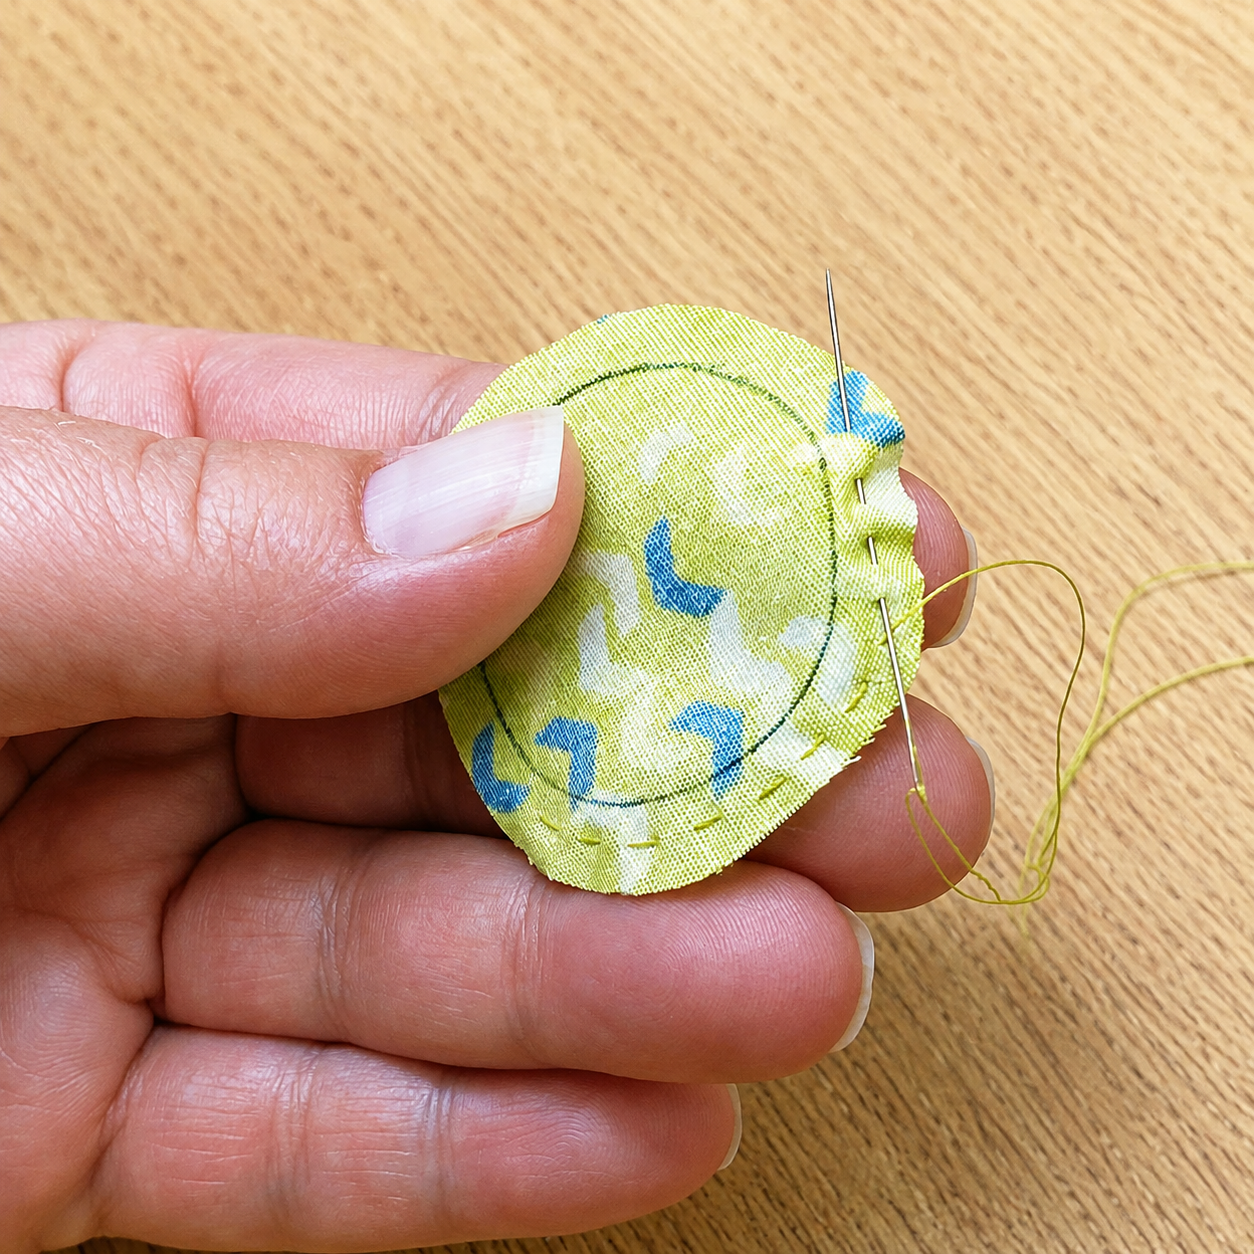
Knot the end of the Efina Cotton Thread and thread your Short Darner #11. Starting with the knot on the right side of the fabric, stitch a short running stitch between the tracing and edge of the fabric, around the perimeter of the circle. You'll want to stitch slightly closer to the fabric edge than the traced circle. Short stitches will keep the edges of your circle smoother and prevent pleats.
Tip: When making Perfect Ovals, make sure you start and end your Running Stitch on one of the long sides of the oval to make the process a little easier.
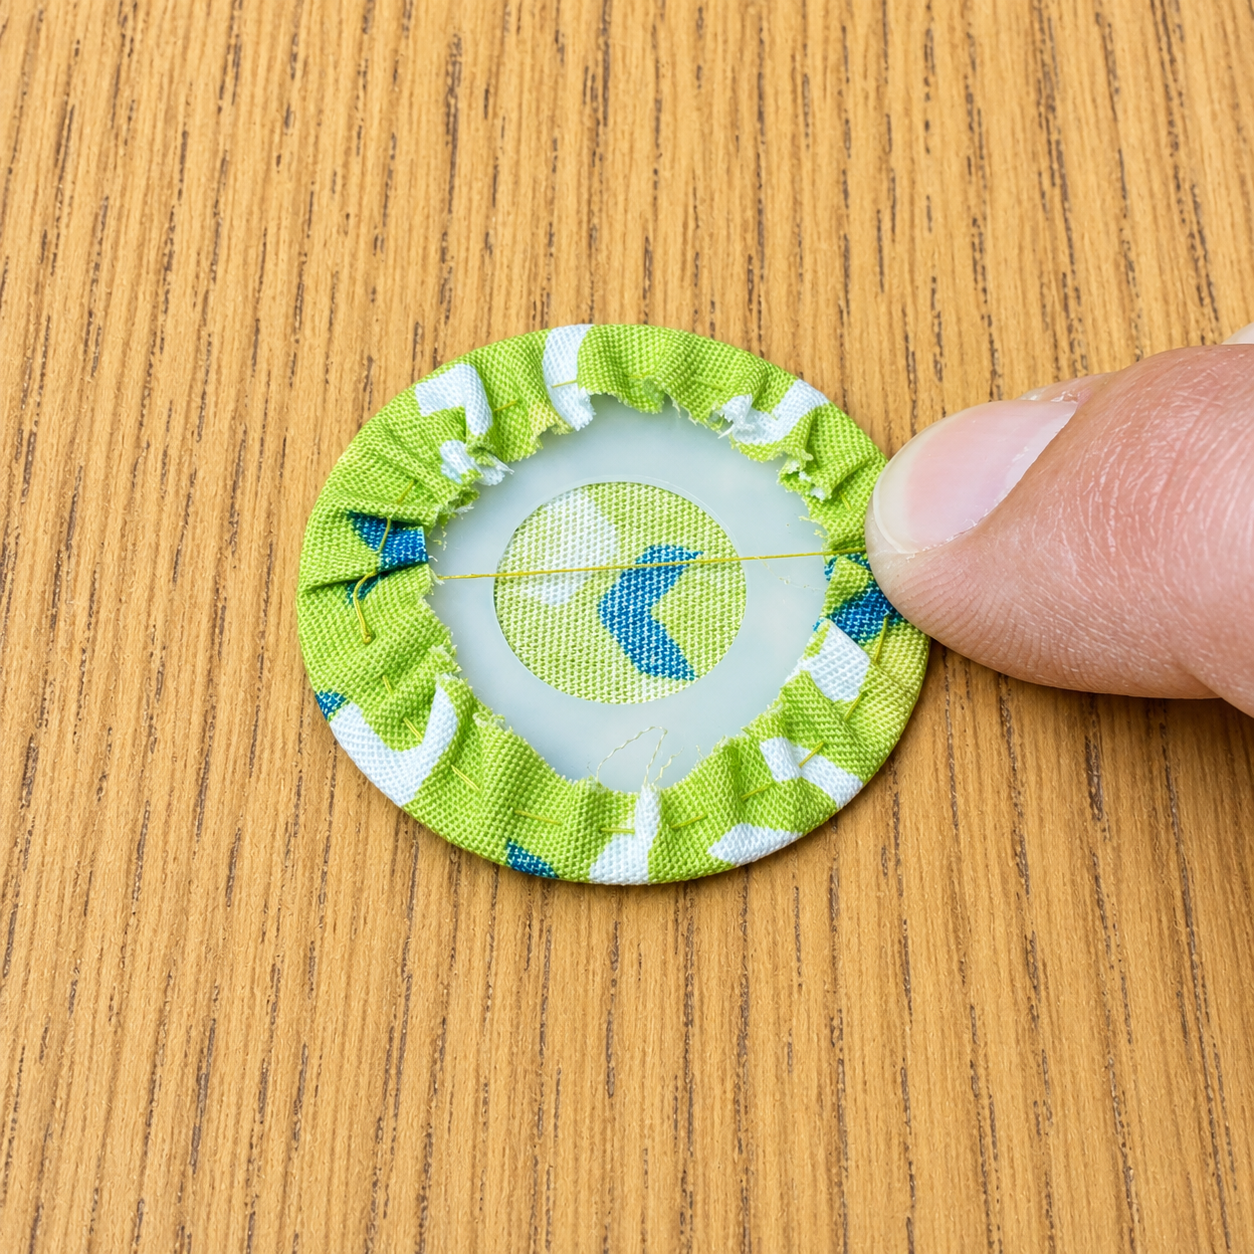
Place the circle template back inside the tracing lines, and pull your thread tight to draw the fabric up around it. Pull the thread tight to the opposite side from where your stitches end. Use your fingers to smooth the back of the circle. The gathers made by pulling your thread tight are unavoidable, but they won't affect the outcome of your circle as long as they're not along the outside edge.
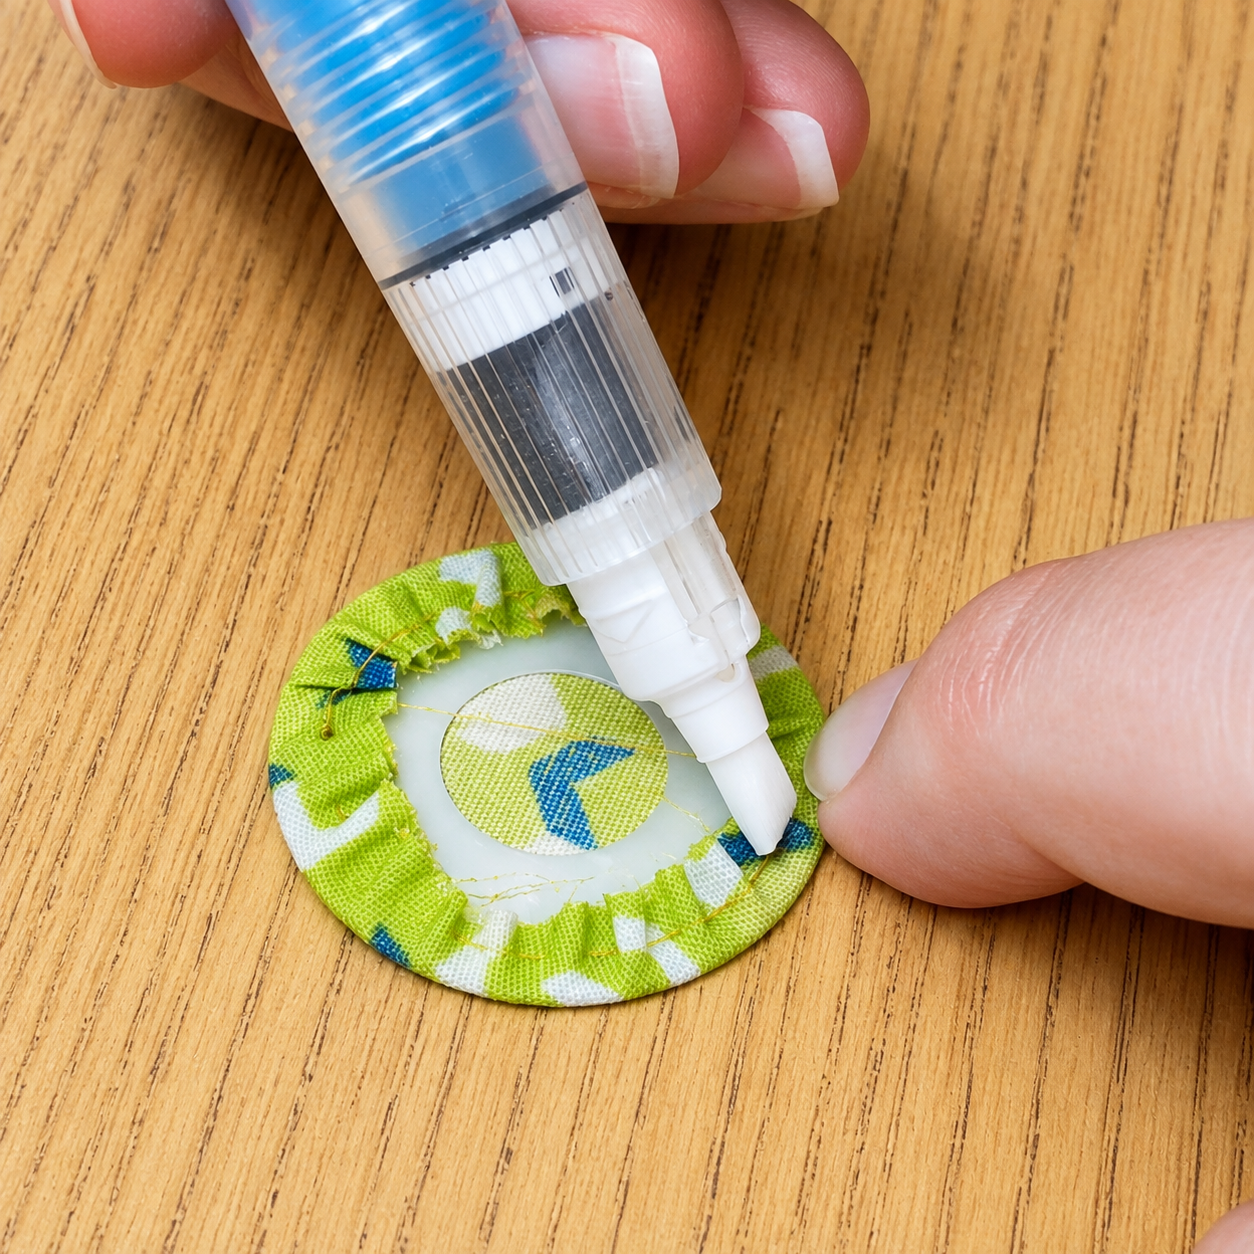
Use your Fabric Folding Pen filled with Flatter to dampen the fabric you've drawn up on the back of the circle.
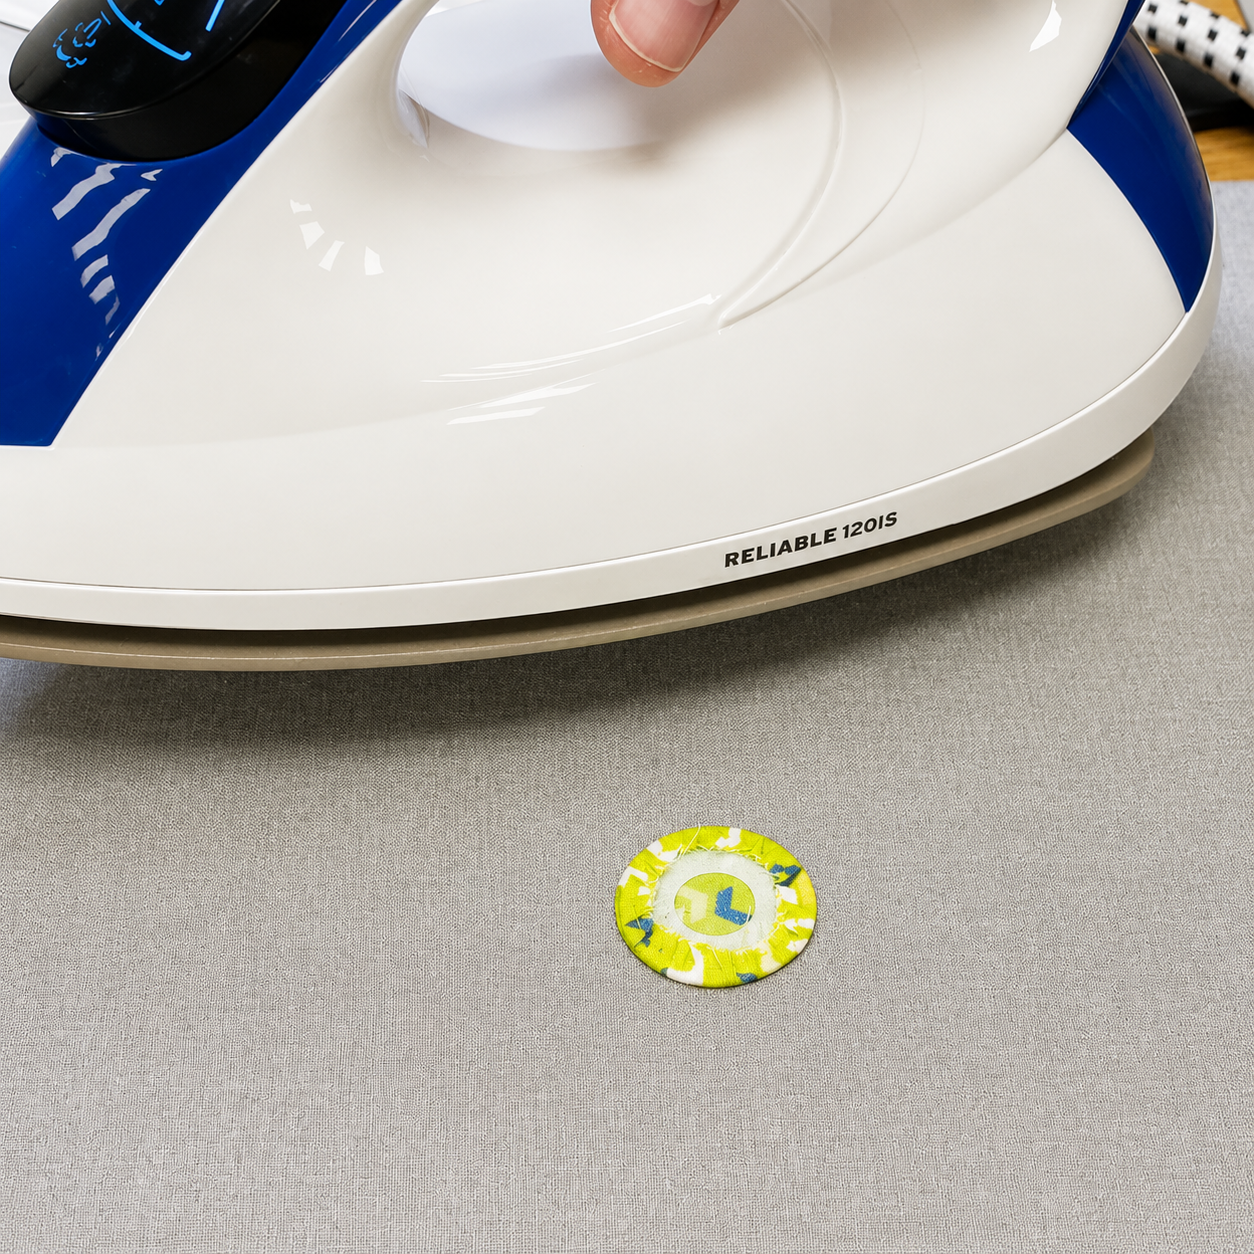
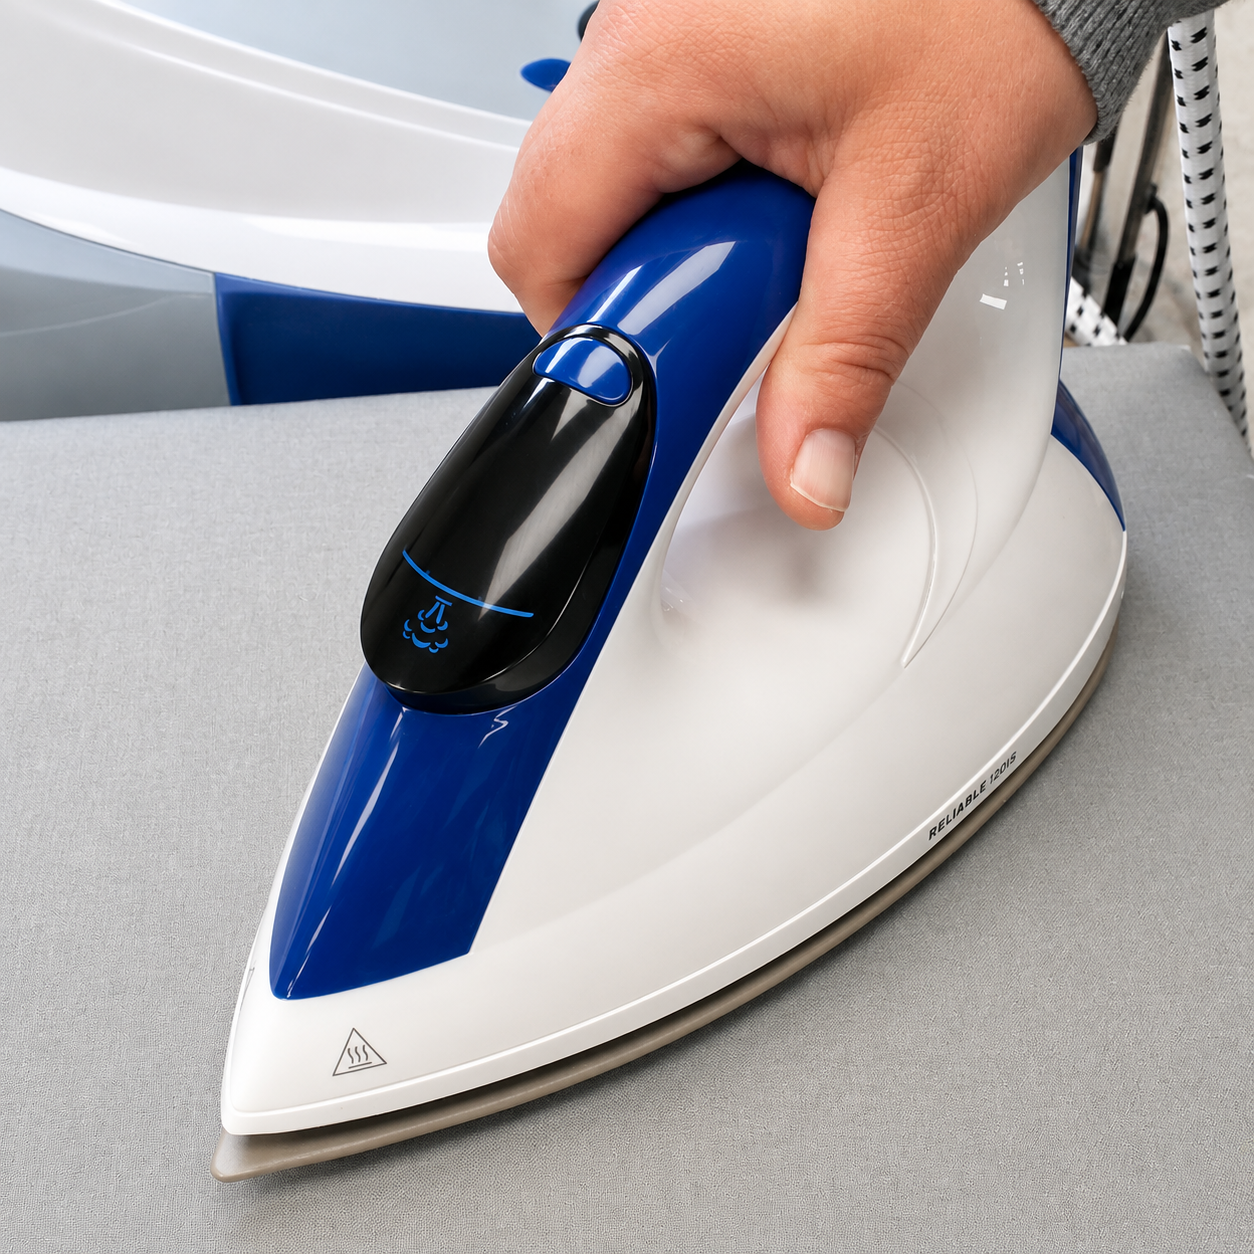
Place a dry iron on MEDIUM heat on top of your circle and let it sit there for 20 seconds. Then, check that the circle is dry. If not, place the iron back on your circle.
Tip: Perfect Circles and Perfect Ovals are made from Mylar, so an iron on high heat won't melt them but it will warp them, making your perfect circle... not so perfect. Medium heat is best!
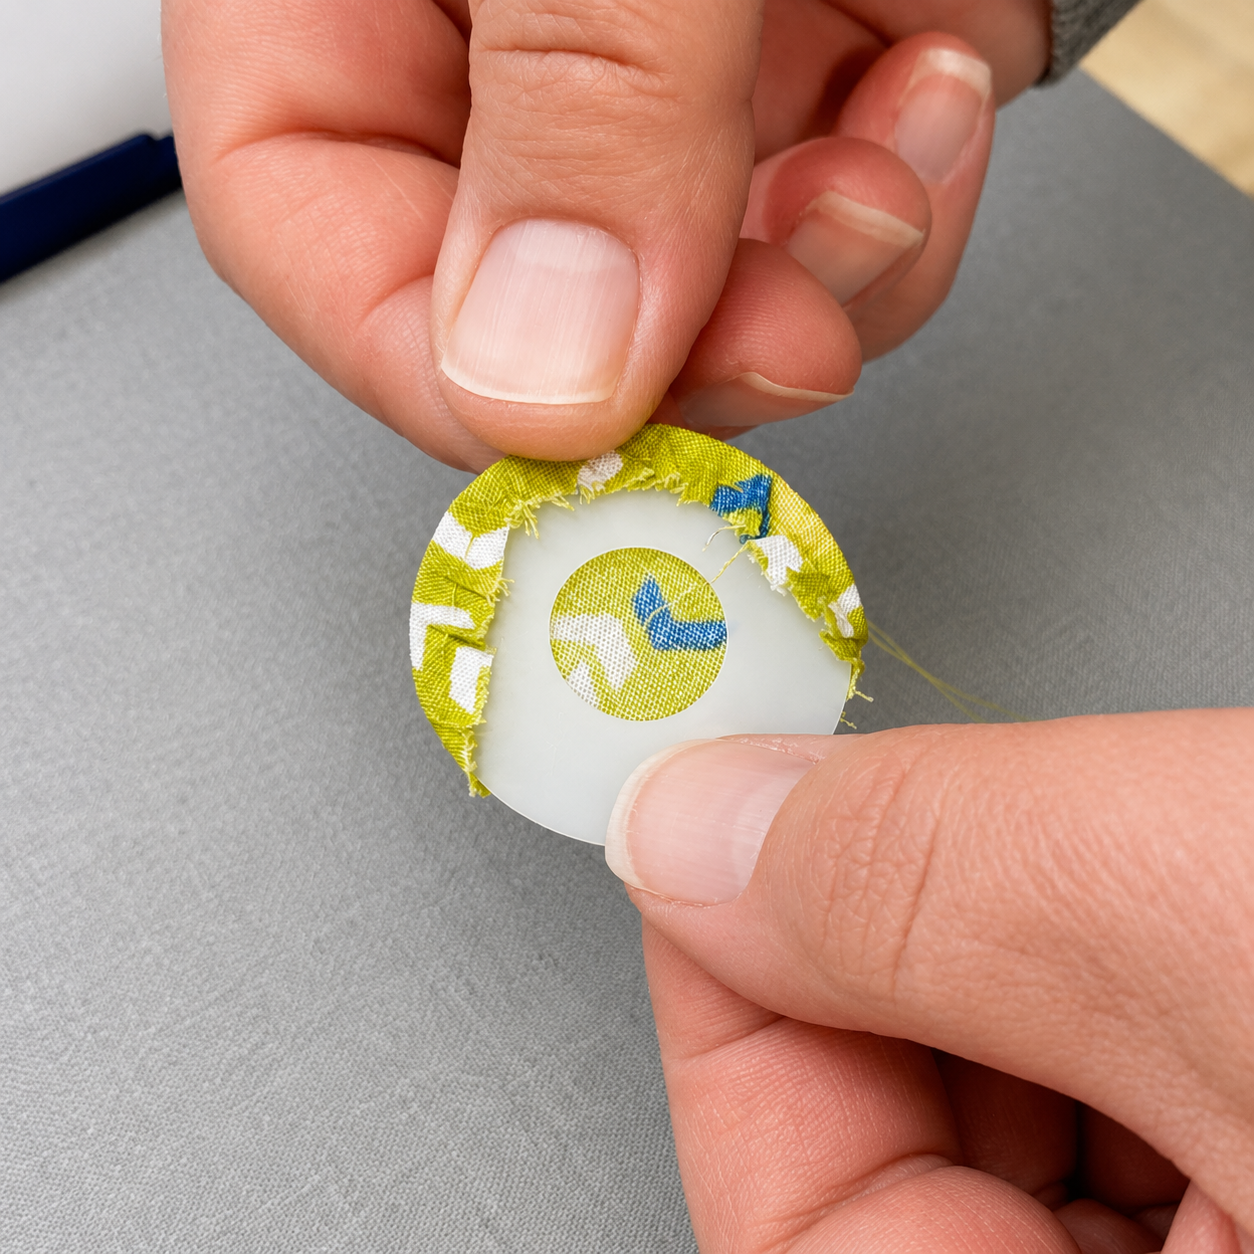
Lift up the section of the fabric where your stitches start and end, and remove the circle template.
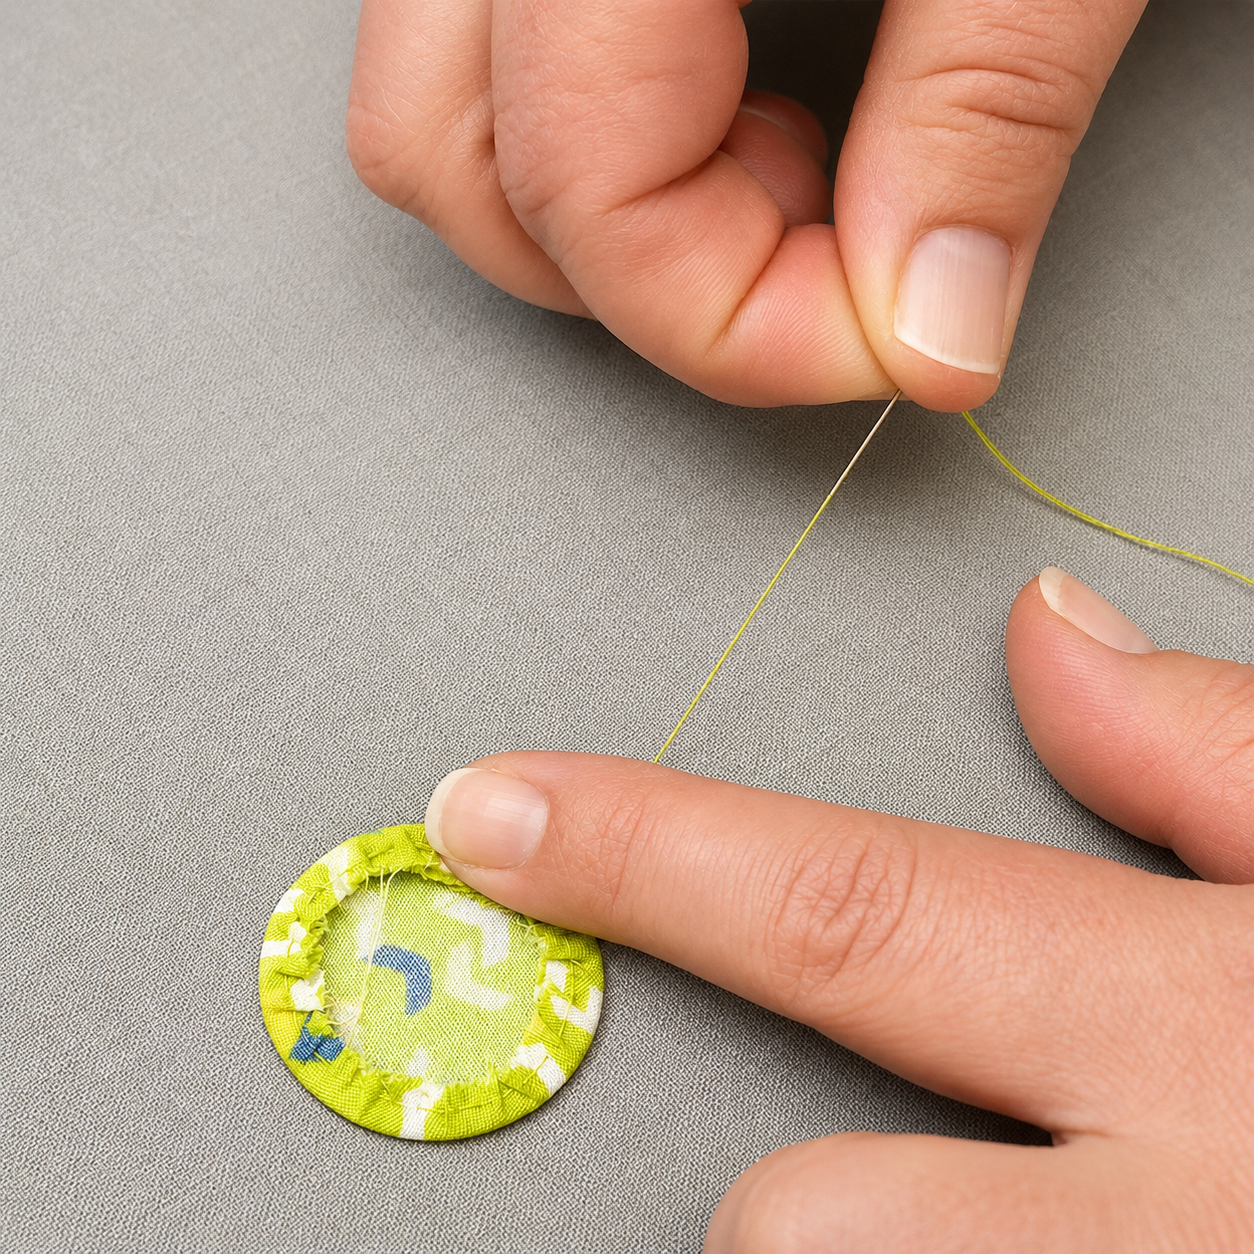
Gently pull on your thread to return the fabric to the circle shape.
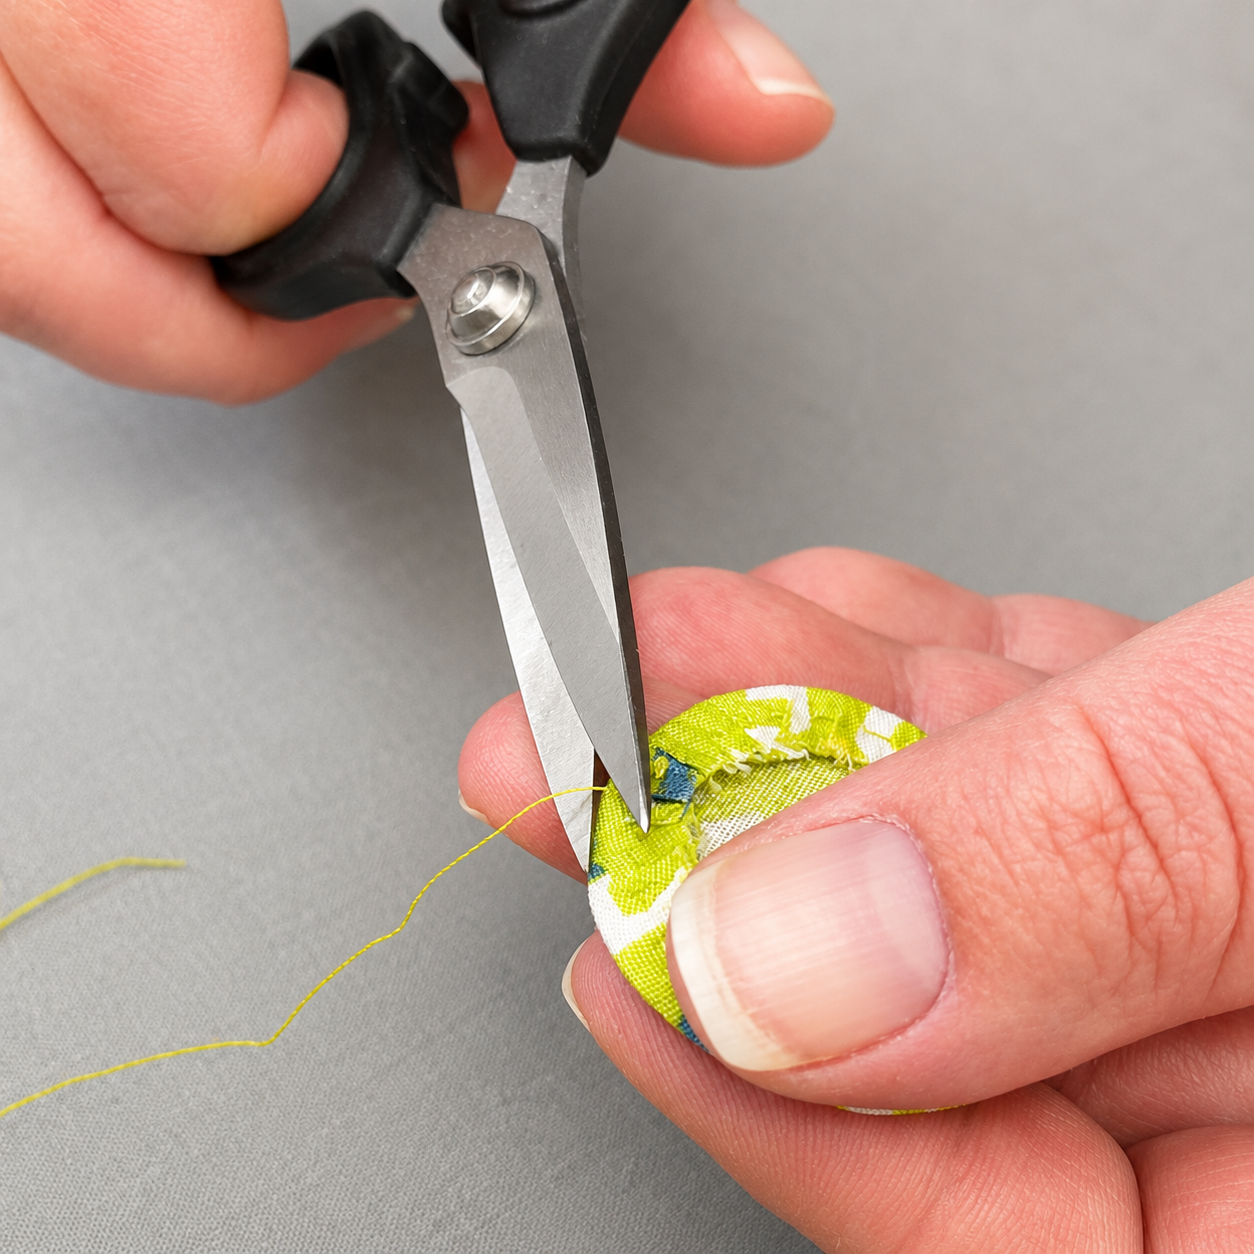
If you'll be appliquéing the circle down immediately, snip the thread end. If you're making them in preparation for a project, leave a thread end in case you would like to pull the circle a little tighter before attaching it.
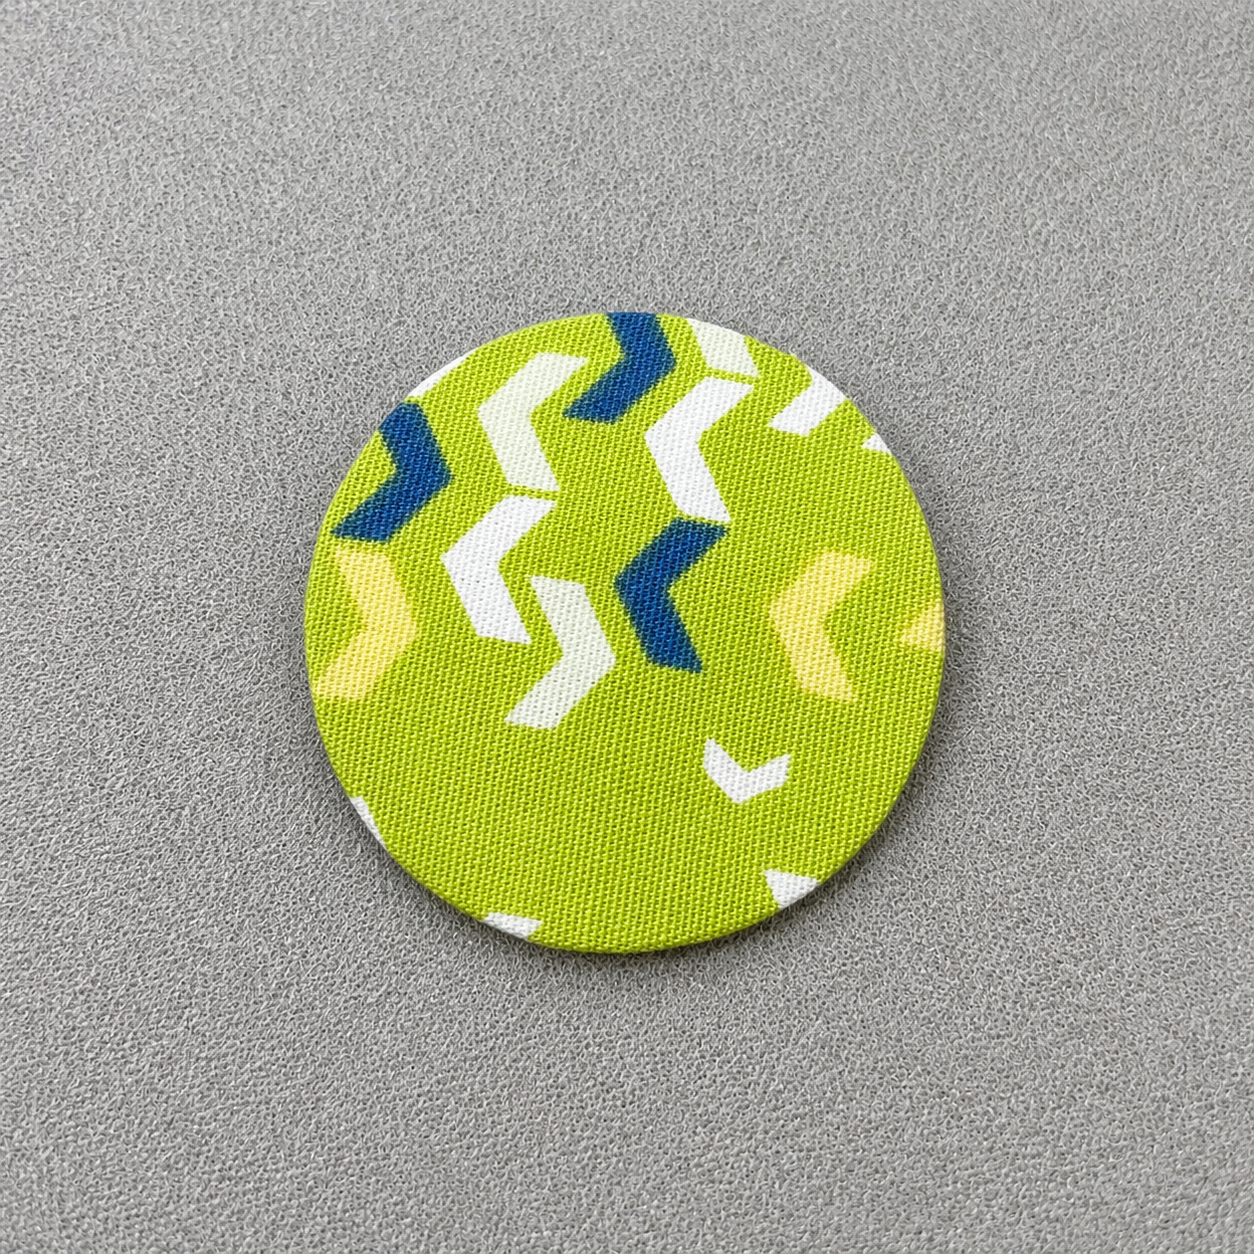
Now admire your perfect circle that's ready to be appliquéd onto your project!
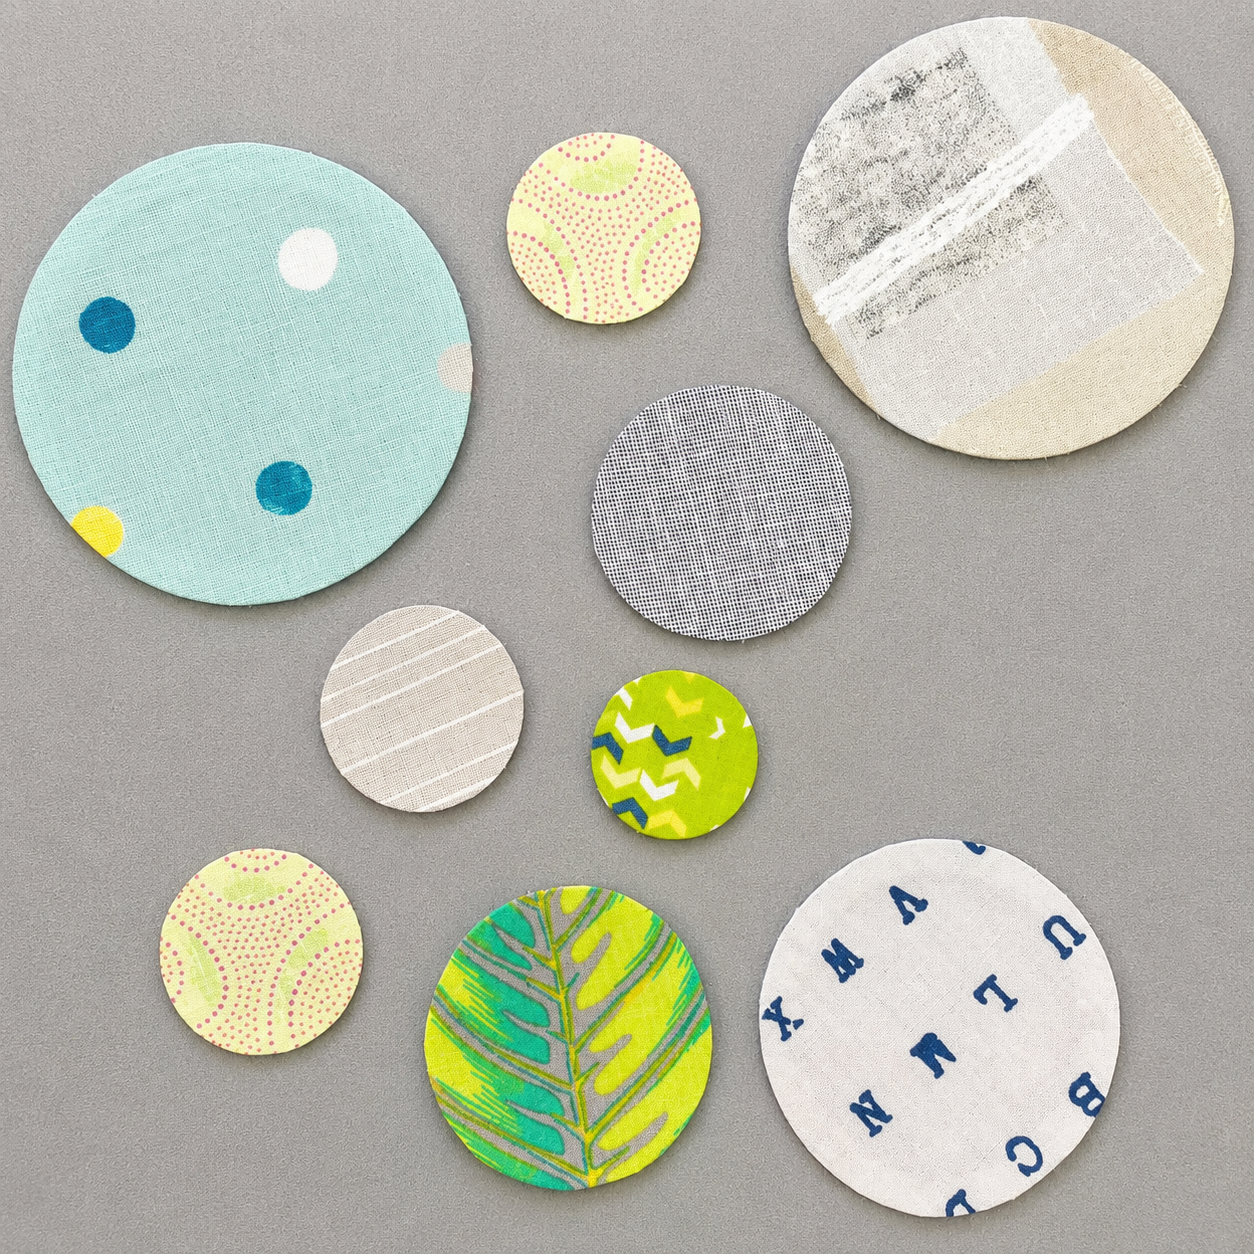
Experiment with different sizes and fabrics to make a perfectly unique circle every time!