In last week's Creative Classroom, we learned how to emboss velvet. This week we'll be showing you how to appliqué that velvet to your projects, adding amazing texture and dimension to your designs.
Due to the nature of velvet, it can be a little tricky to work with. We are going to show you how to prep and applique velvet, shape-dependent, as it will differ slightly for a circle vs. any other shape. This week we'll be focusing on circle appliqué, and next week we'll show you what to do differently for other shapes.
Supplies
- Velvet
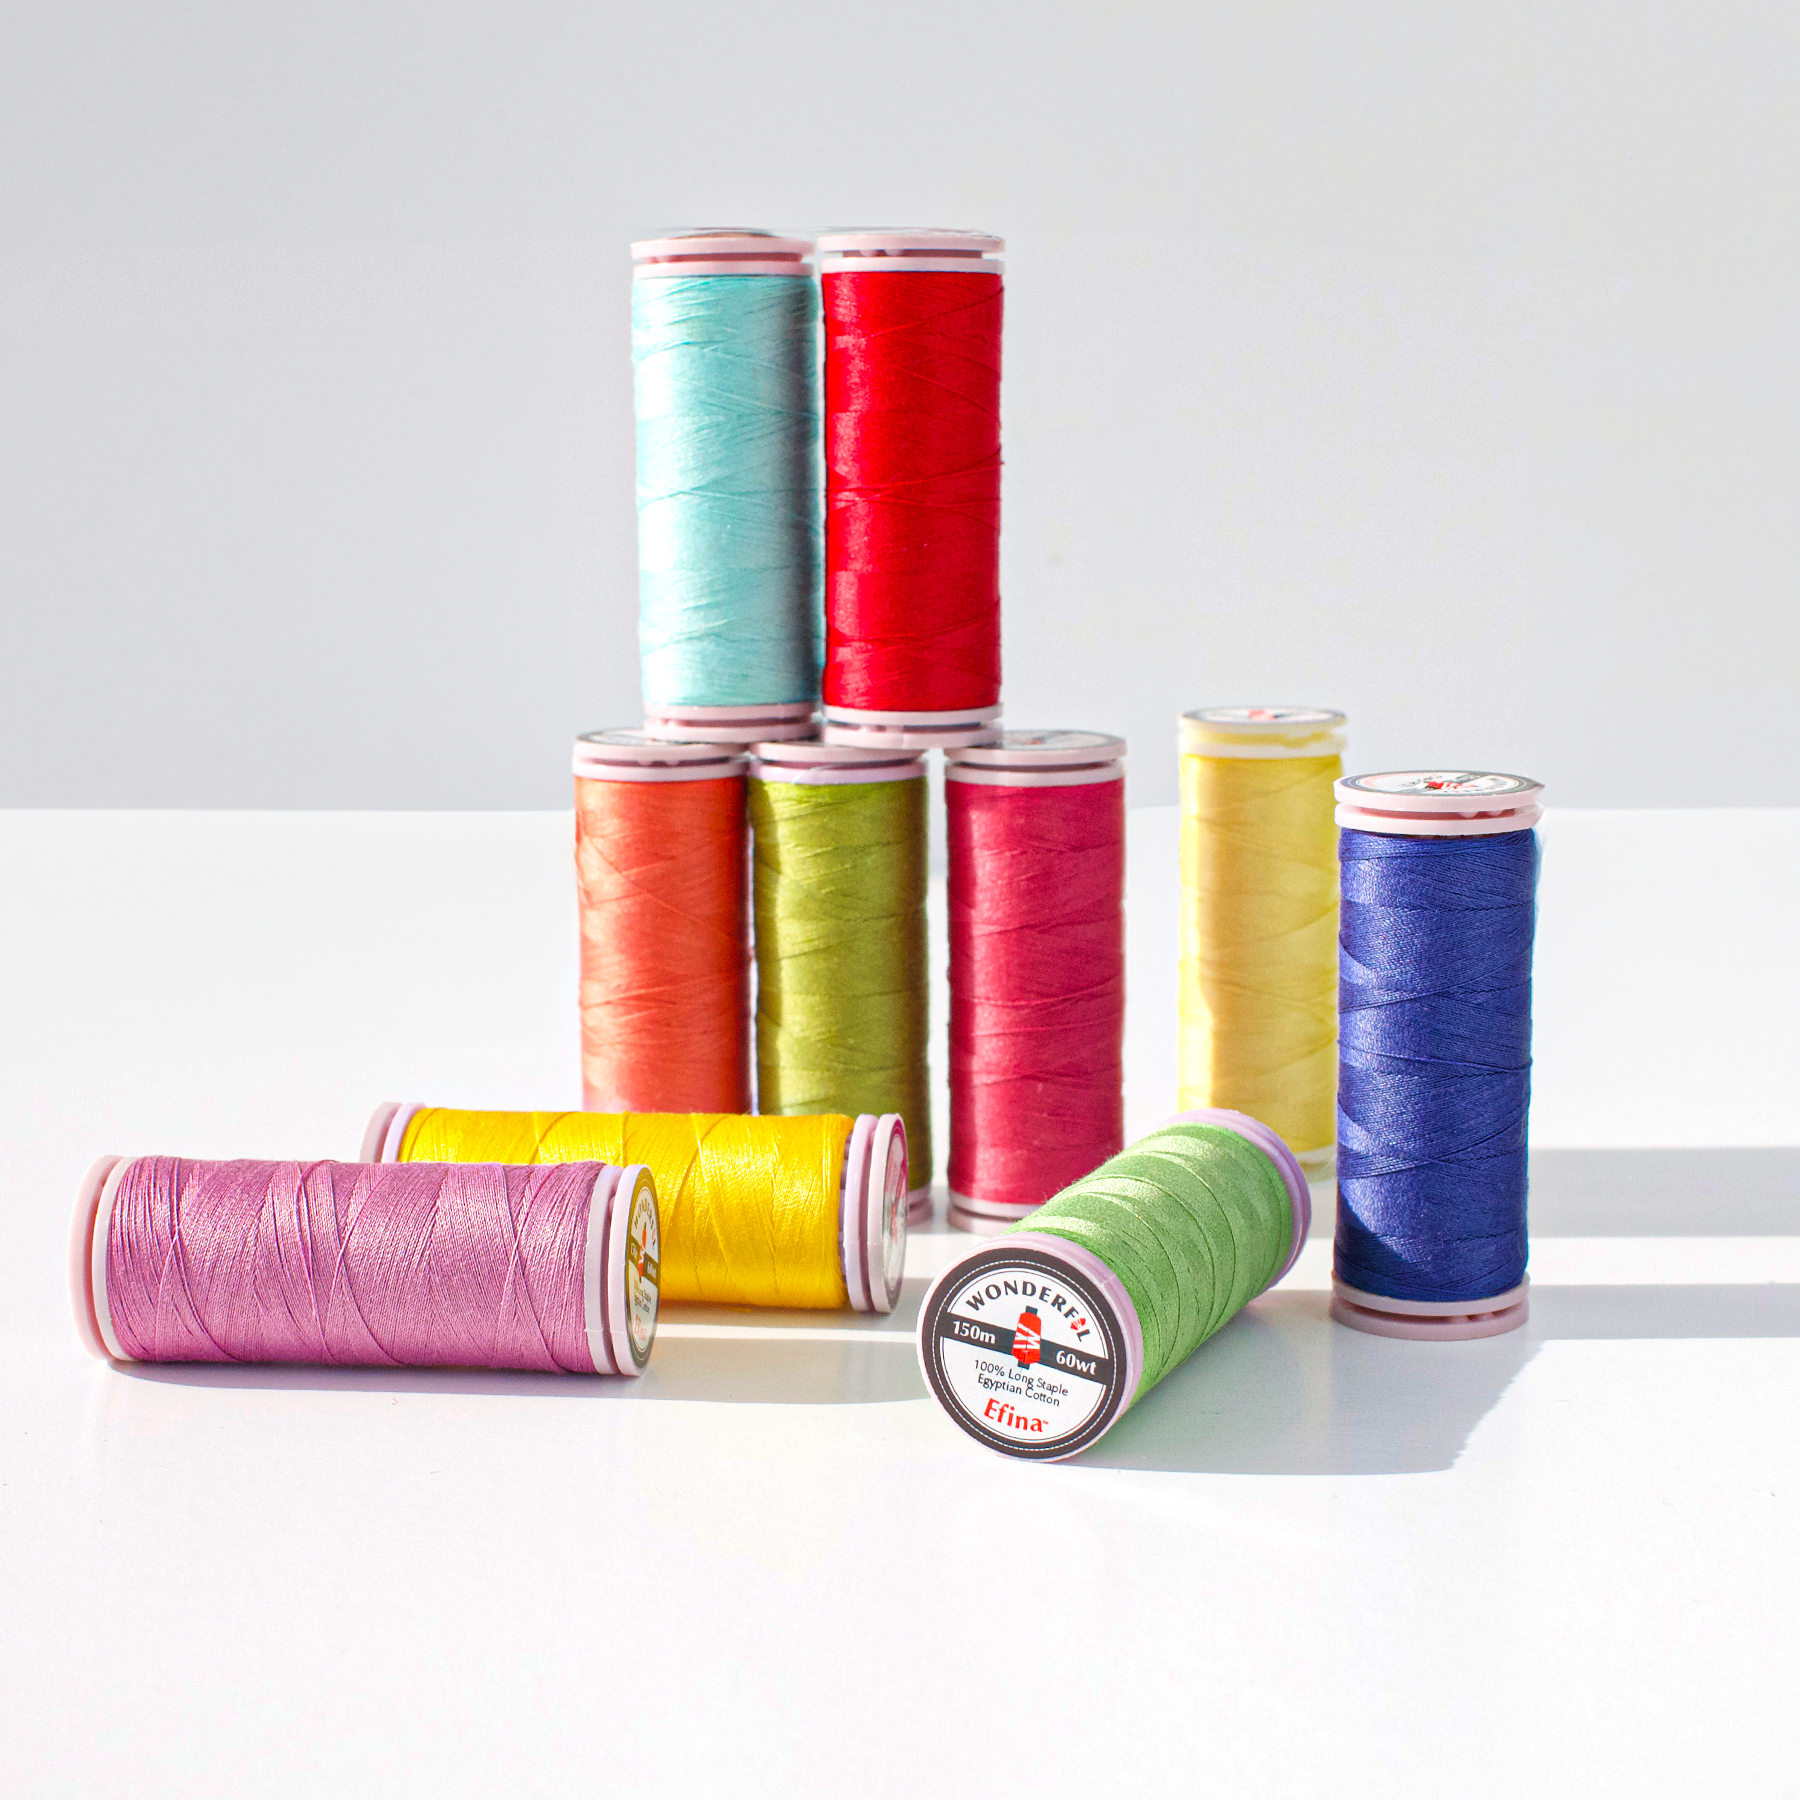
- Efina Cotton Thread
- For this example, we used Sea Spray (EF19) and Blue Iris (EF40). You'll want to choose one thread that matches your velvet and one thread that's in a contrasting color.
- Short Darner #11
- Tweezers
- Ironing Board or Pressing Mat
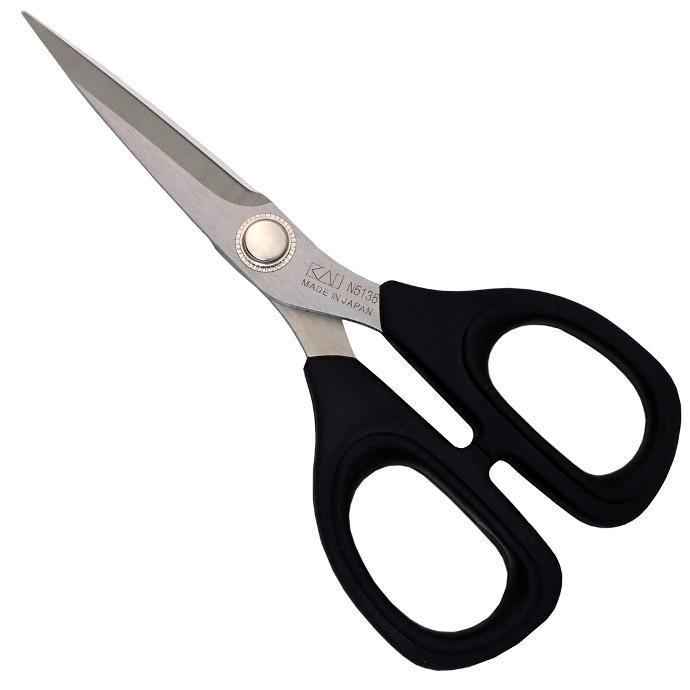
- Kai 5-1/2" Japanese Scissors
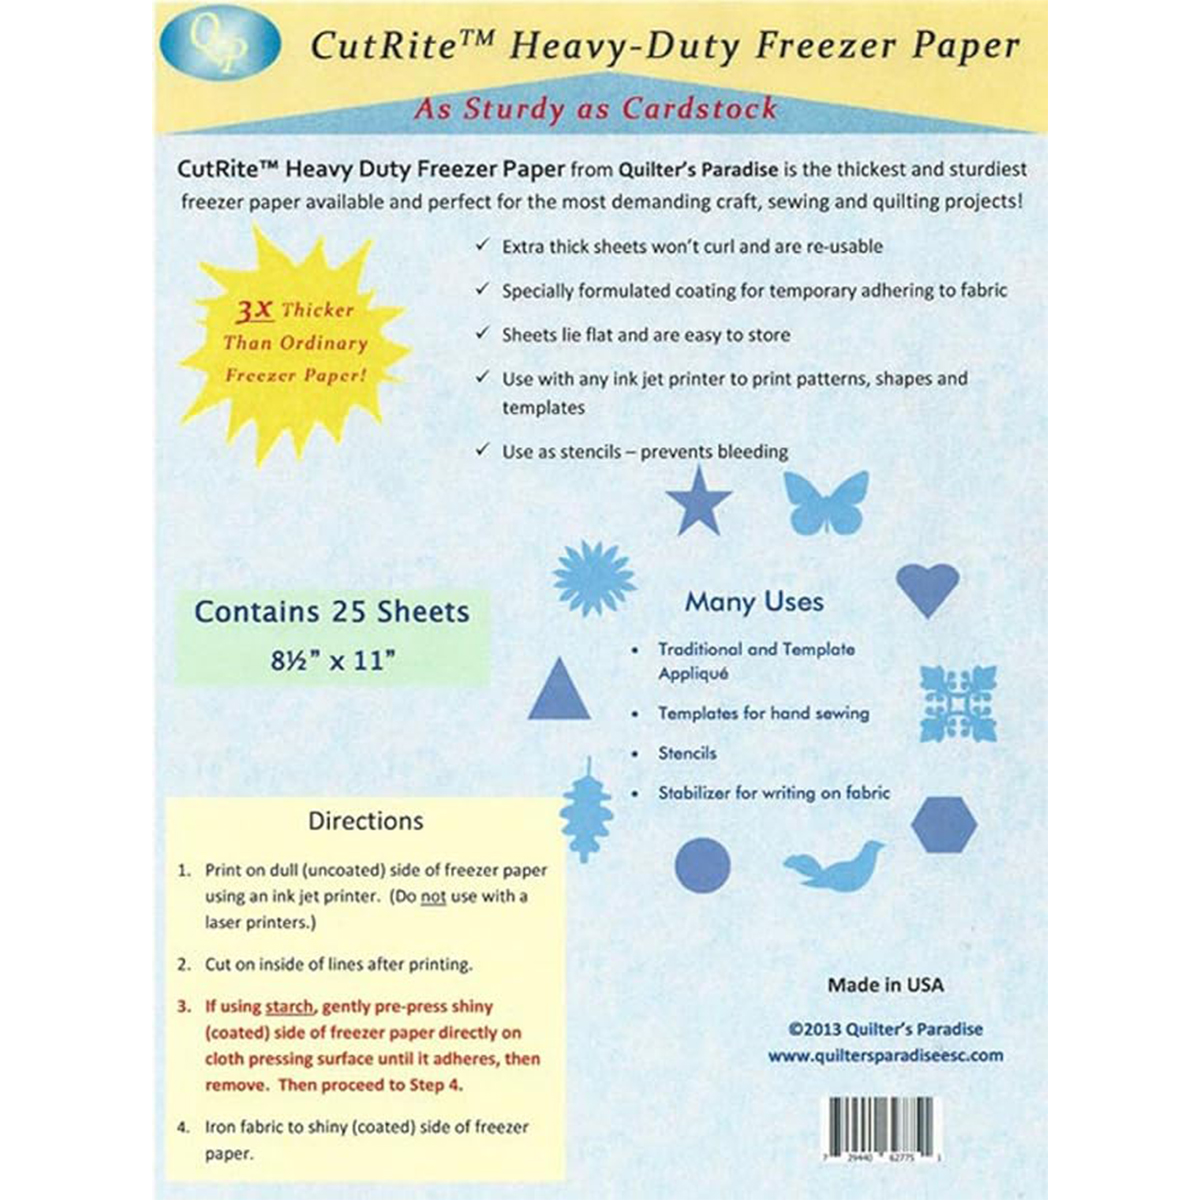
- Heavy Duty Freezer Paper
- Due to the thin and slippery texture of the velvet, Heavy Duty Freezer Paper will be the easiest to work with, but you can use regular Freezer Paper if you prefer.
- Reliable Maven Home 1L Iron Station
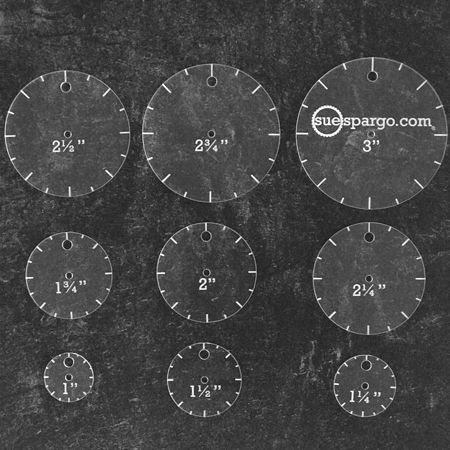
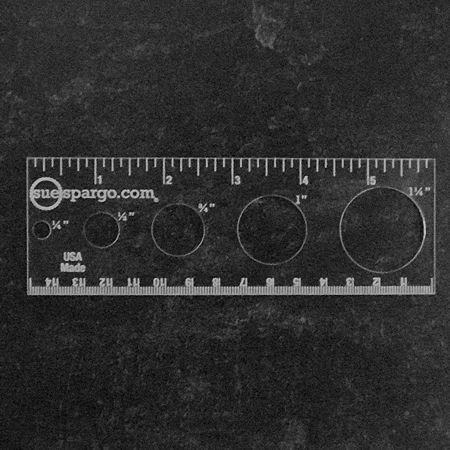
- Circle Templates
- Circles Easy or the Circle Ruler
- Pencil
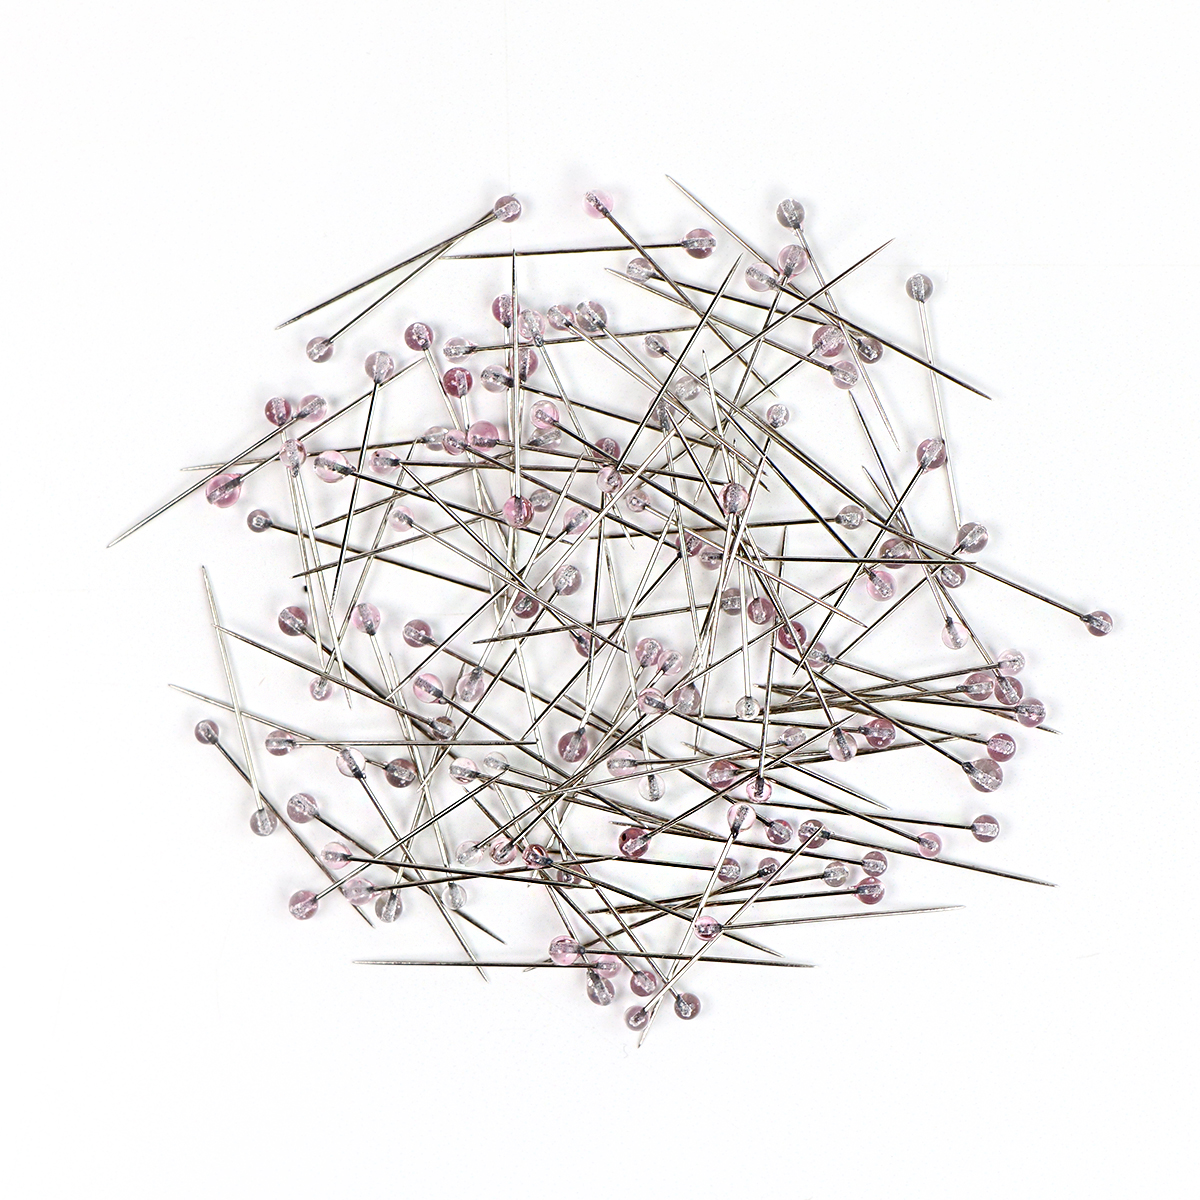
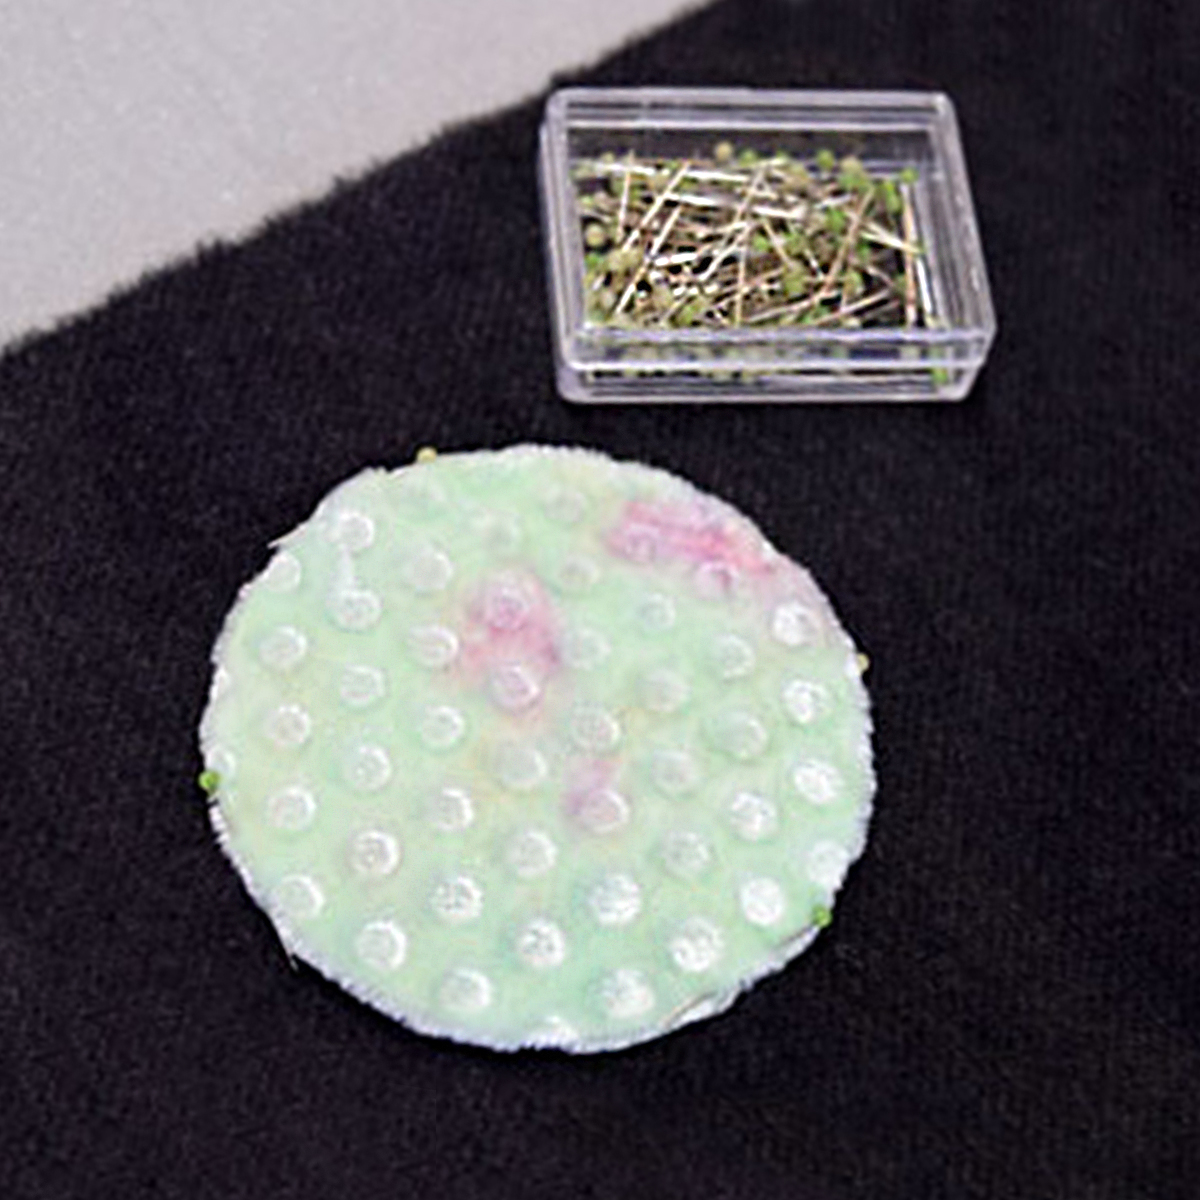
- Applique Pins
- We love the Little House Applique Pins for working with velvet because they're very thin, but not so thin that they don't hold your velvet in place. And did we mention they have an extra, sharp point!
- Hold It Precision Stiletto Tool
- Any project you want to attach the velvet to
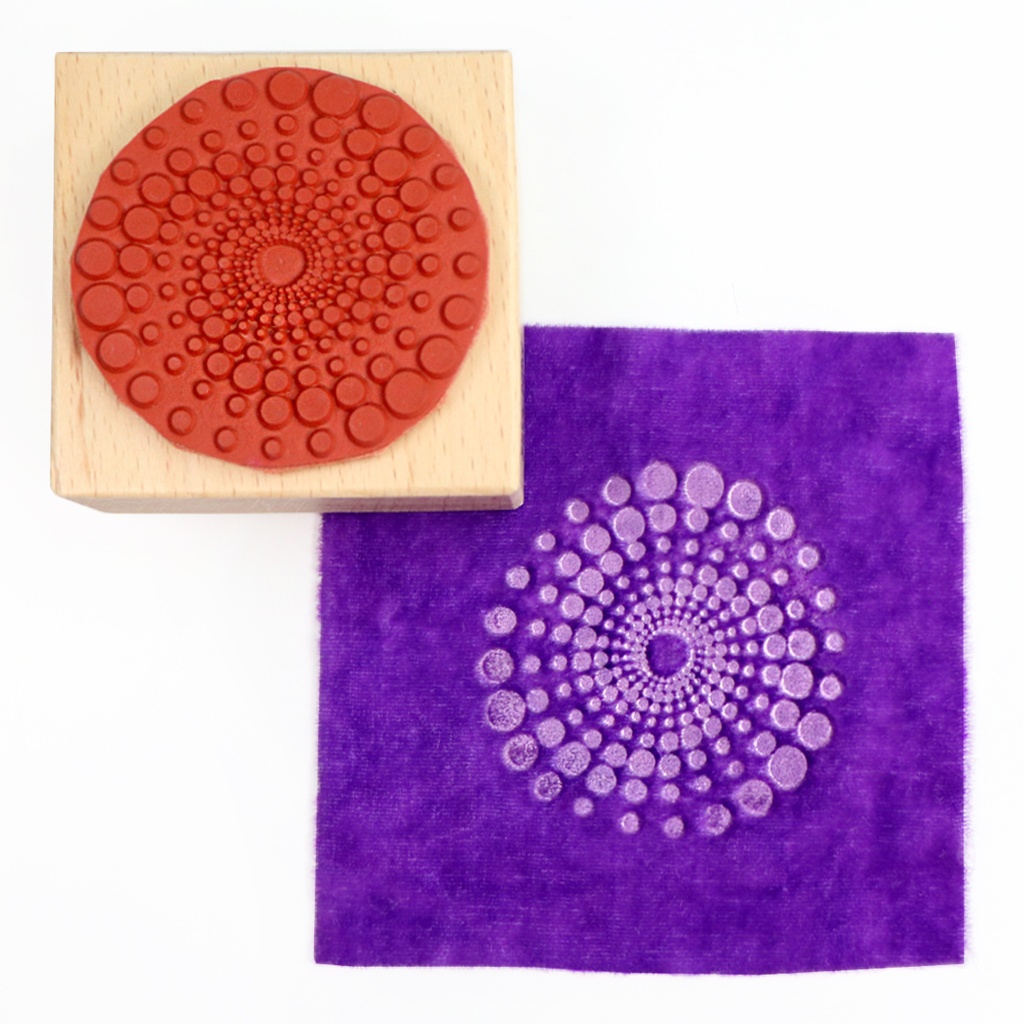
For embossing the velvet, you'll also want to have an 8ml Spray Bottle and a Rubber Stamp handy.
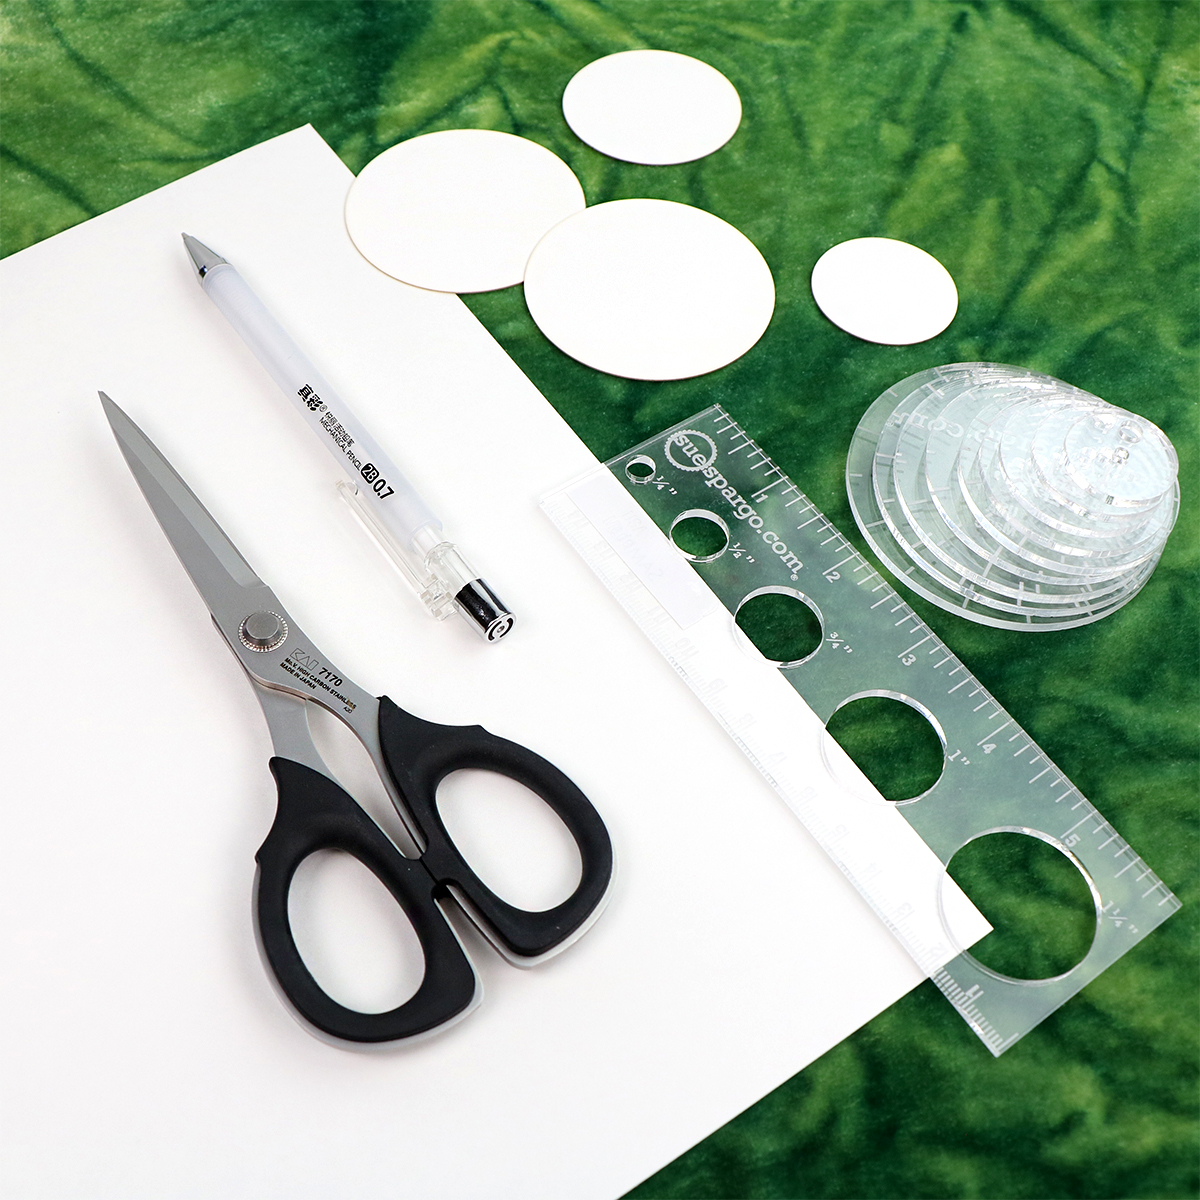
The first thing you're going to do is make your template out of Heavy Duty Freezer Paper. With the Circle Easy Templates or the Circle Ruler, you'll get a perfect circle traced every time! Once you've traced the circle, cut out your shape along the pencil line.
TIP: If you're embossing your velvet, now is the time!
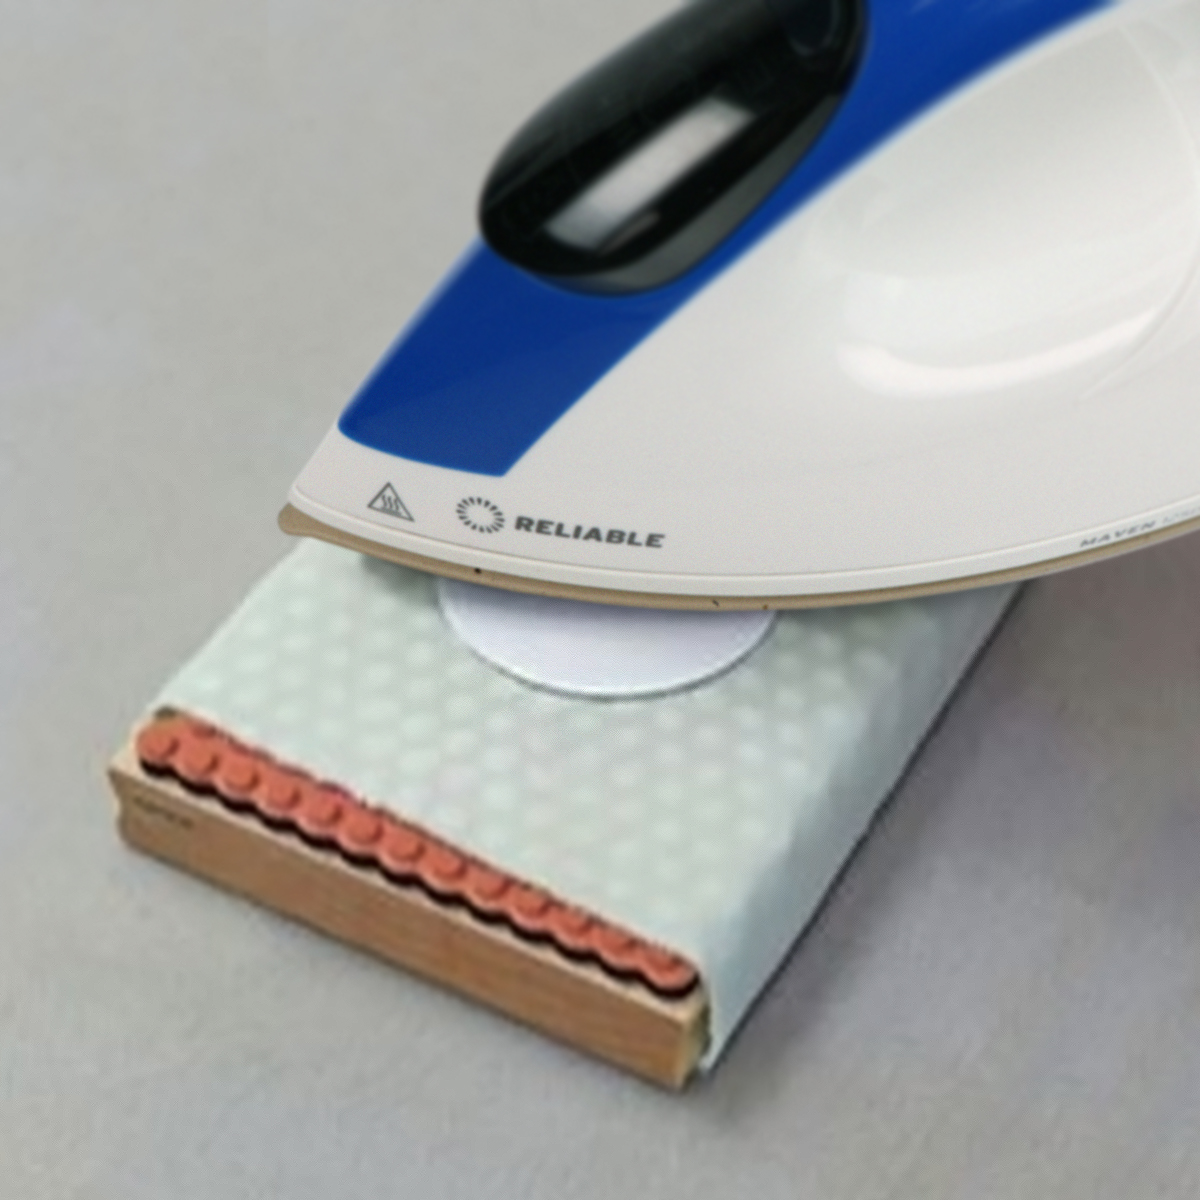
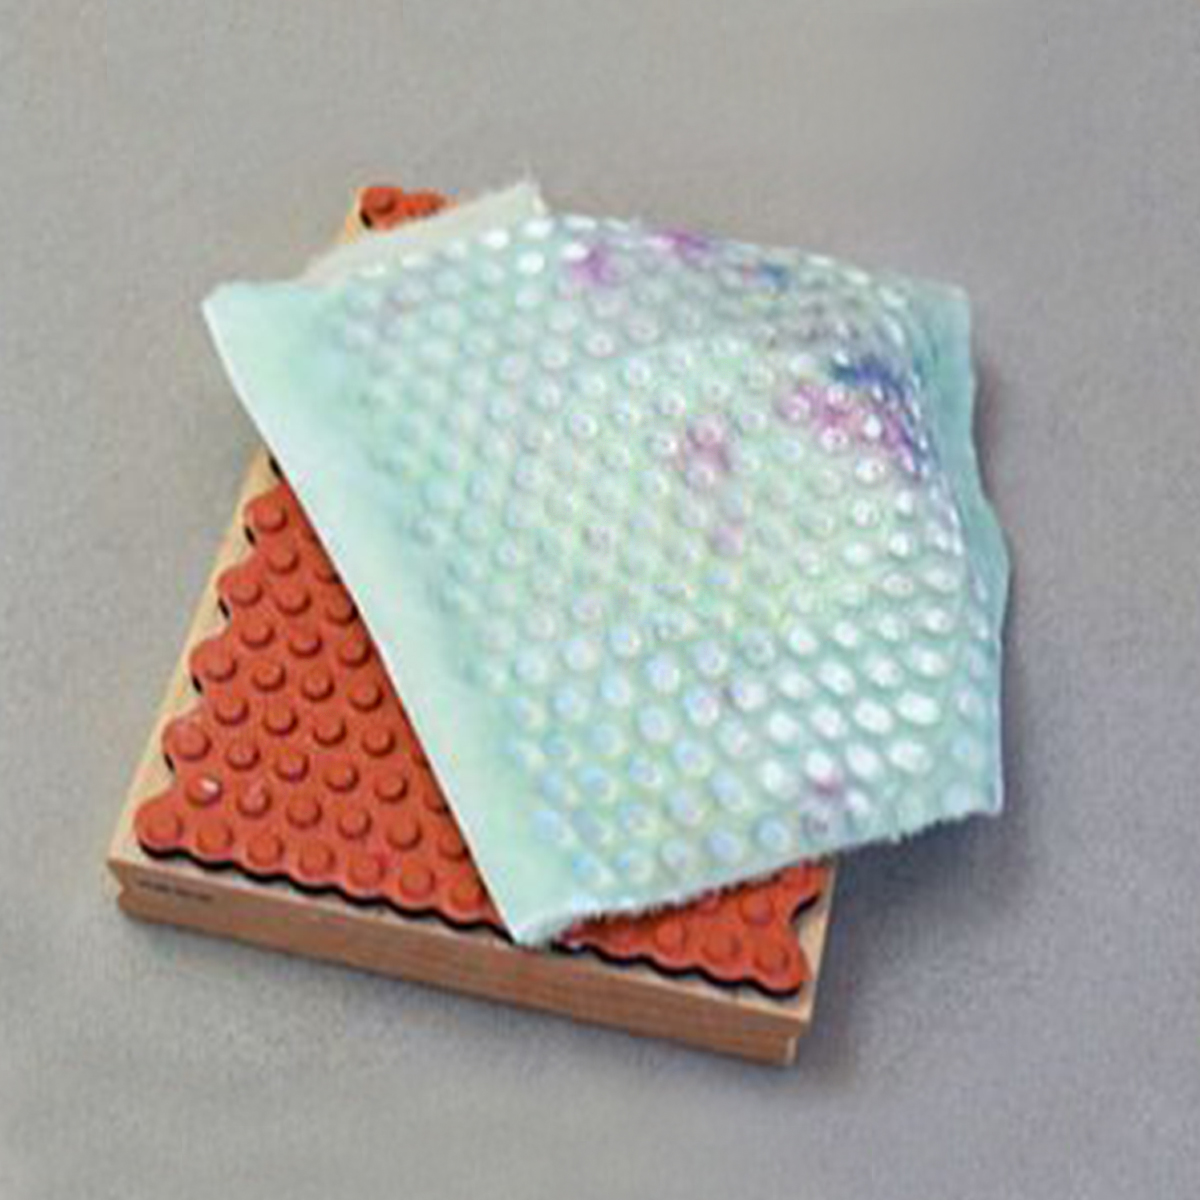
Once you can see your embossed design on the back side of the velvet, leave the velvet on top of the stamp and place your freezer paper circle on the velvet, with the shiny side down. Press the freezer paper with a dry iron until it's adhered to the velvet.
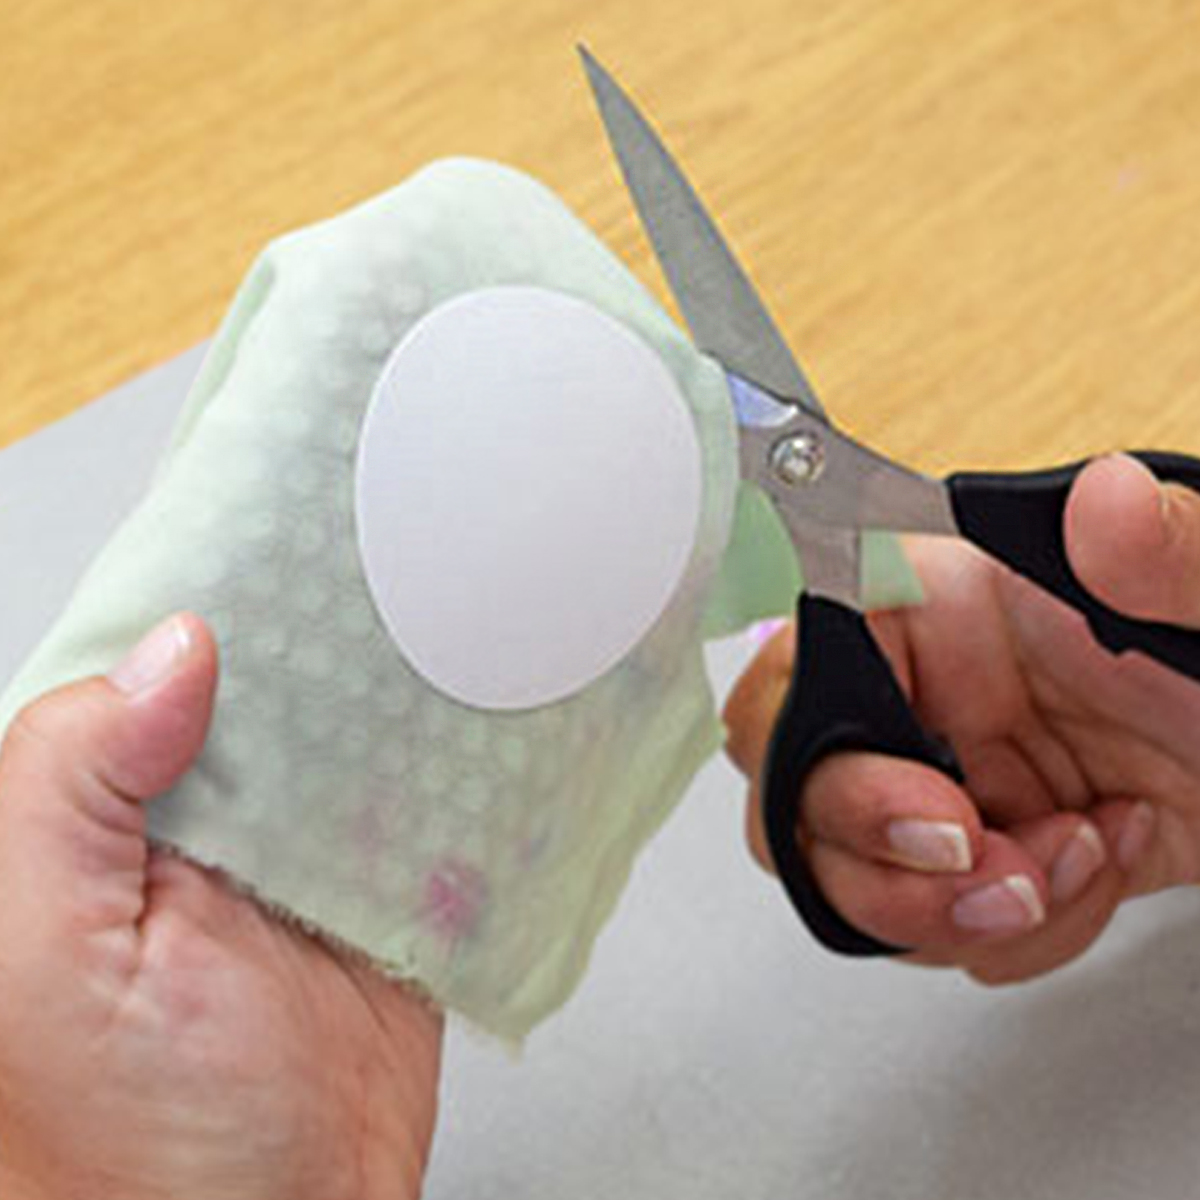
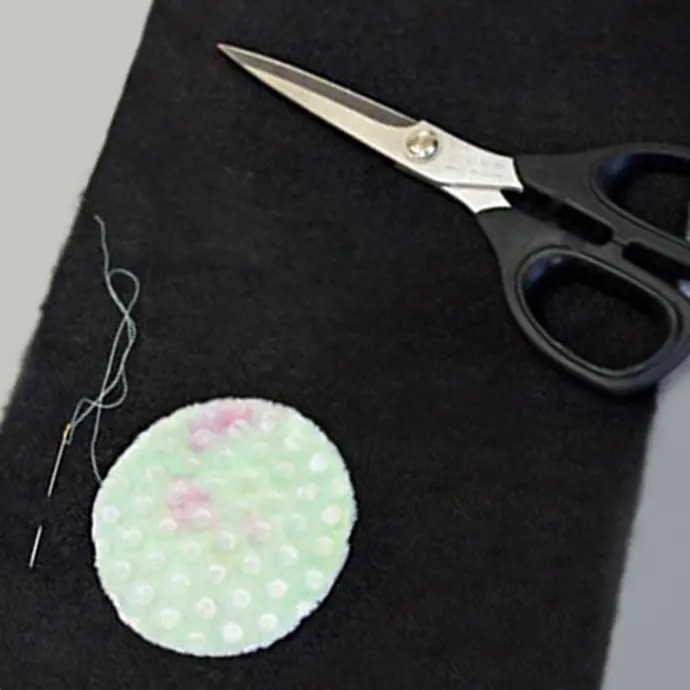
After removing the velvet from the stamp, cut out around your freezer paper circle, giving yourself a generous 1/4" around the edge of the circle.
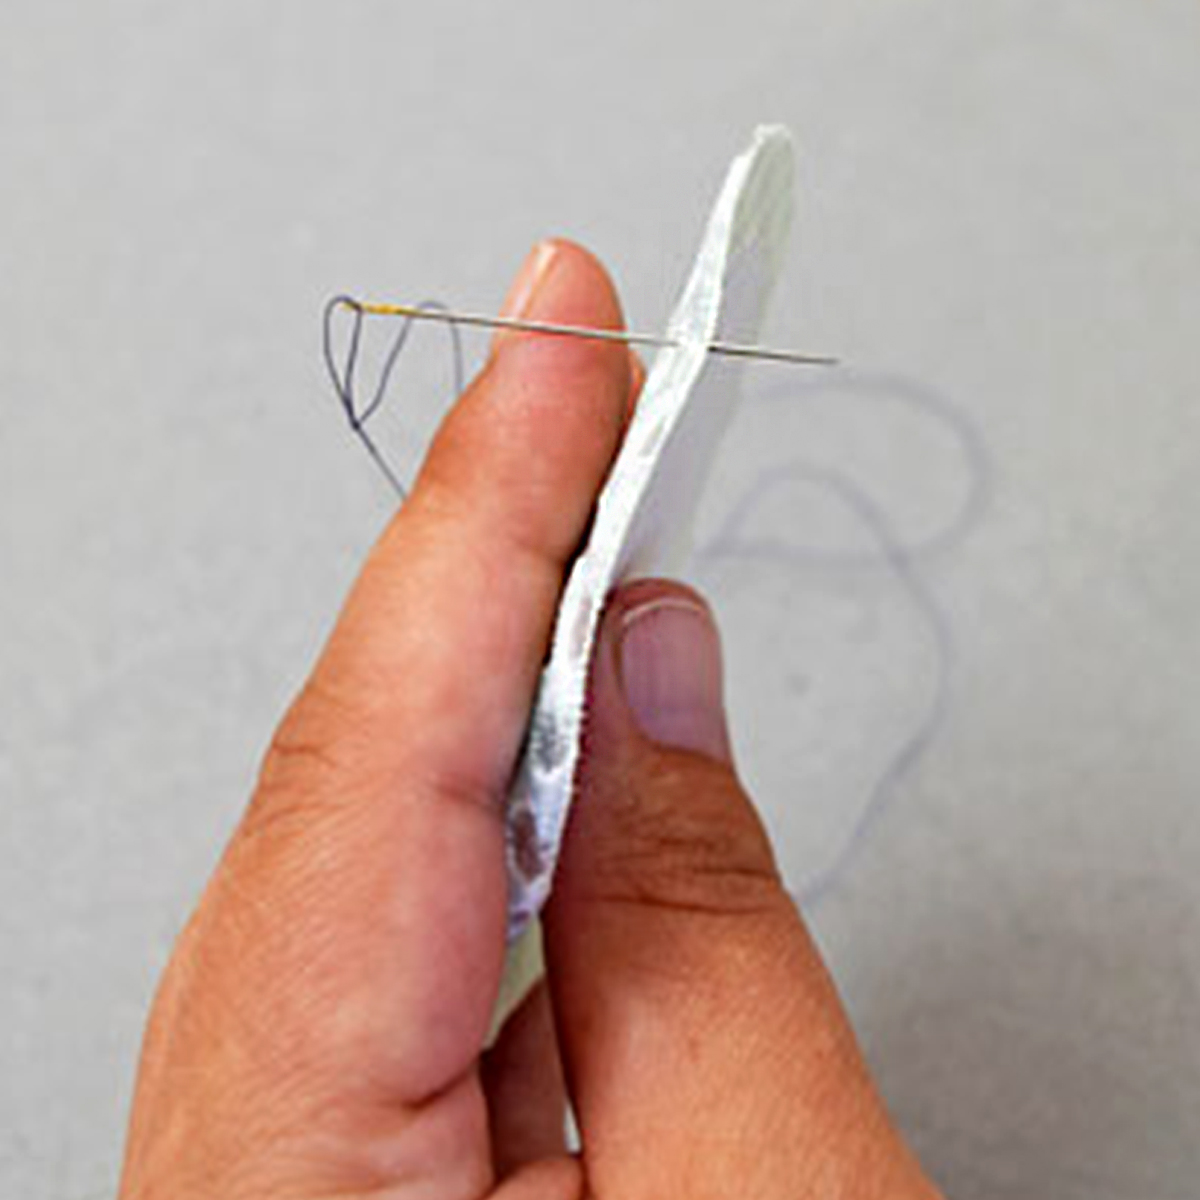
Now, it's time to start stitching around the freezer paper circle through the middle of the 1/4" seam allowance. Using the contrasting color of Efina Cotton Thread and a Short Darner Needle #11, start with your knot on the front side of the velvet and bring the needle through to the backside.
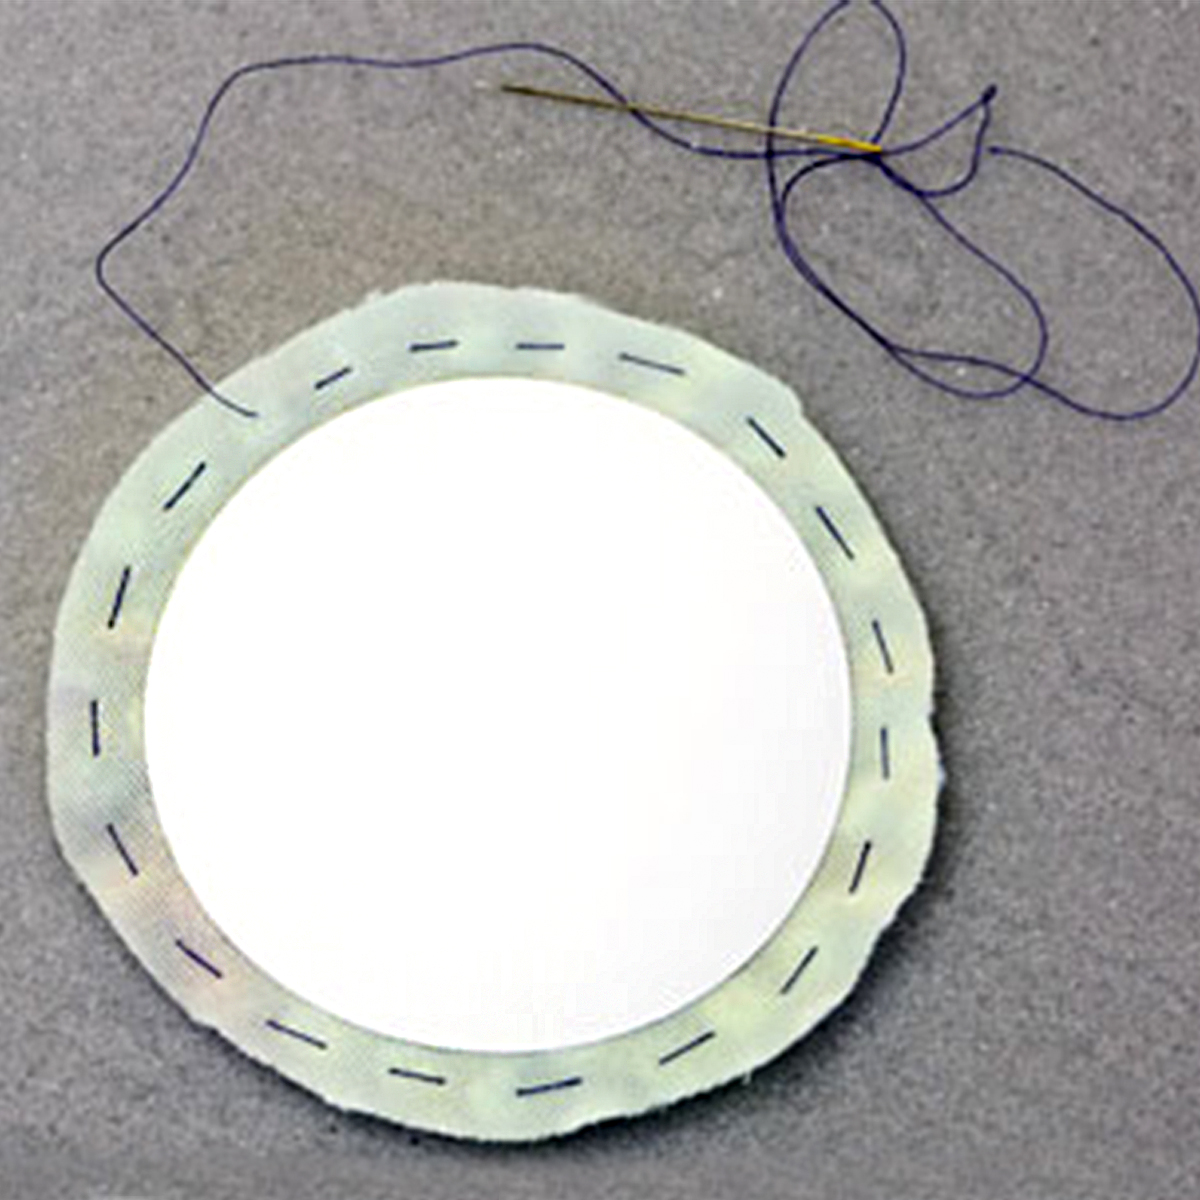
Stitch a Running Stitch around the circle.
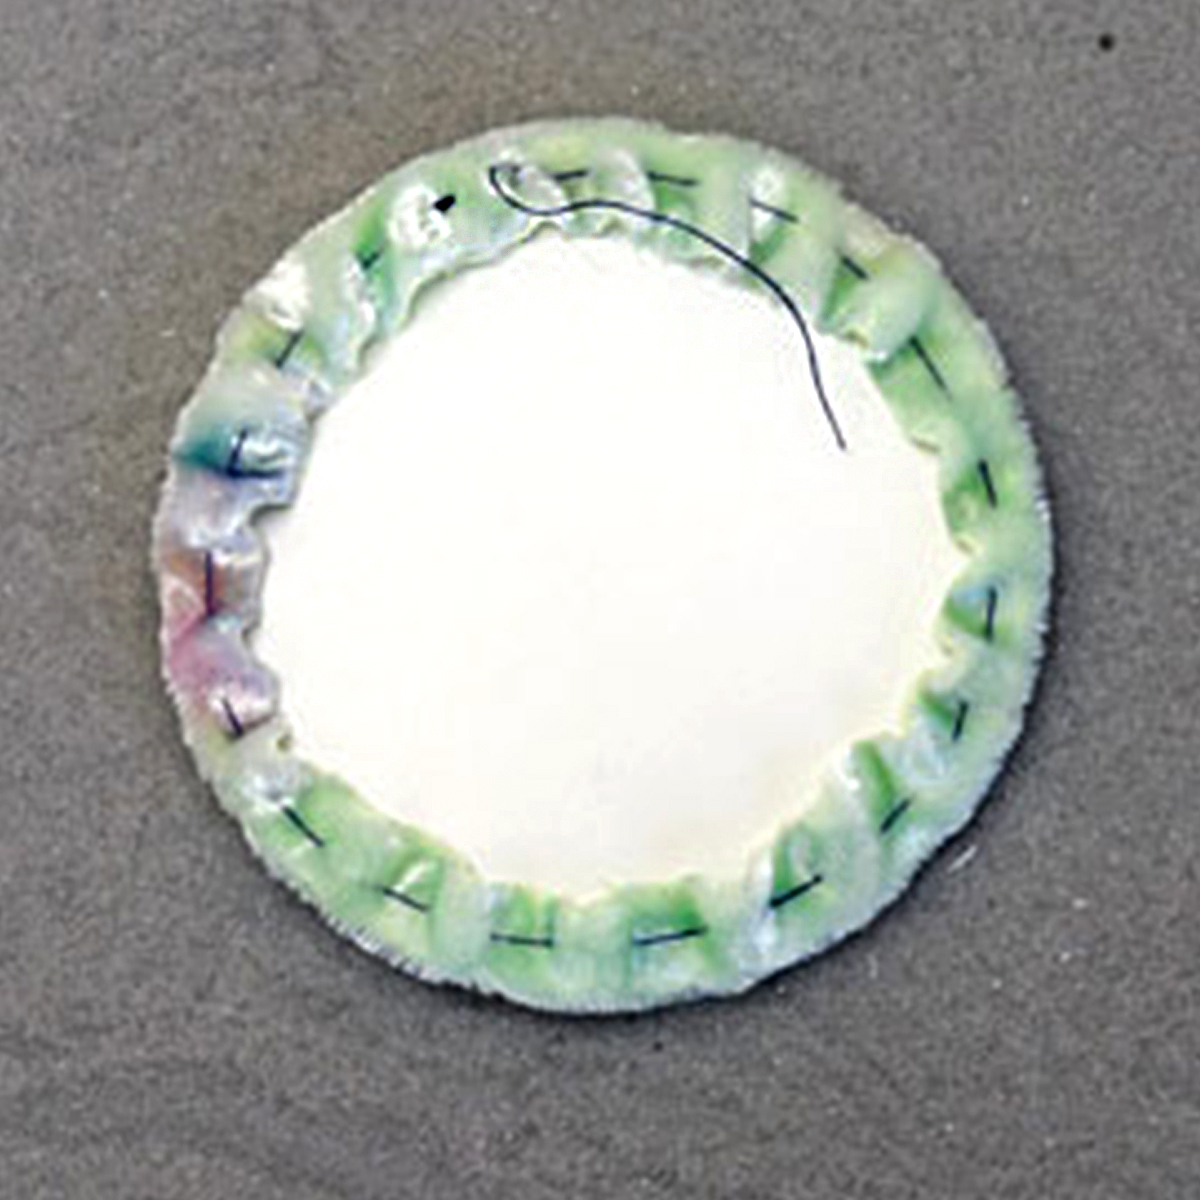
Once you've completed your running stitch, pull the thread, molding the velvet around your template.
TIP: If your Running Stitch needs to be a little more secure, once your velvet is molded around your template, bring the needle to the front of your seam allowance next to your knot and secure with a few small backstitches.
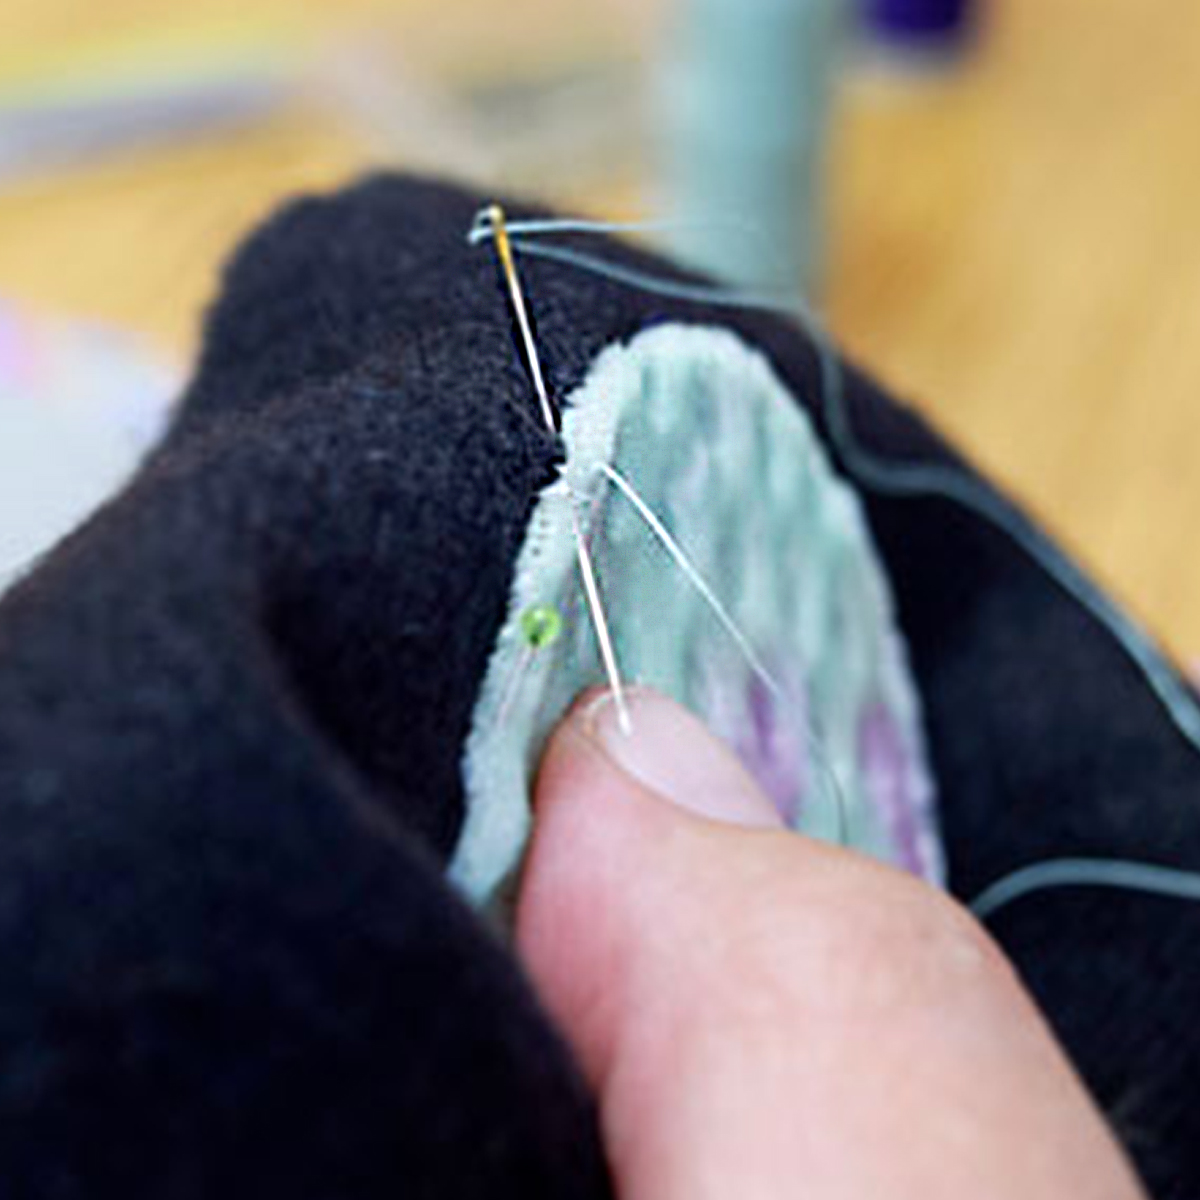
Pin your velvet circle to your project. Velvet is fragile, so be mindful of your pin placement, as they will leave holes. This is why we pin as close to the edge as possible, with four really thin pins!
Applique the circle to your project with a whipstitch, starting to the left of your knot, using your #11 Short Darner and matching Efina thread. Make sure to stitch as close to the edge as possible to prevent stitching through the freezer paper.
If you do stitch the freezer paper, it's not the end of the world; it may just be a little harder to wiggle it out later.
Continue the whipstitch all the way around the circle, leaving about 3/4" open at the end.
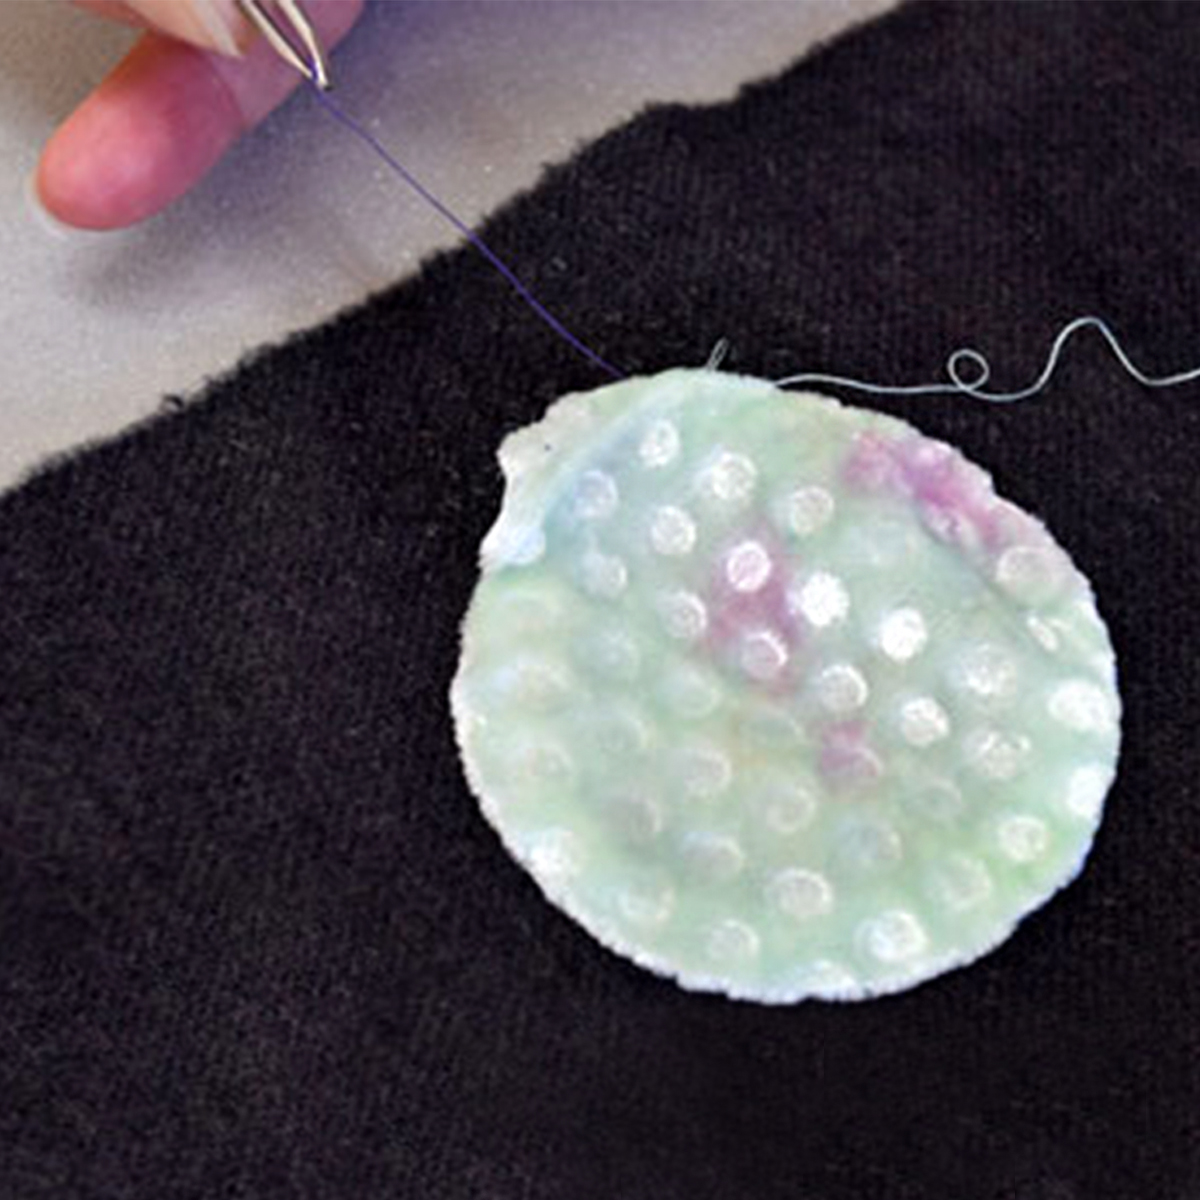
Use your tweezers and grab the knot you made in the contrasting color of Efina. Pull gently; this should pull out the running stitch.
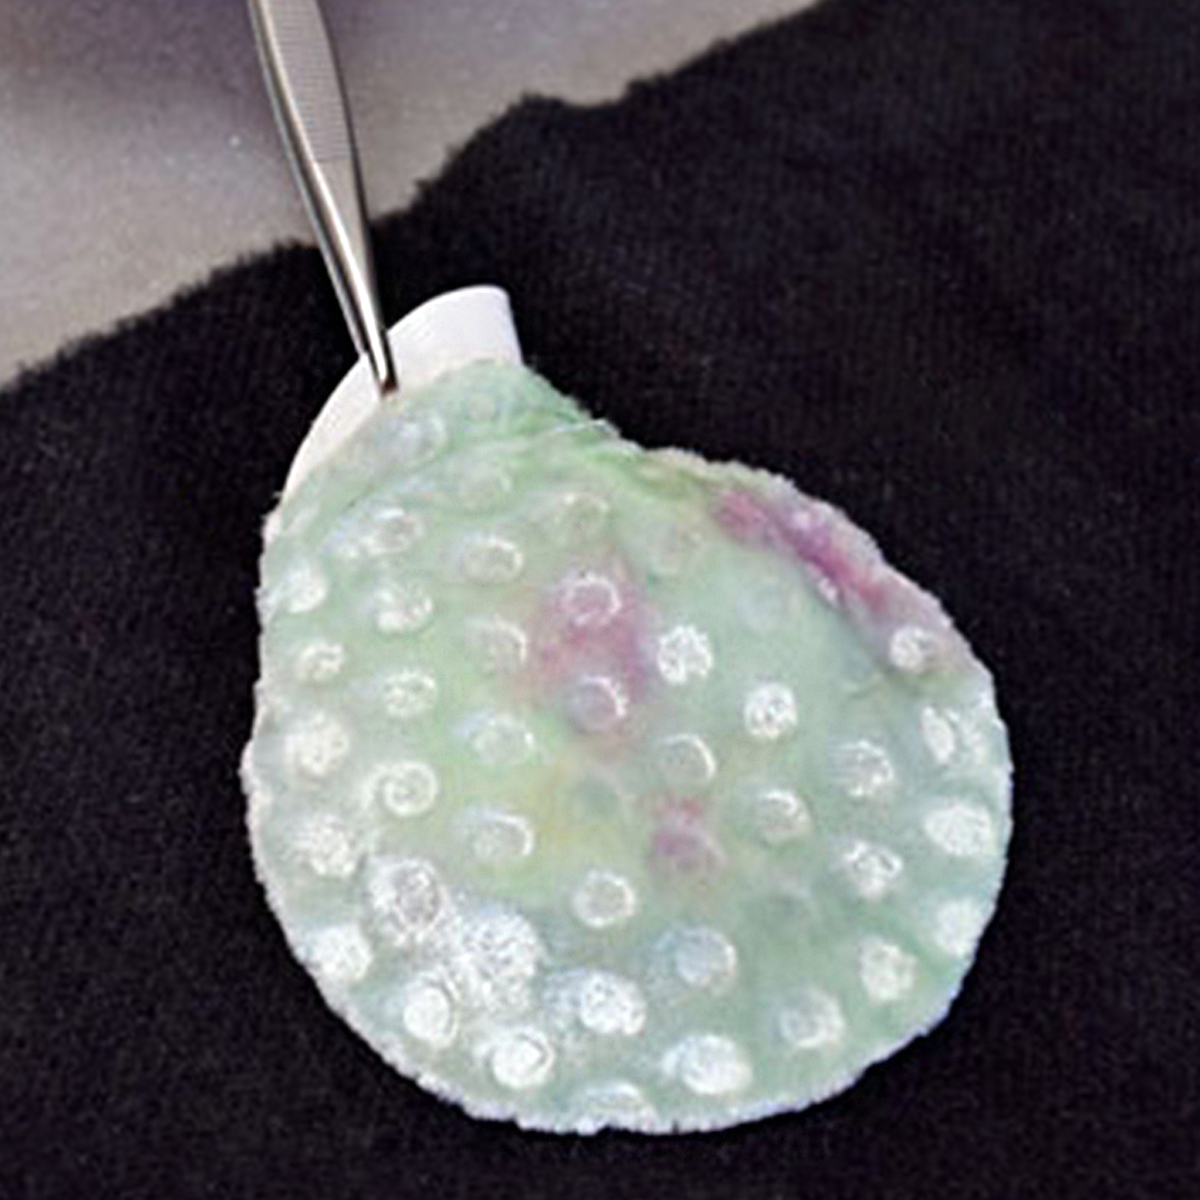
Now, use your tweezers to pull the freezer paper out.
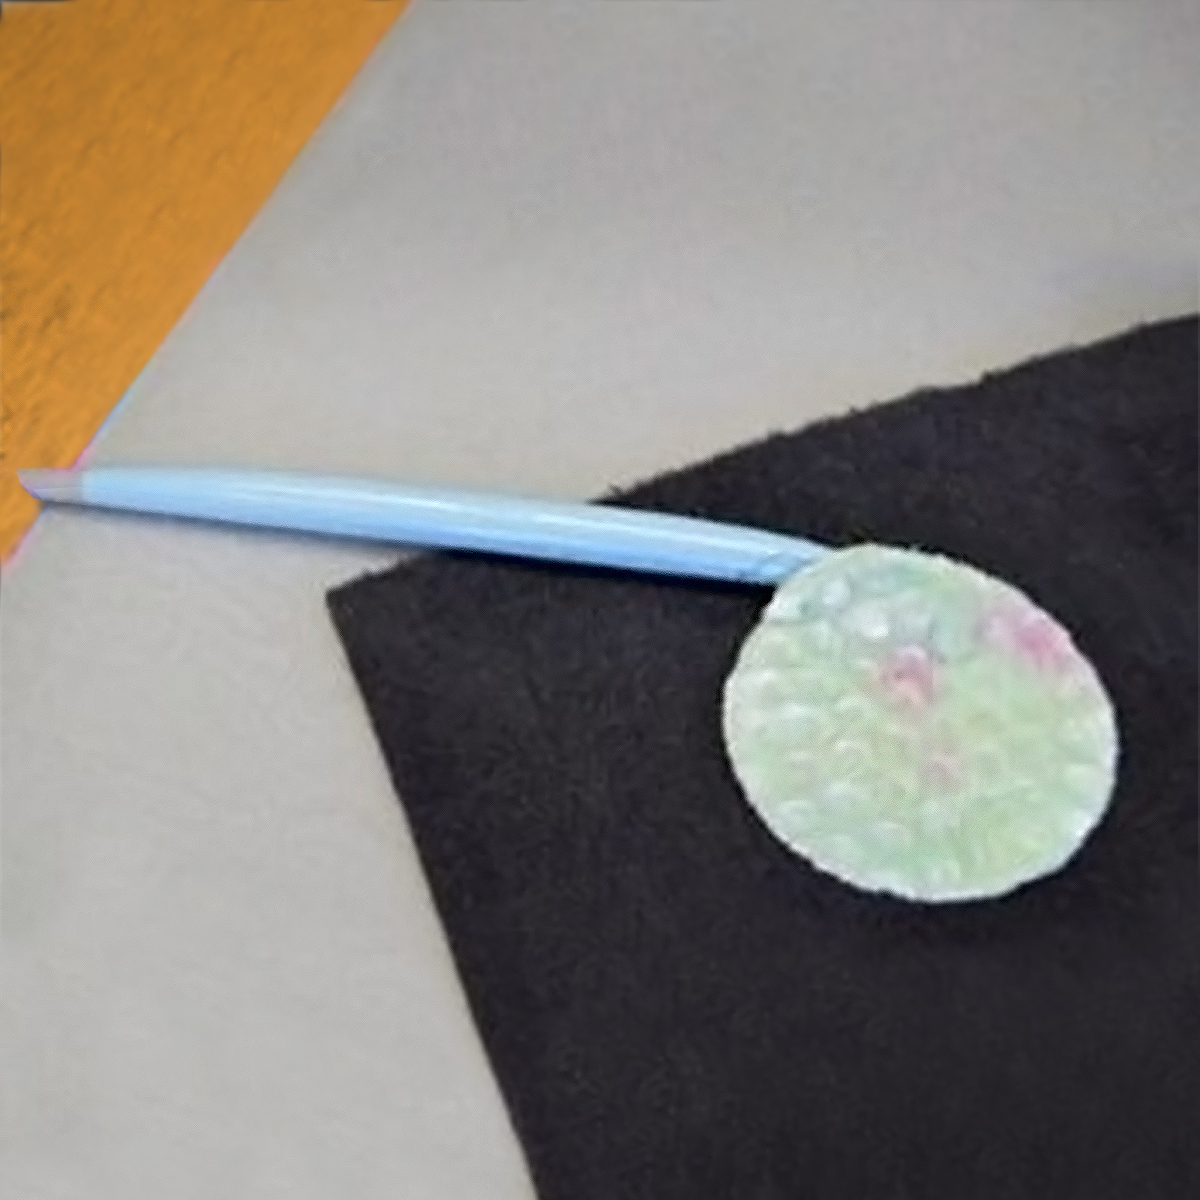
TIP: If you're having trouble getting your freezer paper out, insert the pointed end of your Hold It Precision Stiletto Tool between the velvet and freezer paper and move it around inside; this will help gently detach the paper from the velvet.
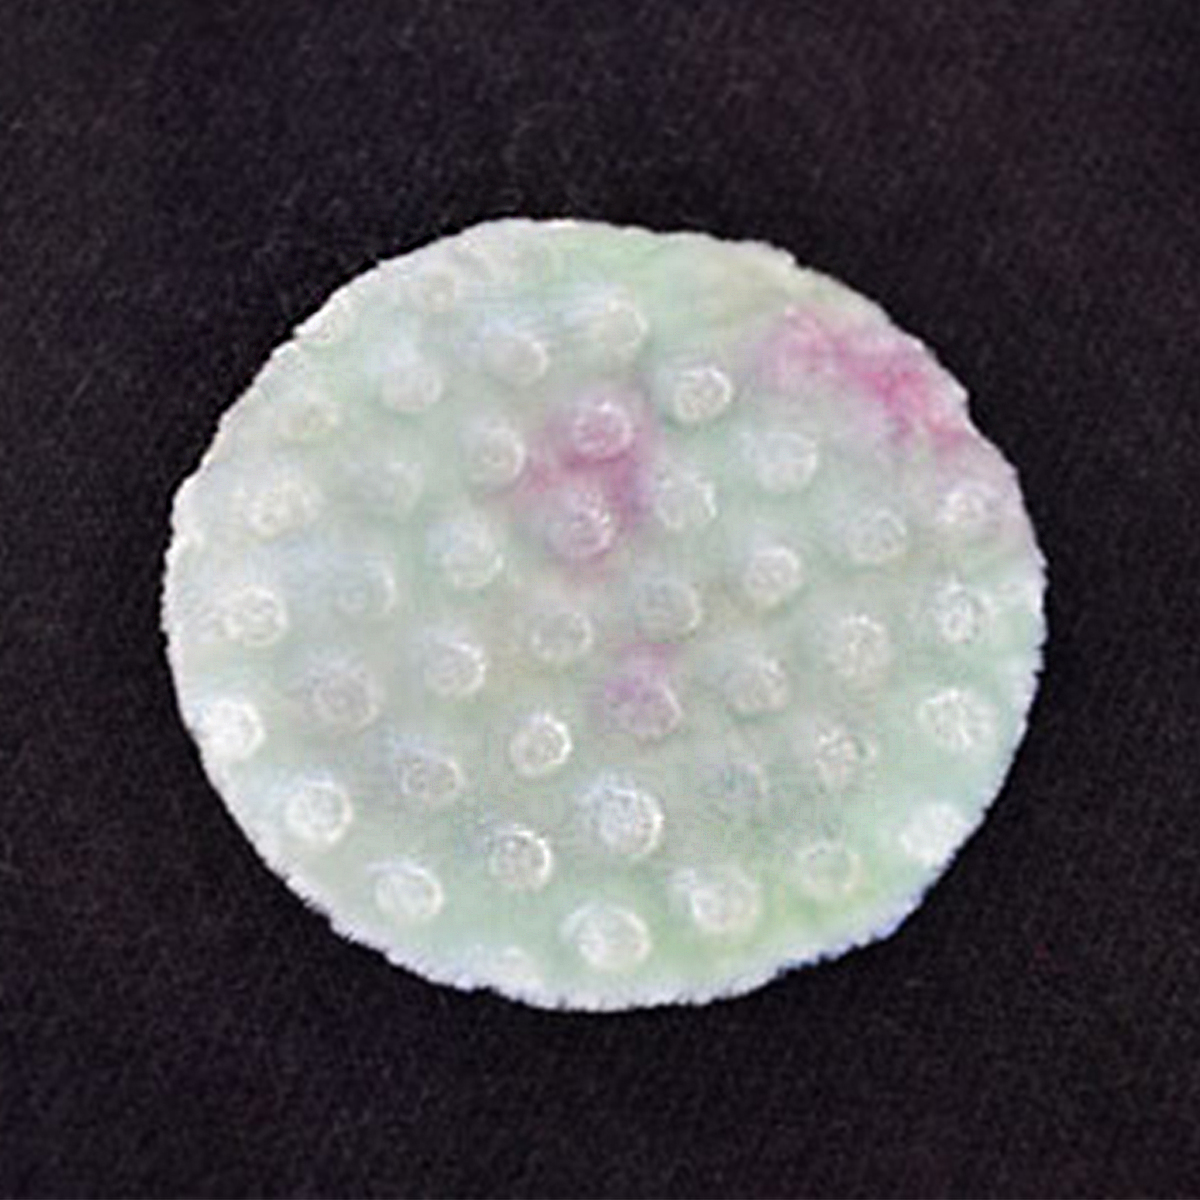
Lastly, turn the excess velvet under and stitch the opening closed. Ta-Da! You have a cute little embossed velvet circle on your project. Now you can embellish and embroider it however you please and really make it your own!
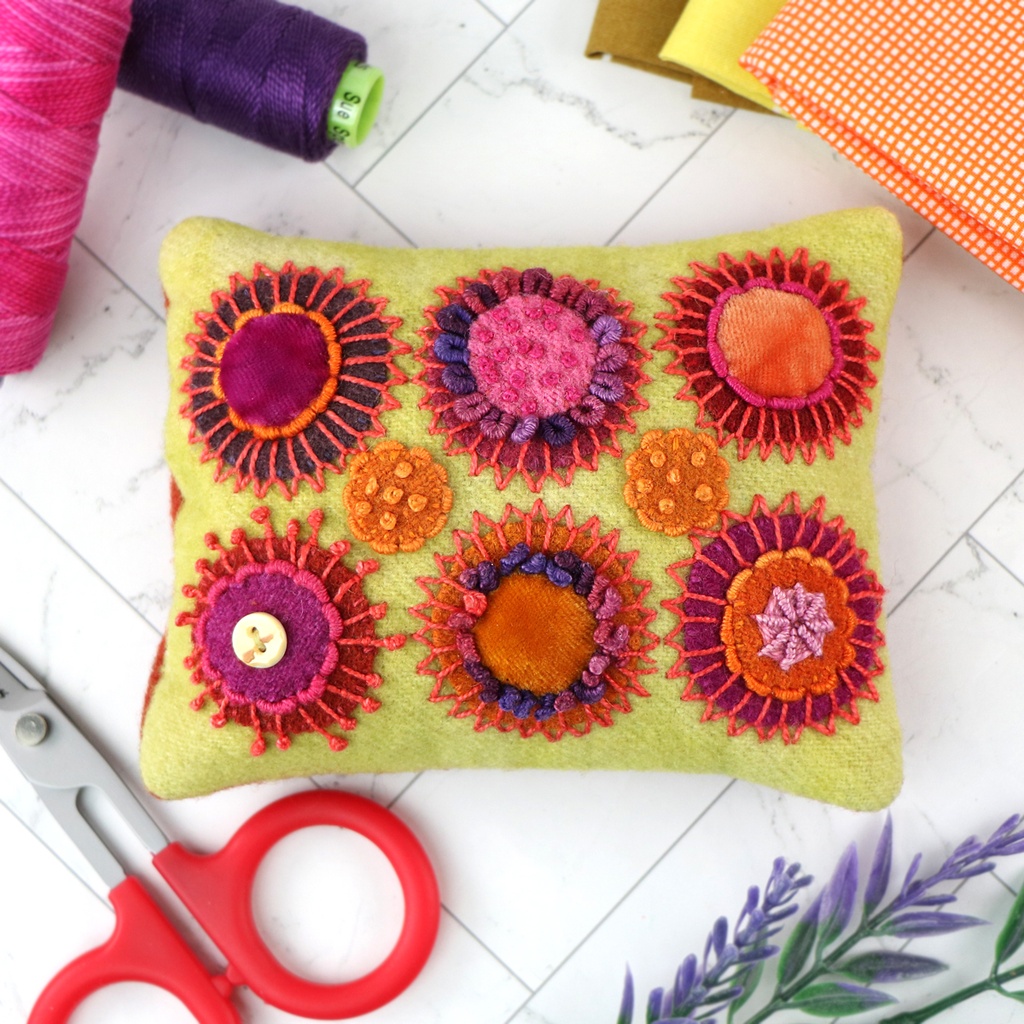
Inspiration
Check out some of our kits that make perfect little projects to get experience working with velvet circles.
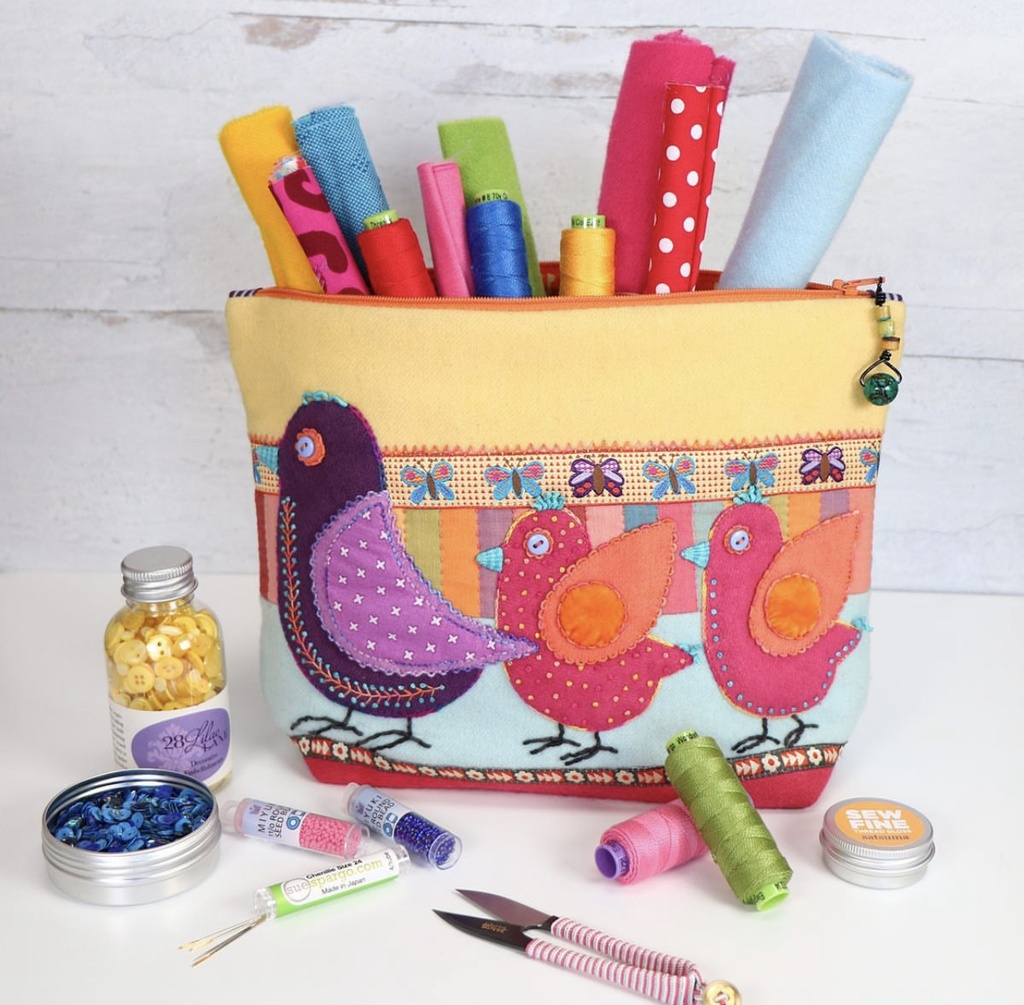
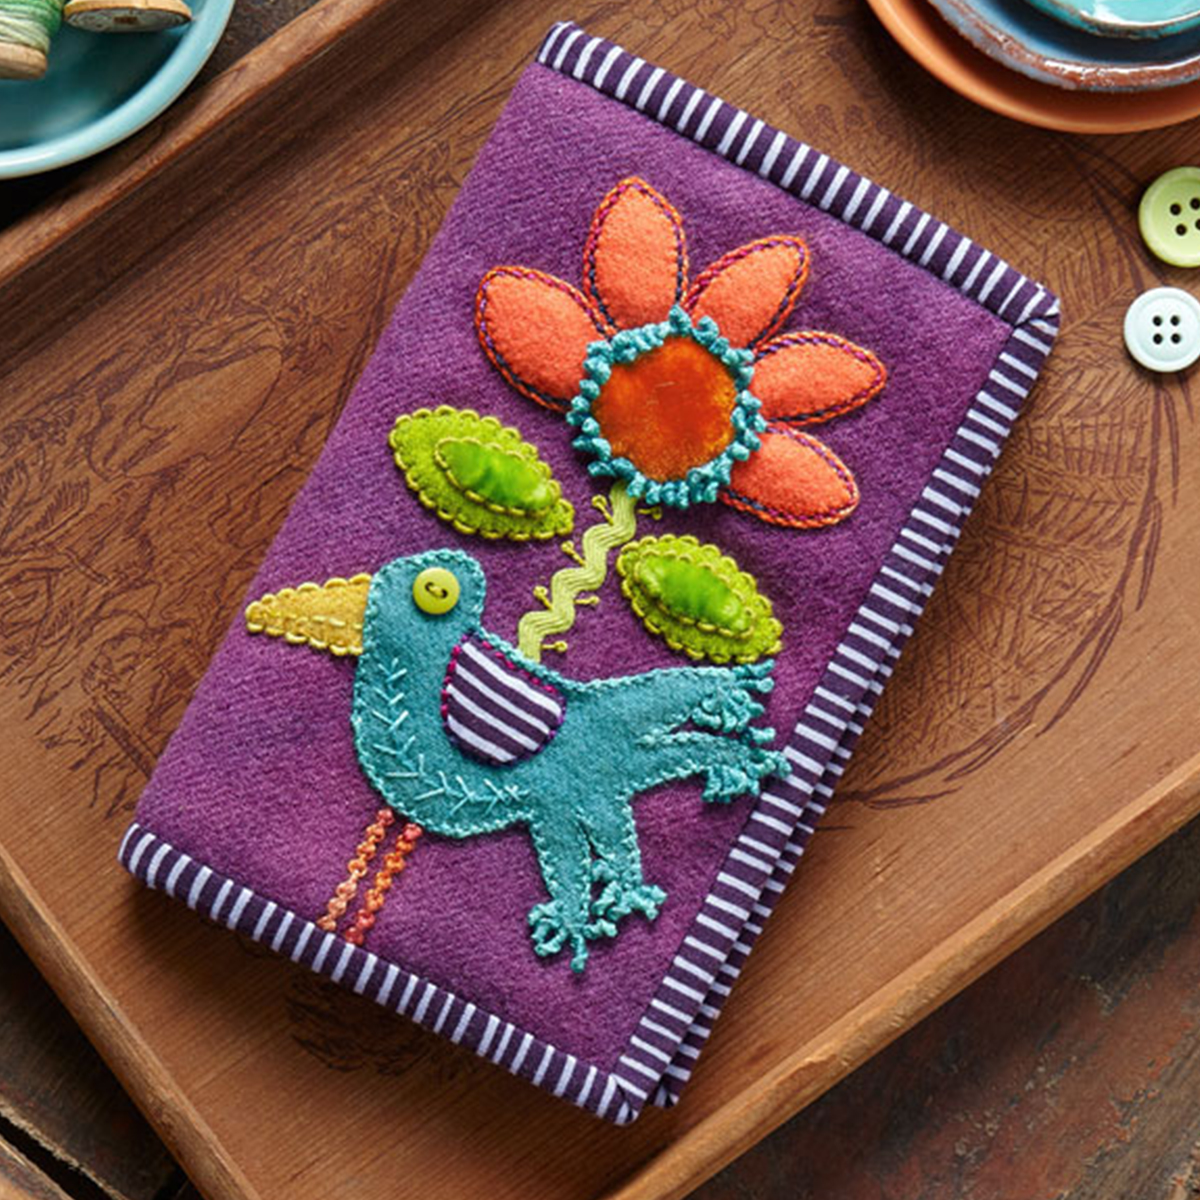
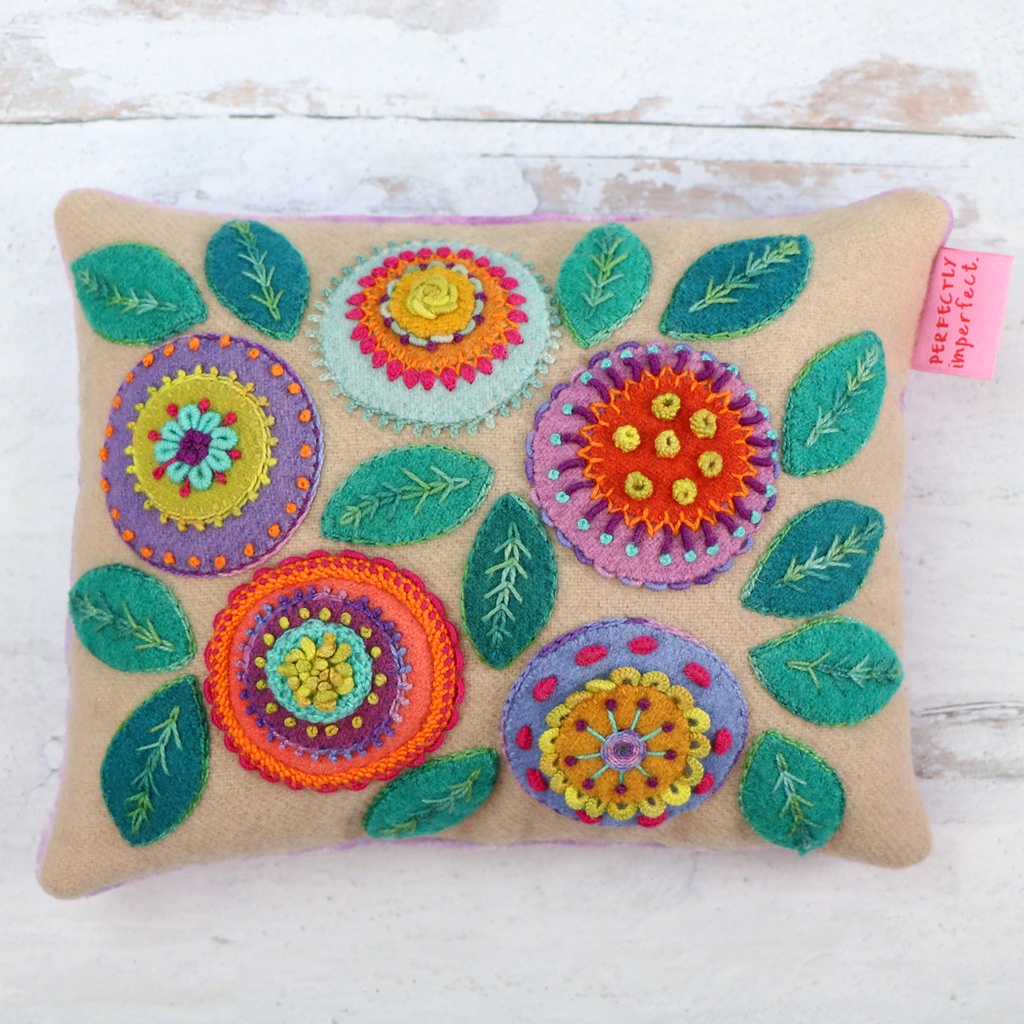
Create