For the past two weeks, we've had so much fun sharing techniques for working with velvet in our Creative Classroom! We've learned embossing velvet and circle applique, and as sad as we are to see it come to end, we're excited to finish up our little series by teaching you how to applique velvet in other shapes!
Supplies
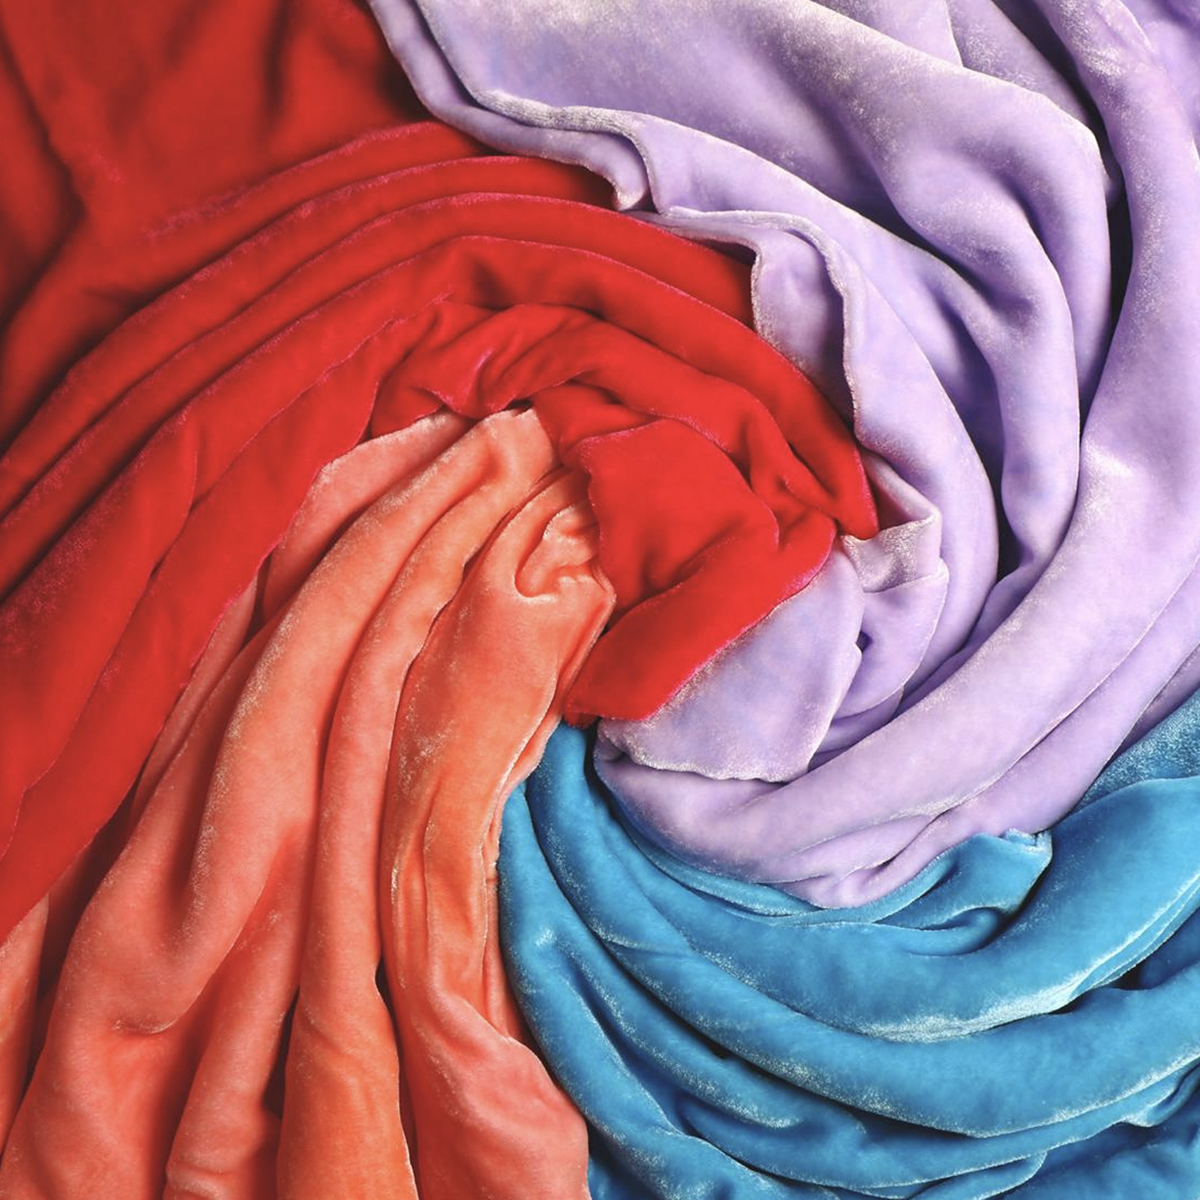
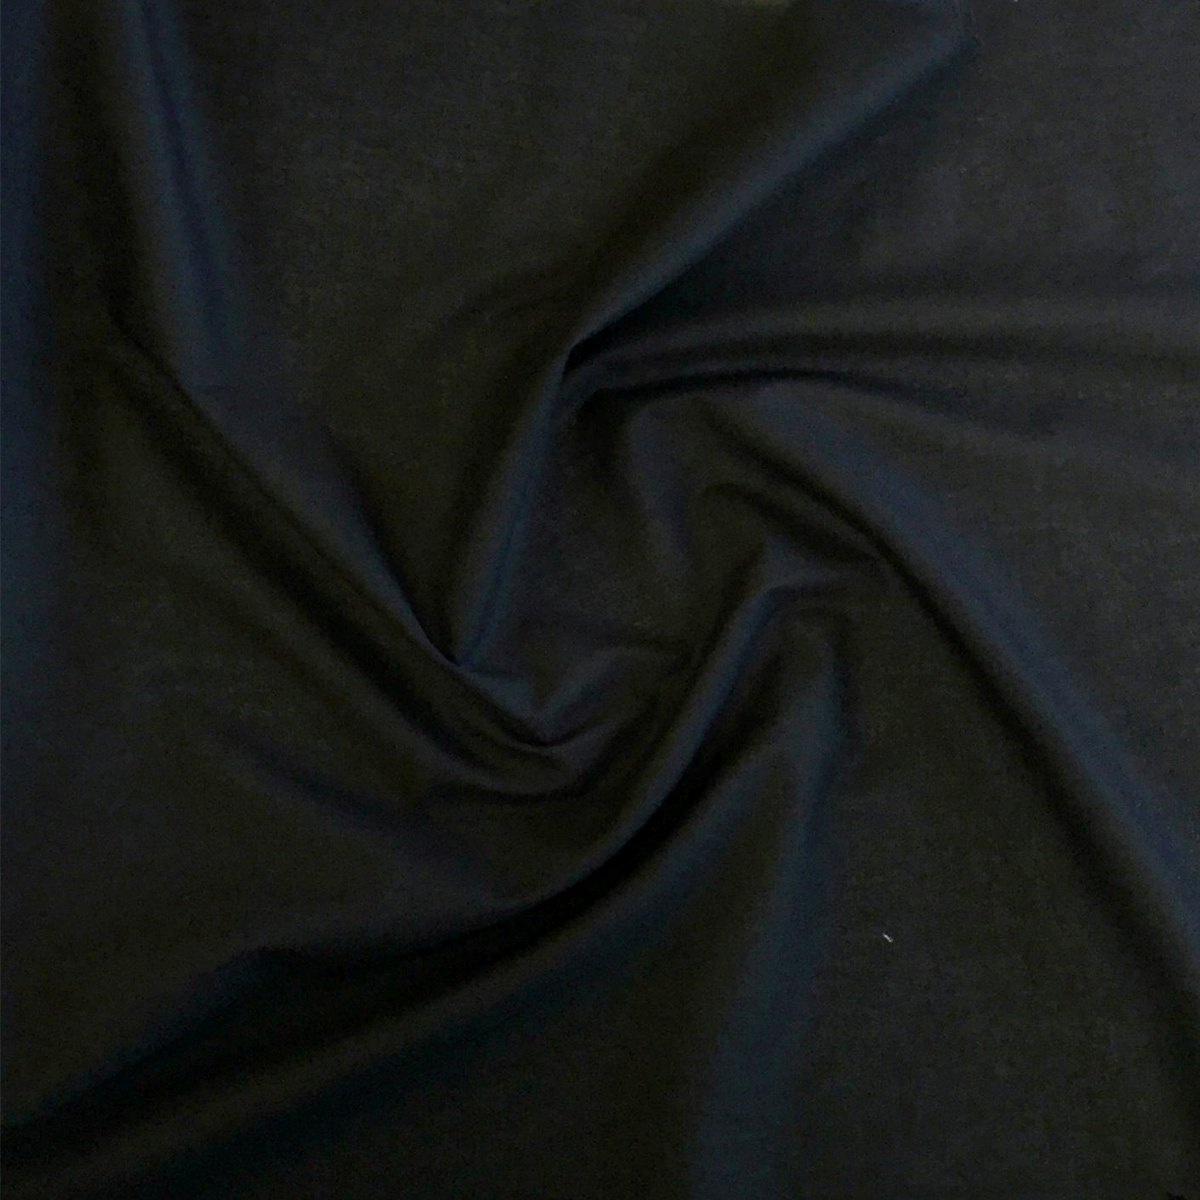
- Velvet
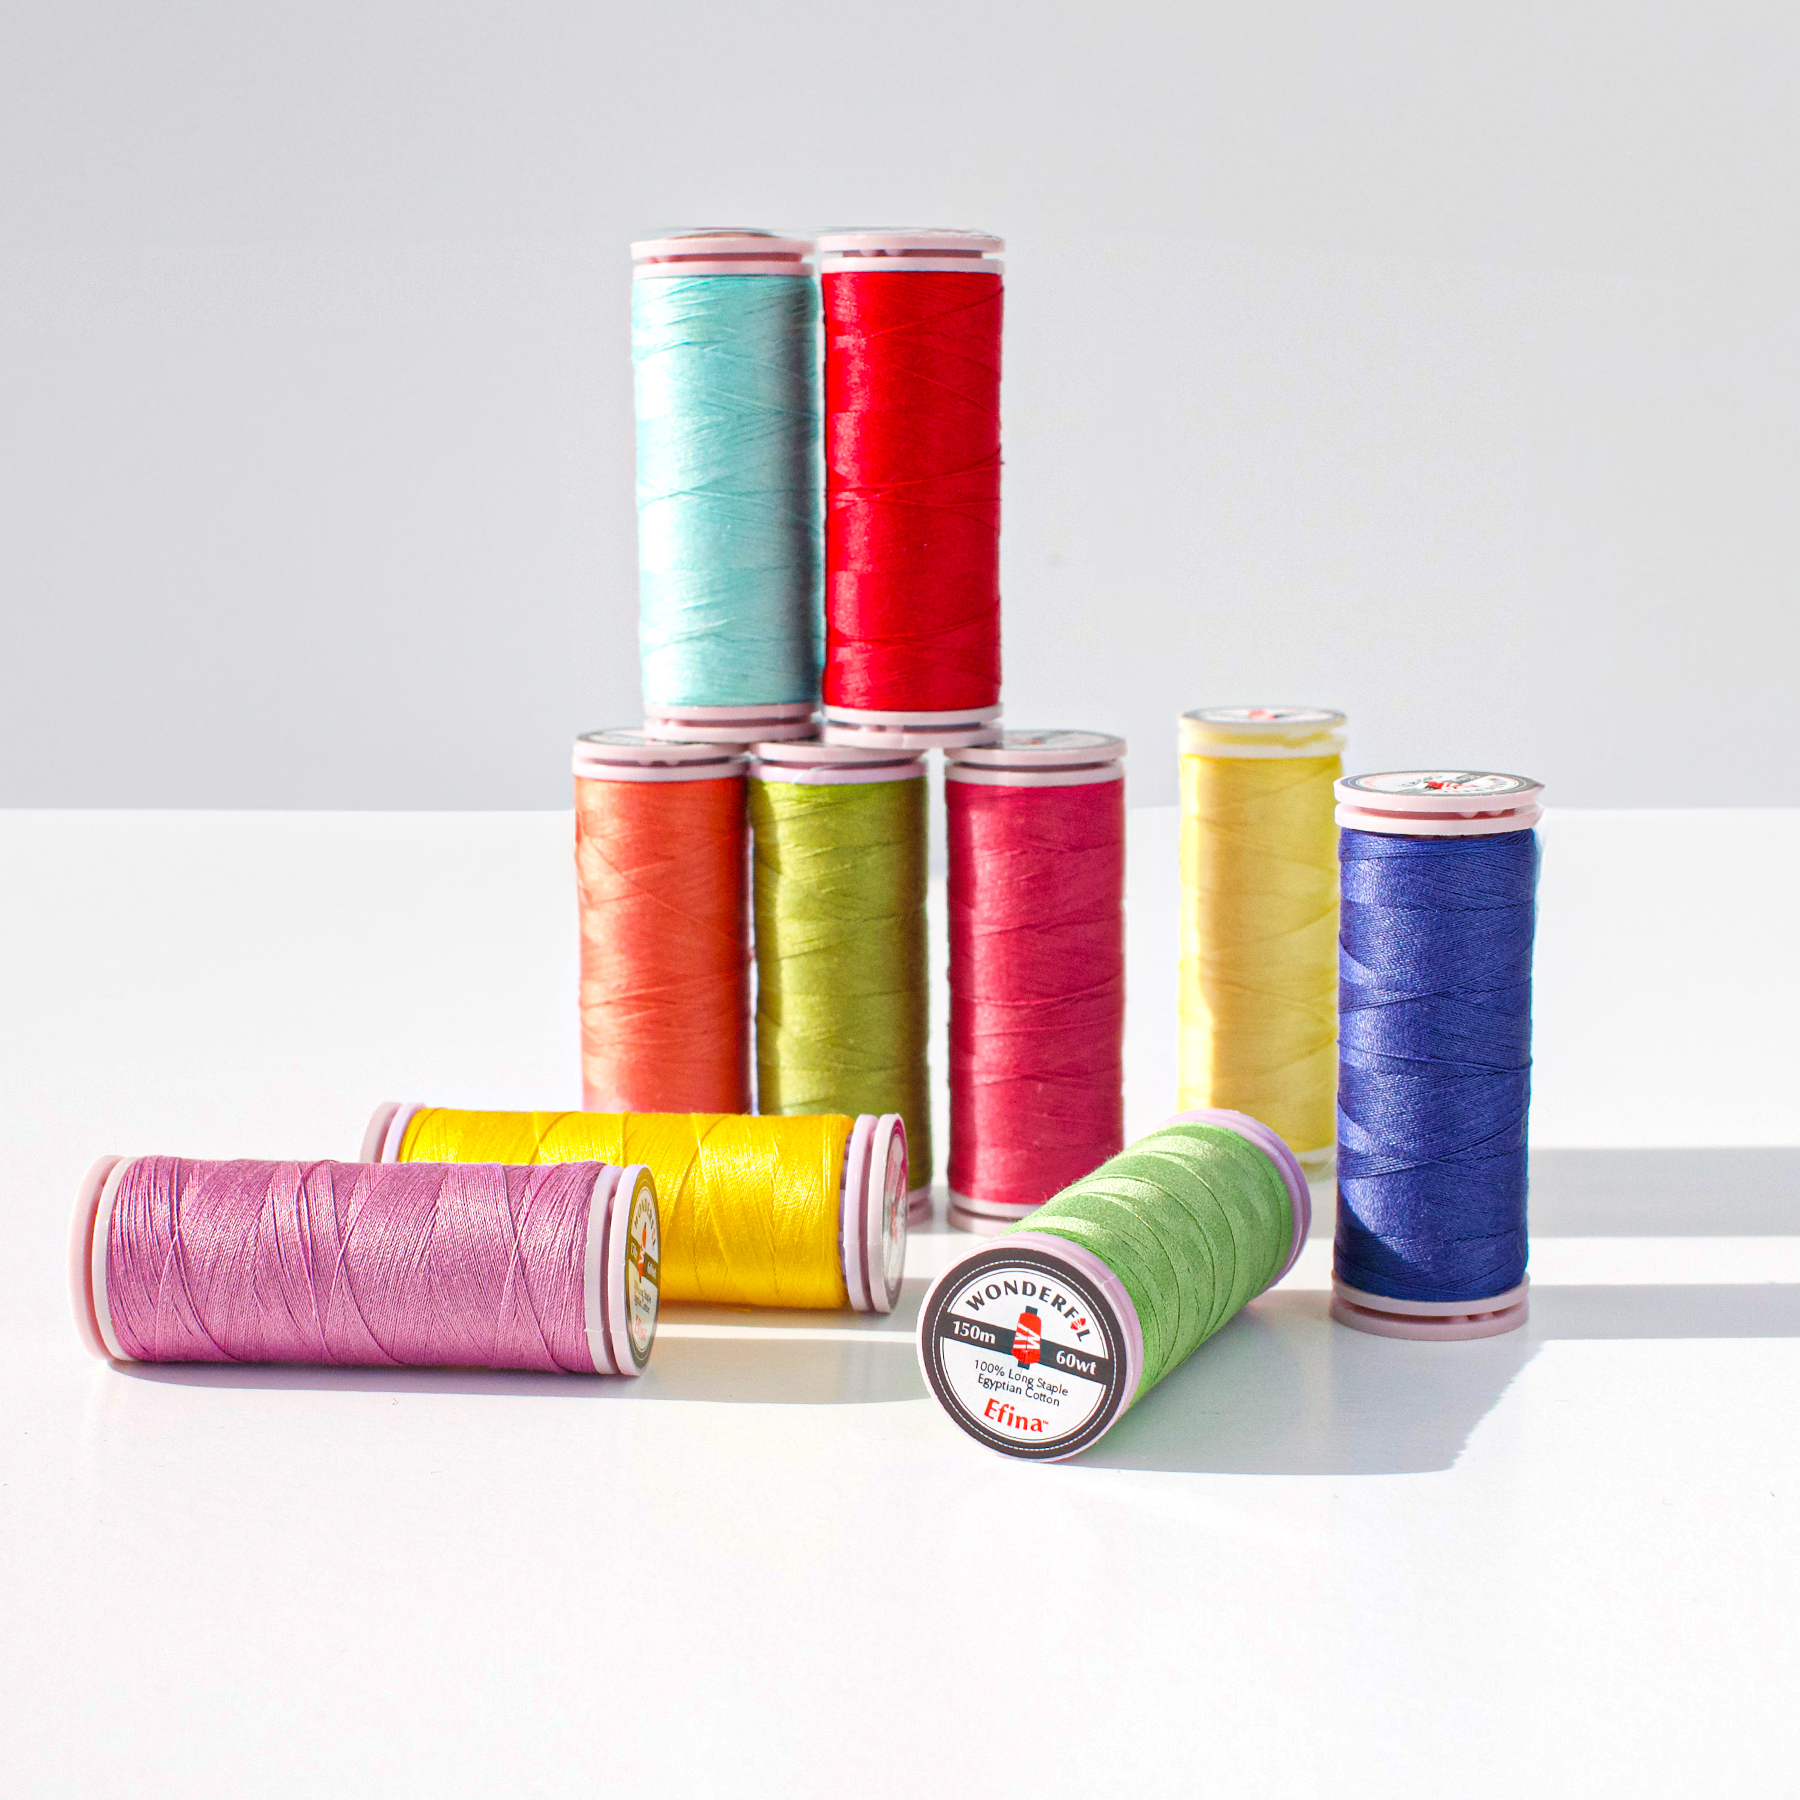
- Efina Cotton Thread
- We used Rhubarb (EF21), you'll want the closest color match to your velvet!
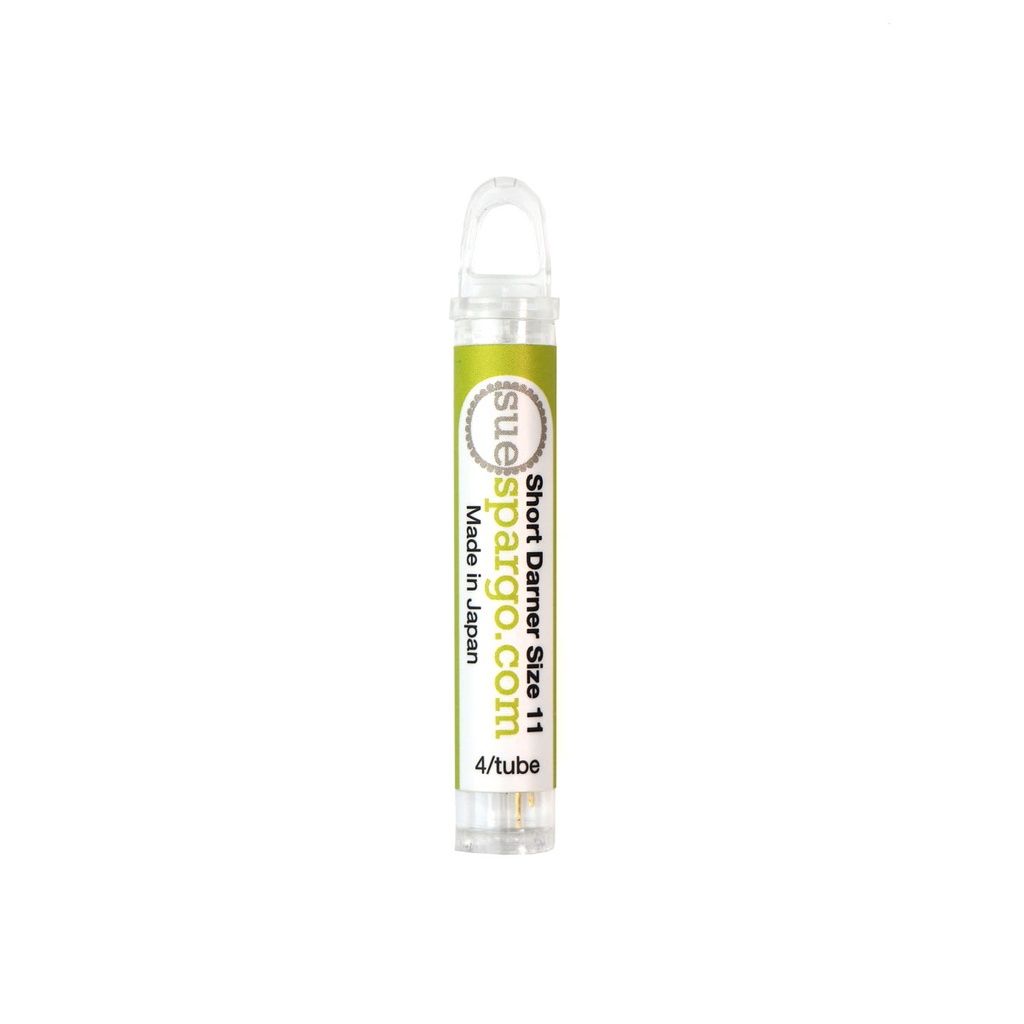
- Short Darner #11
- Ironing Board or Pressing Mat
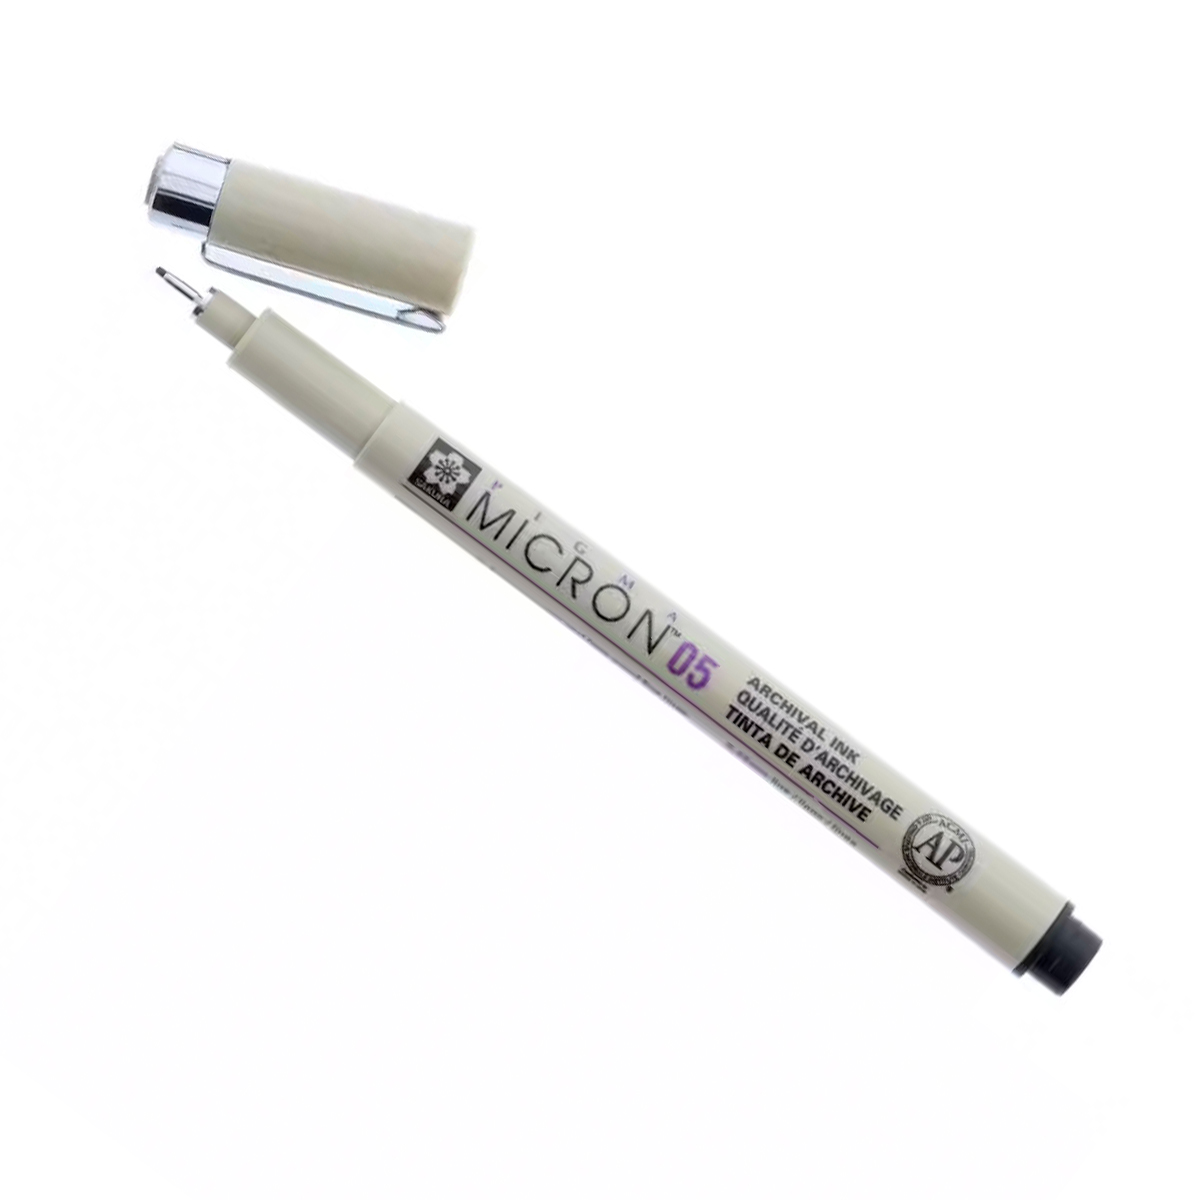
- Pigma Micron Pen or Sewline Trio Chalk Pencil
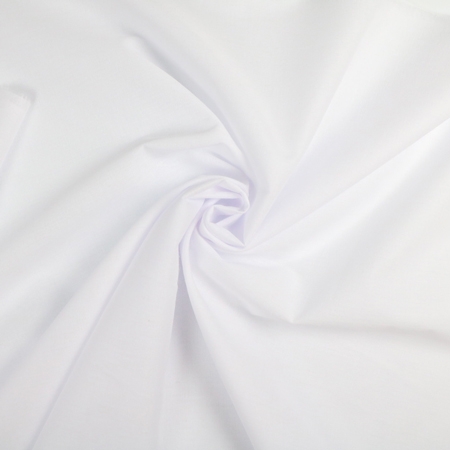
- Presto Sheer
- Kai 5-1/2" Japanese Scissors
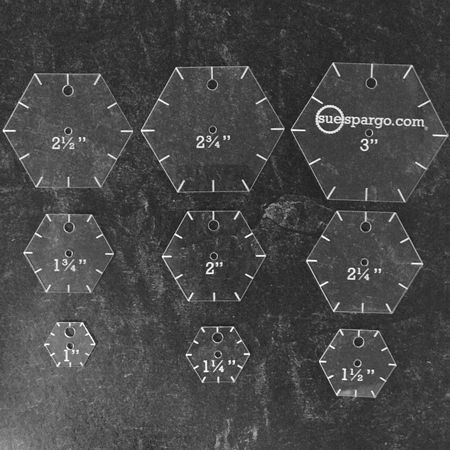
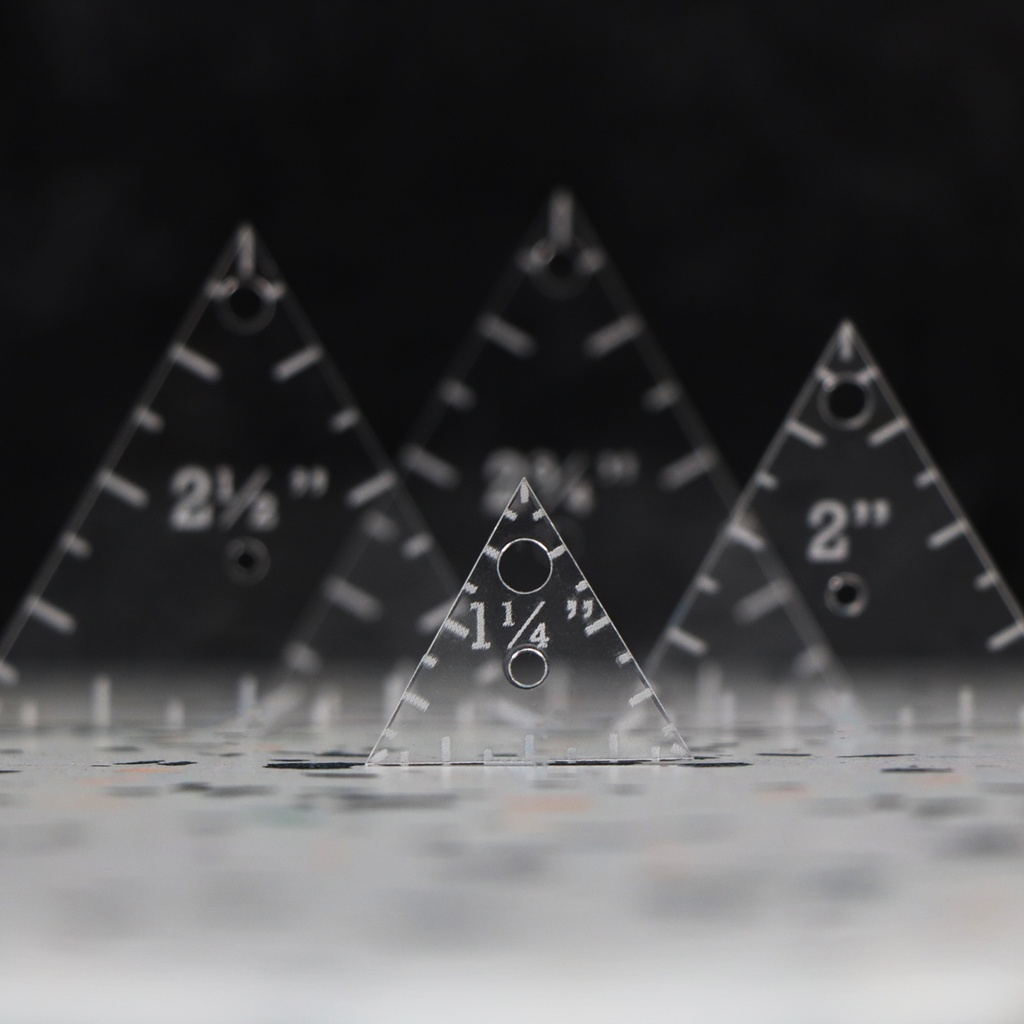
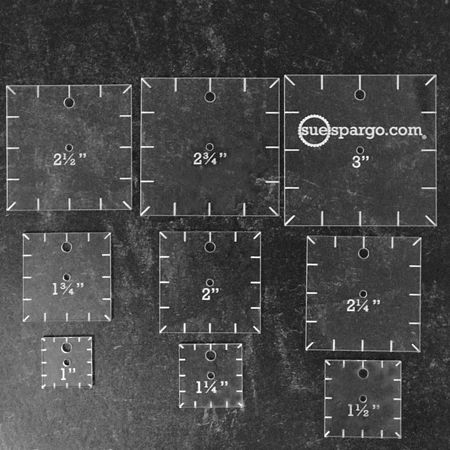
- Templates
- There are a lot of choices when it comes to templates! For this example, we used the Hexagons Easy, but you can also use Squares Easy or Triangles Easy for more intricate shapes!
- Reliable Maven Home 1L Iron Station
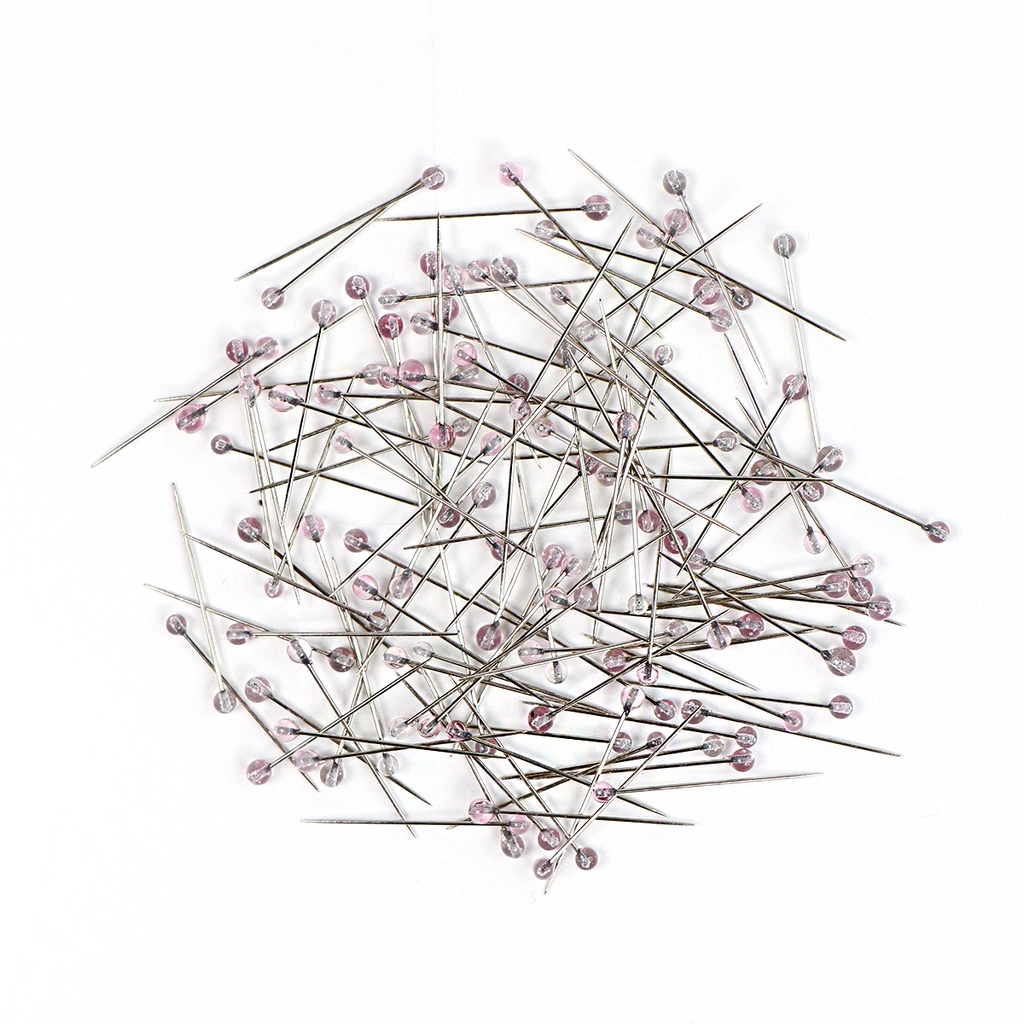
- Applique Pins
- When working with velvet, you need to use thin, sturdy pins. This will keep the velvet in place without damaging it. Our personal favorites are the Little House Applique Pins. They have a really sharp points, are fine, but don't budge!
- Project to applique the velvet onto
For embossing the velvet, you'll also want to have a 8ml Spray Bottle and a Rubber Stamp handy!
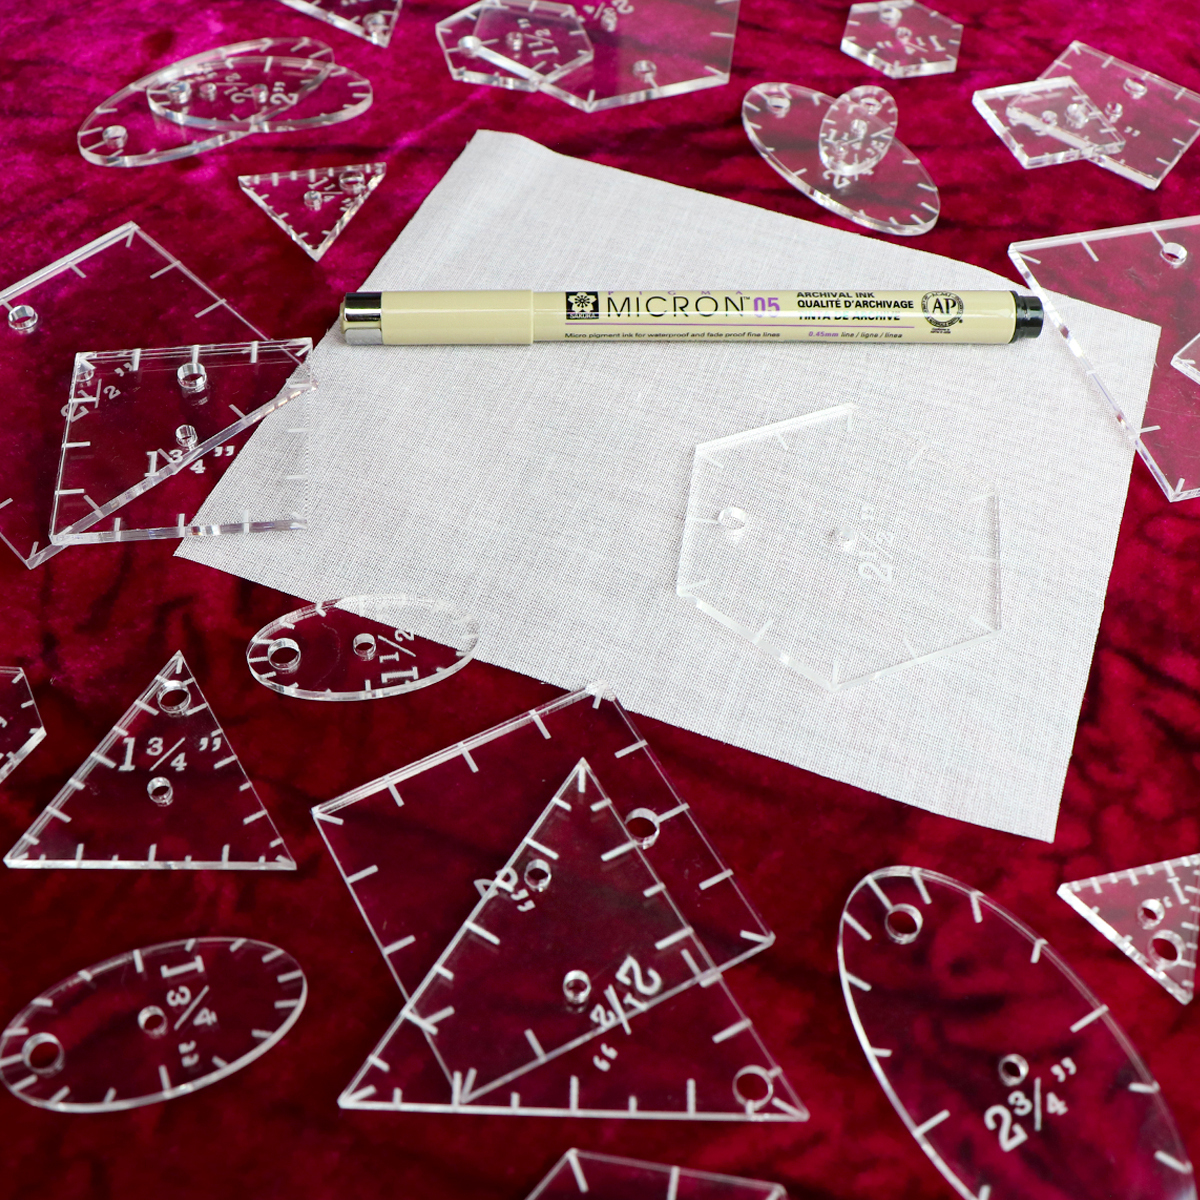
First, choose your shape template, and trace it onto the smooth side of your Presto Sheer using either the Pigma Micron Pen or the Sewline Trio Chalk Pencil.
We found that the Pigma Pen was smoother and easier to see on the Presto Sheer than the Chalk Pencil, but both worked!
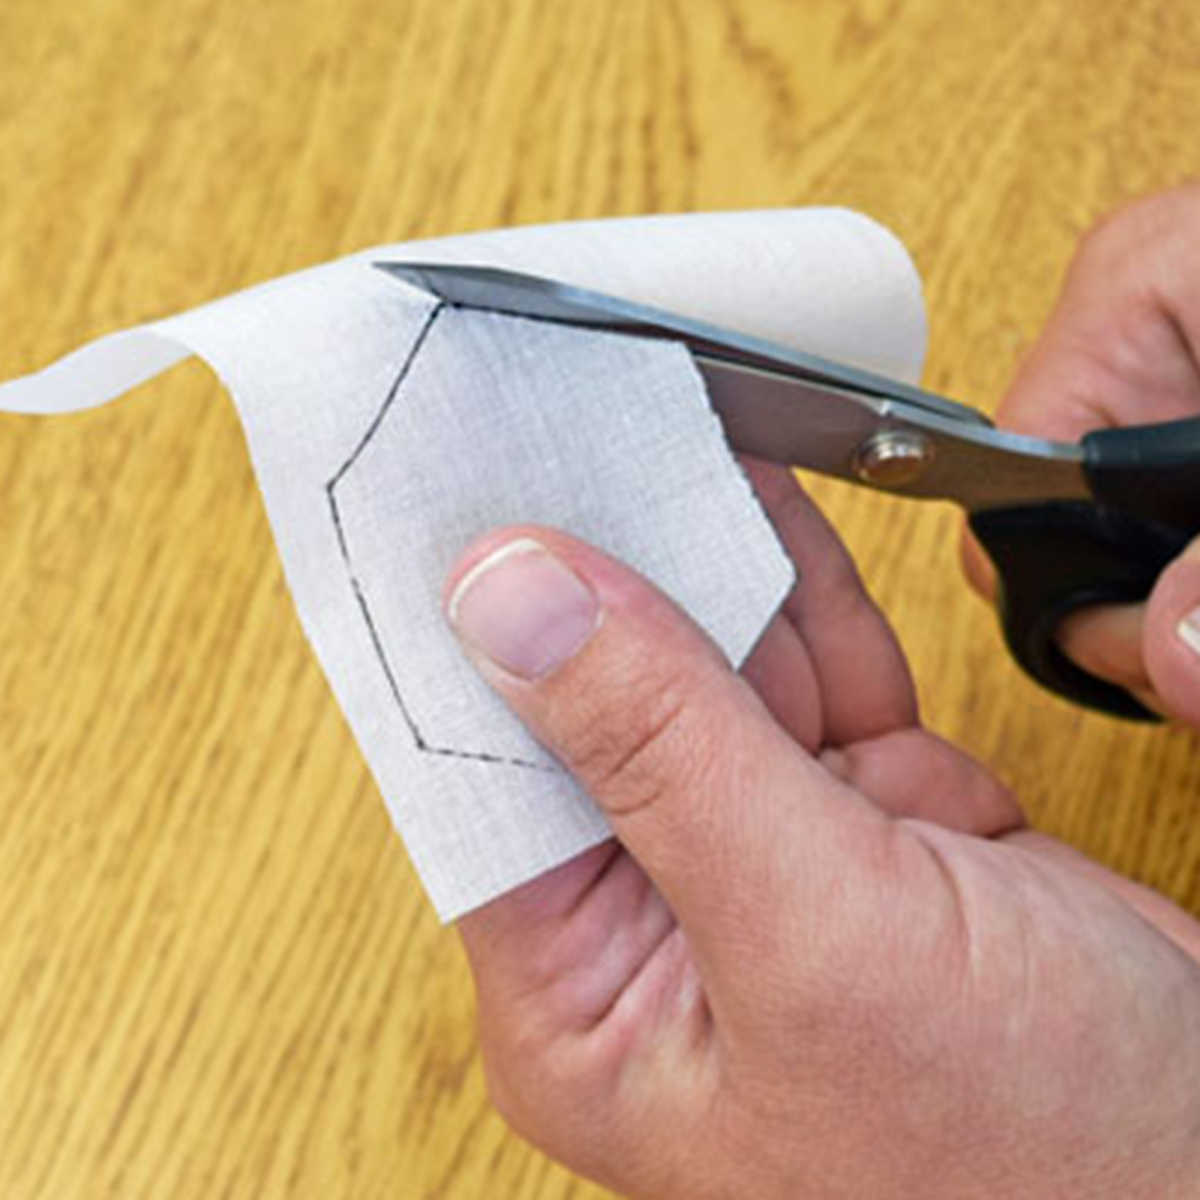
Cut your shape out along your traced line.
Presto Sheer is not a fusible. It's a light stabilizer that is great for working with delicate fabrics like linen, silk, and velvet. It stabilizes these fabrics and provides you with a nice edge to turn under.
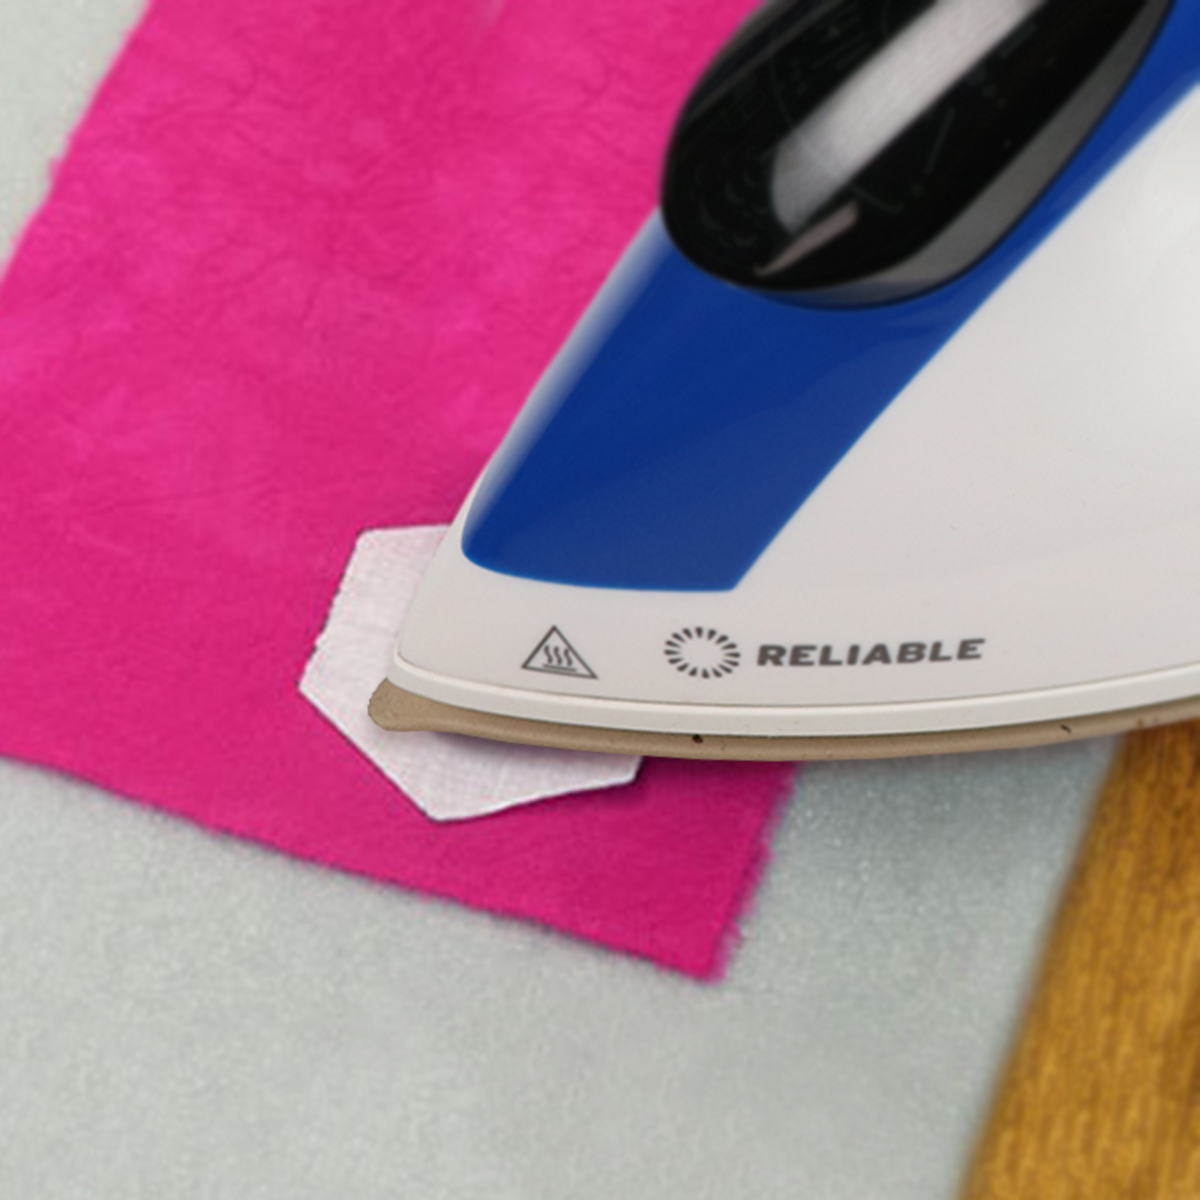
Lay your Presto Sheer template, glue (gritty) side down on the wrong side of your velvet. Gently tap the presto sheer with the tip of your iron until it's adhered.
Be very careful with this step, if you leave the iron on the velvet too long it will ruin the nap of the velvet!
If you want to emboss your velvet, you'll do so NOW! Need a refresher? See our Velvet Embossing tutorial.

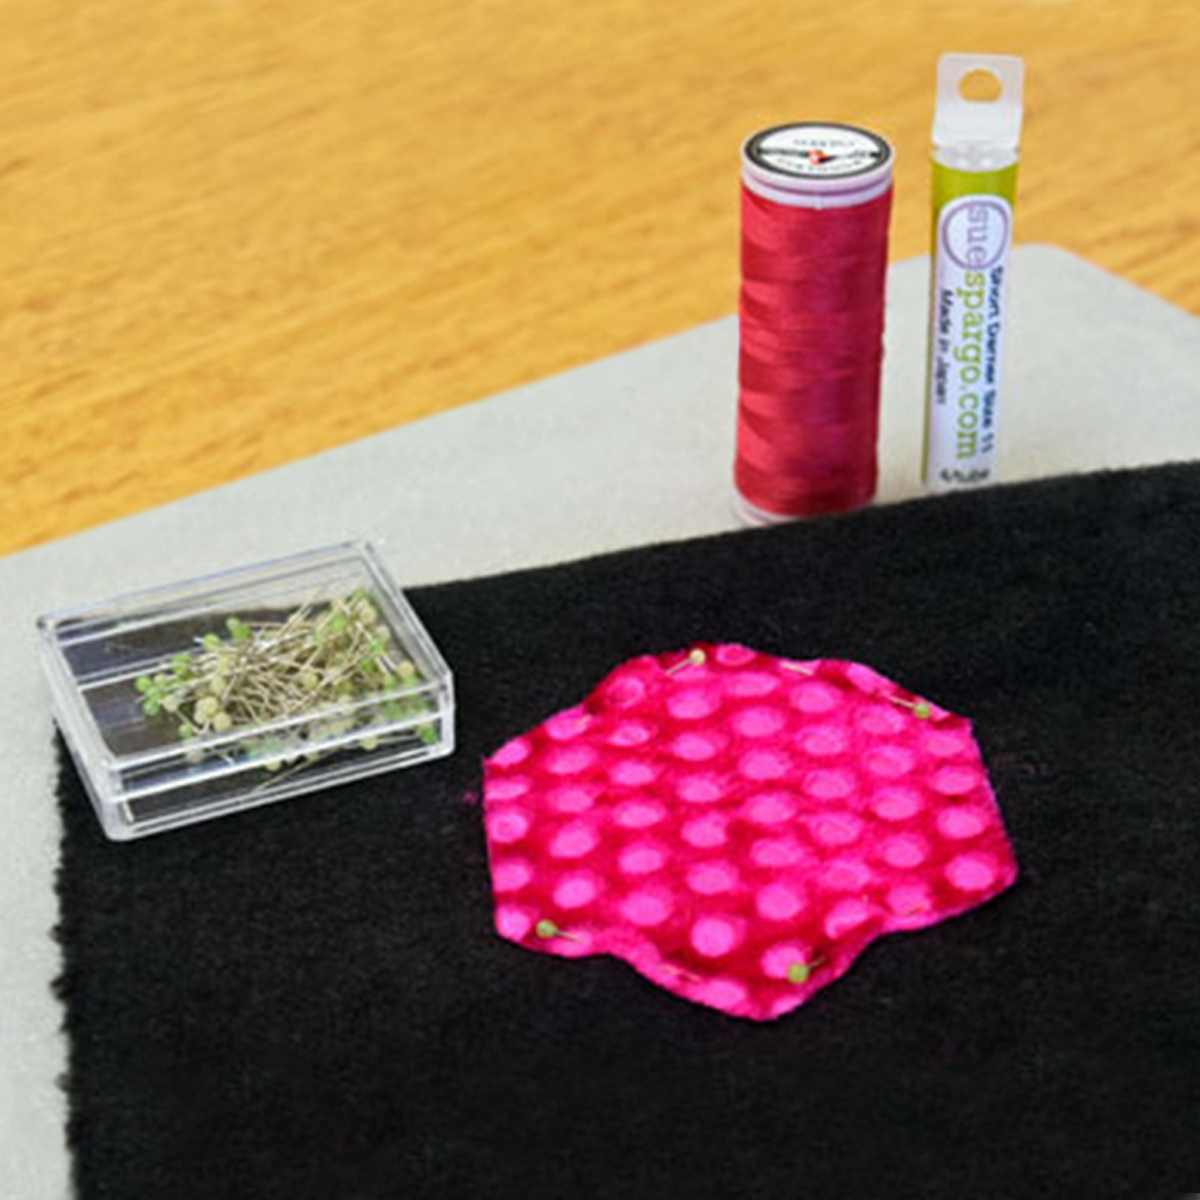
Pin your shape in place, adding your pins in the seam allowance.
Cut out around the Presto Sheer template, giving yourself a good 1/4" seam allowance.
If your shape has many points, such as this hexagon, you may want to cut an 1/8" seam allowance. The smaller seam allowance will help the applique lay flatter, and give it sharper corners/points.
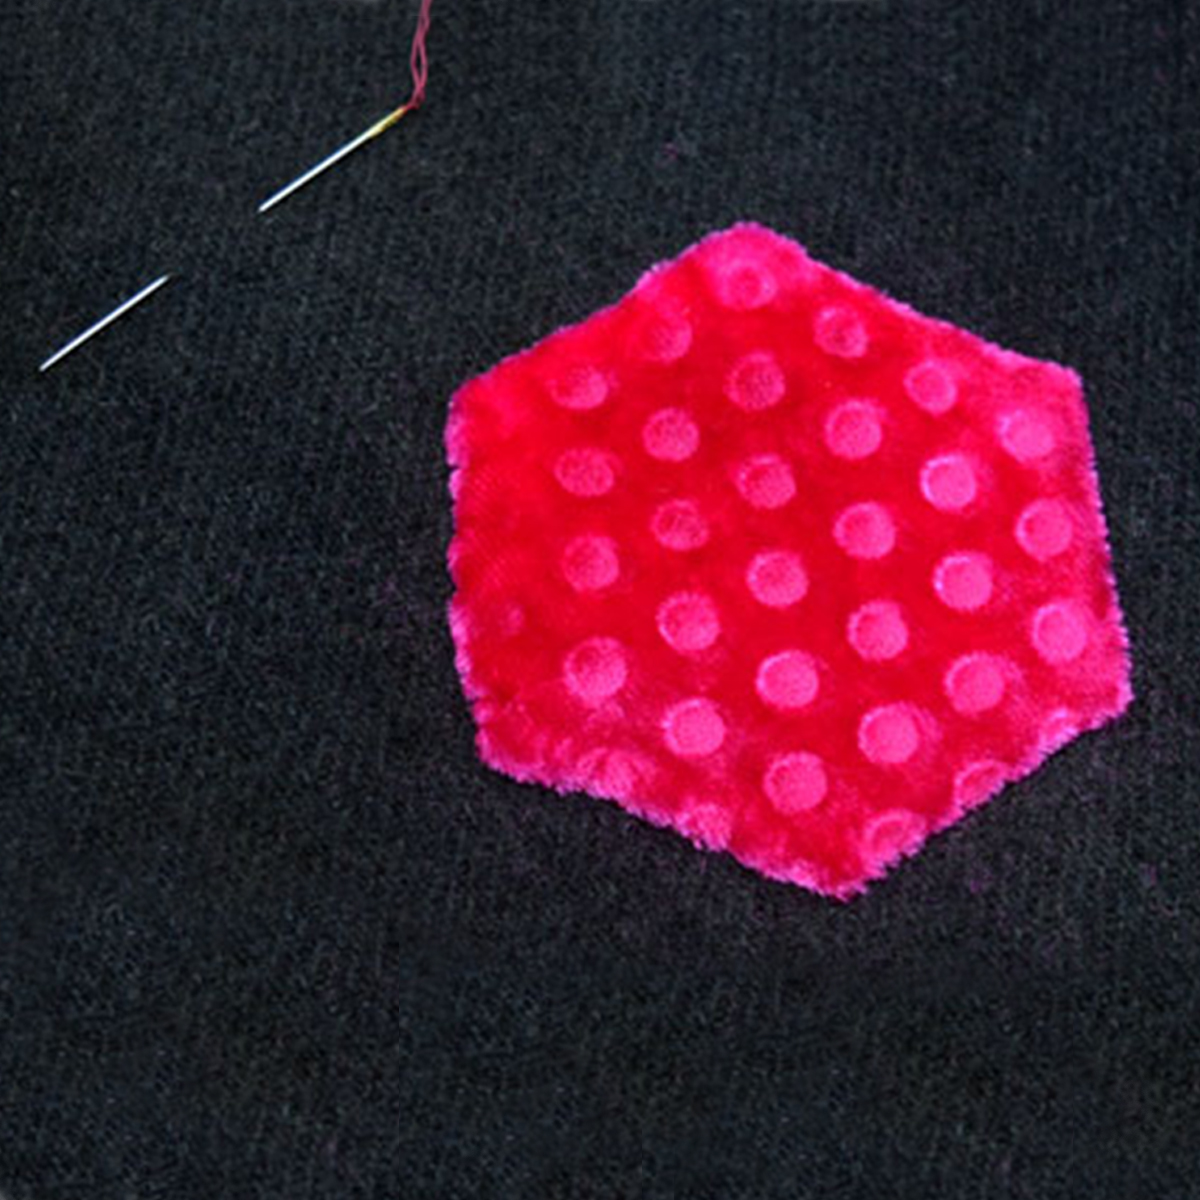
Applique your velvet down, turning the seam allowance under, and using a whipstitch, with your #11 Short Darner and Efina Cotton Thread. When you get all the way around, bring your needle to the backside and knot your thread.
TIP: We know it's easier said than done, but try to touch your velvet as little as possible while appliquéing it! Touching it too much can cause your embossed image to fade and become less clear.
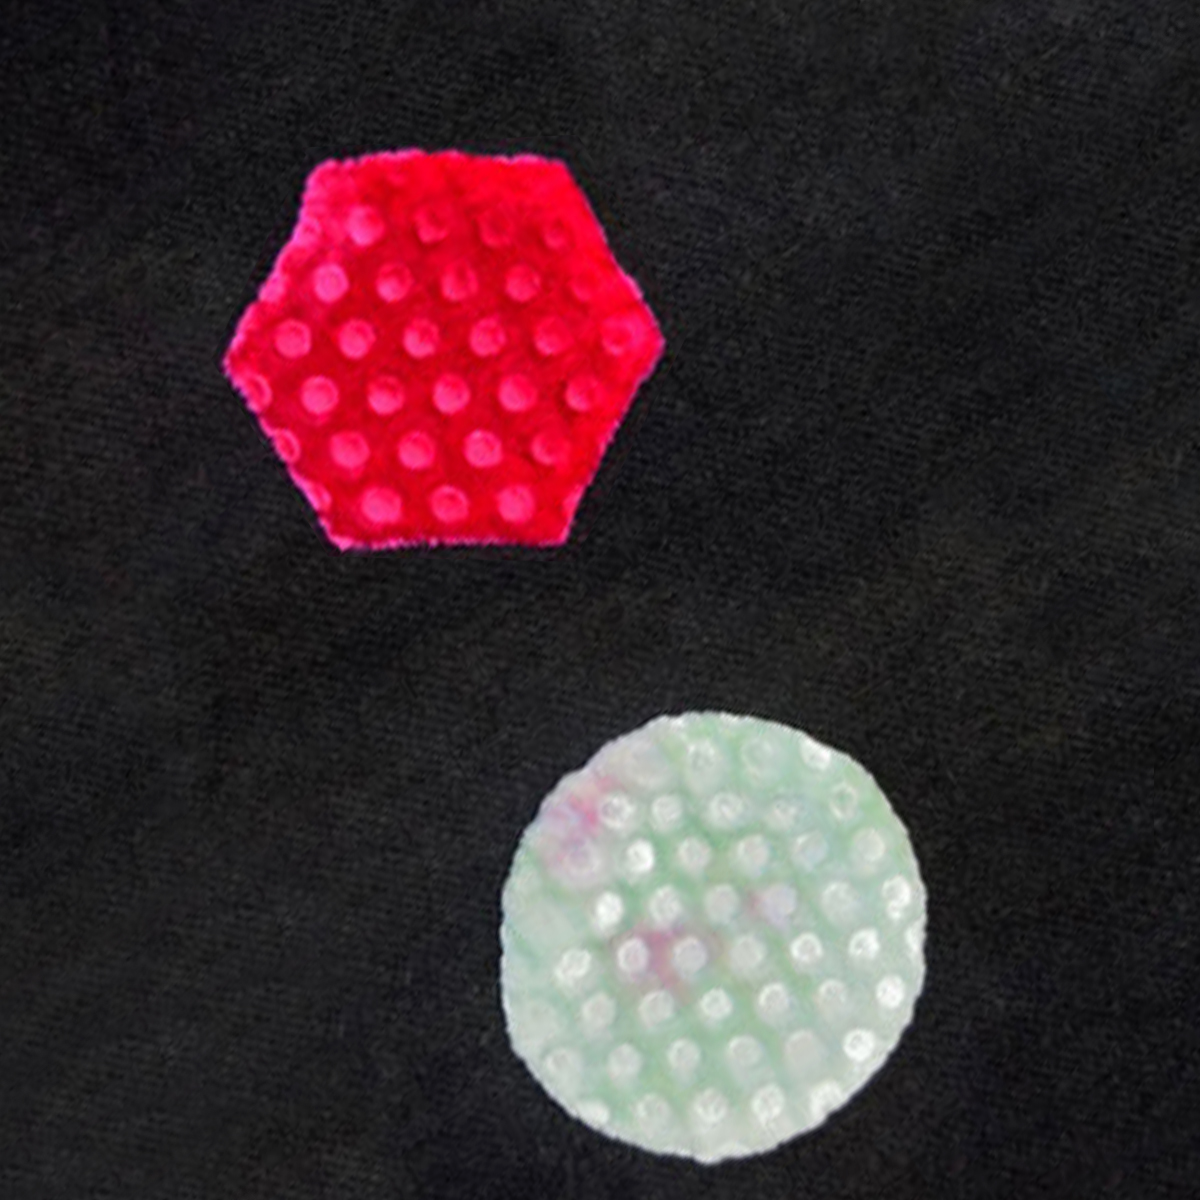
Hooray! After three weeks of focusing on velvet embossing and applique, we have some adorable little shapes and maybe the start of our next project. Now go wild with embellishing to add your personal flair!
Inspiration
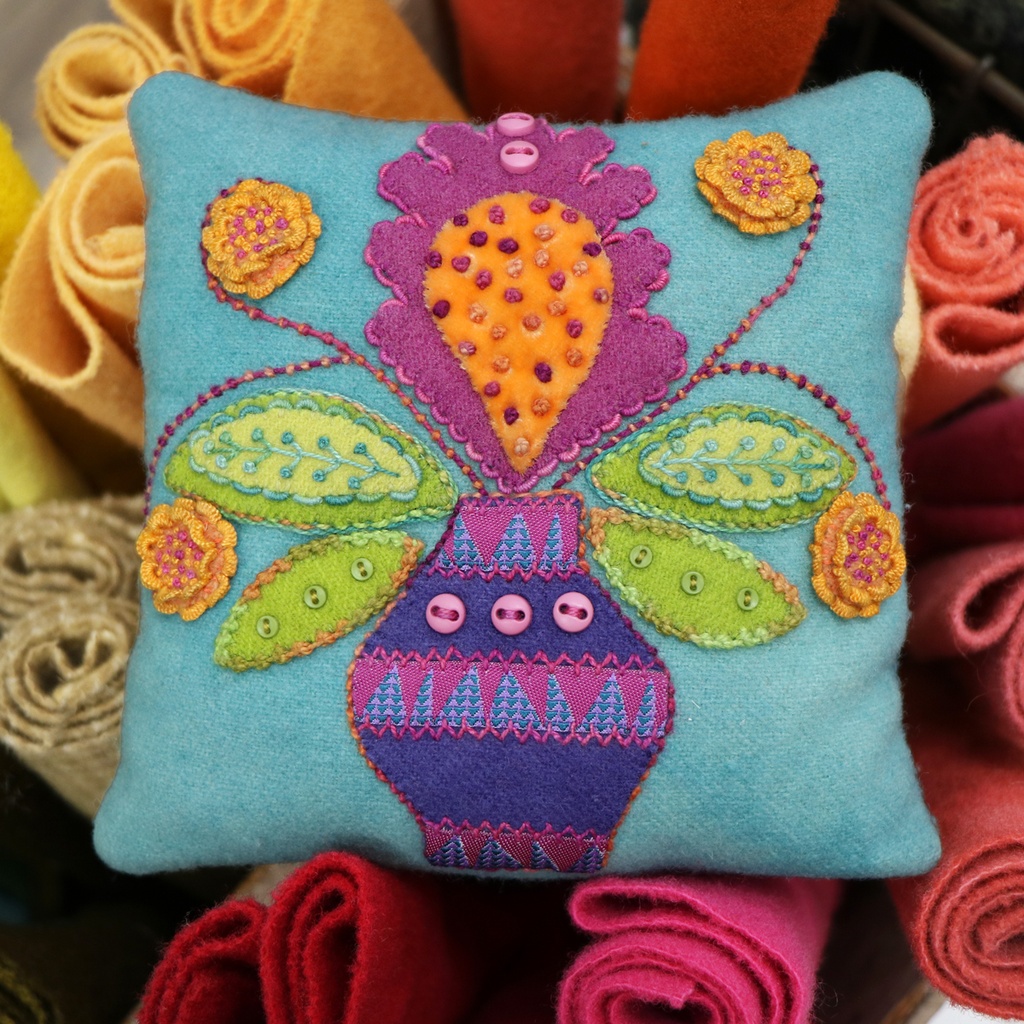
With minimal velvet applique, our Canna Blossom Pincushion Kit is a great way to get some practice.
Create