These fun baubles can be made in a variety of ways using scraps of wool, ribbon, and minimal other materials. Depending on their intended use, they can be made small or large; it's entirely up to you, the maker!
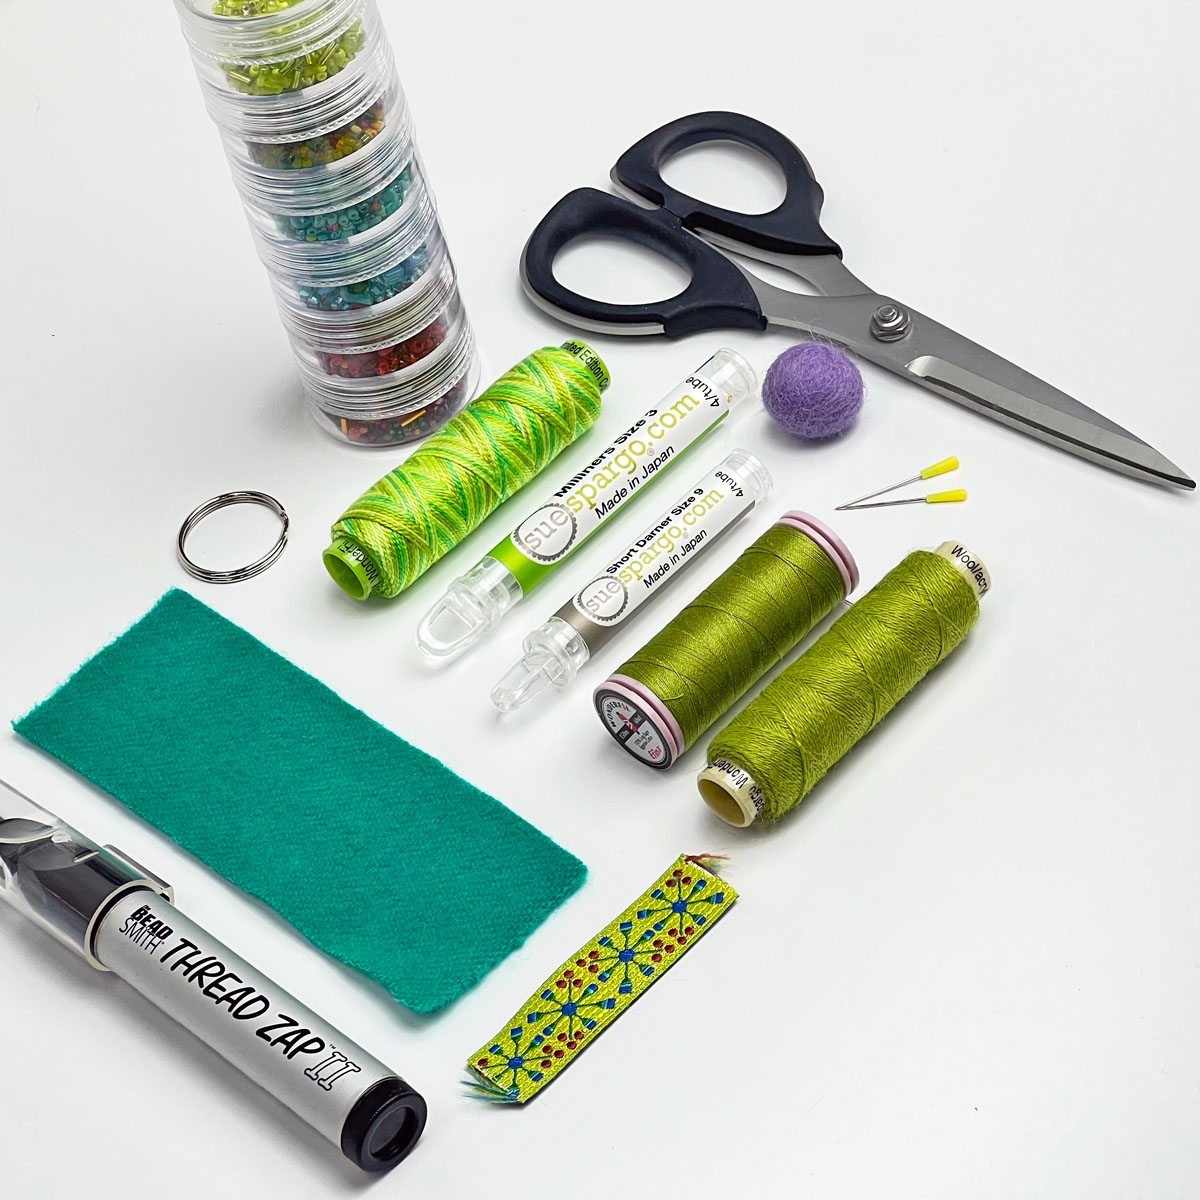
To make a basic bauble, you will need:
- Wool
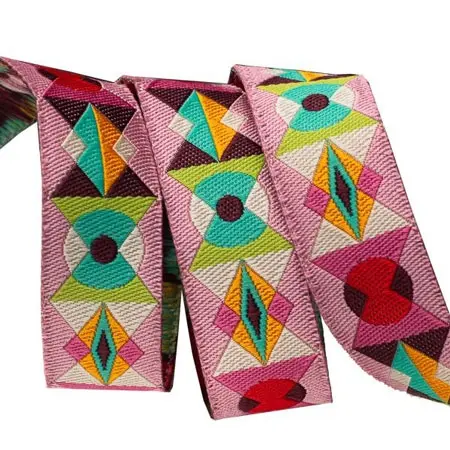
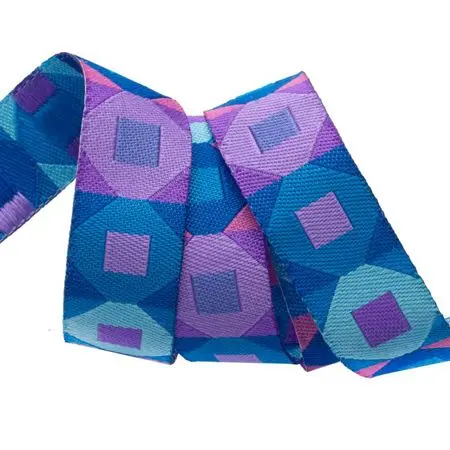
- Jacquard ribbon: Sue's Ribbon + Novelty Ribbon
- Thread Zap
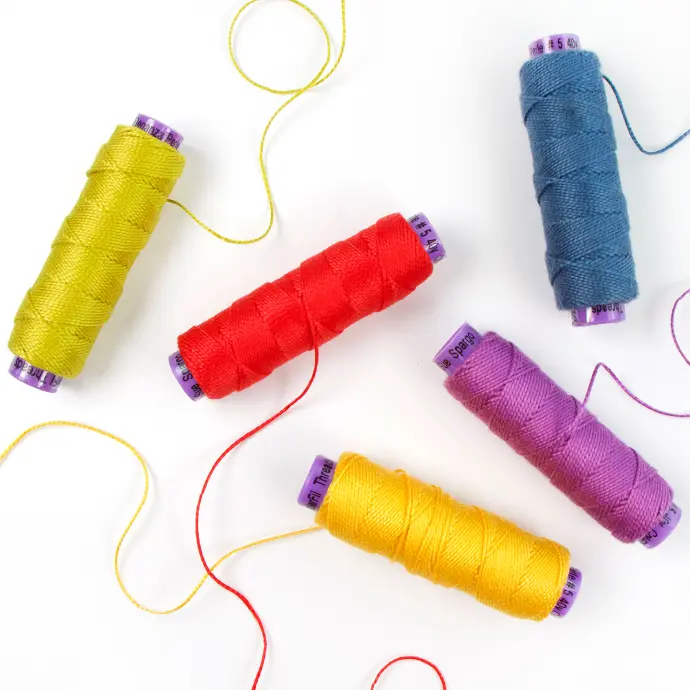
- Applique threads
- Embroidery threads
- Appropriate sized needles
- Pins
- Scissors
- Roving balls
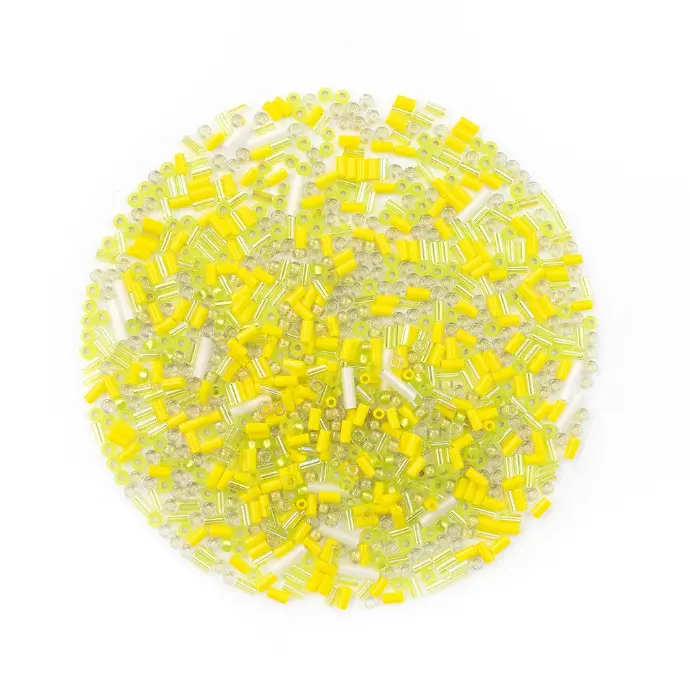
- Seed beads
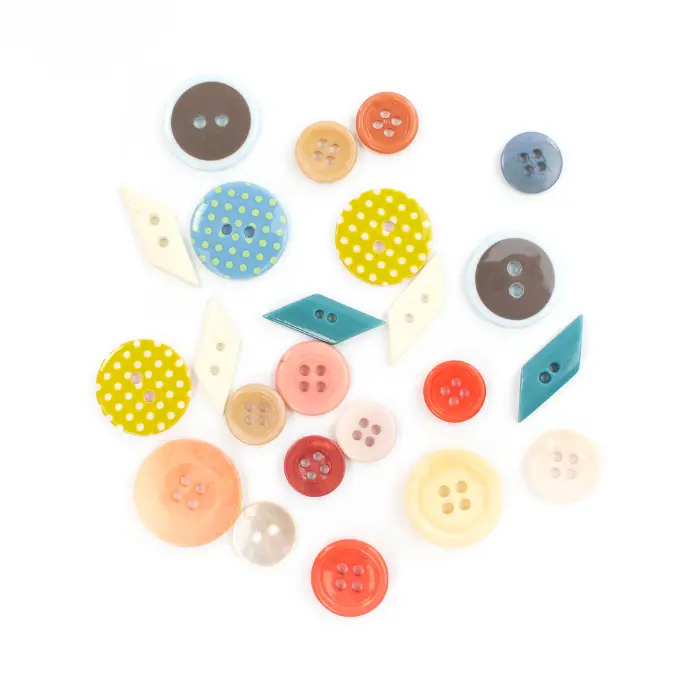
- Buttons
- Optional split ring
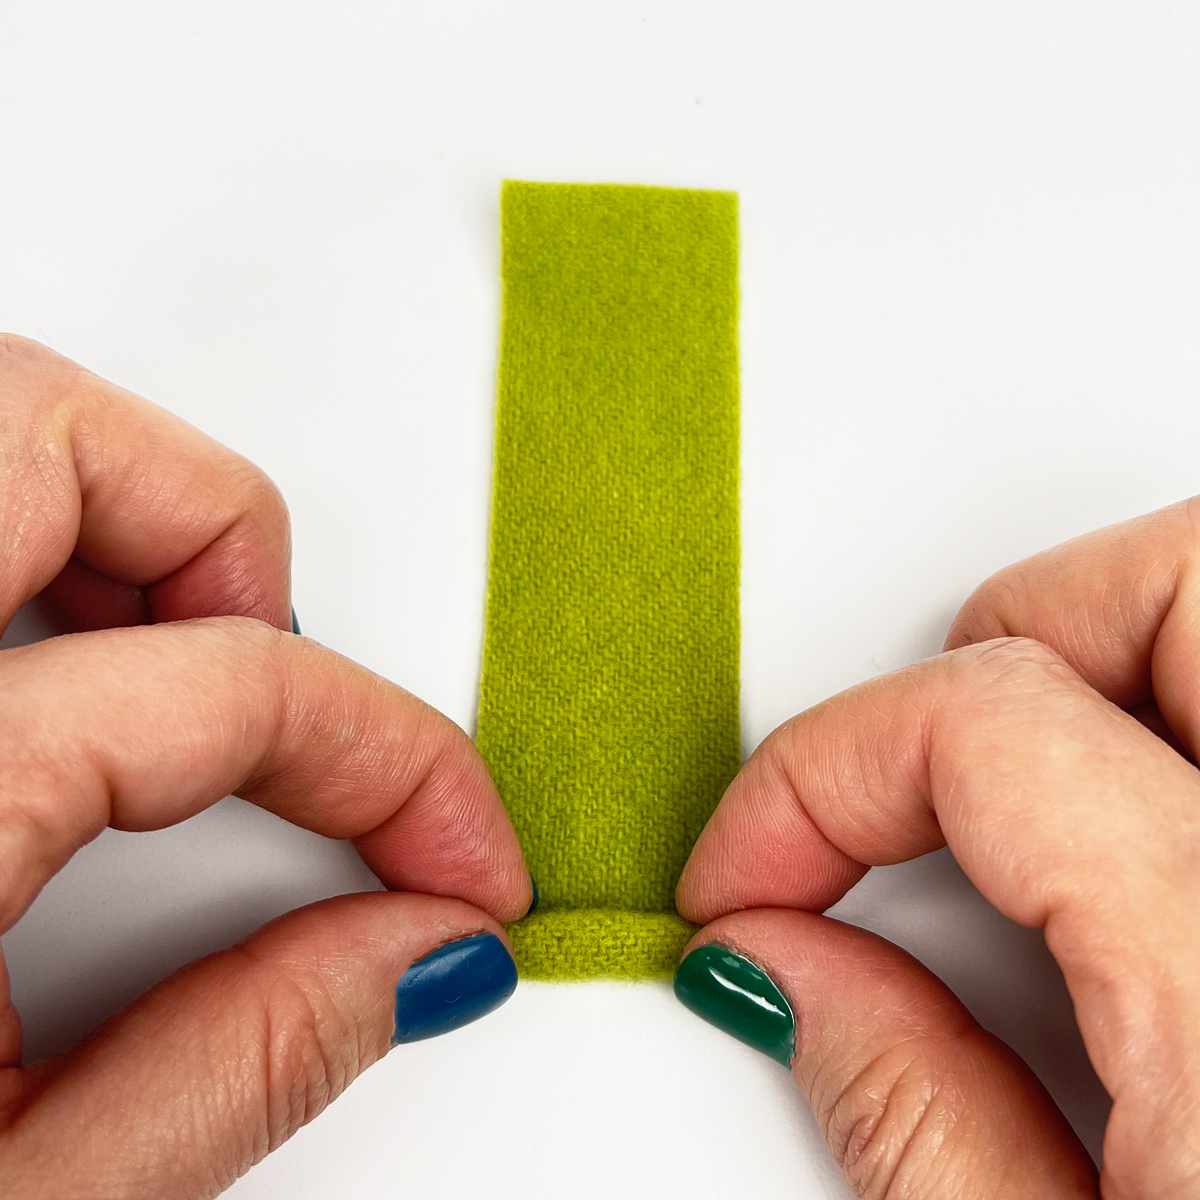
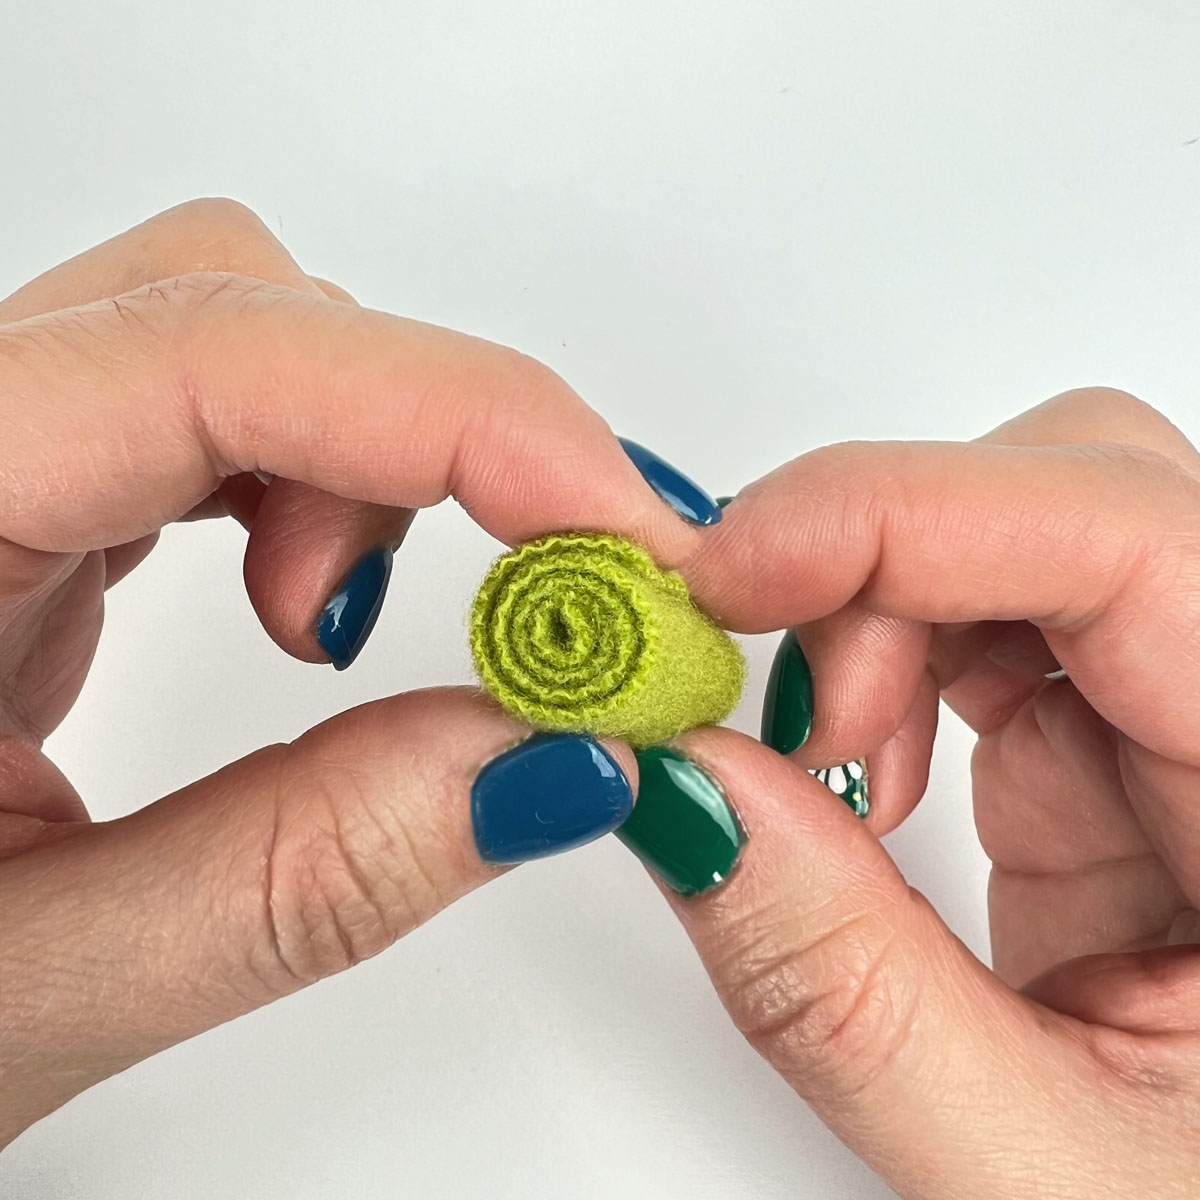
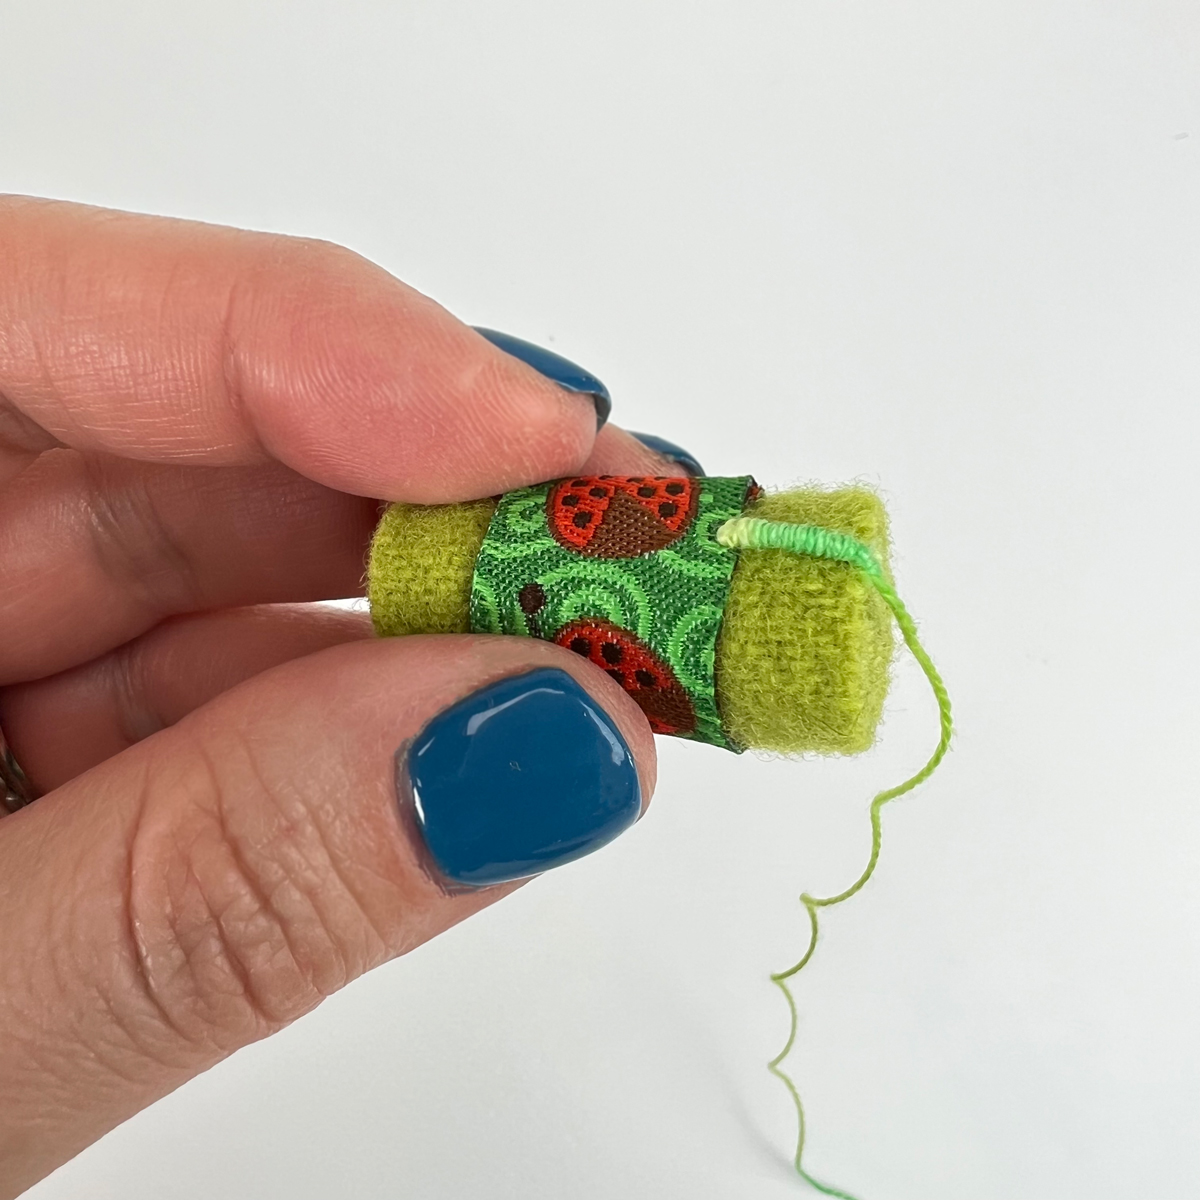
To begin, cut your wool to the desired size. Our piece measured 1-1/2" x 4-1/2". Roll snugly.
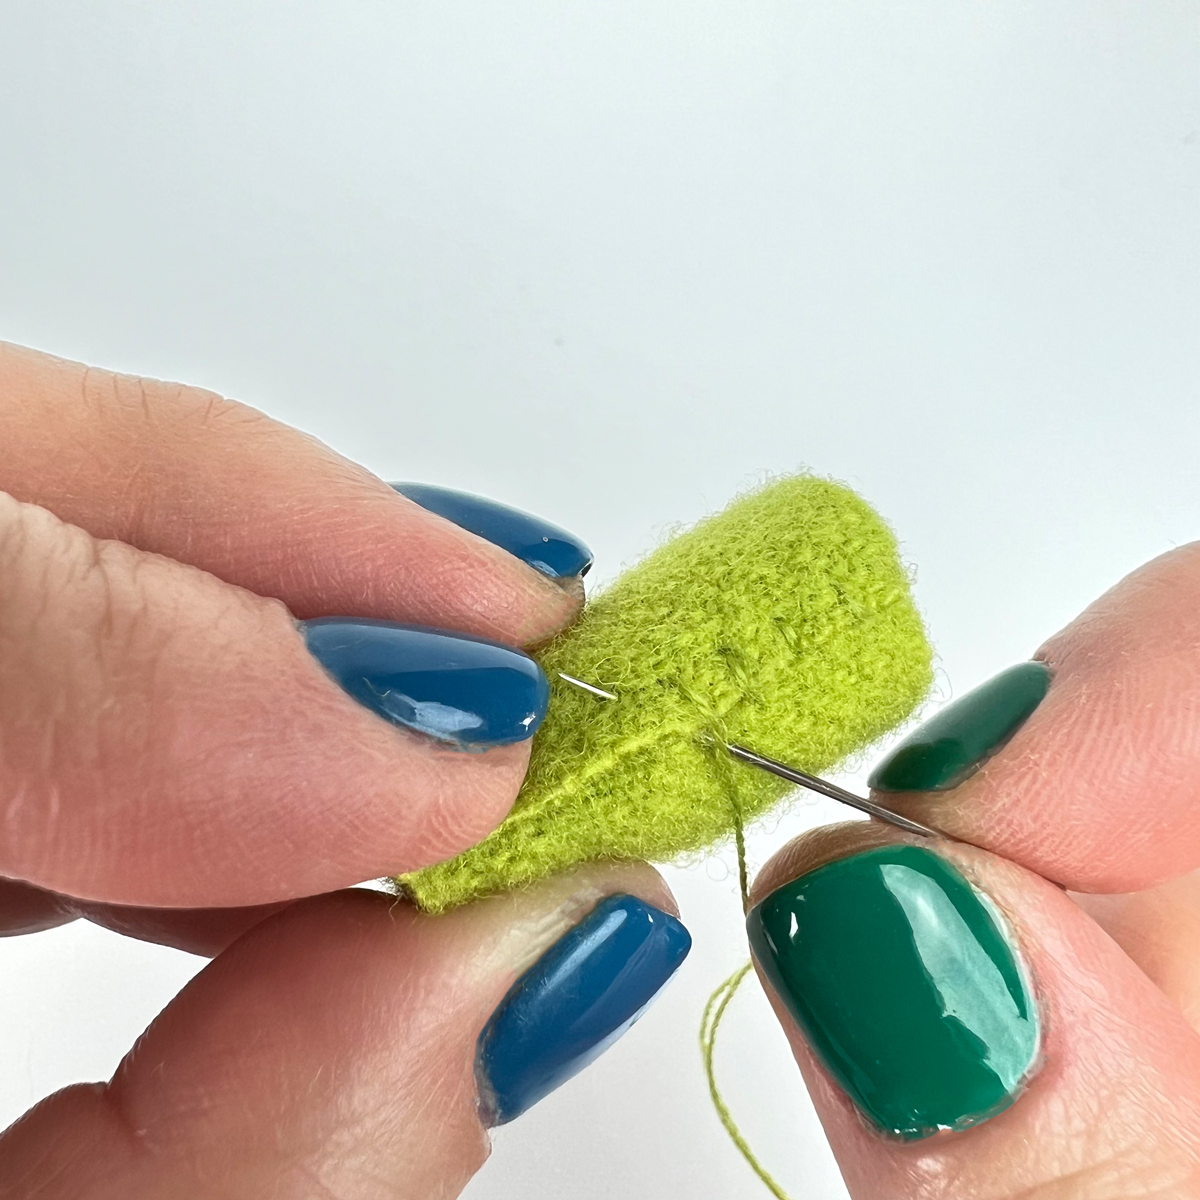
Using a #24 Chenille Needle and matching Ellana Wool Thread, whipstitch the edge closed.
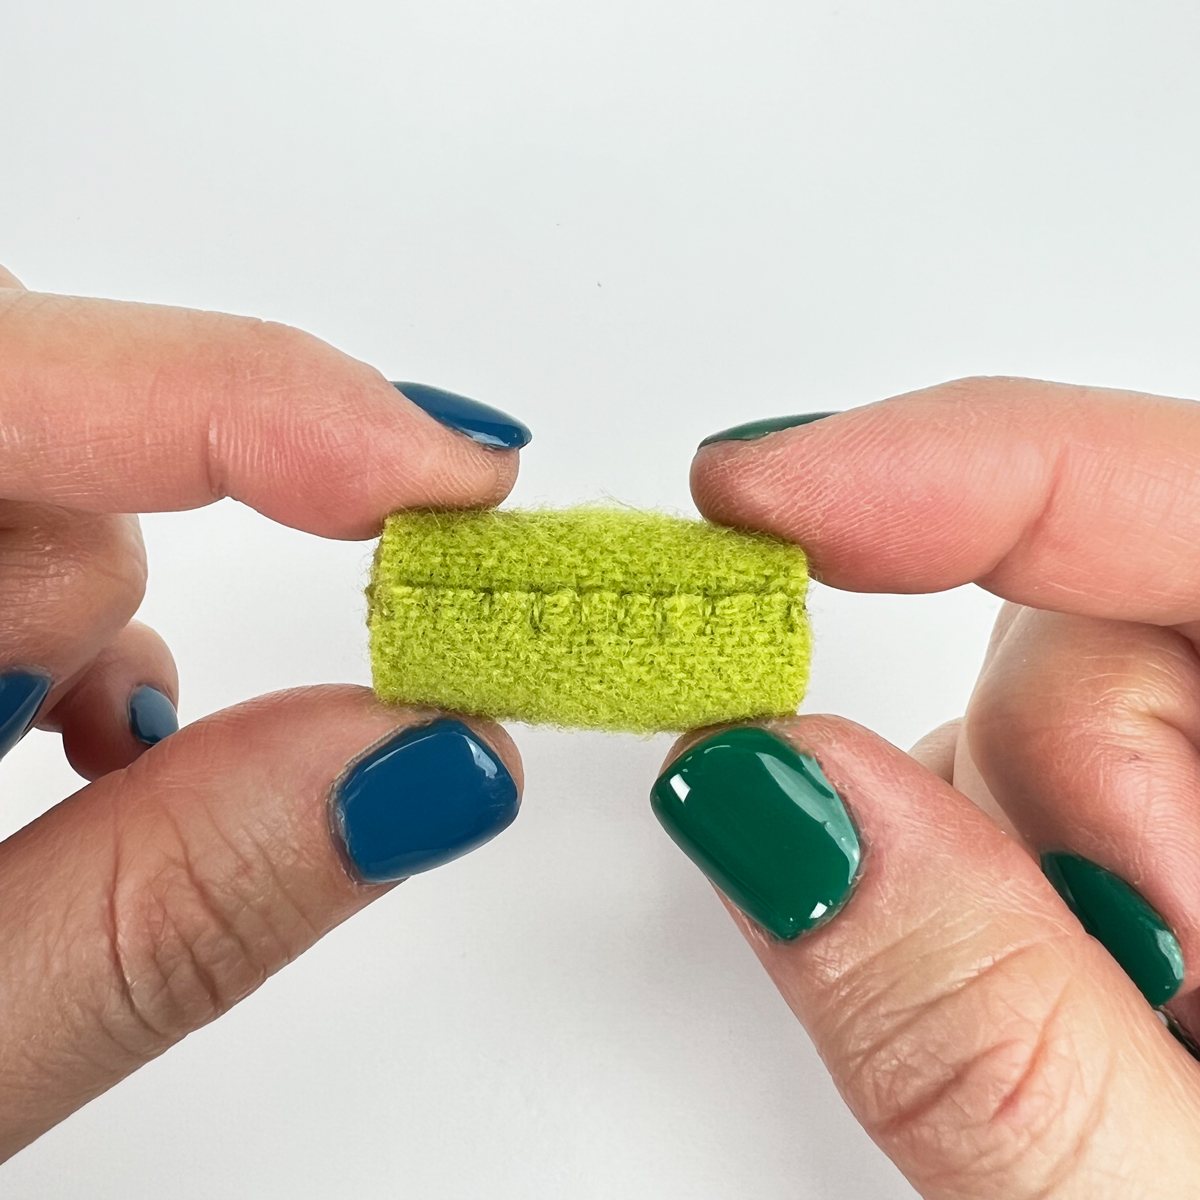
Trim your ribbon to length, making sure each end is able to be turned under 1/4", and the ribbon fits firmly around the wool roll.
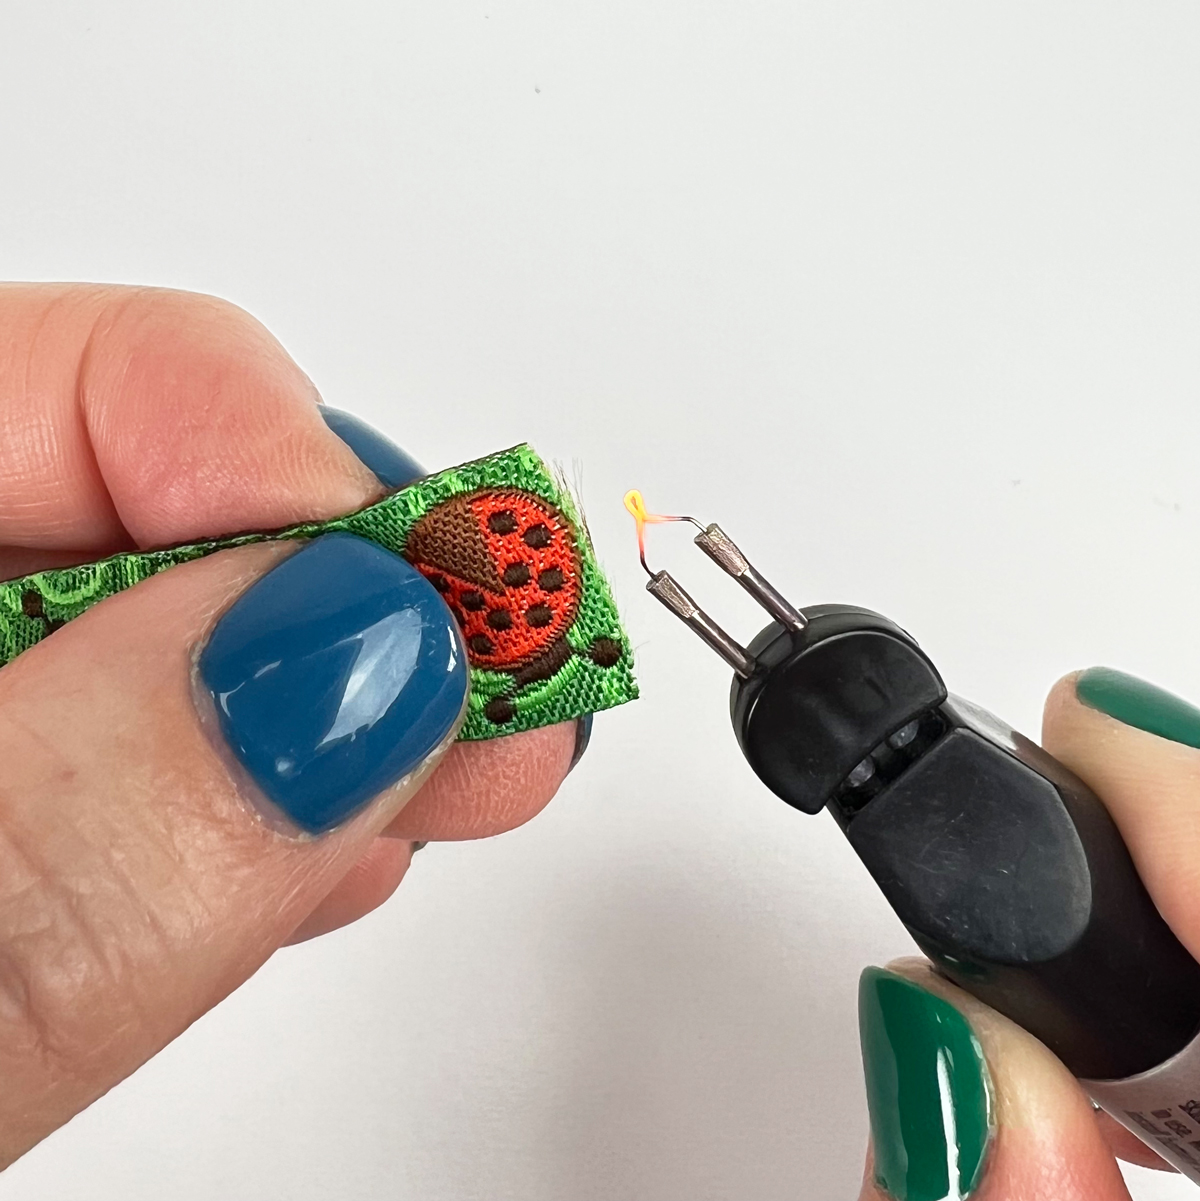
Using a Thread Zap, singe each end of your ribbon to prevent unraveling.
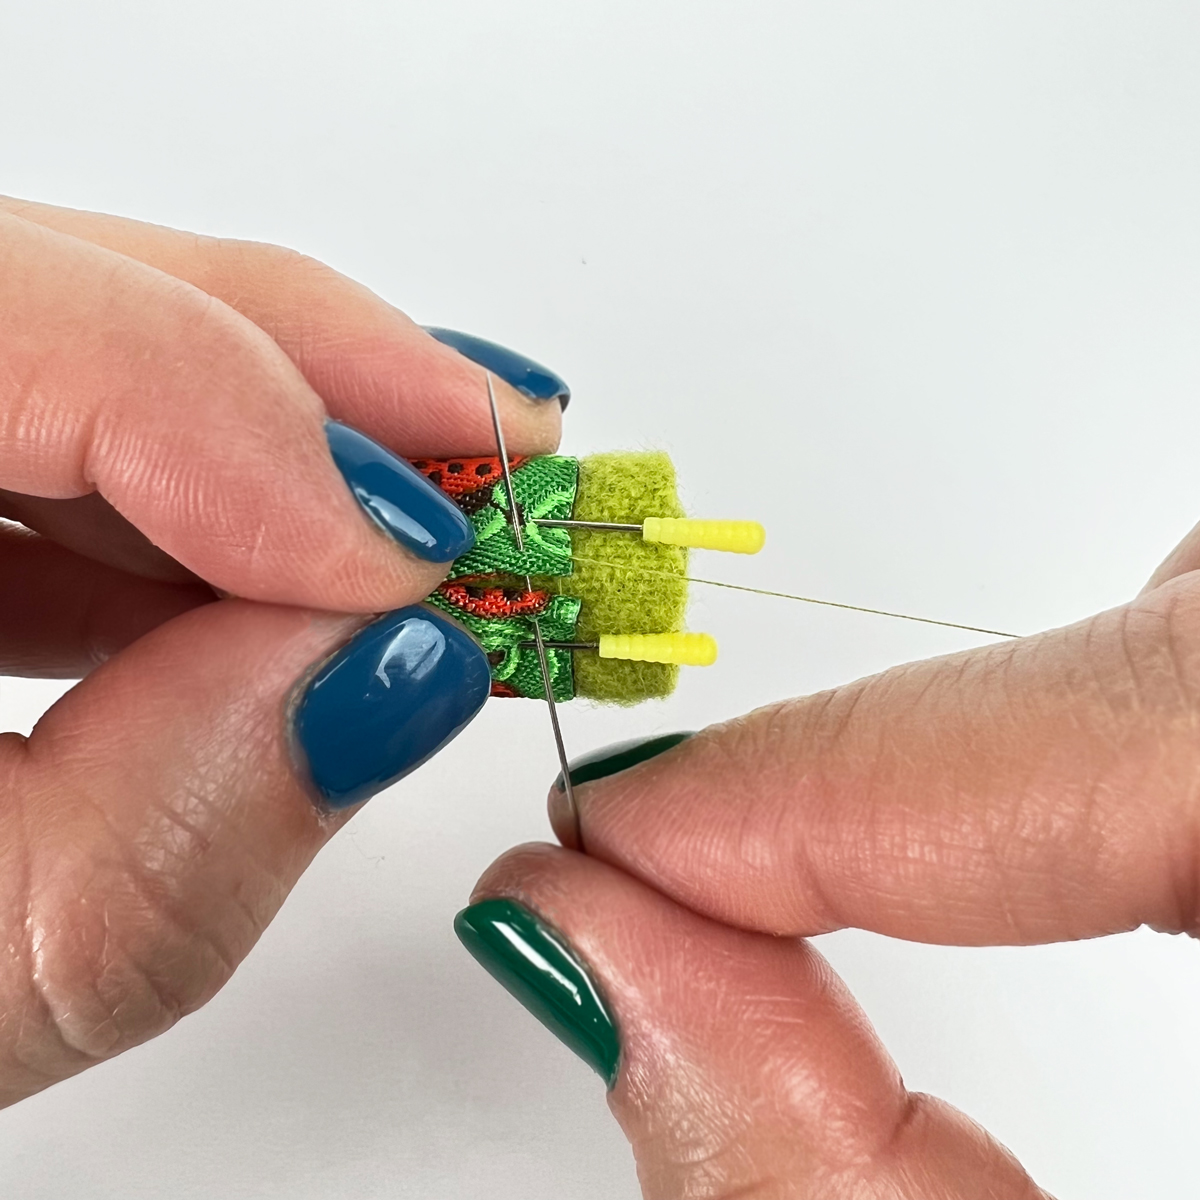
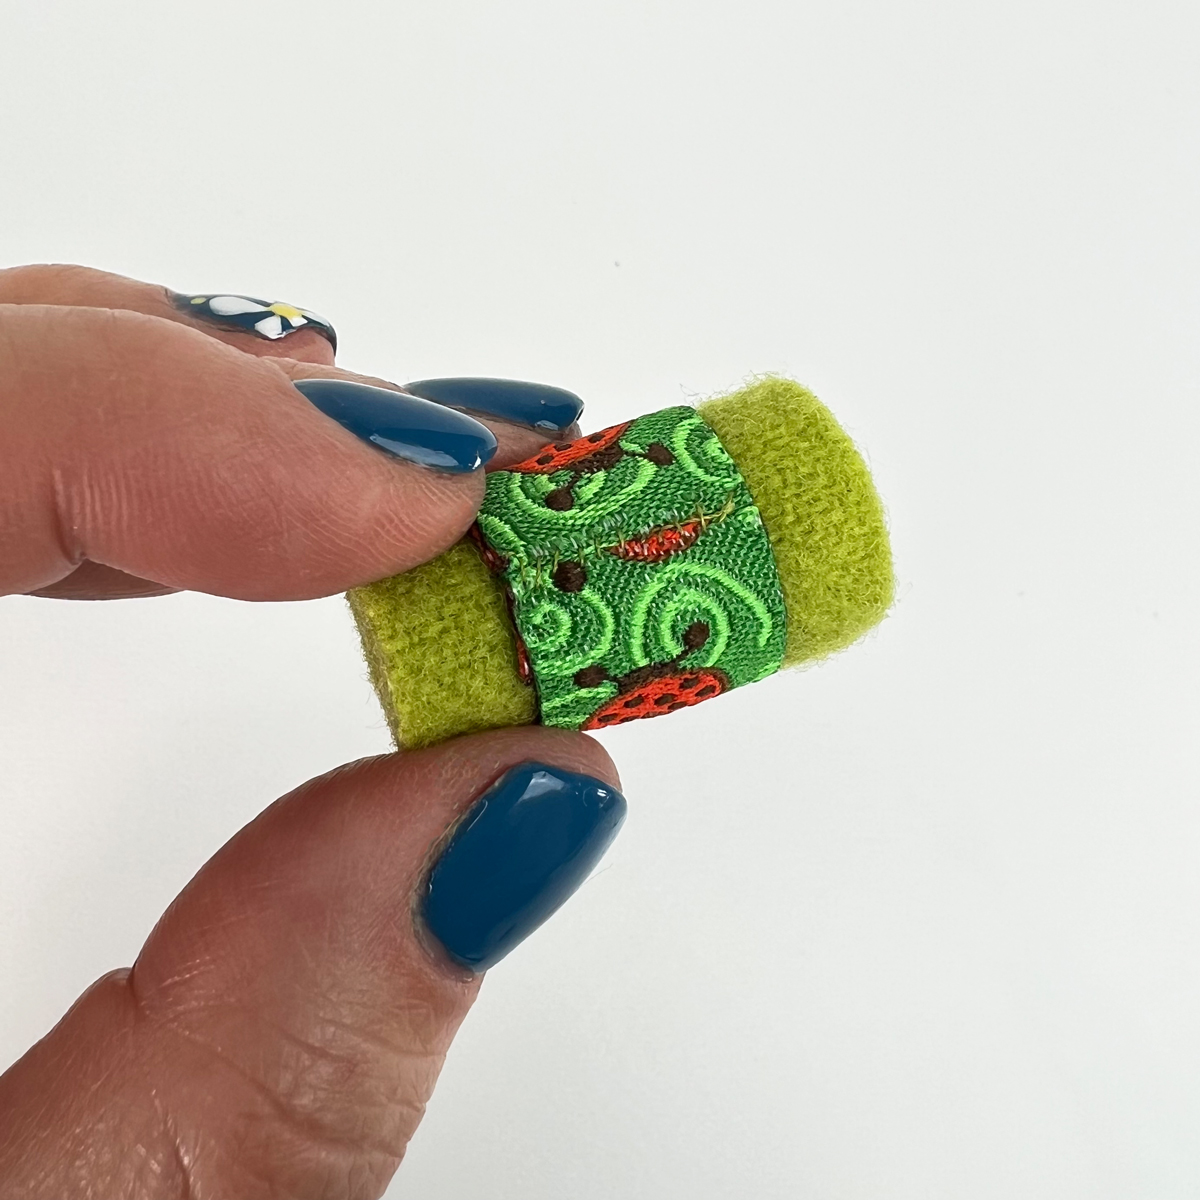
Folding each end under 1/4", pin your ribbon in place. Using a #11 Short Darner and matching Efina Cotton Thread, stitch the folded edge together.
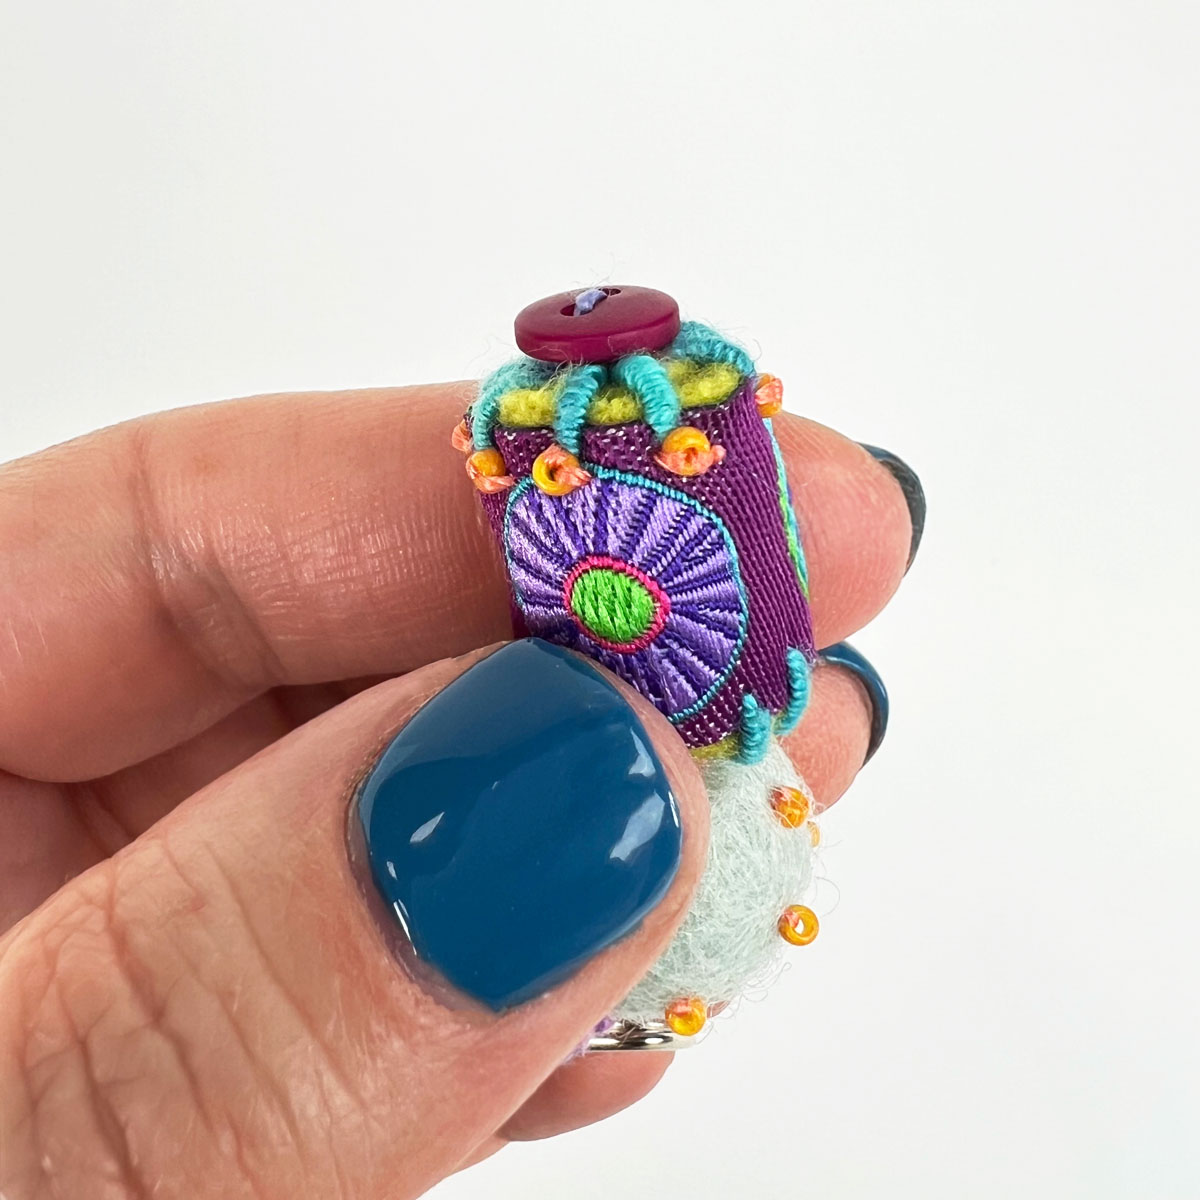
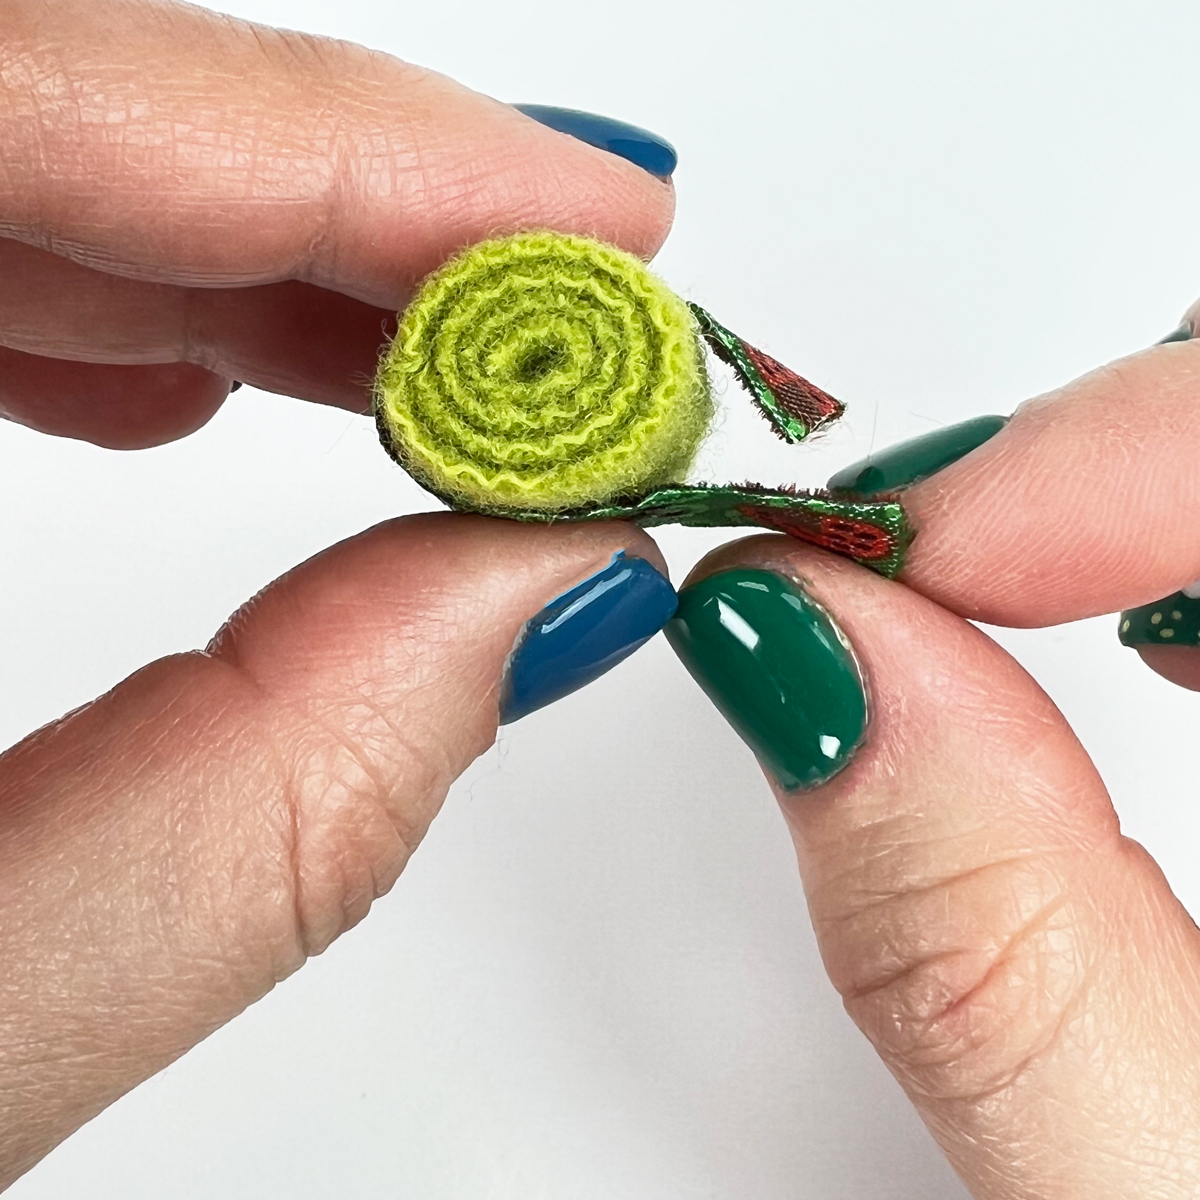
Here's where the fun begins! Using your Creative Stitching Book, choose any combination of stitches to embellish and tack down the ribbon edges. In the examples above, we used seed beads, Bullion Knots and straight stitches.
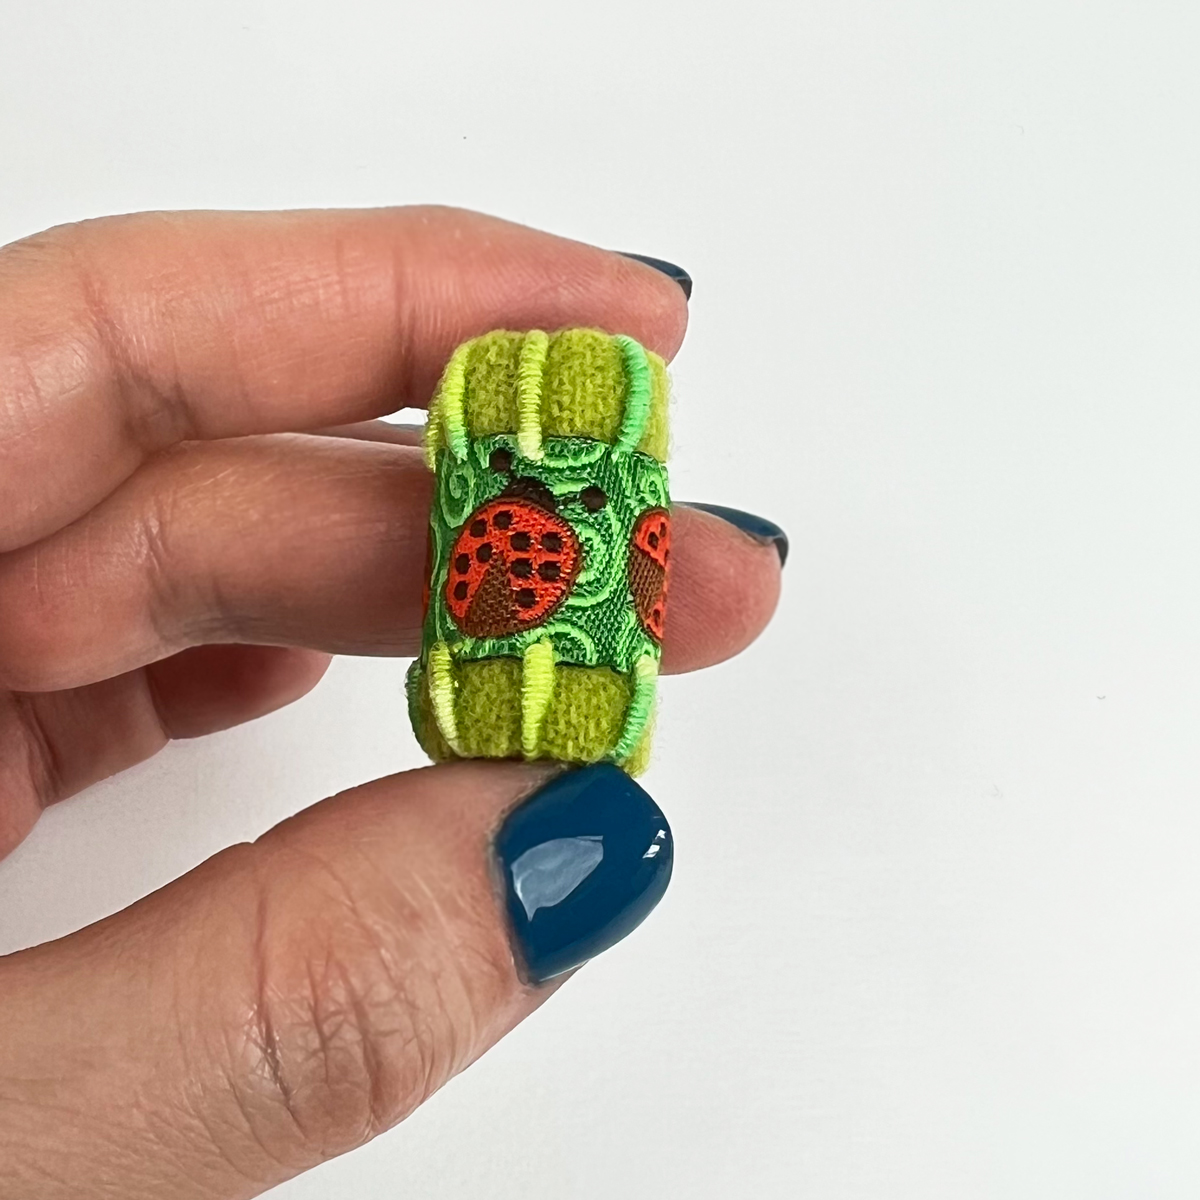
Continuing with our example, using a #3 Milliners Needle and #8 EZM60, we stitched Bullion Knots (page 92) along each edge of the ribbon.
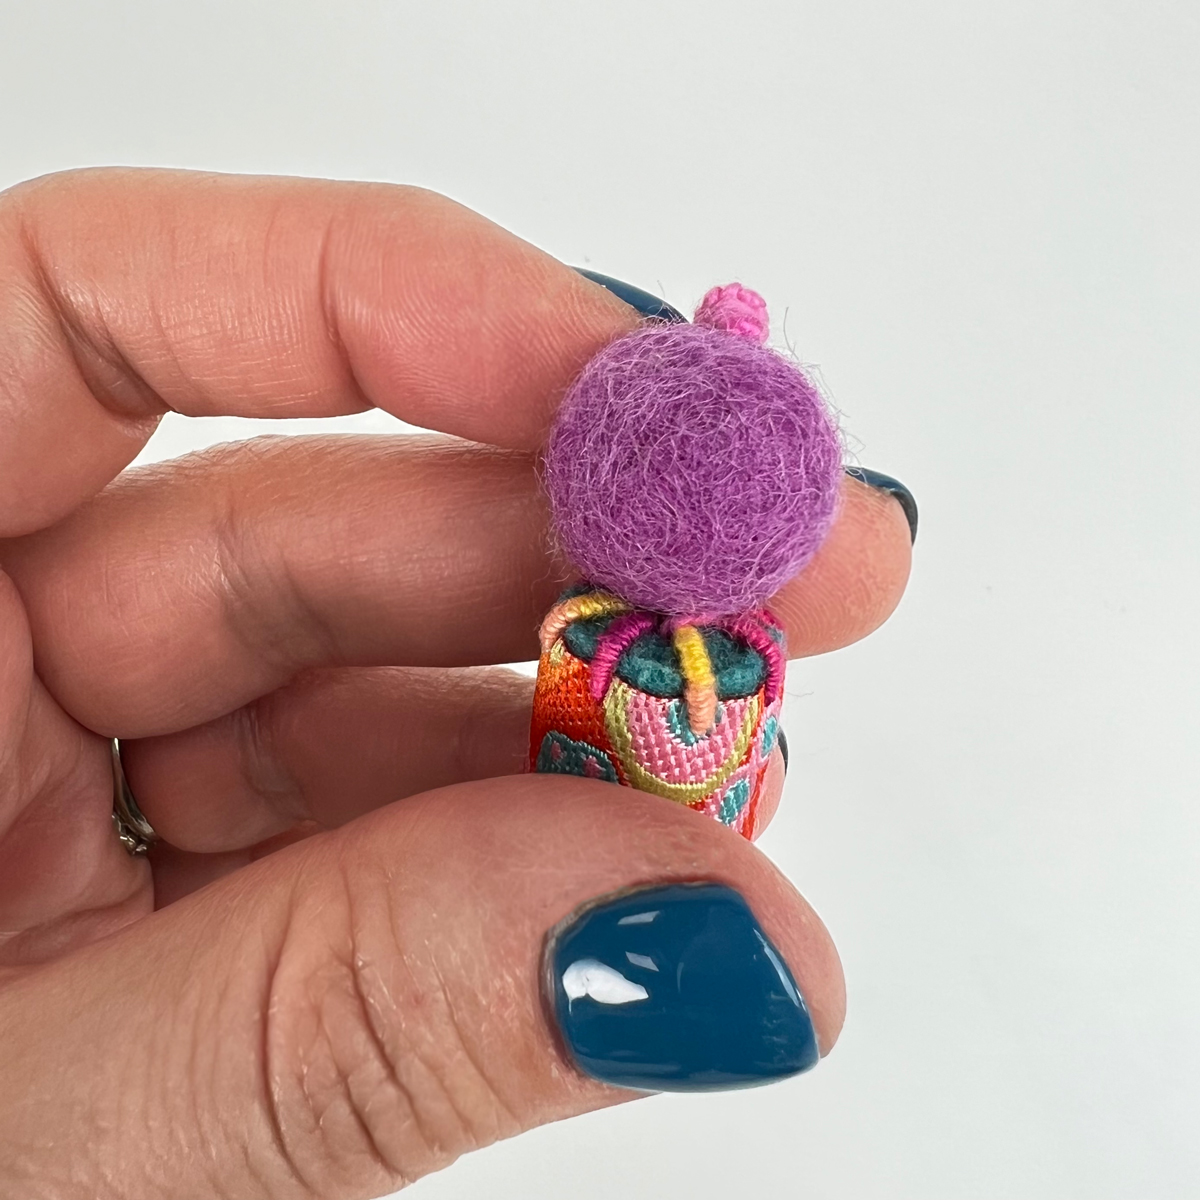
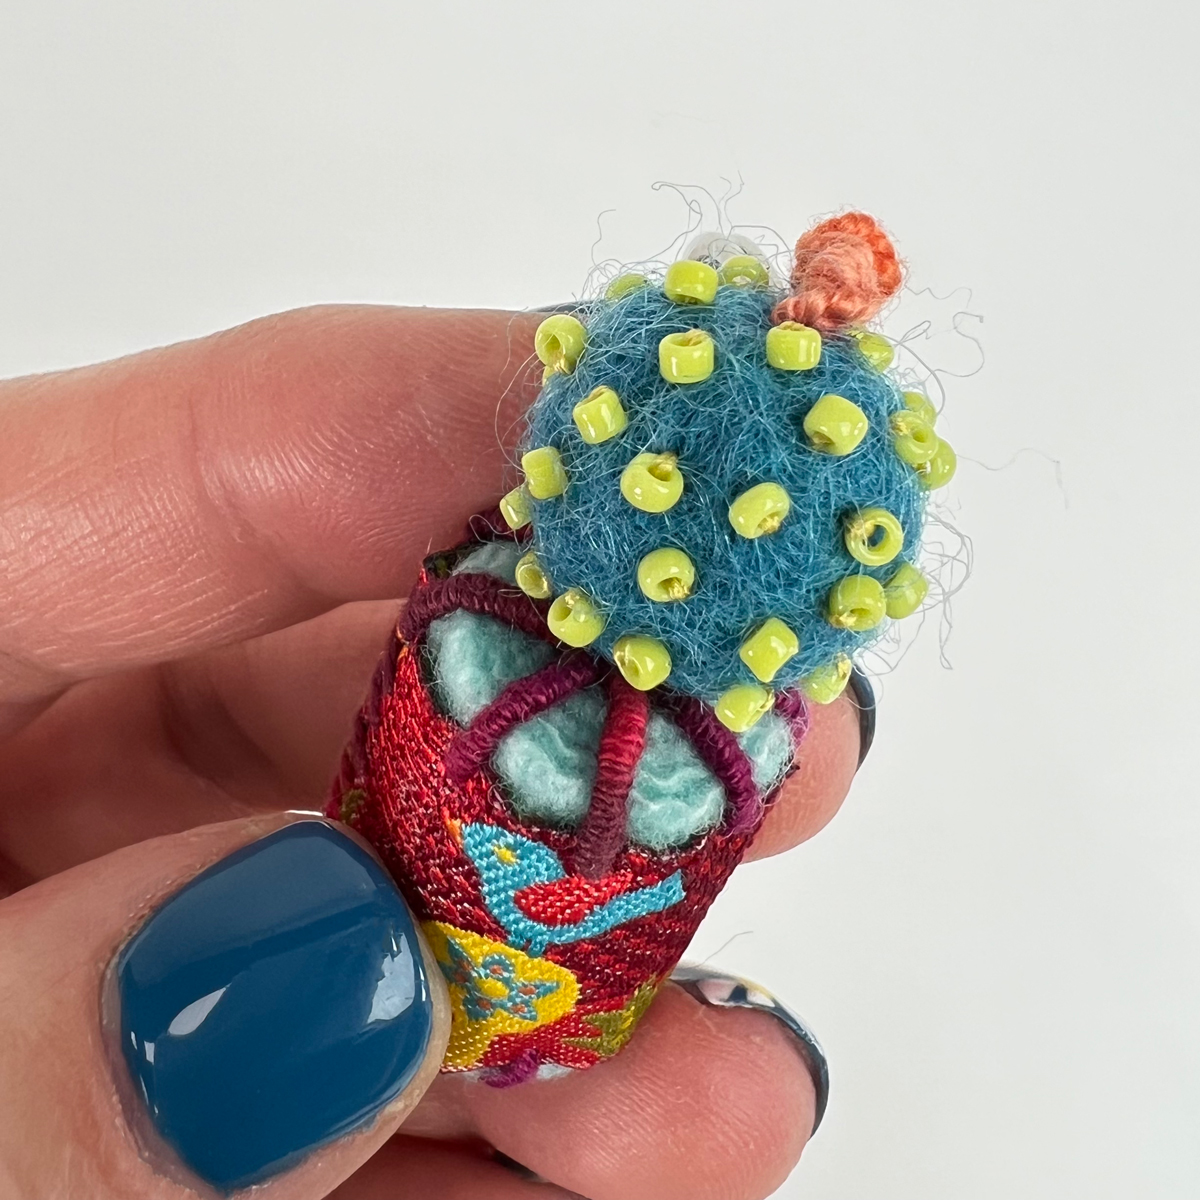
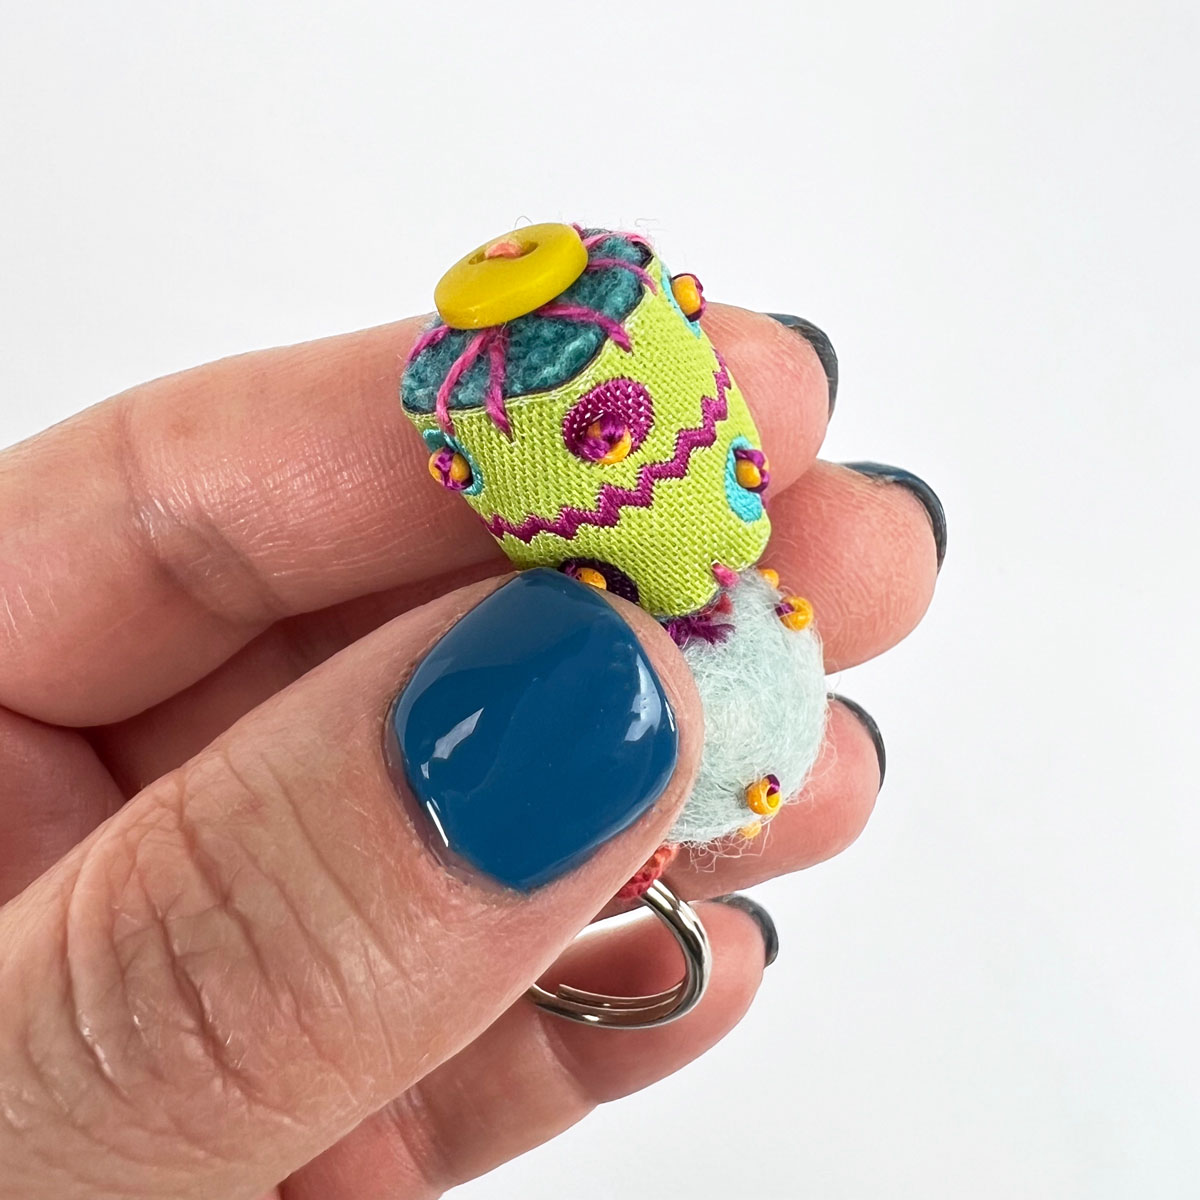
Optional: prior to attaching your roving ball, adorn it with stitches or seed beads.
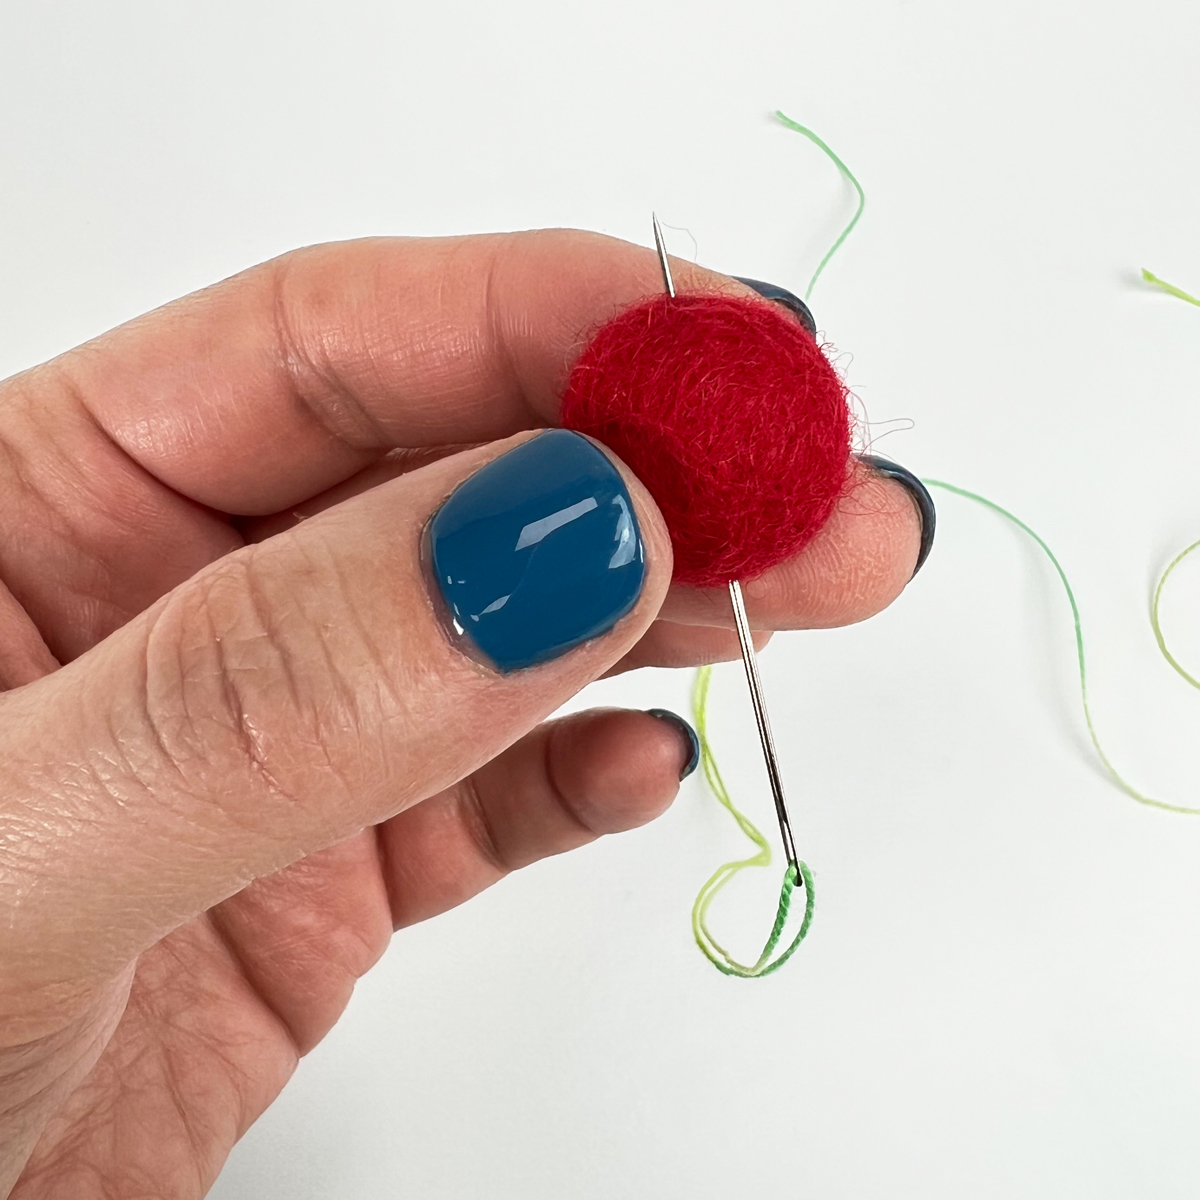
To assemble your bauble, using a Milliners needle and #8 or #5 Eleganza, knot the end. Bring the needle through the center of your roving ball. Pull the needle through.

Stitch a Drizzle Stitch (page 100), we used approximately 30 cast ons.
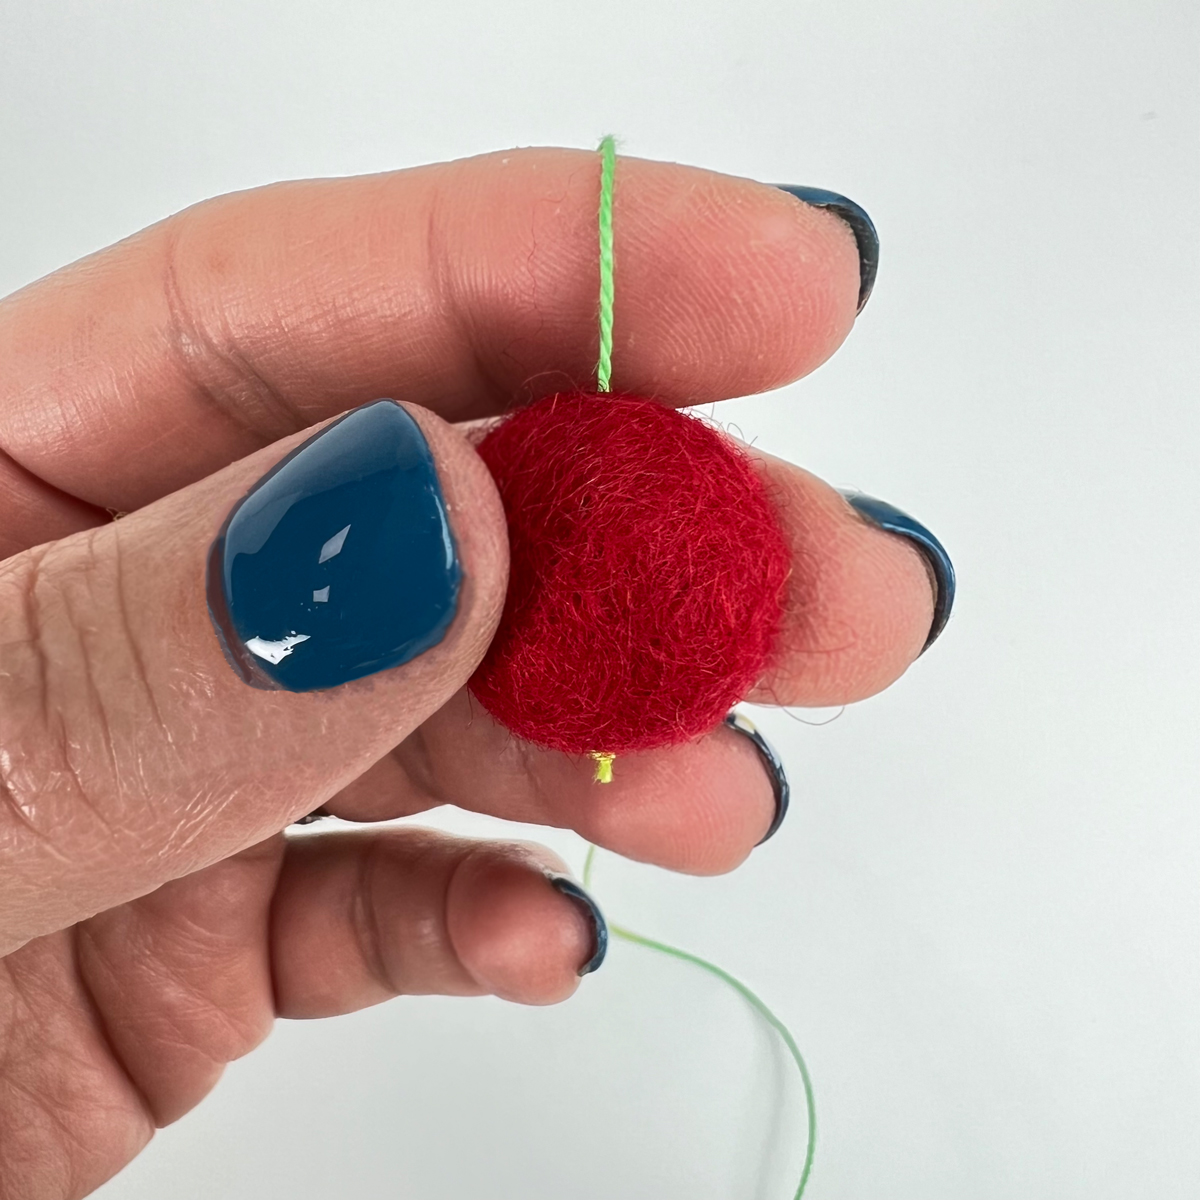
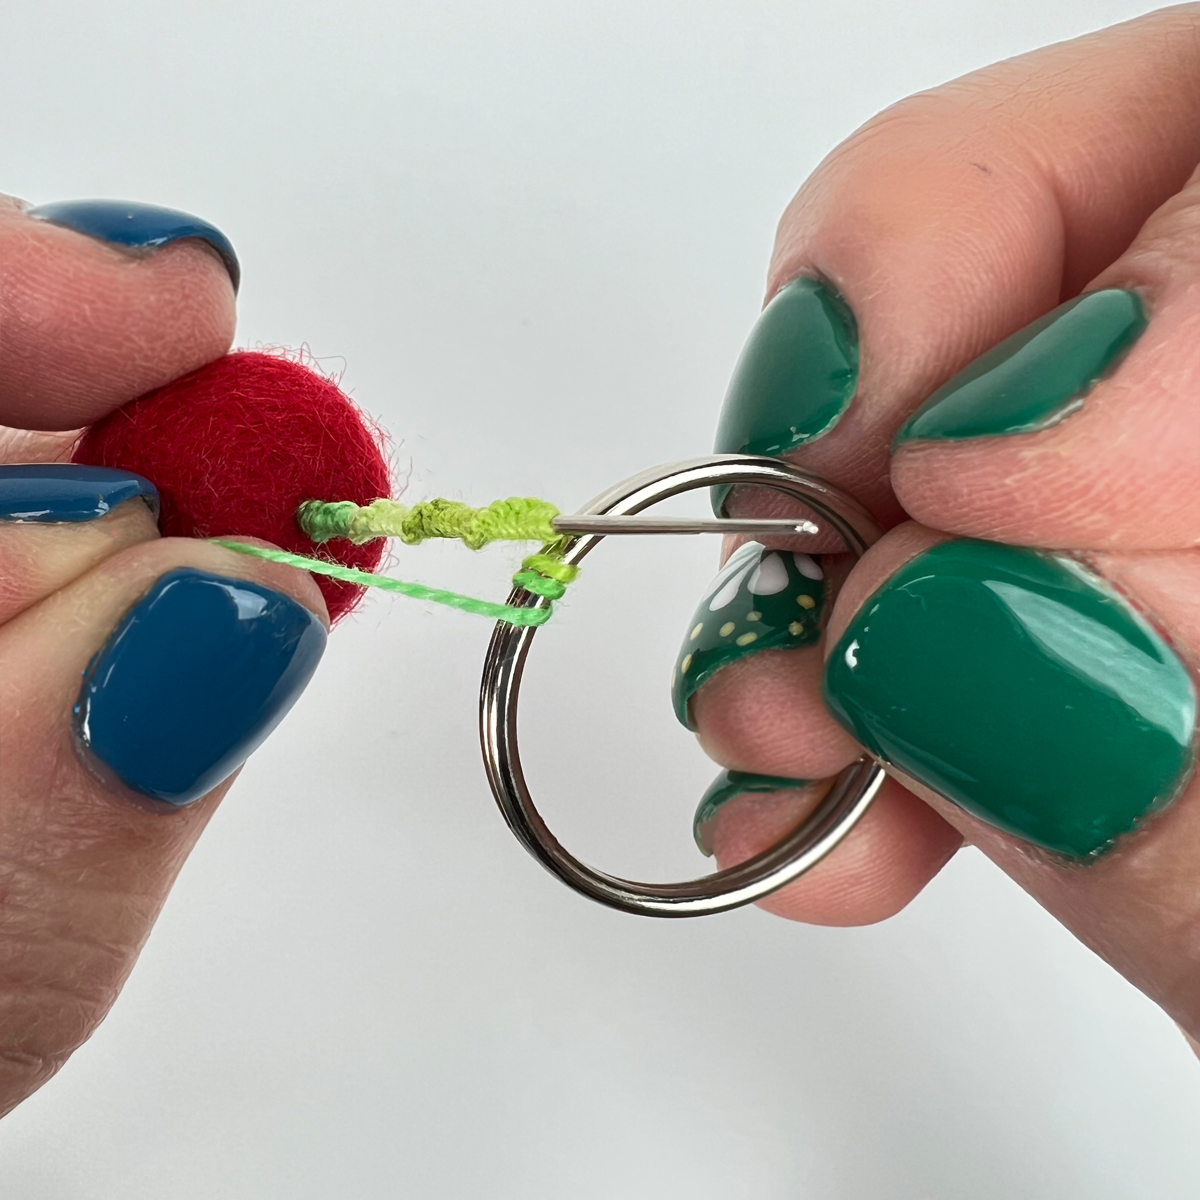
Prior to rethreading the needle, wrap your working thread 2-3 times around the split ring, through the zipper, or through whatever item you intend to hang it from or on.
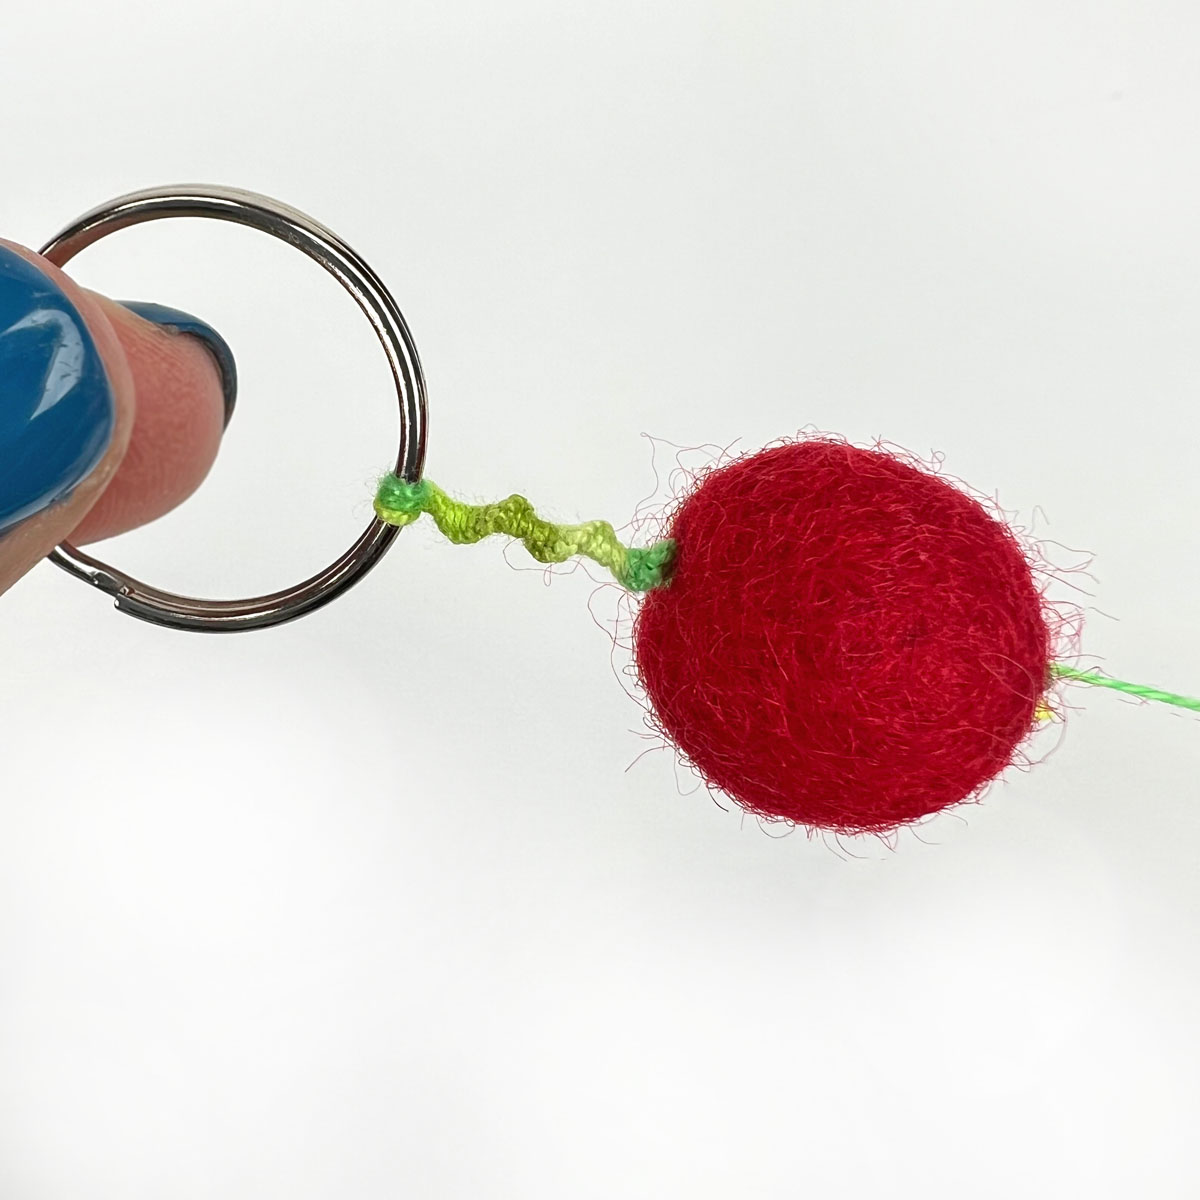
Complete your Drizzle Stitch and pull the needle through the roving ball.

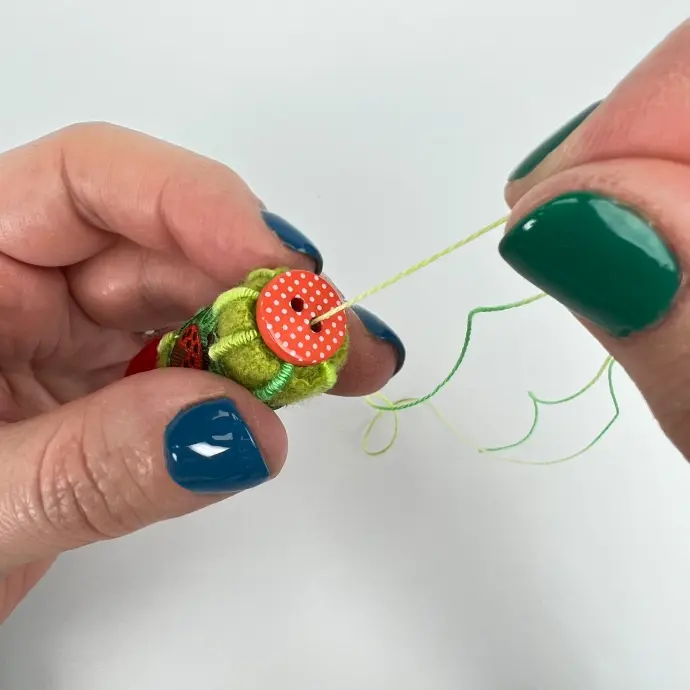
Next, attach your wool roll by taking the needle down the center, catching the sides to secure. Attach the button by going through the first hole, then down the second. Pull the needle through the wool roll emerging under the roving ball; ensure your button is snug.
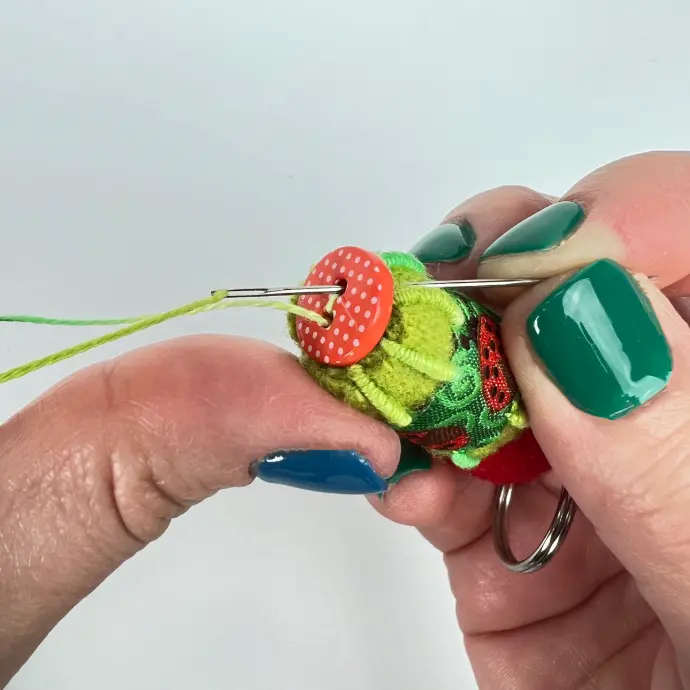
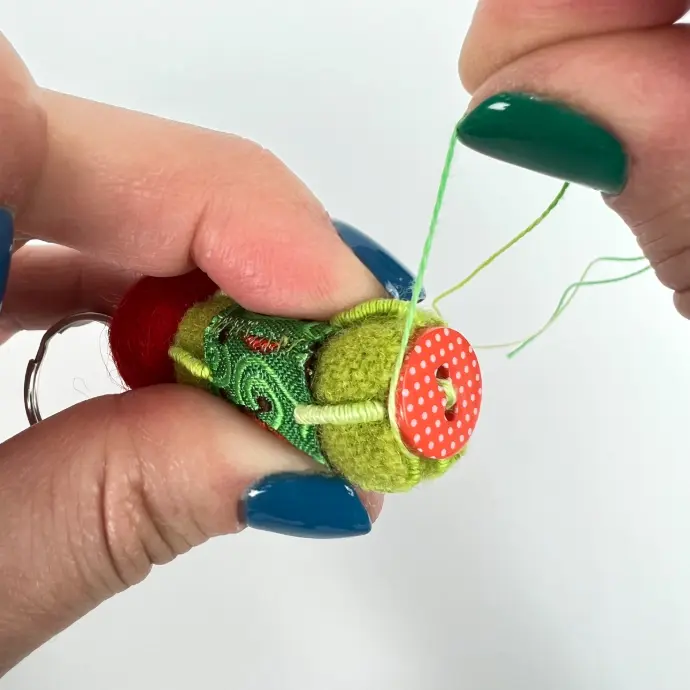
Repeat step one by taking the needle through the wool roll and the first hole of the button. To finish, take the needle through the second hole emerging under the button, pull the needle through. Secure by wrapping the thread around the button several times and complete with a knot.
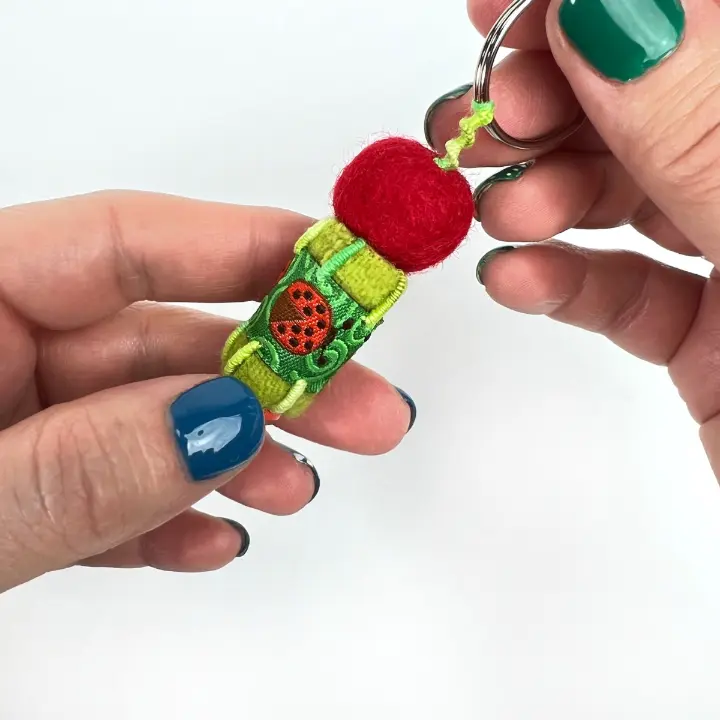
Your bauble is complete and ready to use!
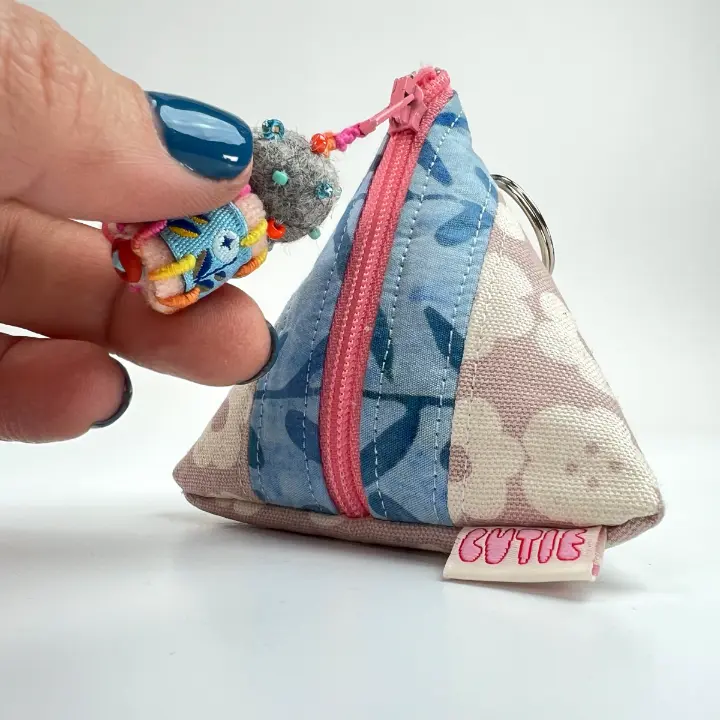
This sweet pouch was made from The Zipper Pouch Book, and we added a bauble as a pull!
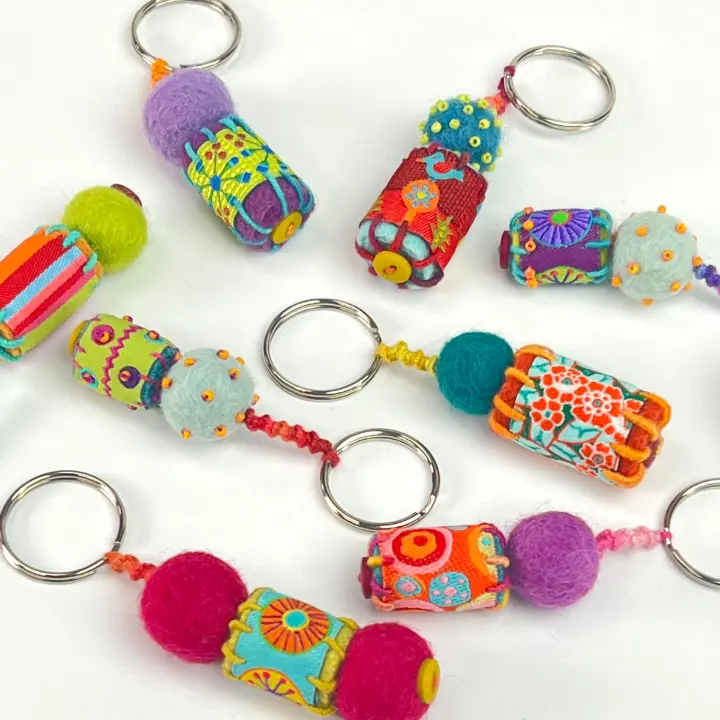
Get inspired by some of our samples!
Create