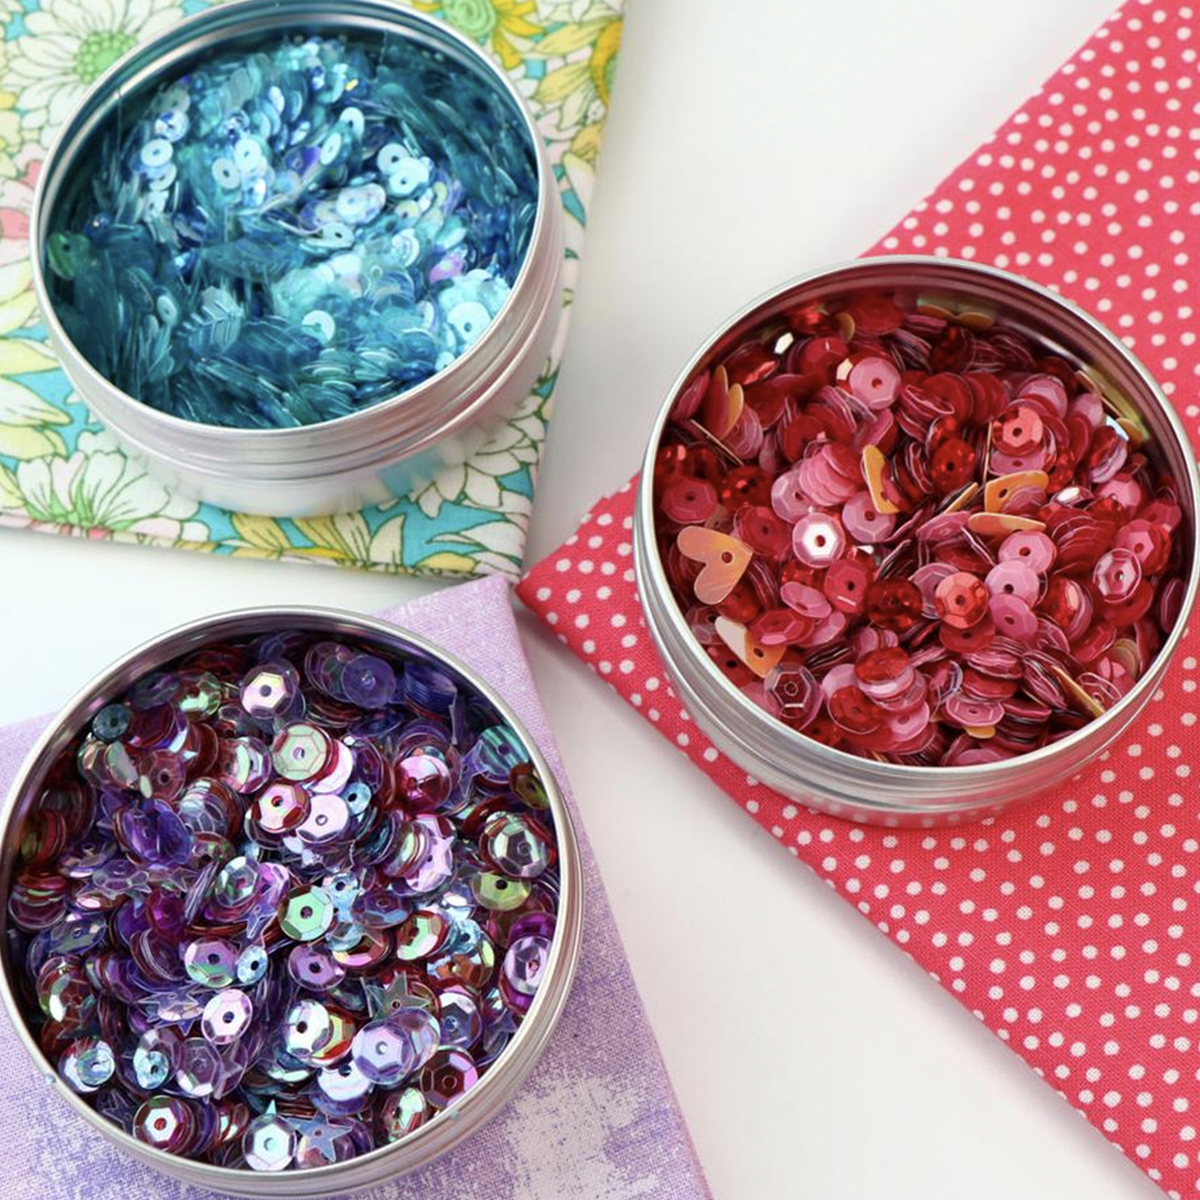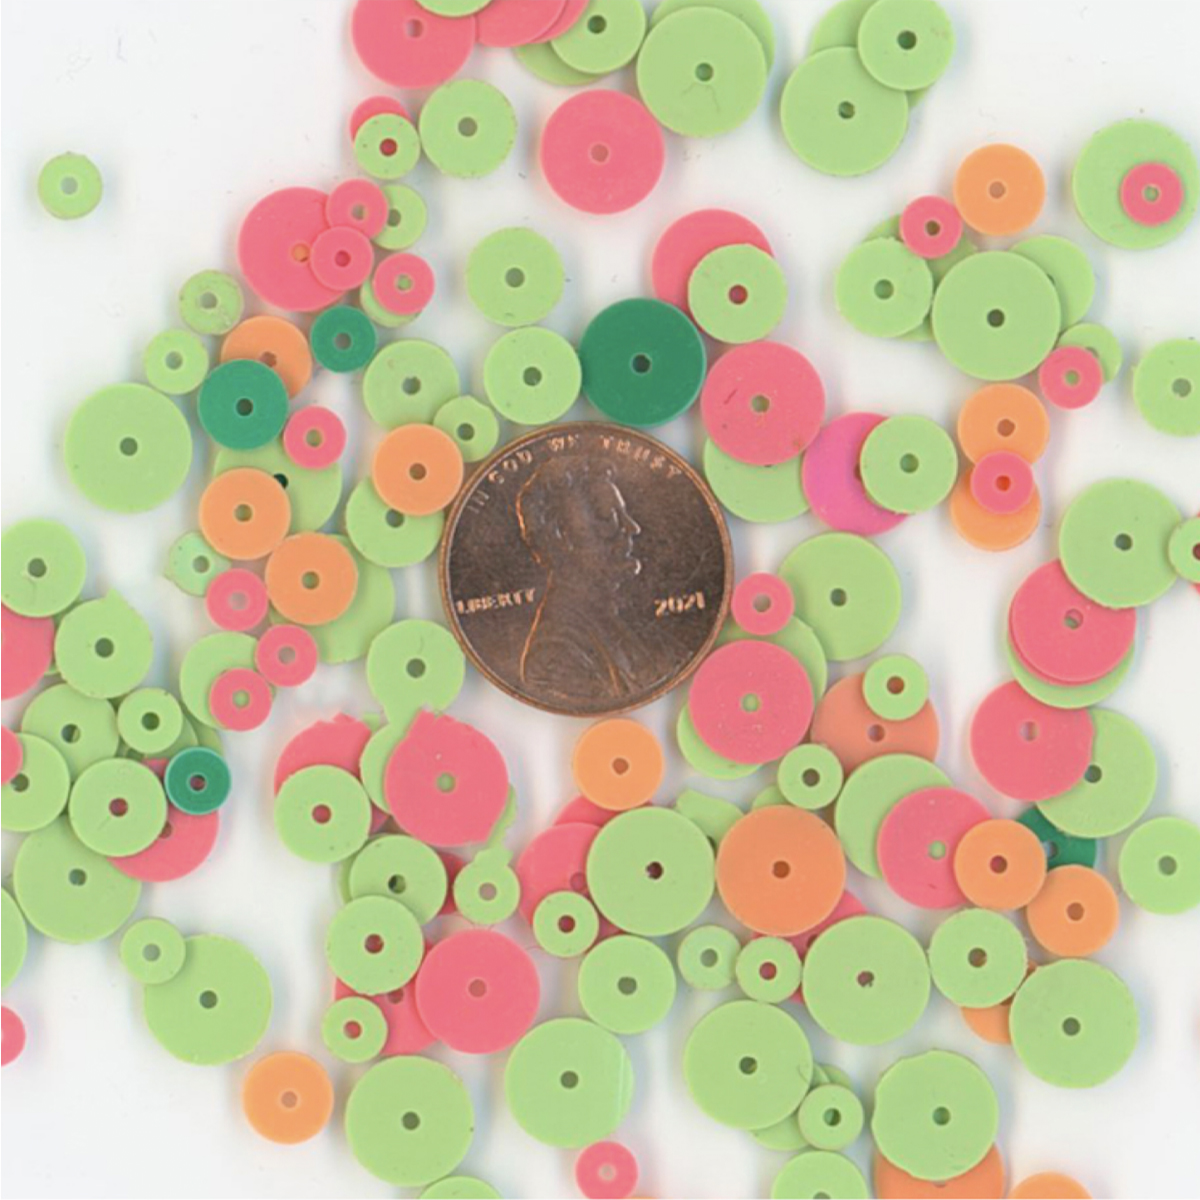
Your projects deserve to take center stage! Amp up any project’s visual allure by embellishing with sequins and African heishi beads.
Did you know?
The word sequin is derived from the Arabic word “sikka”, which means “coin.” Gold coins or other precious metals were originally sewn onto garments as early as 2500 BC. They were even found in King Tut’s tomb!
Today, African heishi beads are made from recycled vinyl phonograph records; however, they were originally made from shells. The word “heishi” means “shell” in the Pueblo native language. Heishi beads were used in many ancient, native cultures throughout the world.
Stitching Down
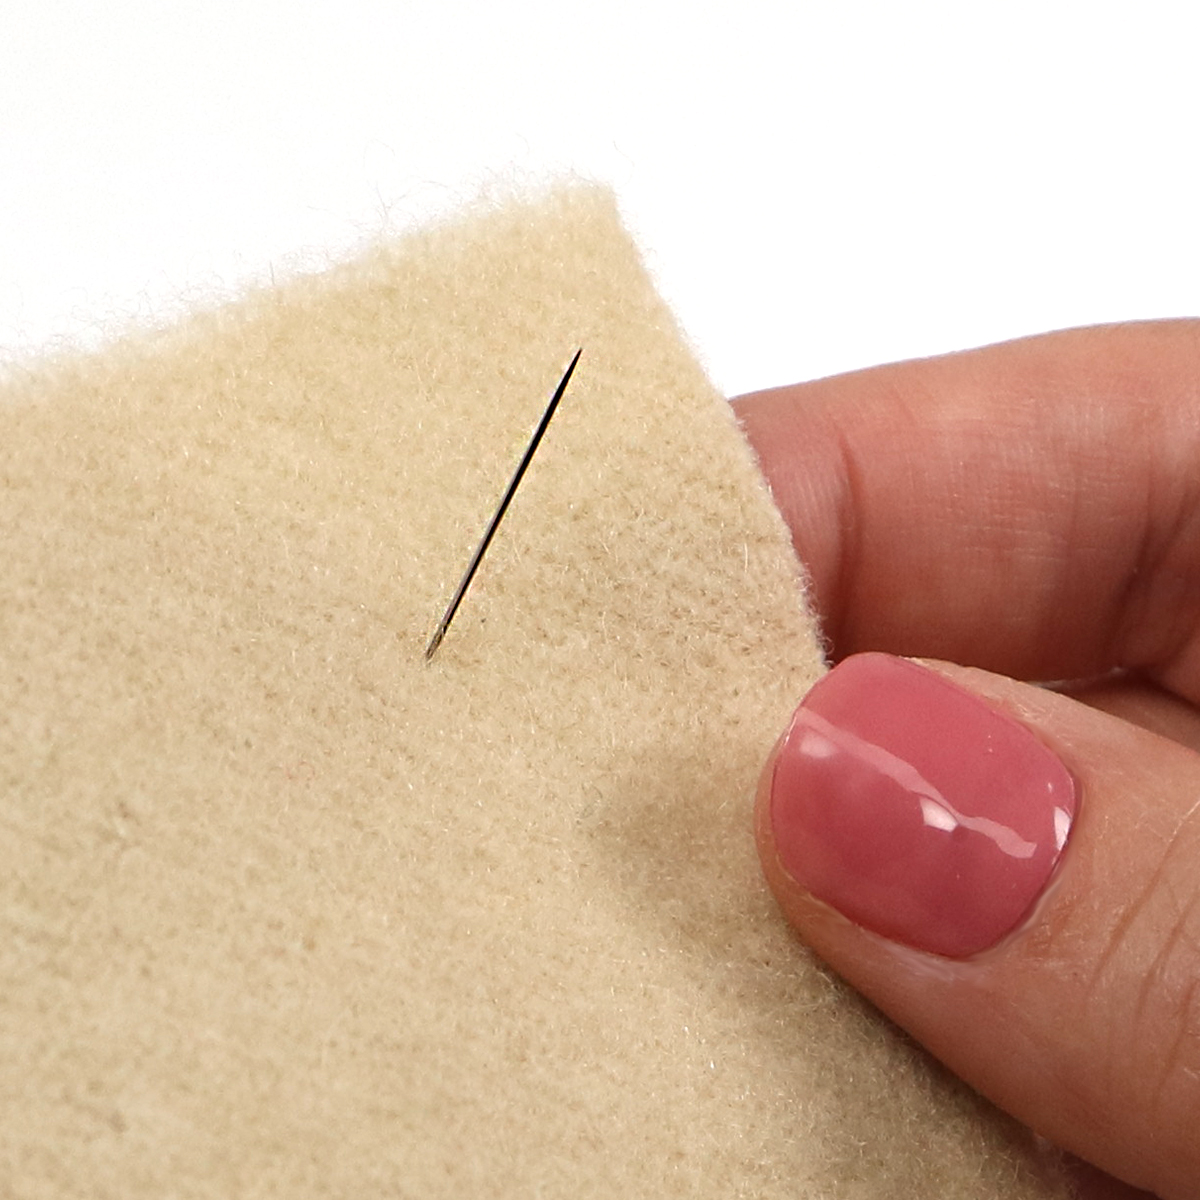

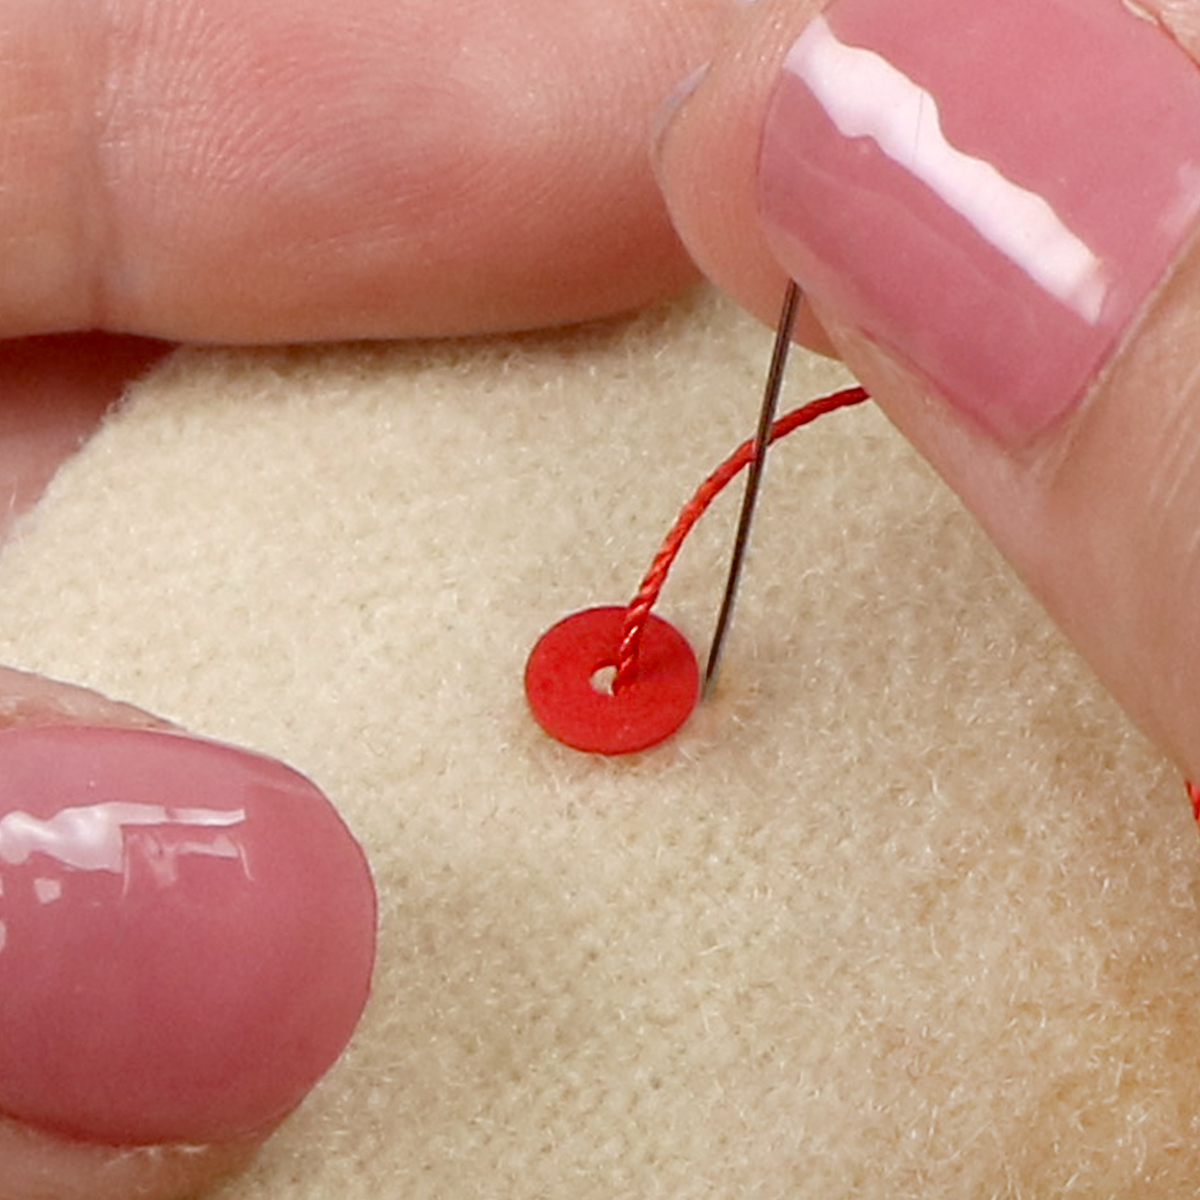
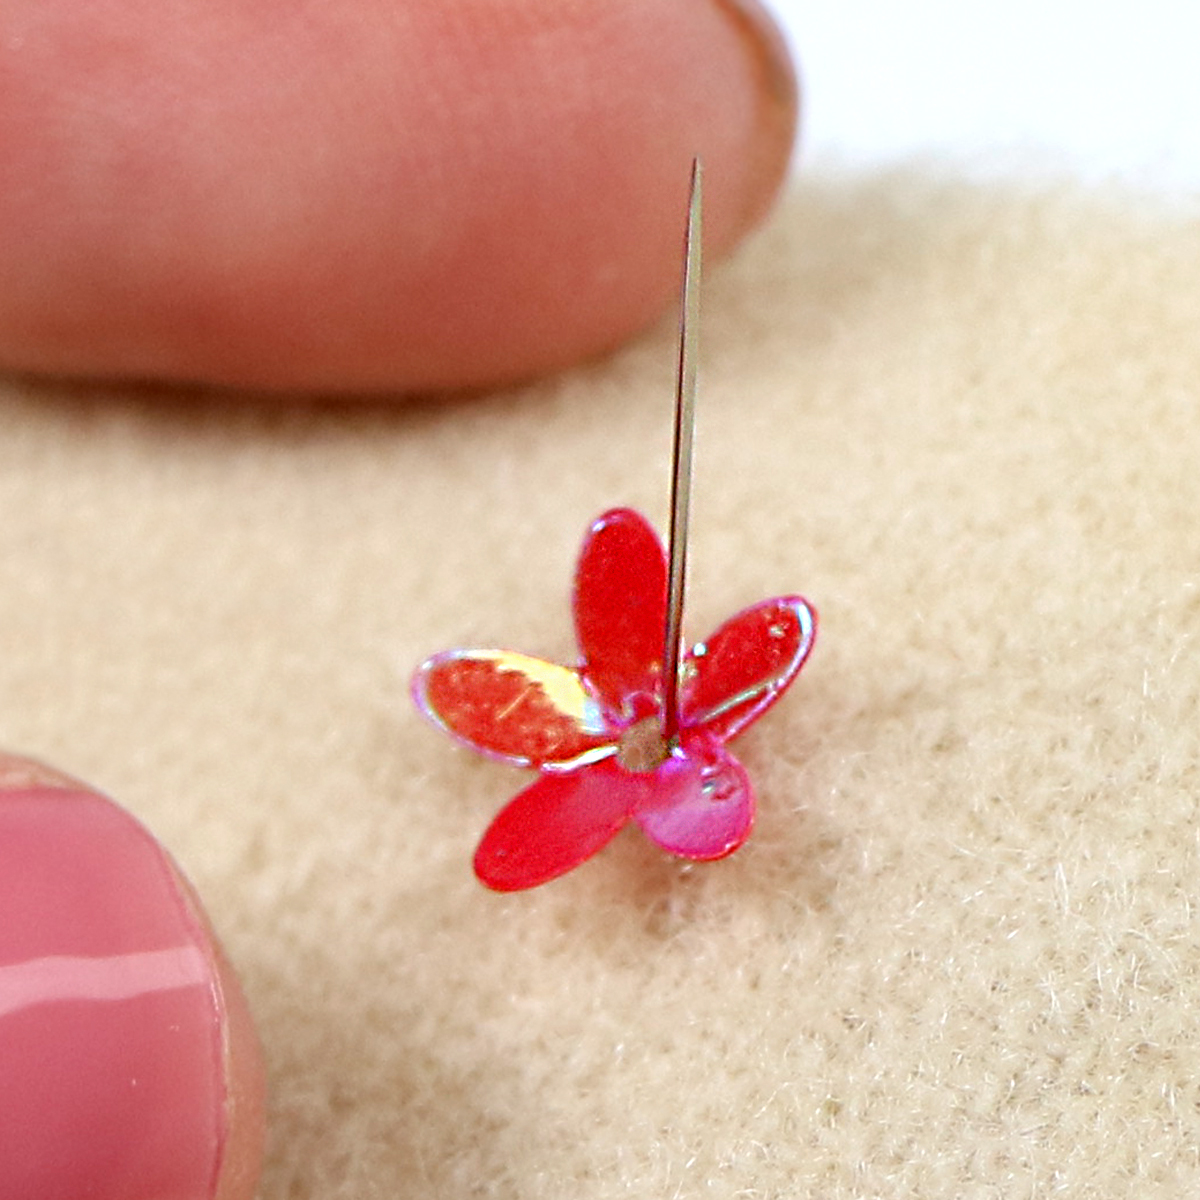
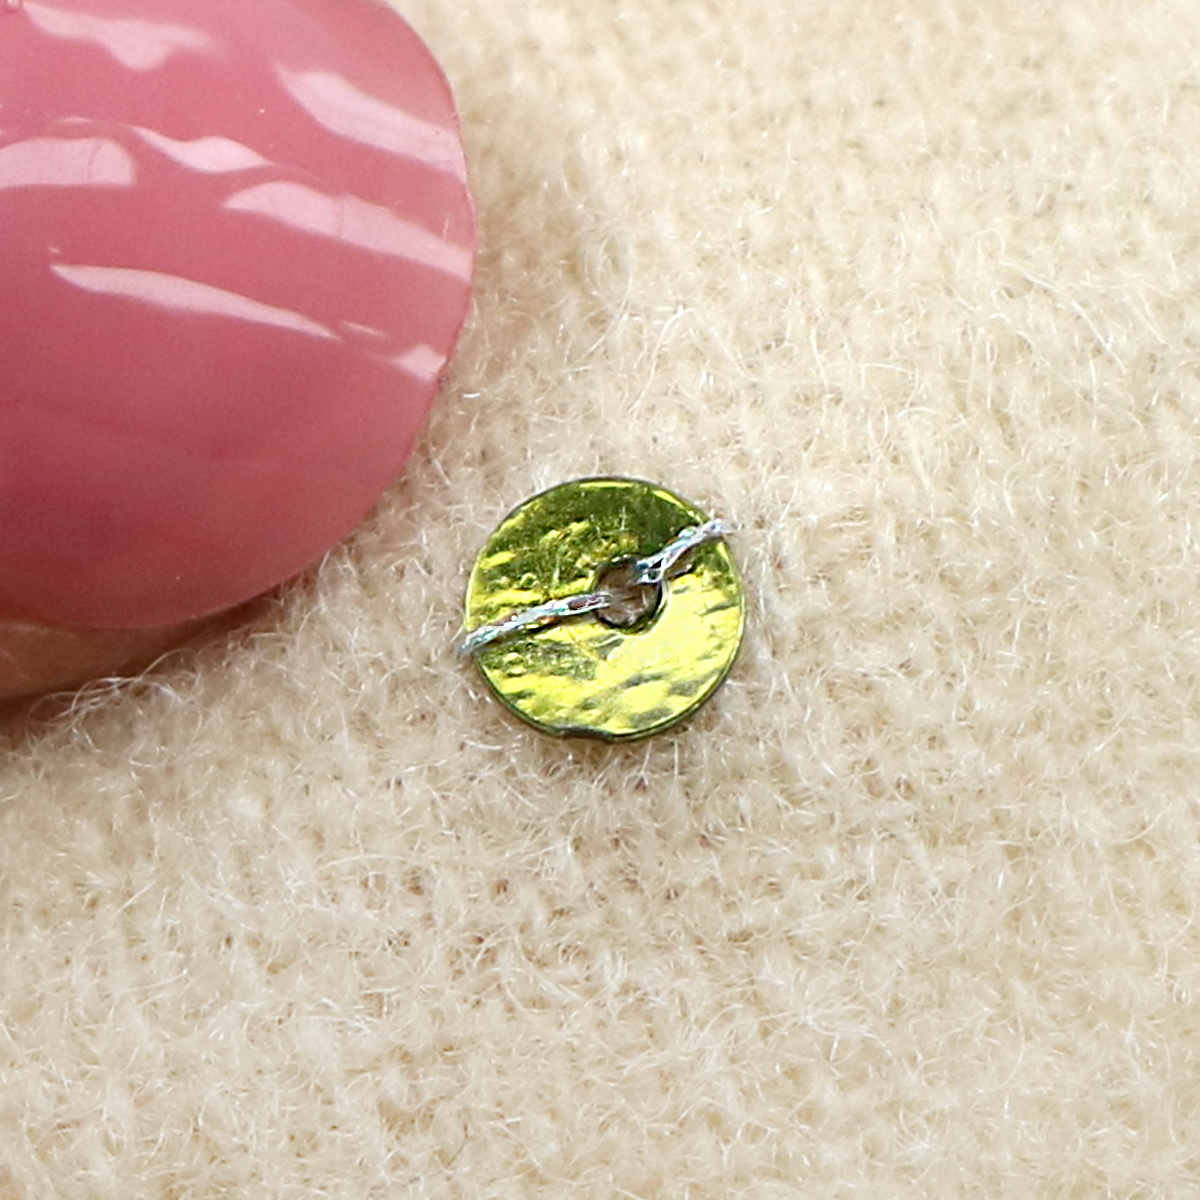
Bring the point of the needle to the front of the fabric, where you want the center of the sequin or heishi to sit.
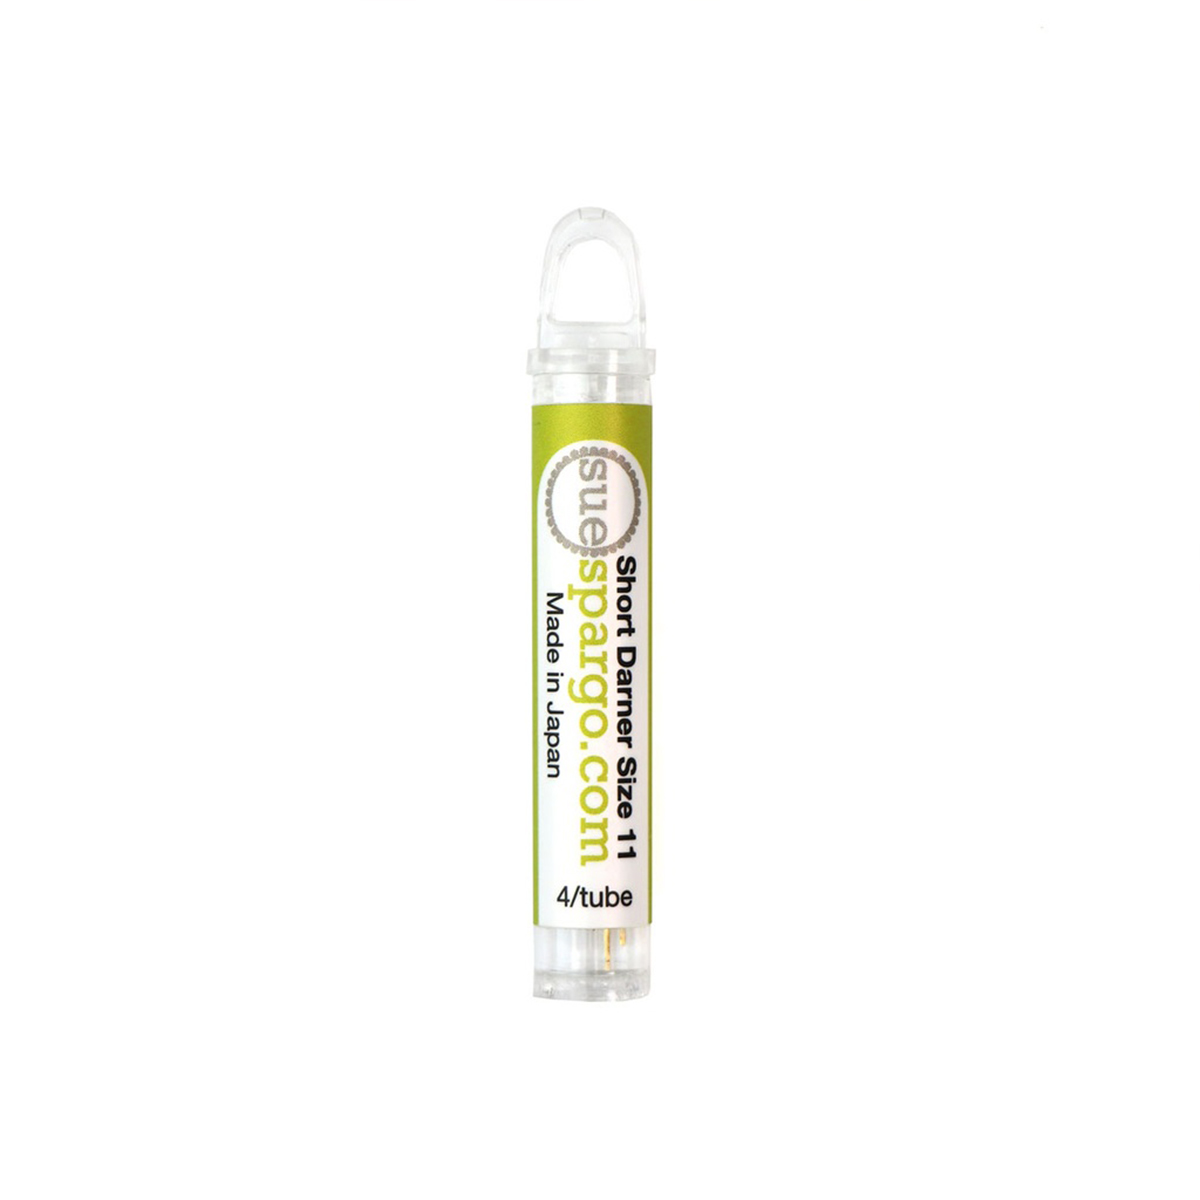
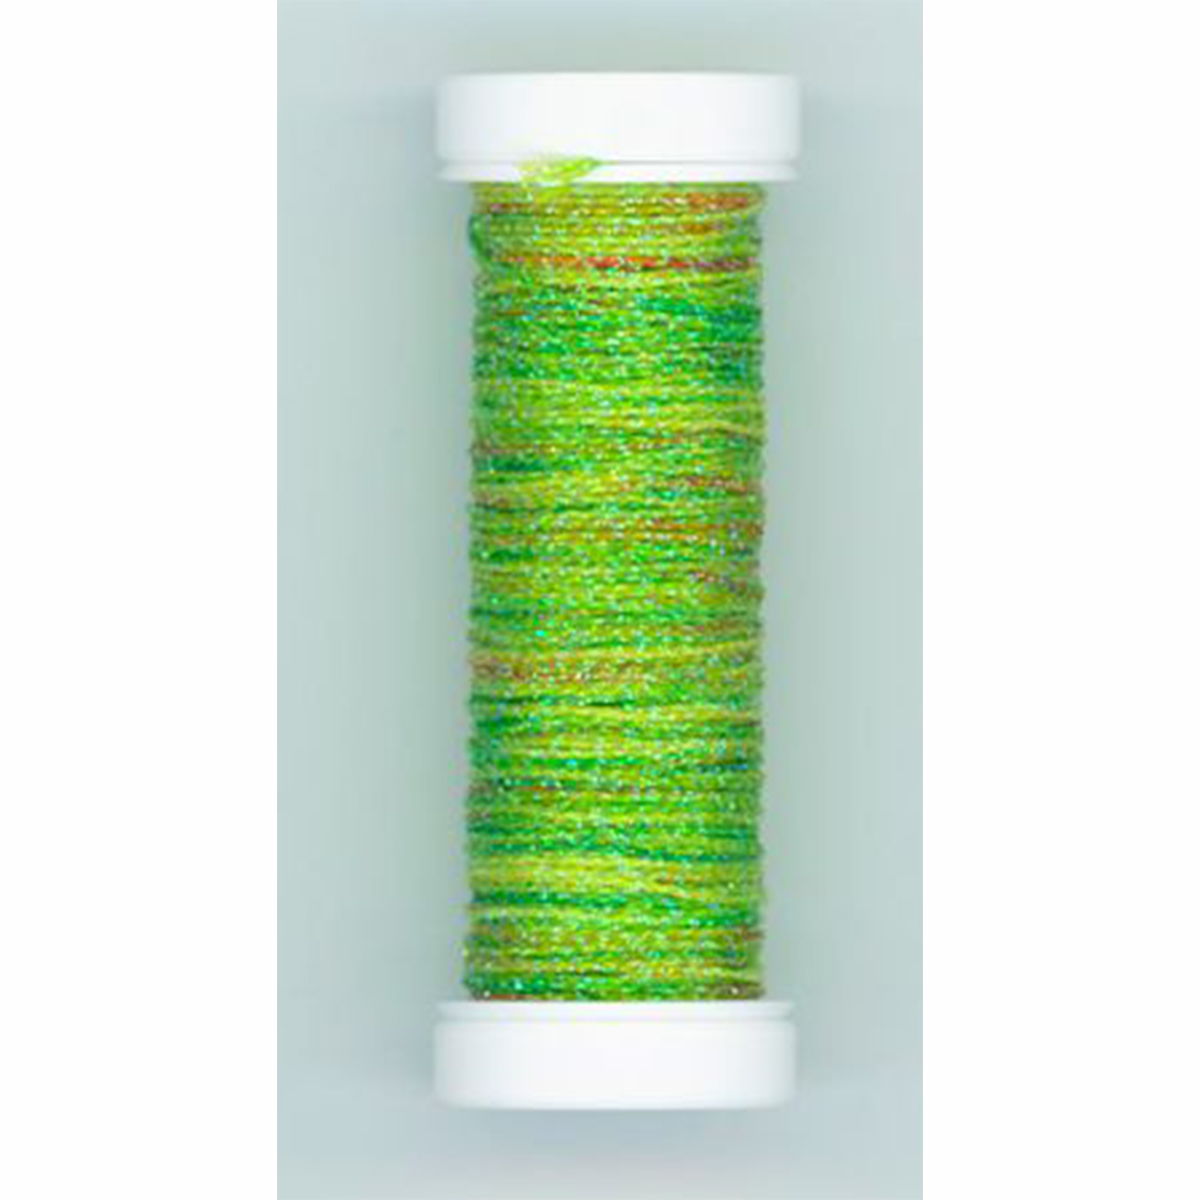
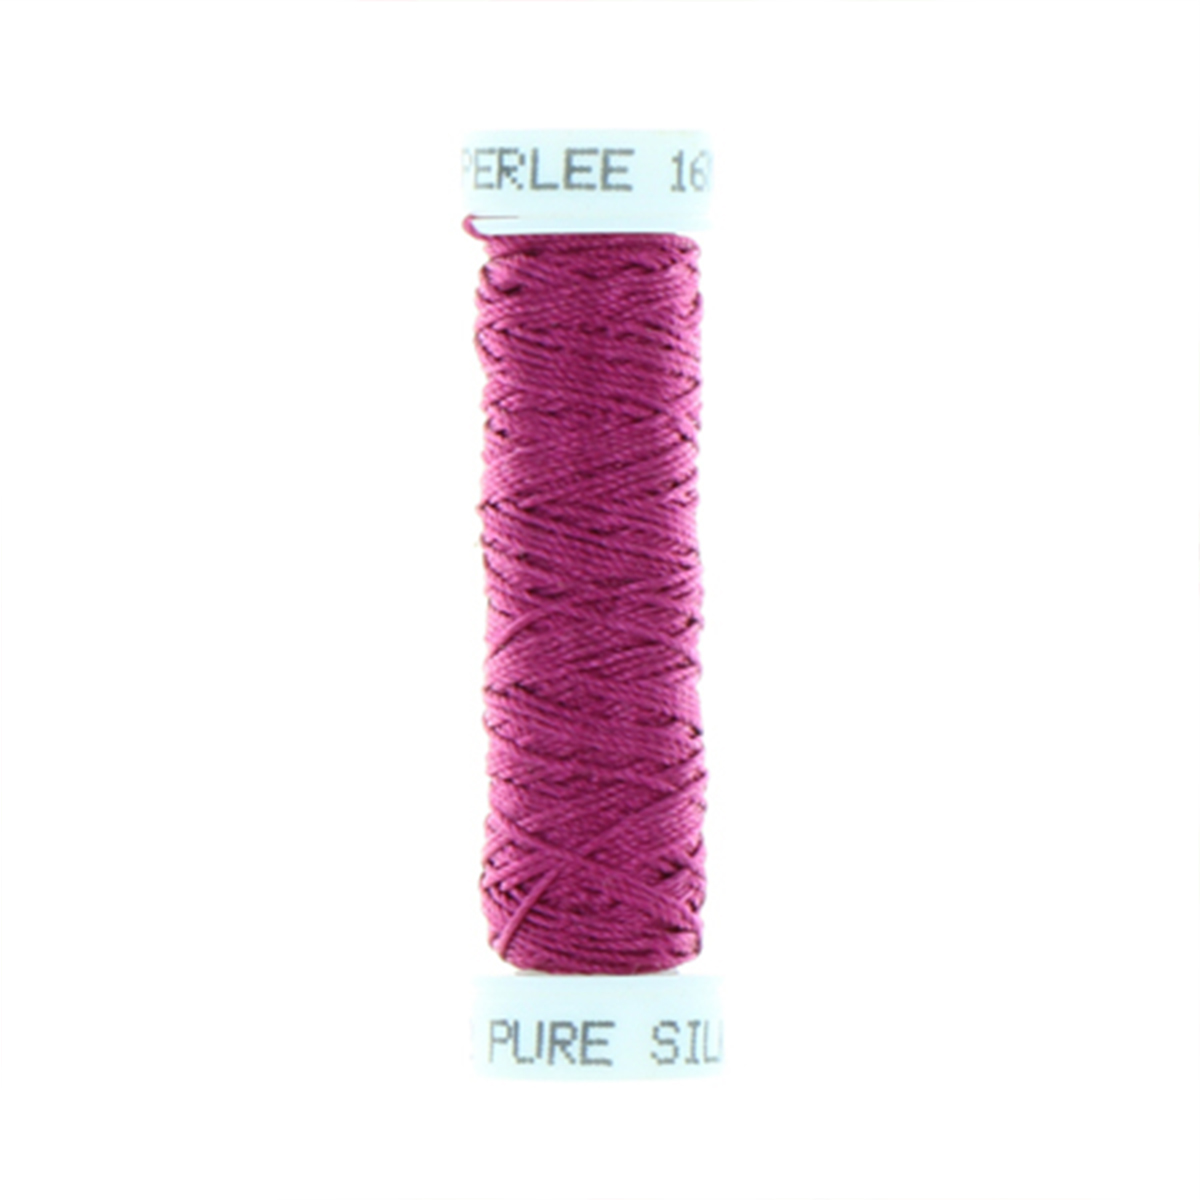
Thread the sequin onto the needle, then pull the needle through. We are using Soie Perlee with a #11 Short Darner needle.
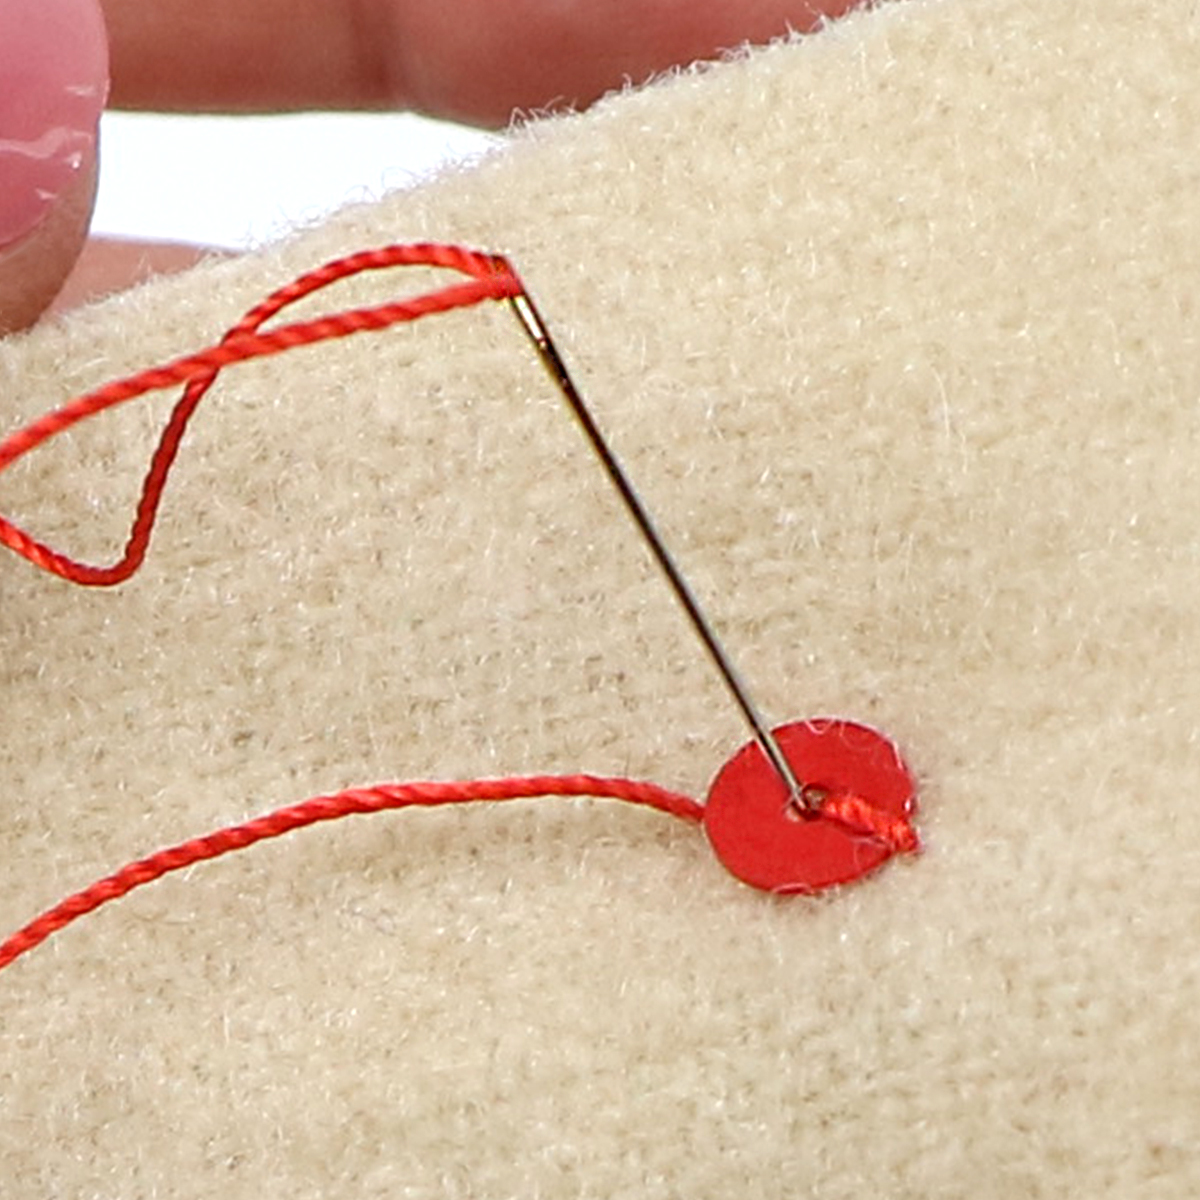
To stitch the sequin down, take the needle to the back of your work on the outer edge of the sequin, bringing the needle to the front of your work on the opposite edge.
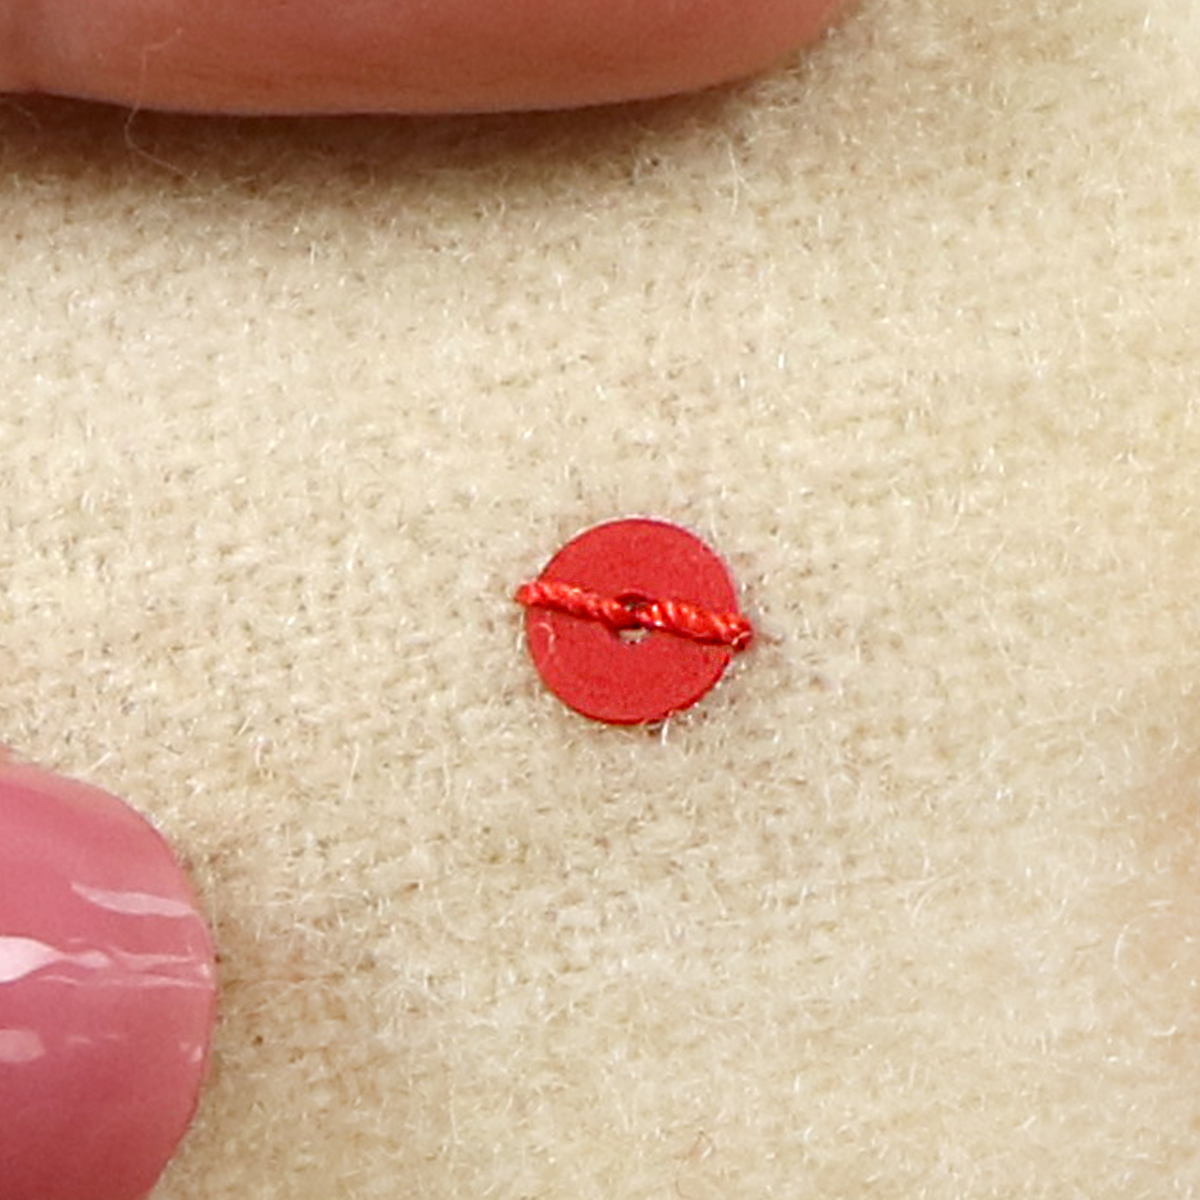
Two stitches opposite one another will keep your sequin nice and flat.
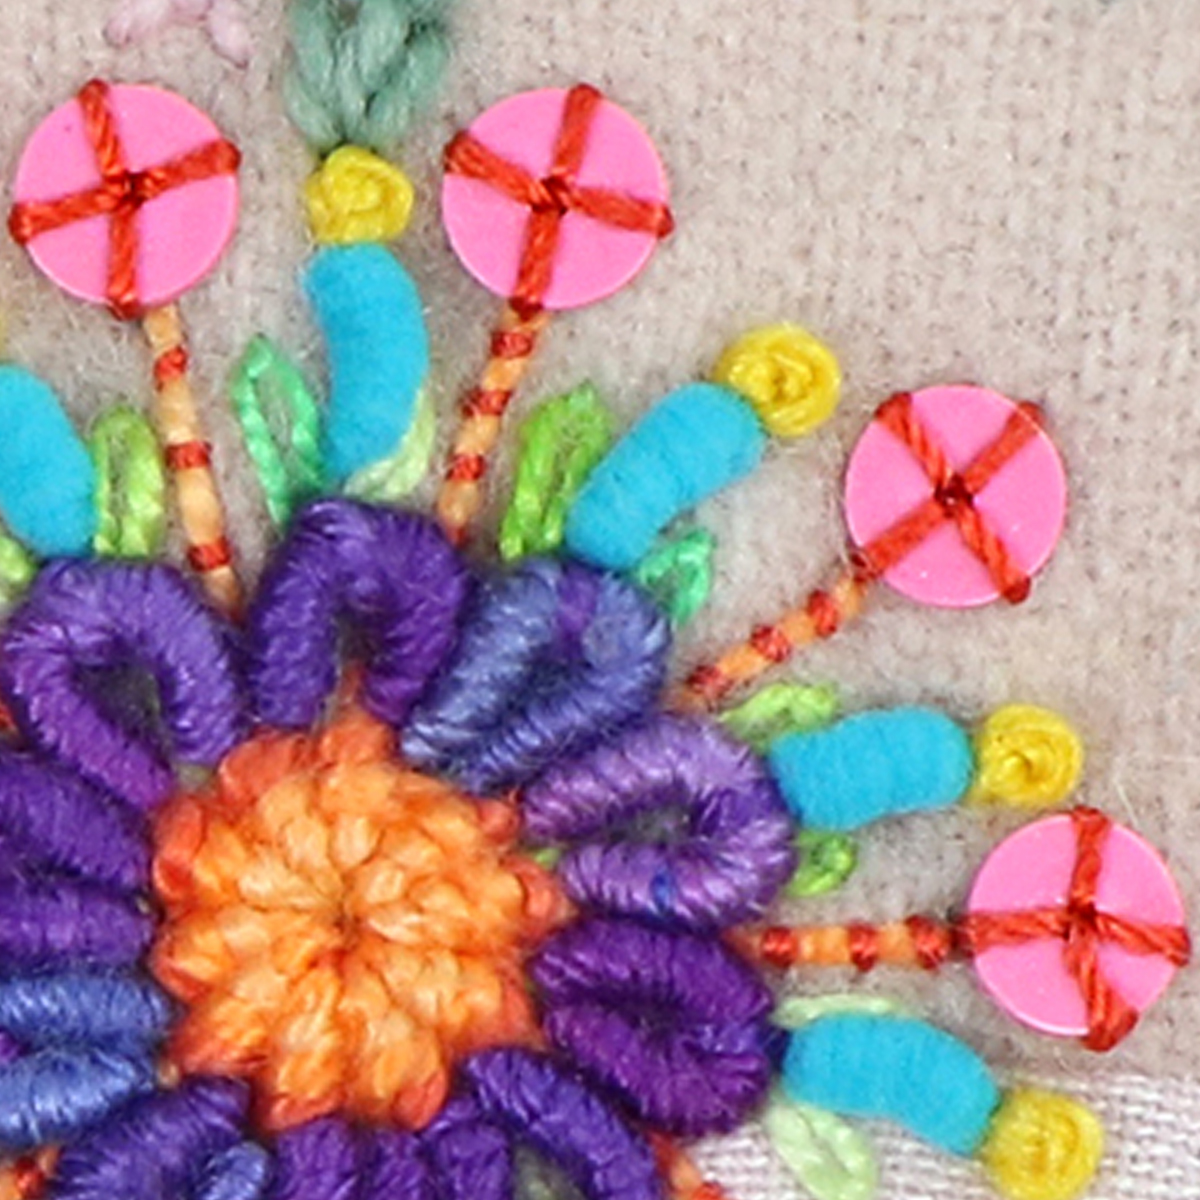
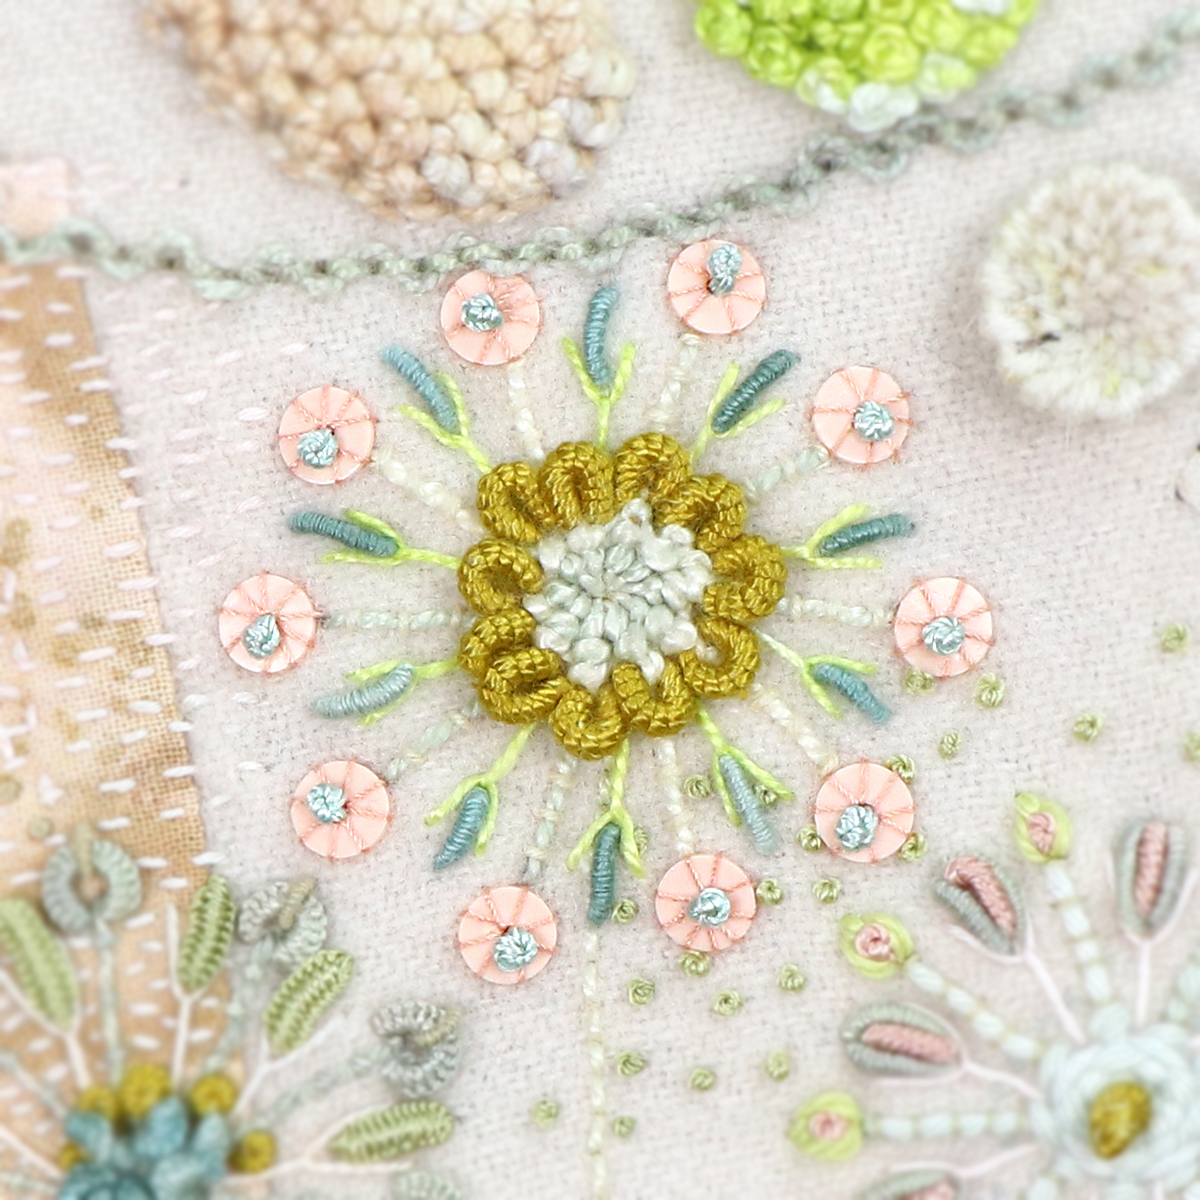
The stitching used to secure sequins or heishis can be made a feature by adding more spokes or using a contrasting thread.
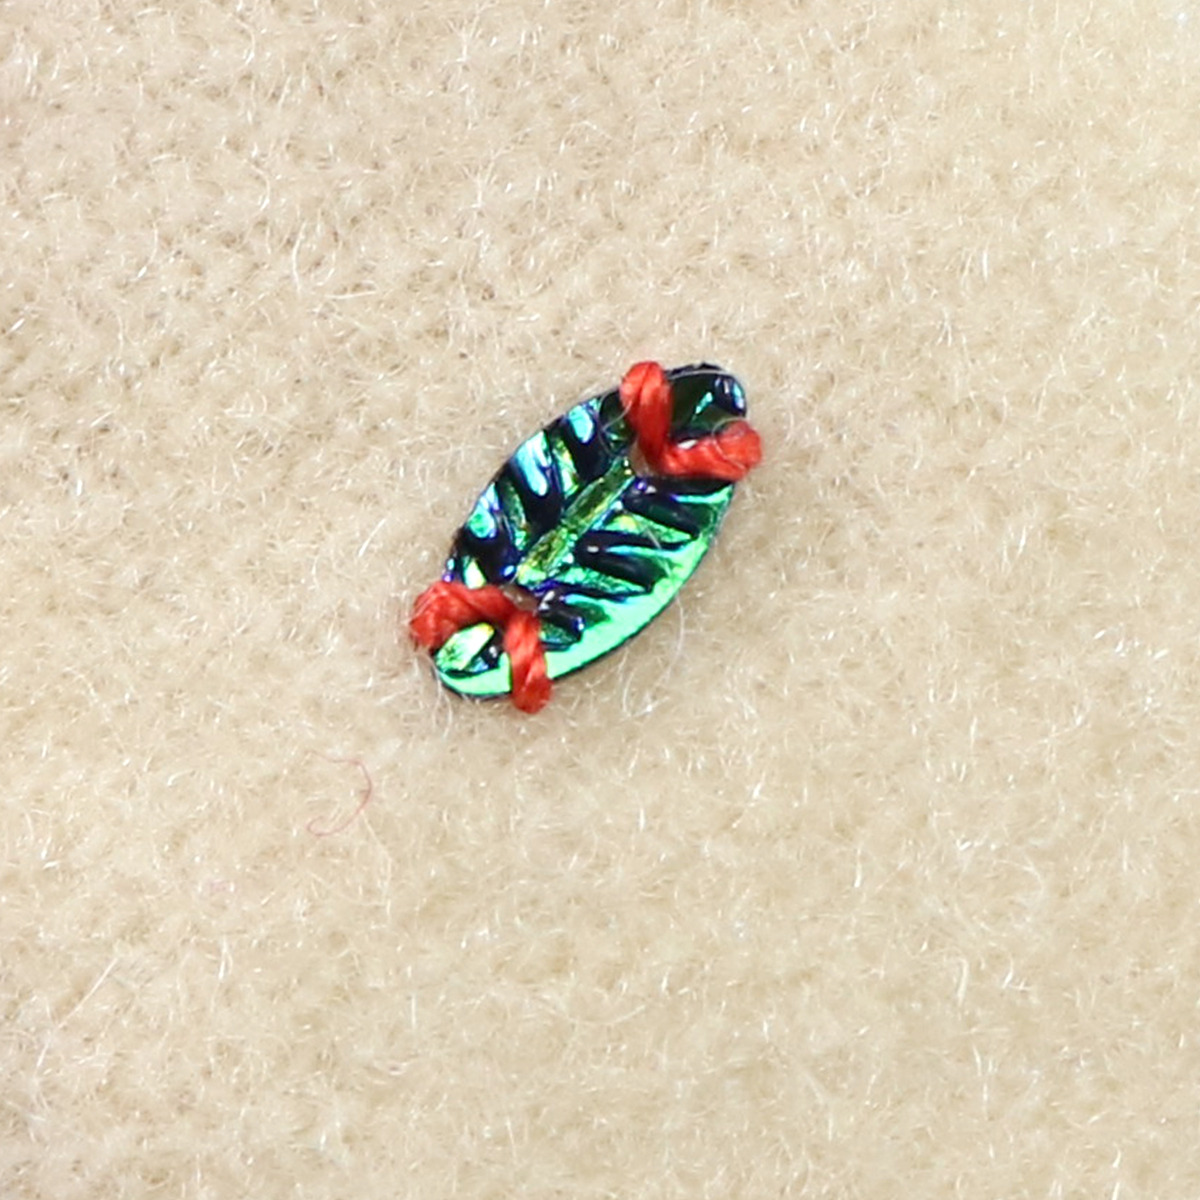
To secure this interesting leaf shaped sequin, we made two stitches at each of the pointed leaf ends.
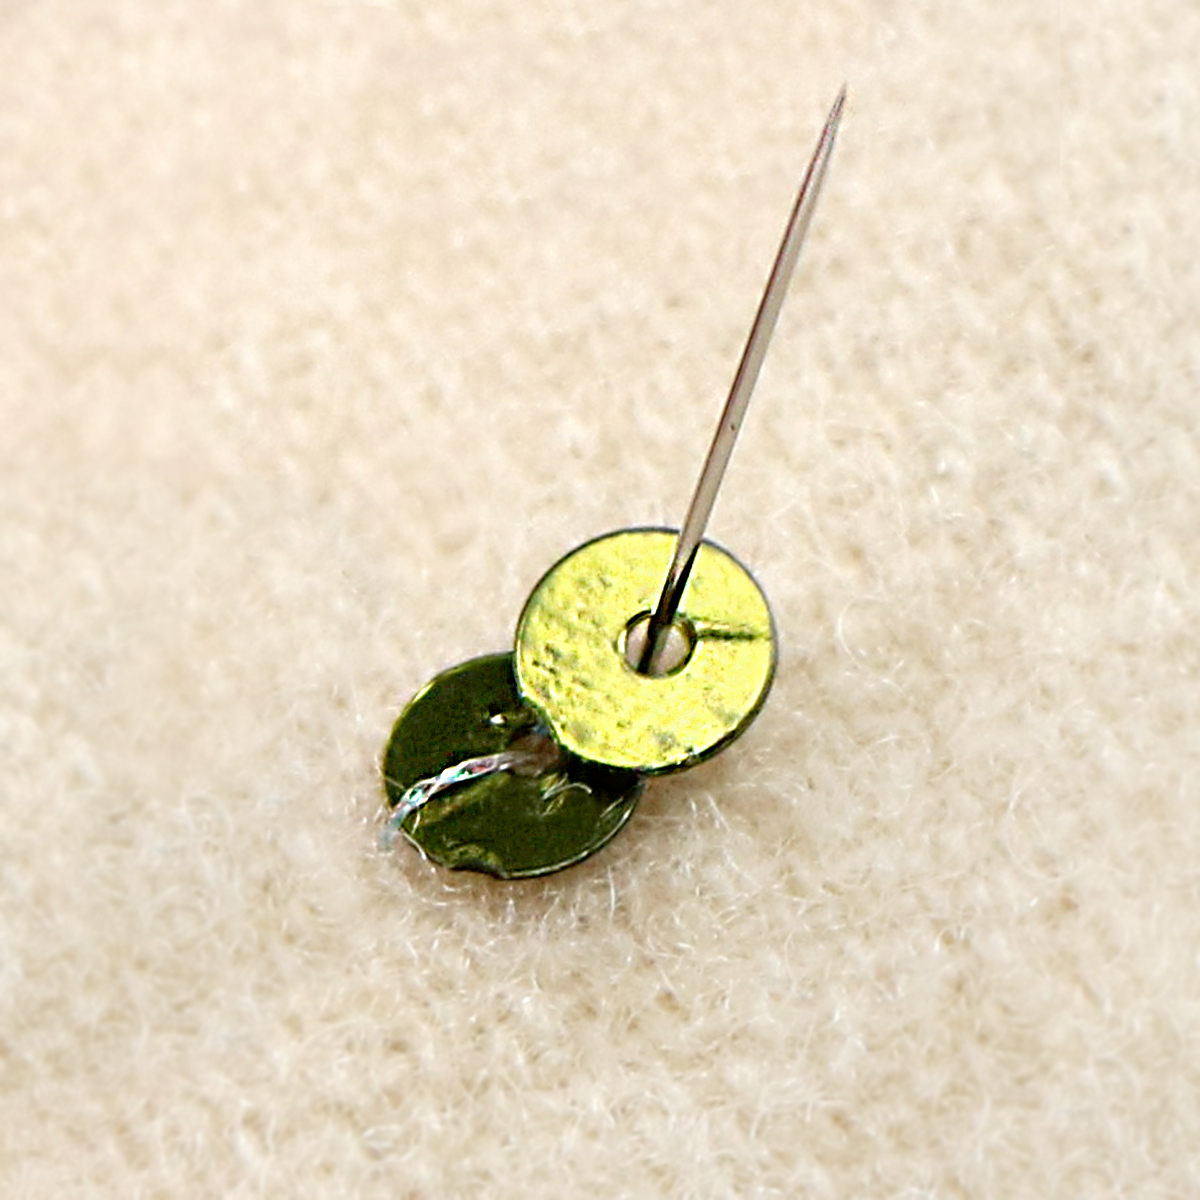
Try stacking sequins or heishis for added dimension.
Beaded Center
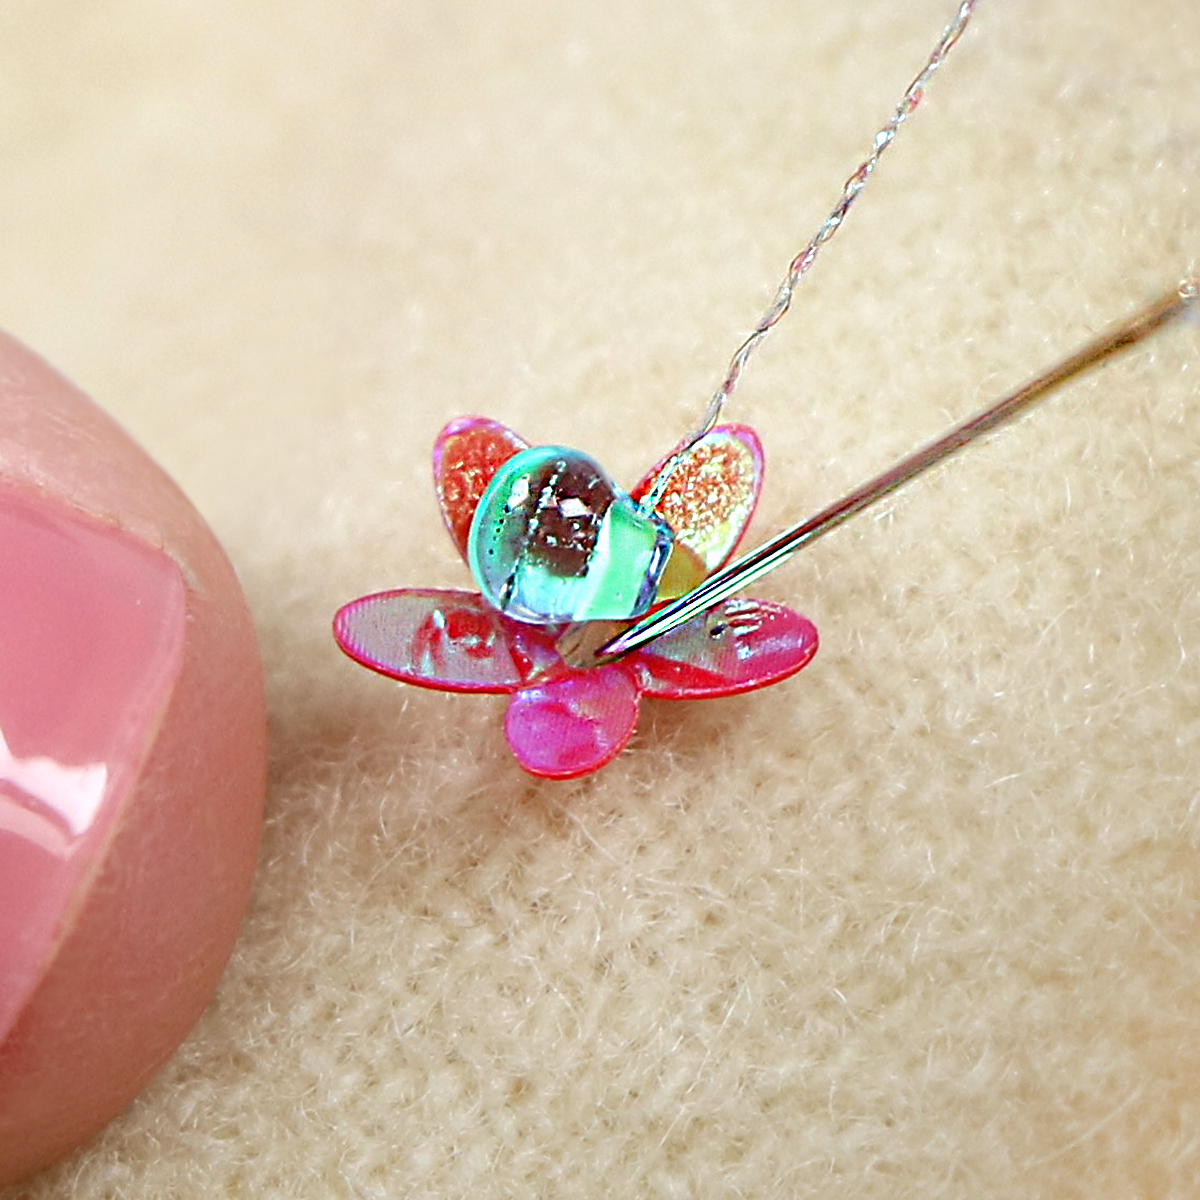
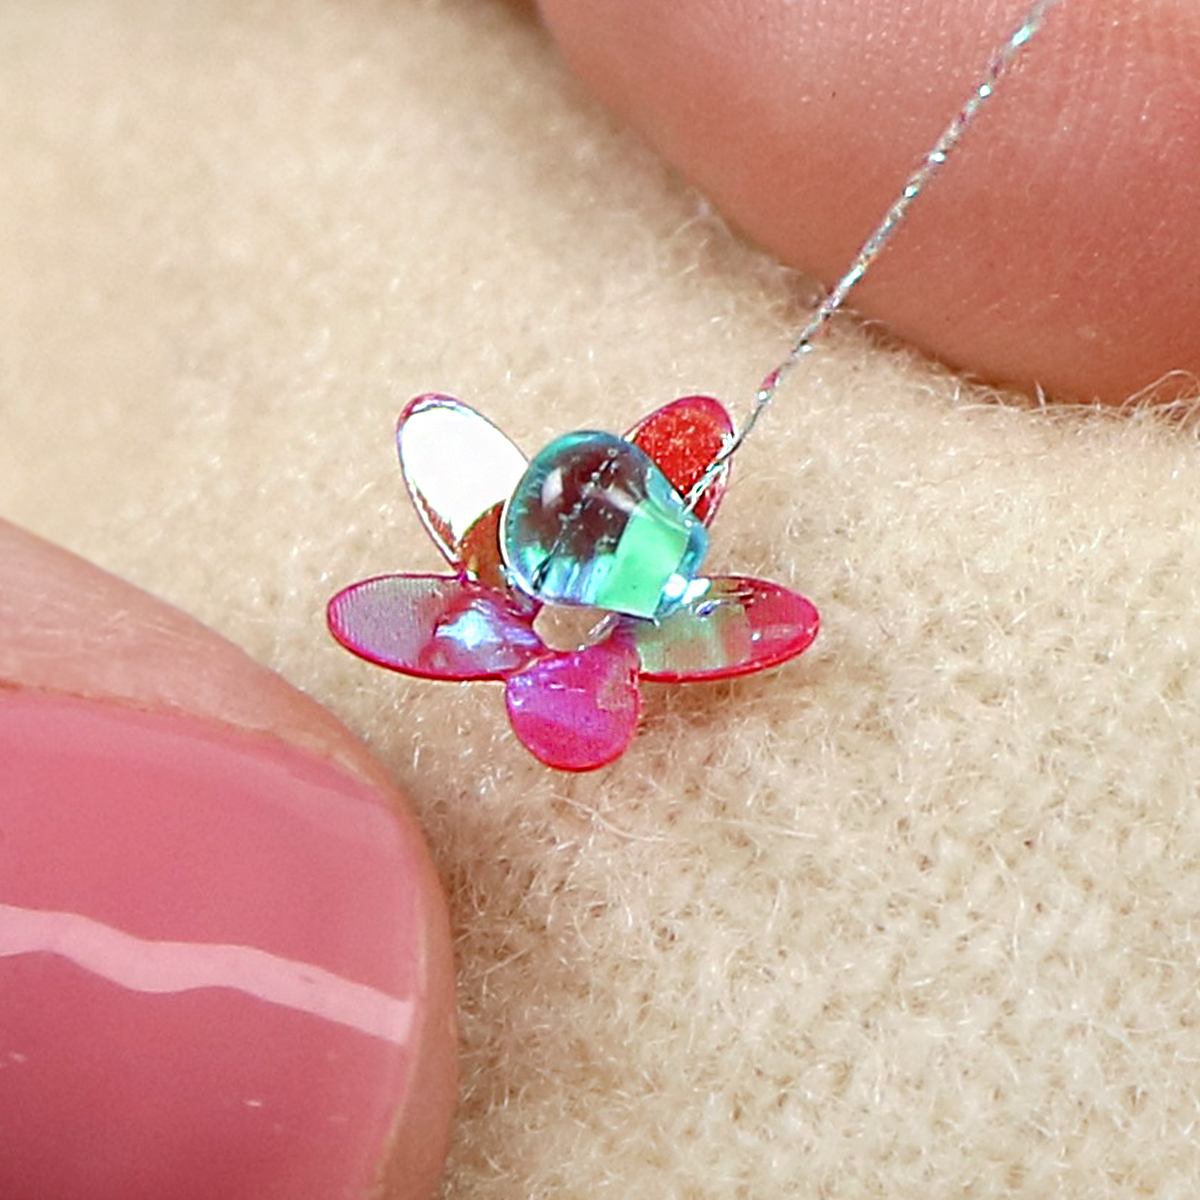
Another way to secure a sequin or Heishi is to use a bead. The bead should be larger than the sequin’s hole so that it sits on top and holds it securely in place.
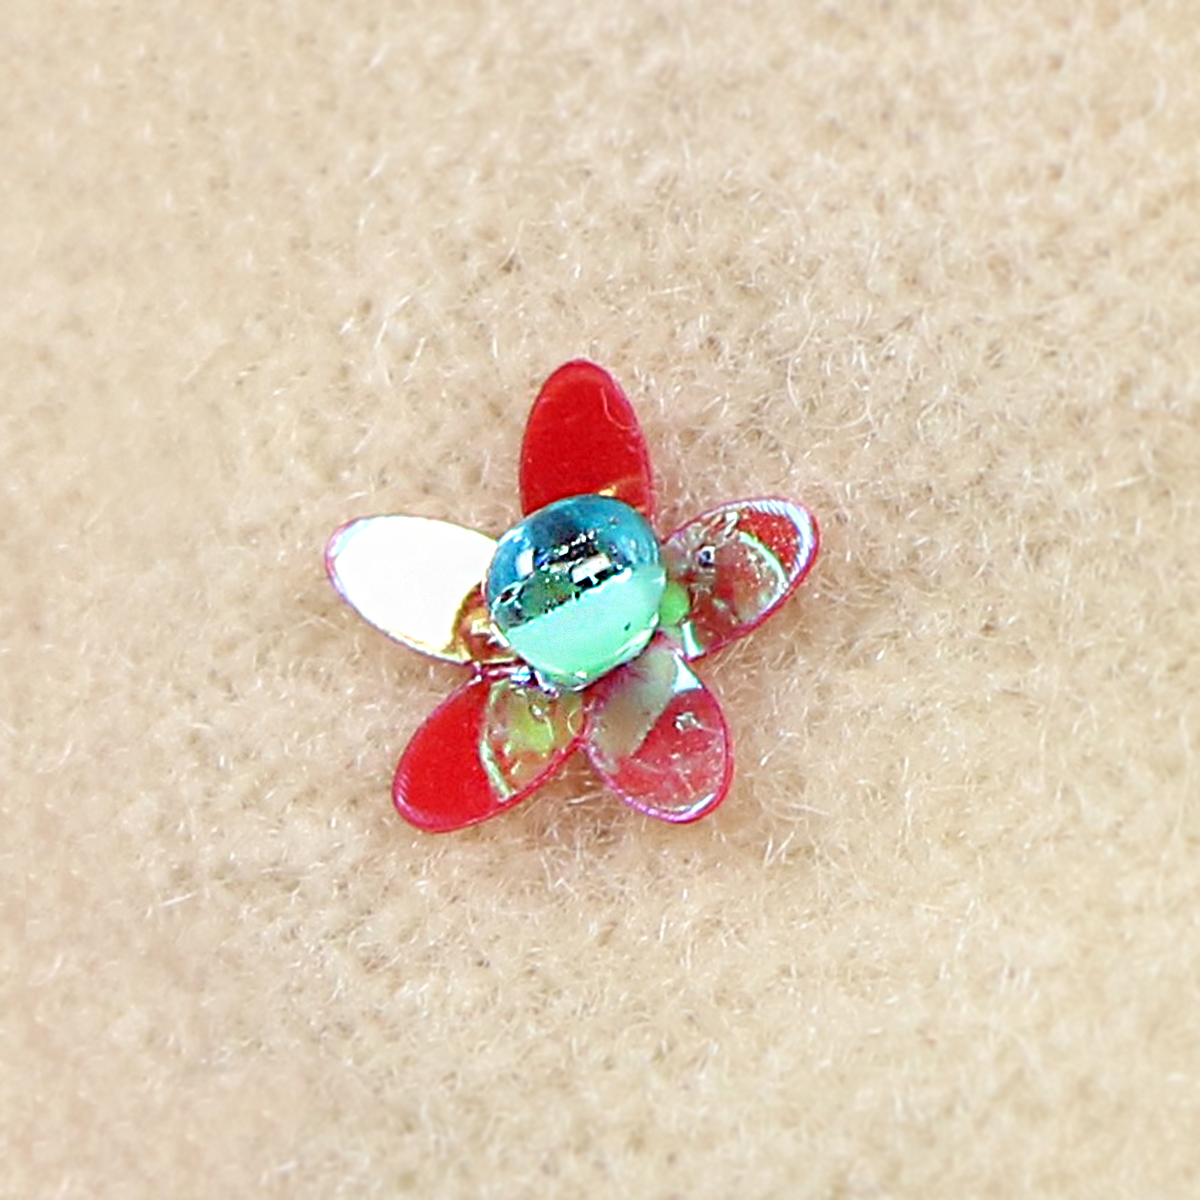
Come up through the center of the sequin, thread the bead onto the needle, and then take the needle back down through the center of the sequin.
You can repeat once more for extra security.
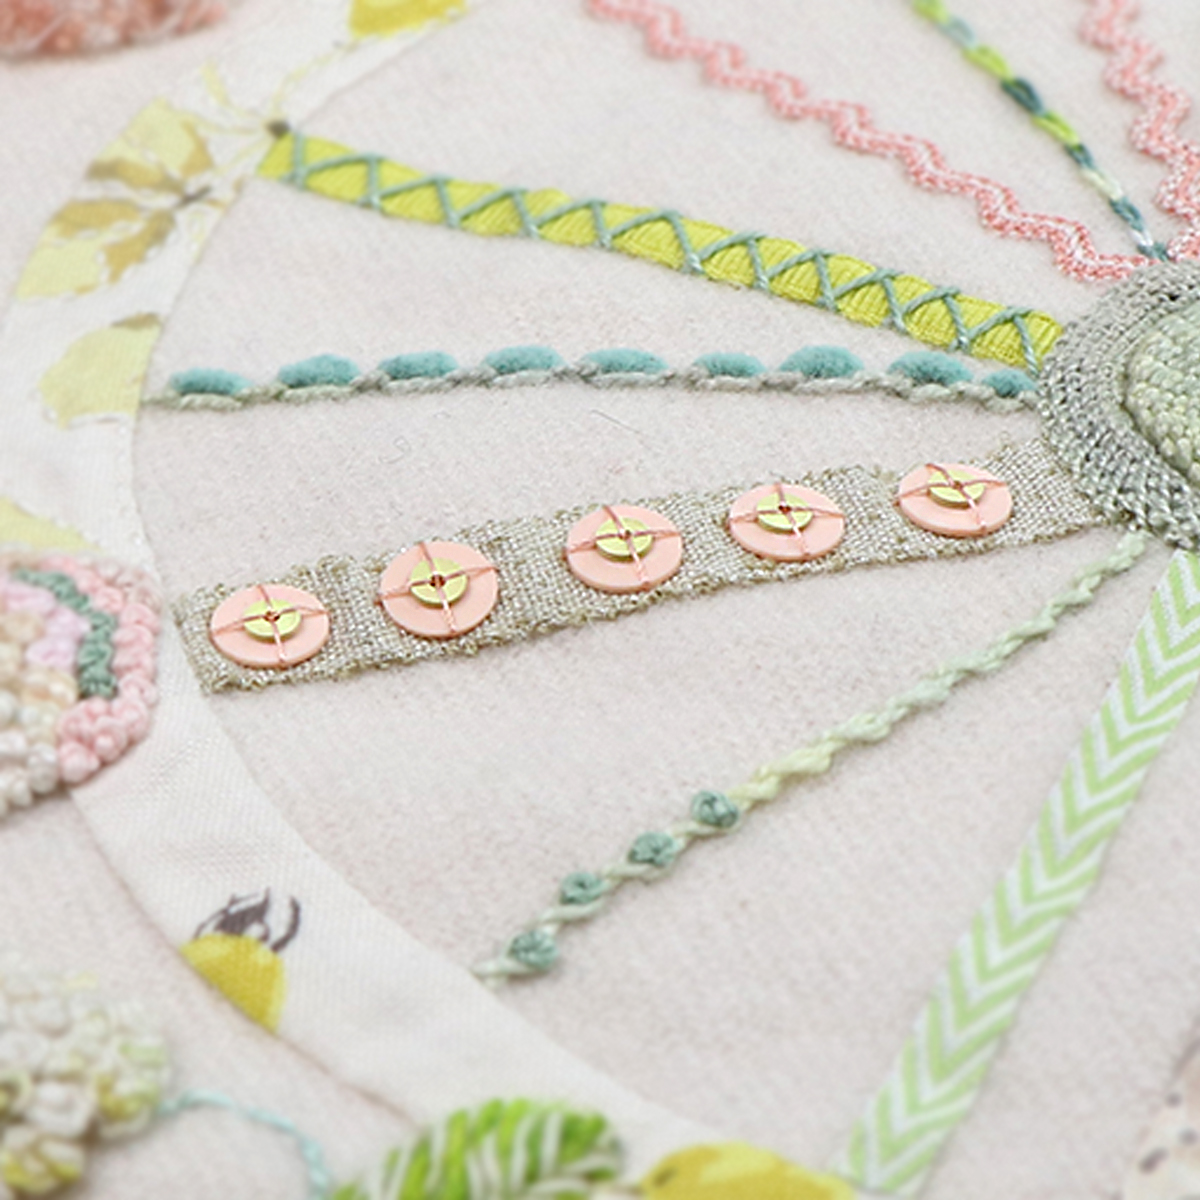
Stitch a Row
Flat sequins or heishi’s work best for creating a row or border. Place your first sequin where you would like it. Stitch down your first sequin. We used two stitches; however, you may choose to hide the stitch by using only one; it will be covered by the sequin above.
Bring the needle up along the outer edge of the first sequin and thread your next sequin onto it. You will notice that the edge of the top sequin will line up with the center of the bottom sequin.
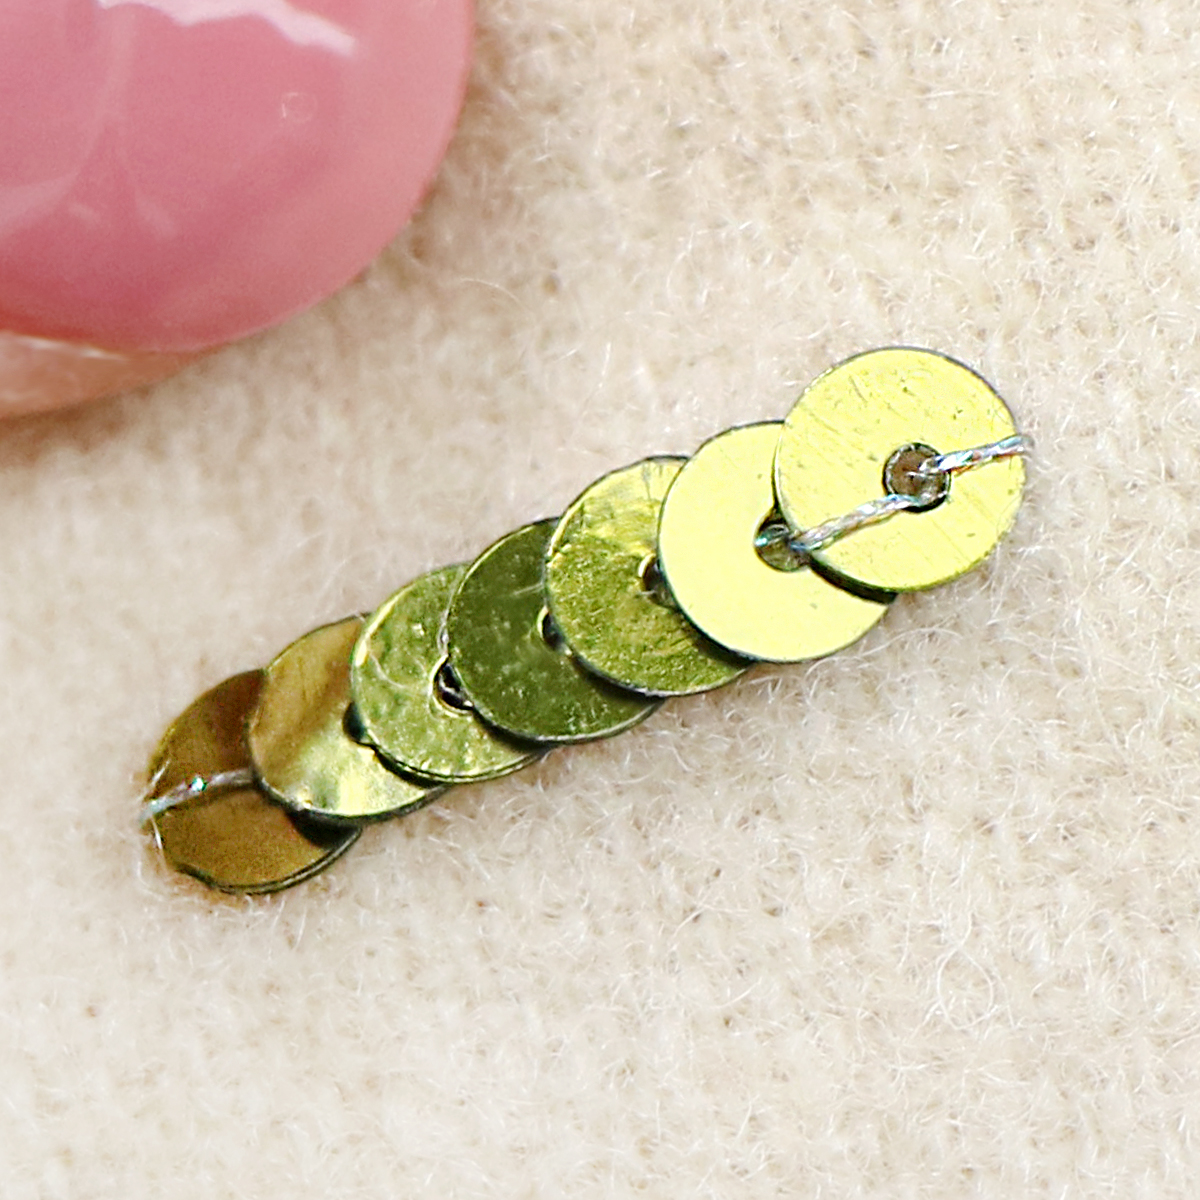
Stitch down the top sequin with one stitch going in the direction the row will form. As you layer more sequins, the stitches will be hidden.
To secure the final sequin, use two stitches, with one stretching from the center of the final sequin down through the center of the previous sequin.
Inspiration
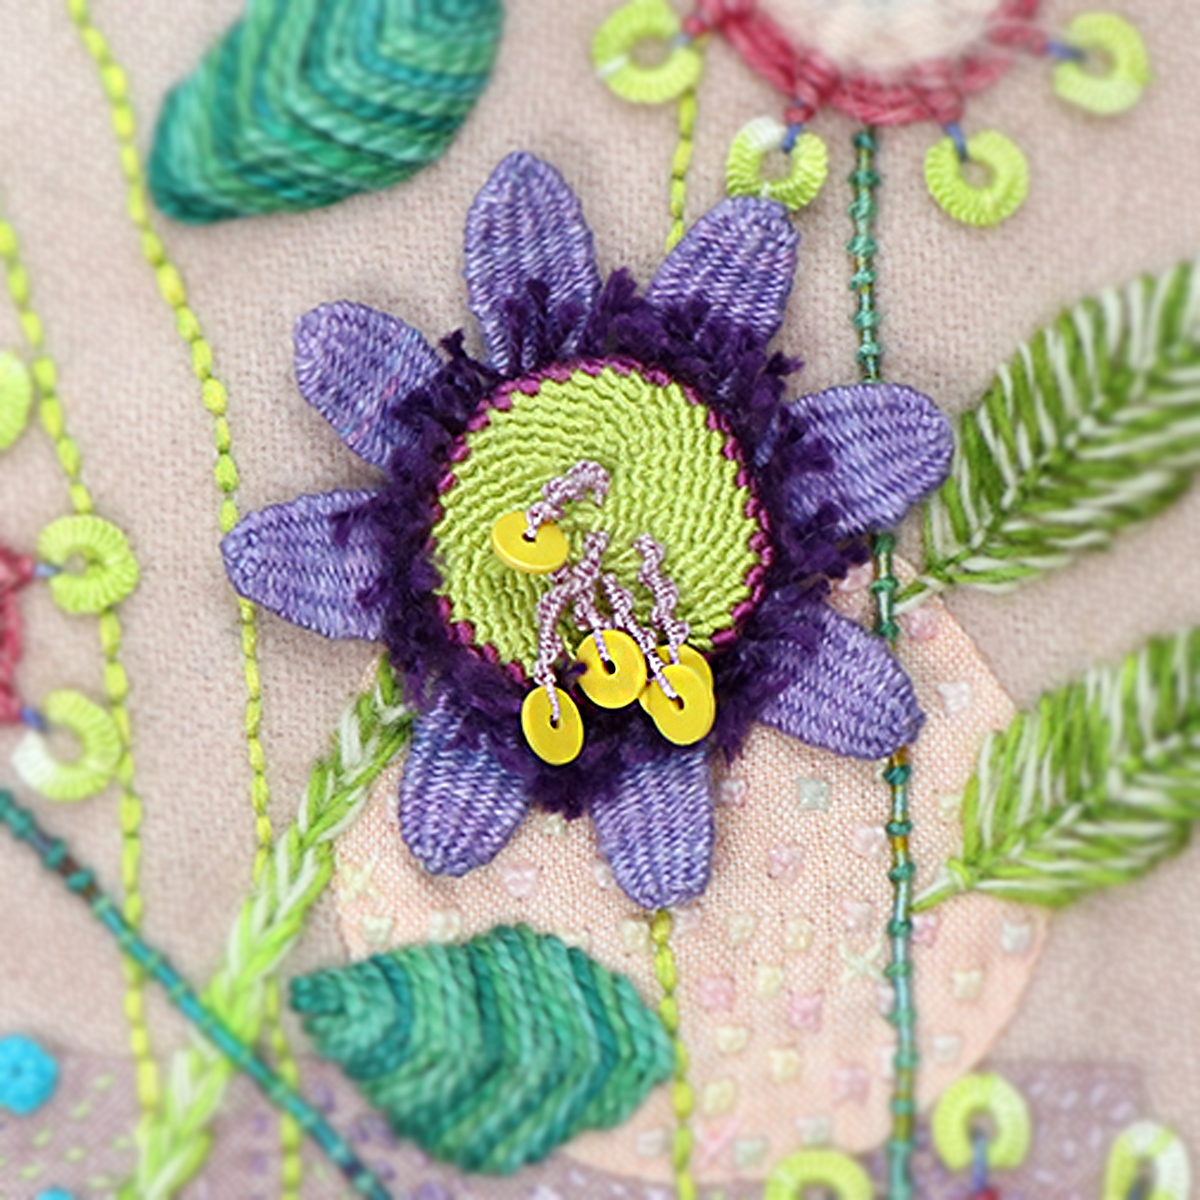
Sequins and heishis can be secured with a Bullion Knot (page 92 of Sue Spargo’s Creative Stitching) or a Drizzle Stitch (page 100).
Create a 3-D effect by adding sequins or heishis to the end of Drizzle Stitches.
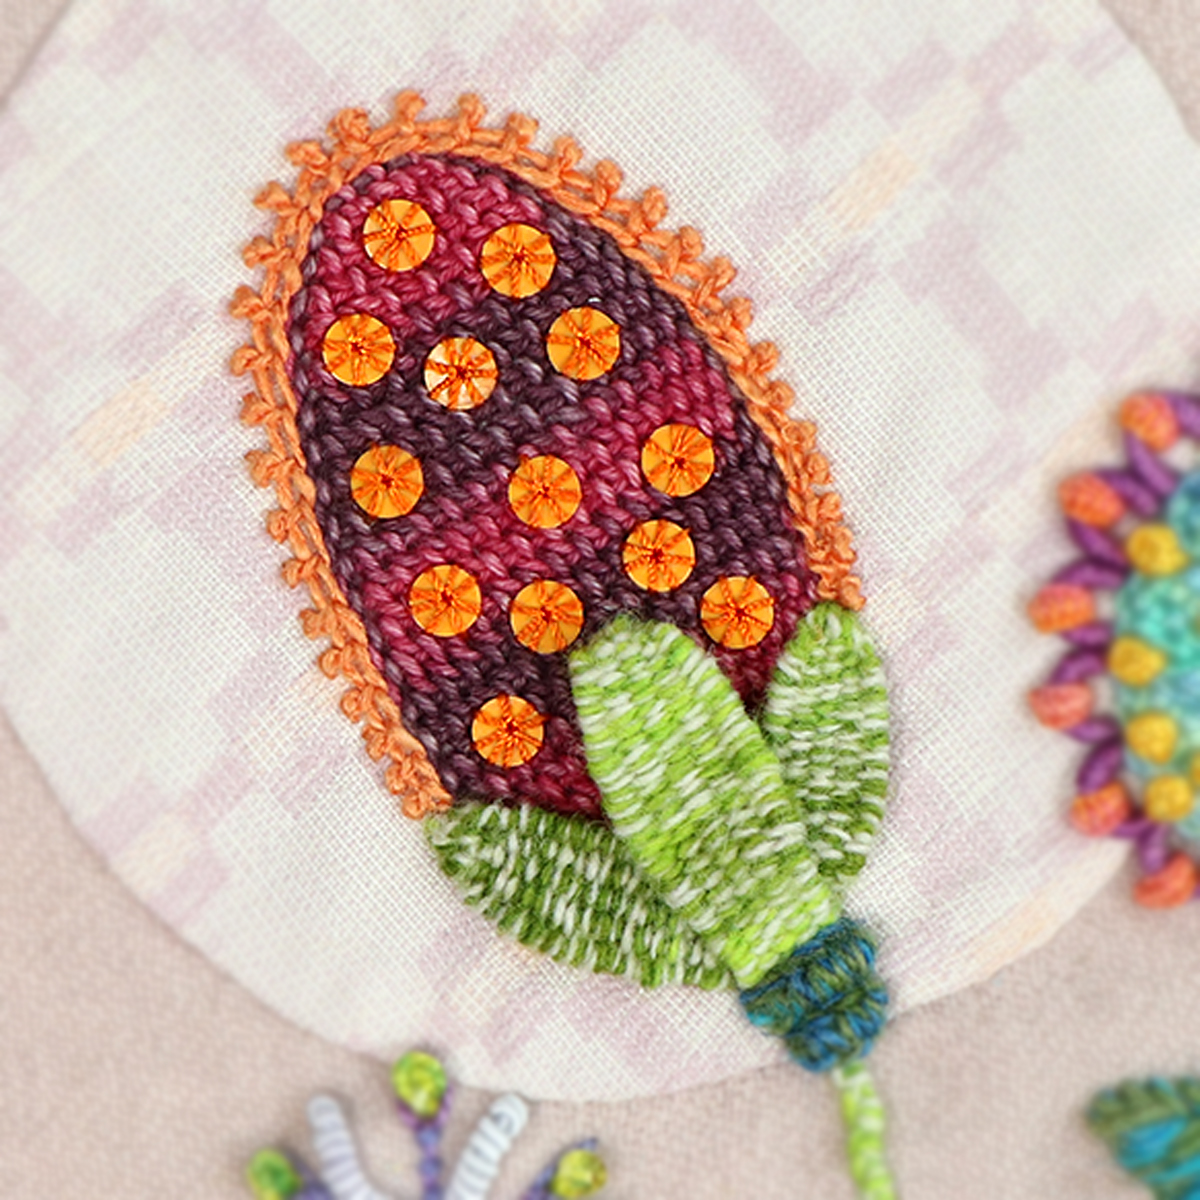
Stitch sequins or heishis down on top of an embroidered area.
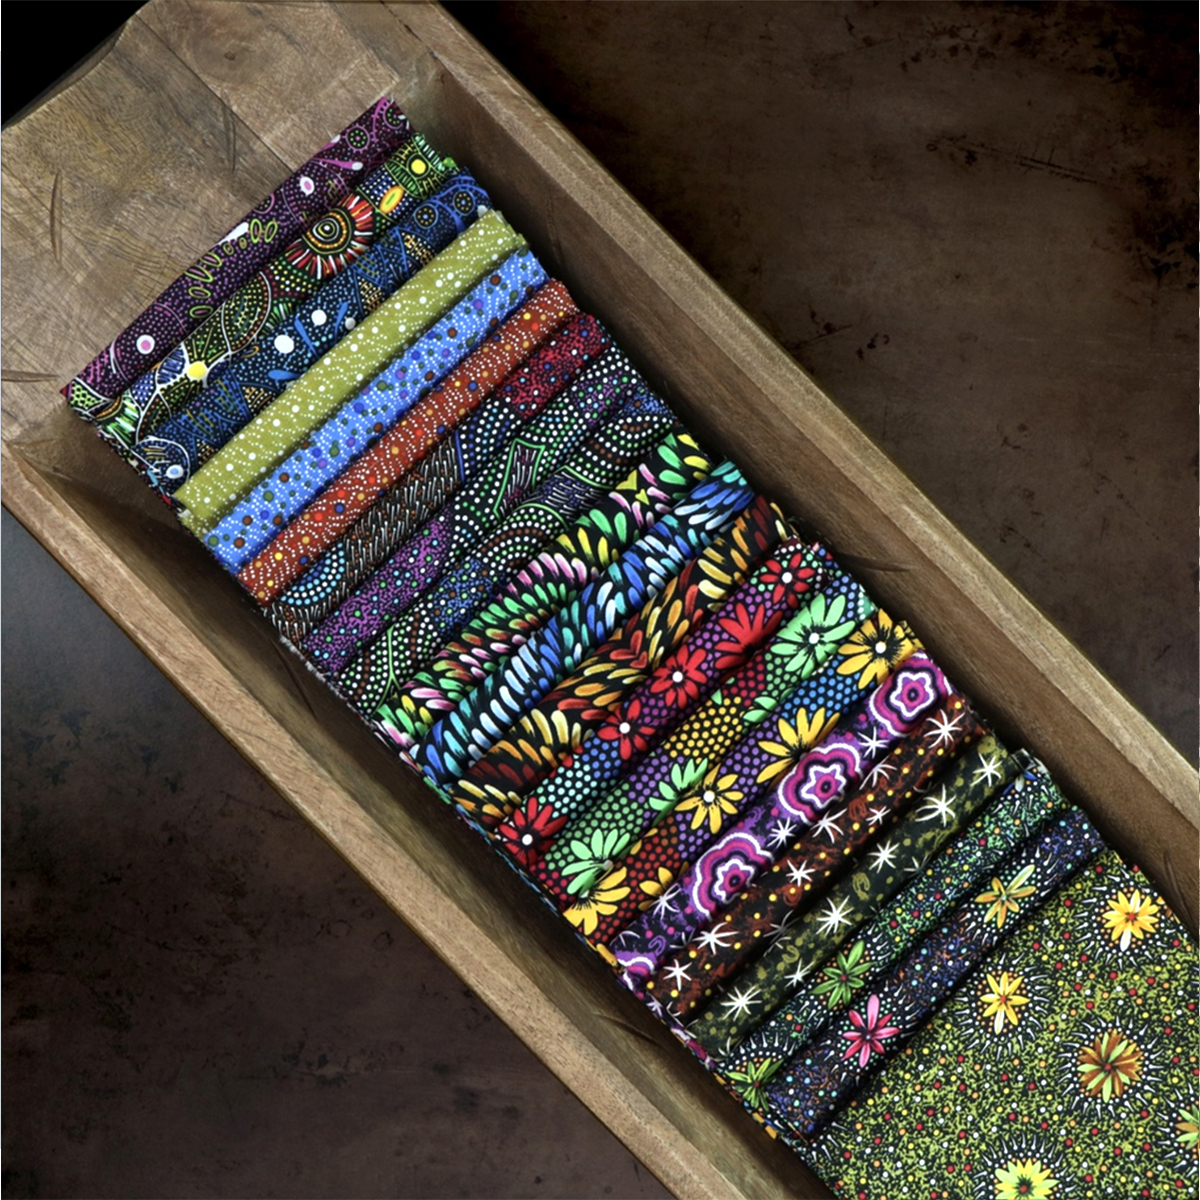
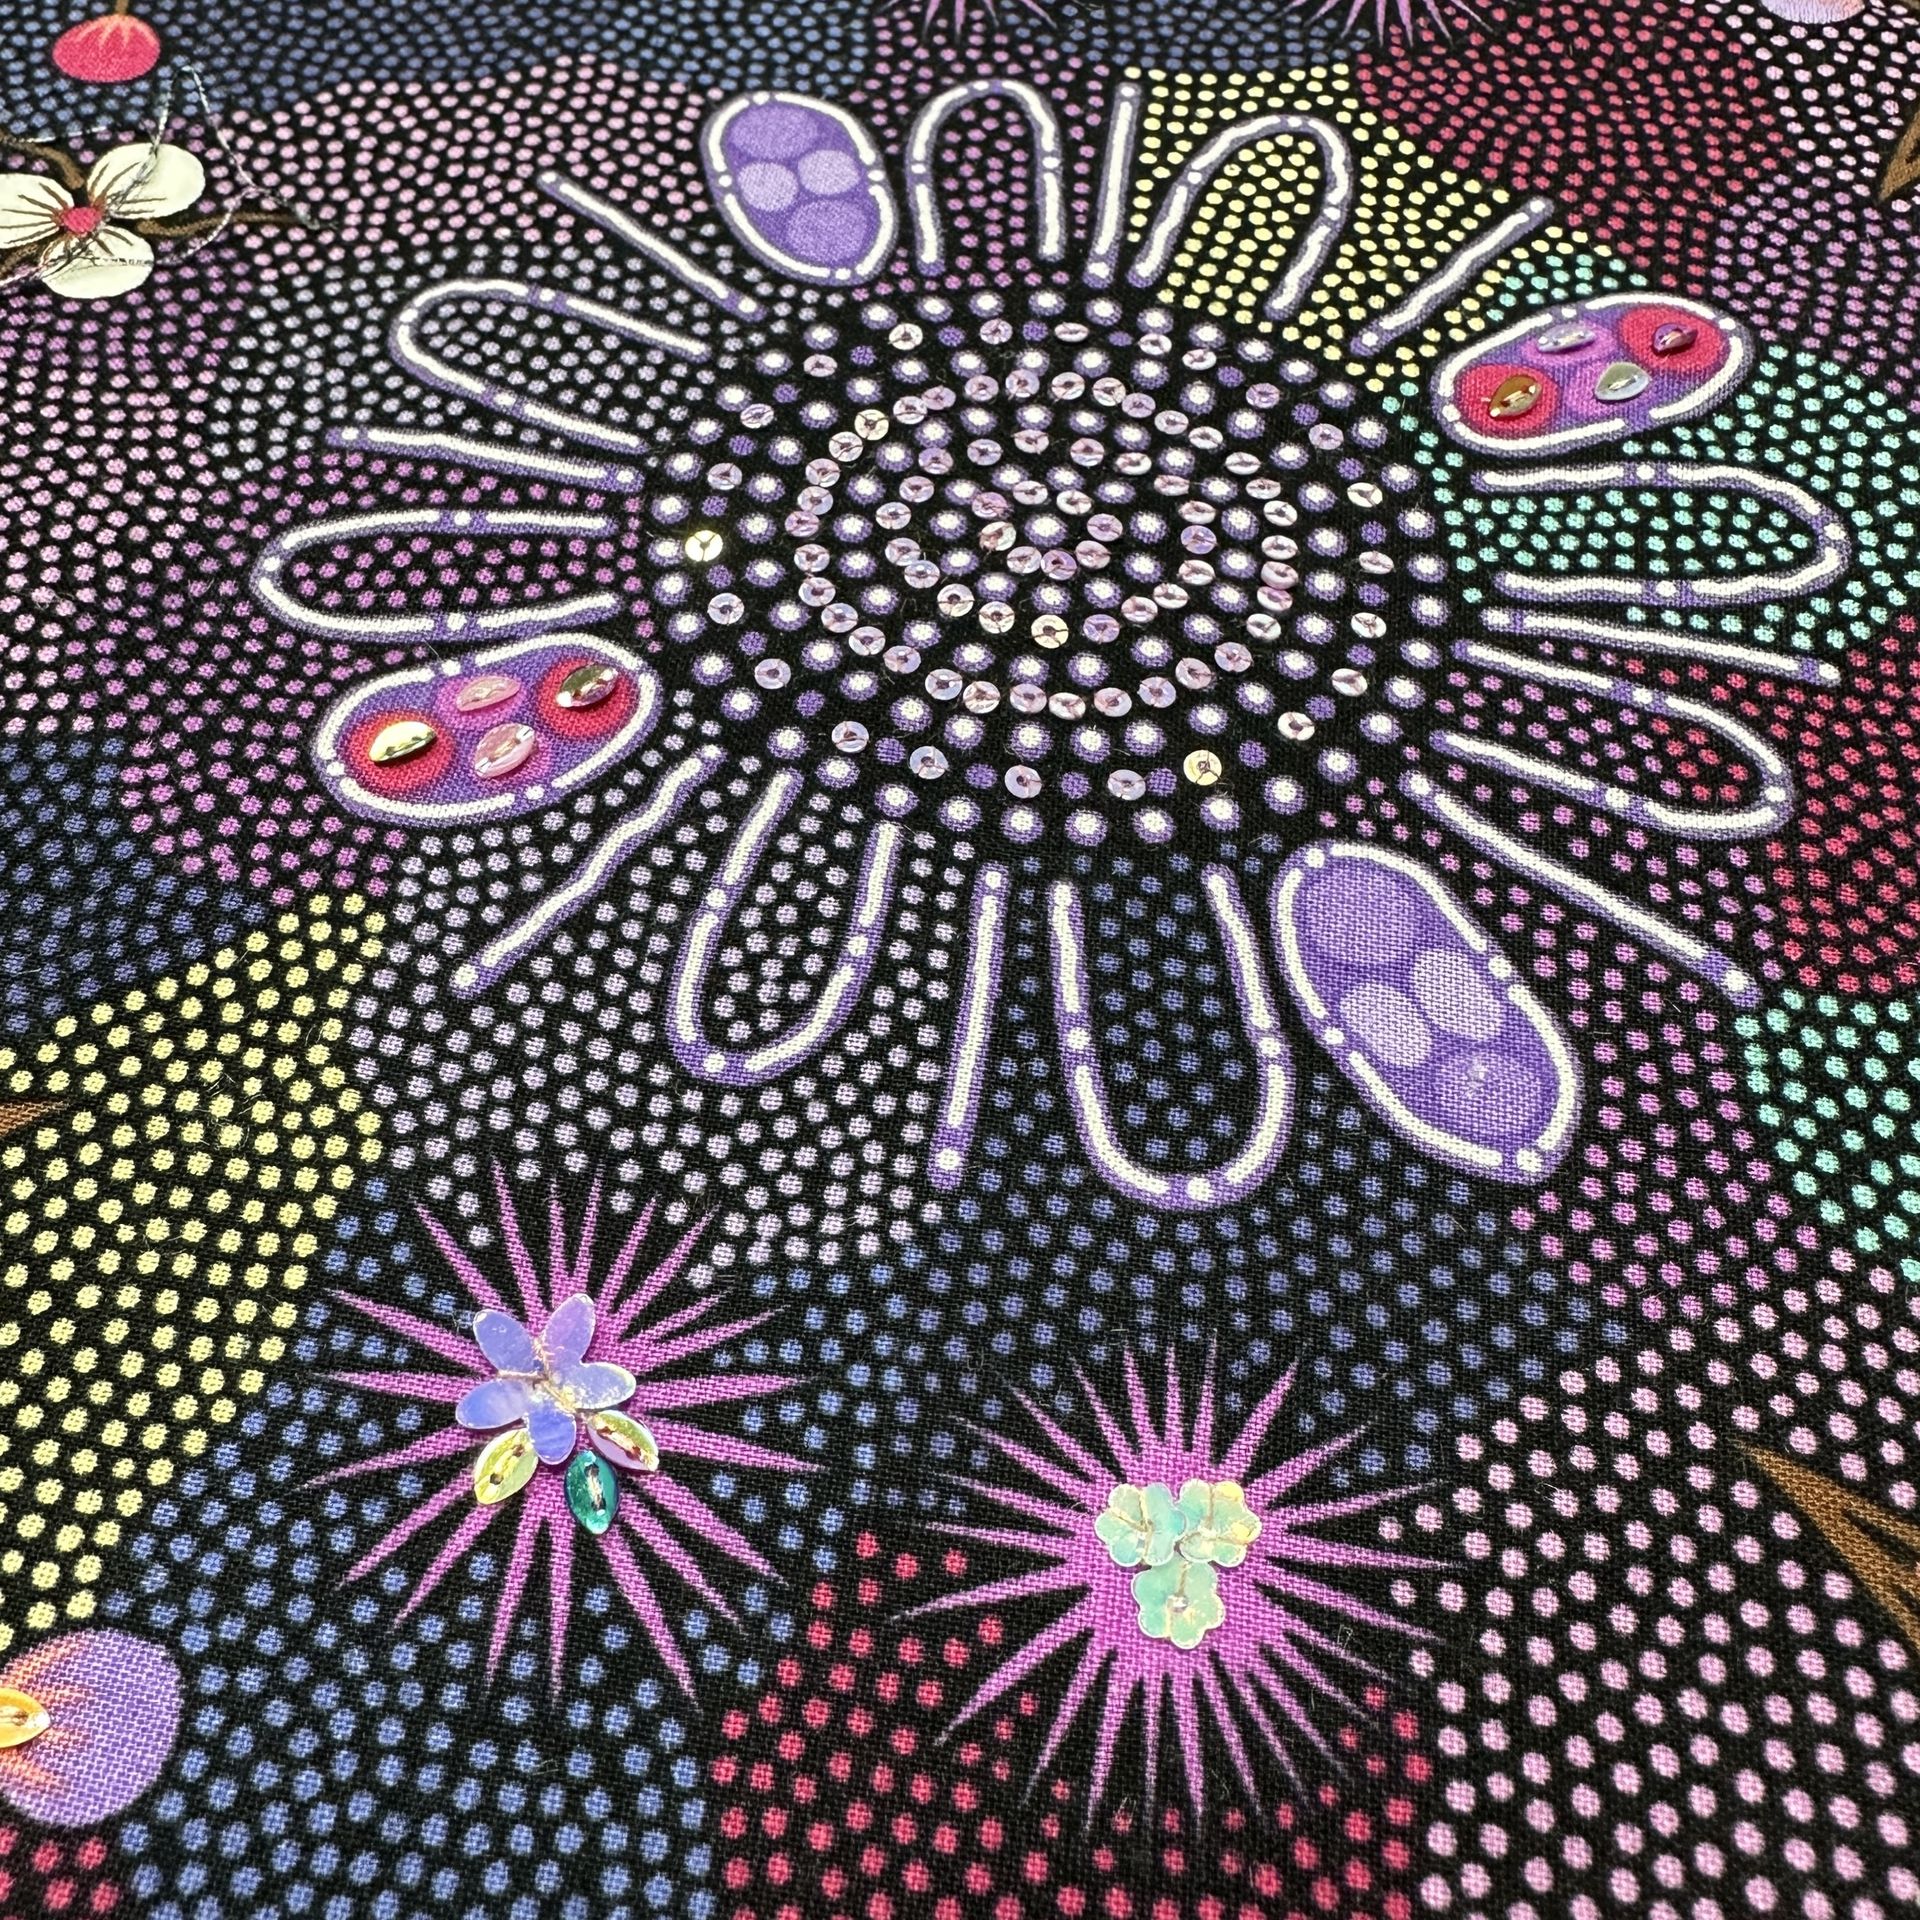
Aboriginal prints look fabulous embellished with the sparkle of sequins. There are endless possibilities for combining creative stitching with sequins and heishis.
Create