Ditch the plastic Easter eggs and create something truly EGG-ceptional this year! We are so EGG-cited about this adorable and fun project! Learn how easy it is to make hand dyed wool Easter eggs with pockets for tiny treats and treasures!
Steps
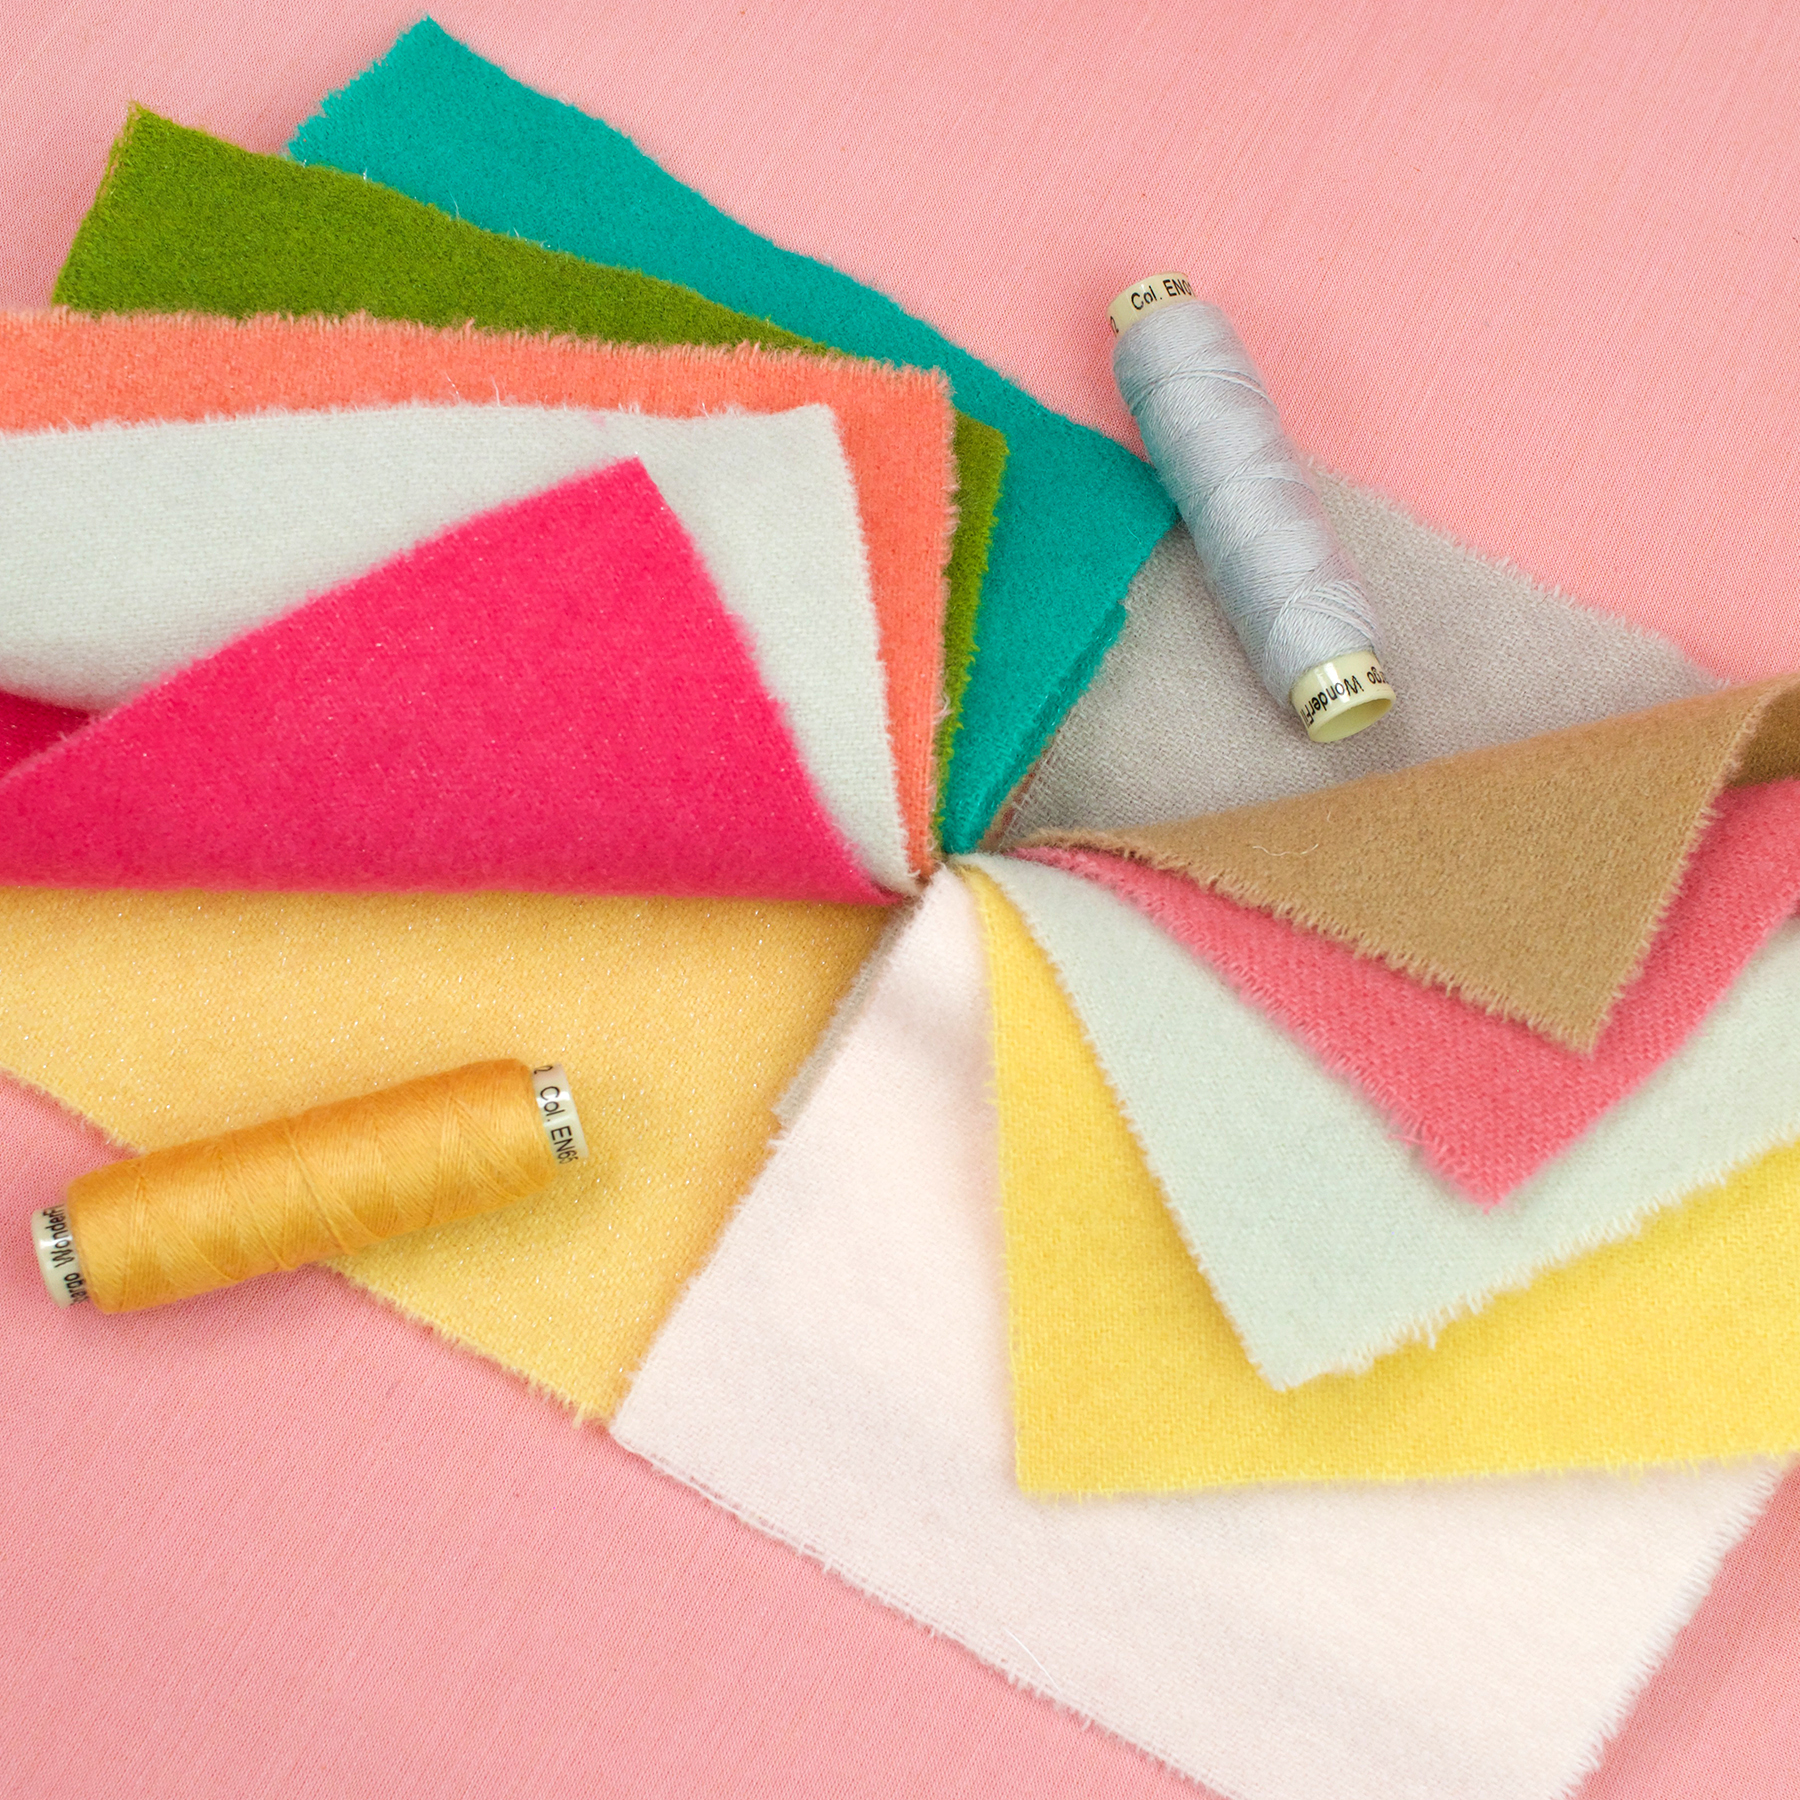
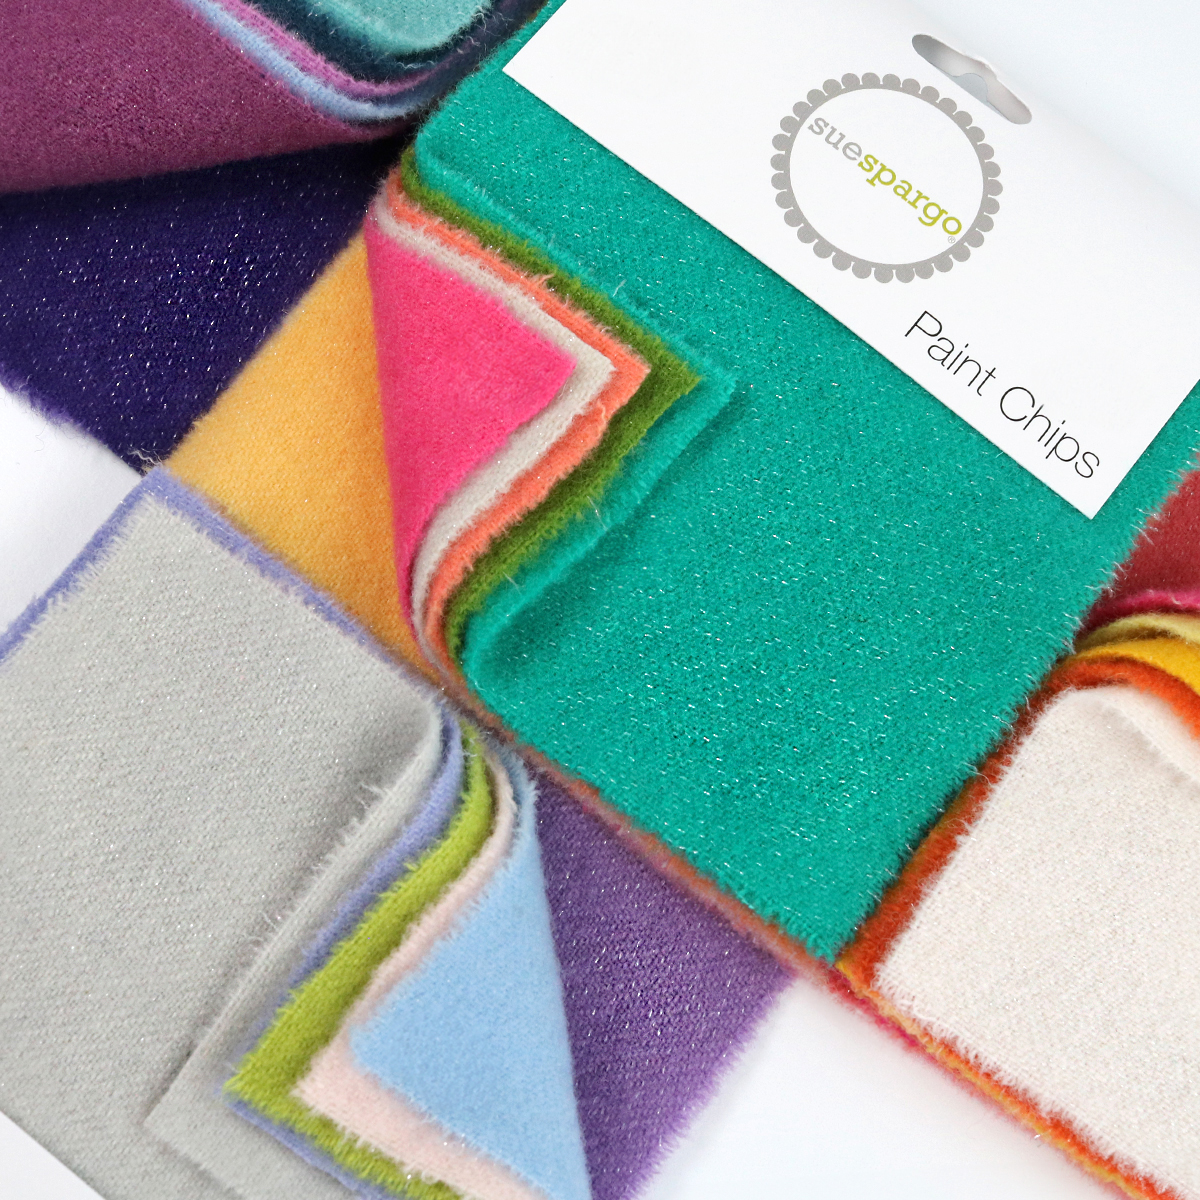
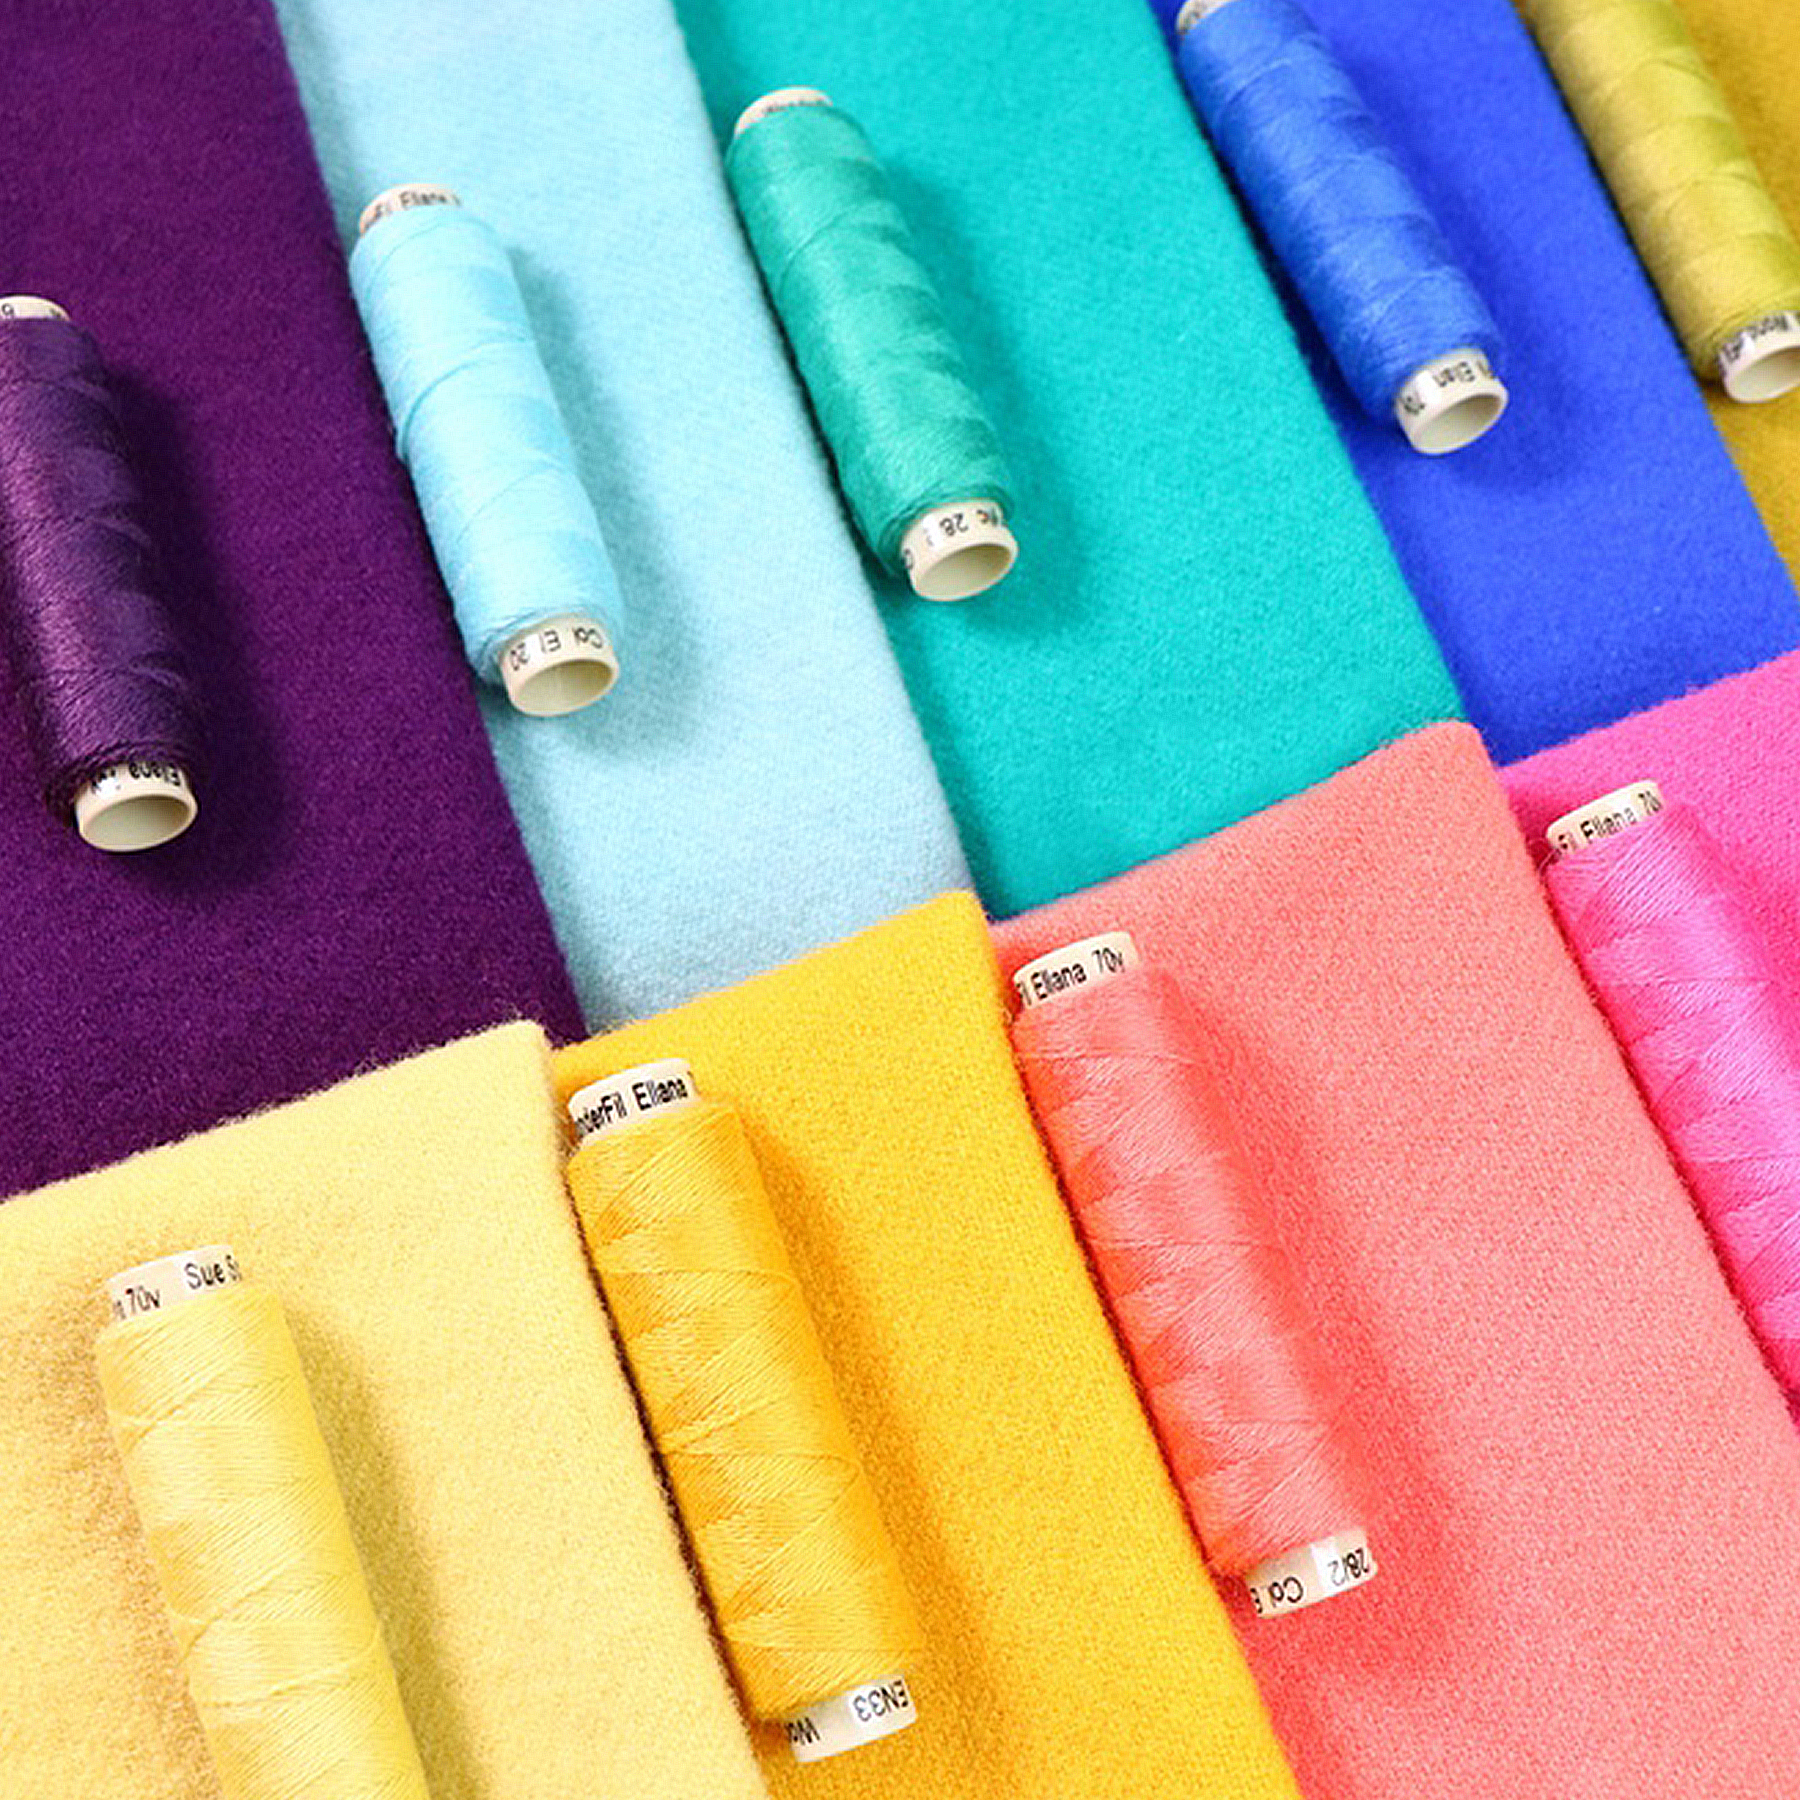
Choose from our beautiful hand dyed wool Paint Chips packs and grab some matching Ellana Wool Thread. Our favorite packs for Easter eggs are Cottagecore and Sparkle Bouquet. You will need 2 Paint Chips packs to create 6 Easter Eggs.
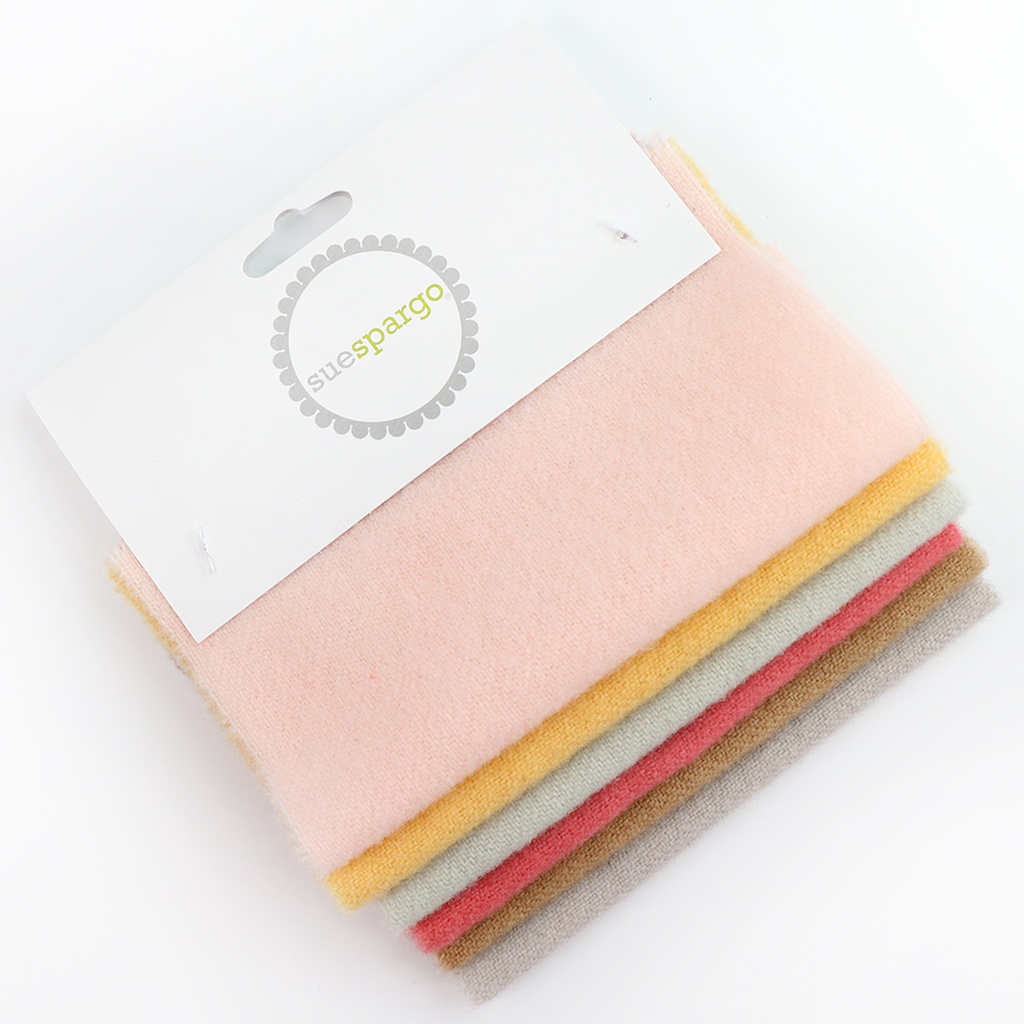
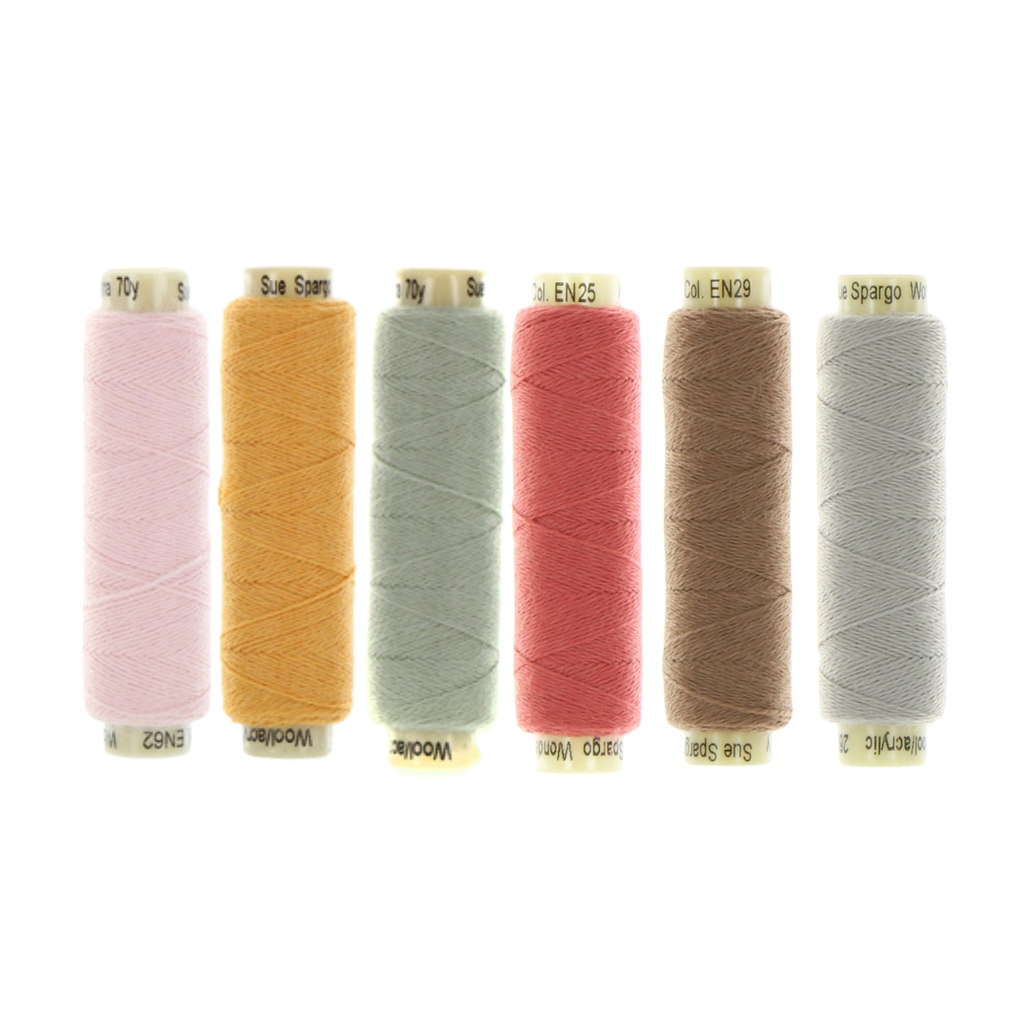
5" x 5" Solid Paint Chips - Cottagecore + matching Ellana Wool Thread - Cottagecore
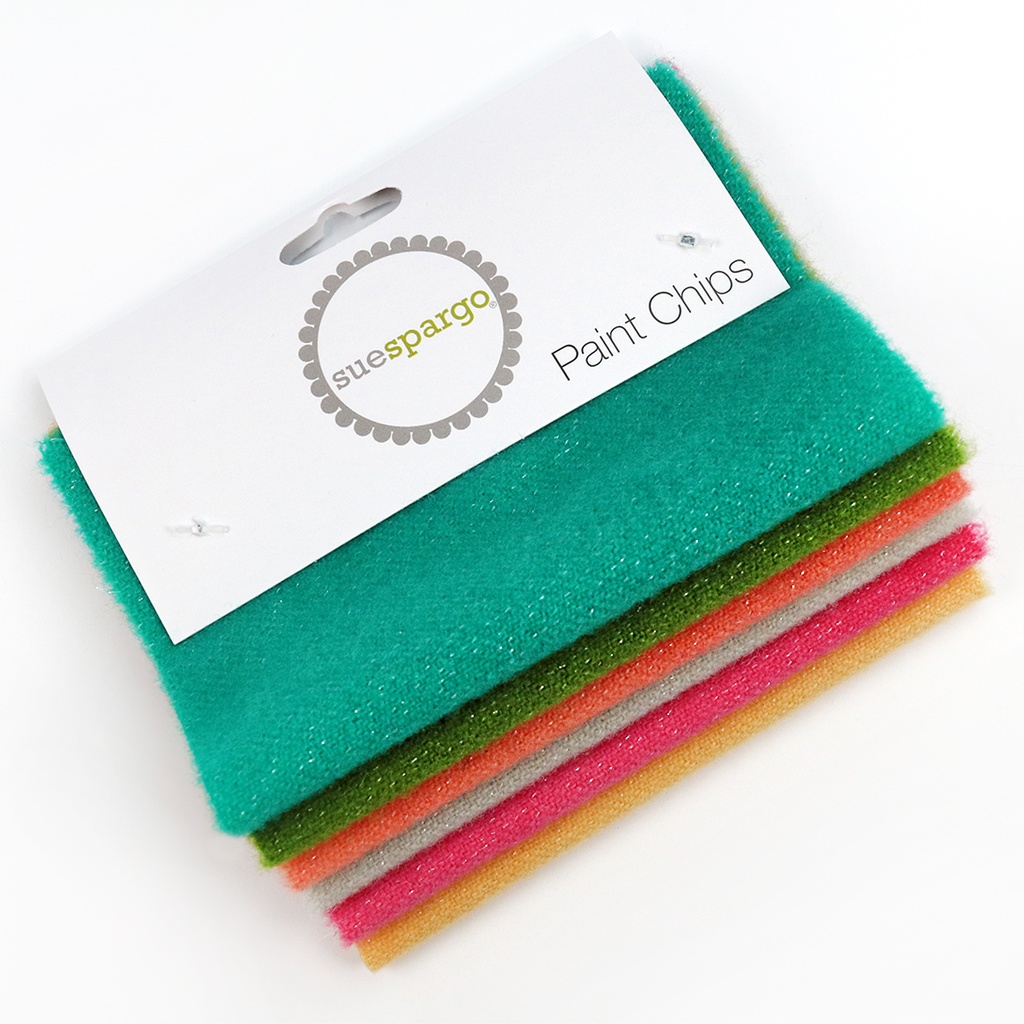
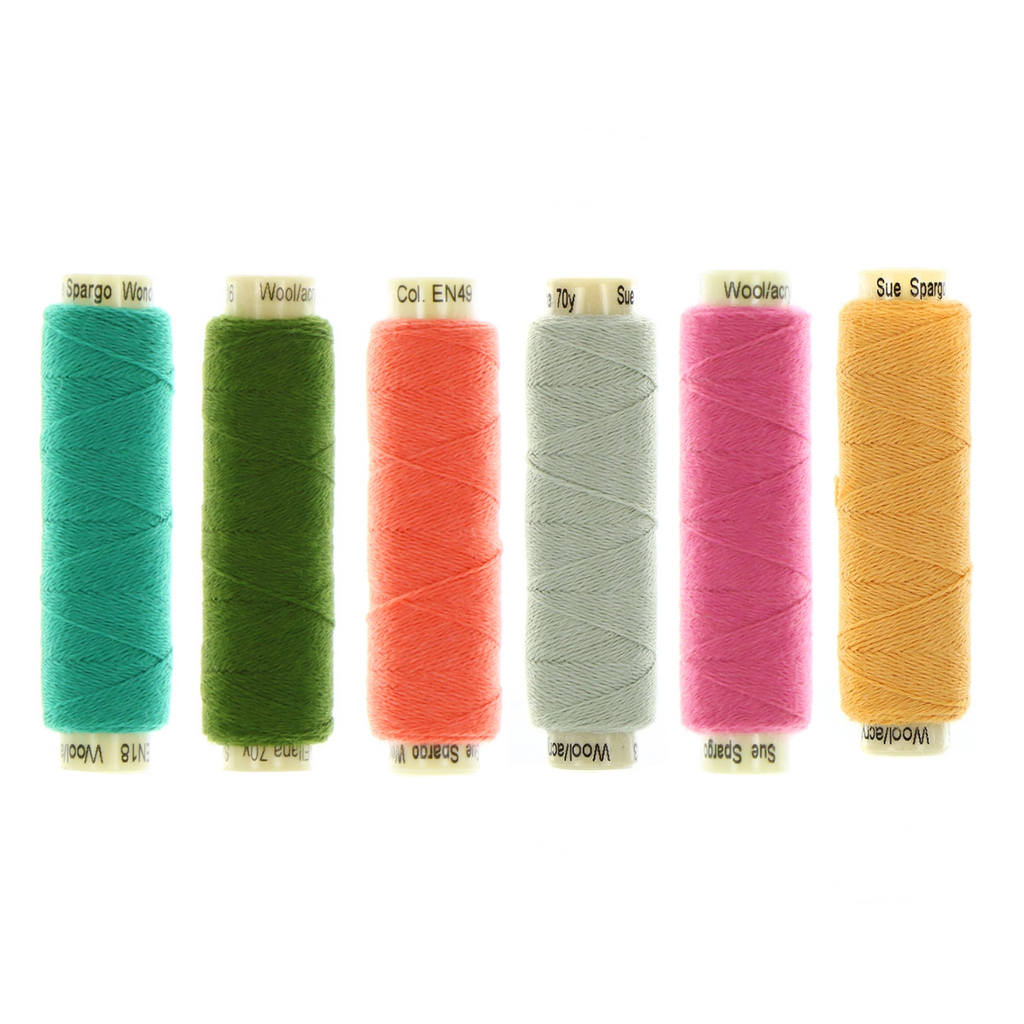
5" x 5" Sparkle Paint Chips - Bouquet + matching Ellana Wool Thread - Bouquet
You'll also need Bigger Perfect Leaves to use as a template to trace for the eggs.
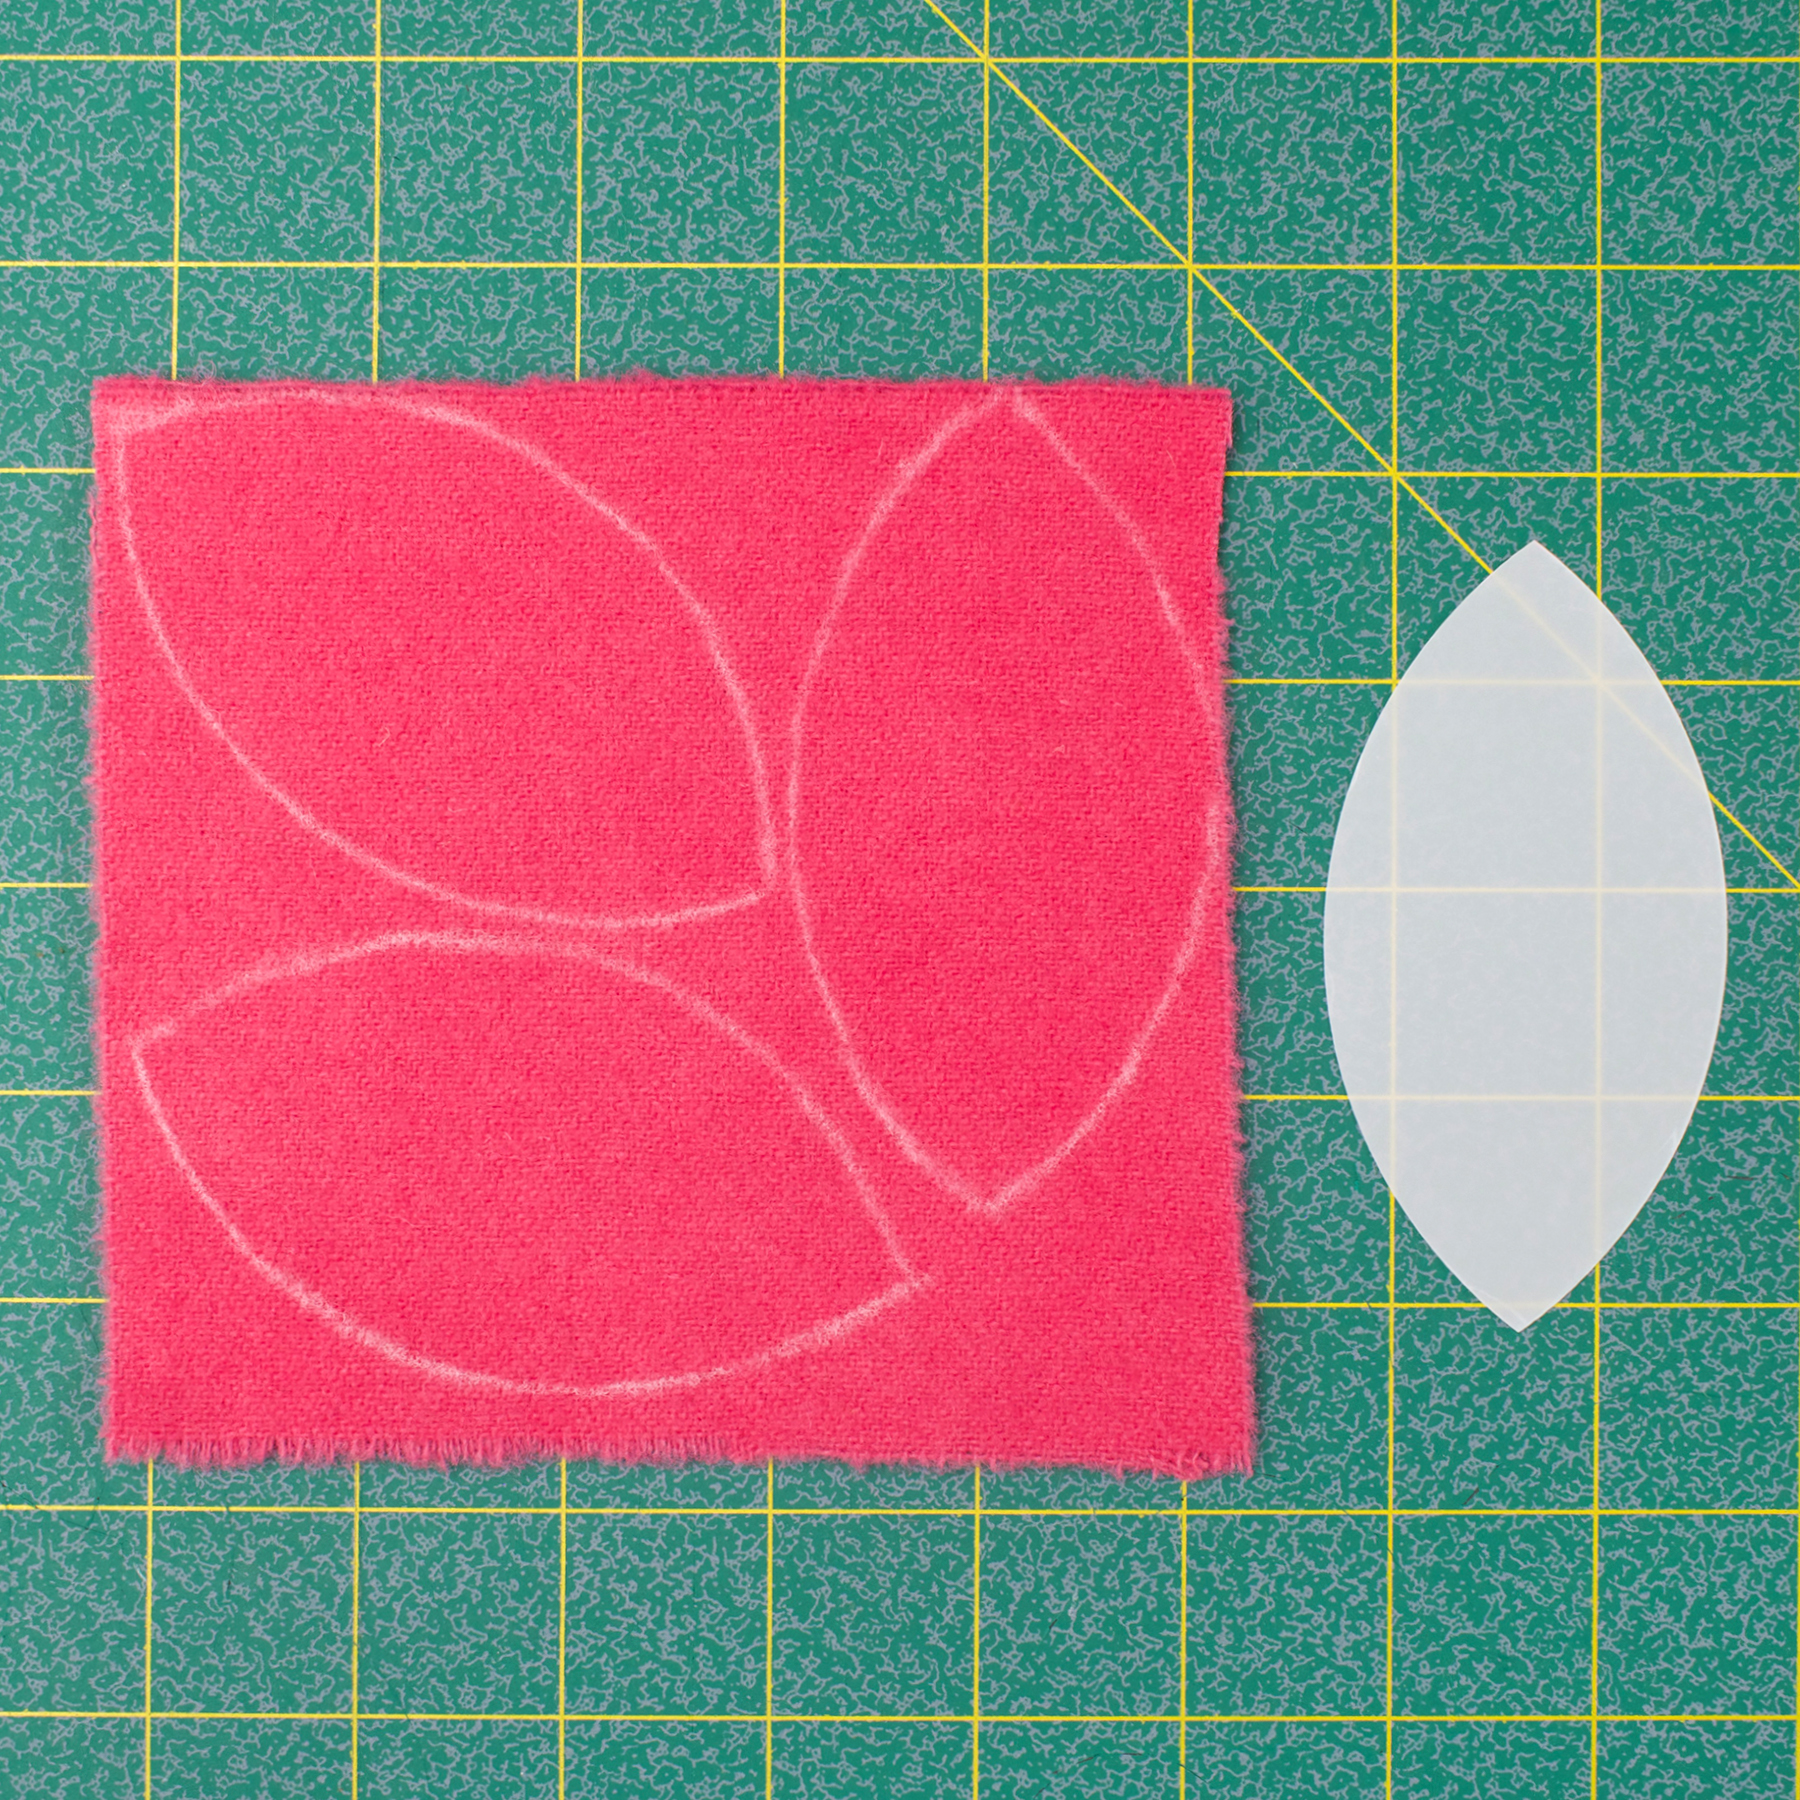
Using a chalk pencil, trace the largest leaf five times onto your wool. As you can see, you can fit three leaf tracings on one Paint Chip, so you'll need two Paint Chips of the same color to create a solid colored egg, however multicolored eggs can be fun too!
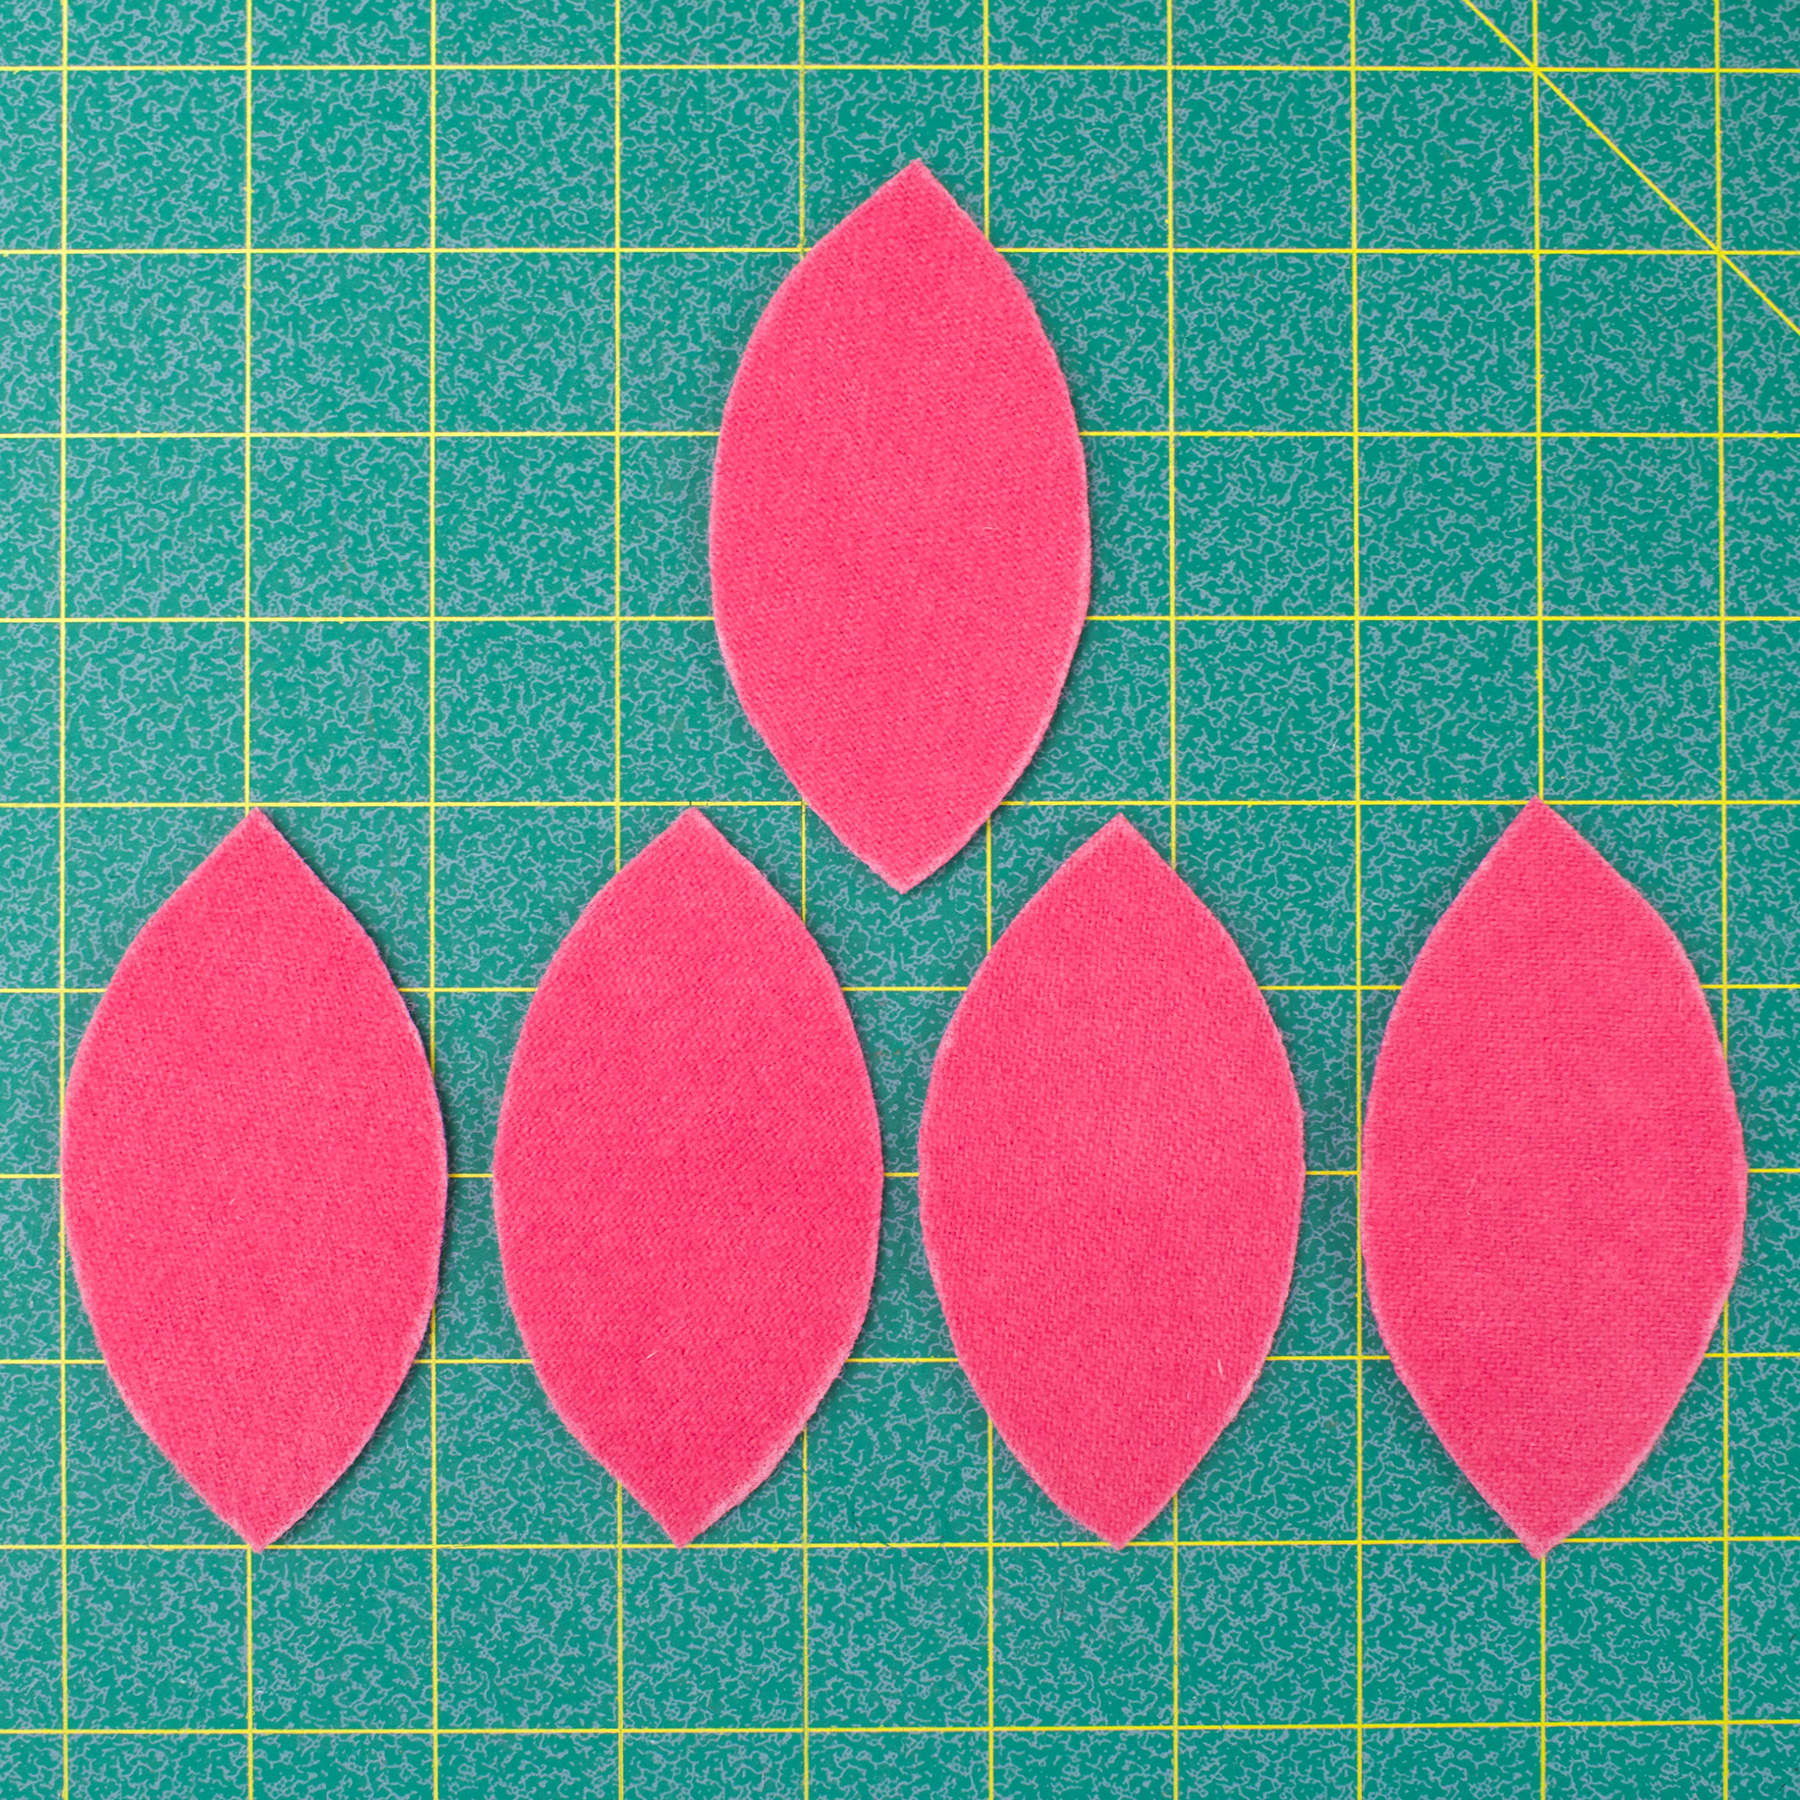
Cut out the leaves. Four of the leaves will create the egg shape. The fifth leaf will become the pocket.
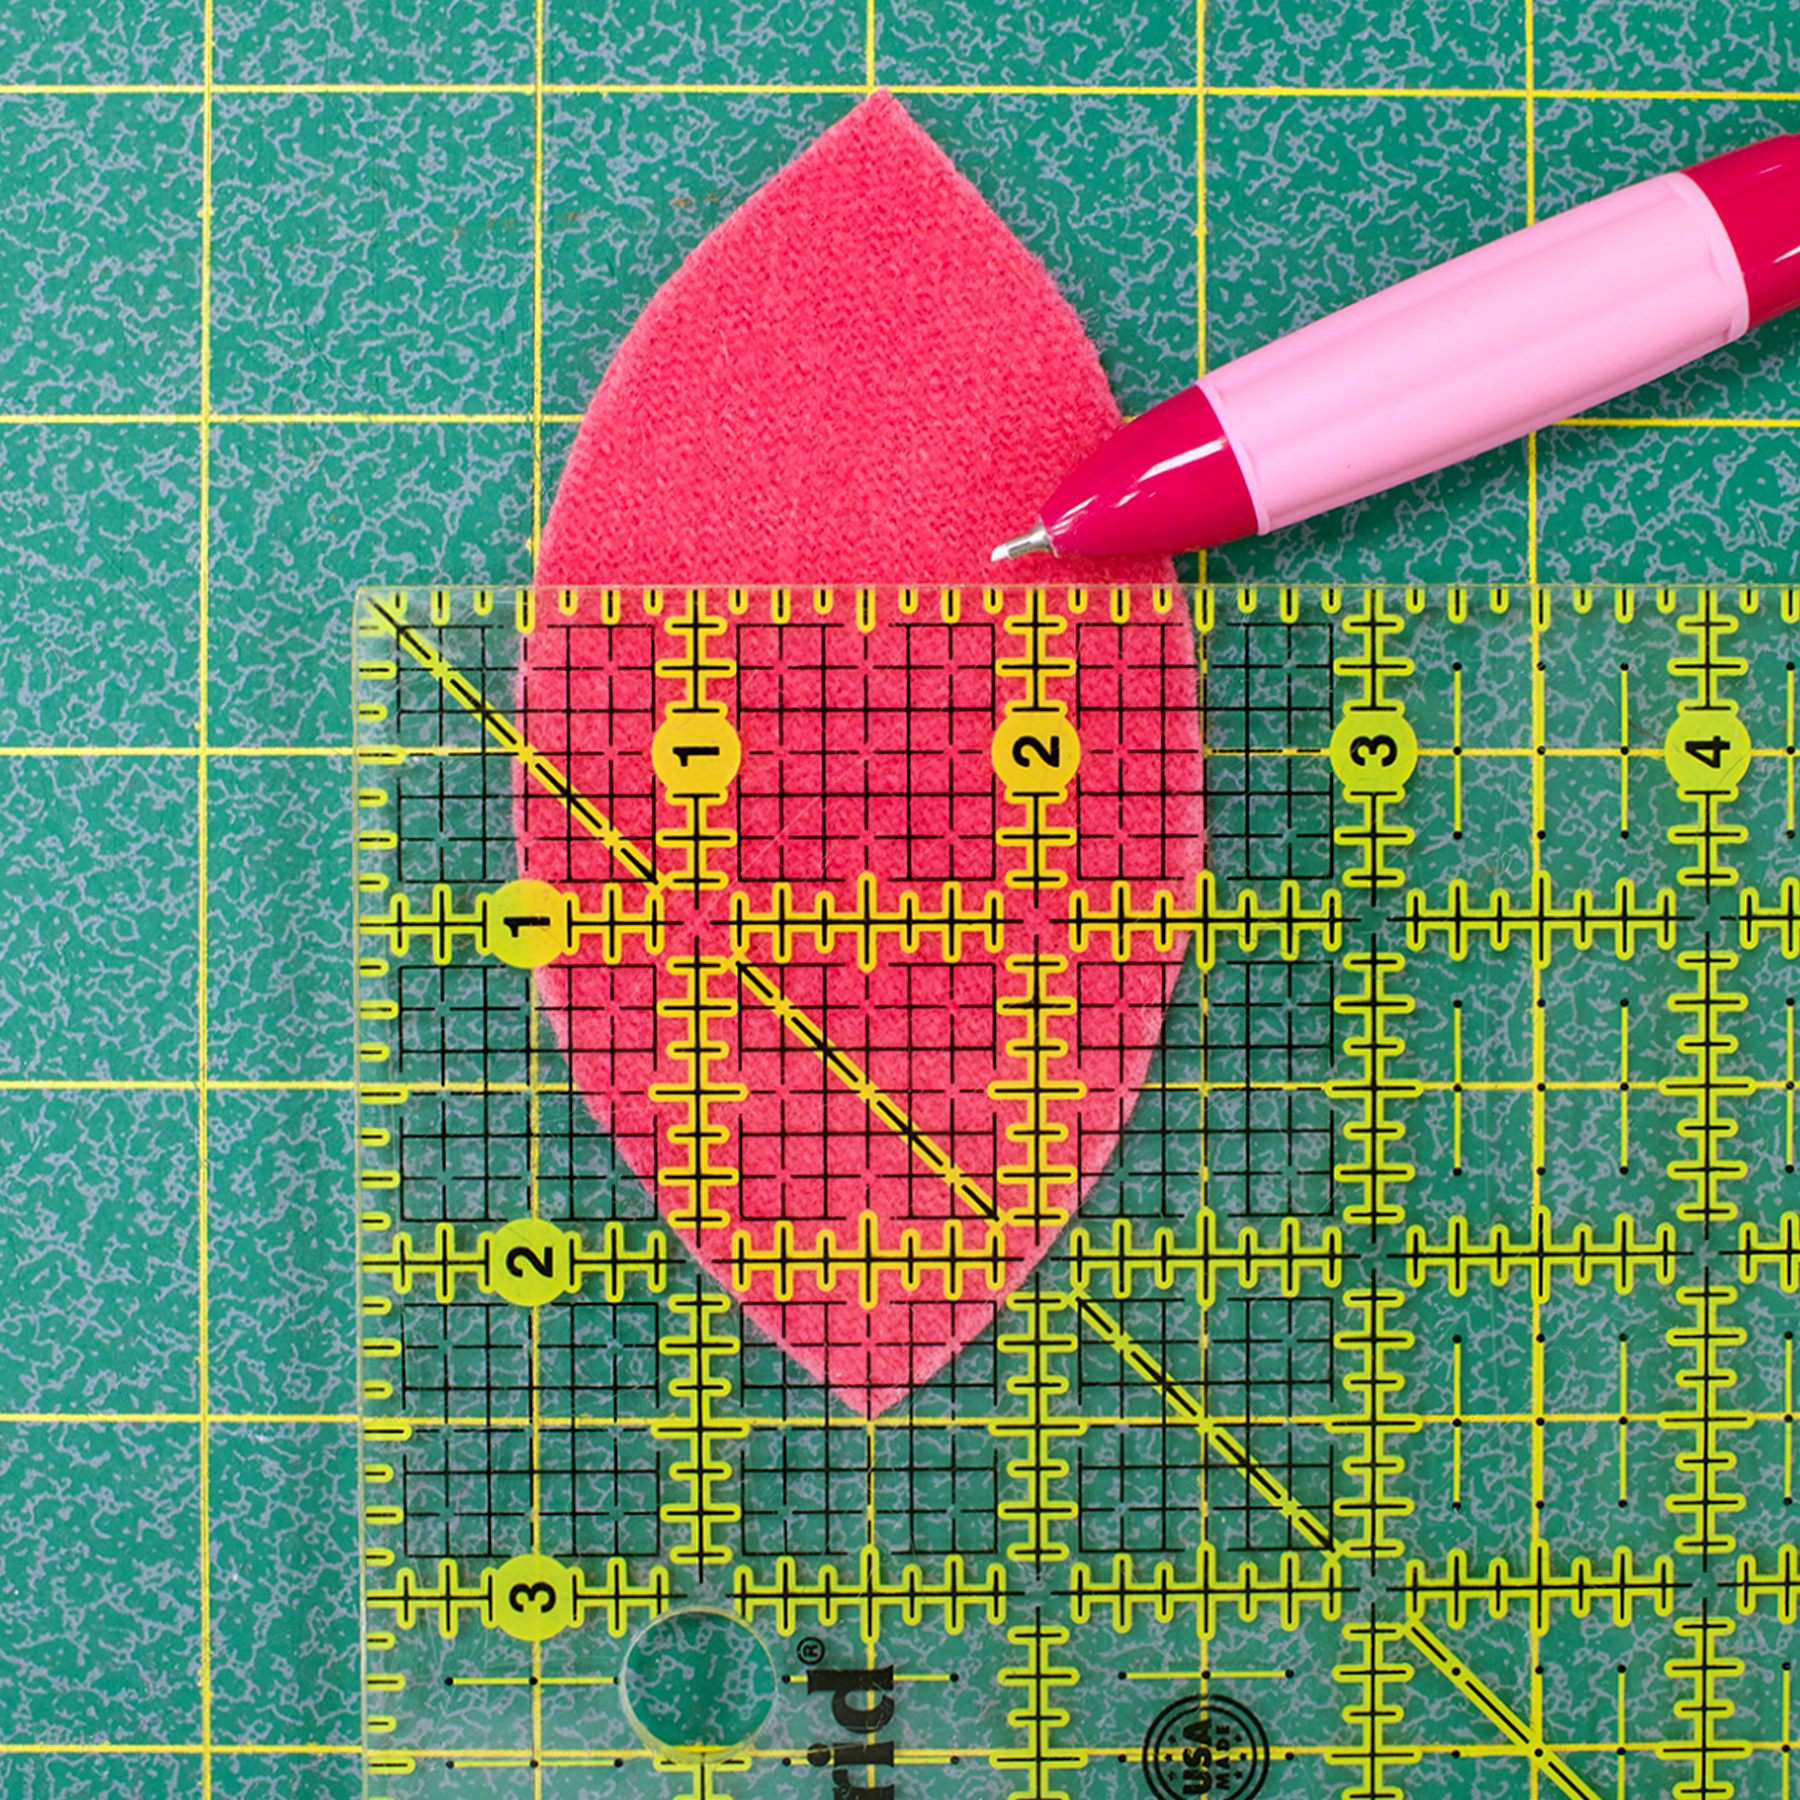
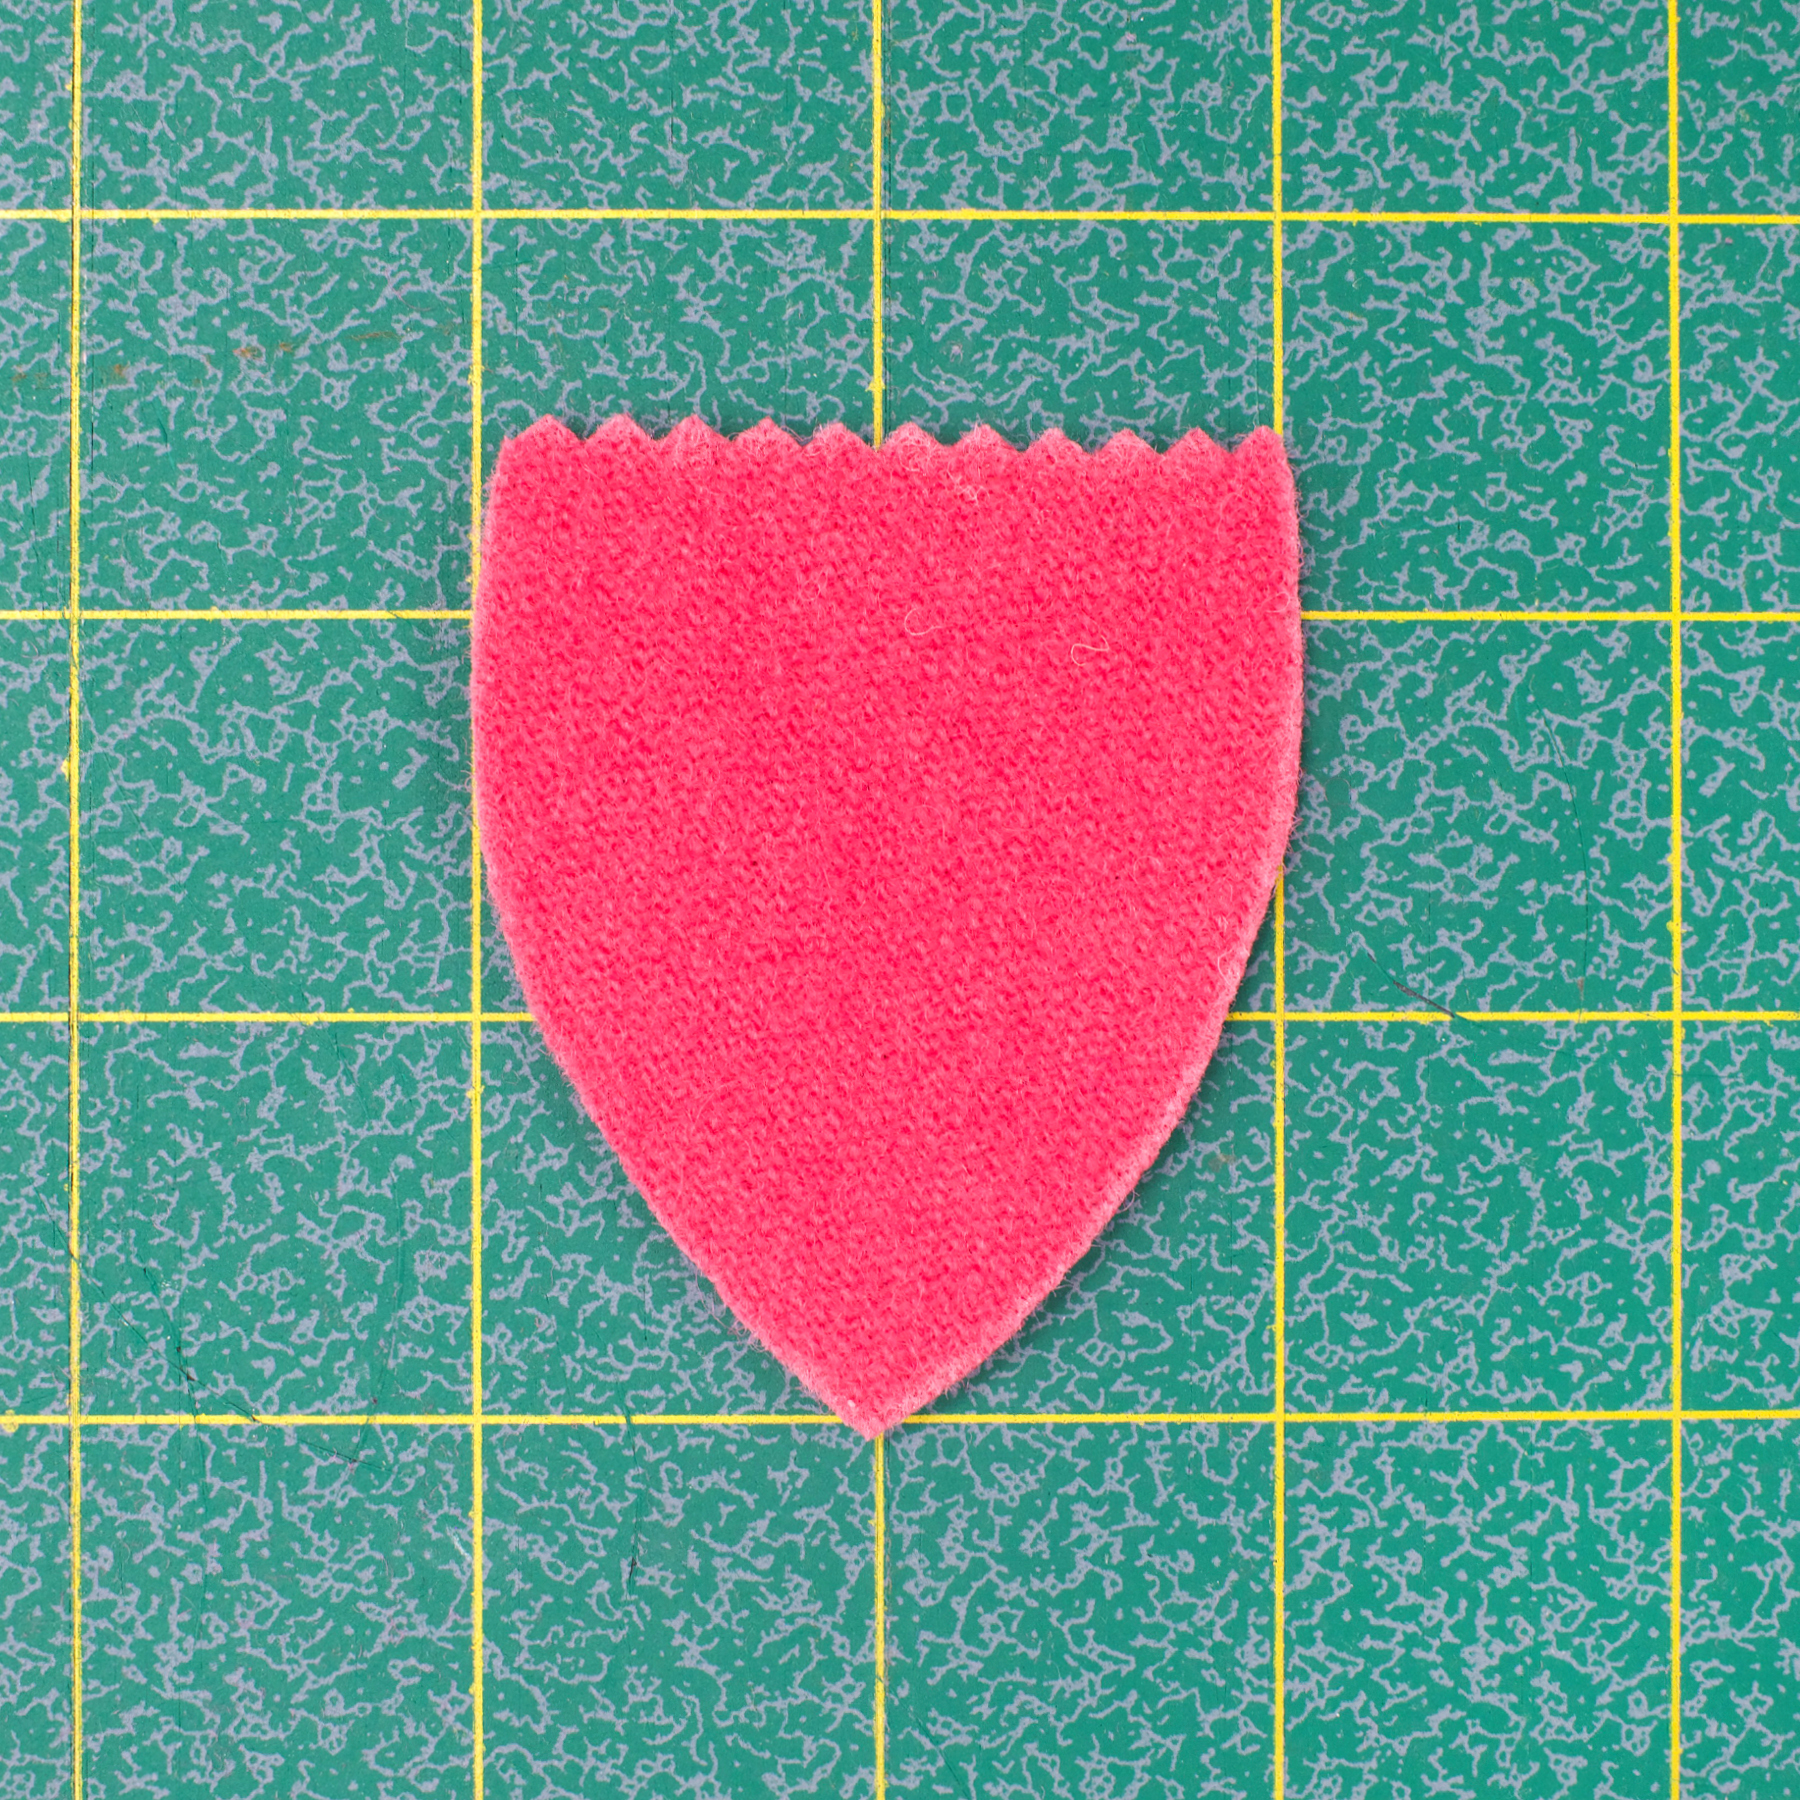
For the pocket, draw a horizontal chalk line a little above the middle of the leaf shape. Using our 6-1/2" Omnigrid Ruler, we drew the line at 2-1/2" from the bottom of the leaf shape.
Cut on the line with Pinking Shears to create a decorative edge for the pocket.
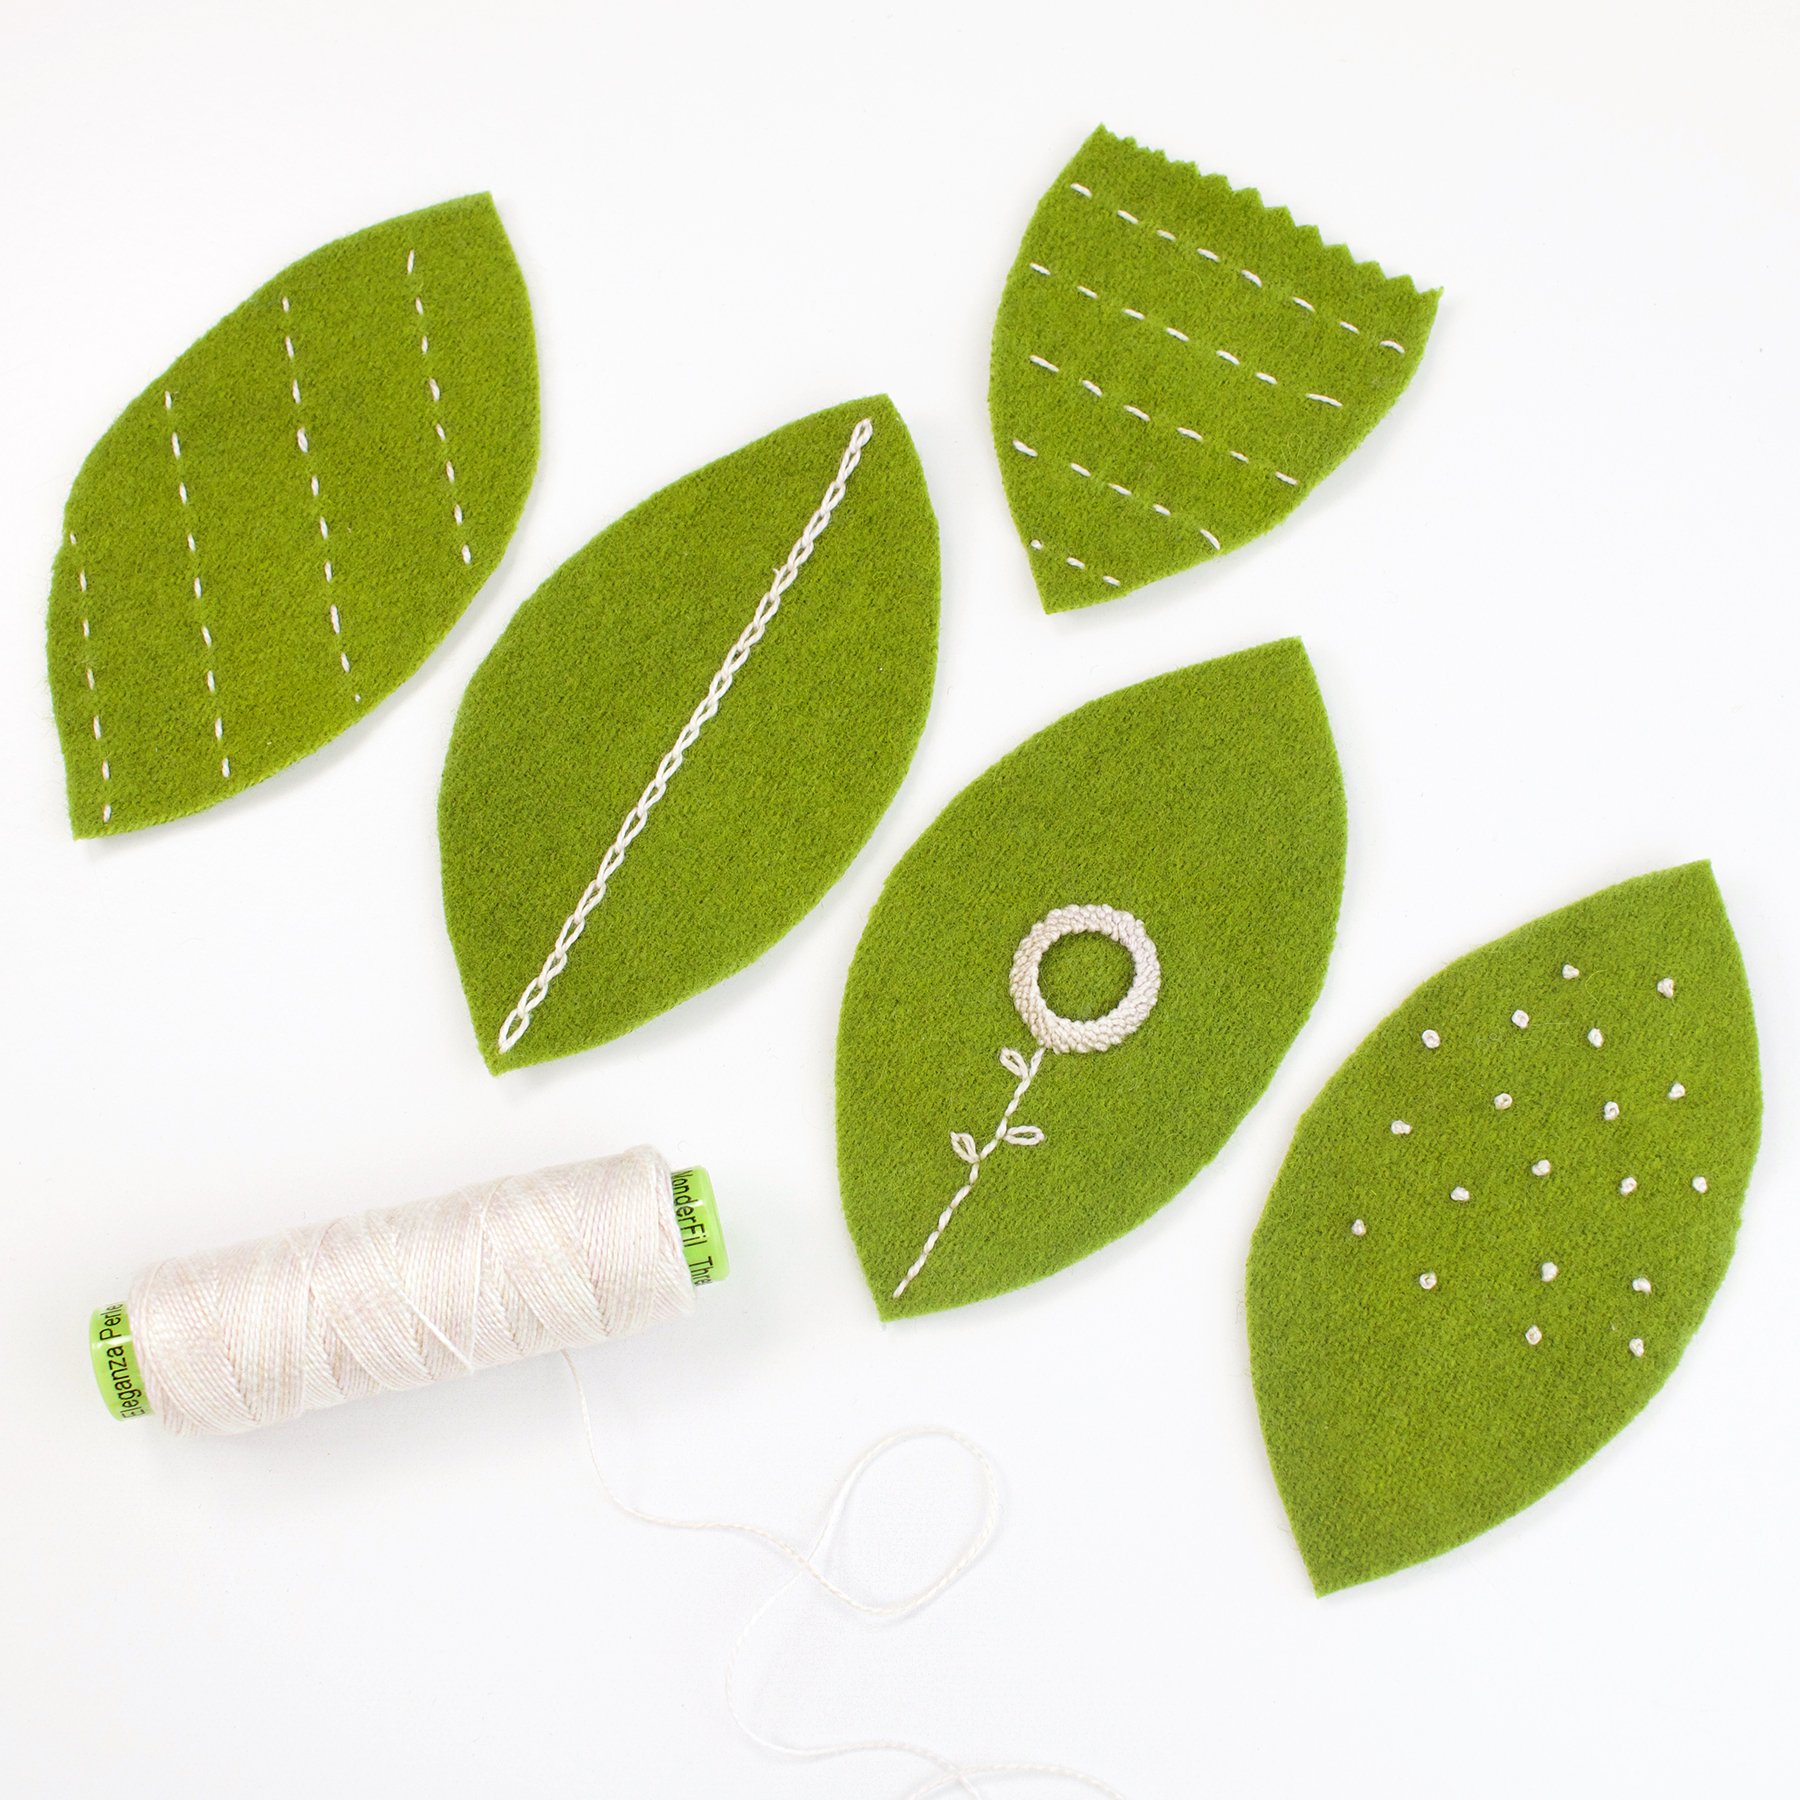
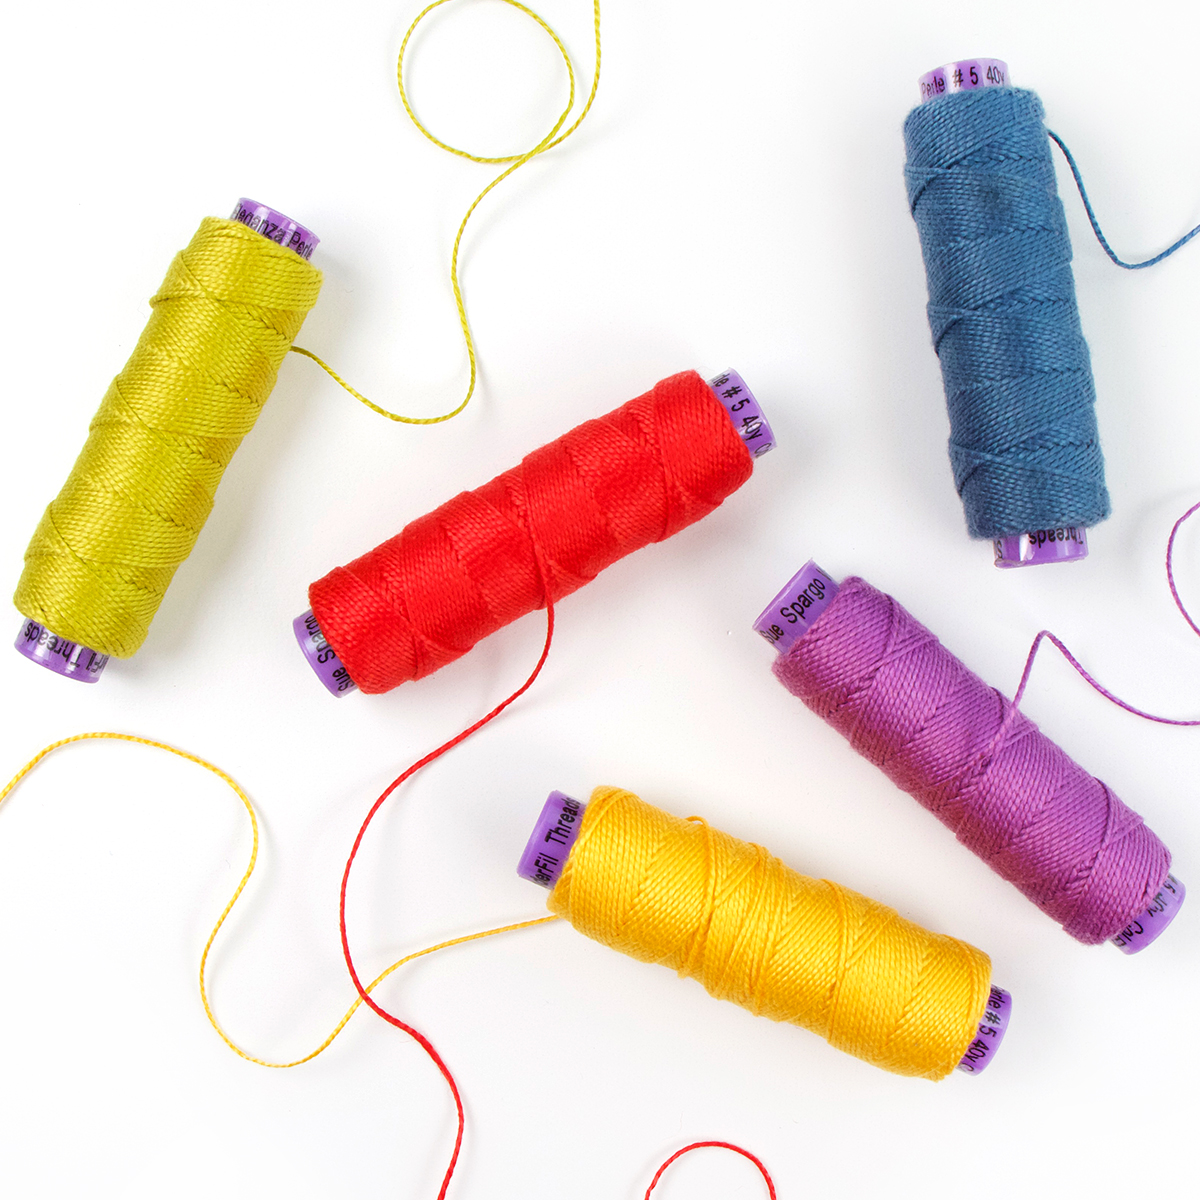
If you would like to embellish the sides and pocket, it's easier to do this now, before sewing the egg together. On our embellished Easter eggs, we used Eleganza of all three weights (#8, #5, #3) in the color Ginned Cotton.
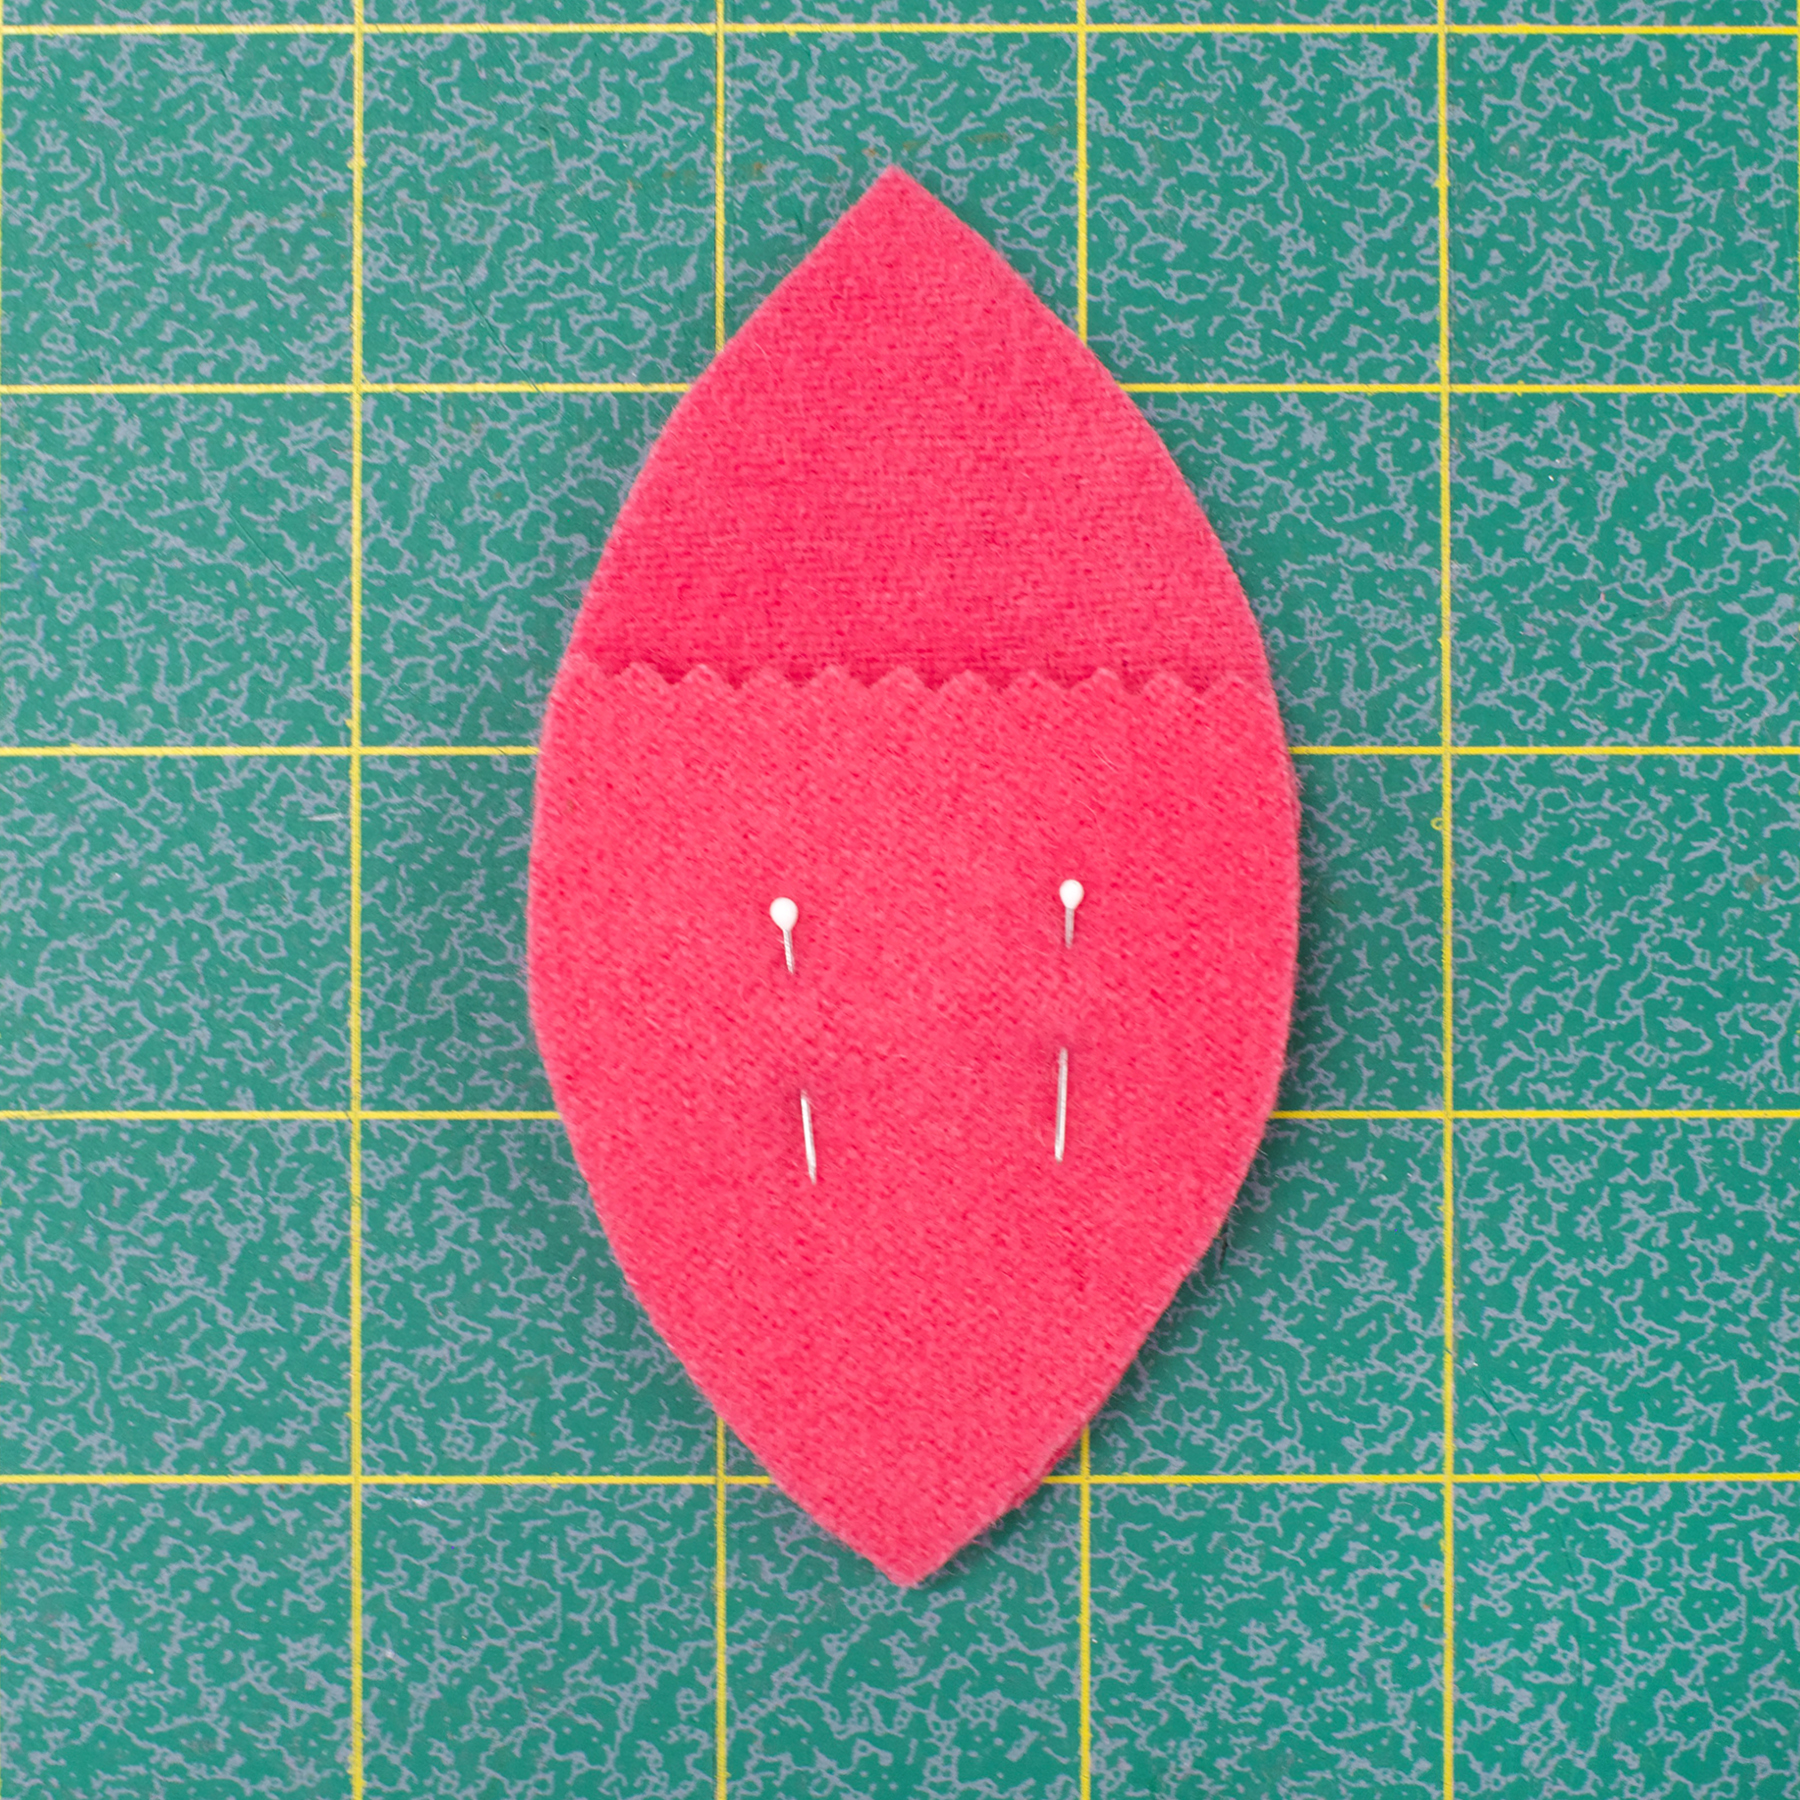
Pin the pocket to one of the four egg sides with both the pocket and the egg side facing up. The Clover Applique Pins worked great for this.
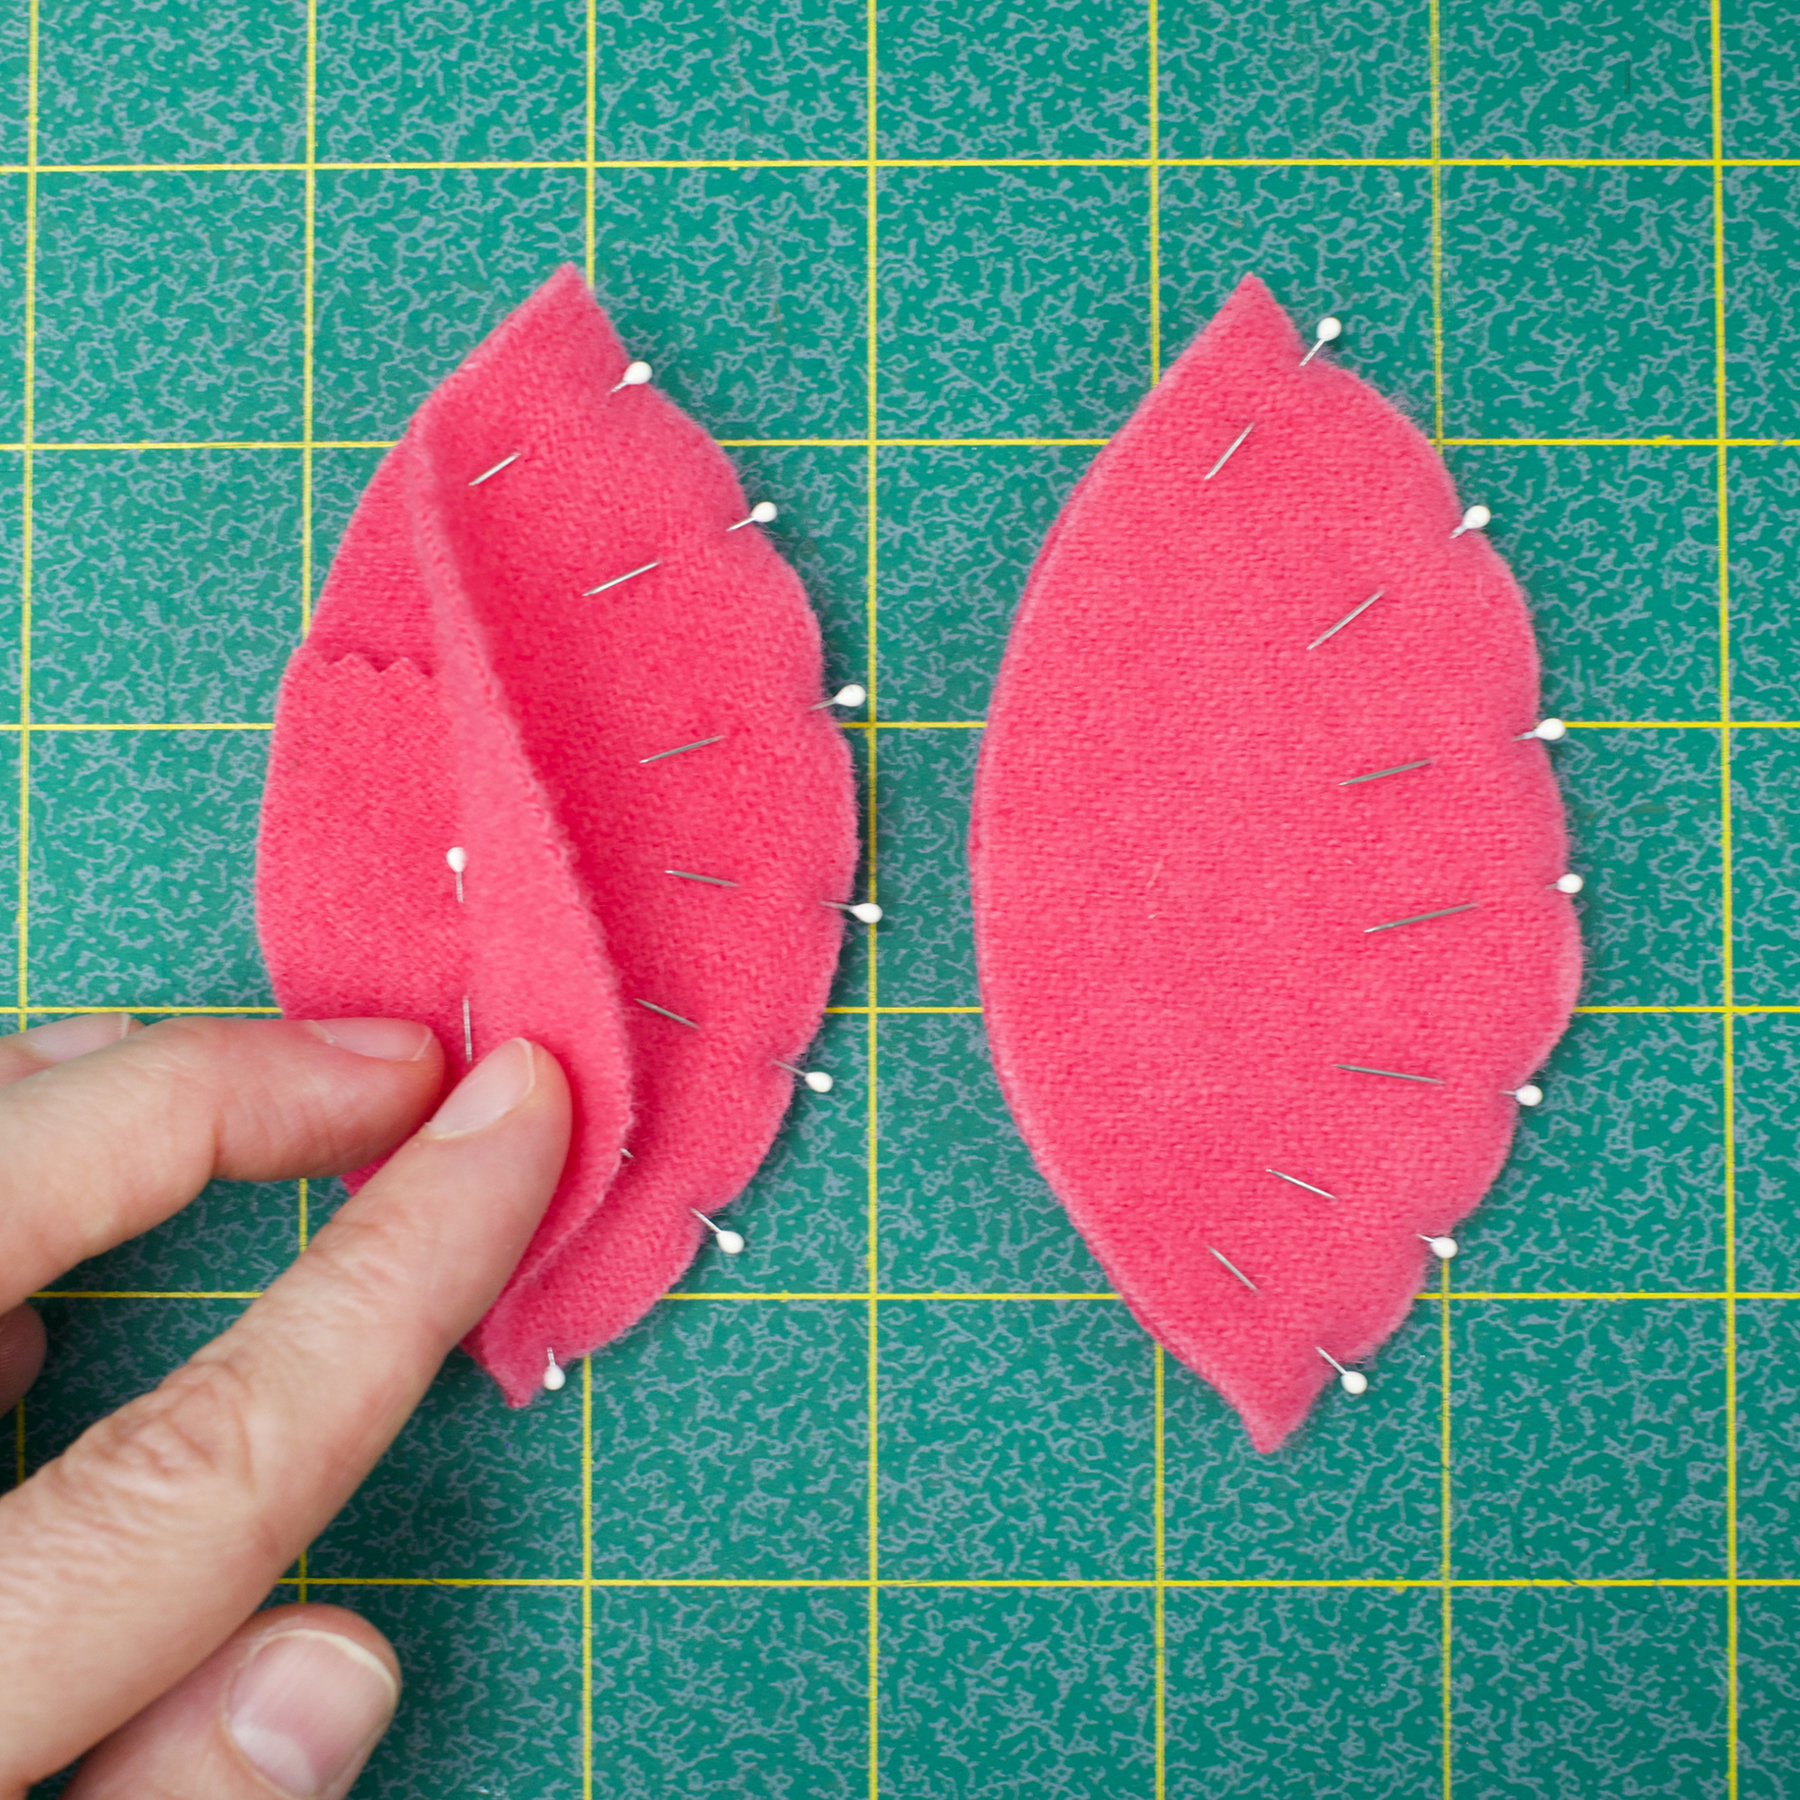
Place another egg side on top of the side with the pocket (right sides facing). Place the remaining two egg sides on top of one another (right sides facing). Pin both pairs along one edge as shown in the picture.
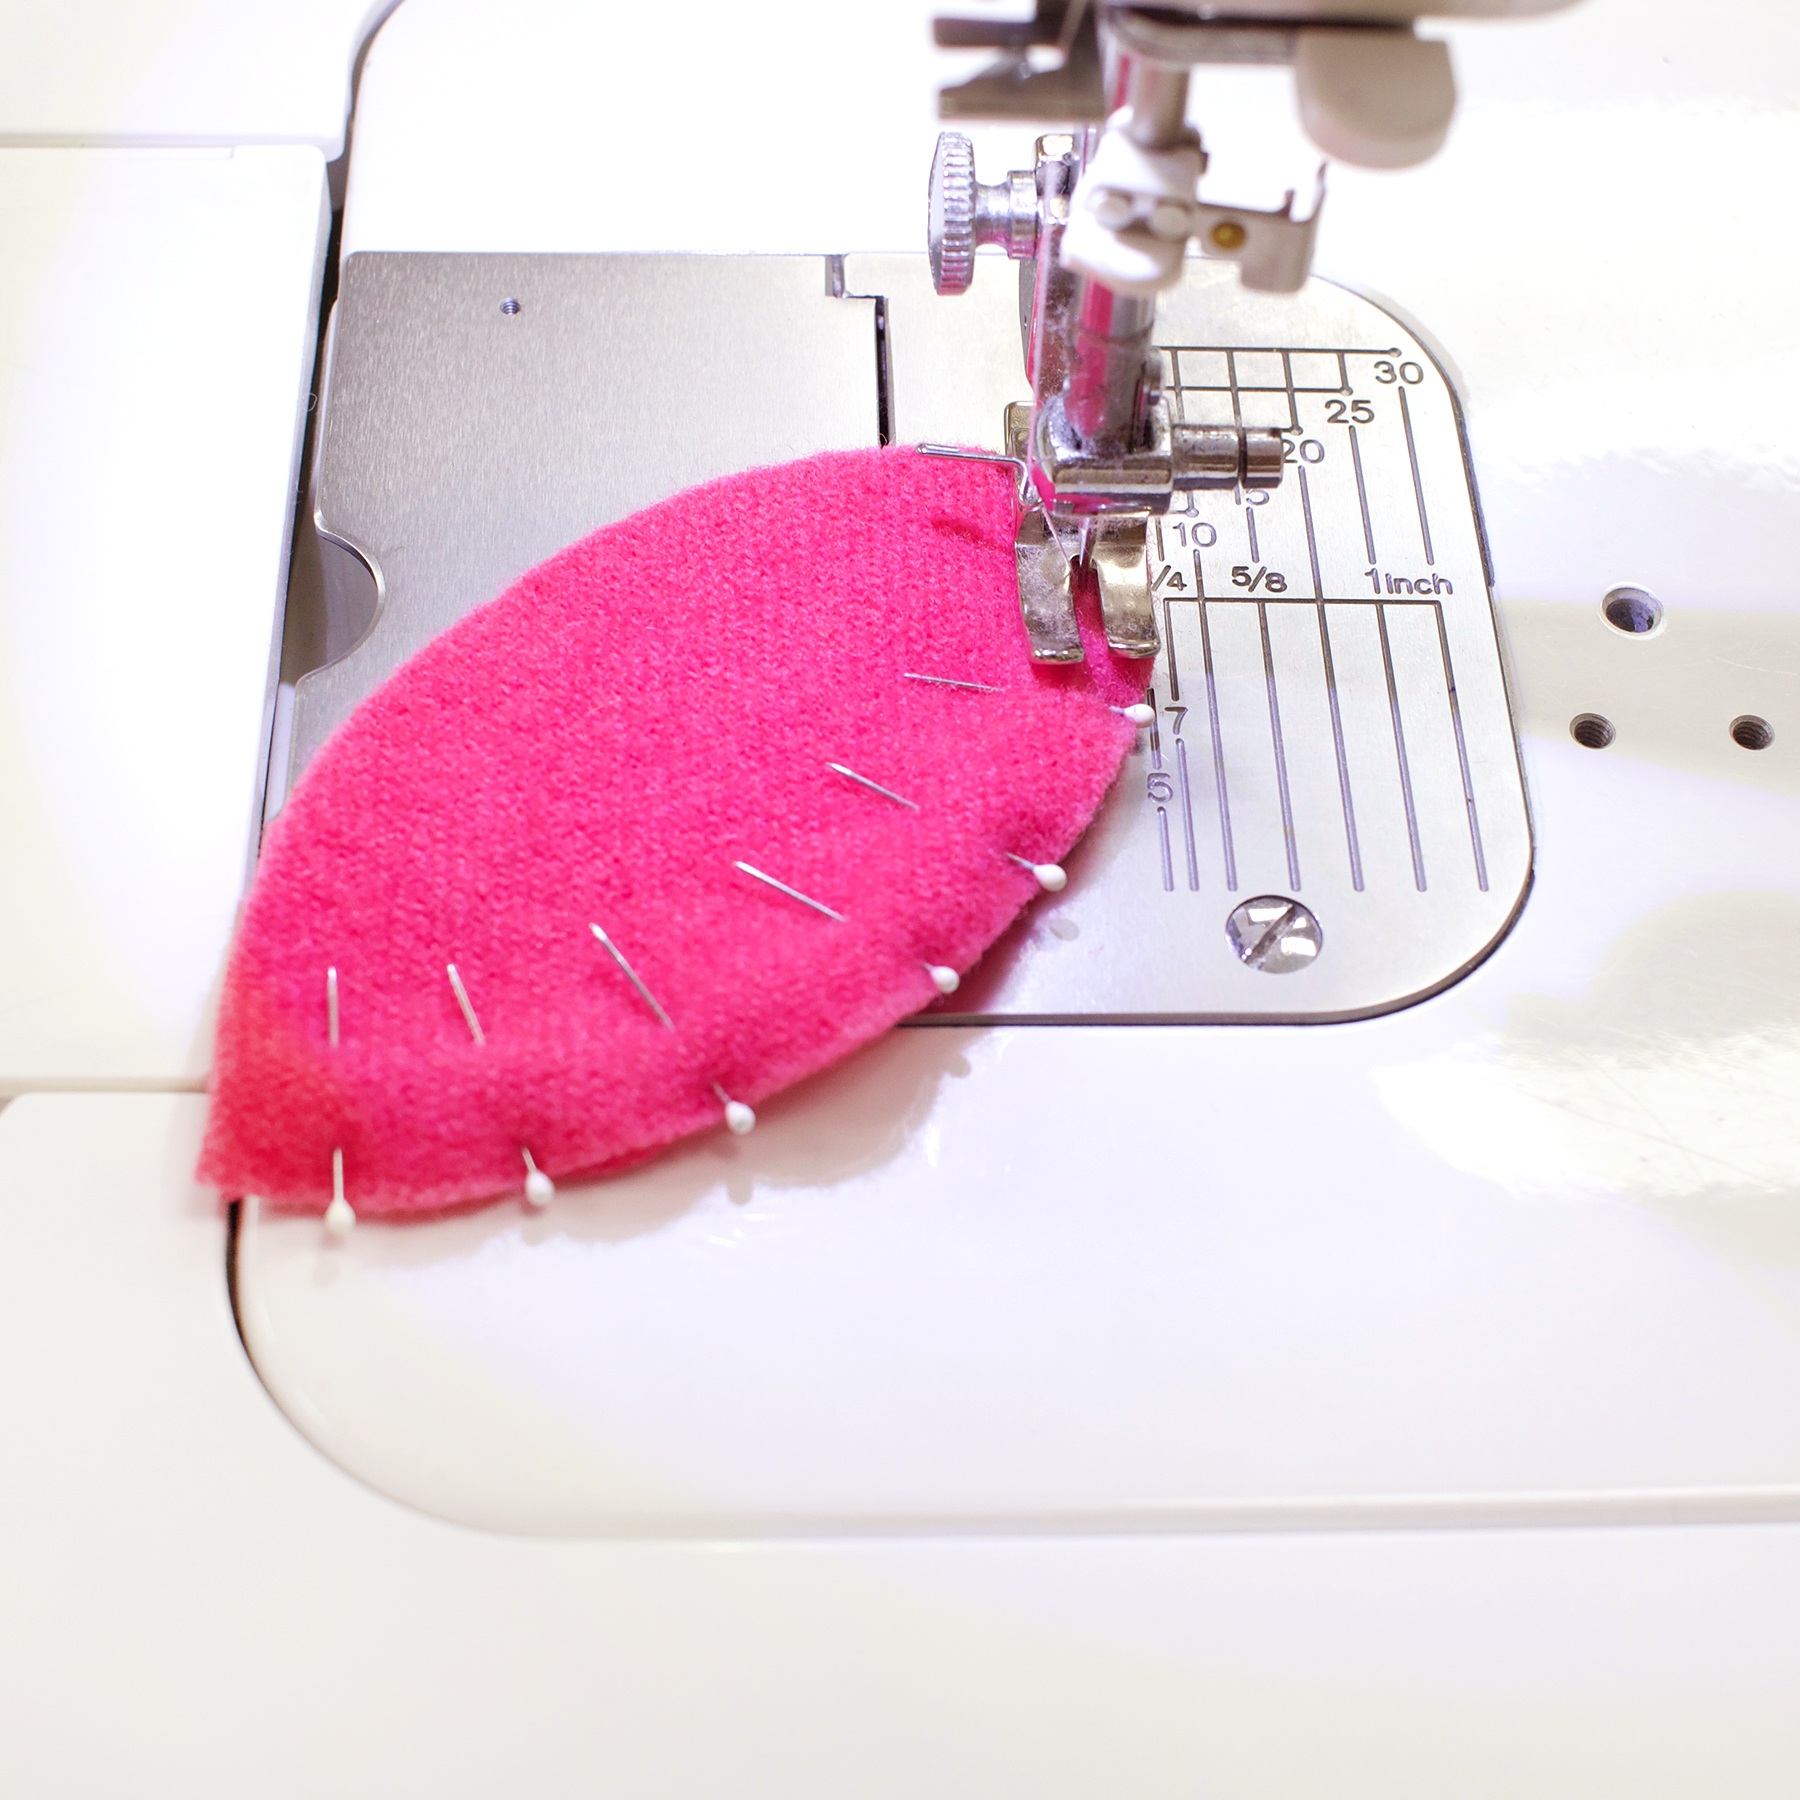
With a quarter inch seam allowance, sew along the pinned edge on both paired up sides.
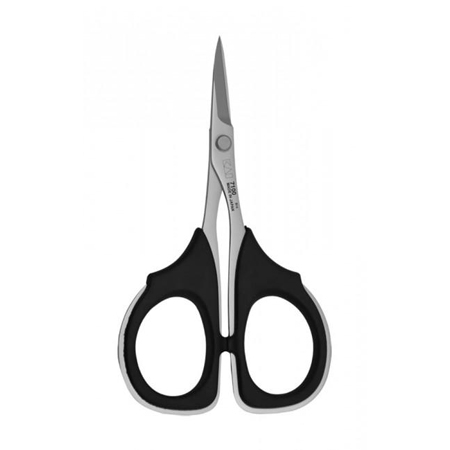
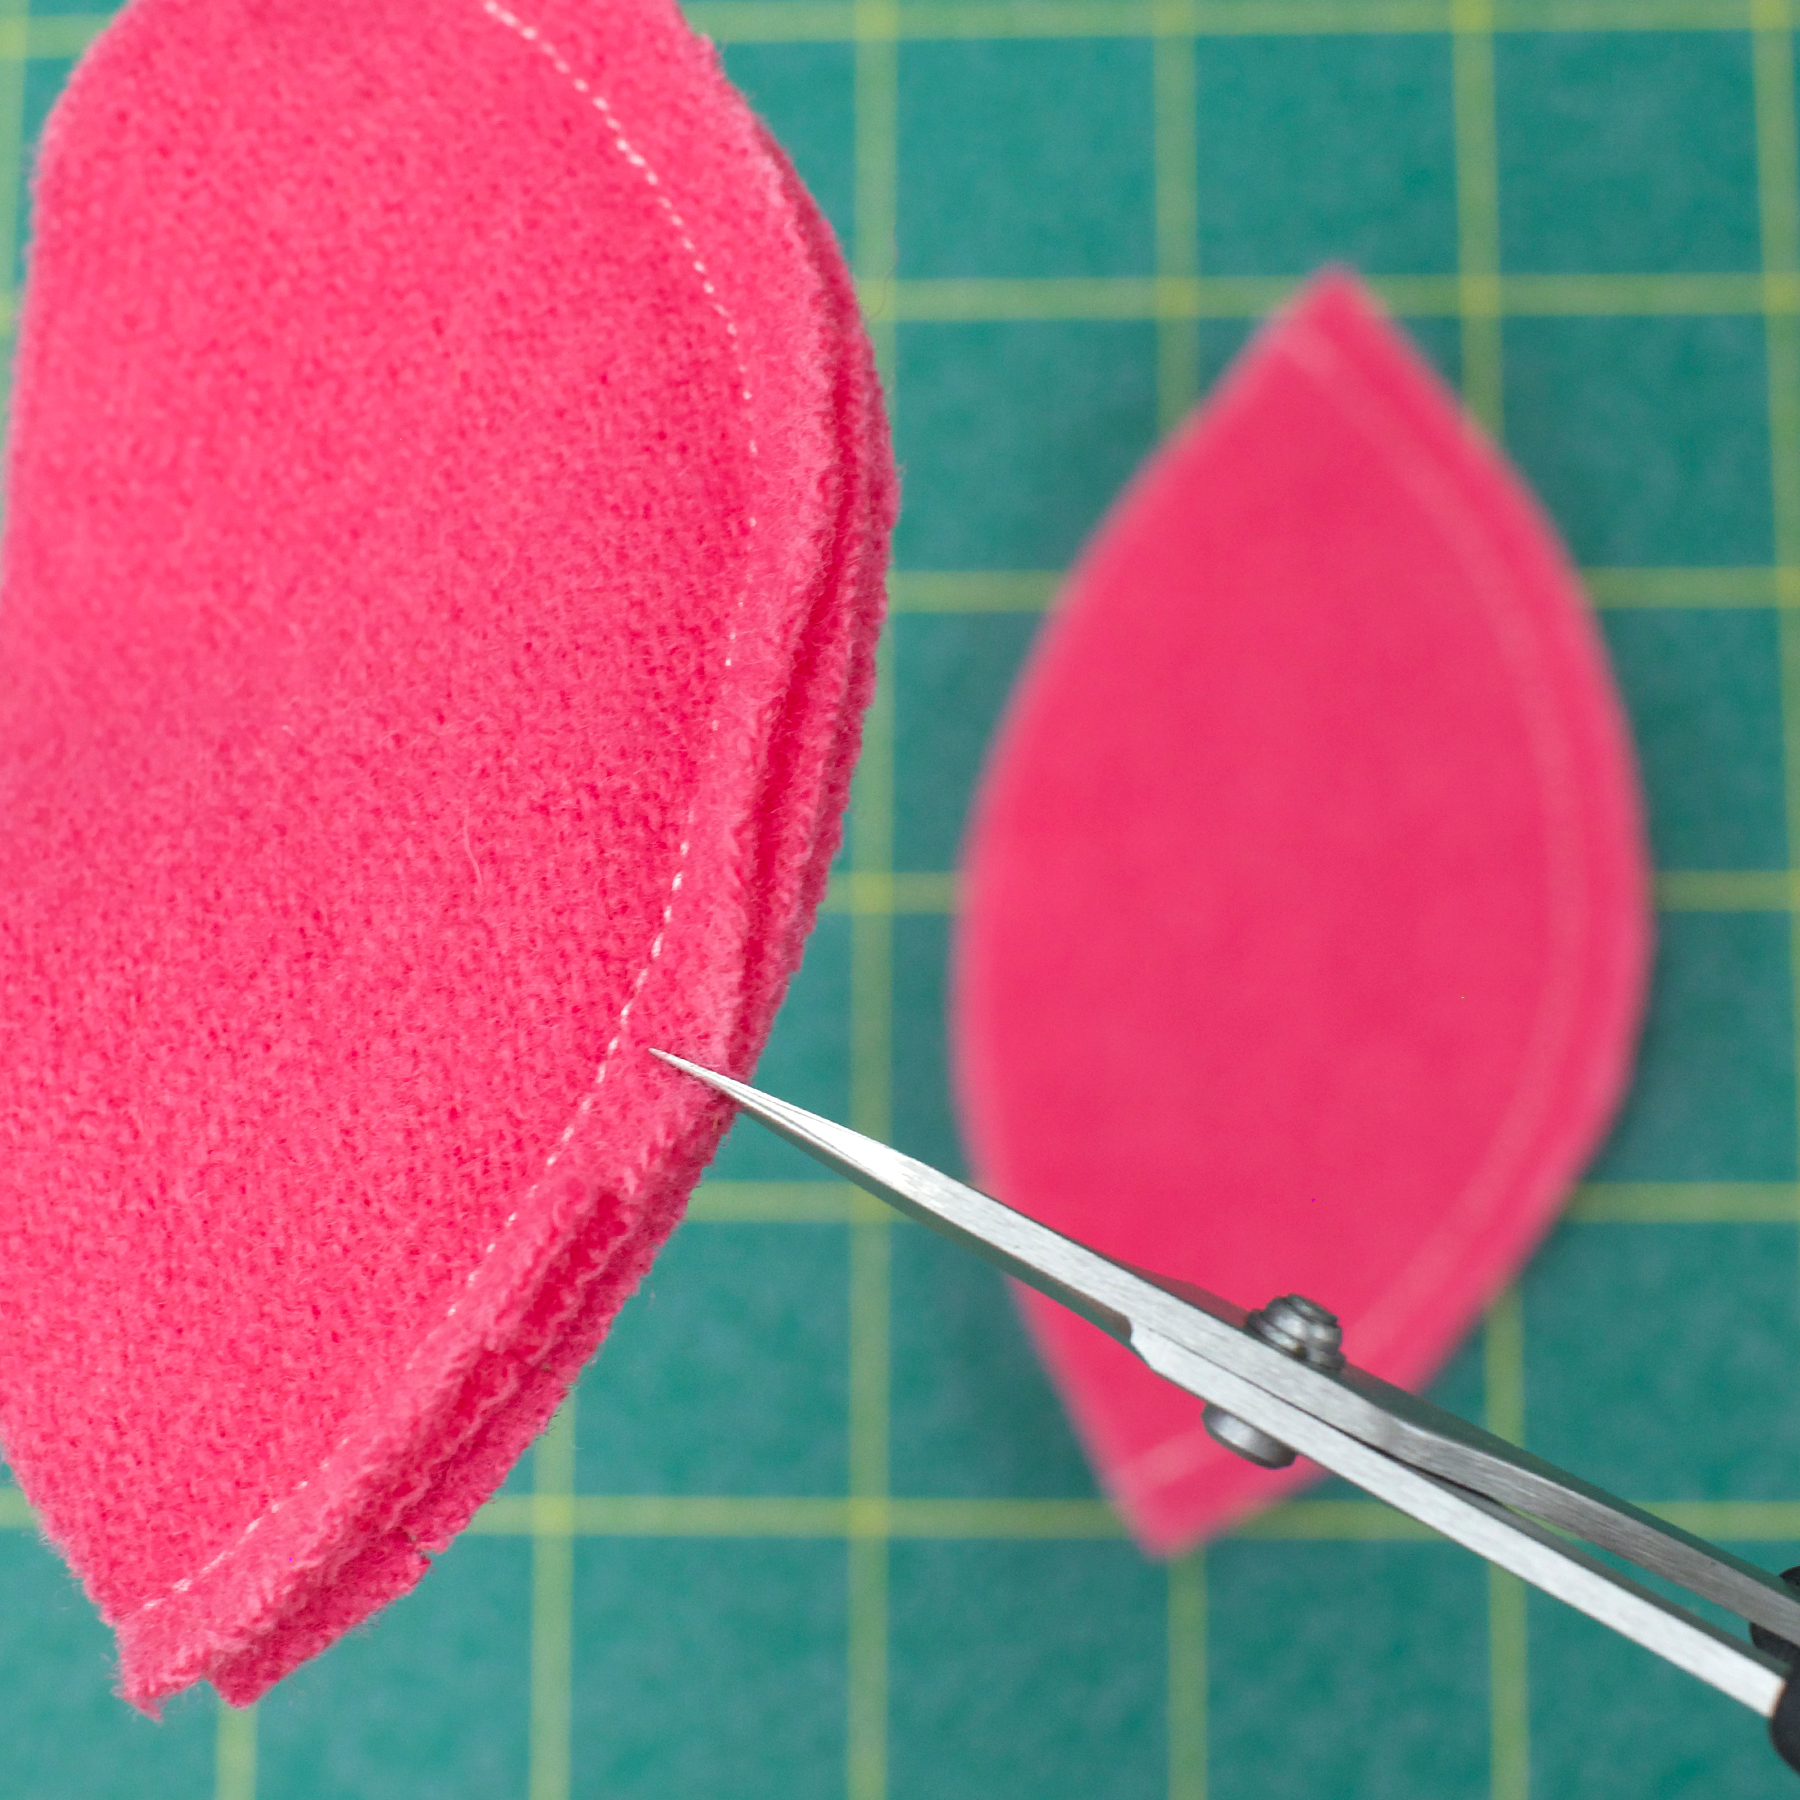
With sharp, precise scissors like the Kai 4" Professional Scissors, snip along the curved seam allowance, being careful not to cut through the stitches. This will help smooth the curved seam when the fabric is turned right side out.
You can also trim extra bulk from the seam allowance at this time.
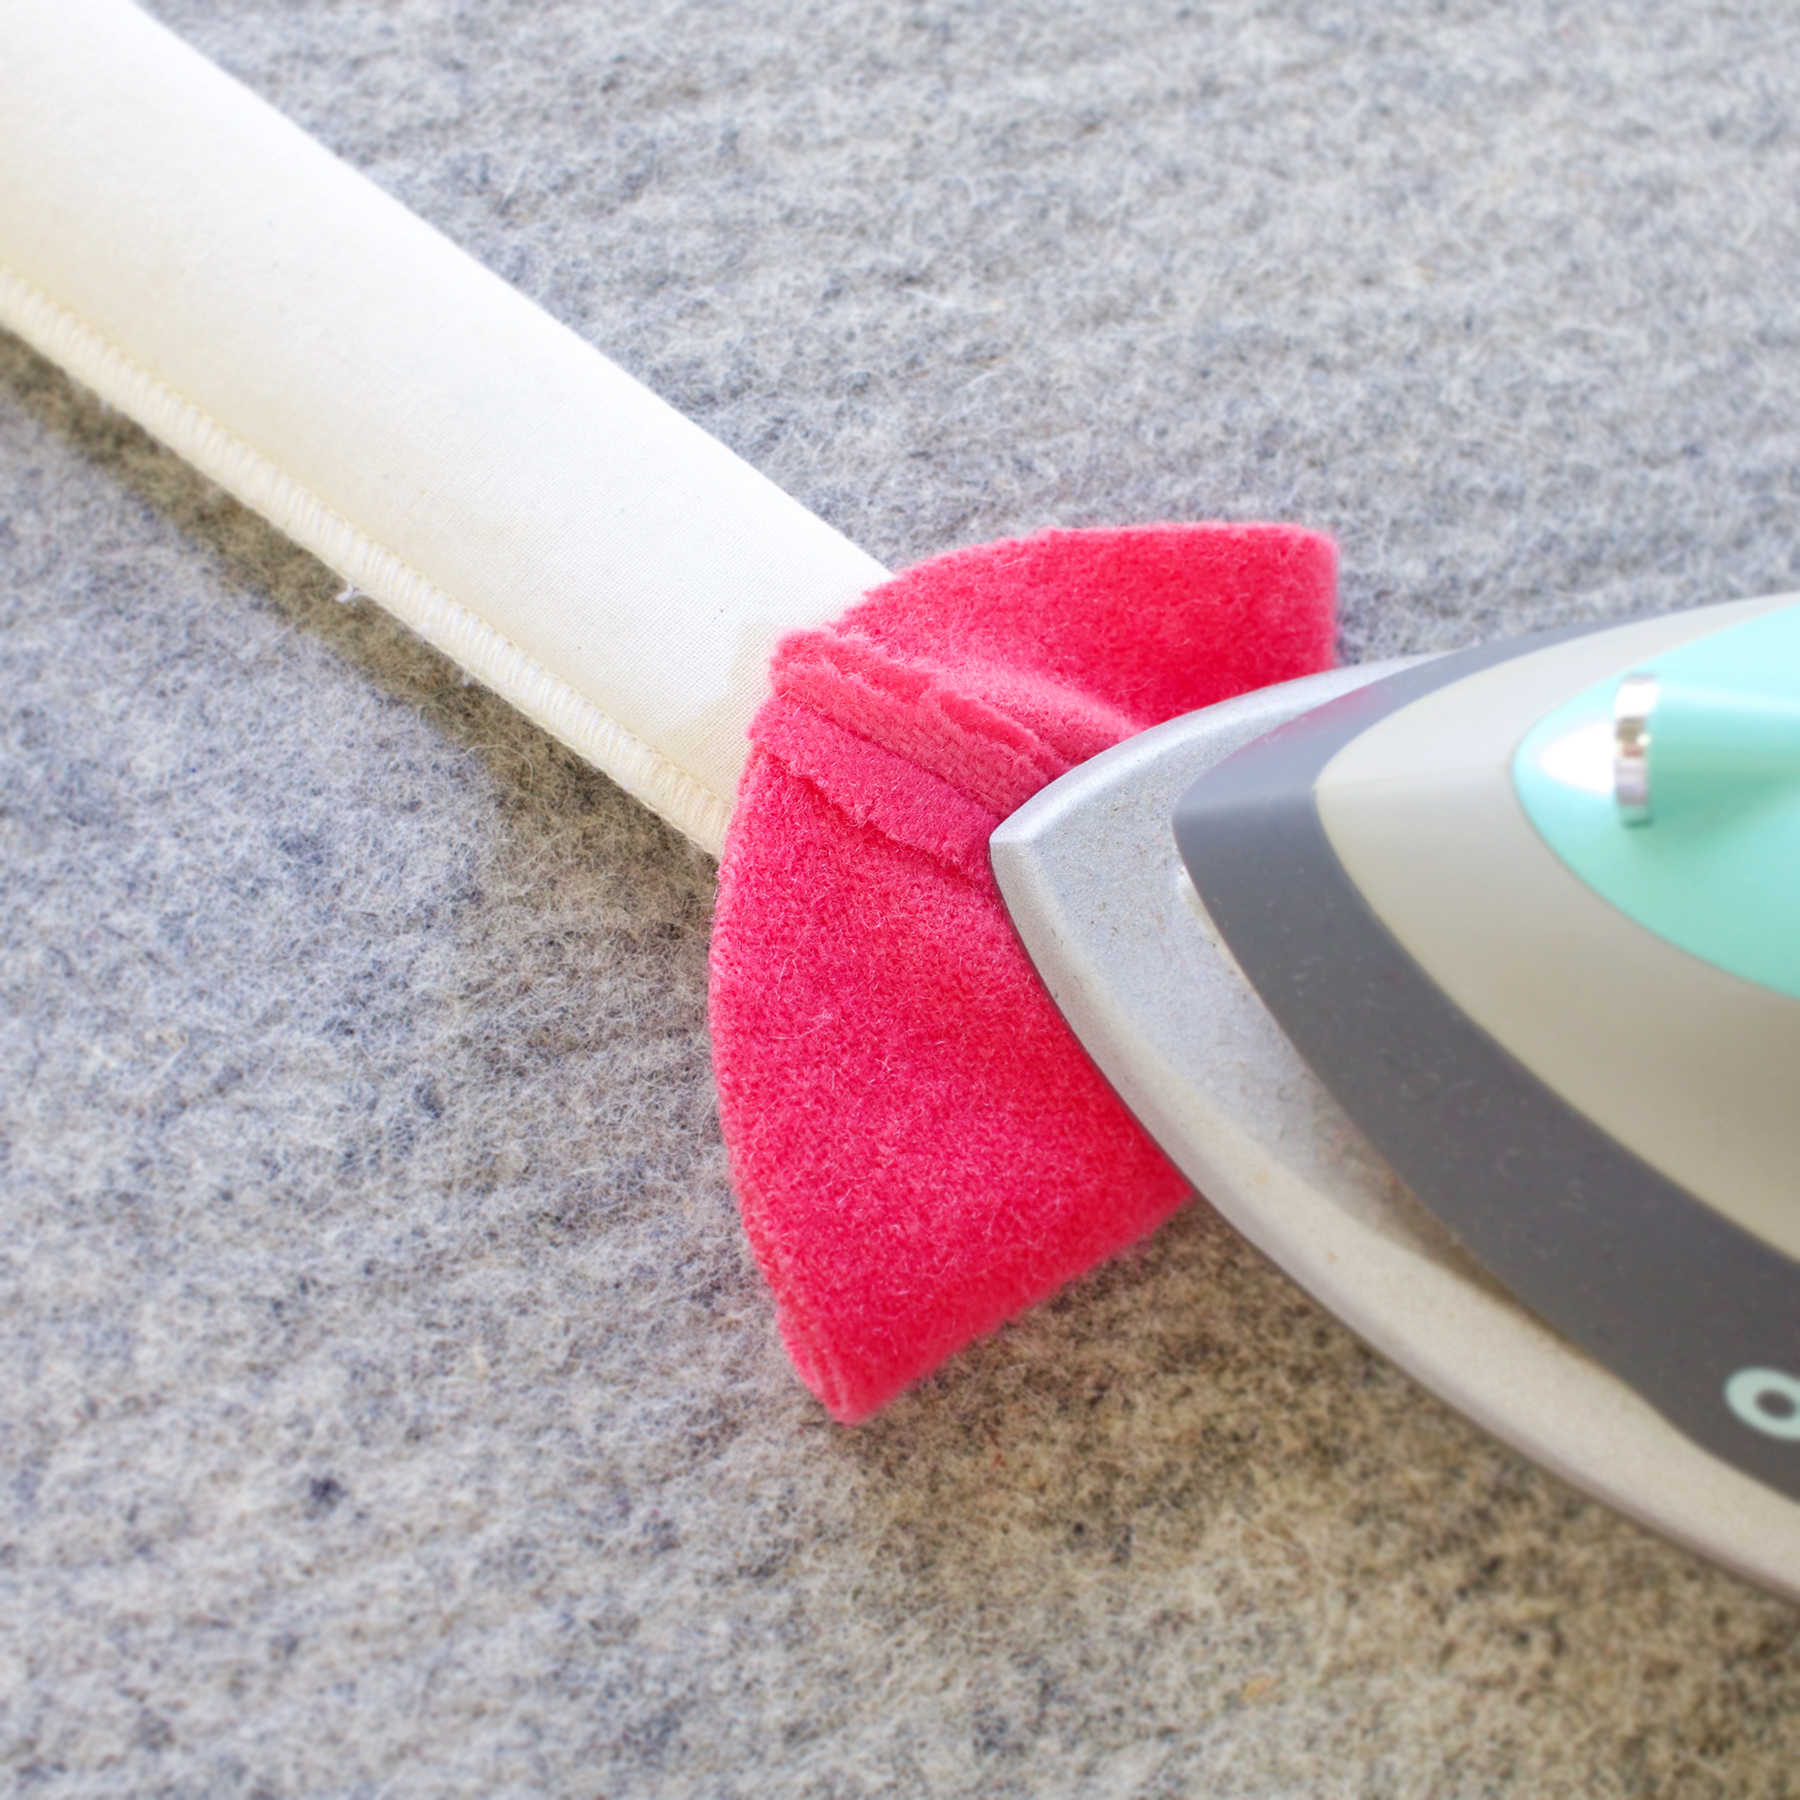
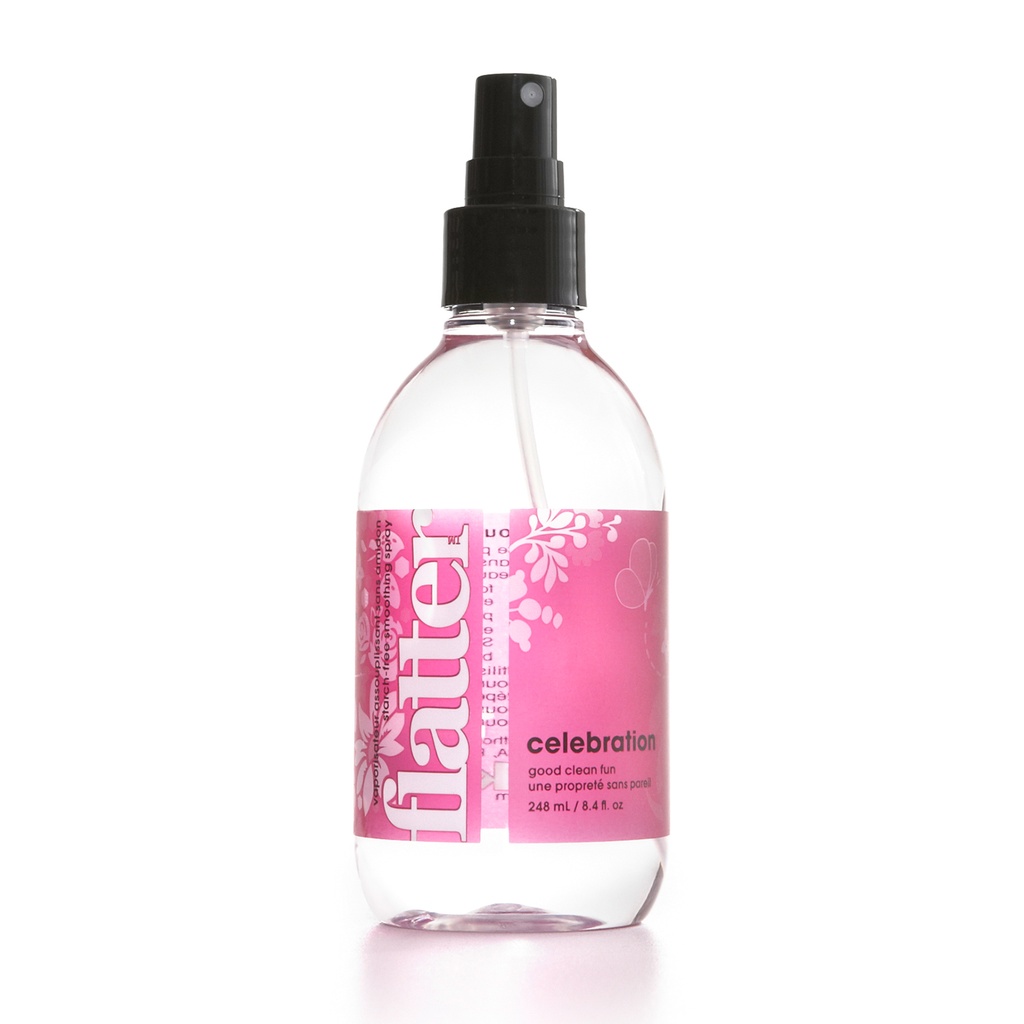
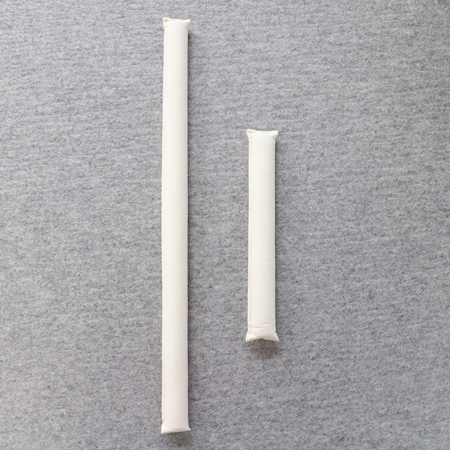
Spritz with Flatter and press the seams open. We found folding the egg half over the edge of a Strip Stick to be helpful.
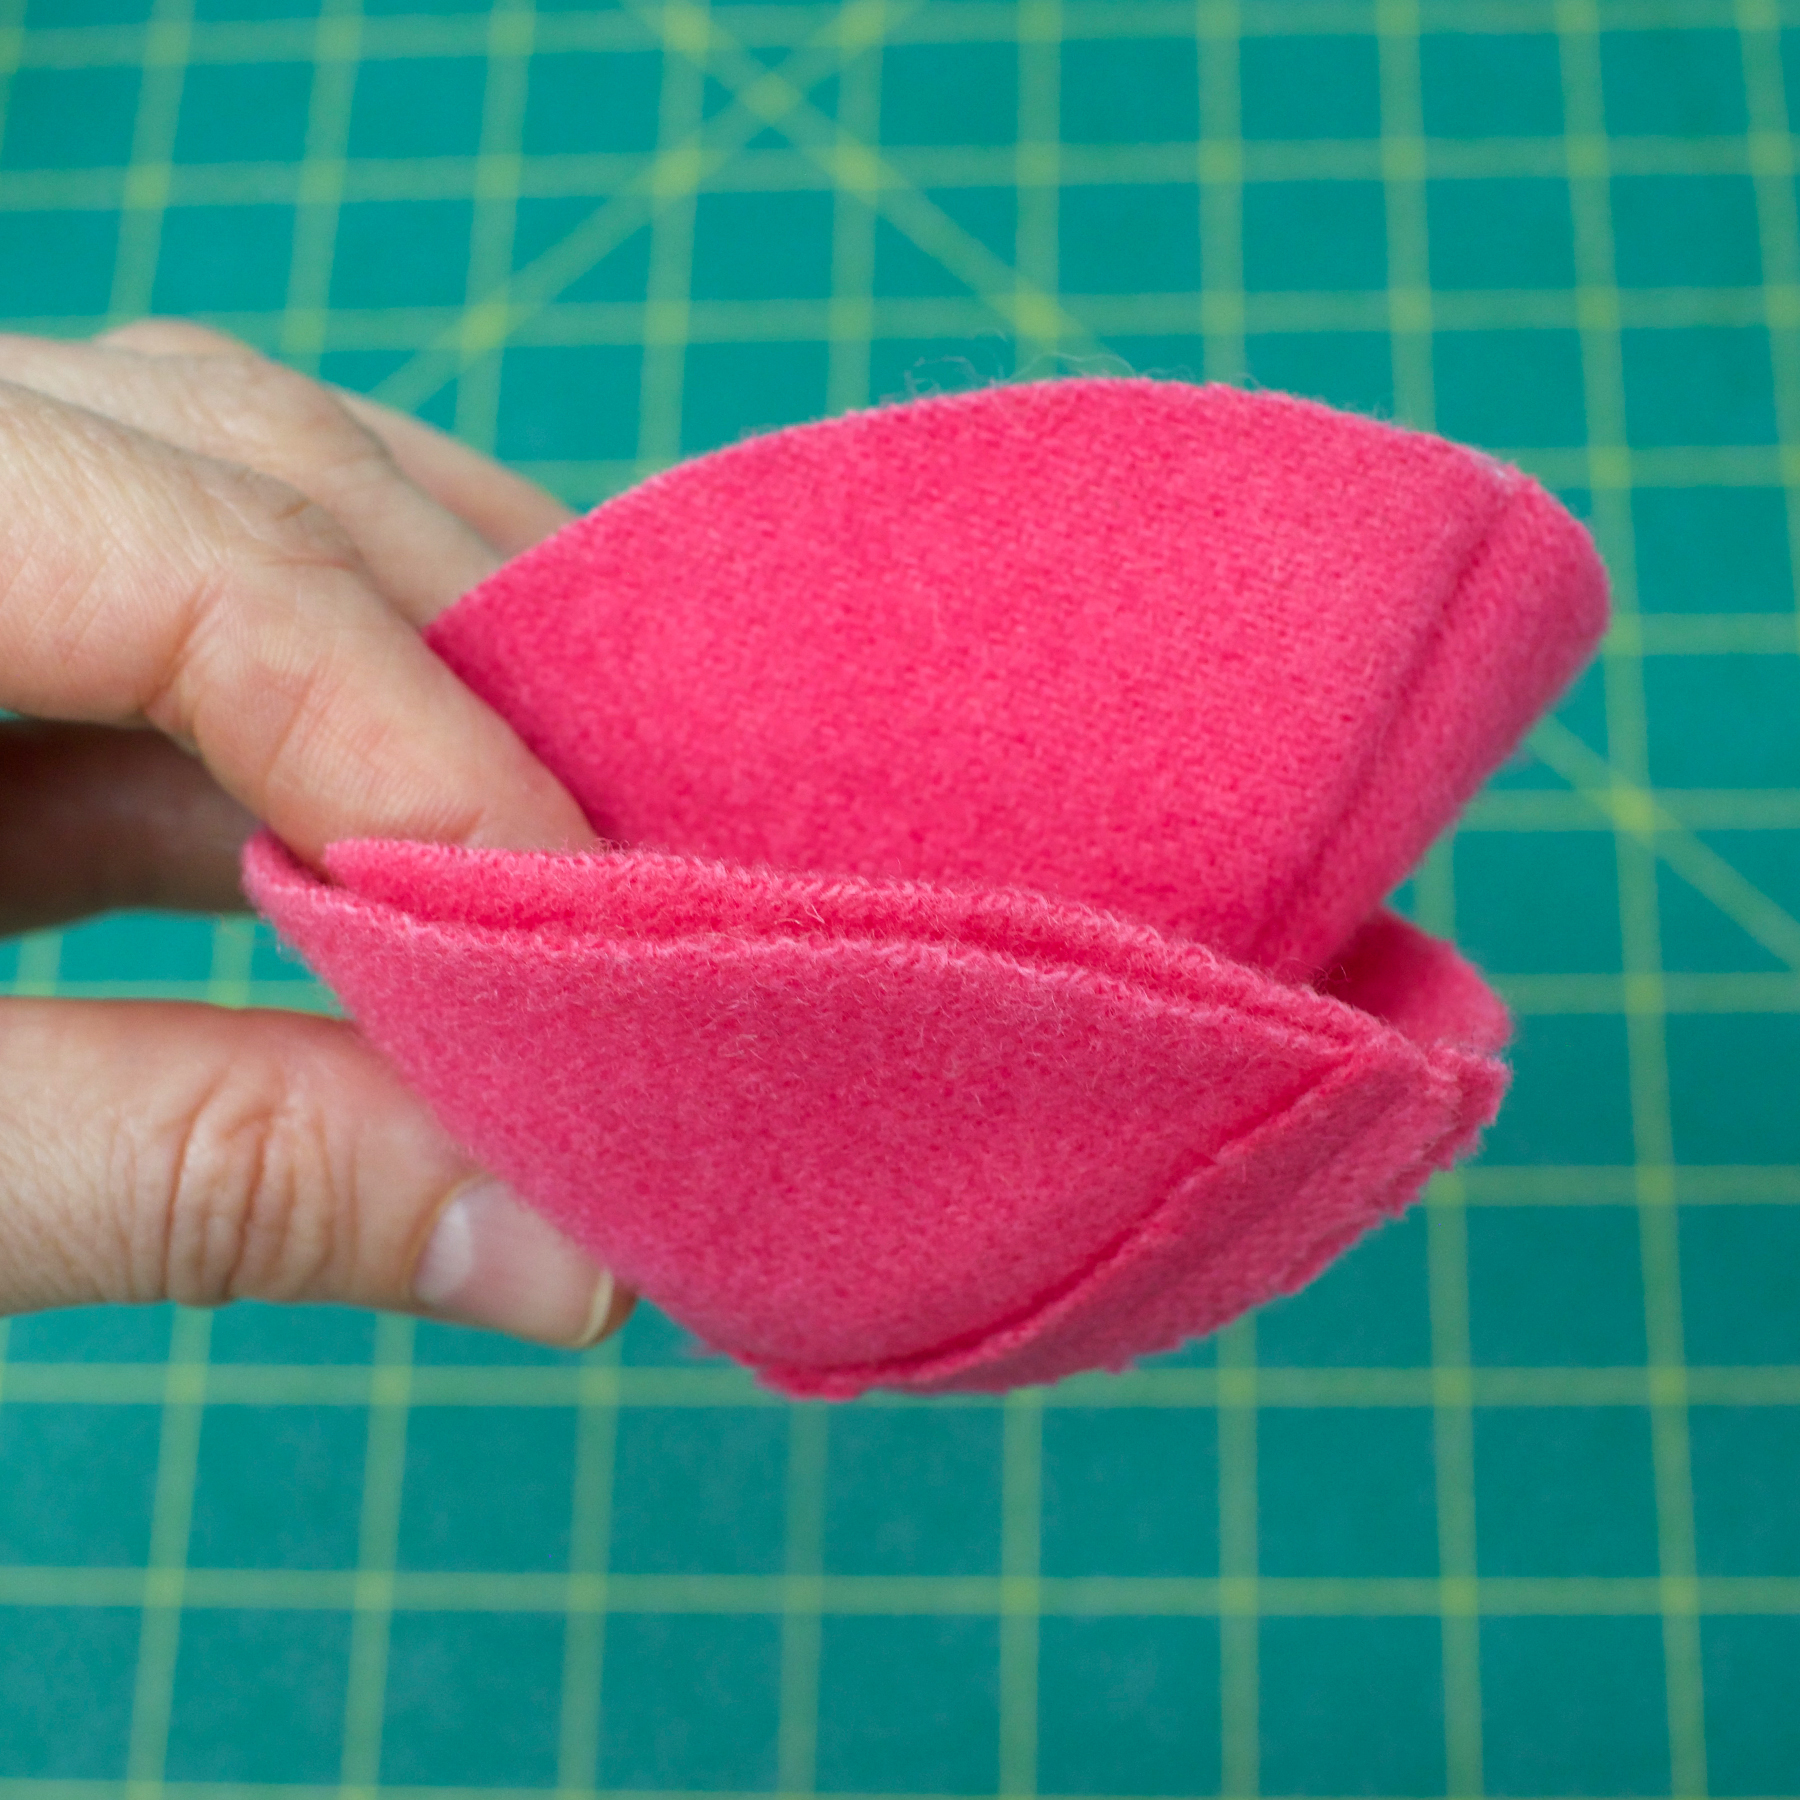
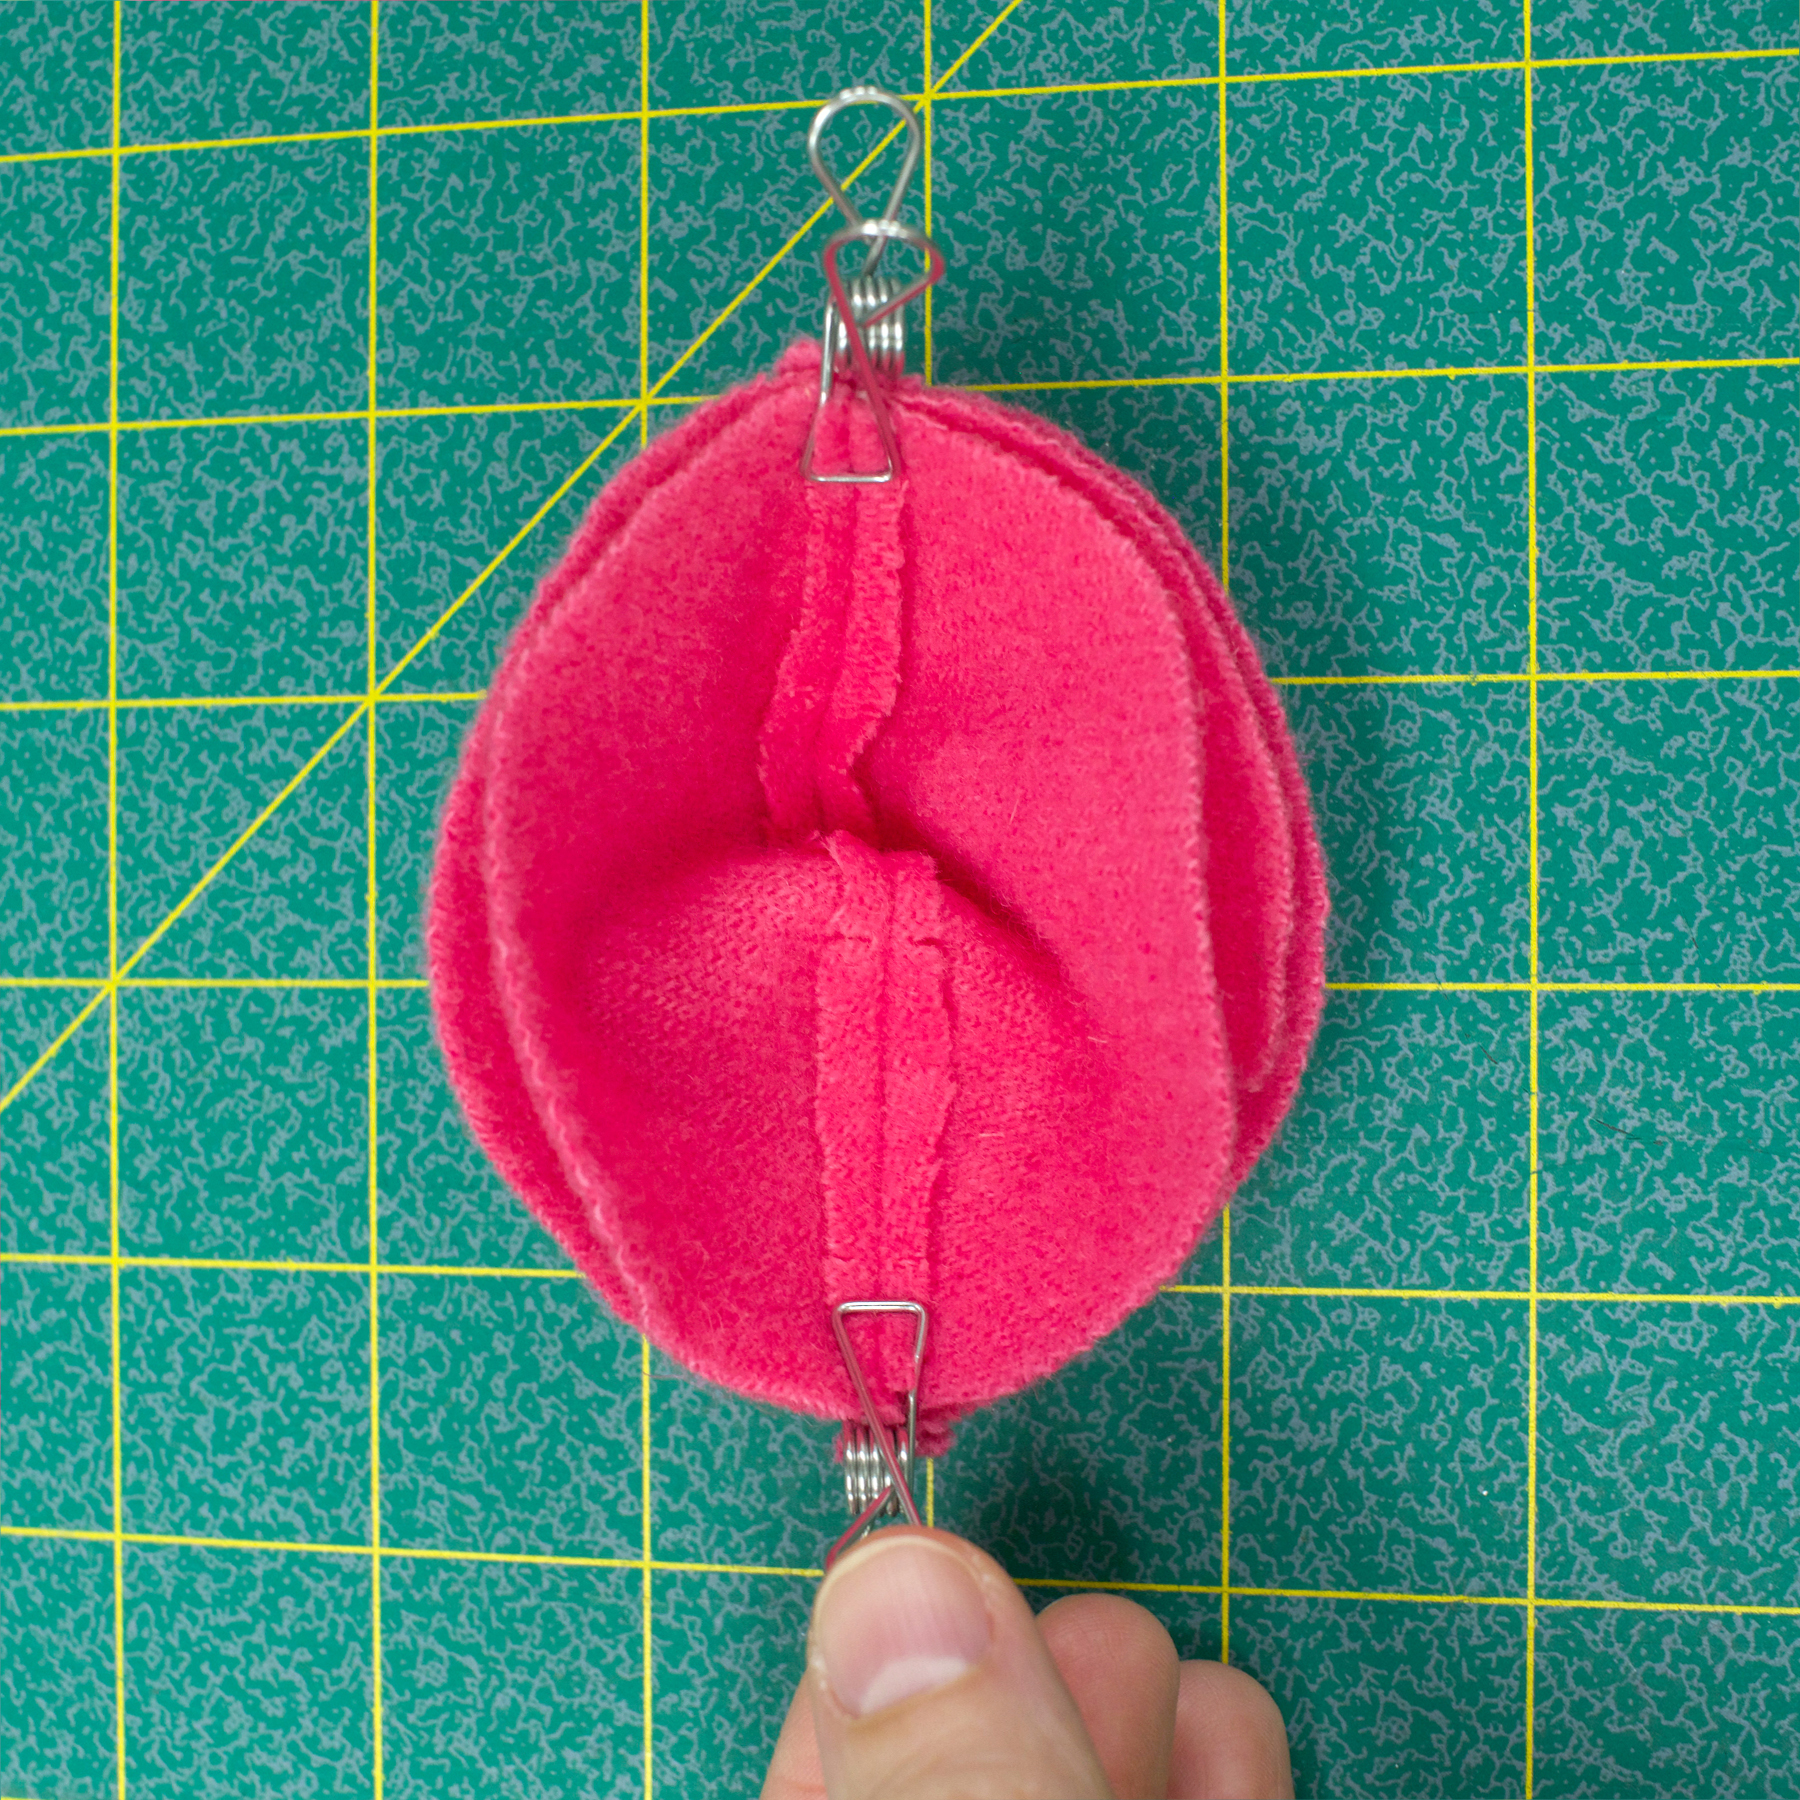
Flip one egg half right-side-out and leave the other egg half wrong-side-out. Place the right-side-out egg half into the wrong-side-out egg half.
With the seams matched vertical, line up the top point (seam end) of the two egg halves and clip them together. Do the same to the bottom. Add clips all around as you continue lining up the edges.
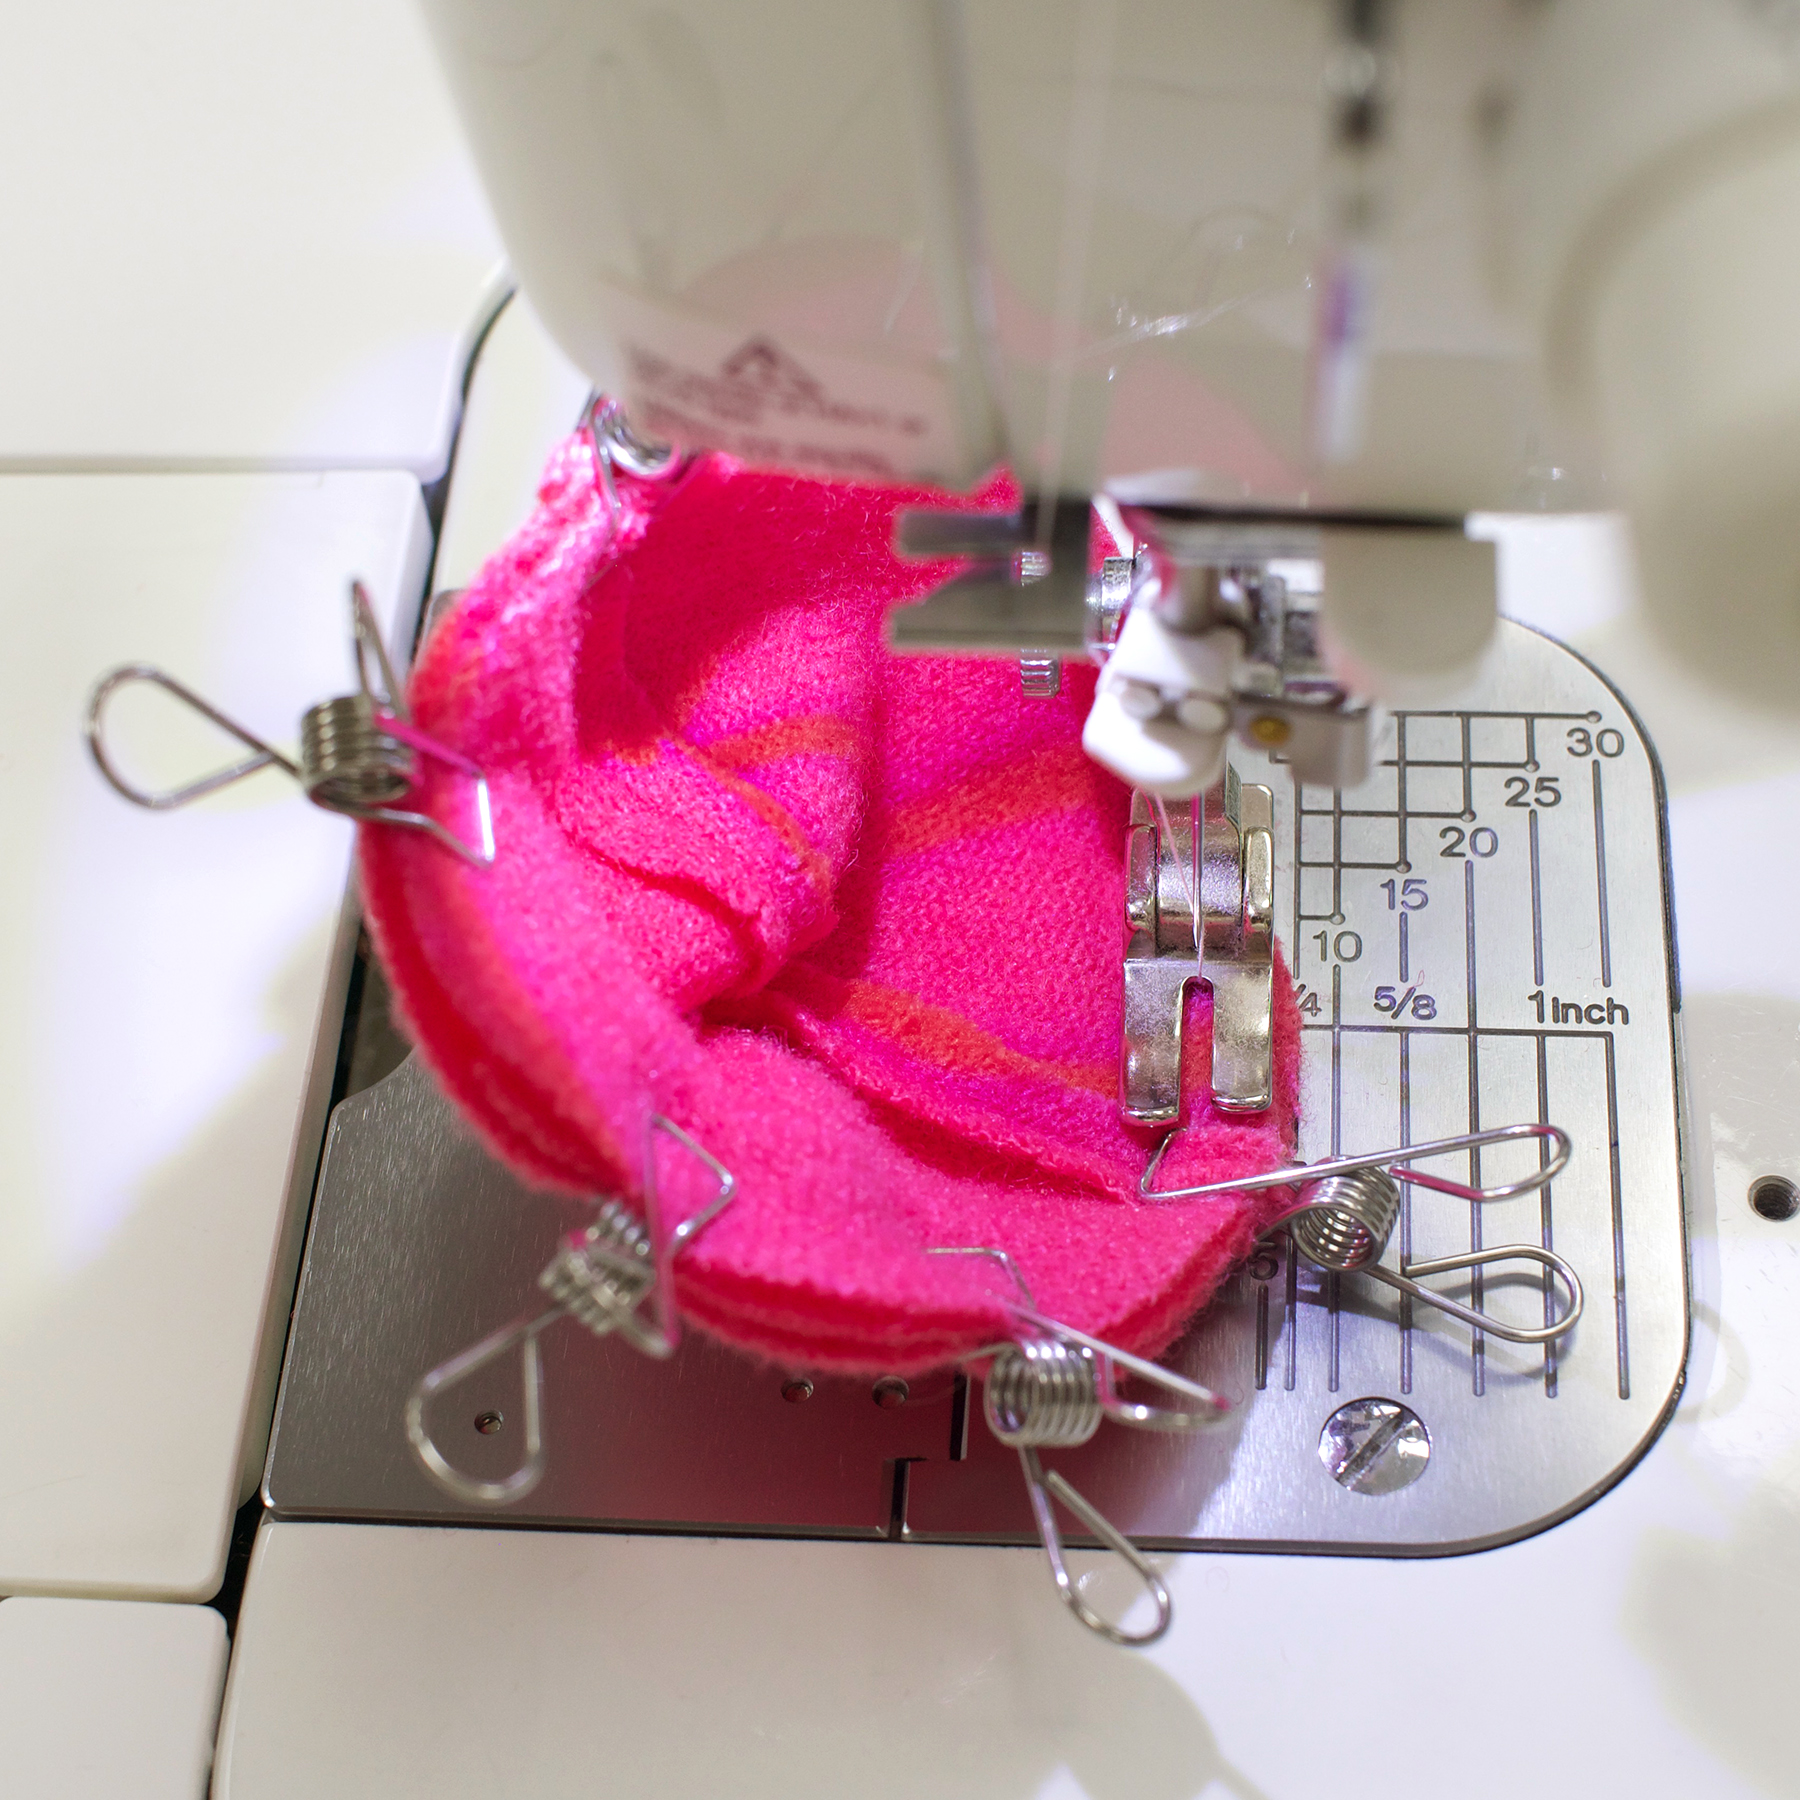
With a quarter inch seam allowance, sew around the egg leaving a 1" opening. Be sure to backstitch when starting and stopping.
TIP: Leave the opening on the side where there is no pocket (less layers of fabric). It will be easier to hand stitch the opening closed later.
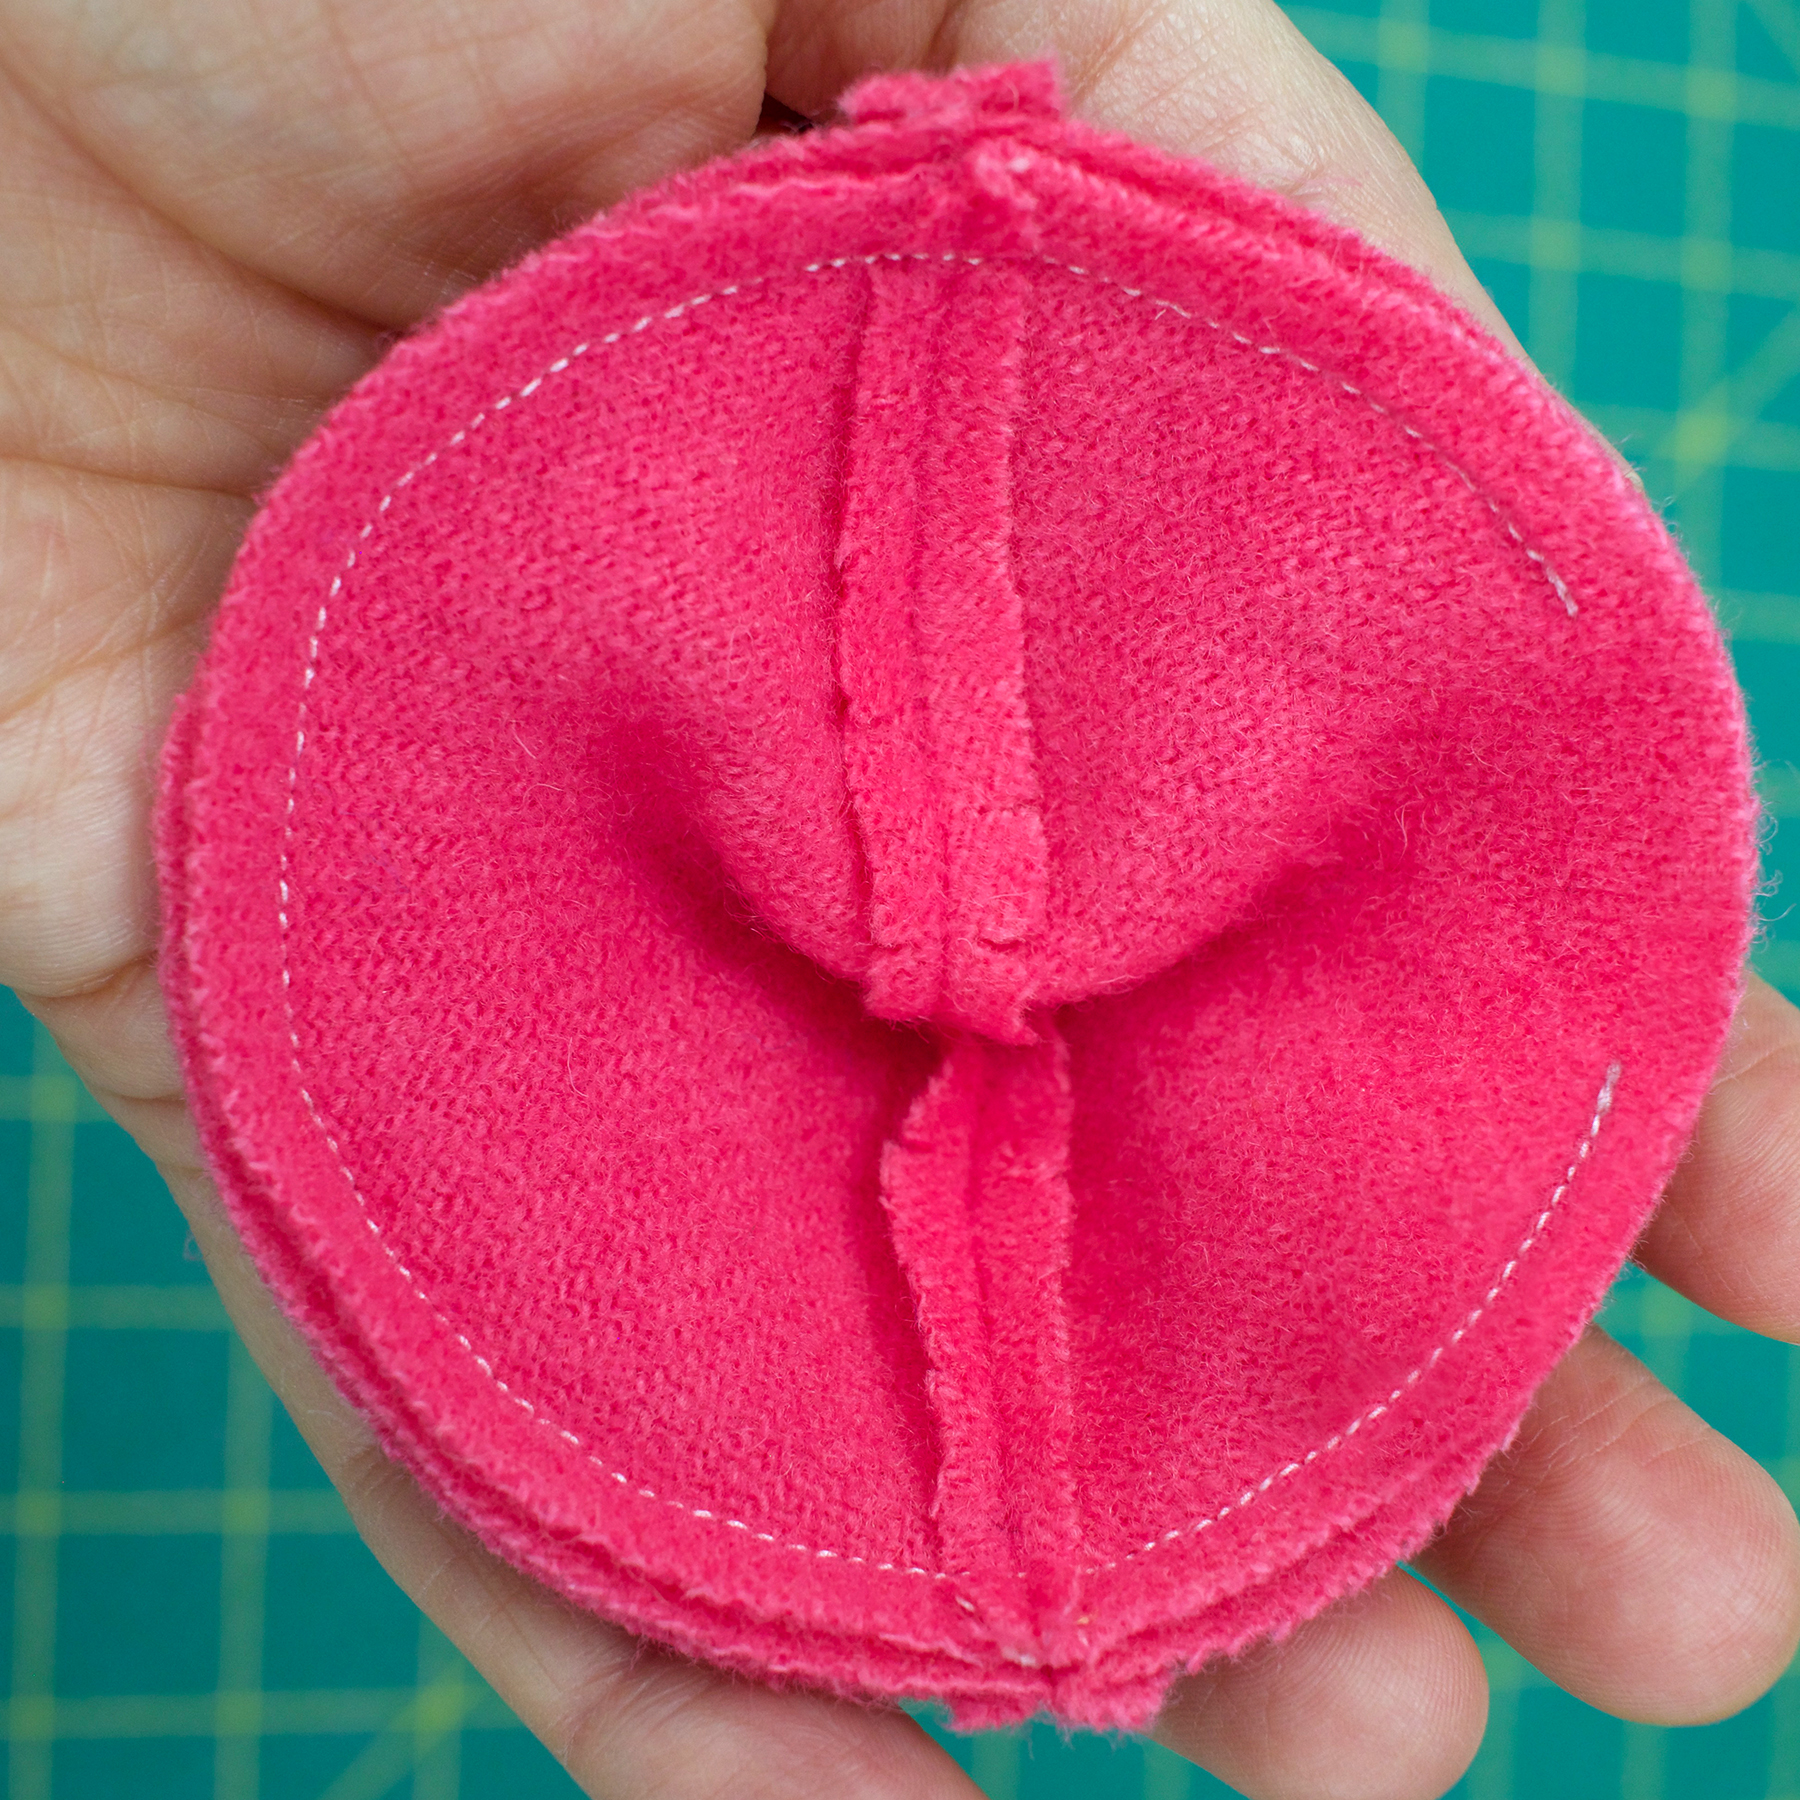
Flip the egg right side out and stuff with polyfill or your choice of filler.
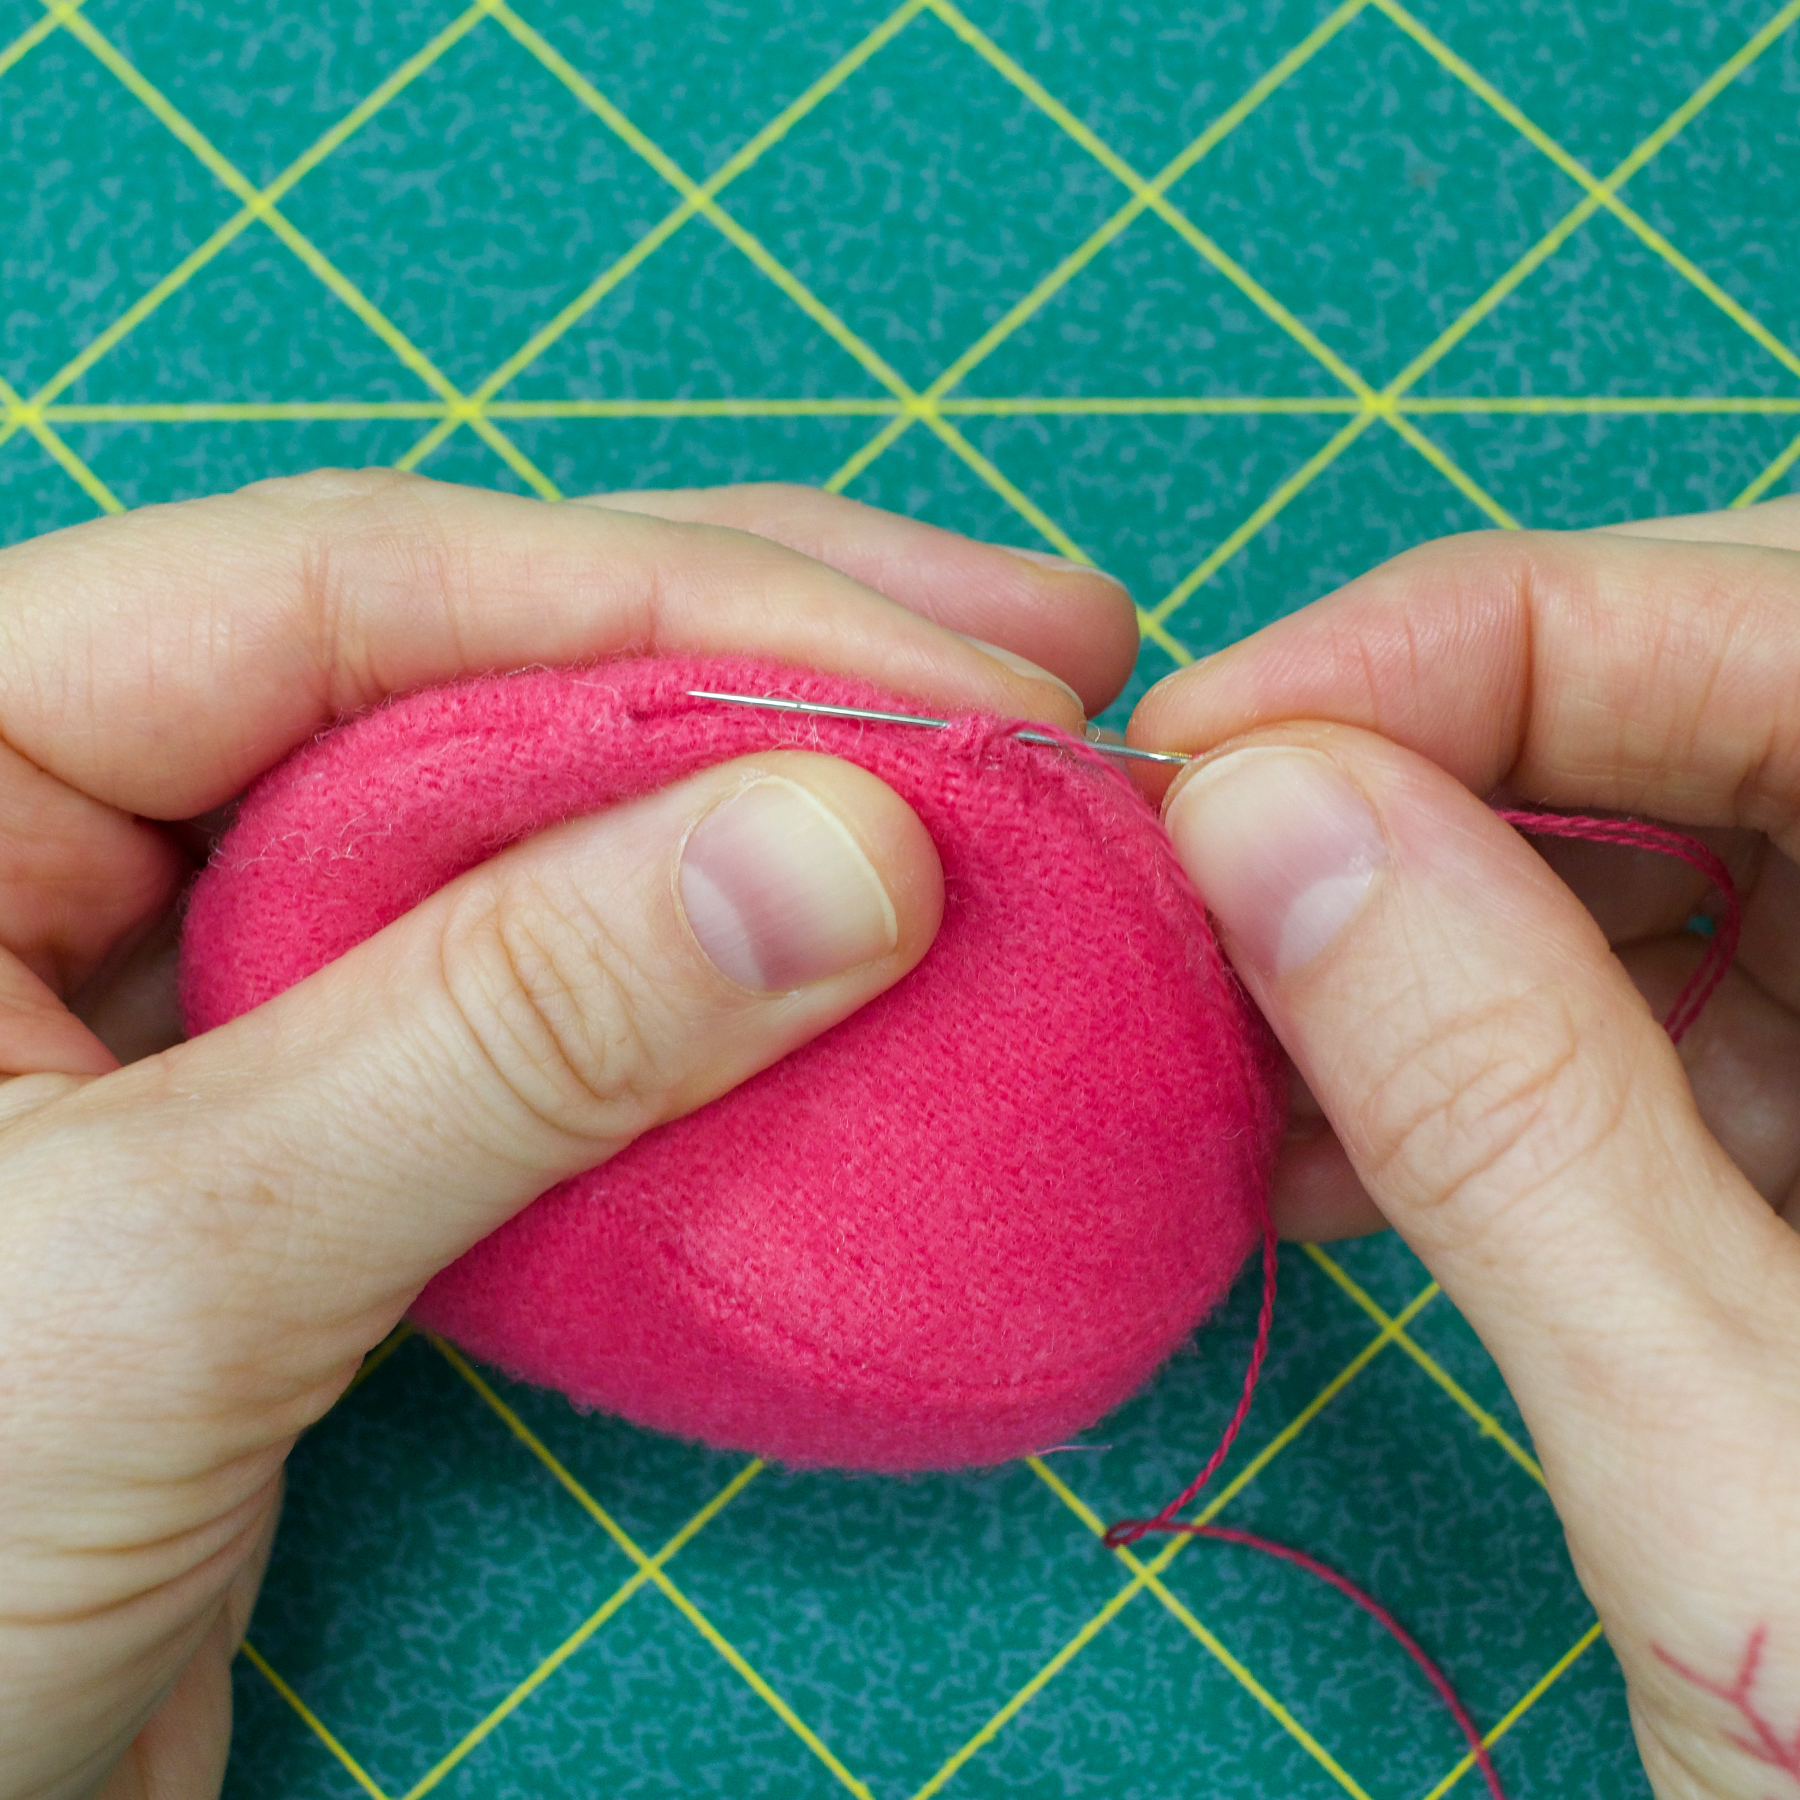
Using a #24 Chenille Needle and matching Ellana Wool Thread, stitch the opening closed. We prefer to use a matress/ladder stitch.
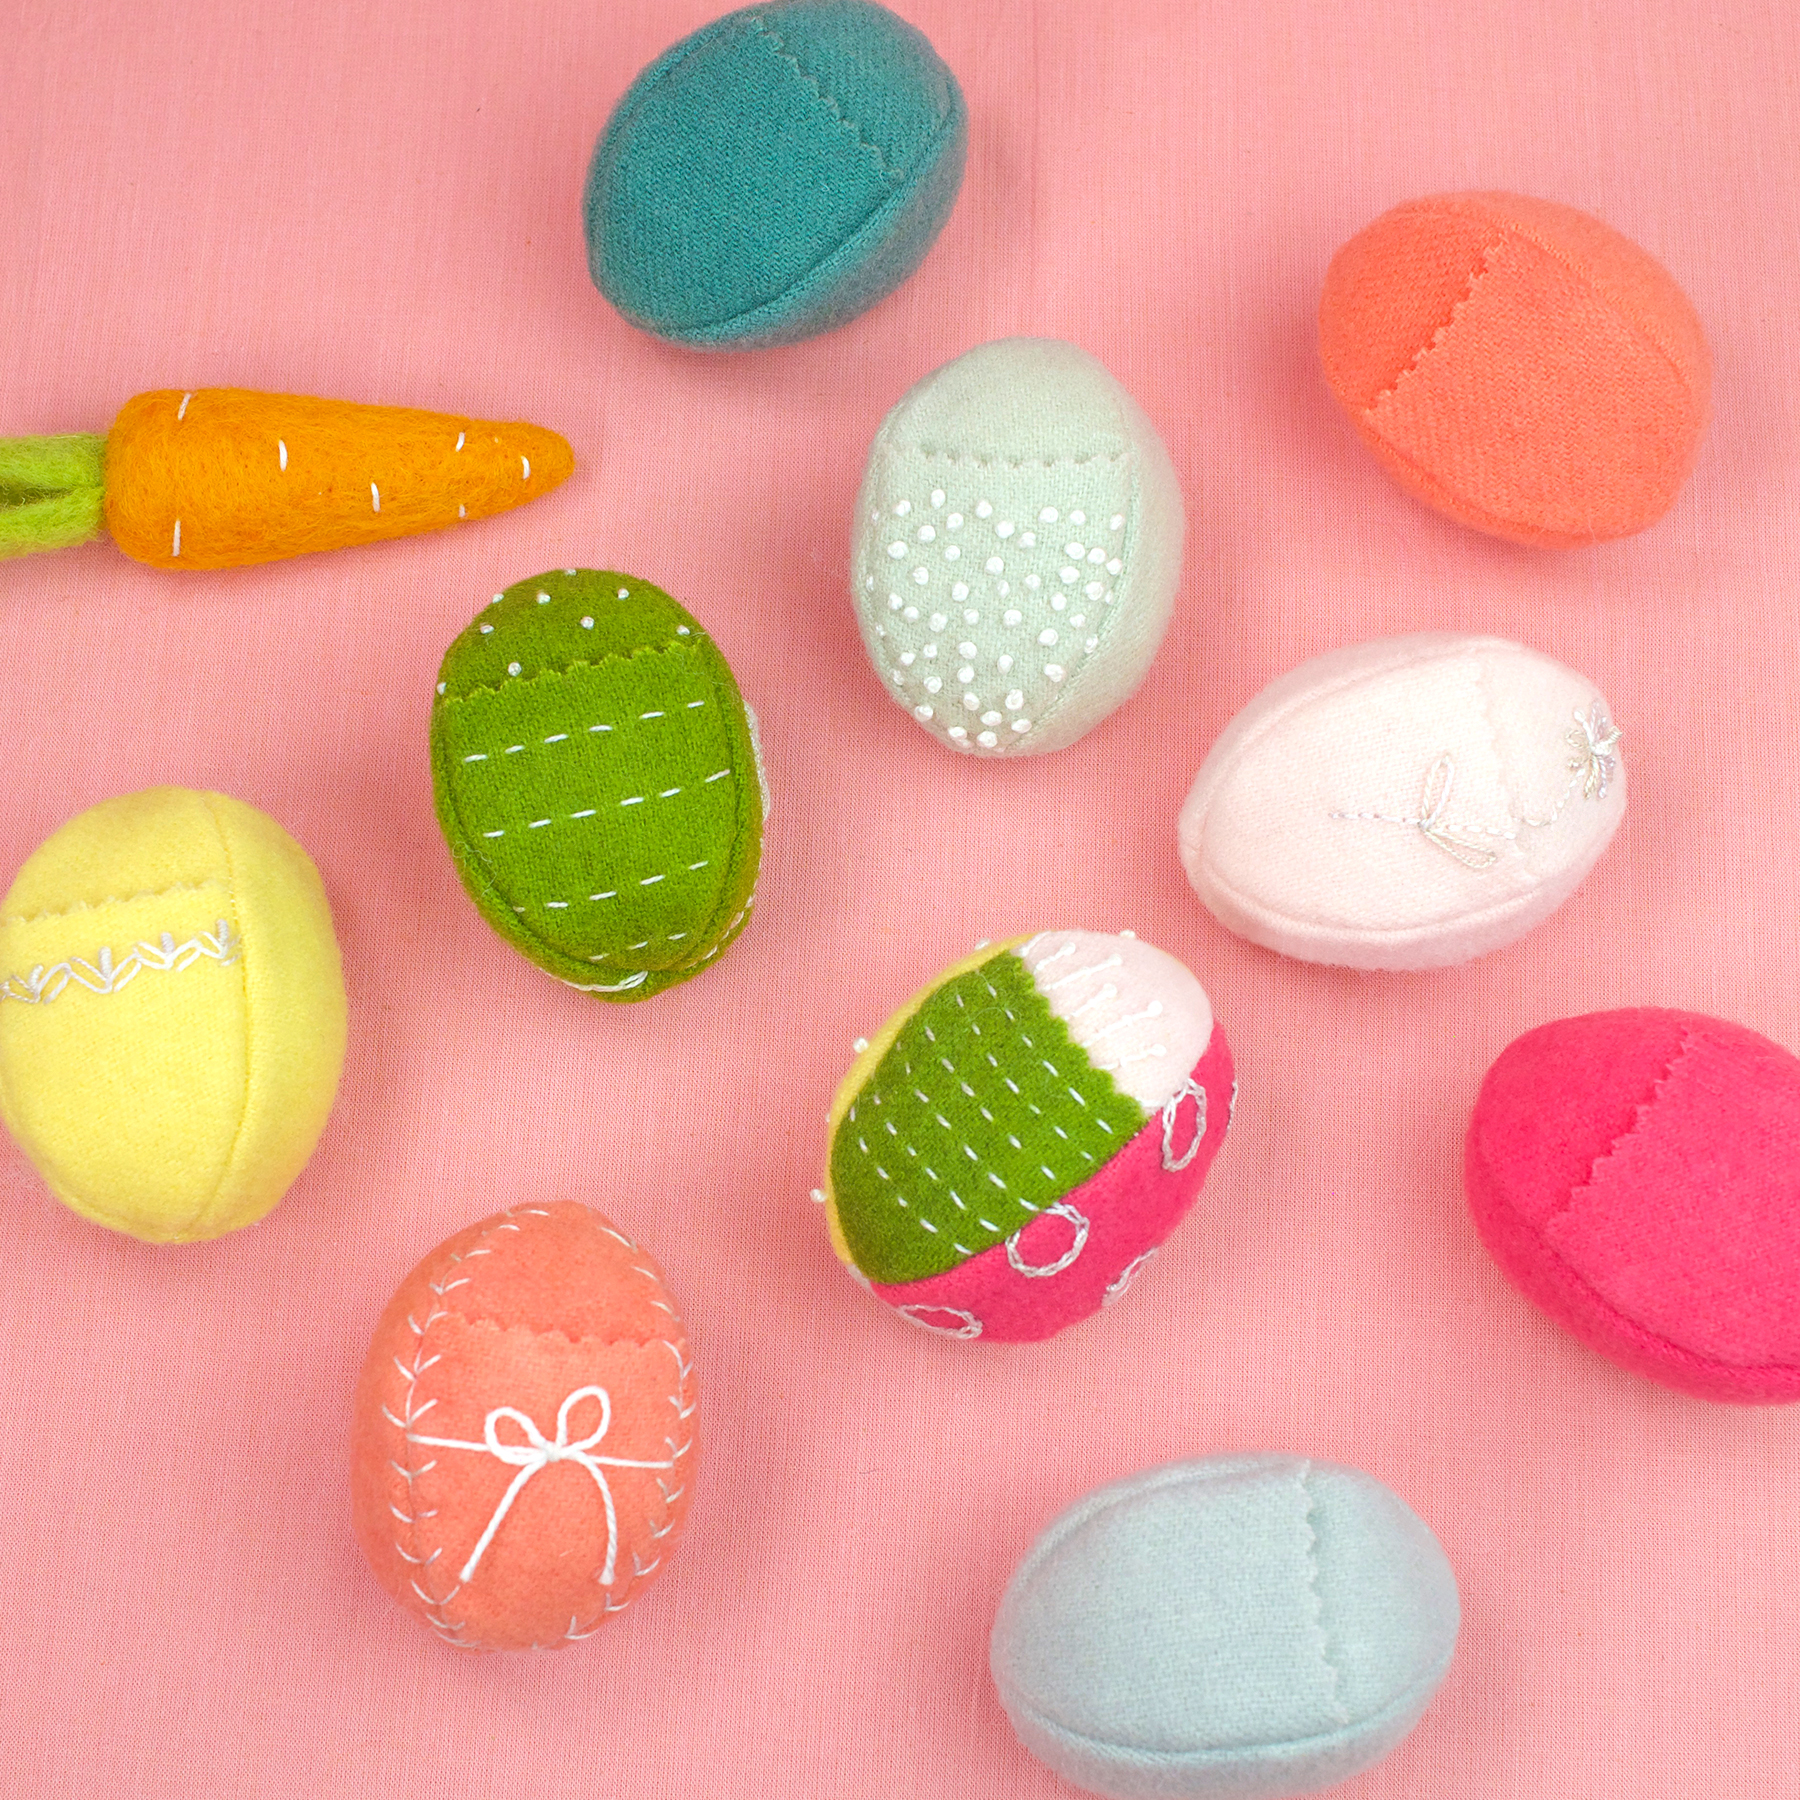
We experimented with creating solid colored eggs and multicolored eggs, highly embellished, minimally embellished, and plain eggs. We love them all!
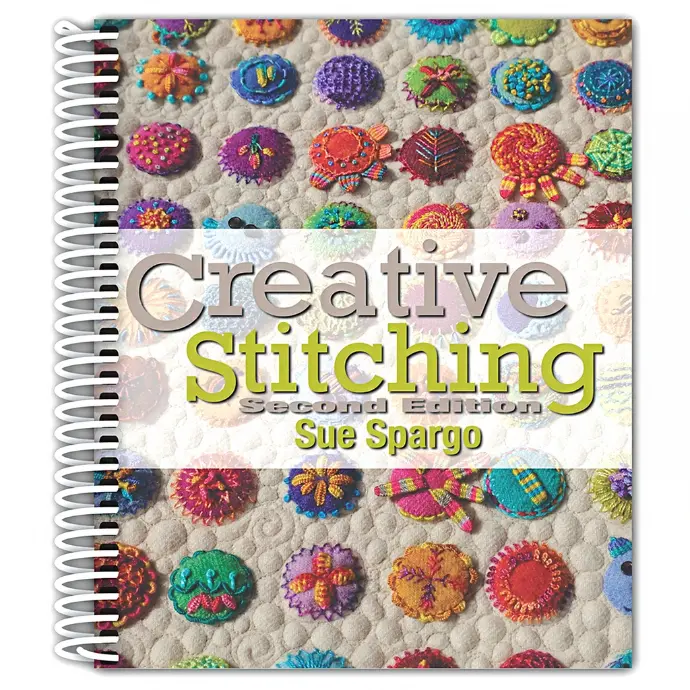
For embellishing ideas, be sure to have Sue's handy Creative Stitching Book nearby.
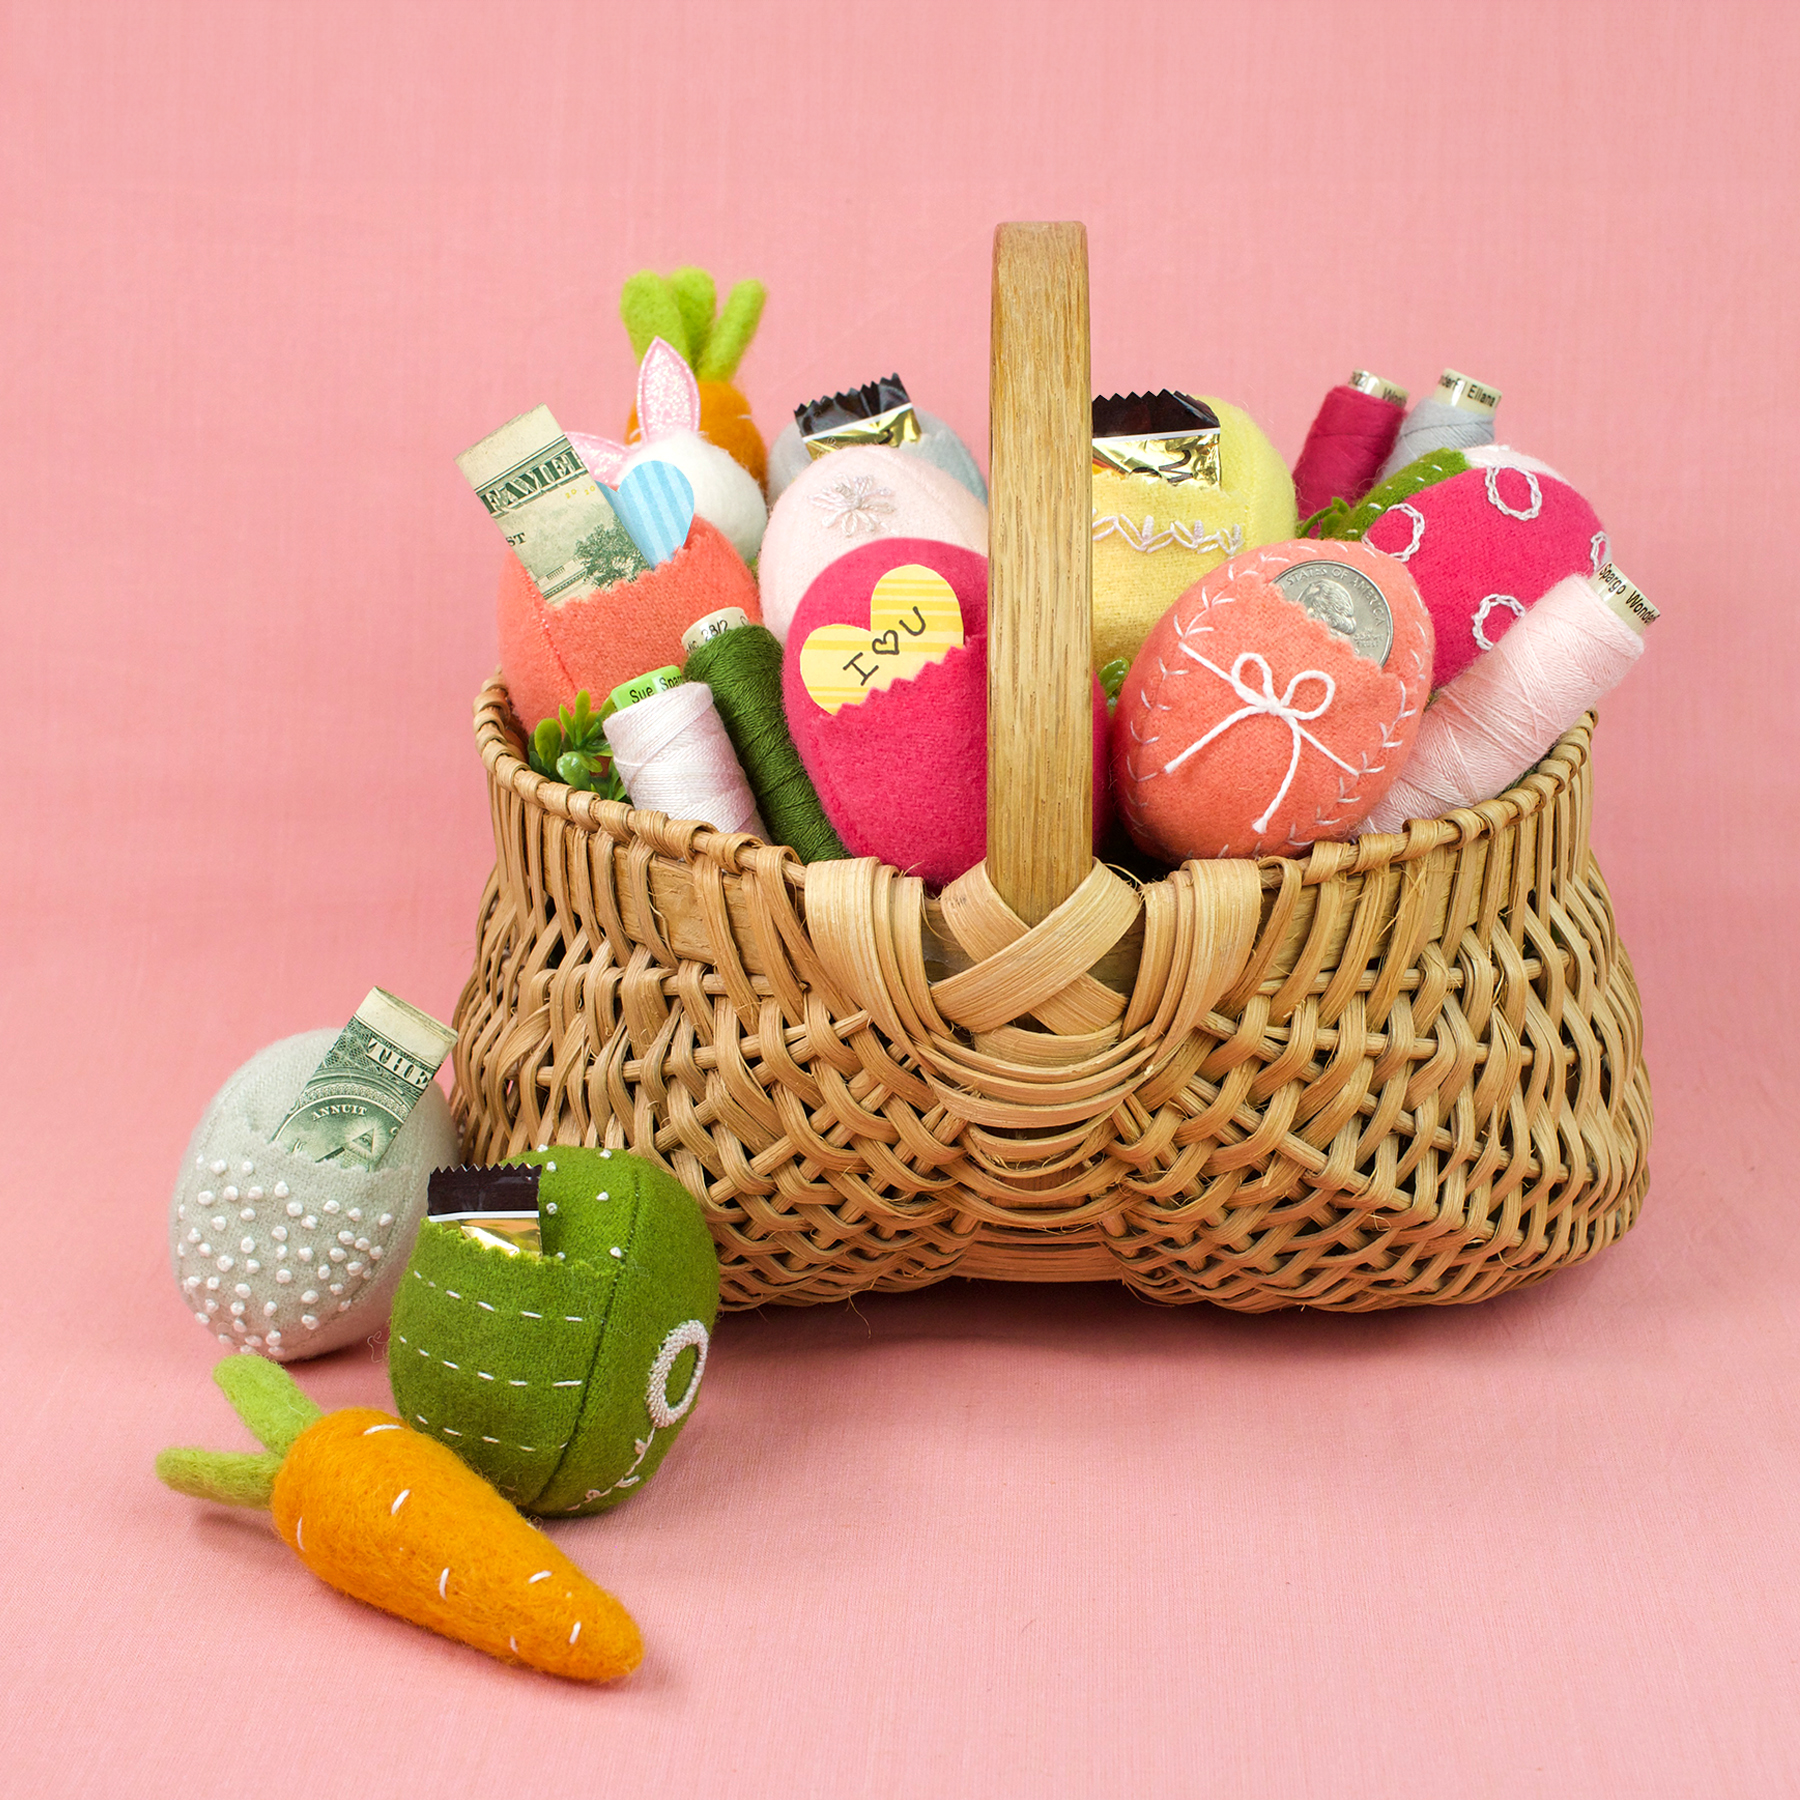
These adorable Easter eggs will hold small candy treats, trinkets, coins, dollars, or sweet little notes.
We hope you enjoy this project and have an EGG-cellent Easter!
Create